You have created an impressive picture in Paint.NET and want to ensure that your work is saved correctly? Many users think that saving files is a simple matter, but there are some important points to consider. In this guide, you will learn how to save your files in Paint.NET correctly to ensure that all layers are preserved and your creative work is not lost.
Key Takeaways
- Saving in Paint.NET can have different consequences for layers and quality depending on the file format.
- There are various saving options that must be considered to achieve the desired effect.
- The.pdn format is ideal if you want to continue working on your layers, while the PNG format is suitable for final versions.
Step-by-Step Guide
If you want to save your file in Paint.NET, proceed as follows:
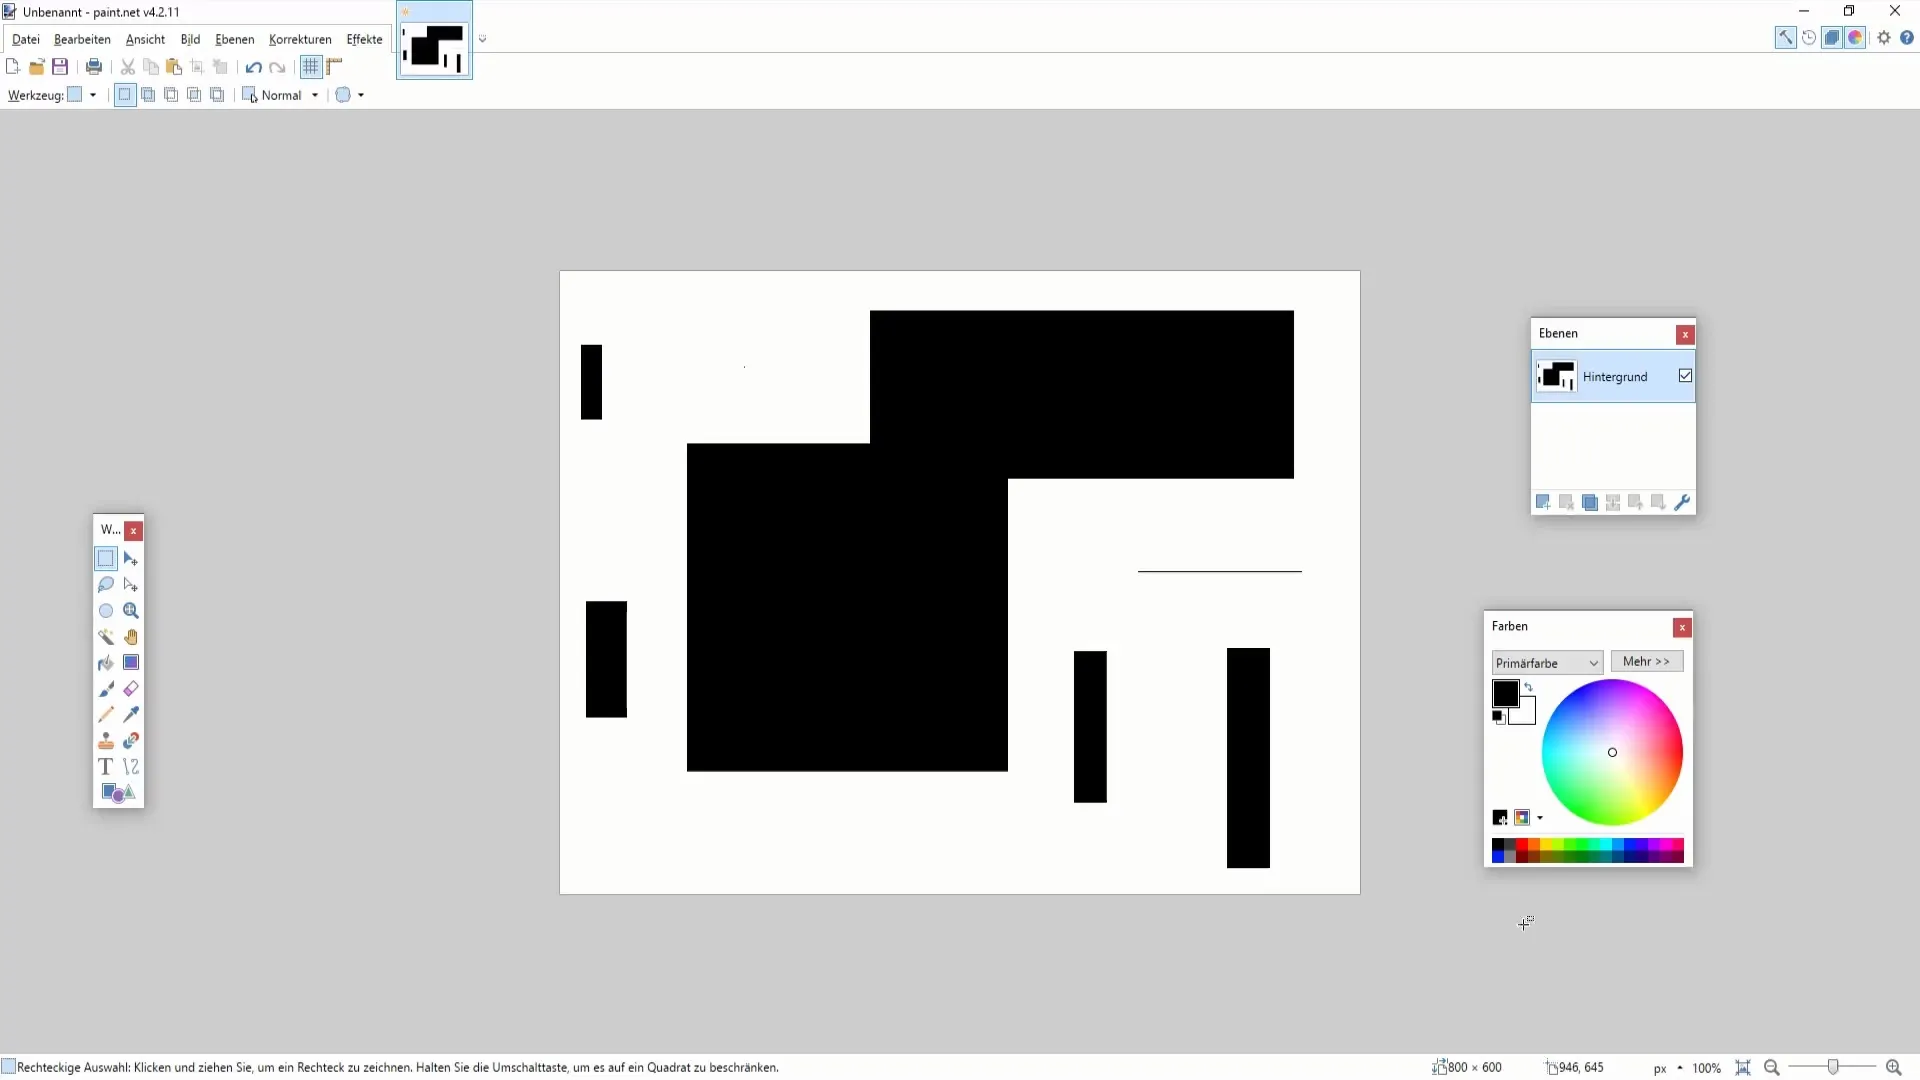
First, open the image you want to save. Make sure all layers are clearly visible. Add additional layers as needed to complete the image. To see how the layers overlap, you can work with, for example, a red or green layer.
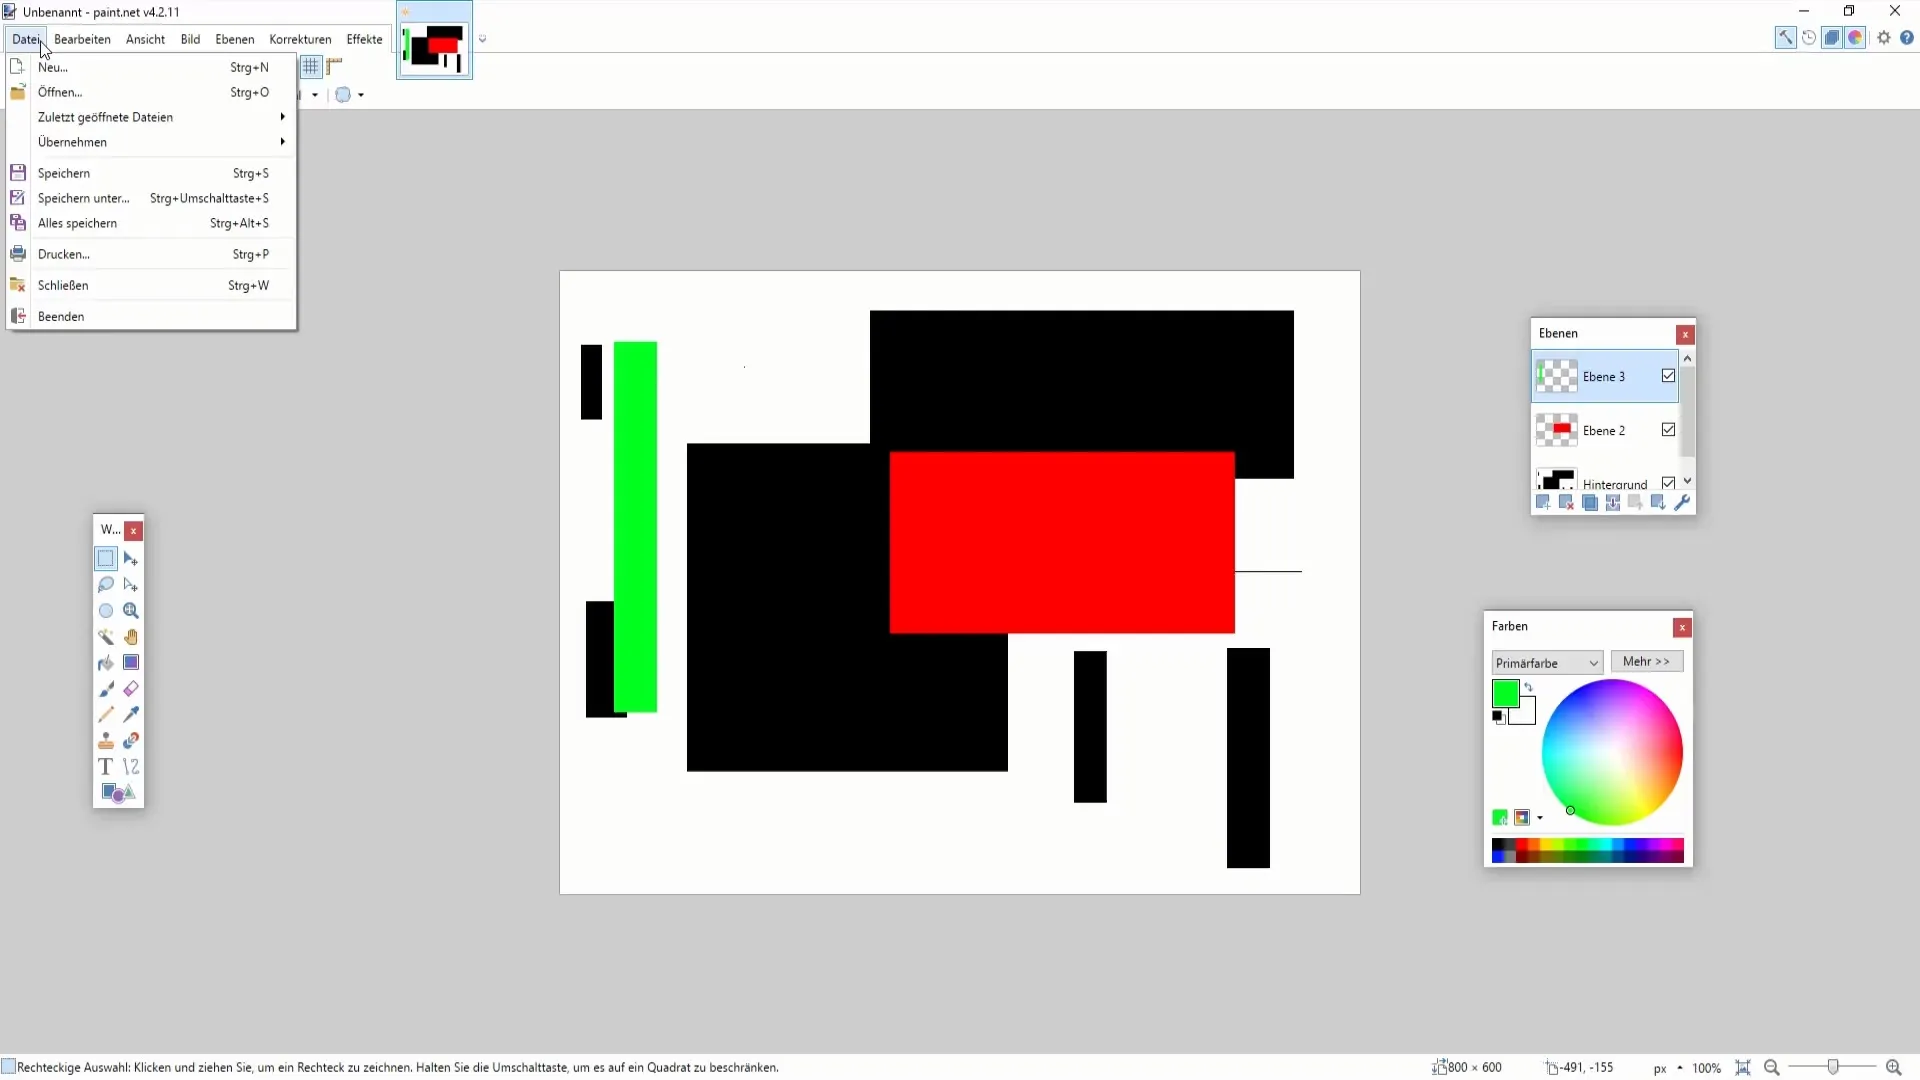
Then click on "File" in the top menu bar and choose "Save As." If you have already saved the file, you can also use this option to overwrite the current file. In this case, simply click "Save." If your file has not been saved yet, choose "Save As."
A dialog box will open where you can choose the desired file format. You have the option to save the file as.pdn (Paint.NET file), which is ideal if you want to preserve individual layers, or as PNG if you want to save a finalized image.
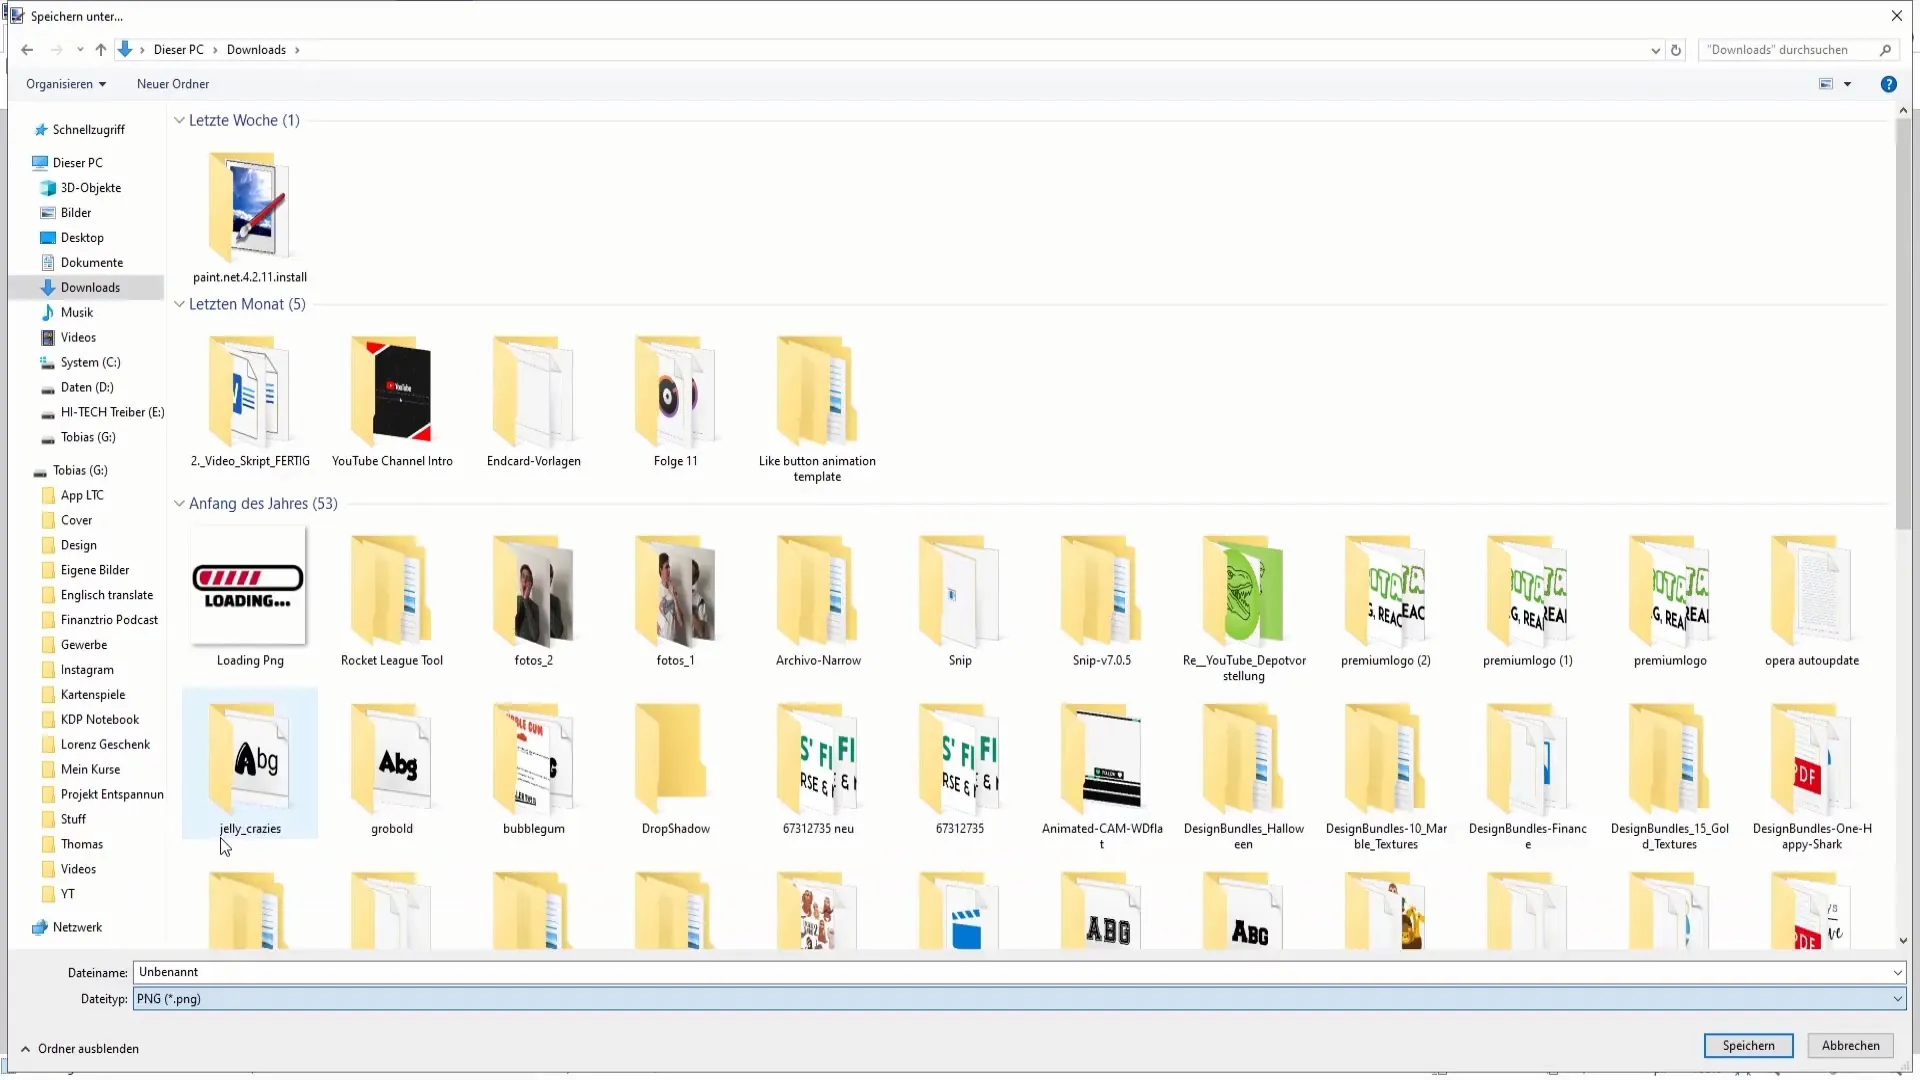
Assuming you want to save your image as PNG, simply name the file "Test 1." The PNG format ensures that the image is saved in high quality but is not suitable if you want to work on individual layers later. Then click "Save" to complete the process.
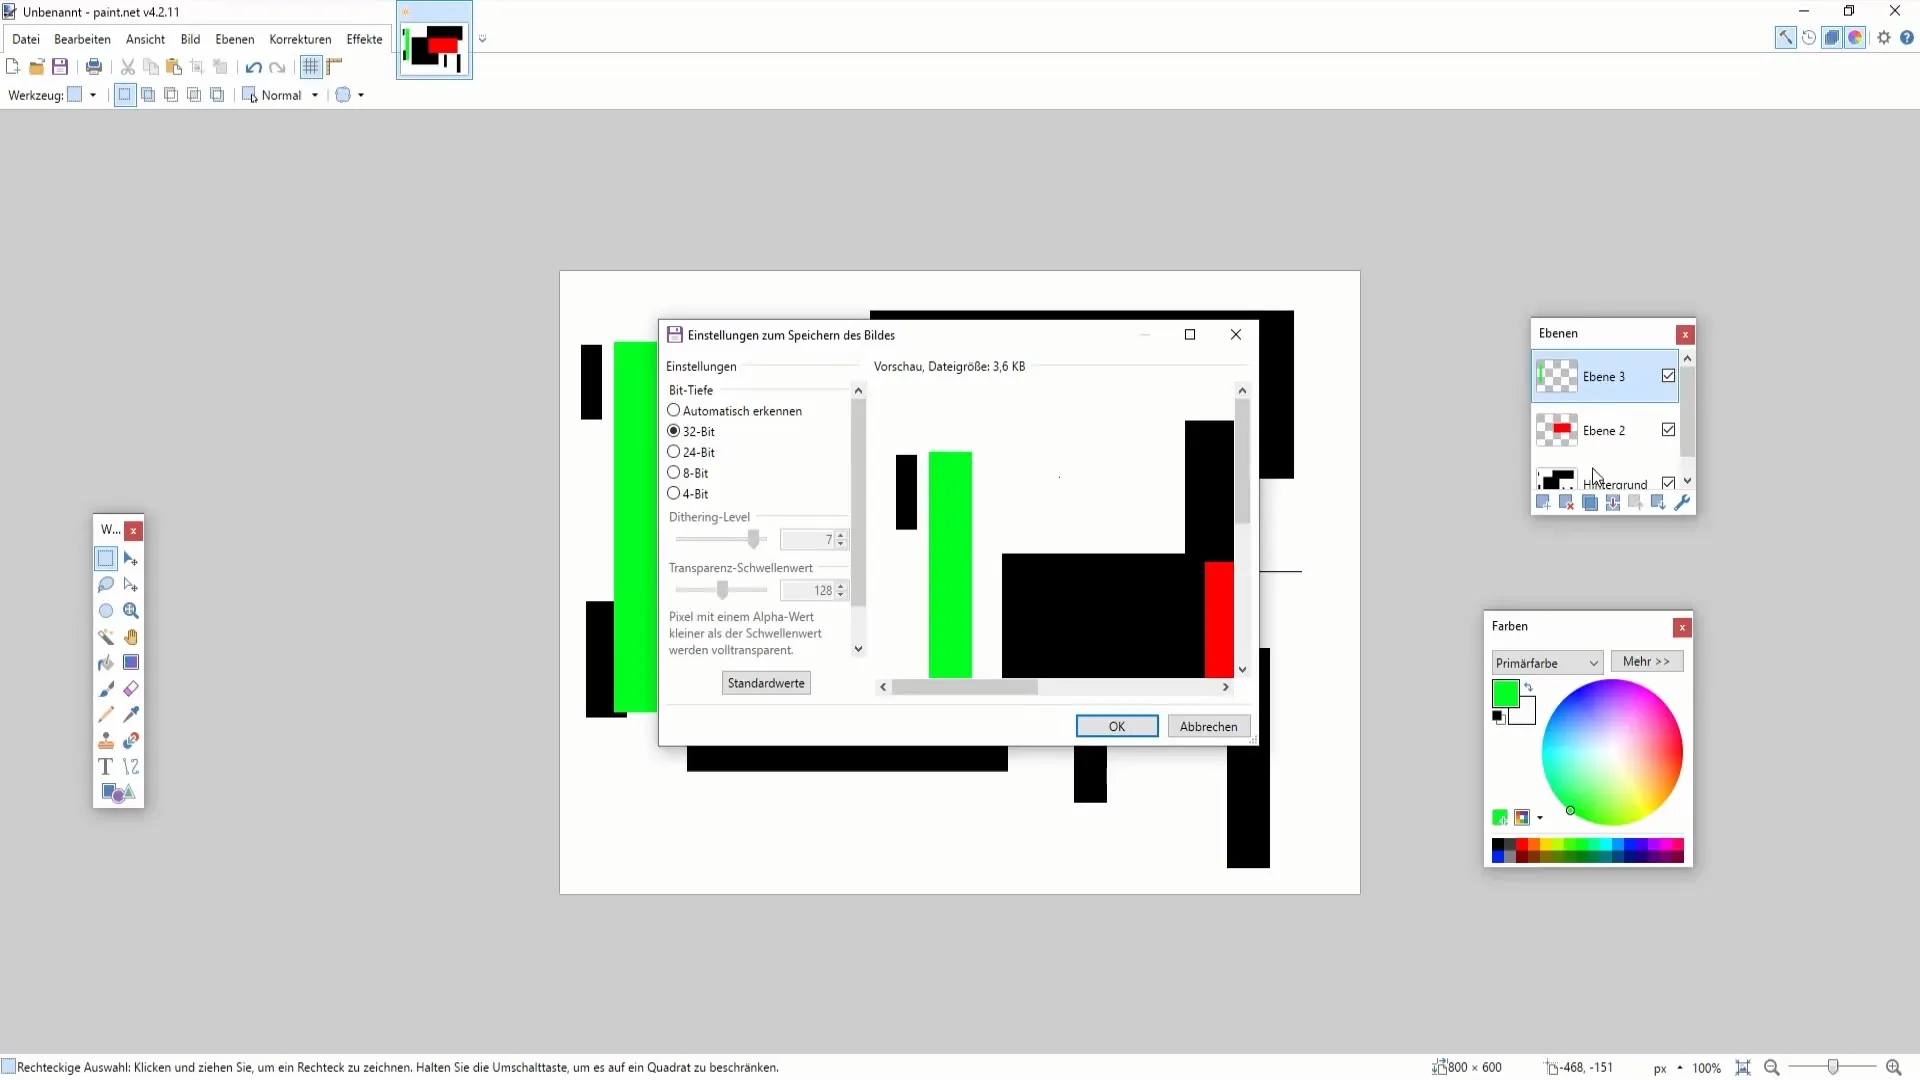
Note that Paint.NET will inform you that saving in PNG format will merge all layers into a single layer. This means that the individual layers will be lost, and you won't be able to access them anymore. To continue working on your layers, you should save the file as.pdn.
If you want to ensure that your layers are preserved, go back and choose "Save As" again. Name the file this time "Test 2" and save it as a.pdn file. This way, you have preserved the entire structure of your layers and can continue working on your image at any time.
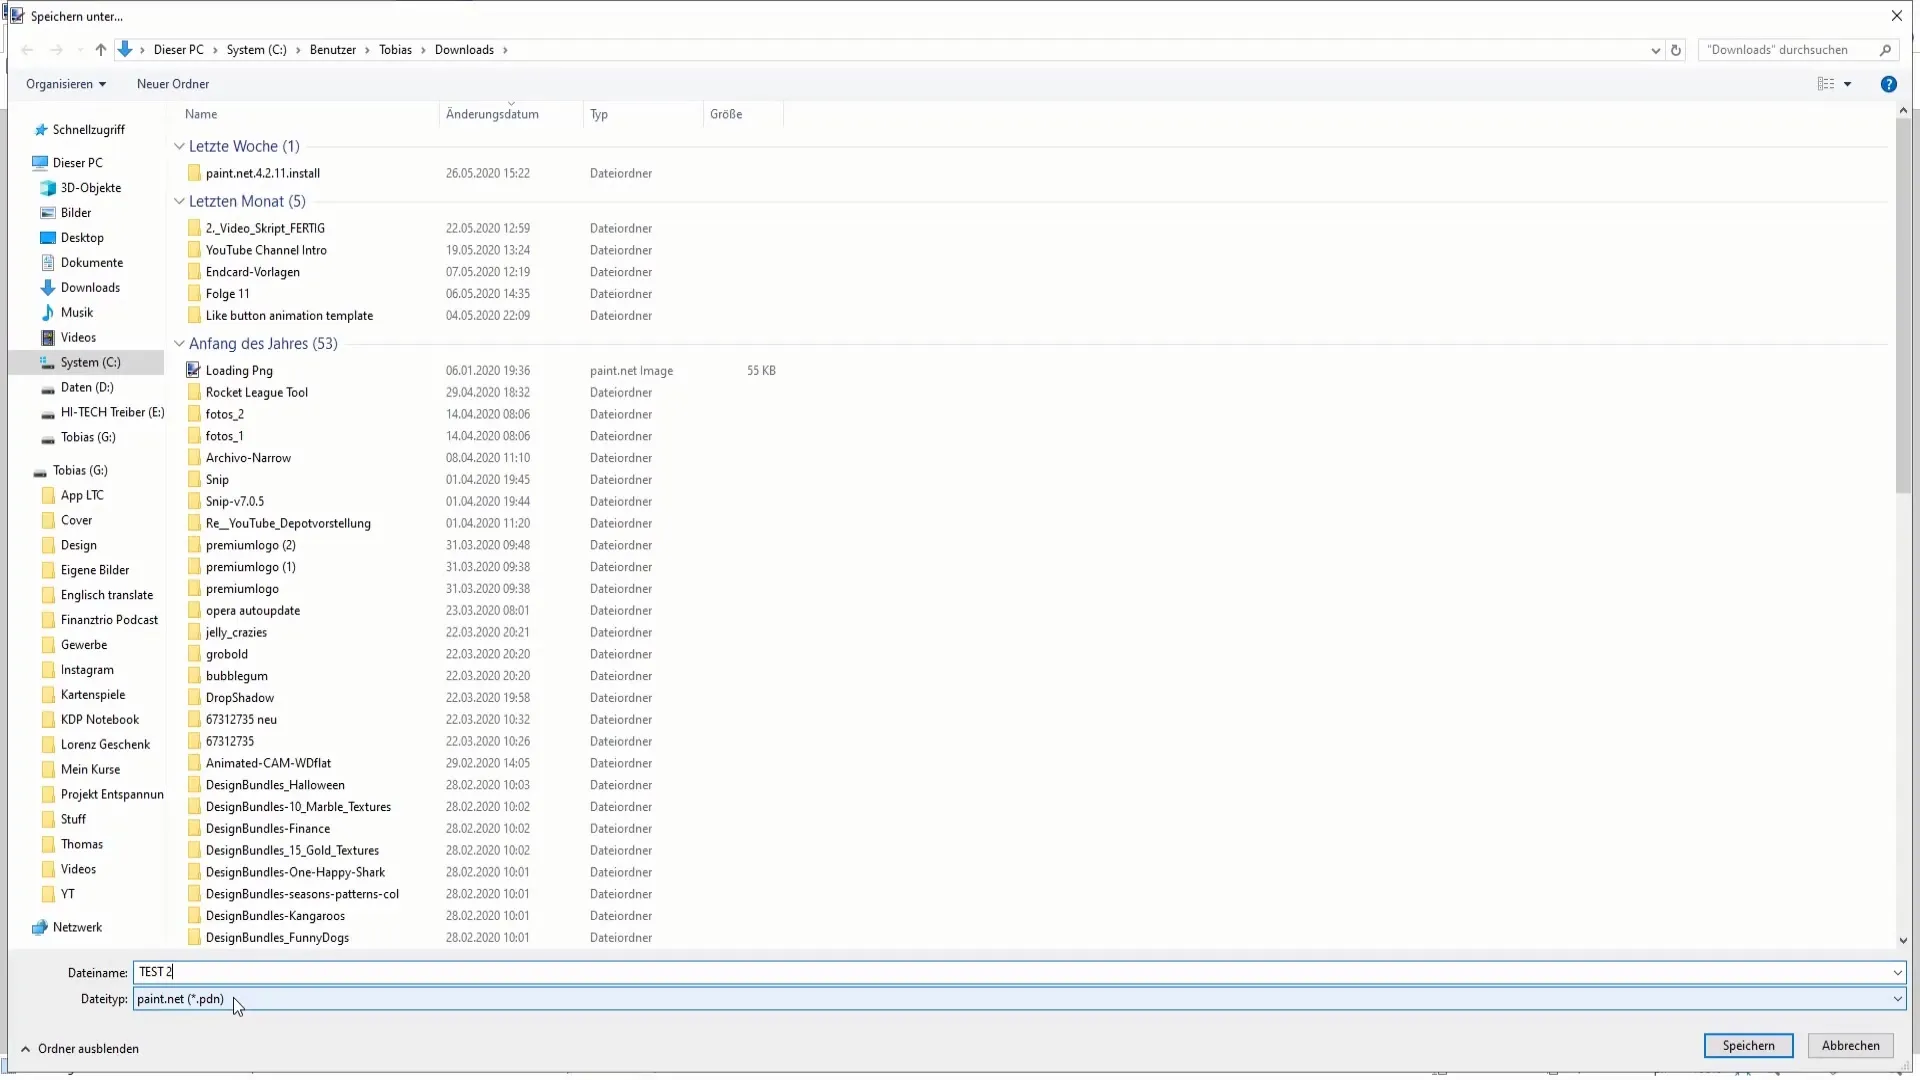
So if you want to keep your layers for later use, the.pdn format is the right way. If you have saved both file formats, you can reopen and adjust each image at any time.
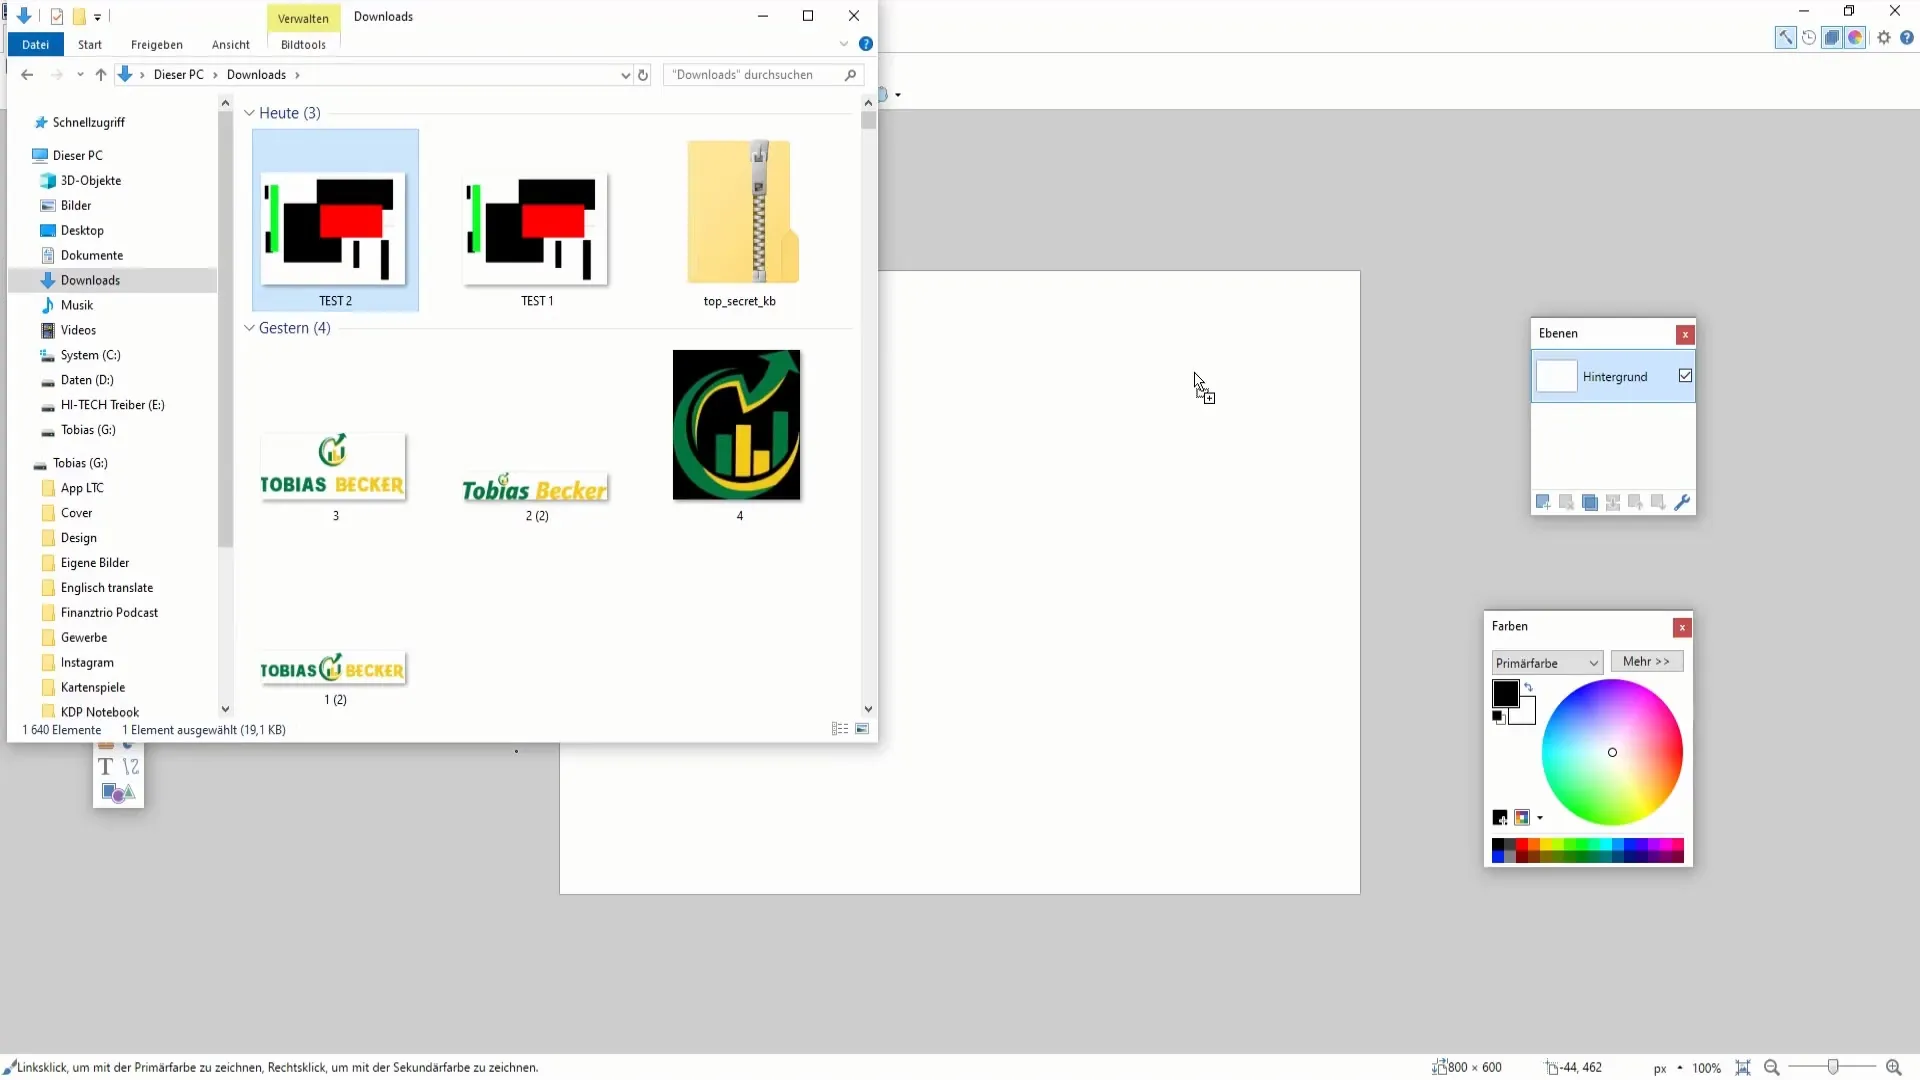
Create the PNG file when you already have a finished image that you want to upload, for example. This file is characterized by high quality and is suitable for publishing on platforms. On the other hand, the.pdn format is only intended for temporary storage and is not suitable for uploads.
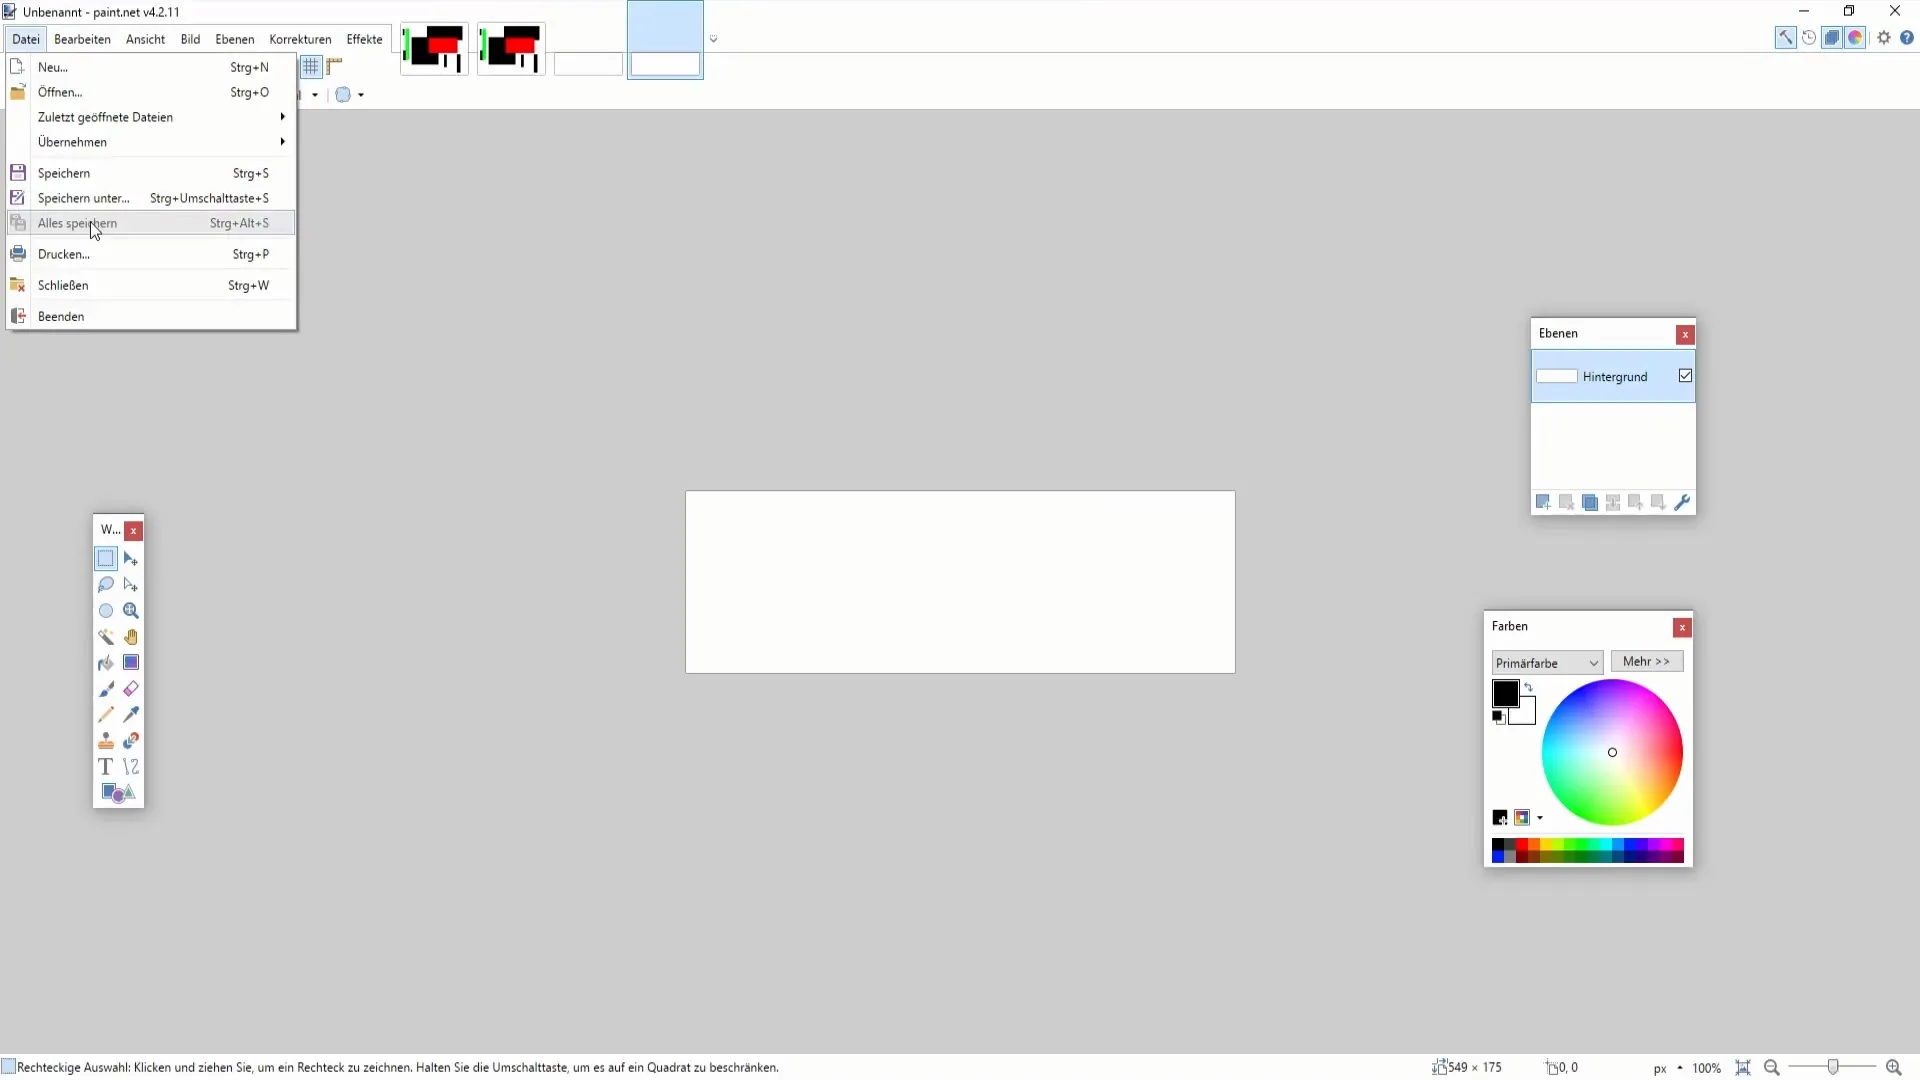
This was an overview of the basic saving methods in Paint.NET. You can also save multiple files simultaneously using the "Save All" function without having to click on each one individually. This is particularly helpful when working on multiple projects.
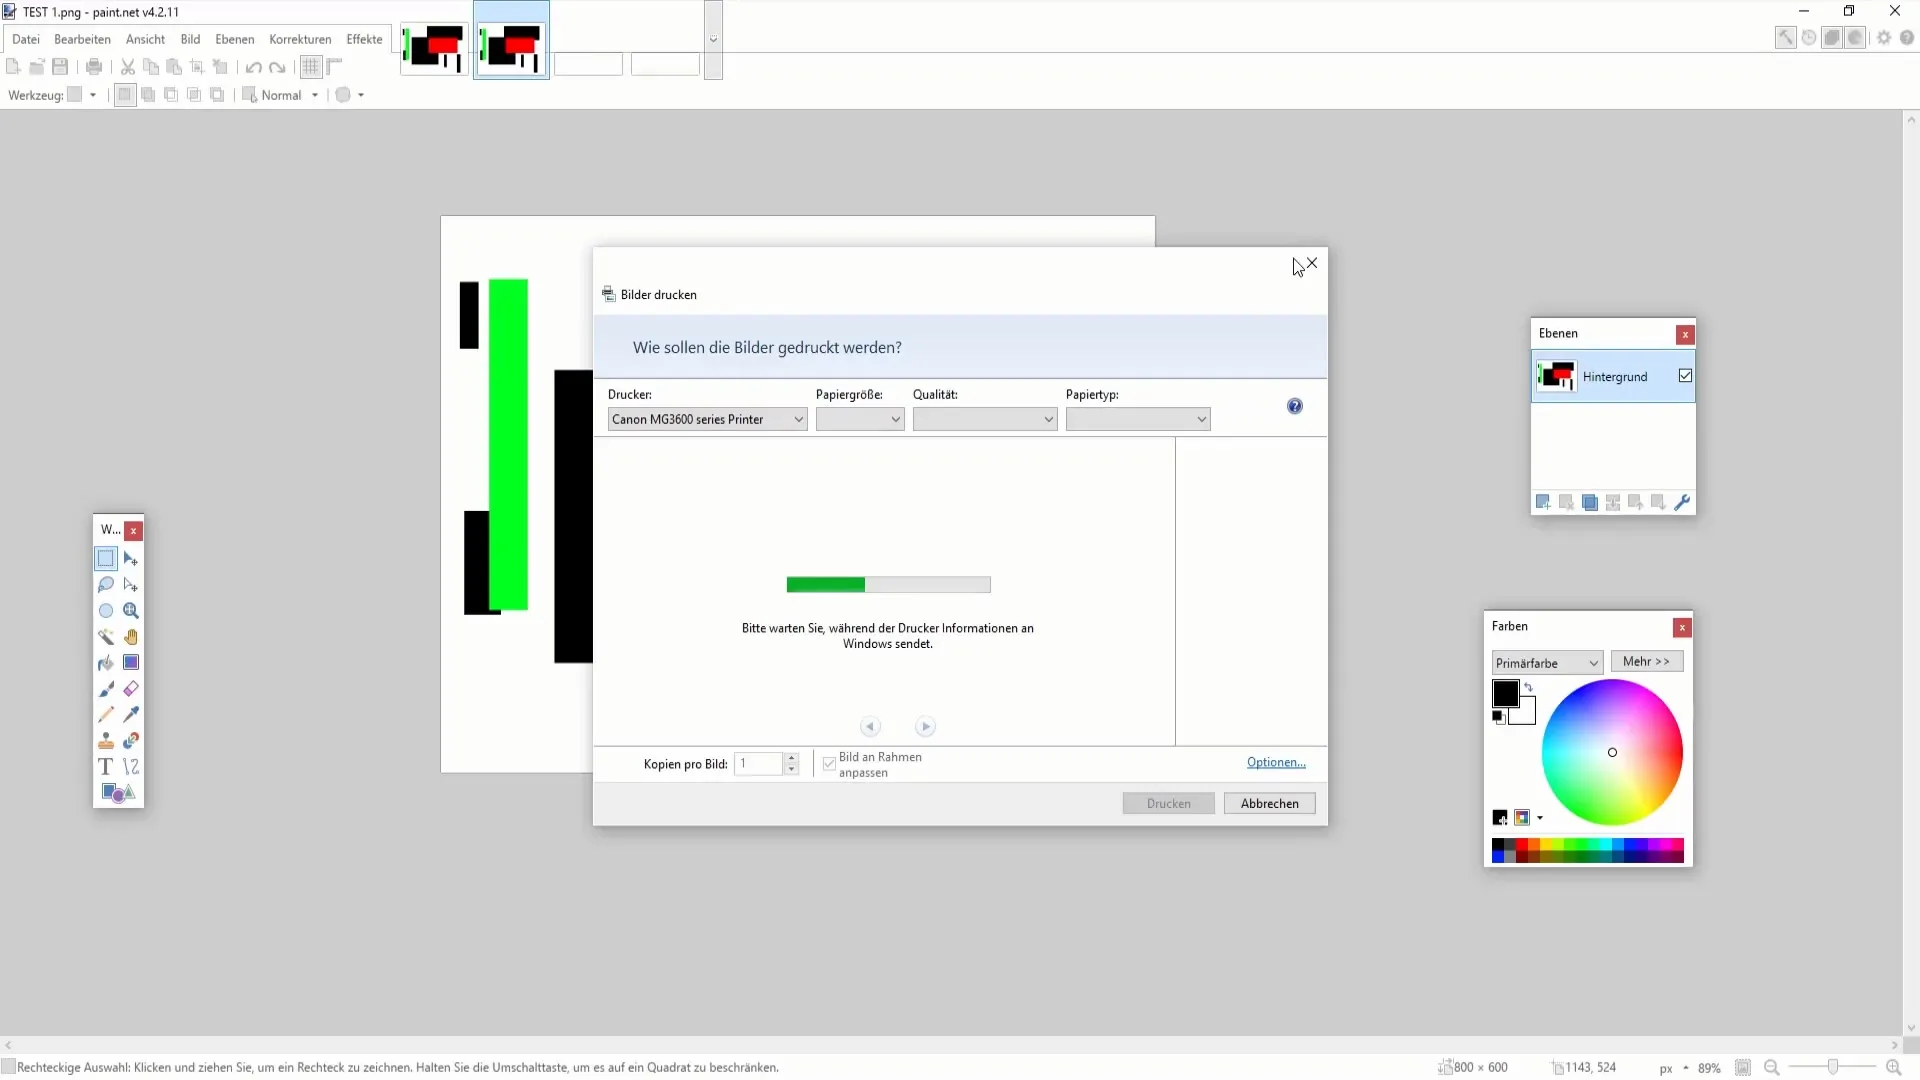
Finally, you can also print your image directly from Paint.NET. If a printer is connected, simply press "Ctrl + P" to start the printing process. Make sure to select the correct proportions for a high-quality print.
Summary
In this guide, you have learned how important it is to save your work correctly in Paint.NET in order to preserve the layers and quality of your images. The choice of the appropriate file format can be crucial for the further handling of your creative projects. You have learned when to use the.pdn format and when to switch to the PNG format.
Frequently Asked Questions
What is the difference between.pdn and PNG in Paint.NET?The.pdn format not only saves the image but also all layers, allowing for future edits. PNG saves the image as a single layer and is suitable for final versions.
How can I save multiple files at once?Use the "Save All" function to save all open files simultaneously without having to select each file individually.
Why can't I continue working on my layers after saving in PNG format?When saving in PNG format, all layers are merged into a single one, making it impossible to edit individual elements.


