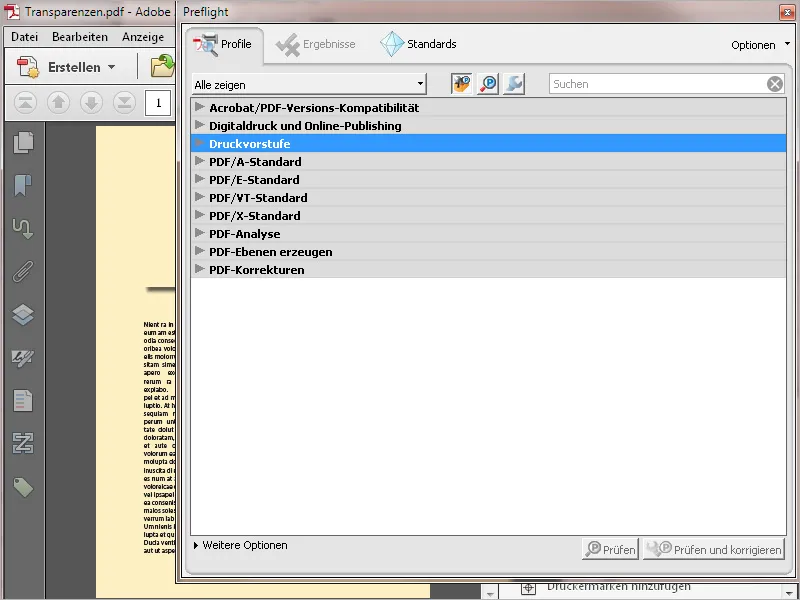
In order to check PDF files intended for printing for their suitability for output on the platesetter of a print shop, Acrobat offers the so-called Preflight among the print production tools. This tool provides a variety of different test profiles for different output conditions. Clicking on it opens a new window ...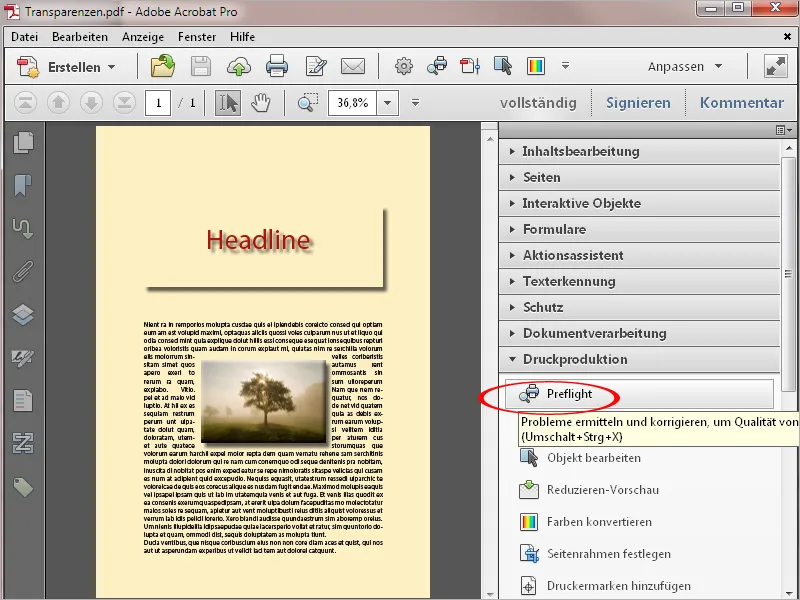
... in which different categories are listed, e.g. for output in digital printing, prepress for offset printing, for checking different PDF standards, for analyzing various details or for making corrections to incorrect settings.
A click on the arrow in front of these categories opens the respective group ...
... and shows the test profiles summarized in it. In the Prepress category, you will find profiles for sheetfed and web offset printing as well as for newspaper or magazine advertisements.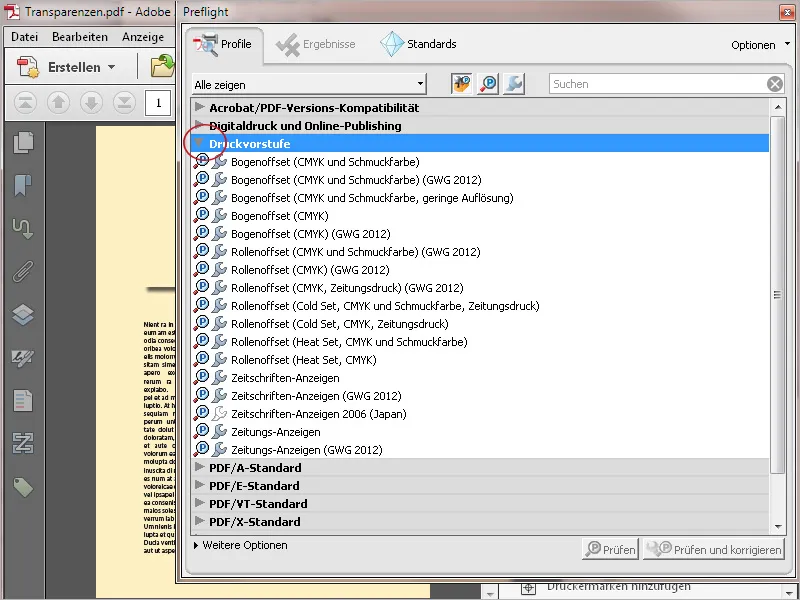
The icons in front of the profiles symbolize the possibility of checking the file (P) and, if necessary, correcting it (wrench). If you select a profile, buttons become active at the bottom which you can use to initiate the desired process.
Click on the Edit button of a selected profile ...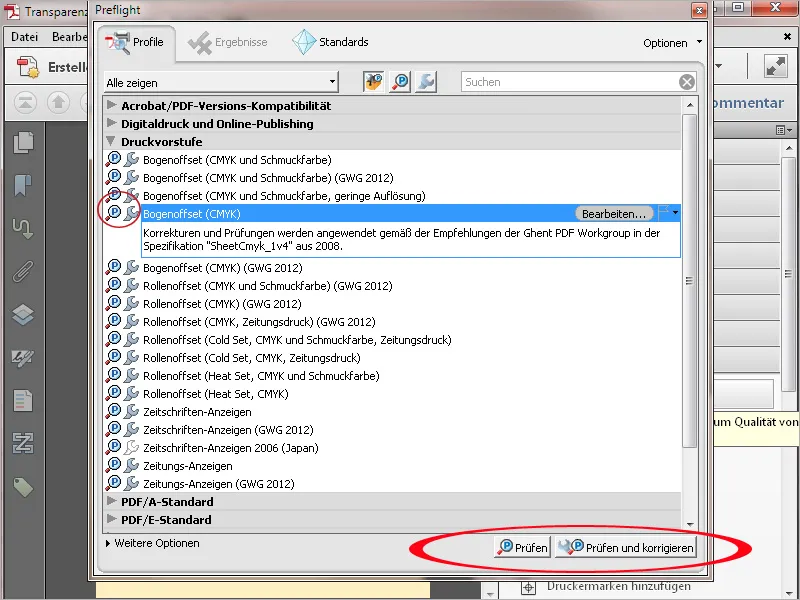
... a new window opens with the details for checking and correcting. These details are in turn grouped into hierarchically structured categories such as document, pages, images, color, fonts, etc.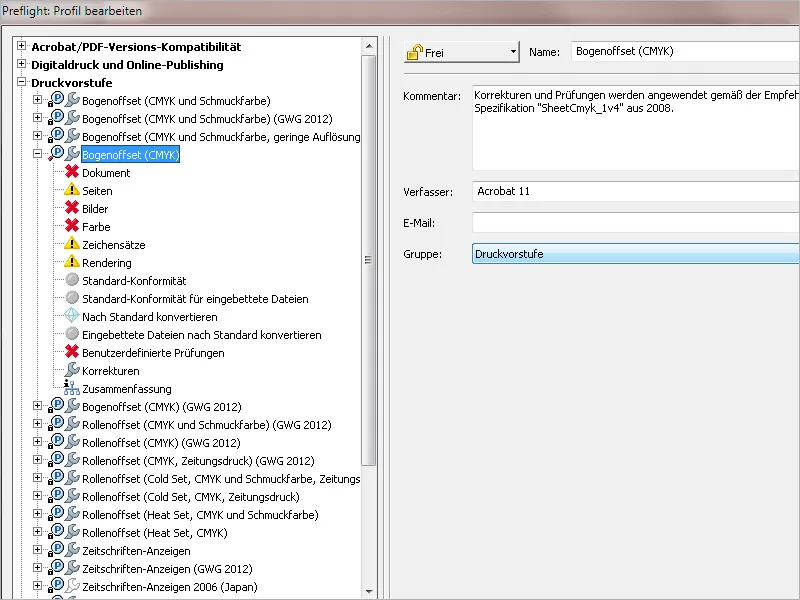
If you select one of these categories on the left-hand side, the corresponding details are displayed on the right-hand side. The default settings can be adjusted. To do this, click on the icon in front of the corresponding check entry and then select the desired entry from the context menu. For example, a PDF document intended for print output must not be encrypted under any circumstances, as the imagesetter would then cancel the job immediately. The default setting inactive is therefore in need of improvement and should instead be corrected with Error or at least Warning.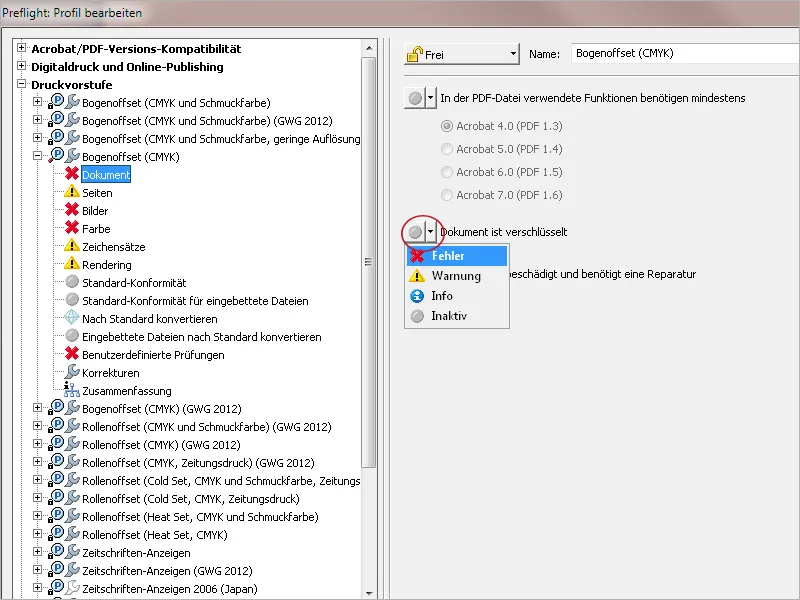
Using the small buttons below the list of profile categories, you can either create a completely new profile, duplicate a selected profile in order to edit it and then save it under a new name, delete profiles that are no longer required or export them for forwarding to other users or, conversely, import profiles received from other users.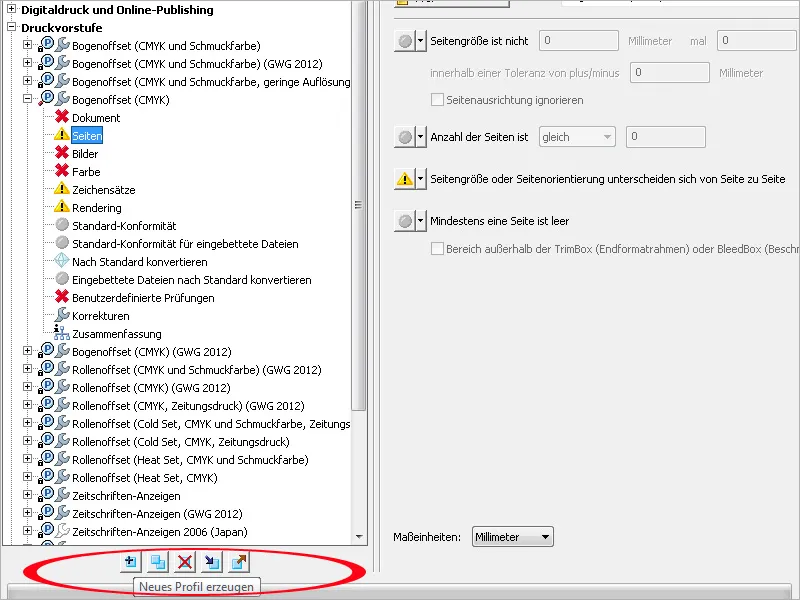
In addition to the preflight profilesfor different output conditions, you can also select profiles for finding very specific problems and errors, which are again grouped into categories such as image, layers, color, font, etc.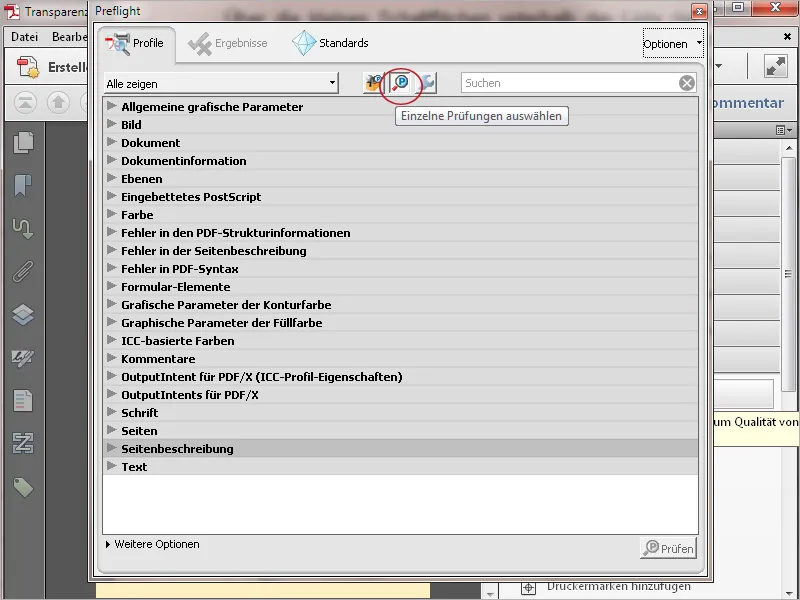
In contrast to these profiles, which are only suitable for checking documents, you can also select profiles for direct correction. The grayed-out icon in front of the name indicates that it is no longer just checked, but corrected immediately.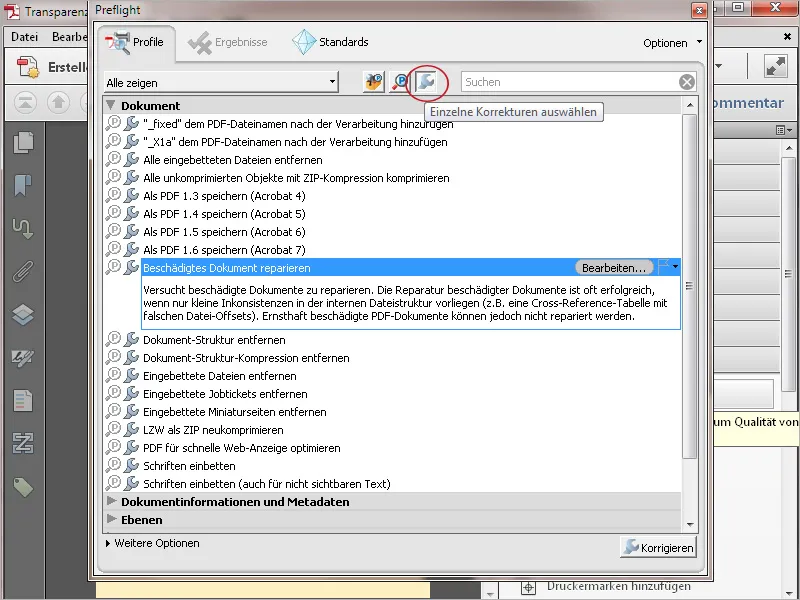
You will find the preflight settings in the options context menu.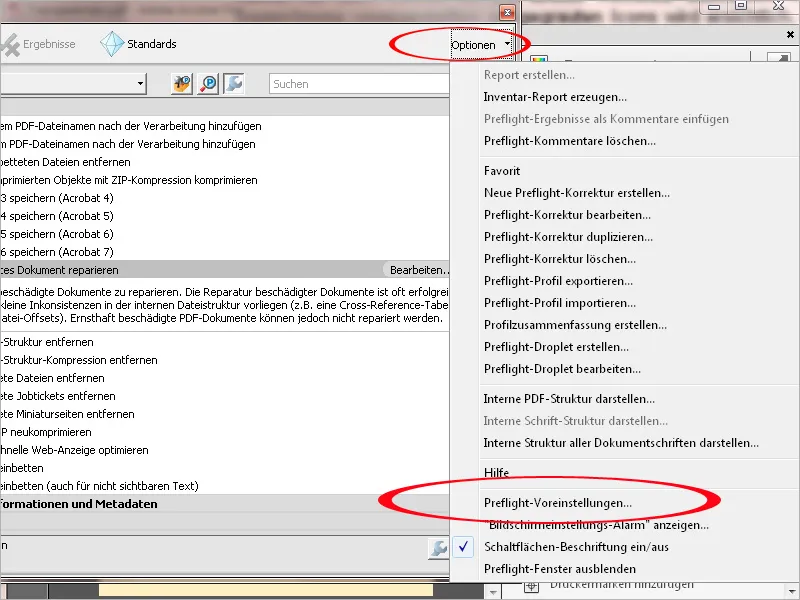
Here you can, among other things, adjust the type of display to suit your requirements.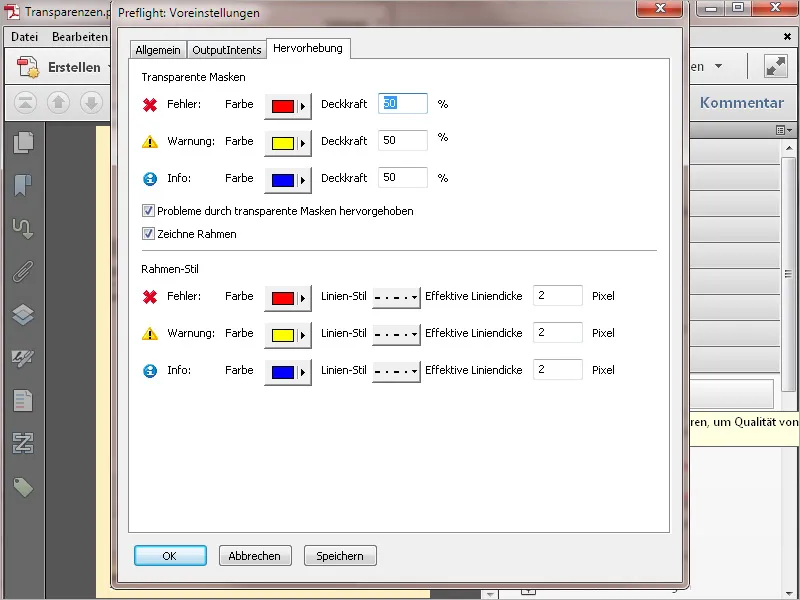
To make it easier to keep track of the wealth of different profiles, you can also limit the selection to certain areas such as documents, layers, colors, interactive elements, etc. by clicking on the Show all button in the context menu. Only the relevant profiles are then listed in the selected group.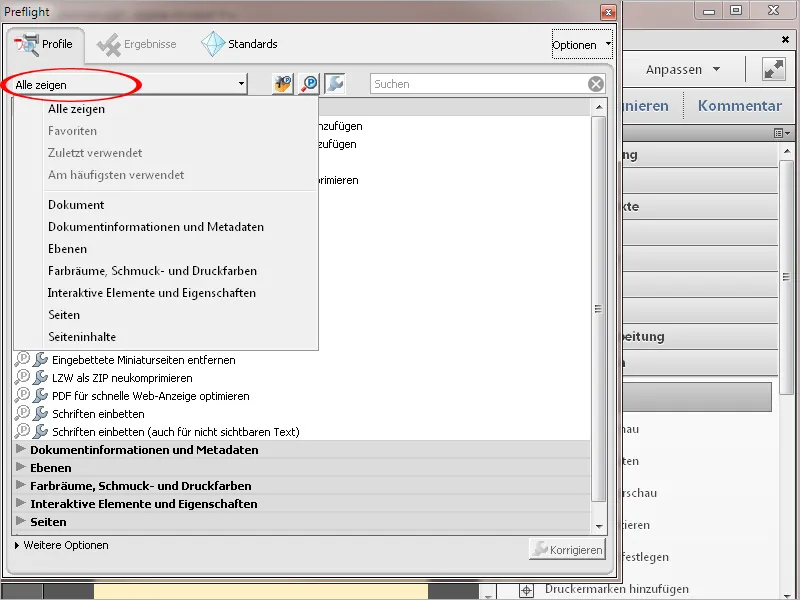
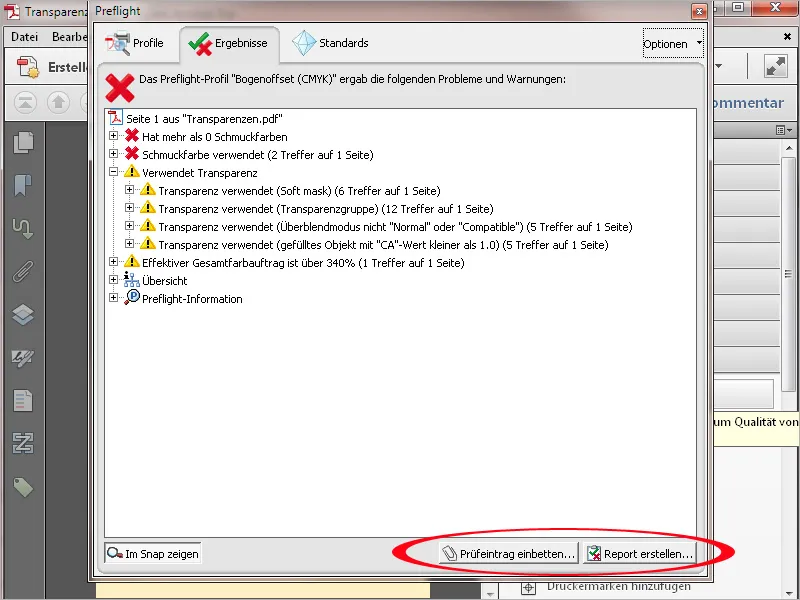
After clicking on Check or Check and correct, the document is checked for the points stored in the selected profile and, if necessary, corrected immediately. The result of the check is displayed in a hierarchical overview. For a better understanding, affected objects can be visualized in a small snap window.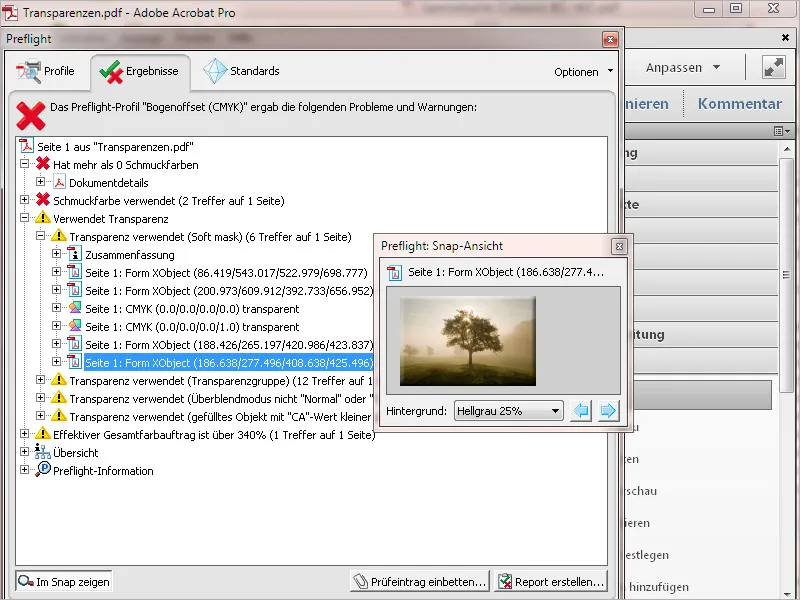
A detailed inspection report can either be saved as a separate PDF file by clicking on the Create report button or added to the current file by clicking on Embed inspection entry, e.g. to send it to the creator of the file to illustrate any defects and as a guide for corrections.