When you create creative projects with Paint.NET, working with layers plays a crucial role. Layers allow you to edit different elements of your design separately without them influencing each other. Transparency adds an extra dimension that ensures a professional look. In this tutorial, you will learn the basics of layer management and transparency settings in Paint.NET.
Key Takeaways
You will discover how to create, rename, and delete layers, as well as adjust transparency to create an appealing design. These techniques are not only useful for graphic designers but also for anyone involved in digital design.
Step-by-Step Guide
1. Activate the Layers Tab
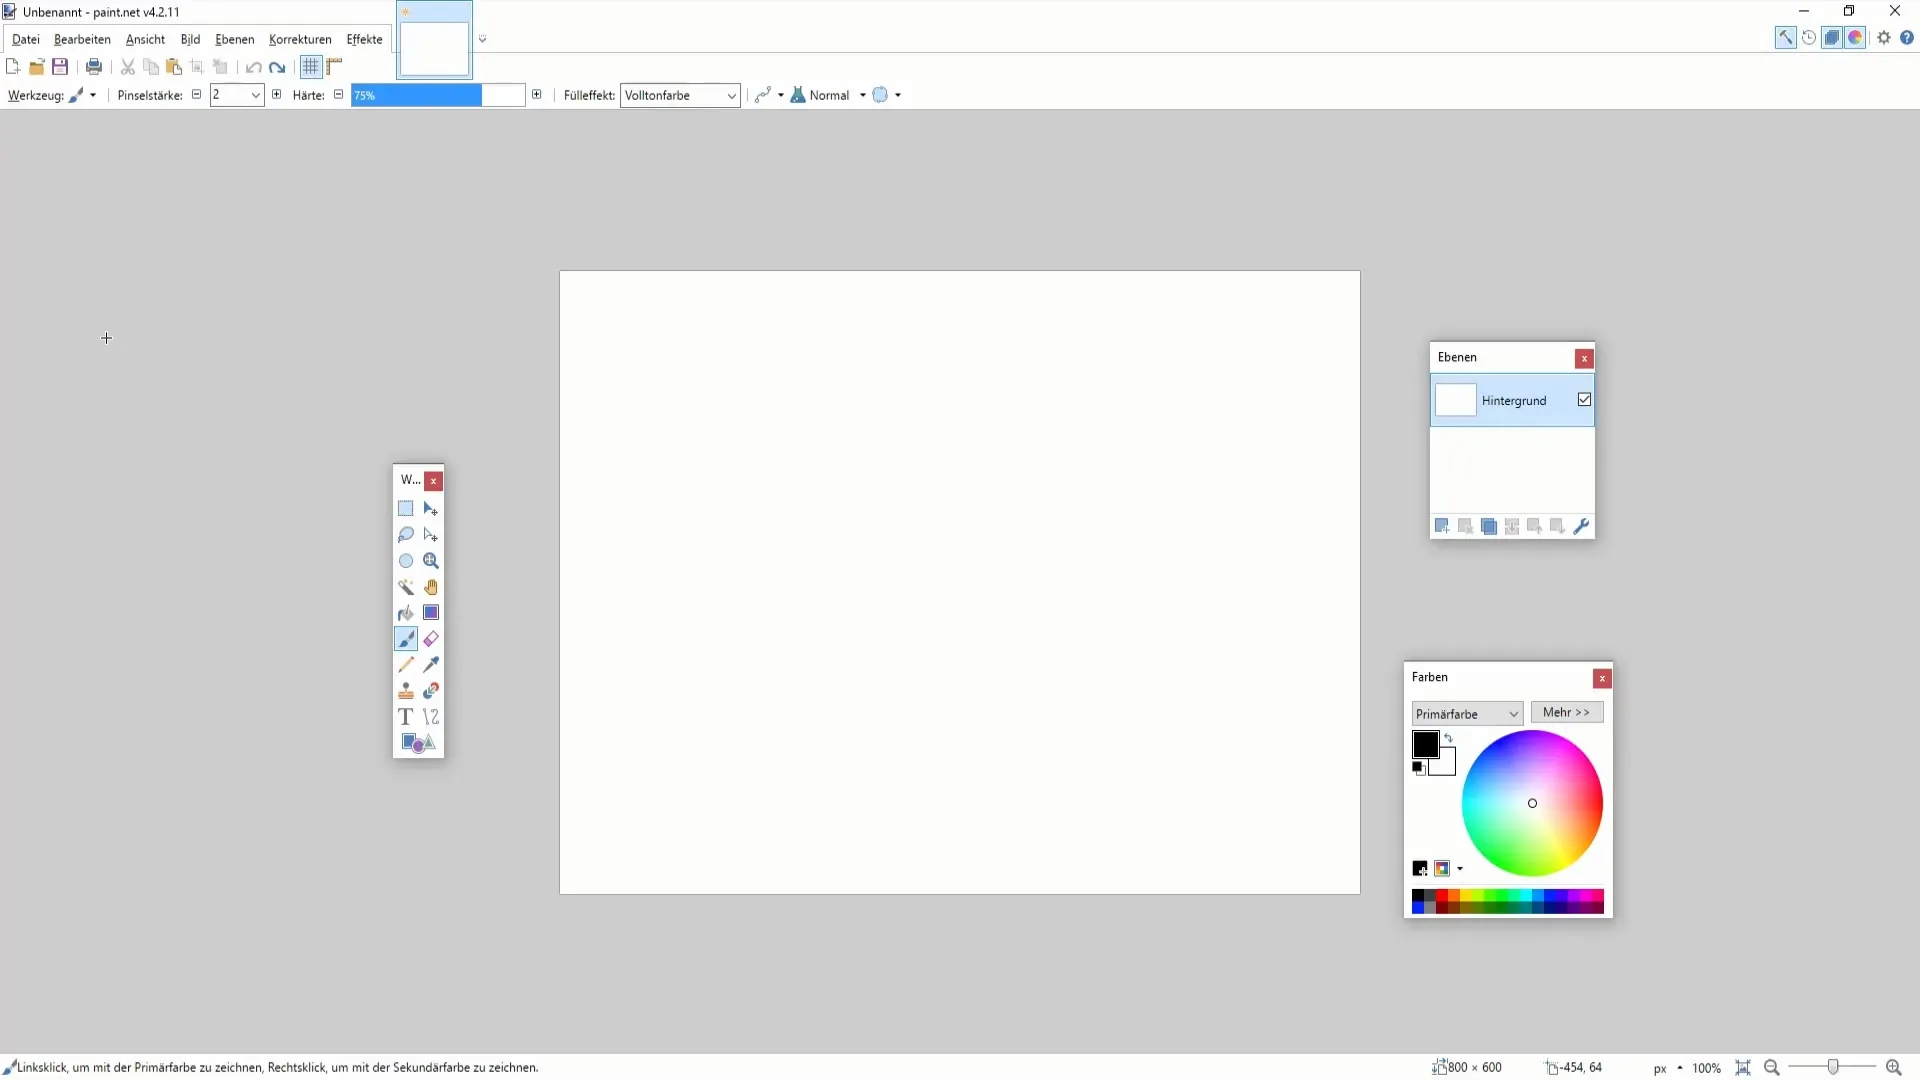
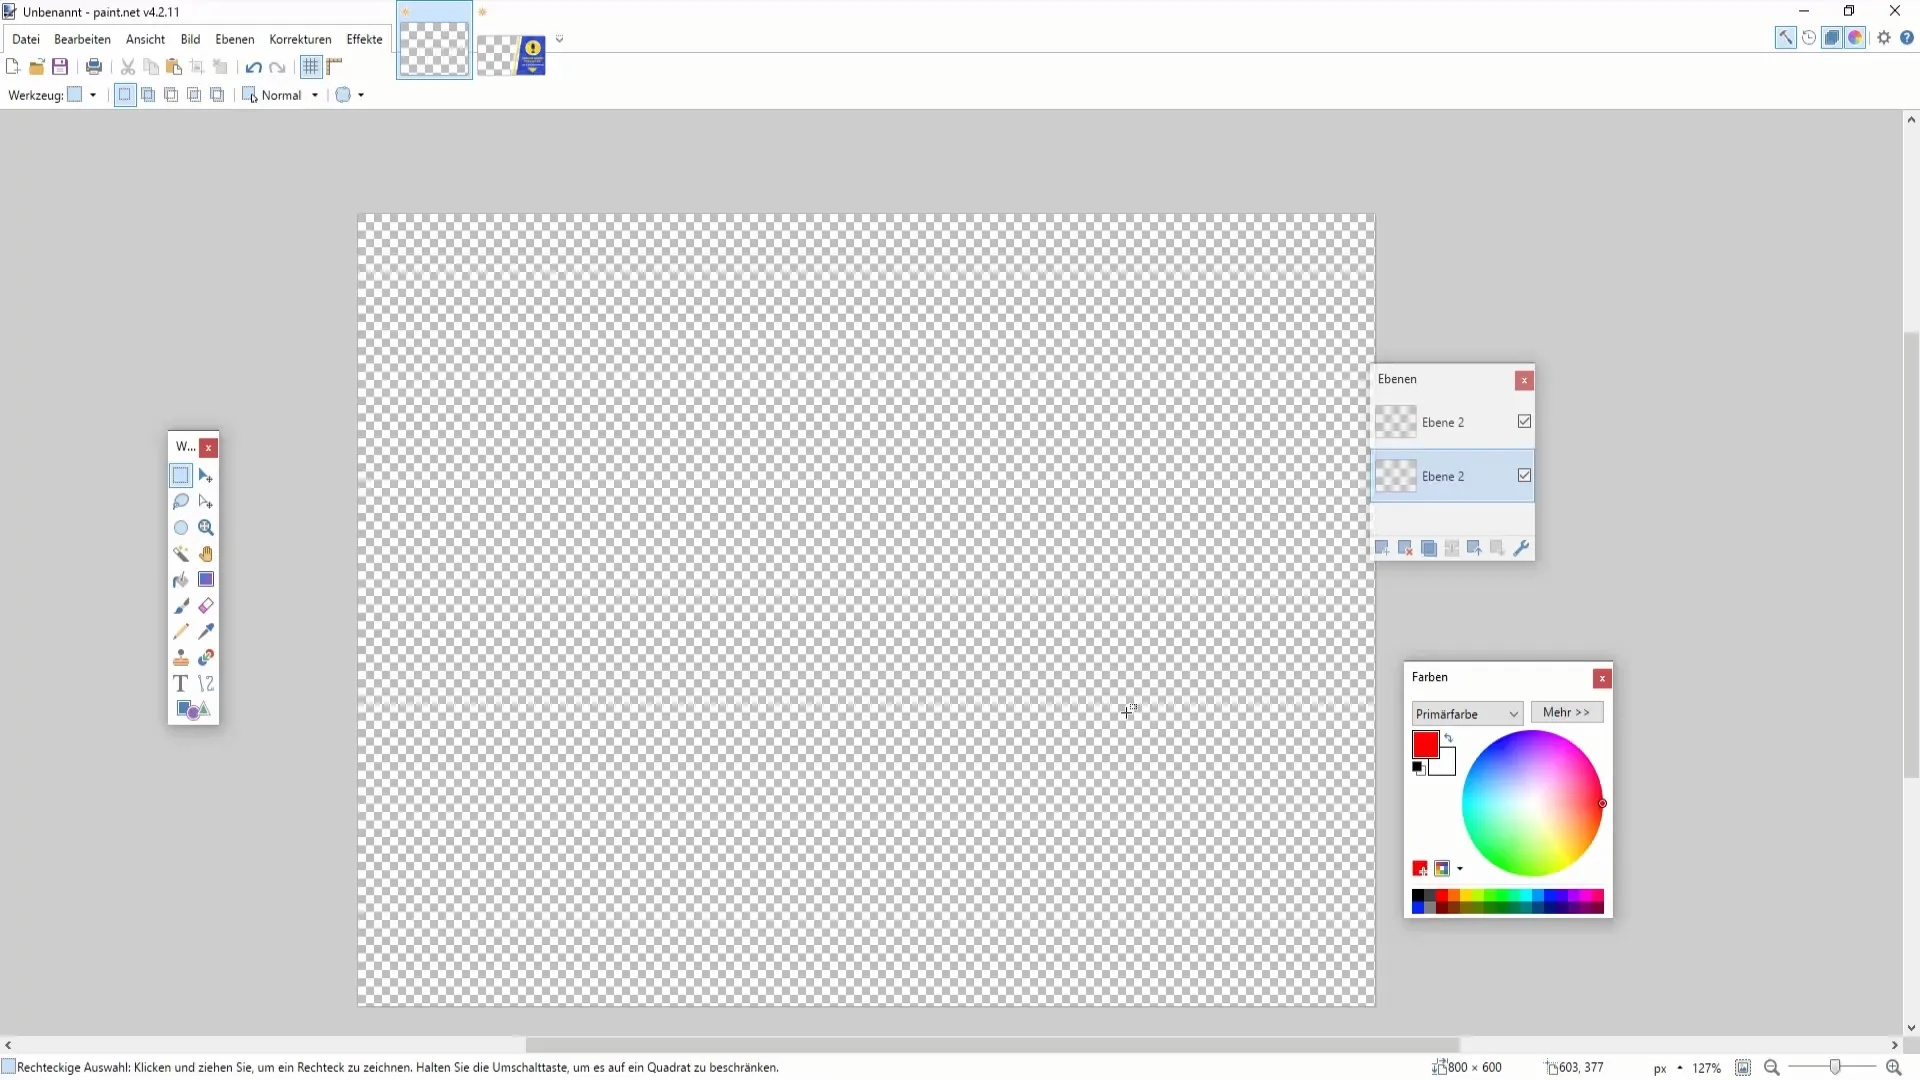
To work with layers, you must ensure that the Layers tab is visible. Go to the top menu bar and click on the “Layers” tab. If it is not visible, click on it once to make it appear.
2. Customize Base Layer
In Paint.NET, you will initially find a base layer. To make it easier to distinguish between different layers, you can give this layer a name. Simply double-click on the layer name and enter a new name, such as "Base".
3. Add a New Layer
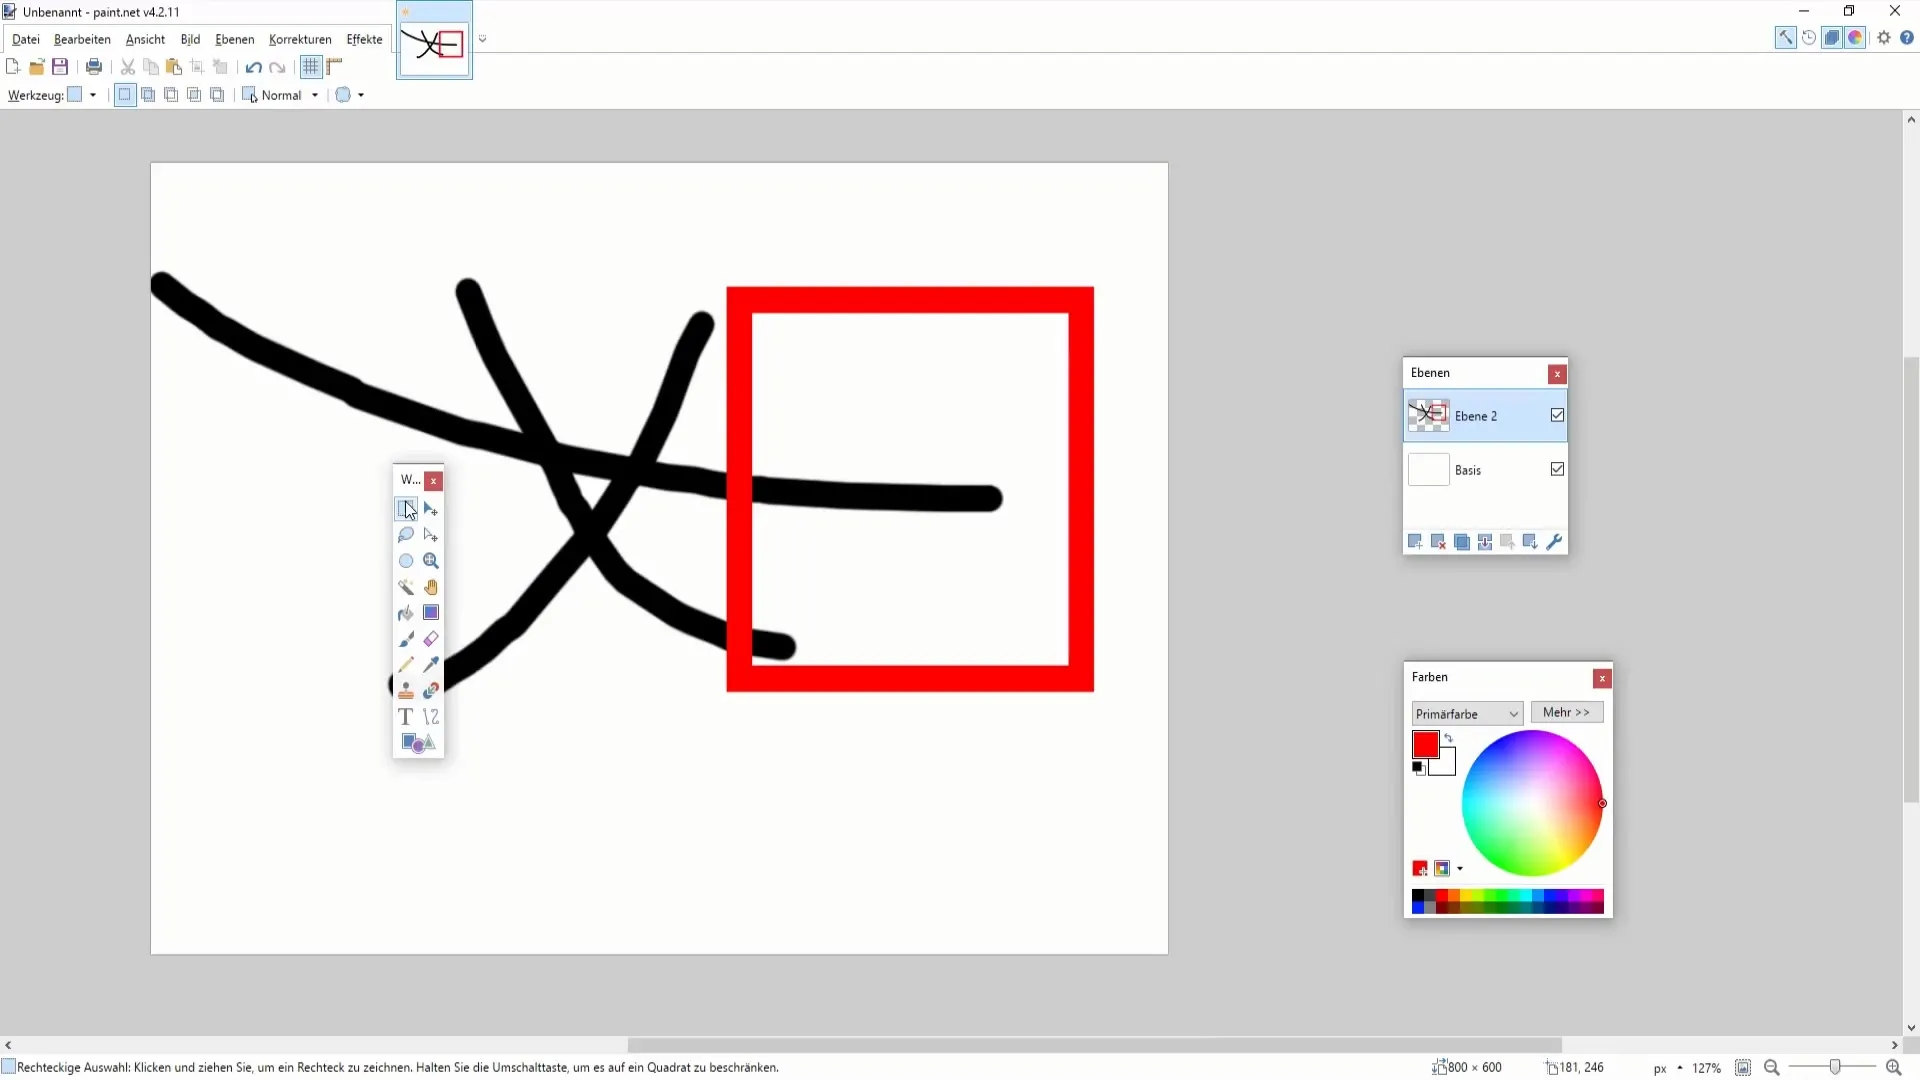
To create a new layer, click on the plus sign (+) in the Layers tab. This adds another layer where you can draw or add text. Choose the brush tool and start drawing on this new layer.
4. Toggle Layer Visibility
If you have multiple layers, you can toggle each layer on or off individually. Simply click on the checkbox next to the layer in the Layers tab to make it invisible. This allows you to highlight or hide specific elements without deleting them.
5. Delete or Duplicate Layer
If you no longer need a layer, you can easily delete it by clicking on the X icon. Alternatively, you can duplicate a layer by right-clicking on it in the Layers tab and selecting "Duplicate".
6. Rearrange Layer Order
The order of layers determines which elements appear in the foreground or background. To change the order, simply drag a layer up or down in the list.
7. Adjust Transparency
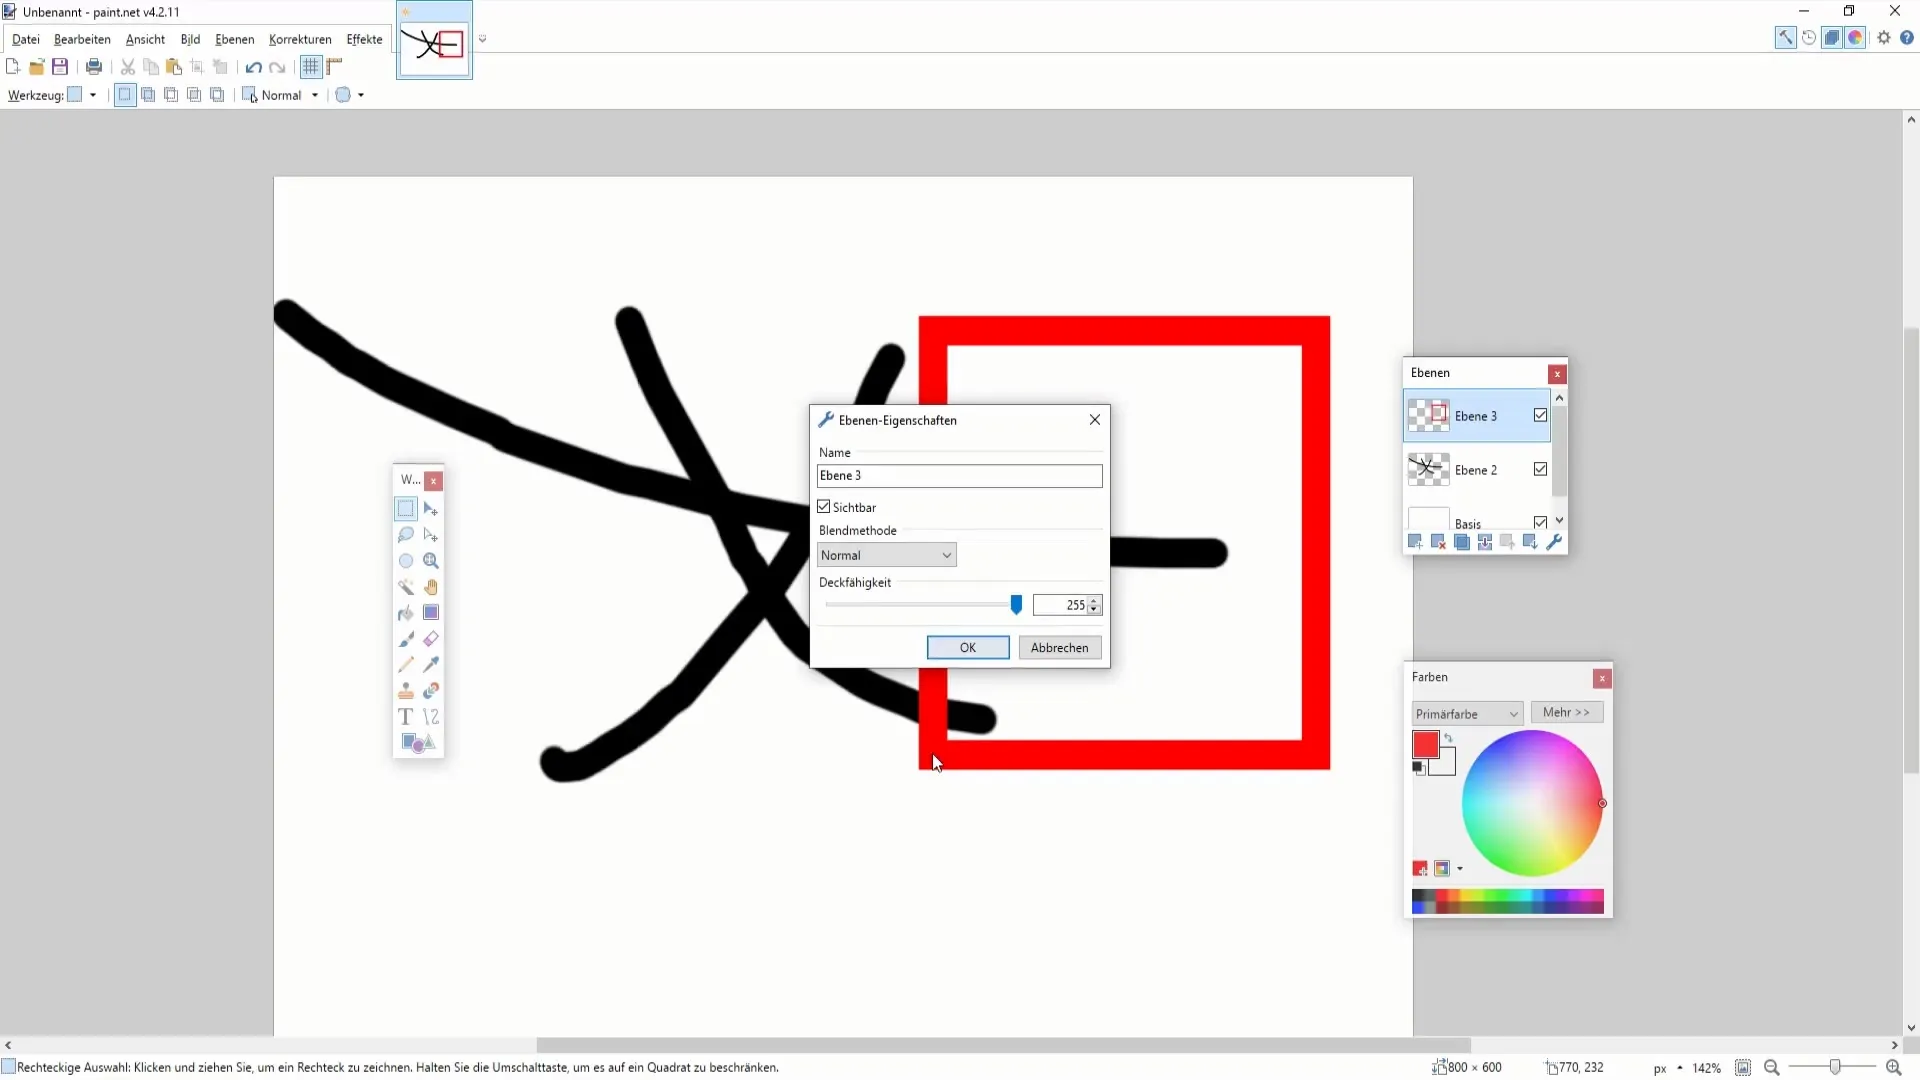
An essential feature of Paint.NET is the ability to control the transparency of each layer individually. Select the layer and adjust the opacity slider. You will see how the colors become more transparent, which is particularly useful for overlapping graphics.
8. Using the Eraser Tool
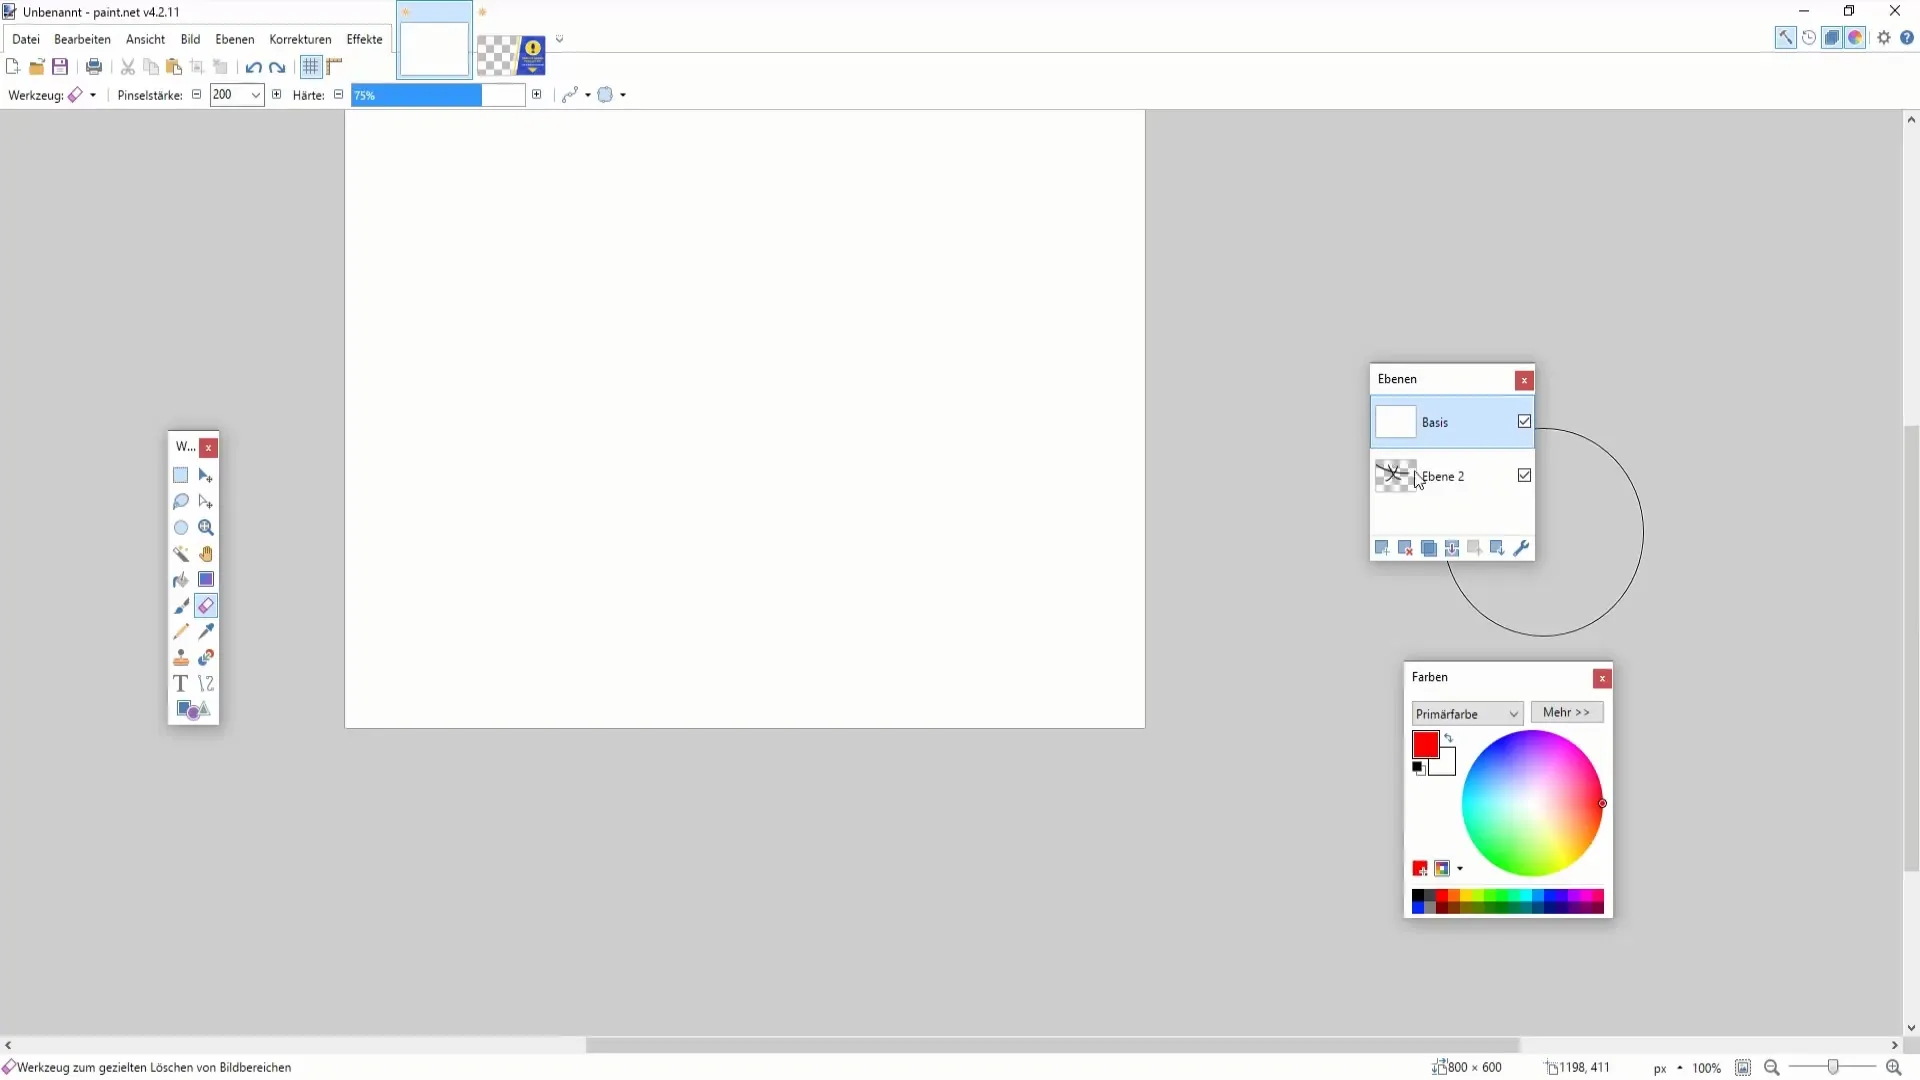
To remove areas in your graphic, you can use the eraser tool. Make sure you have the correct layer selected before you start erasing. Otherwise, you might unintentionally delete the wrong parts.
9. Create a Gradient
To create a harmonious transition, you can creatively combine transparency with gradients. Create a background with multiple layers and adjust the opacity of each layer accordingly.
Summary
In this guide, you have learned how important layers and transparency are in Paint.NET. You can create new layers, rename them, make them visible or invisible, delete and duplicate them. Additionally, adjusting transparency is essential for appealing graphics. These skills will help you professionalize and enhance the creativity of your designs.
Frequently Asked Questions
What functions do I have with layers in Paint.NET?You can create, rename, duplicate, delete, control visibility, and adjust transparency with layers.
How do I change the order of the layers?Simply drag the desired layer up or down in the layers panel.
What can I do if I am editing the wrong layer?Make sure the correct layer is selected, and if needed, use the undo button.
How can I utilize transparency in my designs?You can adjust the opacity of each layer to allow the visibility of other layers to shine through.
What can I achieve with the Eraser tool?With the eraser, you can easily delete portions of your graphic, but make sure to select the appropriate layer.


