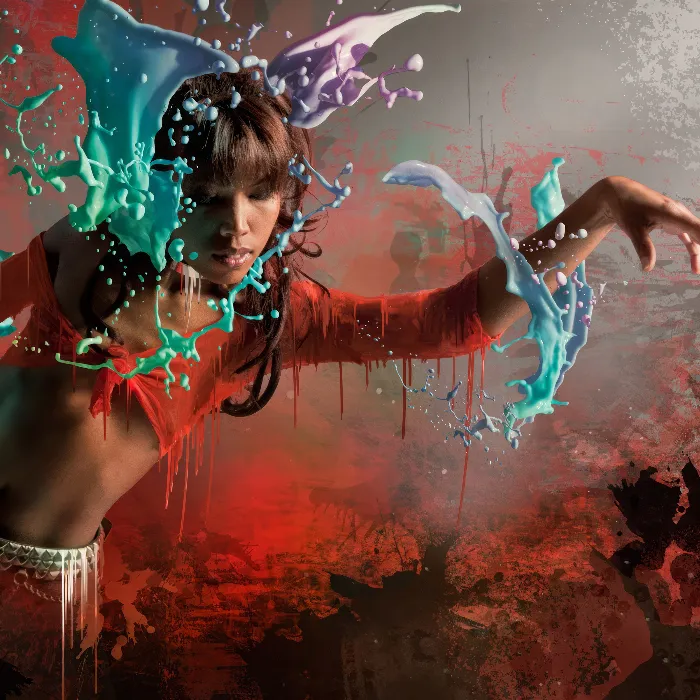
The second variant of the Aqua text effect brings a dynamic and livelier look to your designs. This effect combines shiny highlights, wave structures, and vibrant color accents to make your text appear like bubbling water. With Photoshop, you can easily create this stylized Aqua effect by cleverly using layer styles, special brushes, and gradients. Let's get started and transform your typography into an eye-catching splash!
Step 1
Create a new blank file in Photoshop; the dimensions do not matter. I am working with 800 X 600 pixels.
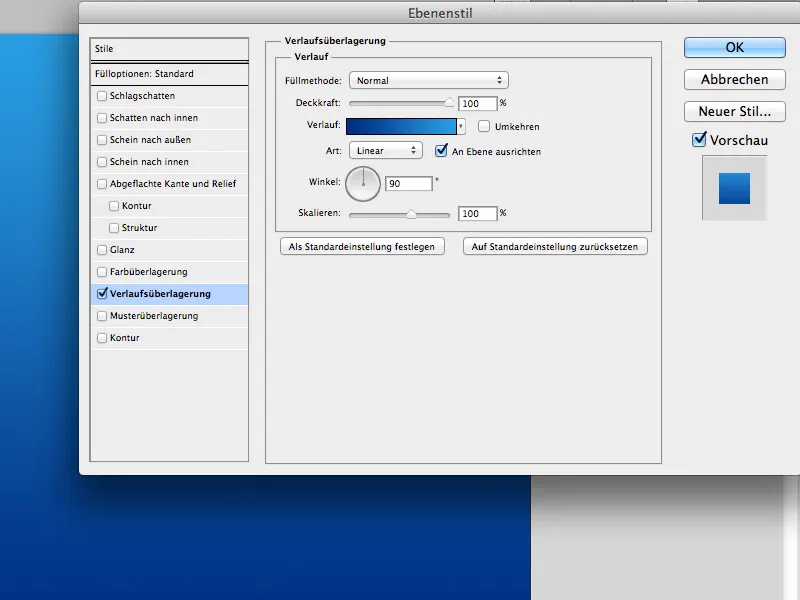
Now create a layer effect for the background layer (Gradient Overlay):
• Gradient Overlay:
• Blend Mode: Normal
• Gradient: #002f83>#1e9de2
• Angle: 90°
We have completed the first part for the background.
Step 2
Select the Text Tool (T) and write your text in the center of the document:
• Font: QuayItcTBlaIta
• Size: 200px
• Color: #ffffff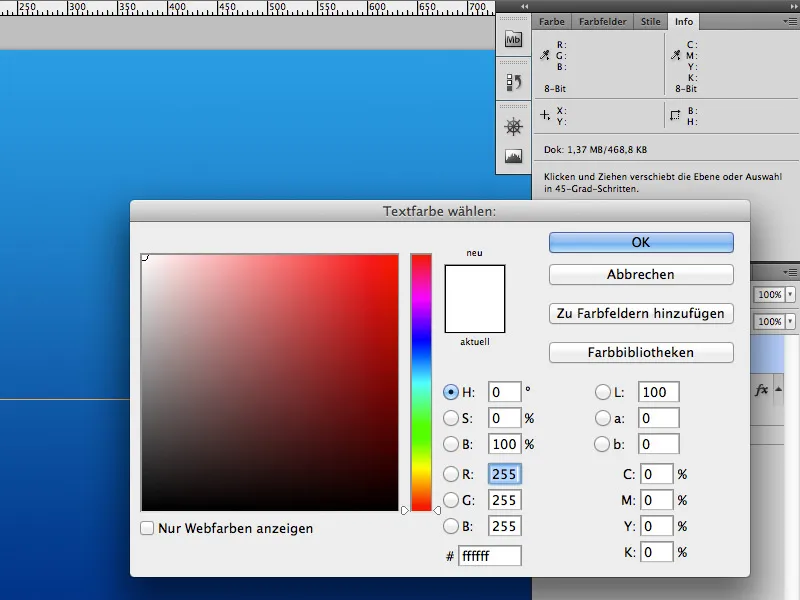
Set the layer mode to Multiply and go into the layer effects: Inner Shadow.
Inner Shadow:
• Blend Mode: Multiply
• Color: #ffffff
• Opacity: 75%
• Distance: 12px
• Choke: 0%
• Size: 18px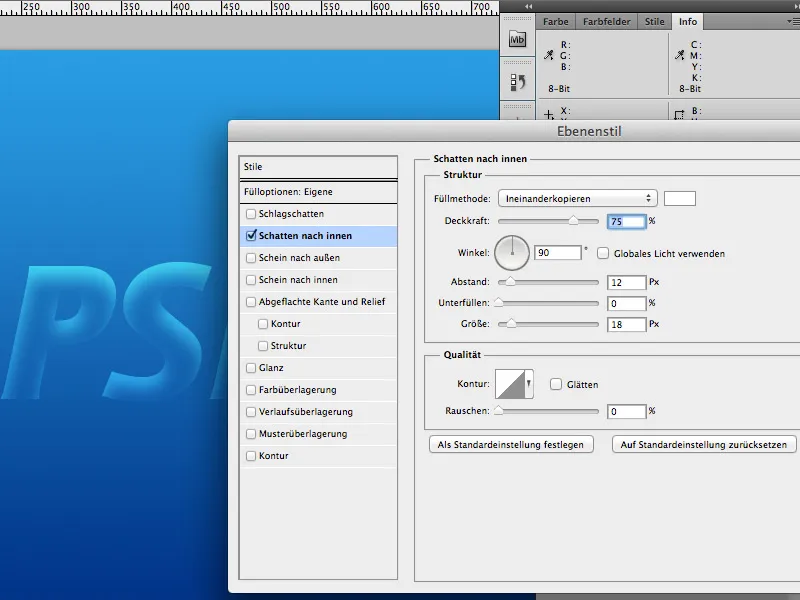
Step 3
Duplicate the text layer (Ctrl/Cmd+J), move the copy below the original and remove the layer effects from the copy.
Then apply the Gaussian Blur to the copy (Filter>Blur>Gaussian Blur). Set the Radius to 50 pixels.
This layer is our highlight layer; usage is optional, you can skip this step if you don't like it.
Step 4
Place image No. 3542181 under the text and rotate it (Ctrl/CMD+T) so that the water droplets are positioned vertically under the text.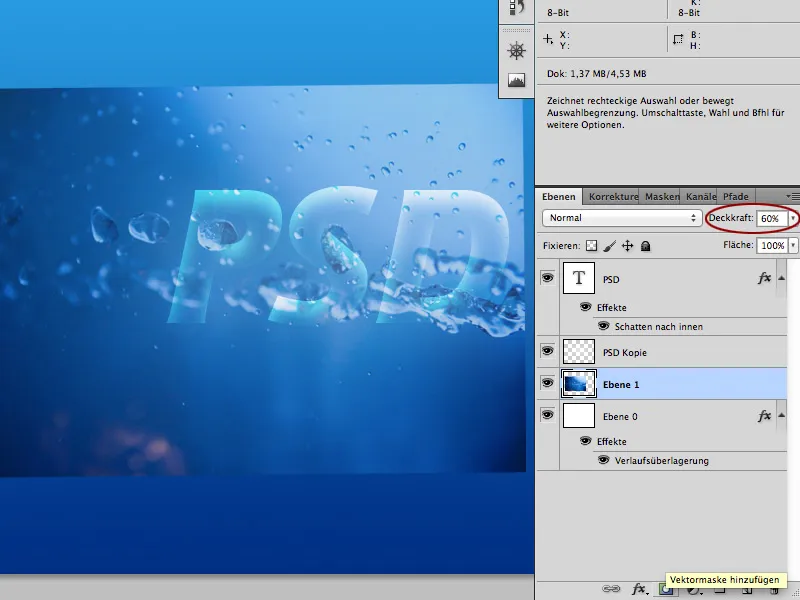
Now add a layer mask to the image with the water droplets. Next, paint around the droplets in the layer mask with a round brush tip (B) and black color.
You're done when the drops are integrated into the image in a way that the difference between the background gradient and the drops is no longer visible.
If you want to enhance the water effect, you can duplicate this layer multiple times and align it according to your preferences.
These layer(s) are below the text layer and the Gaussian Blur.
Step 5
Now place image 12688084 under the text layer and adjust it. Click on the layer thumbnail of the text layer to create a selection around the text.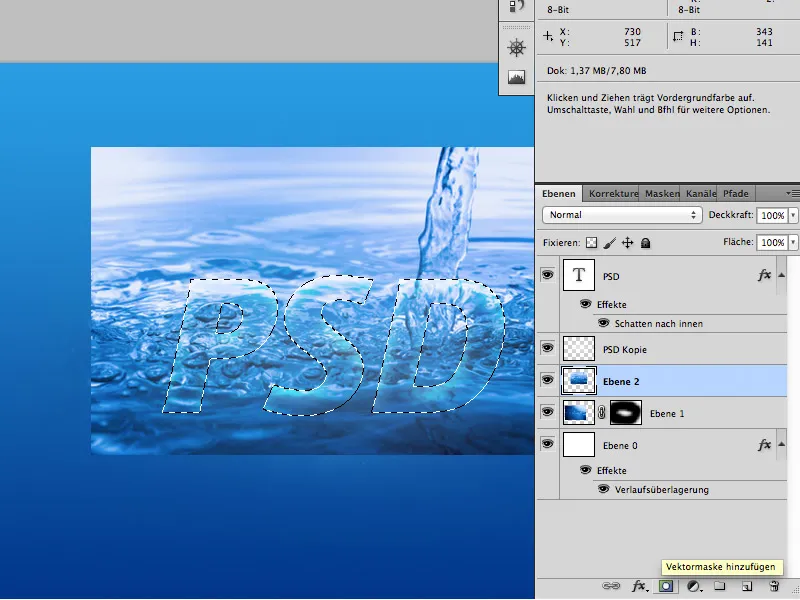
Make sure that the image layer 12688084 is still active and click on the Layer Mask icon to create a new mask in the shape of the text.
Adjust the Opacity of the layer if needed, so it doesn't appear too harsh.
Once you have done this, you are done.
Enjoy the tutorial.