You want to learn how to effectively use the Stamp and Clone Tool in Paint.NET? These functions allow you to copy selected areas of an image and retouch the contents. Whether you want to remove unwanted elements or make creative adjustments, knowledge of this tool is essential for anyone working with image editing.
Key Insights
- The Stamp Tool allows you to copy parts of an image to remove unwanted elements.
- Through cloning, you can make targeted adjustments and fill in visual gaps in the image.
- Patience and practice are crucial to achieve satisfactory results.
Step-by-Step Guide
Step 1: Selecting the Stamp Tool
First, open Paint.NET and choose the Stamp Tool. You will usually find it in the toolbar at the bottom of the screen. A keyboard shortcut that makes selection easier is "L". Click on the Stamp Tool to activate it.
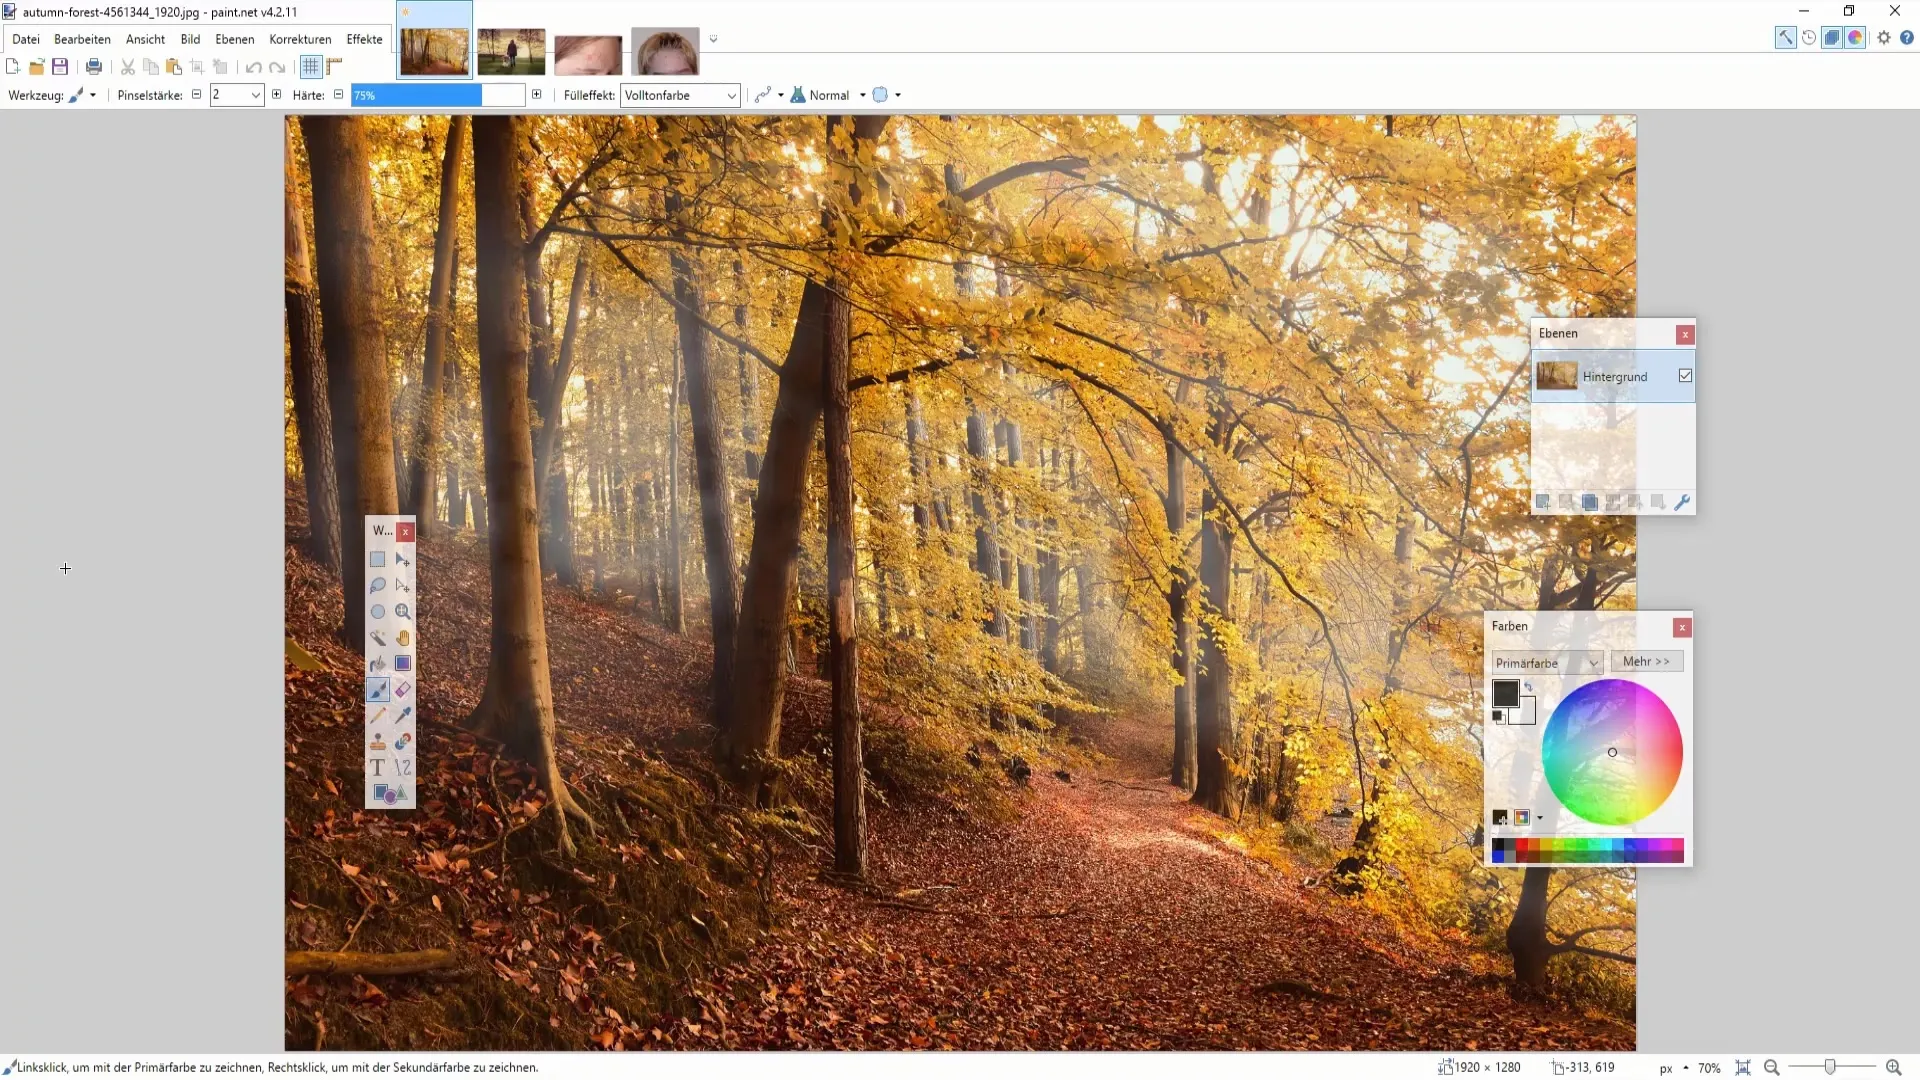
Step 2: Selecting Image Areas
To copy a specific area of the image, you must select the desired section. Press and hold the "Control" key while clicking once with the left mouse button in the desired area. This will select and outline the area, indicating that it is ready to be copied.
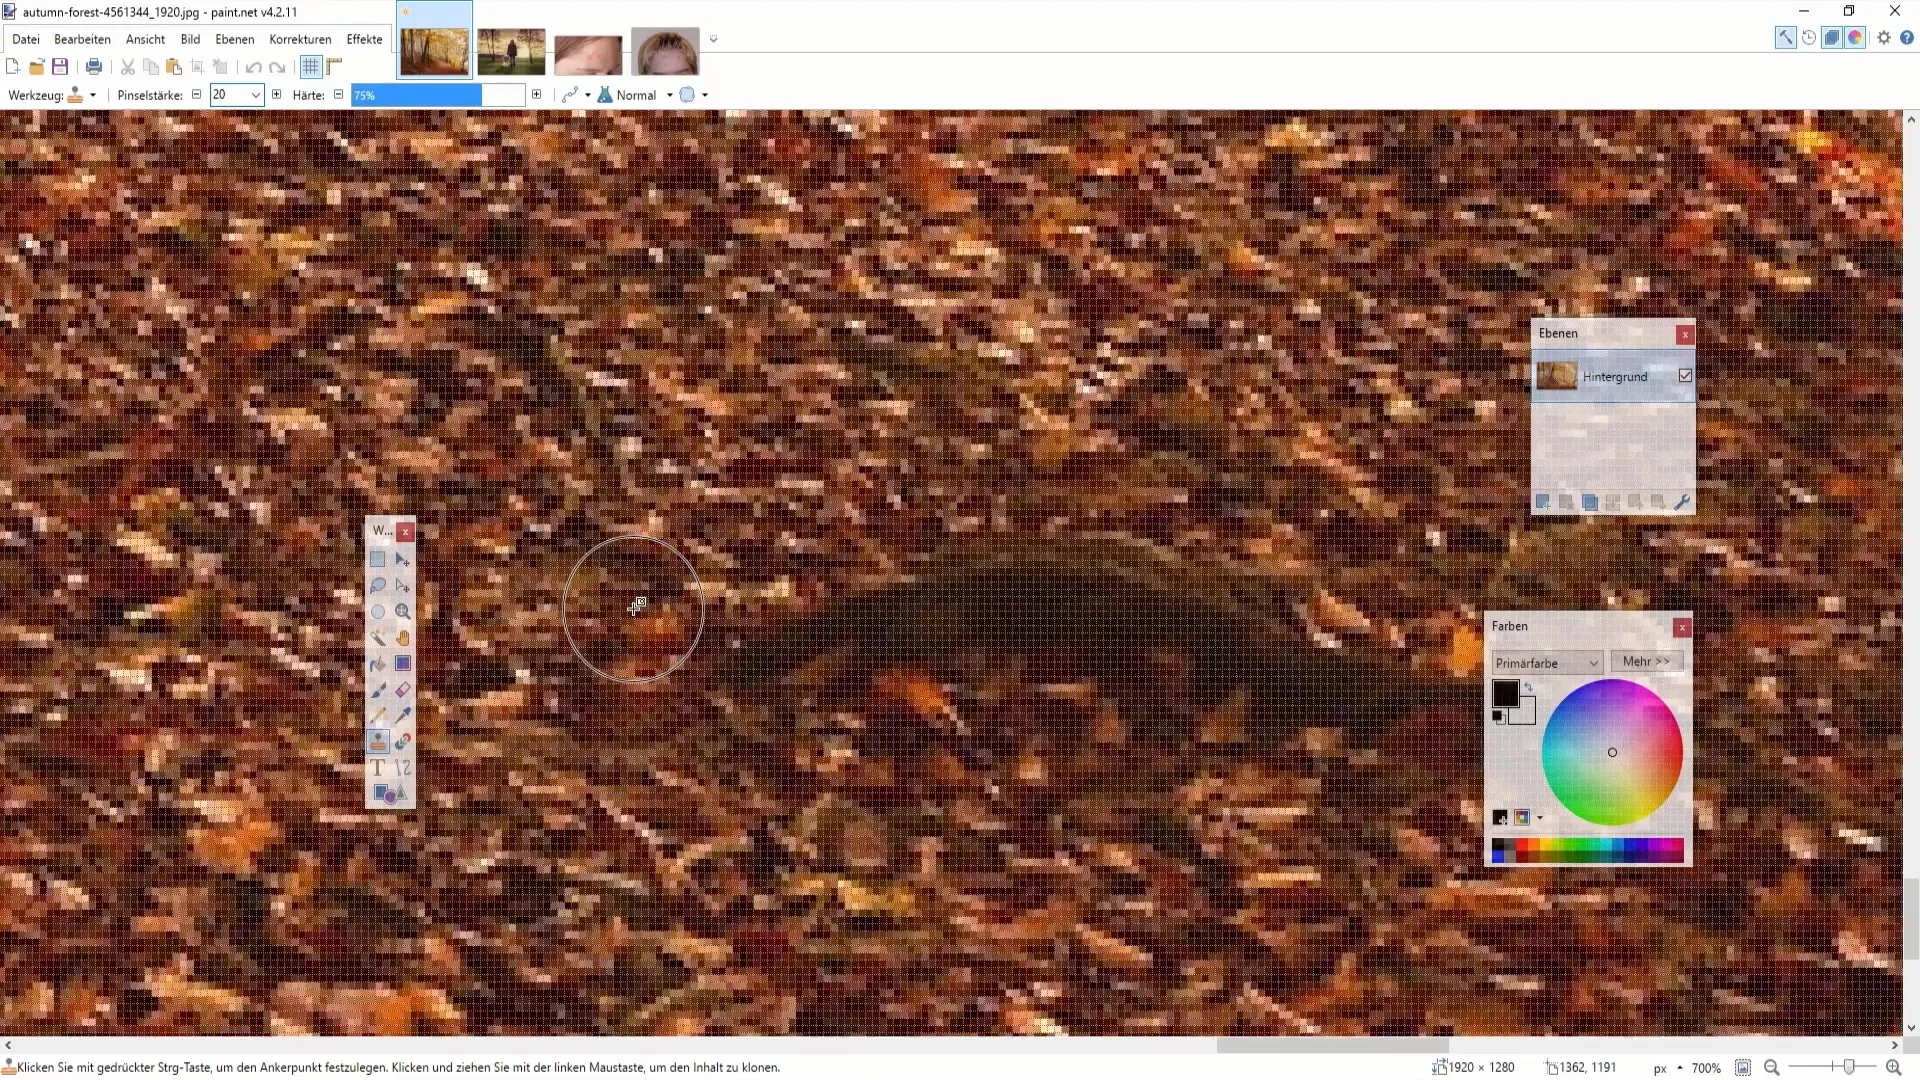
Step 3: Copying Image Information
After selecting the area, release the "Control" key. Now you want to paste the copied area to another location in the image. Move the cursor to where the object should be placed and click with the left mouse button. The area will be inserted exactly at that spot.
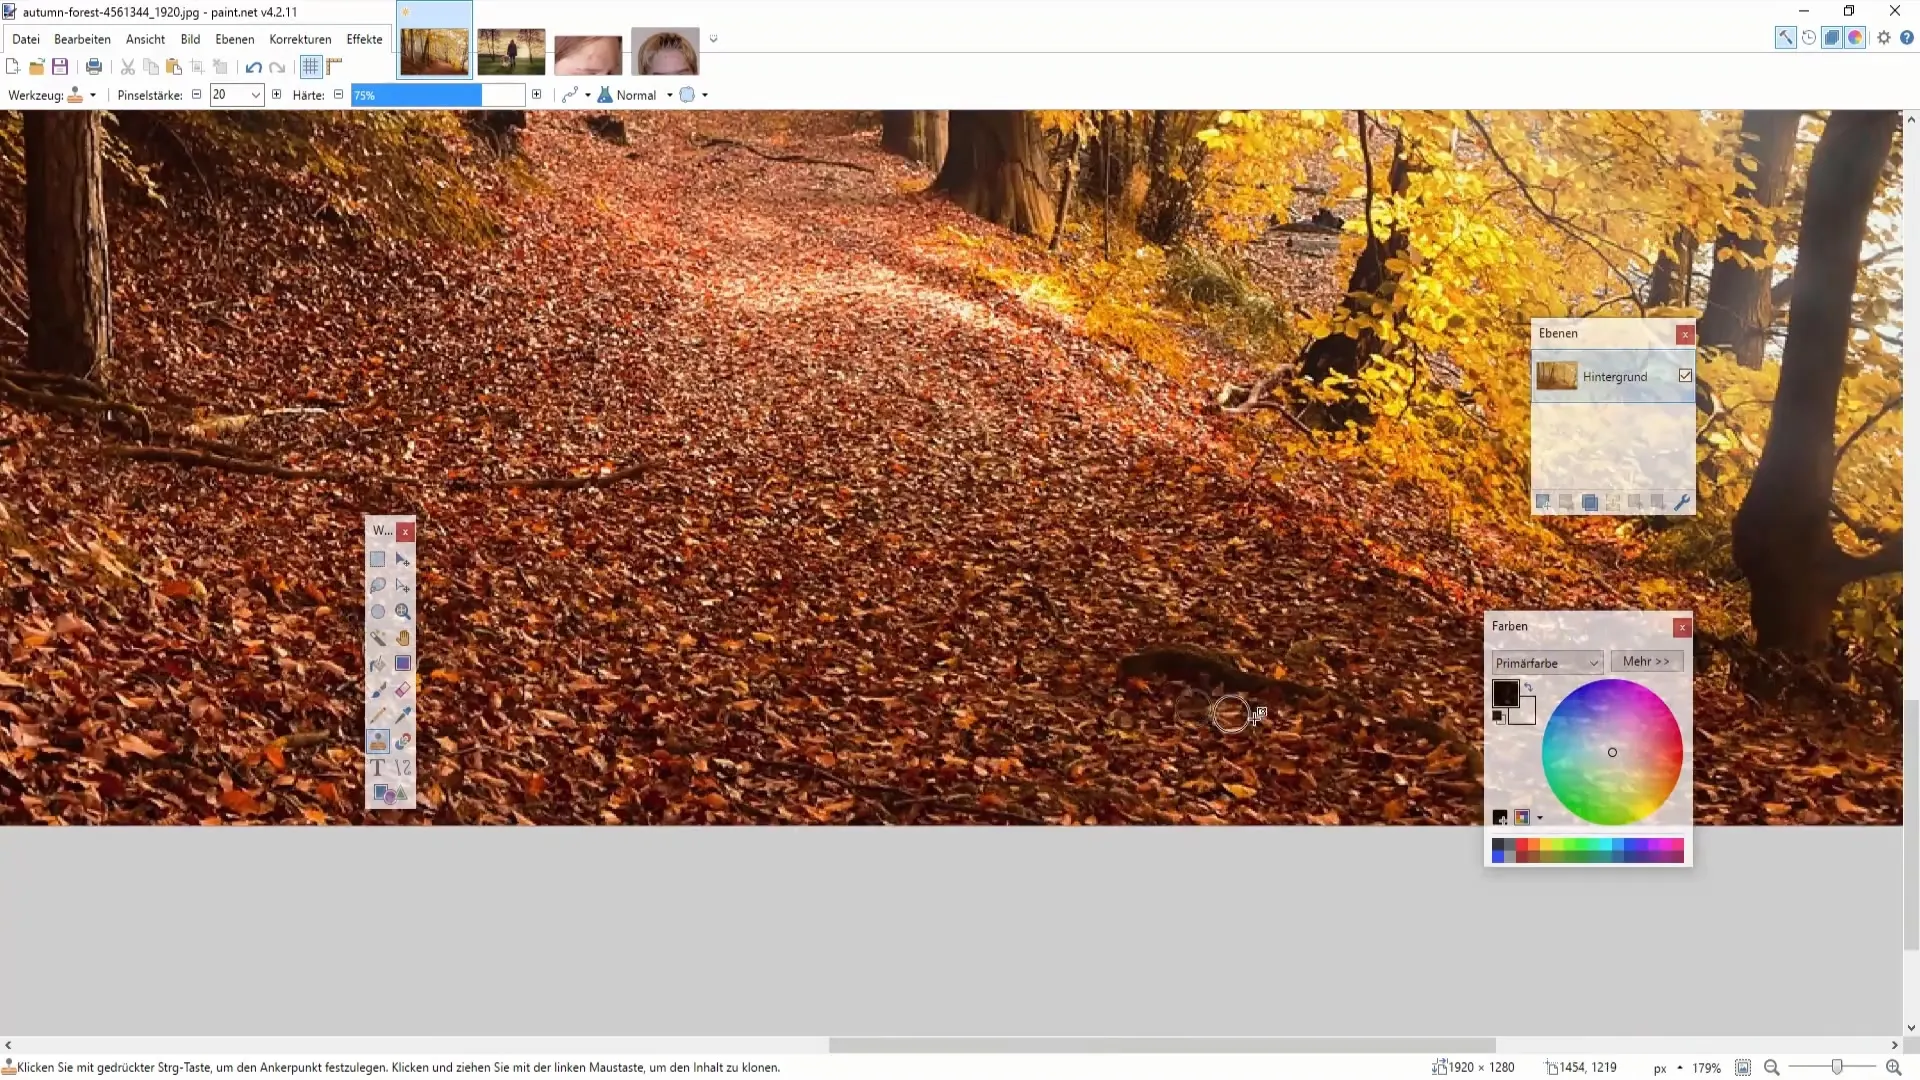
Step 4: Removing Unwanted Elements
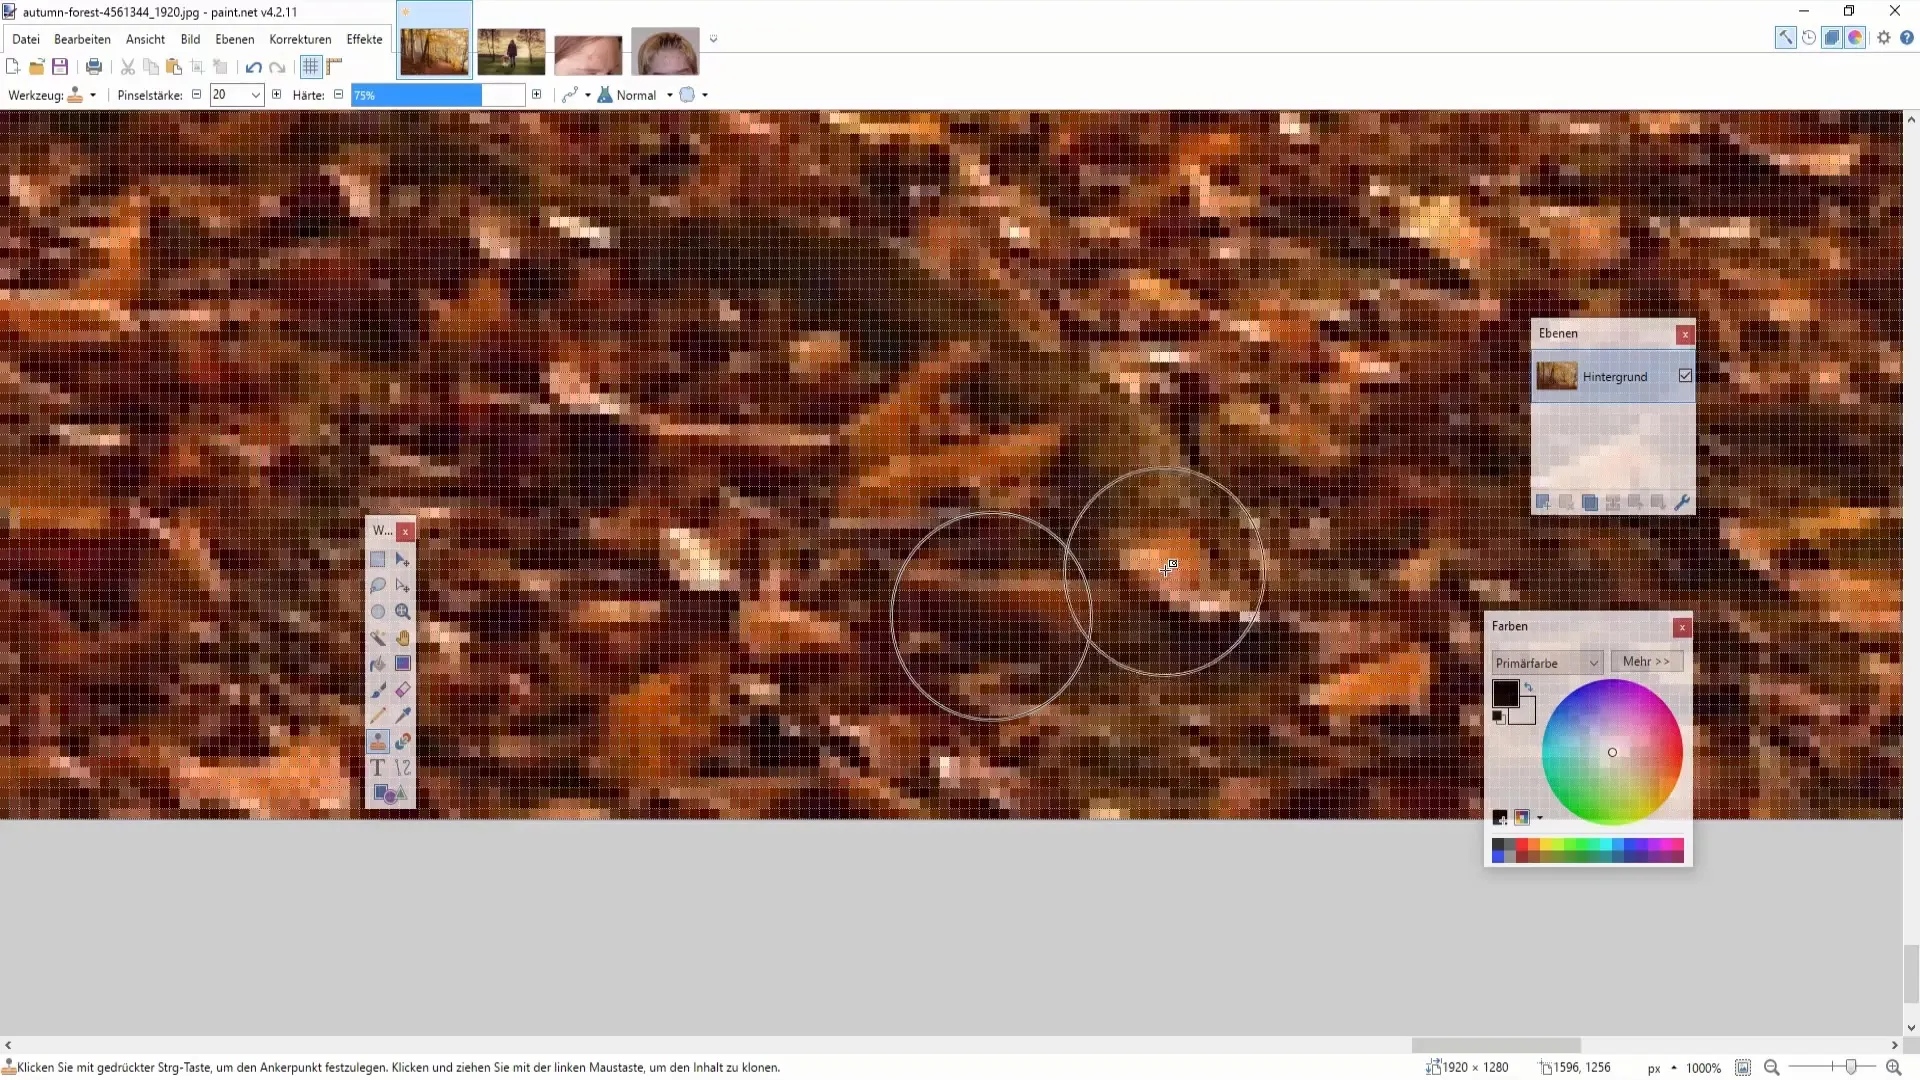
If you want to remove unwanted elements from your image, the Stamp Tool helps you do this effectively. Continue to use the Control key to copy additional areas. By working carefully and clicking repeatedly, you can gradually cover up the undesirable part.
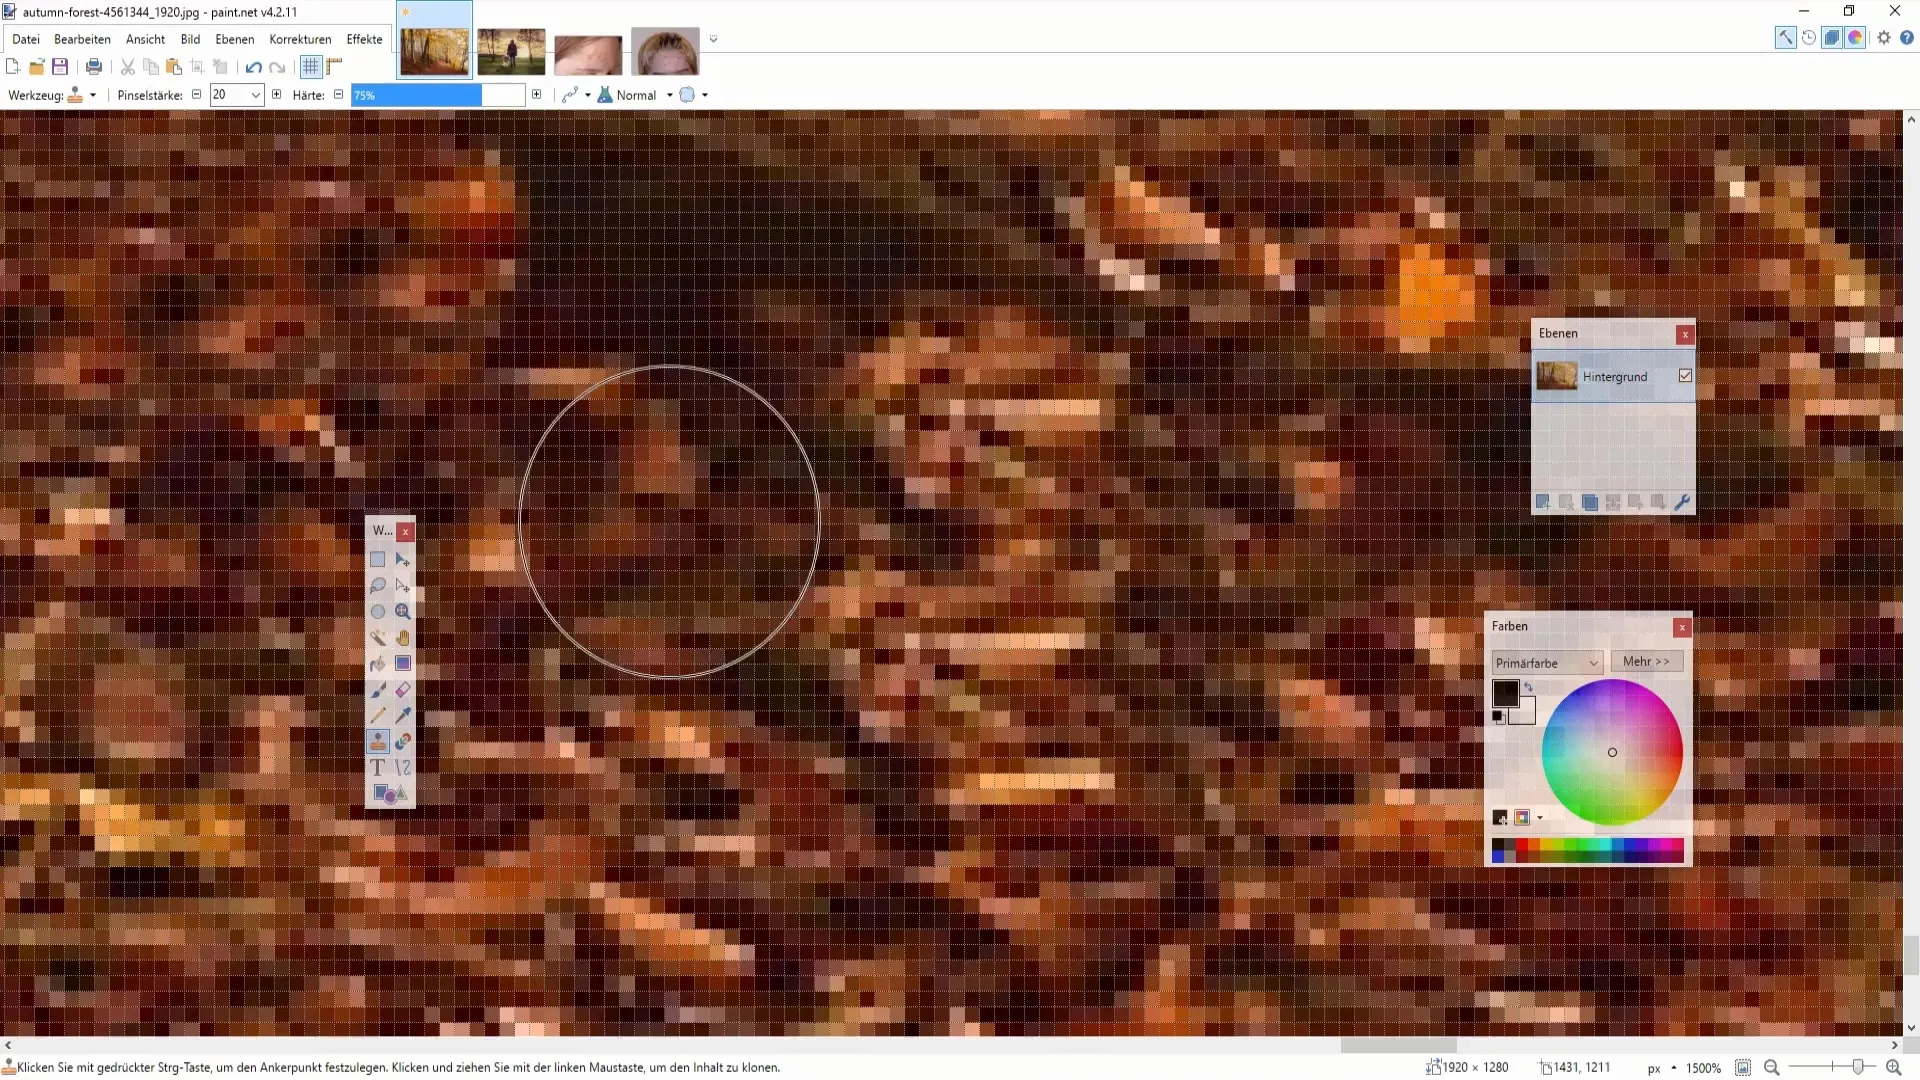
Step 5: Fine-Tuning the Retouch
To refine the result, it is helpful to gently cover the area with different parts of the image. This makes the appearance more natural. Always hold down the Control key while copying areas and then insert them with a regular left-click.
Step 6: Cloning More Complex Elements
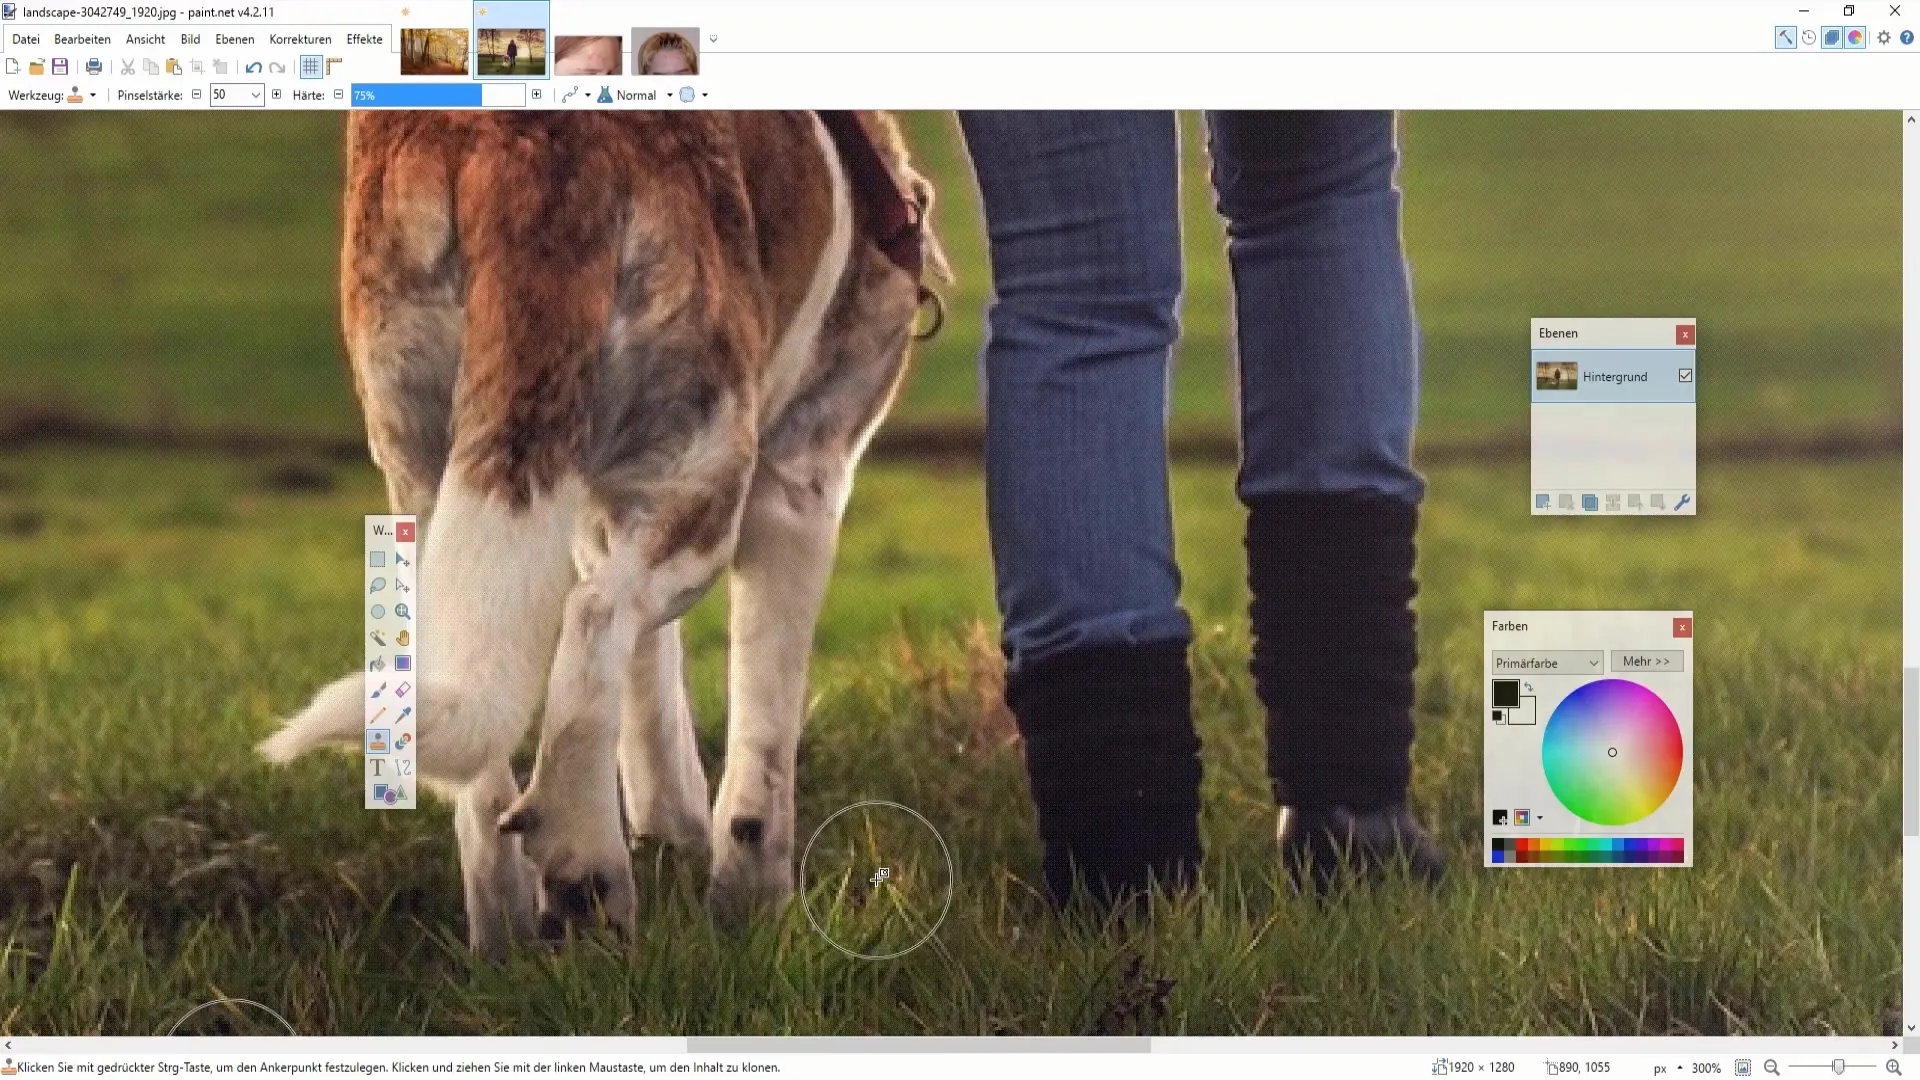
When it comes to cloning more complex parts like animals or people, this requires more patience. It is essential to work very precisely. Select small sections of the image to ensure that the adjustments appear harmonious. The goal is to effectively remove the disturbing part of the image.
Step 7: Using Distortion Tools
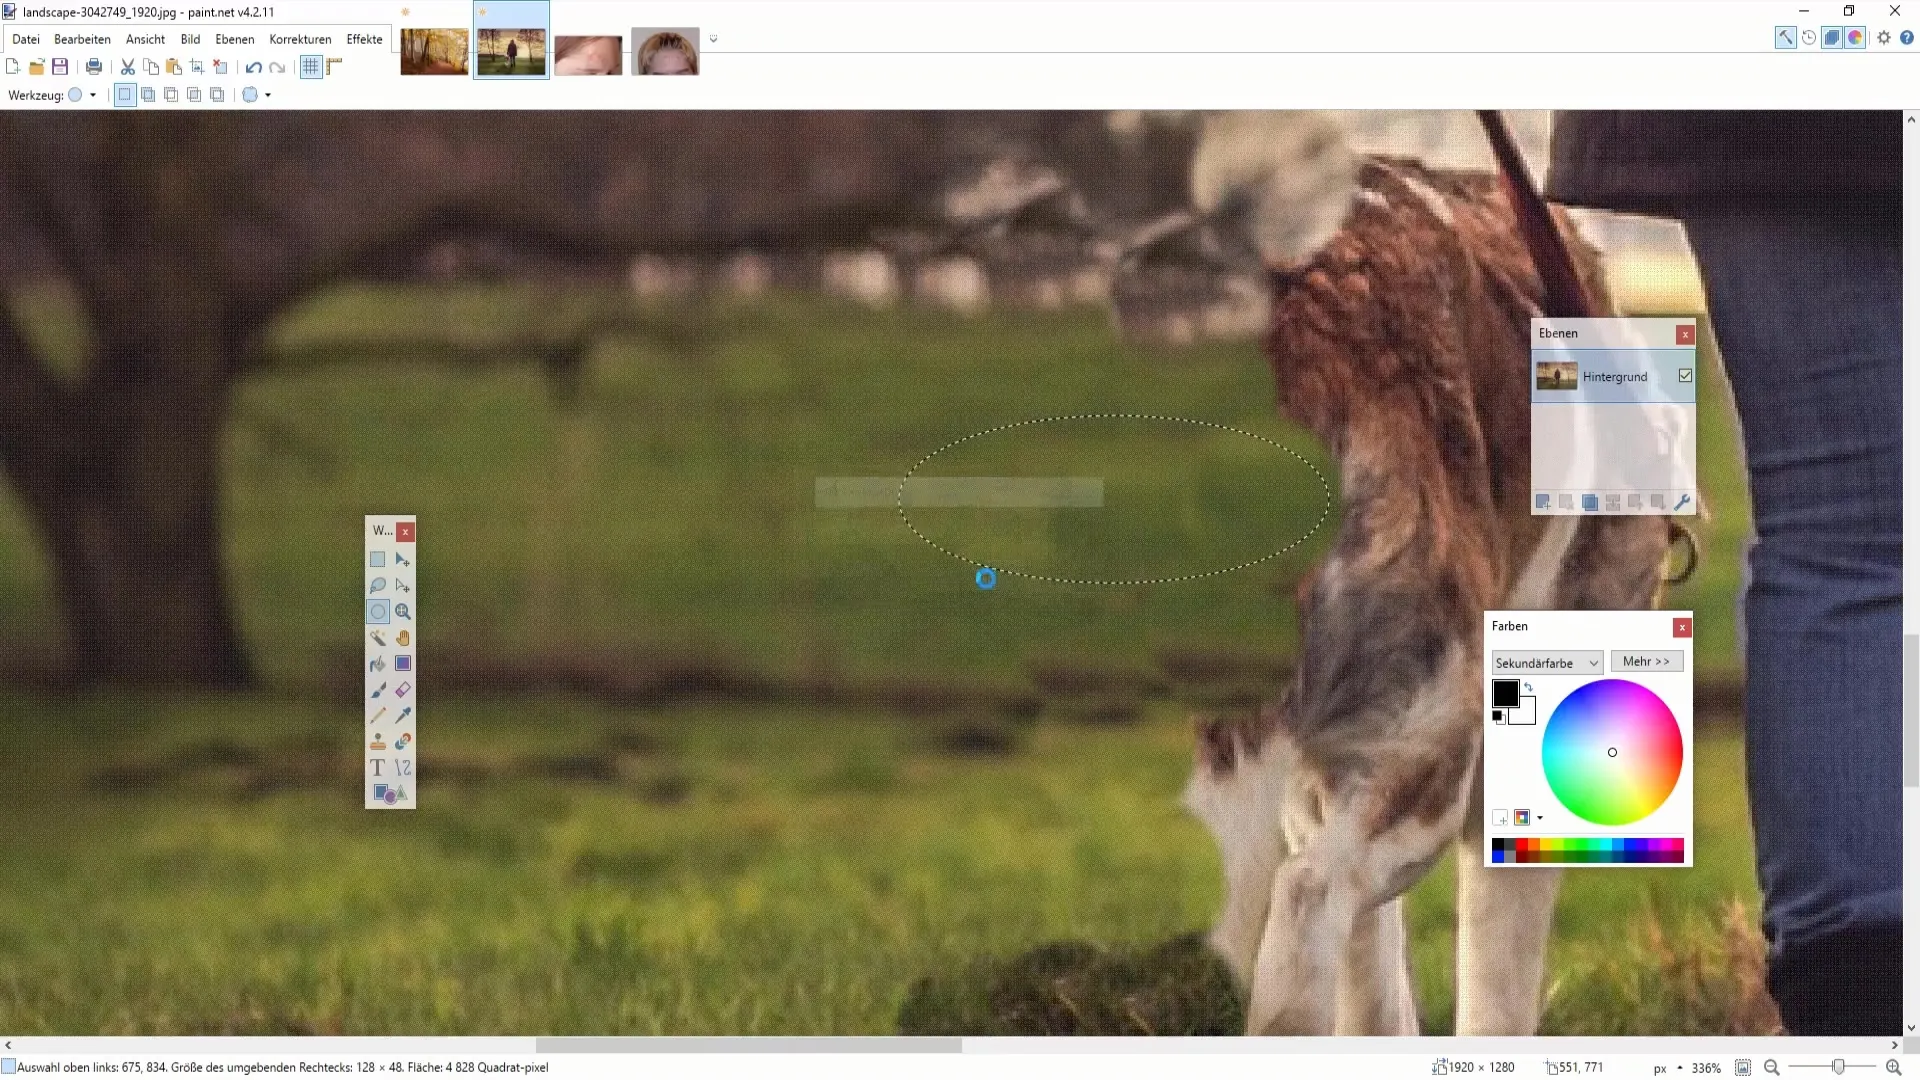
Once you have mastered the initial steps of cloning and stamping, you can also add distortions through effects. This can help make transitions less noticeable. In the menu, you will find the Blur effect, which helps soften the edited areas.
Step 8: Practice Makes Perfect
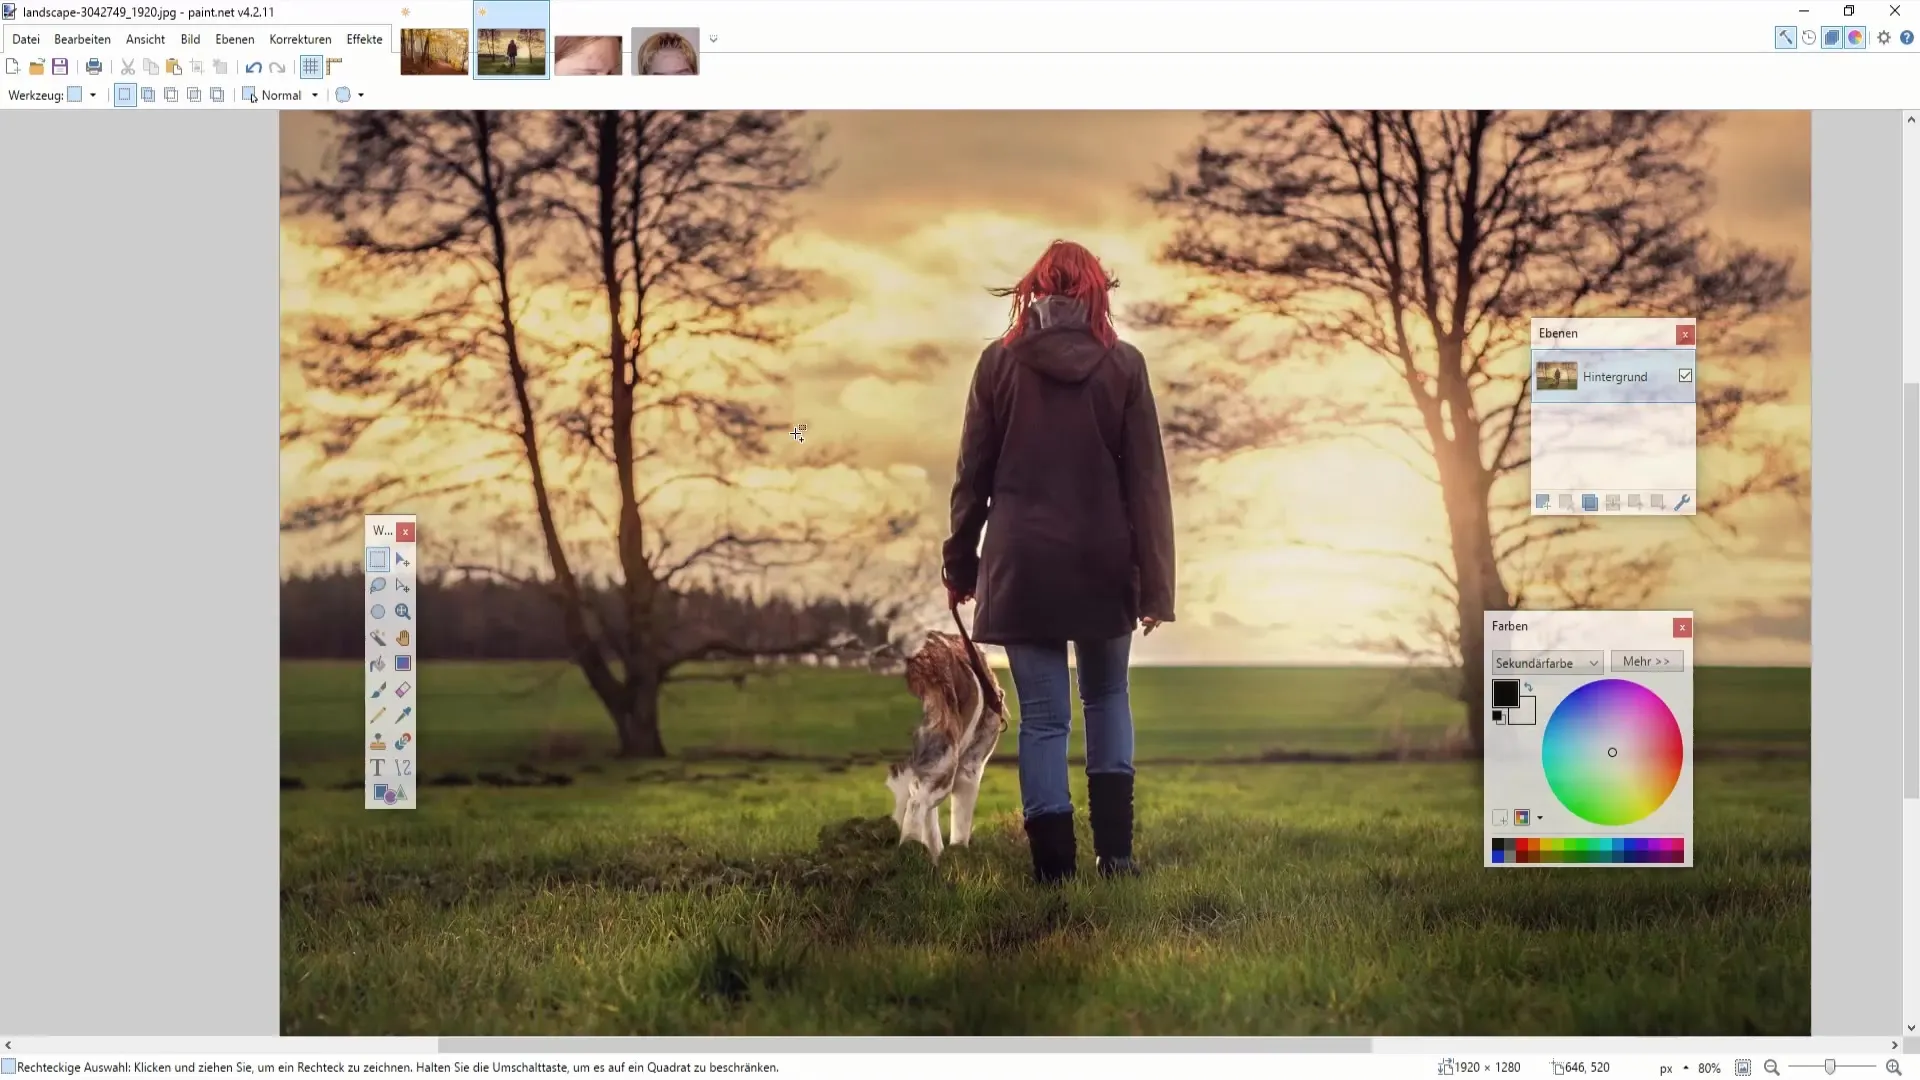
To improve your skills, look for images to edit. Use images from websites like Pixabay. Try experimenting with the Stamp Tool and come up with different scenarios. The more you practice, the more efficient you will become in using the tools.
Summary
In this tutorial, you have learned step by step how to use the stamp and clone tool in Paint.NET to remove unwanted elements and make creative adjustments. Practice and patience are the keys to a successful outcome.
Frequently Asked Questions
What is the stamp tool in Paint.NET?The stamp tool allows you to copy image areas to remove or clone elements.
How can I copy an area in the image?Hold down the control key, click on the desired area, and then paste it elsewhere.
Can I use the stamp tool on dark backgrounds as well?Yes, the stamp tool can be applied to different backgrounds, just make sure to select appropriate cloning areas.
Do I need to make any specific settings?It is helpful to adjust the brush size according to the image areas as needed.
Can I clone on photos of animals or people?Yes, cloning works on more complex subjects as well, but it requires more practice.


