Improvements to the image size dialog
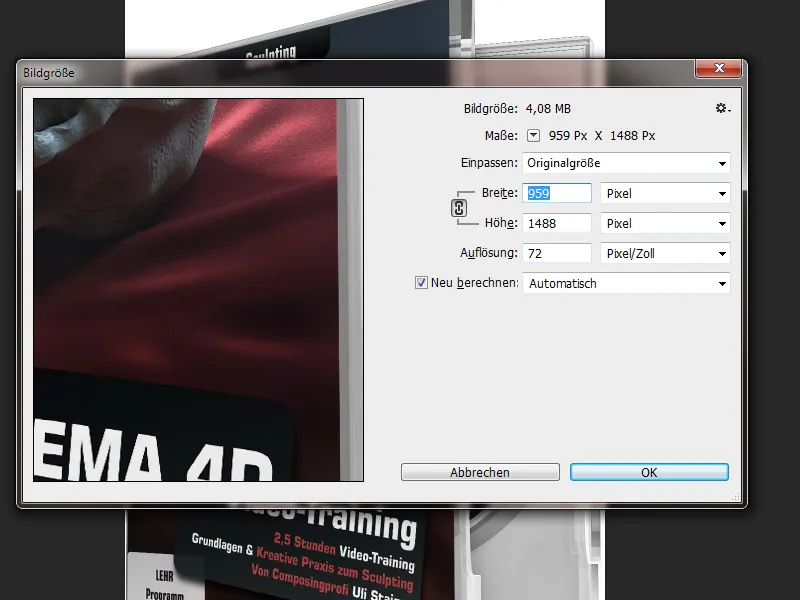
As with the selective sharpener, the appearance of the dialog box has been revised. We have finally added a preview to the image size dialog box. The dialog box can also be enlarged.
There are now presets available and I can also create user-defined presets. So if I always have to output a larger graphic in the same image size, as in my example, I can save this as a default. In the file browser that opens, I simply give my preset a name (here: "Shop detail view for cover") and it is already available for me in my preset list. A great new feature!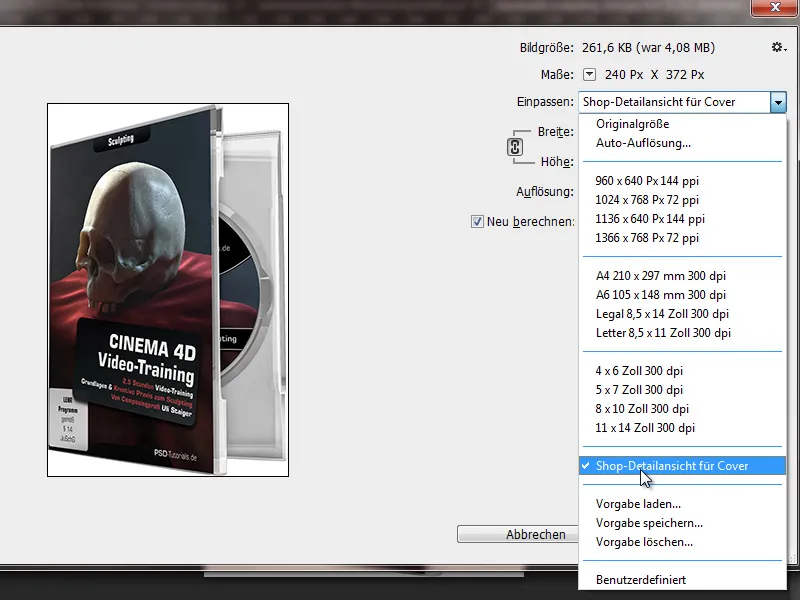
In addition, a new interpolation option has been introduced, namely the calculation method Preserve details (enlargement). This allows me to better retain sharpness when enlarging images, because the enlargement also results in a slight sharpening.
If I select the Preserve details calculation method, I can also reduce the noise caused by the slight sharpening at the same time as enlarging. Thanks to the preview, I can also optimally assess the expected image change due to the change in image size and react accordingly when reducing the noise.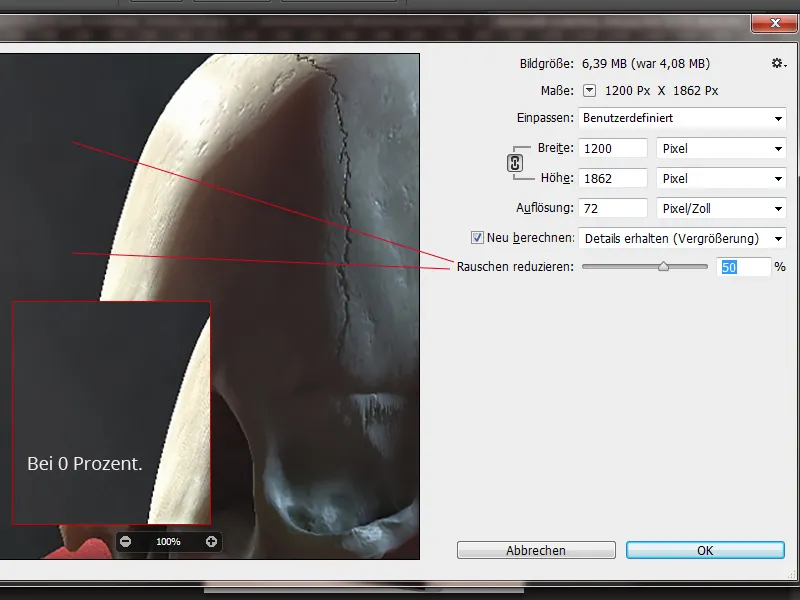
Text layers imitate web view
When we create web layouts for clients, we explain to our clients when presenting the design that the font may vary slightly from device to device and browser to browser.
An example: Our home page design as part of our agency work (4eck-media.de) as an image file (above) for the kosmetik-uhl.de website and the view in the web browser (below).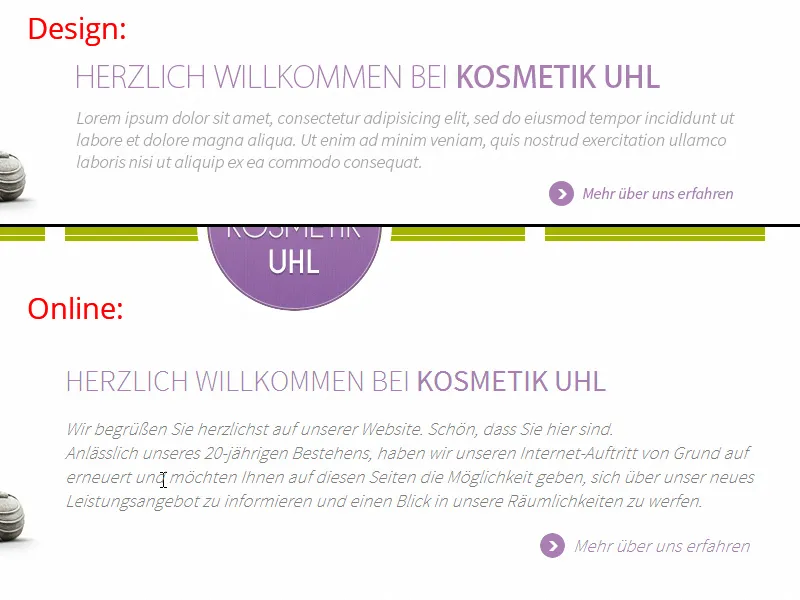
Now Adobe has added two web modes to the text smoothing options in Photoshop CC. On my system it is Windows and Windows LCD. A Mac user gets Mac and Mac LCD. This is the best way to imitate how the text will look later on the website. It would have been ideal if Mac and Windows had been available as modes to choose from, because my impression is that the text is always output a little stronger on Mac than on Windows systems.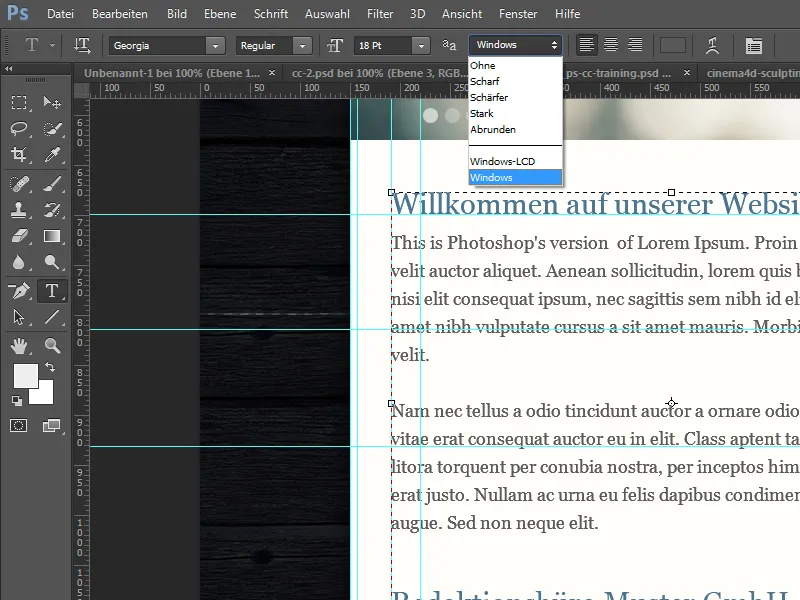
Copying CSS
Up until Photoshop CS6, we used the CSS Hat plug-in in our agency, which allows you to convert vector shapes and layer styles to CSS3 code. This function has now been added to Photoshop CC. So I can simply right-click on text layers or shape layers and copy the CSS code - and then paste it into an editor. Even if the CSS code cannot always be transferred in this way (e.g. because of the absolute position), it is easier to edit exported CSS code than to write it from scratch.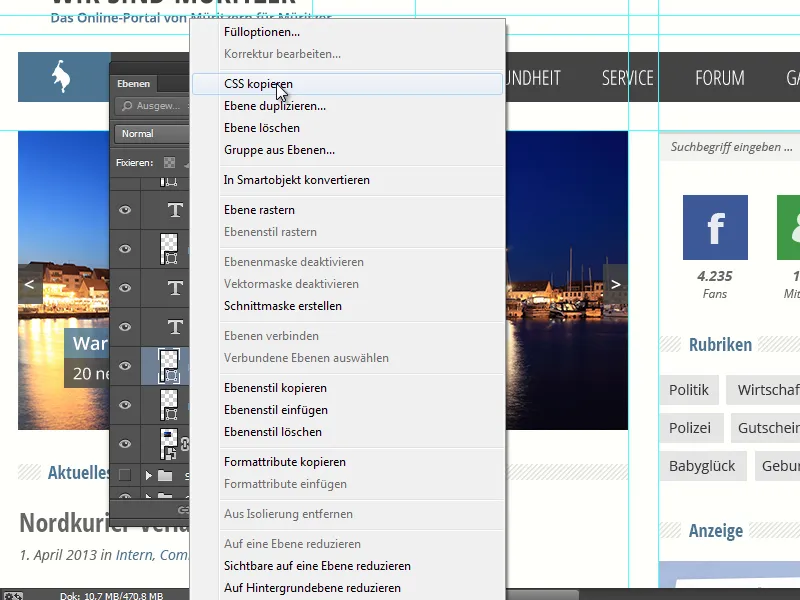
It is nice that layer styles are also taken into account. For example, if my shape has a drop shadow, this will be reflected as box-shadow in the CSS output. If I want to copy several objects as CSS at the same time, I have to place them in a group and then right-click on the group to select Copy CSS.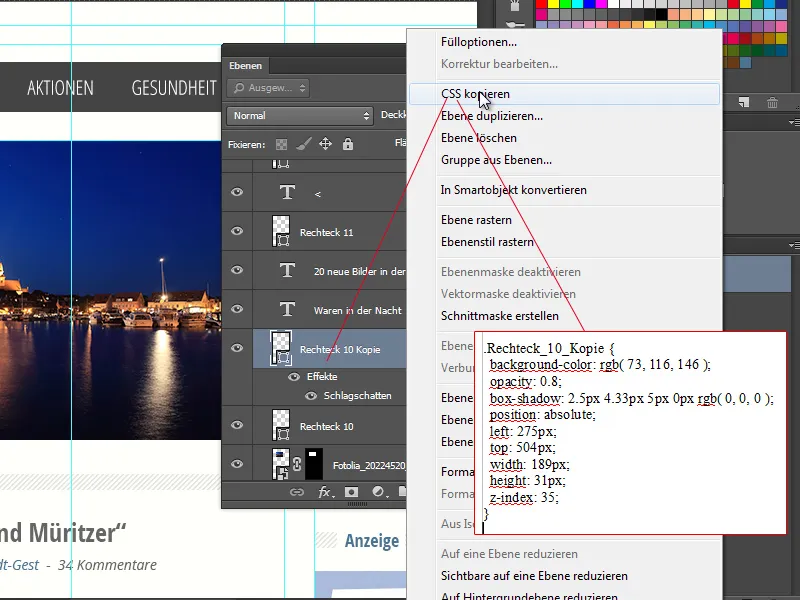
Importing web colors
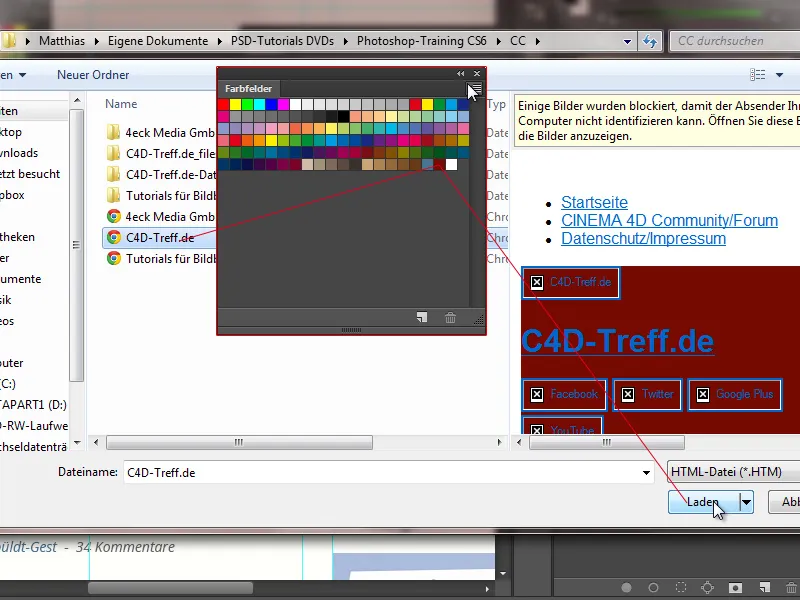
In Photoshop CC, it is possible to add web colors to existing colors or replace them via the color panel menu. If I simply save a website once under Save as, I get a whole jumble of files, including an HTML file and some CSS files. I can now import the web colors defined in these files.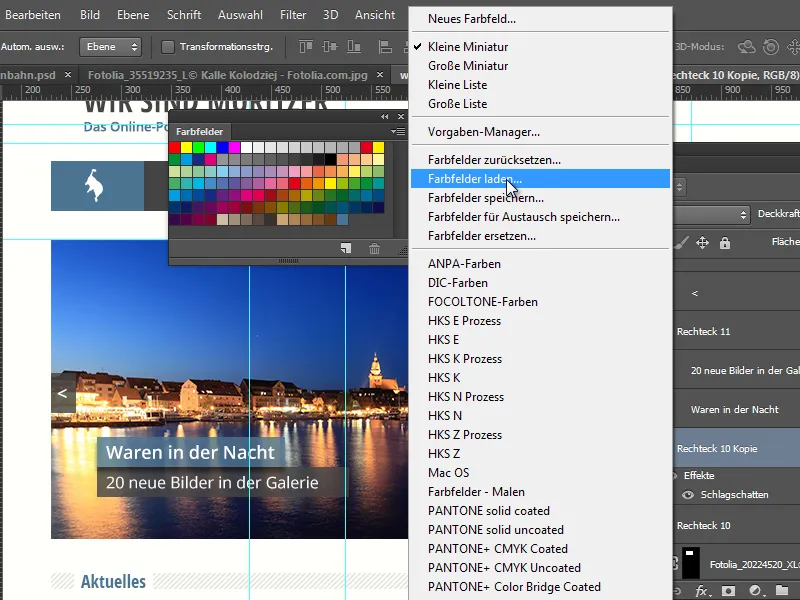
So I don't have to take a screenshot and use the eyedropper tool if I want to pick the right colors. As an example, I simply load the HTML and CSS file from C4D-Treff.de to get the striking red, for example, if I want to create other media products in Photoshop according to this color specification.