The bokeh effect gives your designs a magical and atmospheric feel. With Photoshop, you can easily recreate this popular blur look using brushes! In this tutorial, I'll show you how to step by step create an impressive bokeh effect that is perfect for backgrounds, posters, or creative projects. Let's get started and enchant your designs with sparkling light circles!
Step 1:
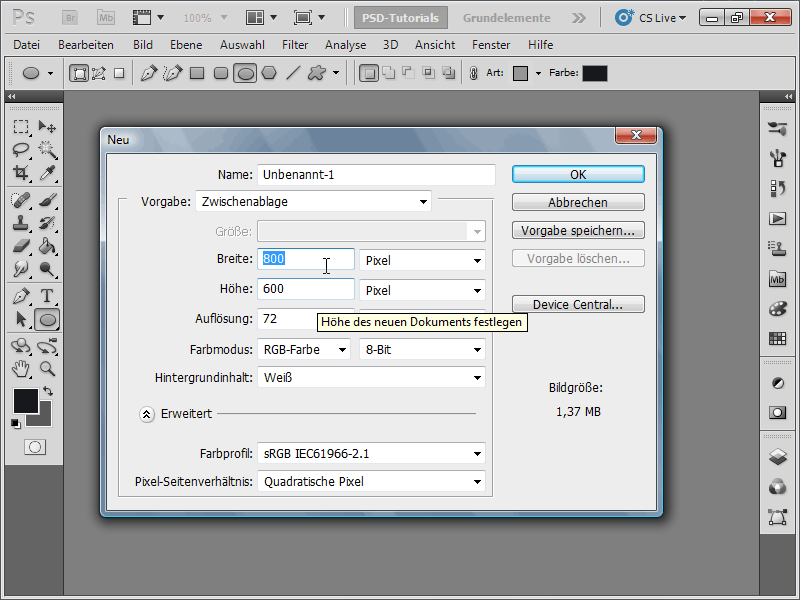
First, I create a new document; the size doesn't matter. I choose a very small size of 800x600 pixels. If you want to print this effect, the unit should be changed from pixels to cm, and the resolution from 72 to 300 pixels per inch.
Step 2:
I color the background in a very dark gray (black doesn't work because the effect won't stand out as well).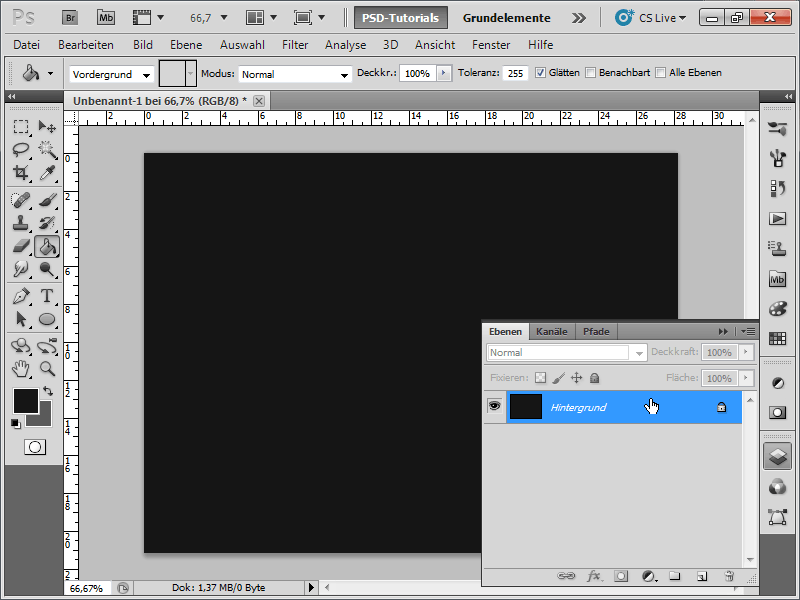
Step 3:
Next, I add a new layer to my document. Using the Ellipse Tool with the Shift key pressed, I create a circle. I set the opacity to 50%. I now hide the background layer.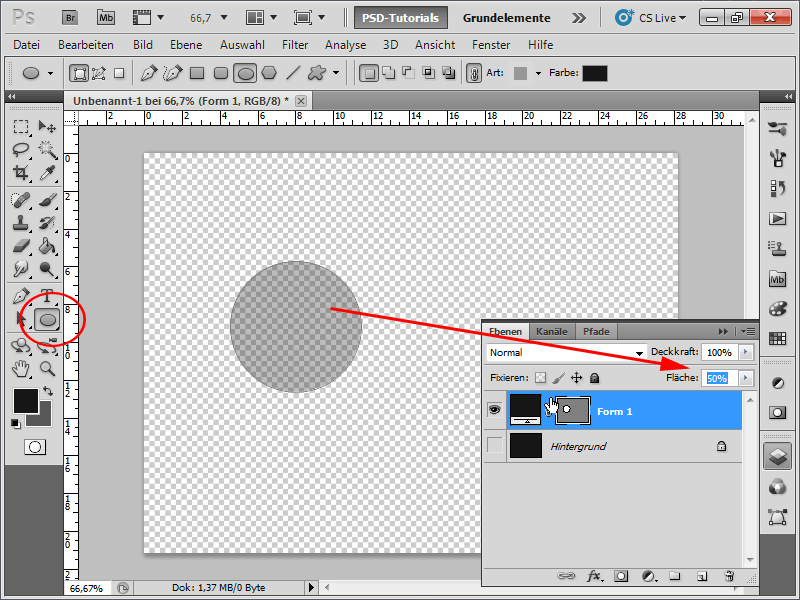
Step 4:
Now, I apply a new layer style to my layer: An Outline with a size of 3 pixels in black. More can also be set, but over 10 pixels doesn't look good.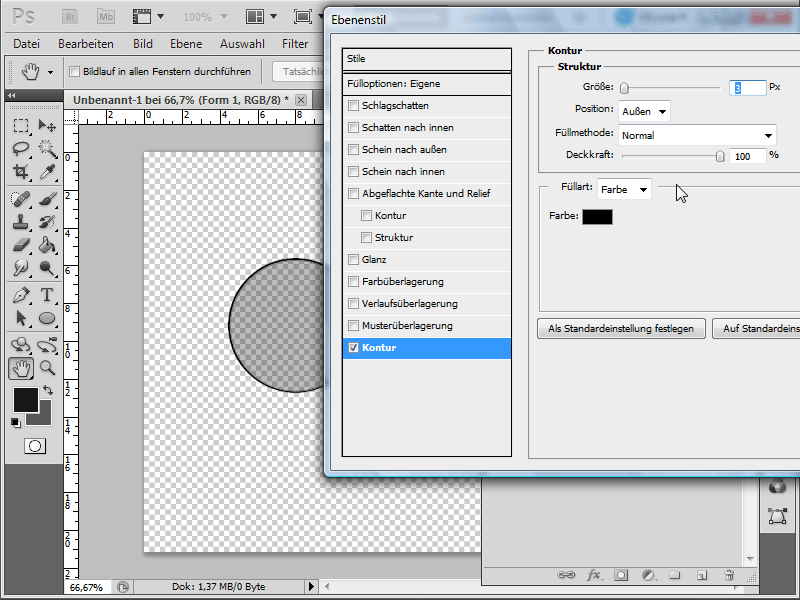
Step 5:
Next, I roughly select the circle using the Selection Tool, click on the background layer, and only then can I save the circle as a brush under Menu>Edit>Define Brush Preset.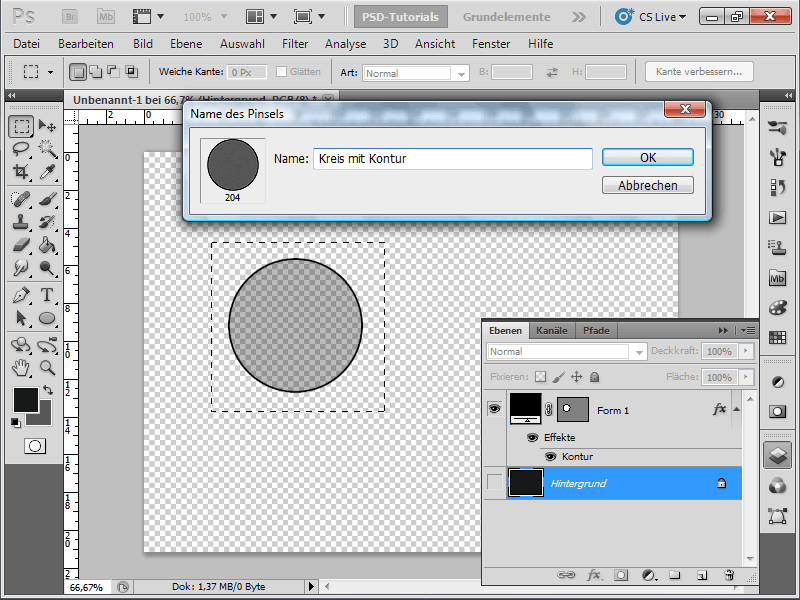
Step 6:
Now, I add a new group and change the group's blending mode to Color Dodge.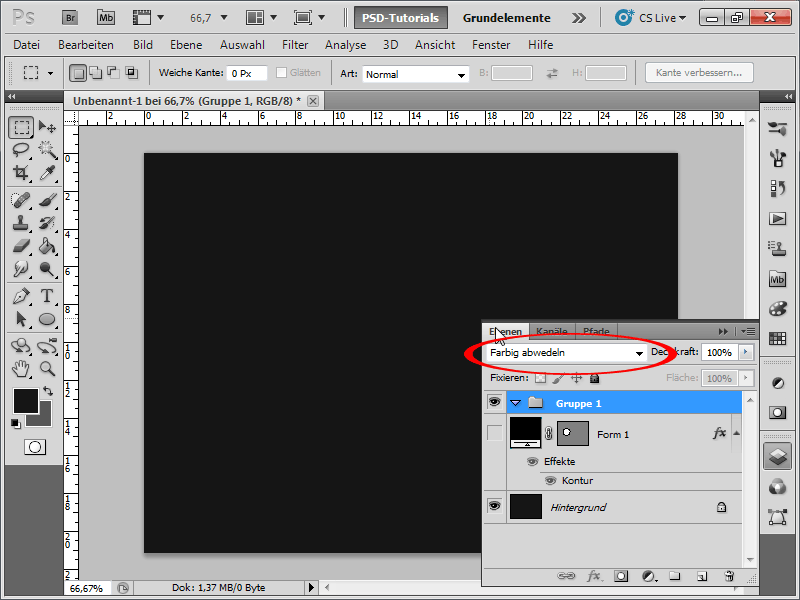
Step 7:
Within the group, I create a new layer and rename it to "Circle".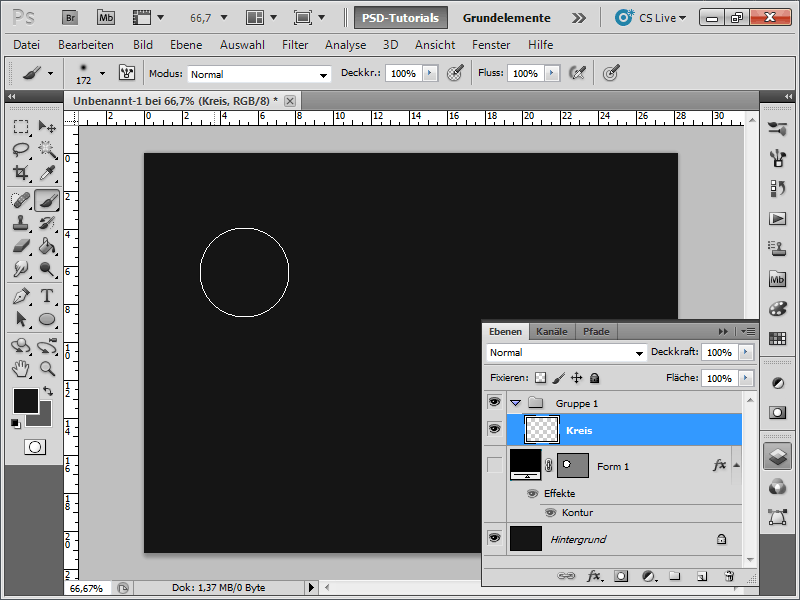
Step 8:
Now, I grab the brush tool and click F5 or on the Brush Preset Picker Icon at the top left corner, and in the Brush Tip Shape properties, I change the spacing to about 90 - 100%.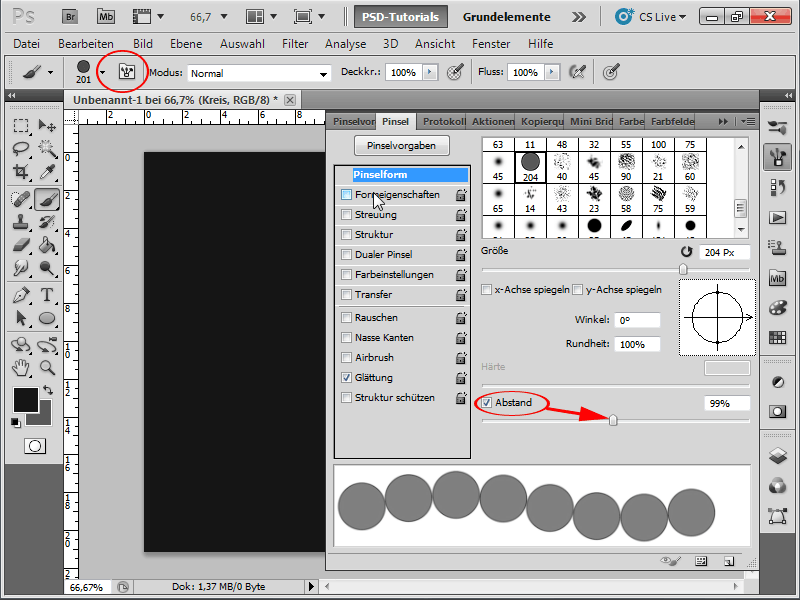
Step 9:
In the Shape Dynamics, I change the Size Jitter to 100% and the Minimum Diameter to 50%.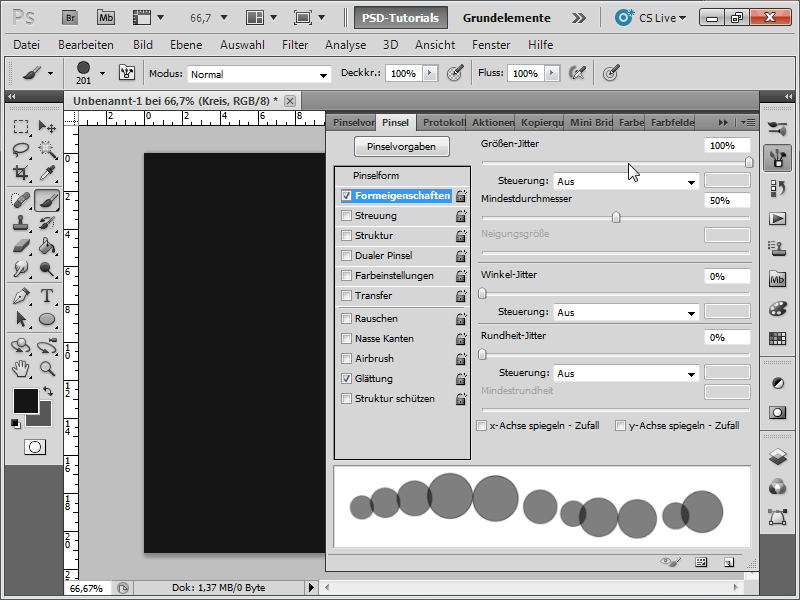
Step 10:
In Scattering, it's important that I check Both Axes and increase the value to 1000%.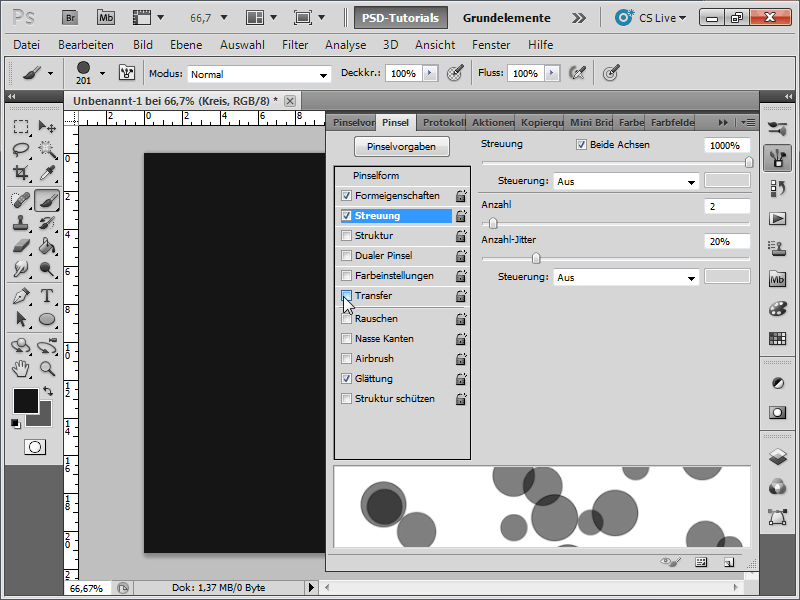
Step 11:
Under Transfer, I change the Opacity Jitter to 50% and the Flow Jitter also to 50%.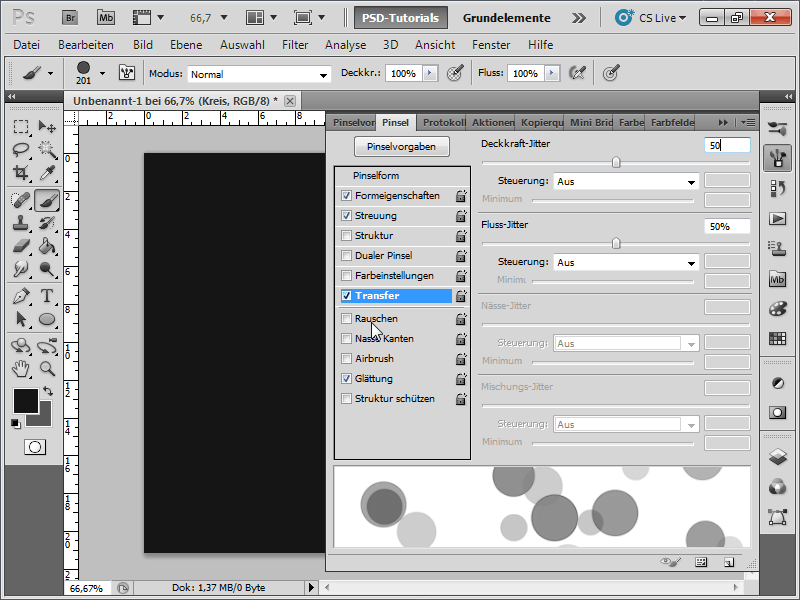
Step 12:
Next, above the background layer, I create a new layer that is not within the group, and apply a new layer style: Gradient Overlay with a gradient e.g. from dark purple to dark green and then to dark blue. I change the blending mode of the Gradient Overlay to Overlay.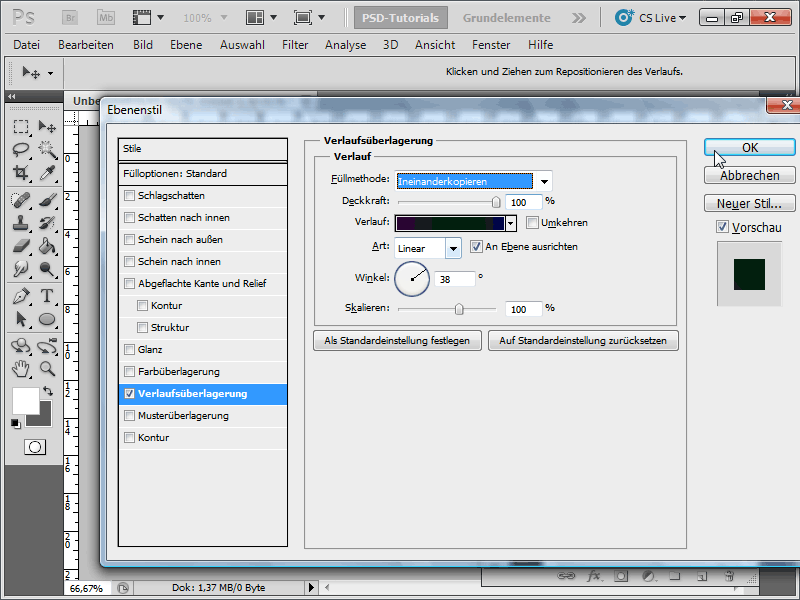
Step 13:
I color the fill color of the new layer to dark gray, then click on the circle layer and with the new brush with a slightly larger brush tip, paint with white color a few times.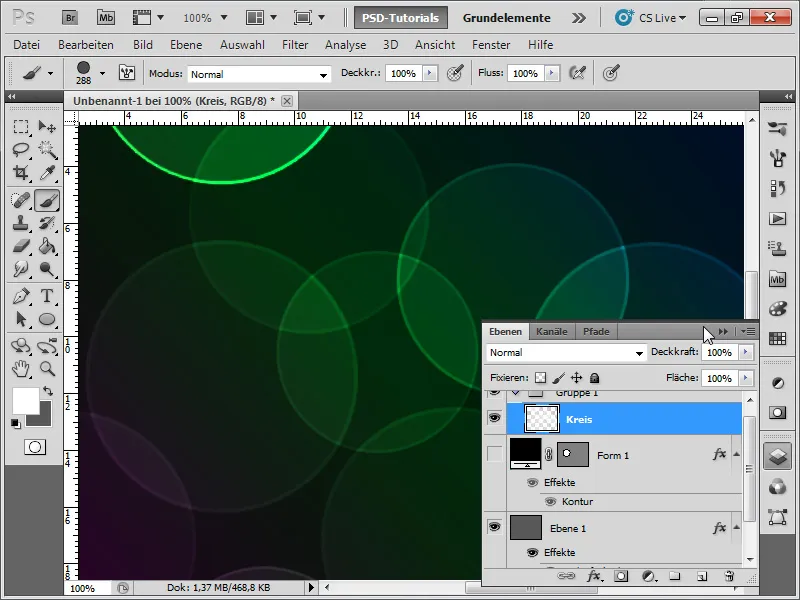
Step 14:
Technically, I could start the Gaussian Blur now, but personally, I find the color transitions a bit messy. So, I can now activate Menu>Image>Mode>16-bit channel so that I have more colors available. BUT: Unfortunately, not all filters work in Photoshop after that. However, the Gaussian Blur still works.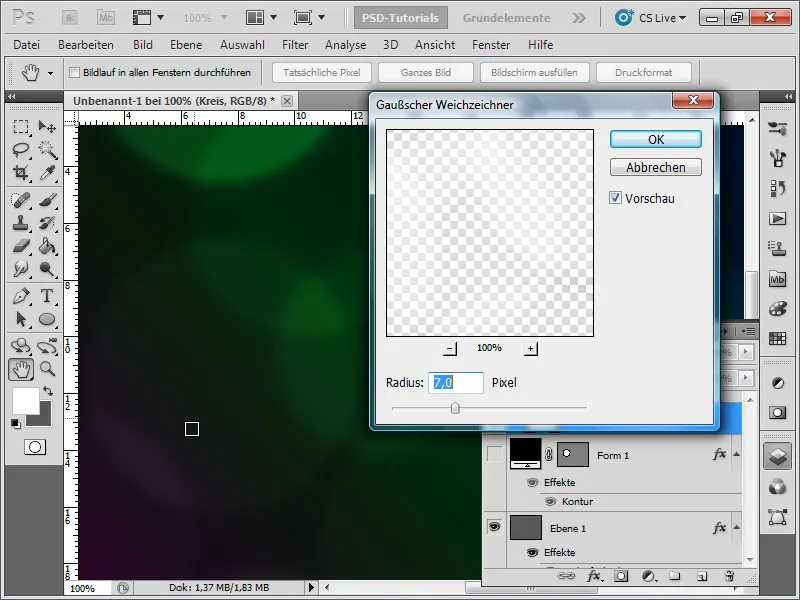
Step 15:
After changing the mode, the blur tool looks immediately better: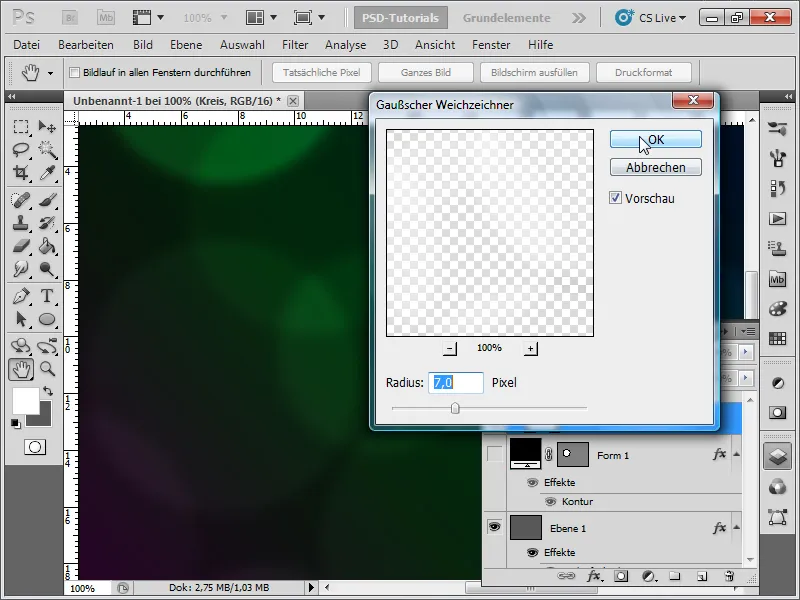
Step 16:
Now I create another layer within the group and add a few circles again with a slightly smaller brush tip.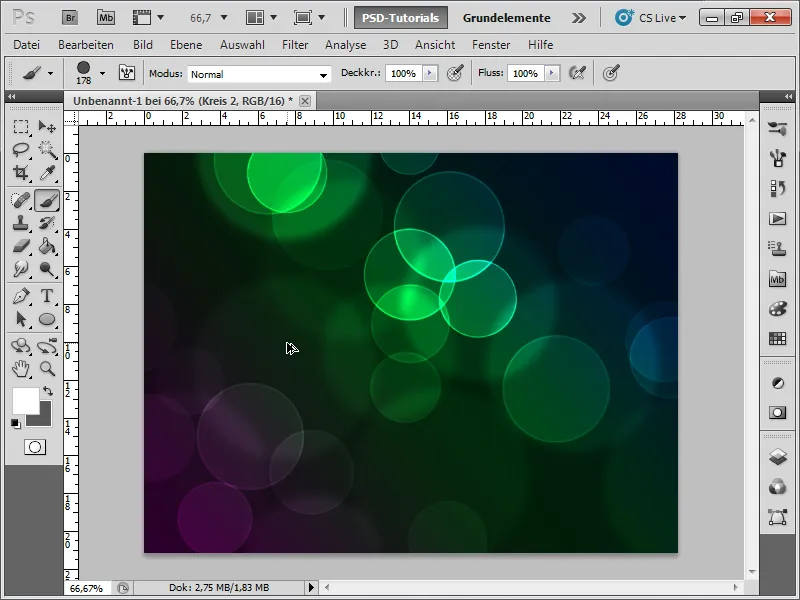
Step 17:
Now I call up the Gaussian Blur again with Ctrl+Alt+F and change the radius to about 2. Then I add more circles on another new layer with a slightly reduced brush tip. I am now very satisfied with the result: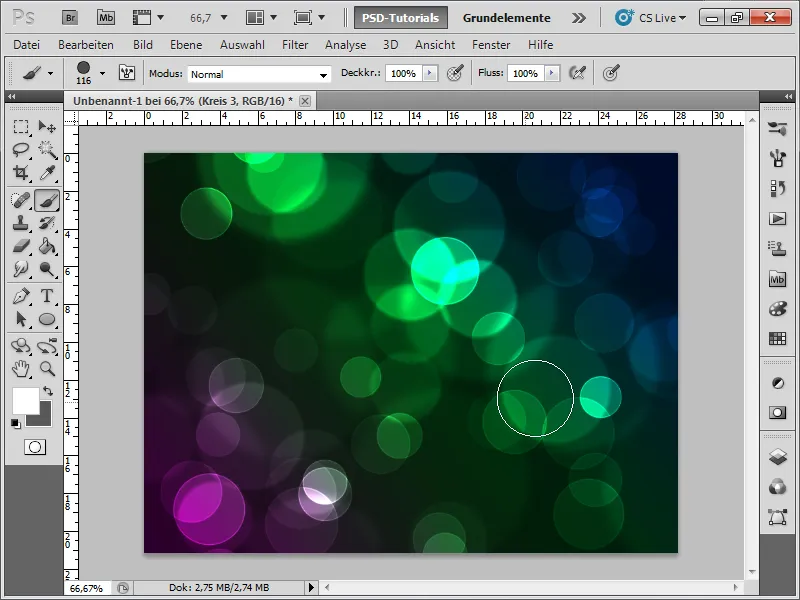
Step 18:
The genius is that I can always go into my gradient overlay and immediately modify the gradient.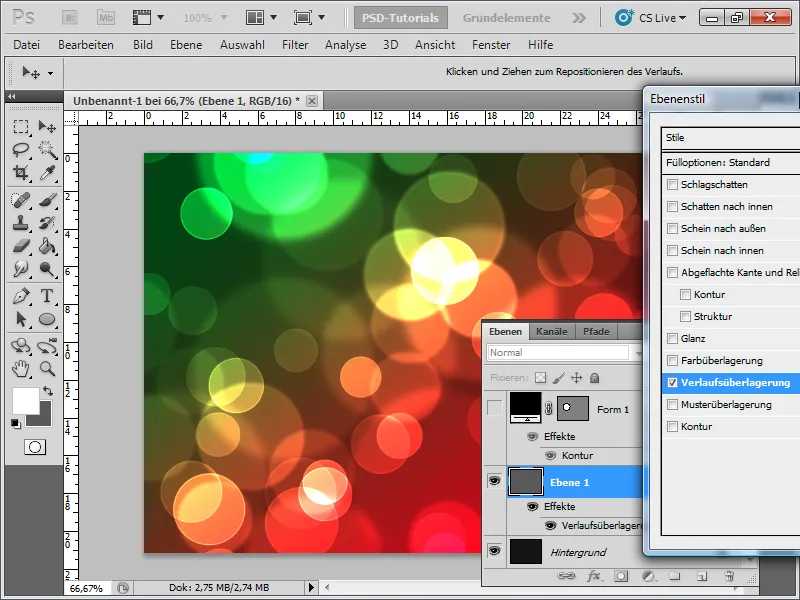
Step 19:
Here is a nice example where I only changed the gradient.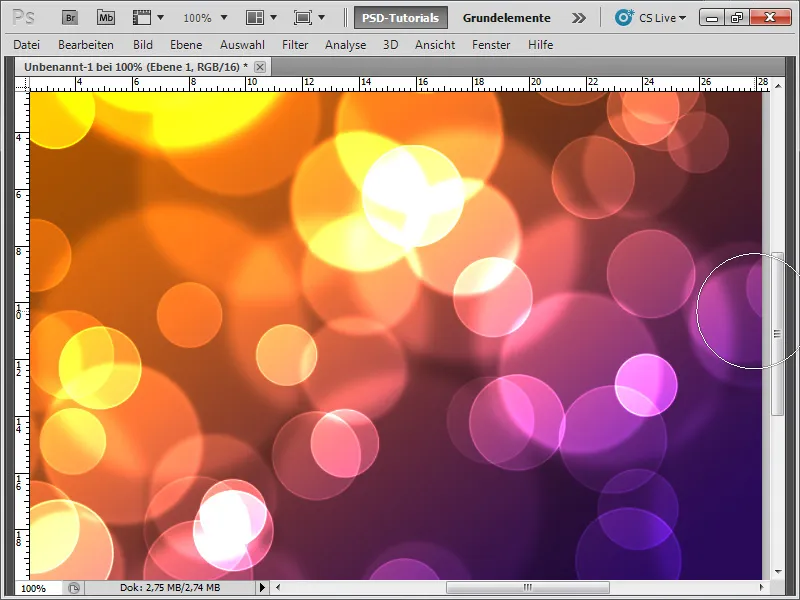
Step 20:
If the gradient is not meant to be completely linear, I can change it as follows: I create an empty layer that I place under the gradient layer. Then I merge both with Ctrl+E, press Ctrl+T and then right click>Warp so that it gets a special touch.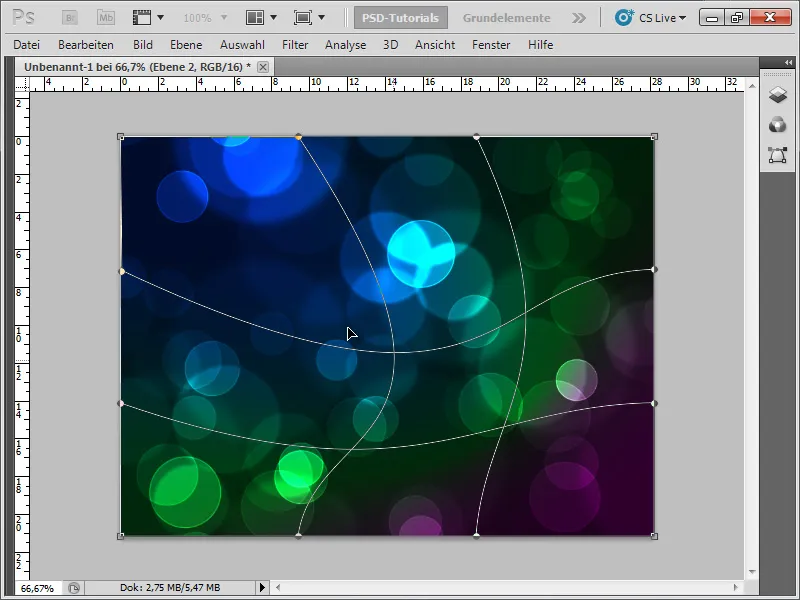
Step 21:
And here is my end result. I hope I could inspire many new creative ideas, and from now on I won't see any boring backgrounds anymore. I have included the brush as a working file.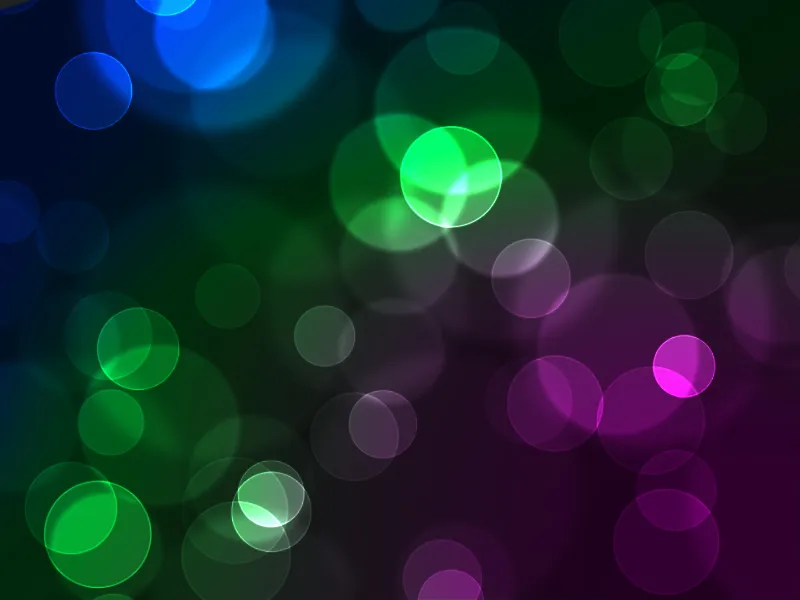
For inspiration, I used this English website.


