The display quality in Adobe InDesign affects how graphics and images are displayed during editing. With the right settings, you can switch between faster previews and high-resolution display to make your work efficient and detailed. In this guide, I will show you how to adjust the display quality in InDesign, choose between standard, typical, and high quality, and find the optimal setting for your project. Let's get started and optimize your workspace!
You can find the display quality setting in InDesign under the menu View> Display Performance. By default, Normal Display is selected here.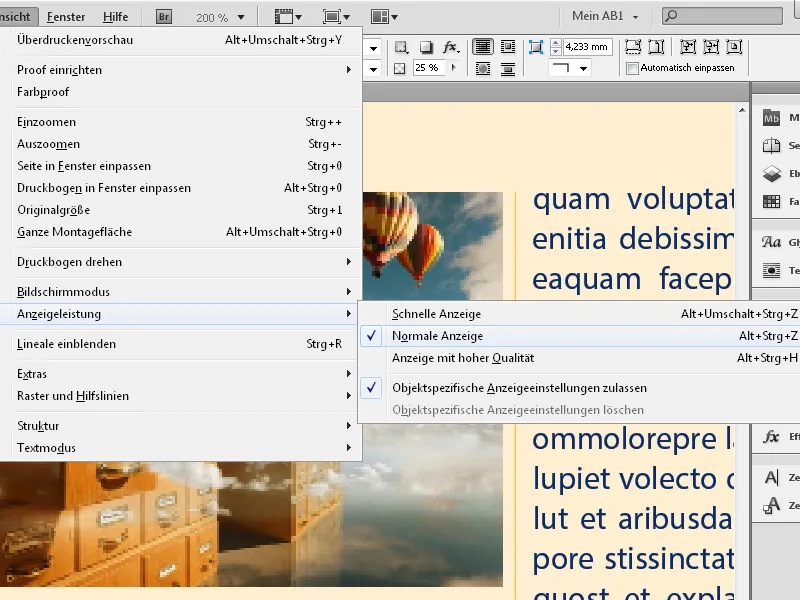
This is good because then the processor does not have to calculate the full resolution of the images used in the document every time you scroll up or down or change pages, which could make the work somewhat slower depending on the image material and hardware setup, but only a reduced resolution is shown.
When you zoom into an image now, it may appear more or less pixelated. Before you panic, simply set the High-Quality Display in the View> Display Performance menu.
You are much faster than with the mouse, using the shortcut Ctrl+Alt+H. Now hopefully the pixels will disappear – or you may need a better and higher-resolution image, especially if the result is to be printed later.
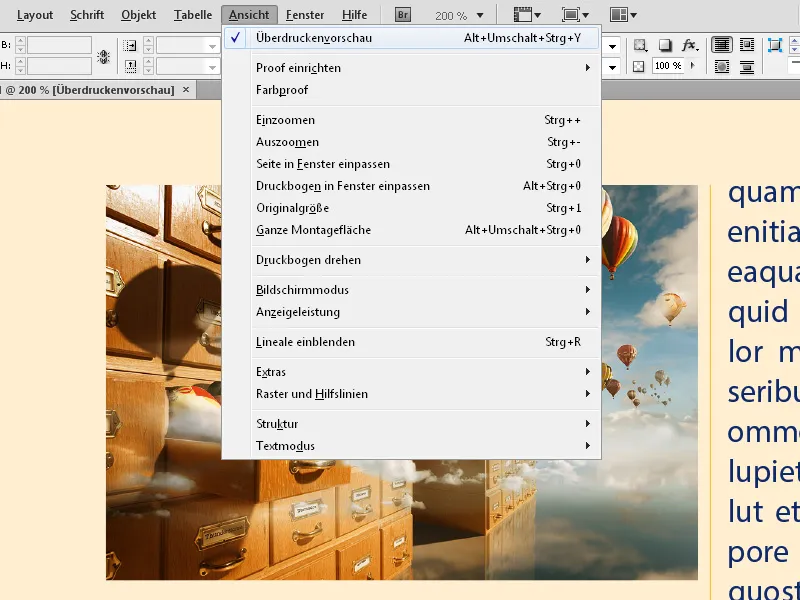
The same effect is also achieved with the Overprint Preview in the View menu.
You can also access the settings via the context menu with the right mouse button. If nothing is selected, the changes apply to the entire document – however, if you select an image frame, a change in the display quality will only affect that.
To ensure that the same display settings apply to all objects, you can use the option Delete Object-Specific Display Settings in the Display Performance menu (which can also be accessed via the context menu of the right mouse button).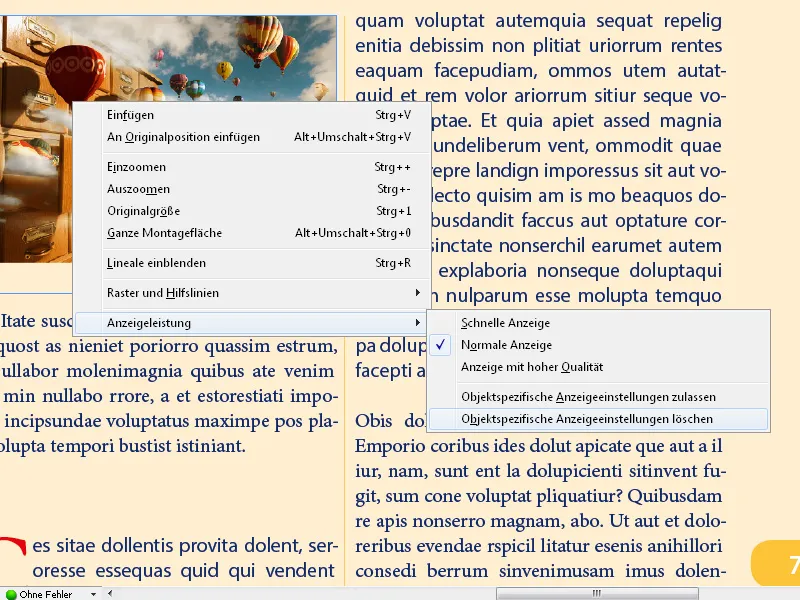
With the Fast Display setting, the images are hidden, and only the placeholder frames are visible, which can speed up navigation in image-heavy documents.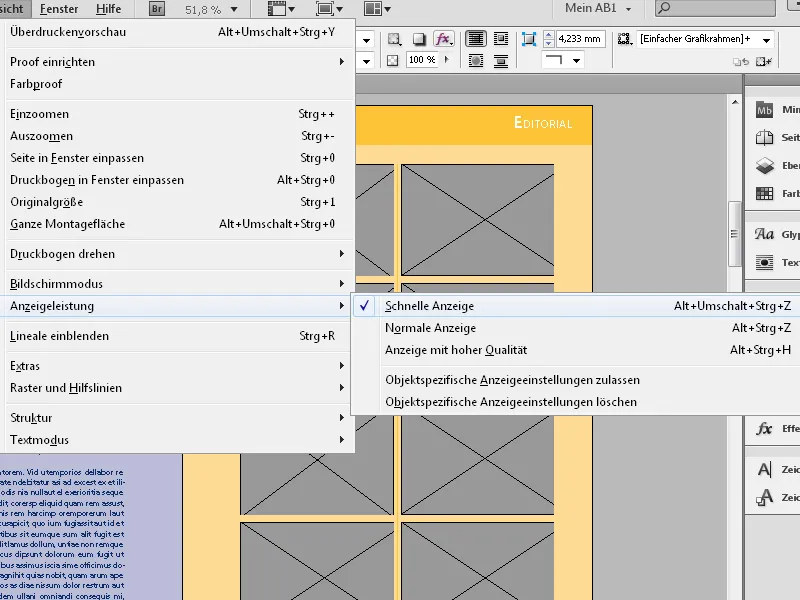
The shortcut Ctrl+Alt+Z will reset the setting back to Normal Display.
Basic display performance settings are made in the Preferences under the Edit menu.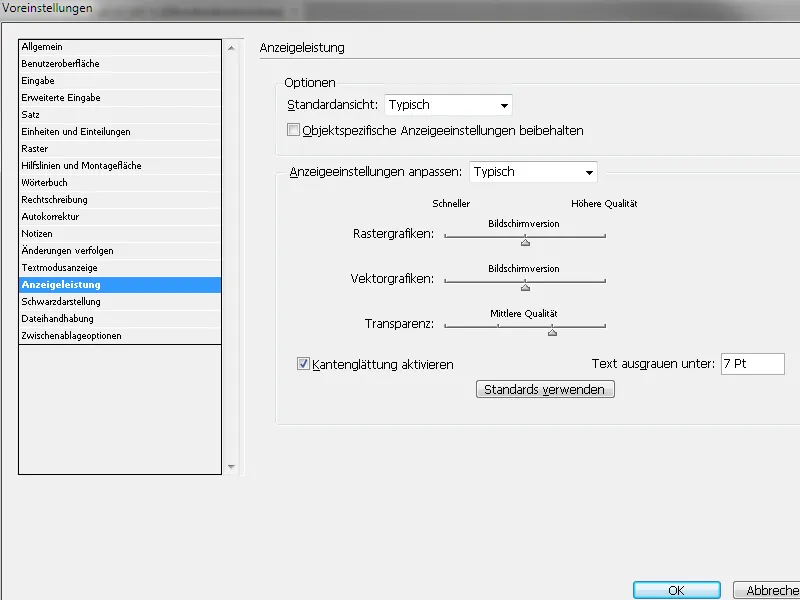
Here, you can also set a High-Quality Display as the default and adjust the resolution for different types of graphics for monitor output smoothly via sliders. You can also activate edge smoothing for displaying more homogeneous image edges and determine the value for the font size at which the characters are grayed out and only displayed as gray lines.
If you have made all the changes and are not certain if they are good, simply click on Use Defaults and everything will be fine again.
It is important to note that all these settings only affect the display on the monitor – not the print quality or the quality of the exported file later on.
Additional Tips for Display Quality
- Setting for Linked Images:
- InDesign shows linked images with low quality by default to save storage space. To display high-resolution images:
- Go to Edit → Preferences → Display Performance (Windows) or InDesign → Preferences → Display Performance (Mac).
- Activate the option Display High-Quality Images.
- InDesign shows linked images with low quality by default to save storage space. To display high-resolution images:
- Utilize Graphics Card Acceleration:
- In the preferences, you can activate GPU acceleration (Preferences → GPU Performance) to enhance display quality without losing performance.
- Efficient Workflows:
- Start working in Fast Display to create layouts, and switch to High Quality only during the final check.
With the right display quality settings, you can work efficiently without compromising your system's performance and still achieve a sharp display when needed!


