Pinterest is a platform that allows you to discover inspiring content and showcase your own ideas. If you are creative or want to sell products, uploading pins could be a valuable strategy to reach your target audience. In this guide, I will show you how to step-by-step upload a pin on Pinterest so that your content gets the right attention.
Key Takeaways
- You can highlight pins on Pinterest with a clear description and appealing titles.
- The first 40 characters of a title are crucial to attract attention.
- A detailed description helps not only with discoverability but also with understanding the content for all users.
Step-by-Step Guide
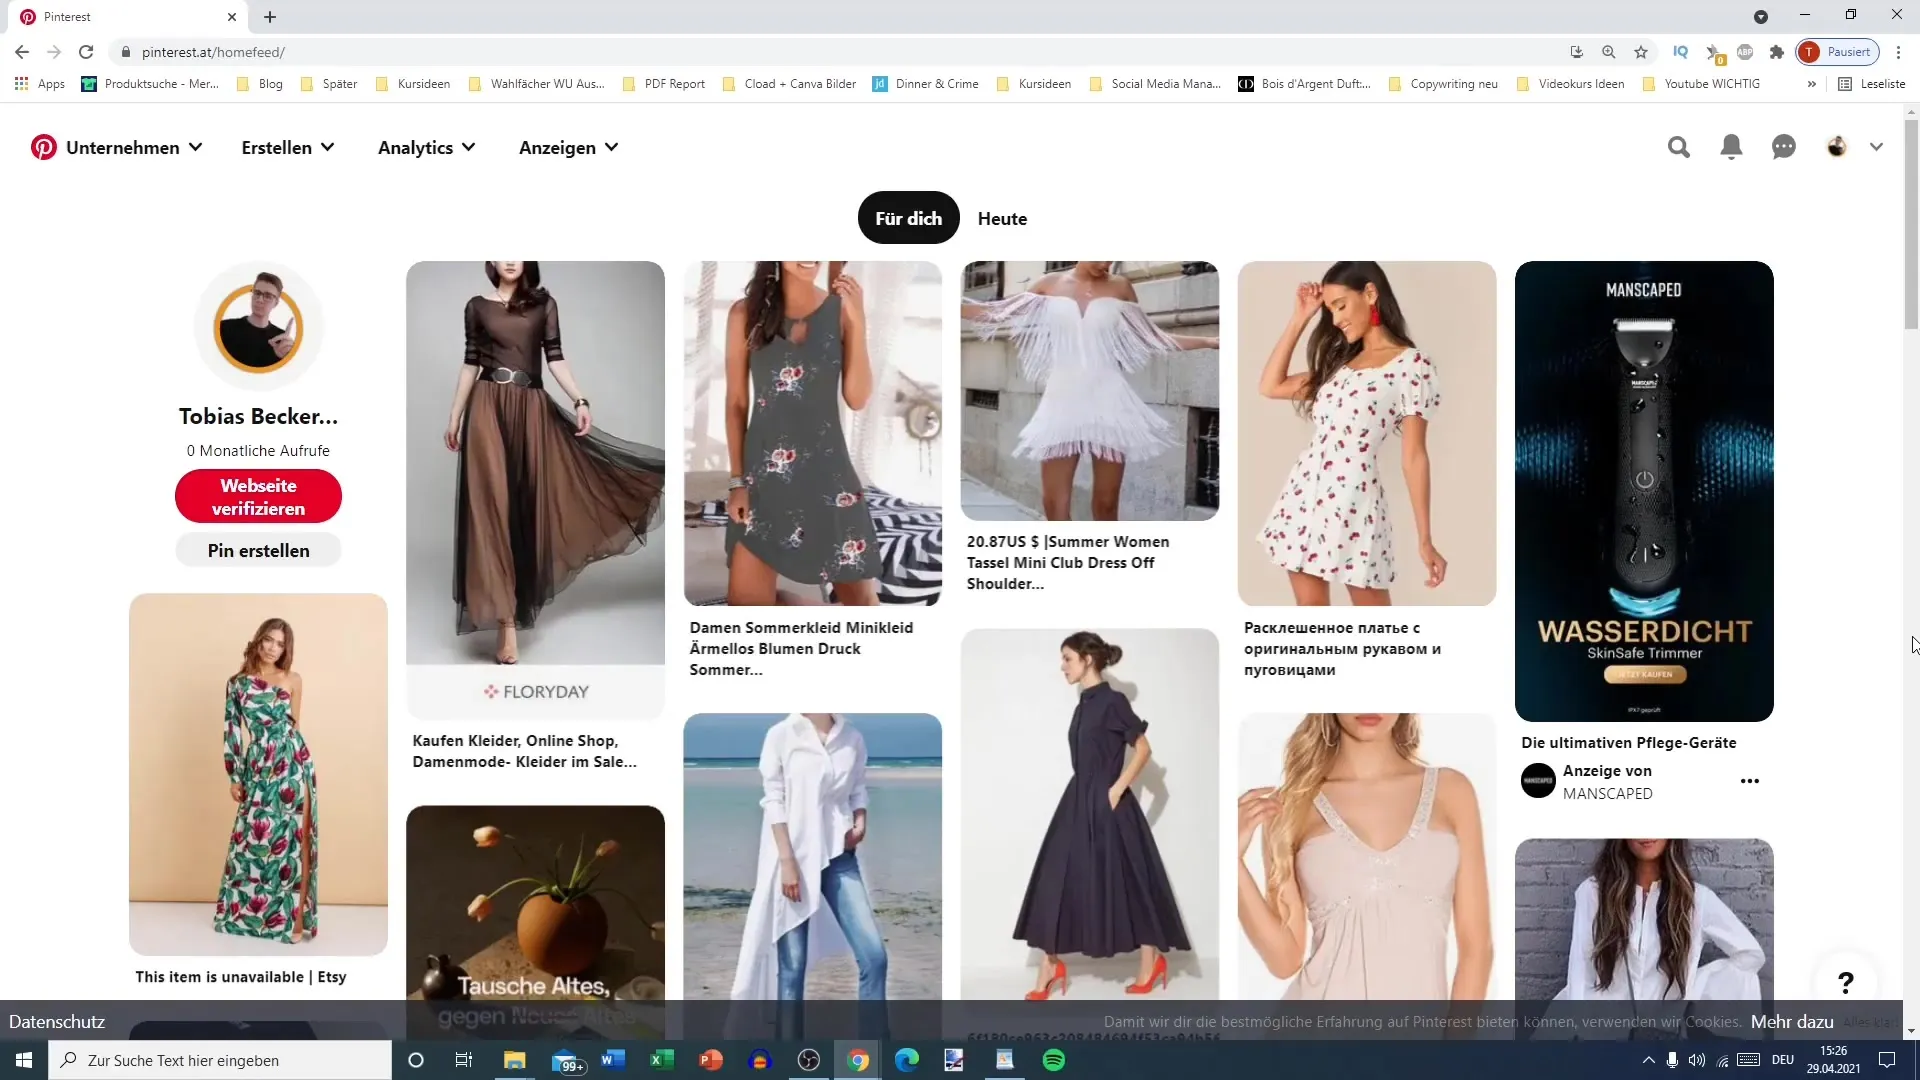
First, you need to log into your Pinterest account. Go to the homepage and look for the “Create Pin” section. You have two ways to get there: you can either click on “Create Pin” or use the creation options at the top of the page.
Once you are in the Pin creation process, you will see different fields to fill out. First and foremost, I recommend creating a catchy title for your pin. Note that you have up to 100 characters for this, but only the first 40 characters are important for the preview. These 40 characters should be eye-catching and concise.
Now, the next step is to describe your pin. Here, you have a total of 500 characters to provide more information to your target audience. It is advisable to integrate the most important information or appealing questions in the first 100 characters to pique the interest of your audience.
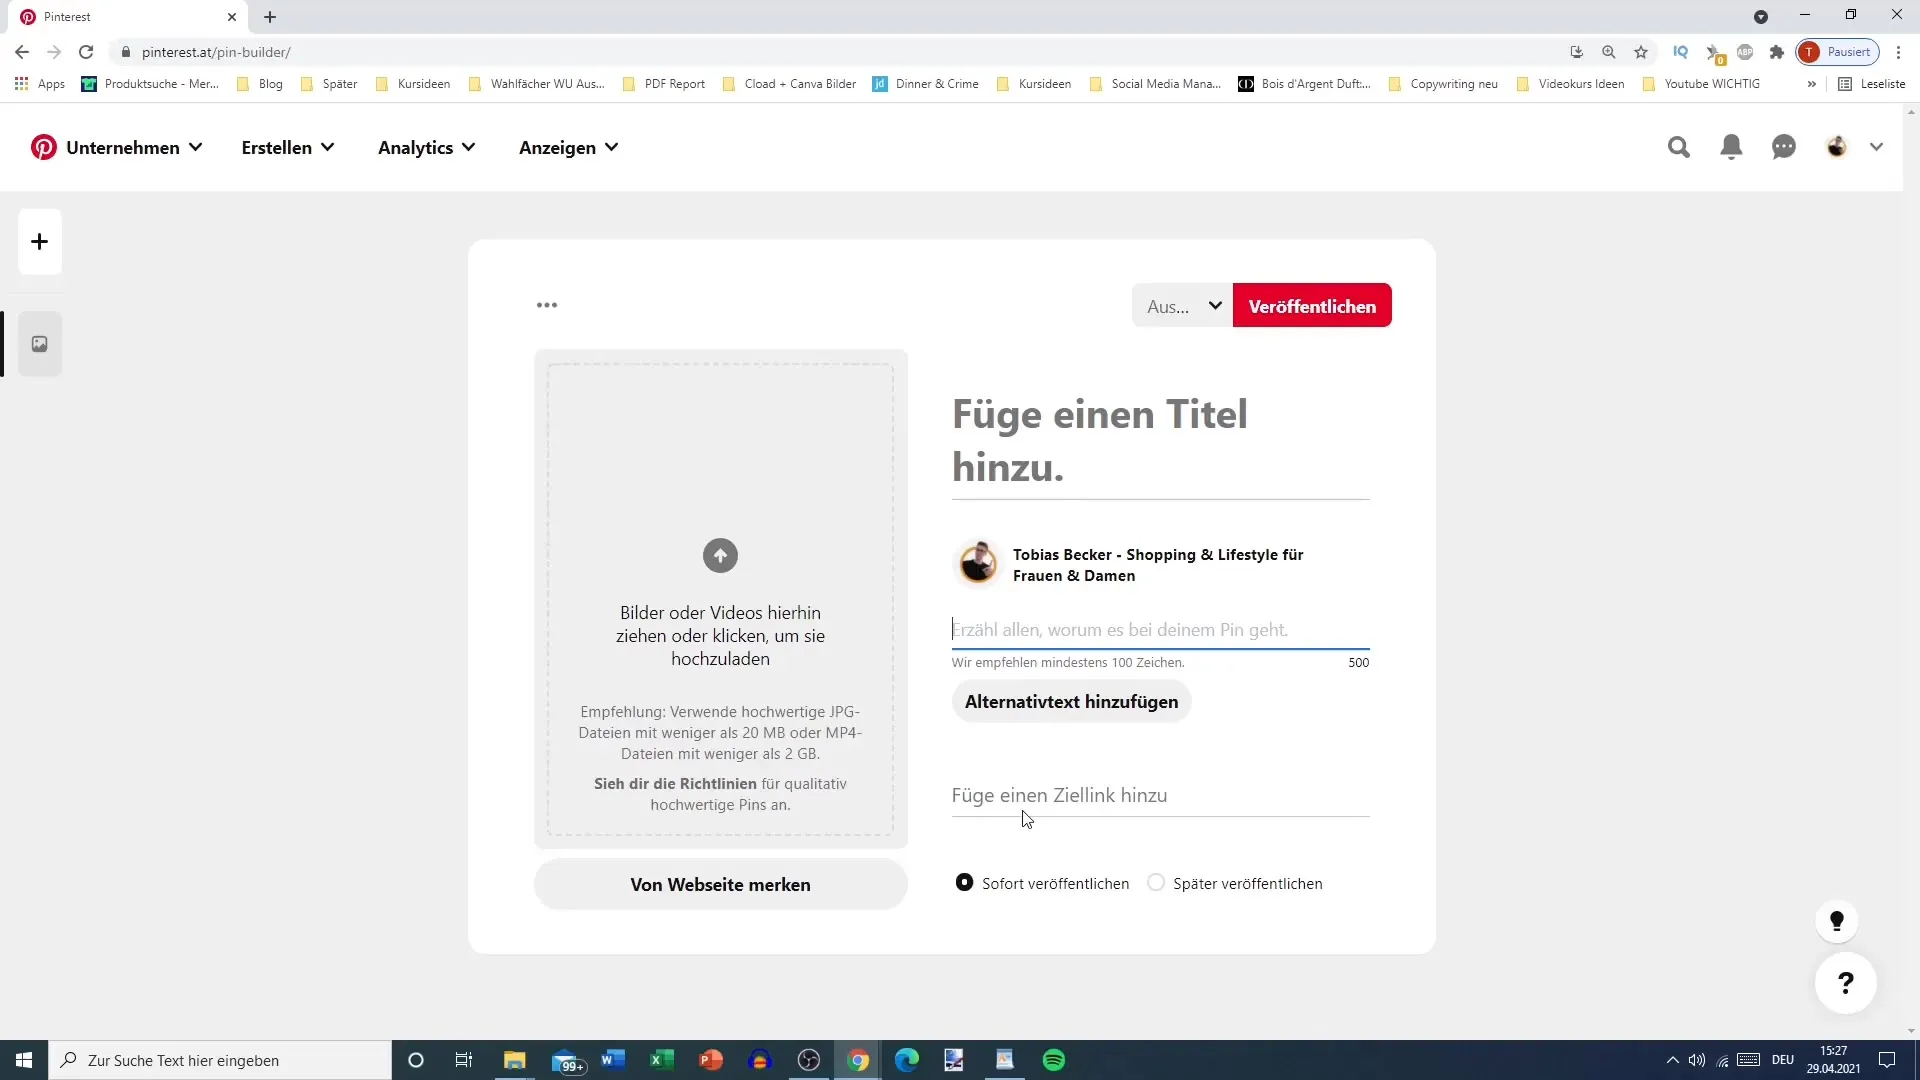
To ensure your pin is accessible to people with visual impairments, you can add alternative text describing the content of the image. This is an important feature that is often overlooked, and your audience might appreciate it.
Now you need the image you want to upload. Simply click on the plus symbol or drag the image to the designated area. Make sure the image is of high quality and does not raise any copyright concerns. A well-chosen image can make the difference between an ignored pin and a highly noticed one.
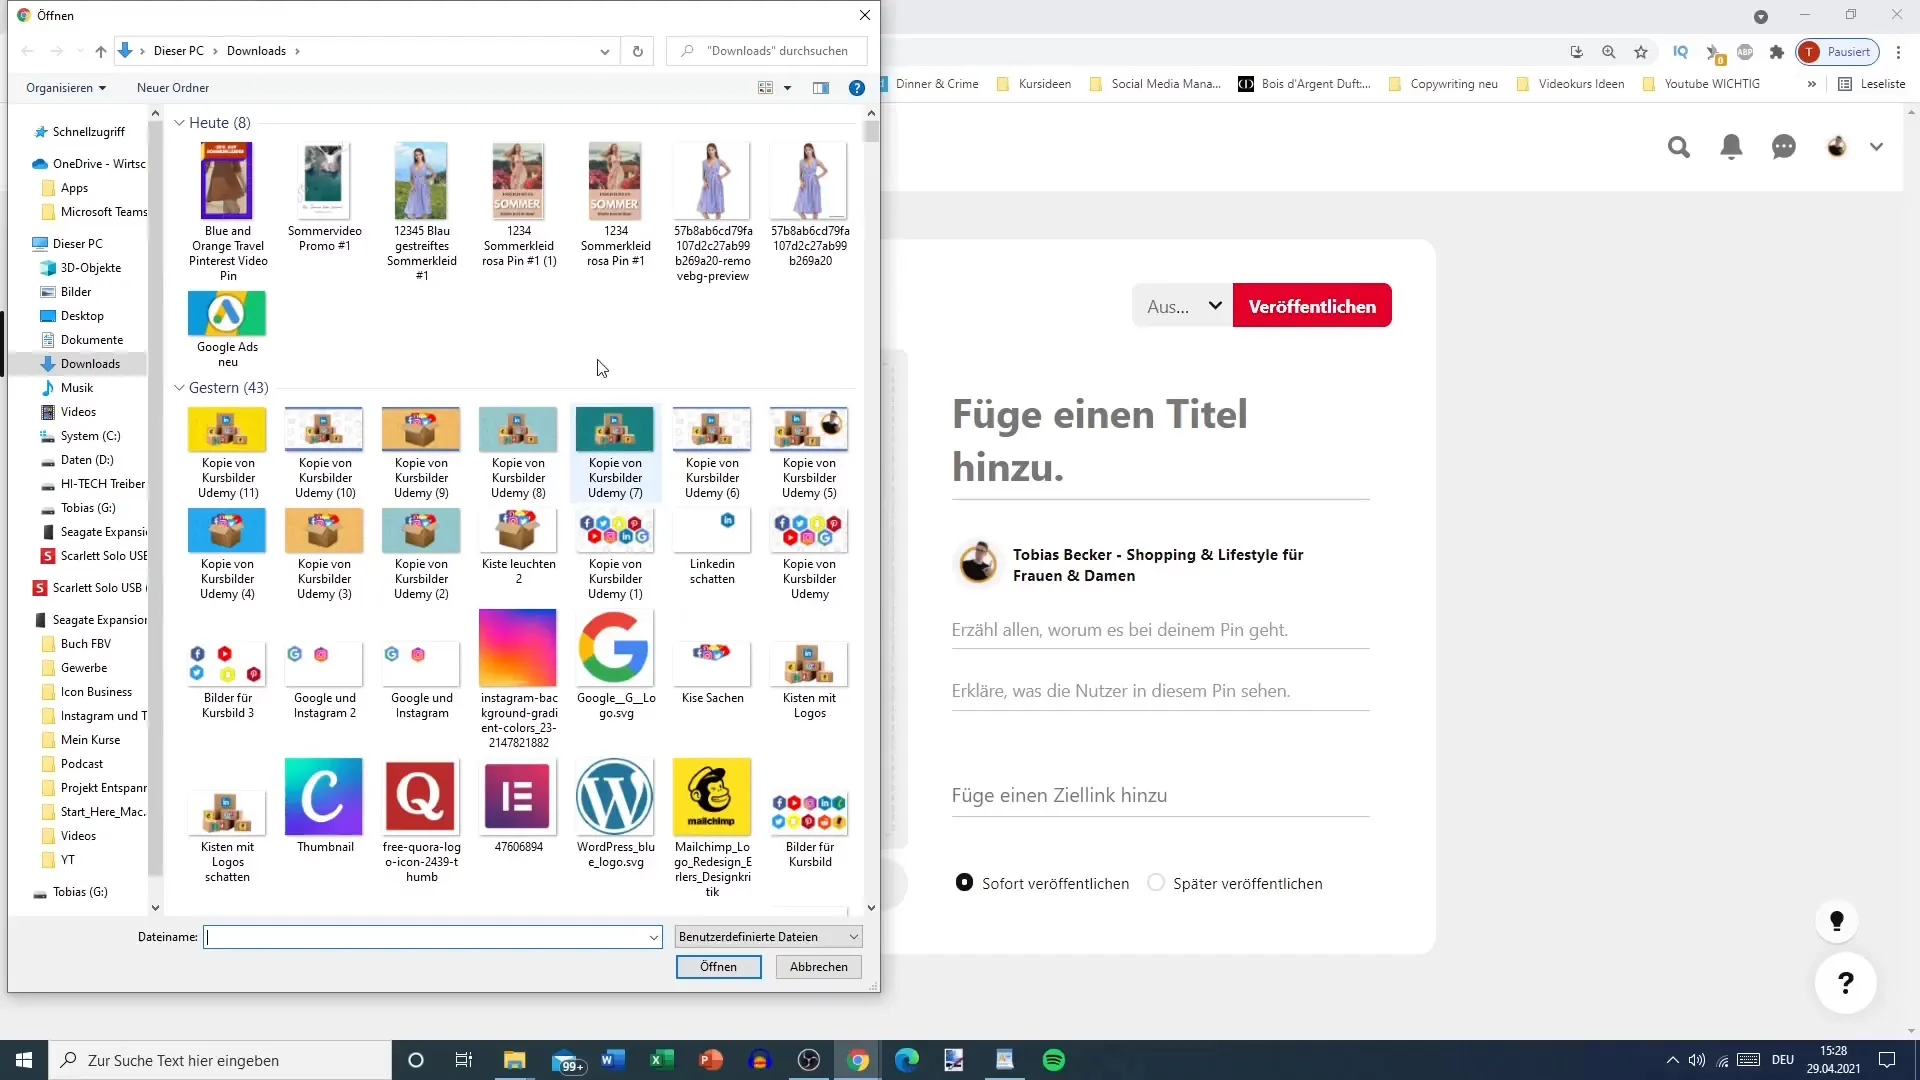
Once the image is uploaded, it's time to add a link to your pin. This should be the direct link to the product or content you are promoting. Instead of a general URL, link it to a specific page, such as directly to your product on your blog or online shop.
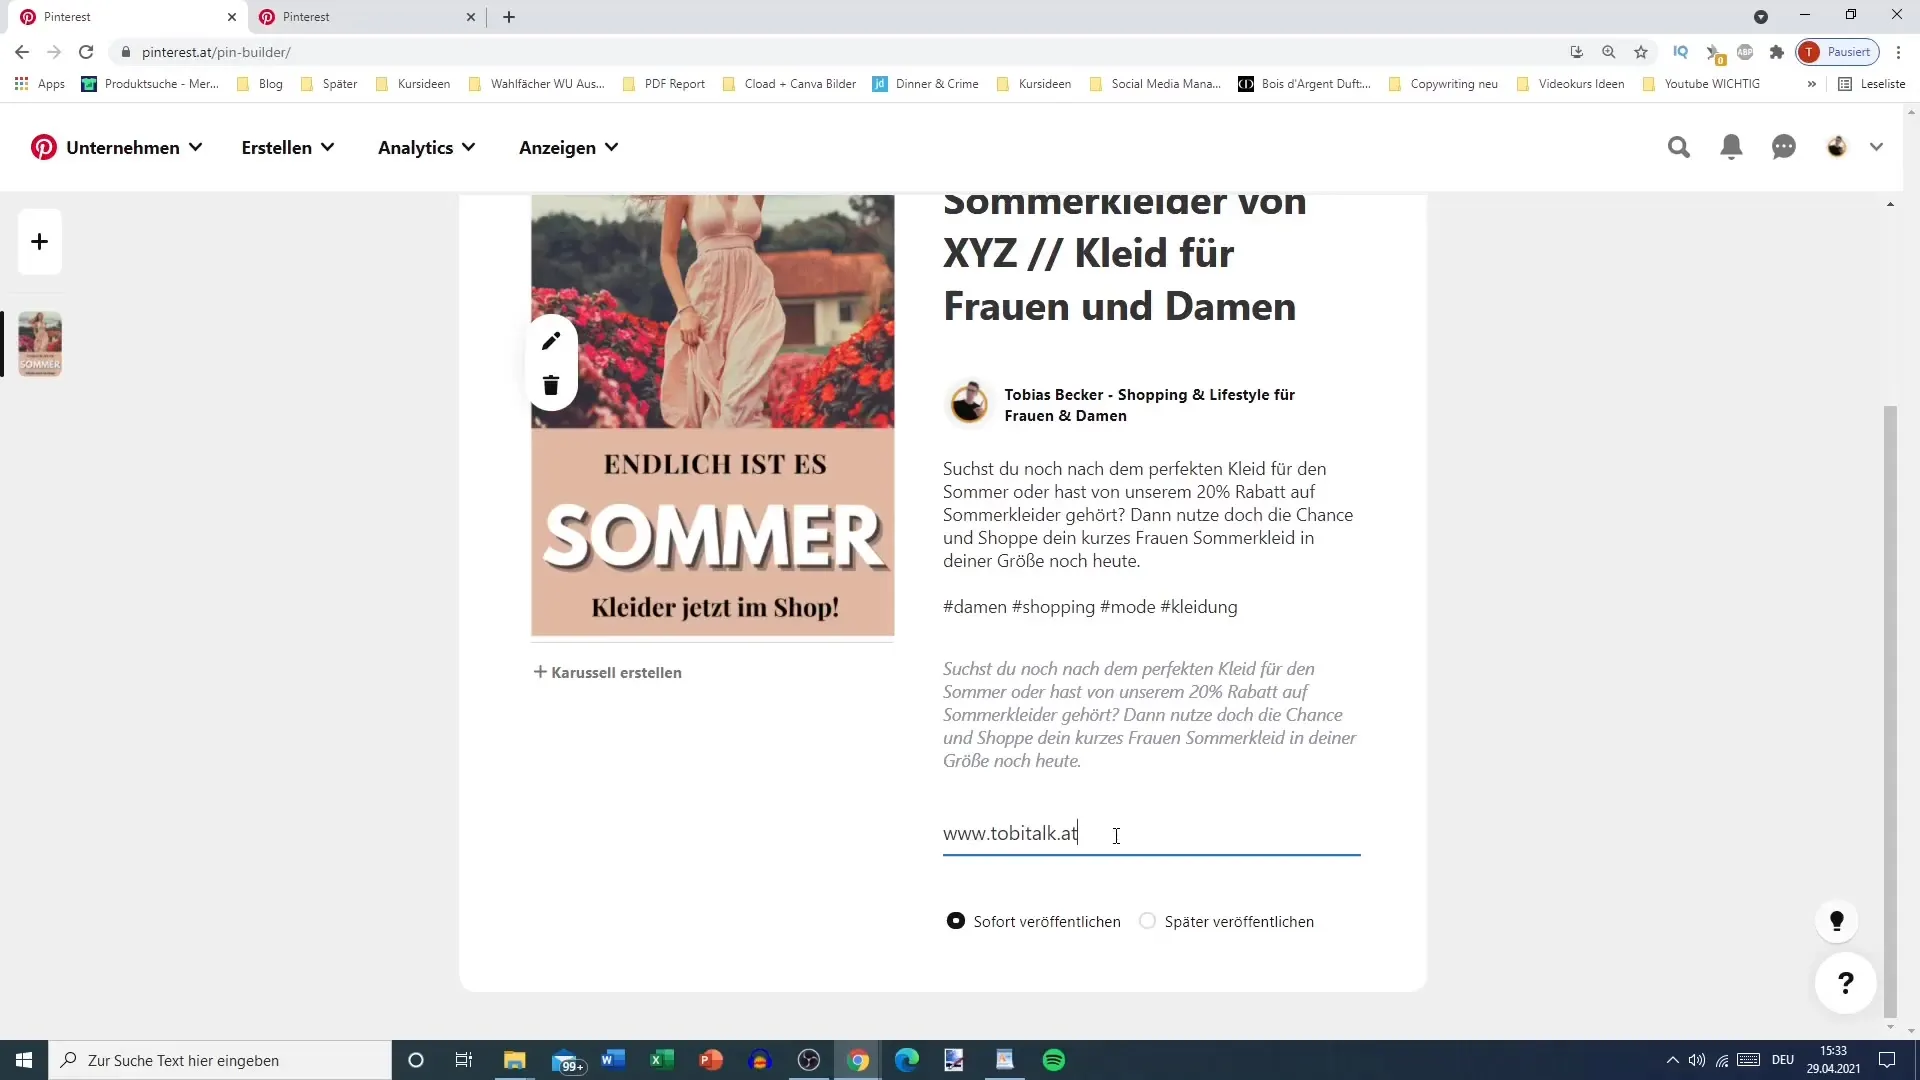
Have you filled everything out? Perfect! You can now check if everything is in order. Note that you can either publish the pin immediately or schedule it for later. This is especially useful if you have a specific publication timeframe in mind.

Before publishing the pin, select the appropriate board where you want to save your pin. This will keep your profile organized and structured. If you don't have a suitable board yet, you can create one directly.
Click on "Publish," and voilà! Your pin is online and visible to the entire Pinterest community. You can now tweak the pin or even promote it to give it more visibility.
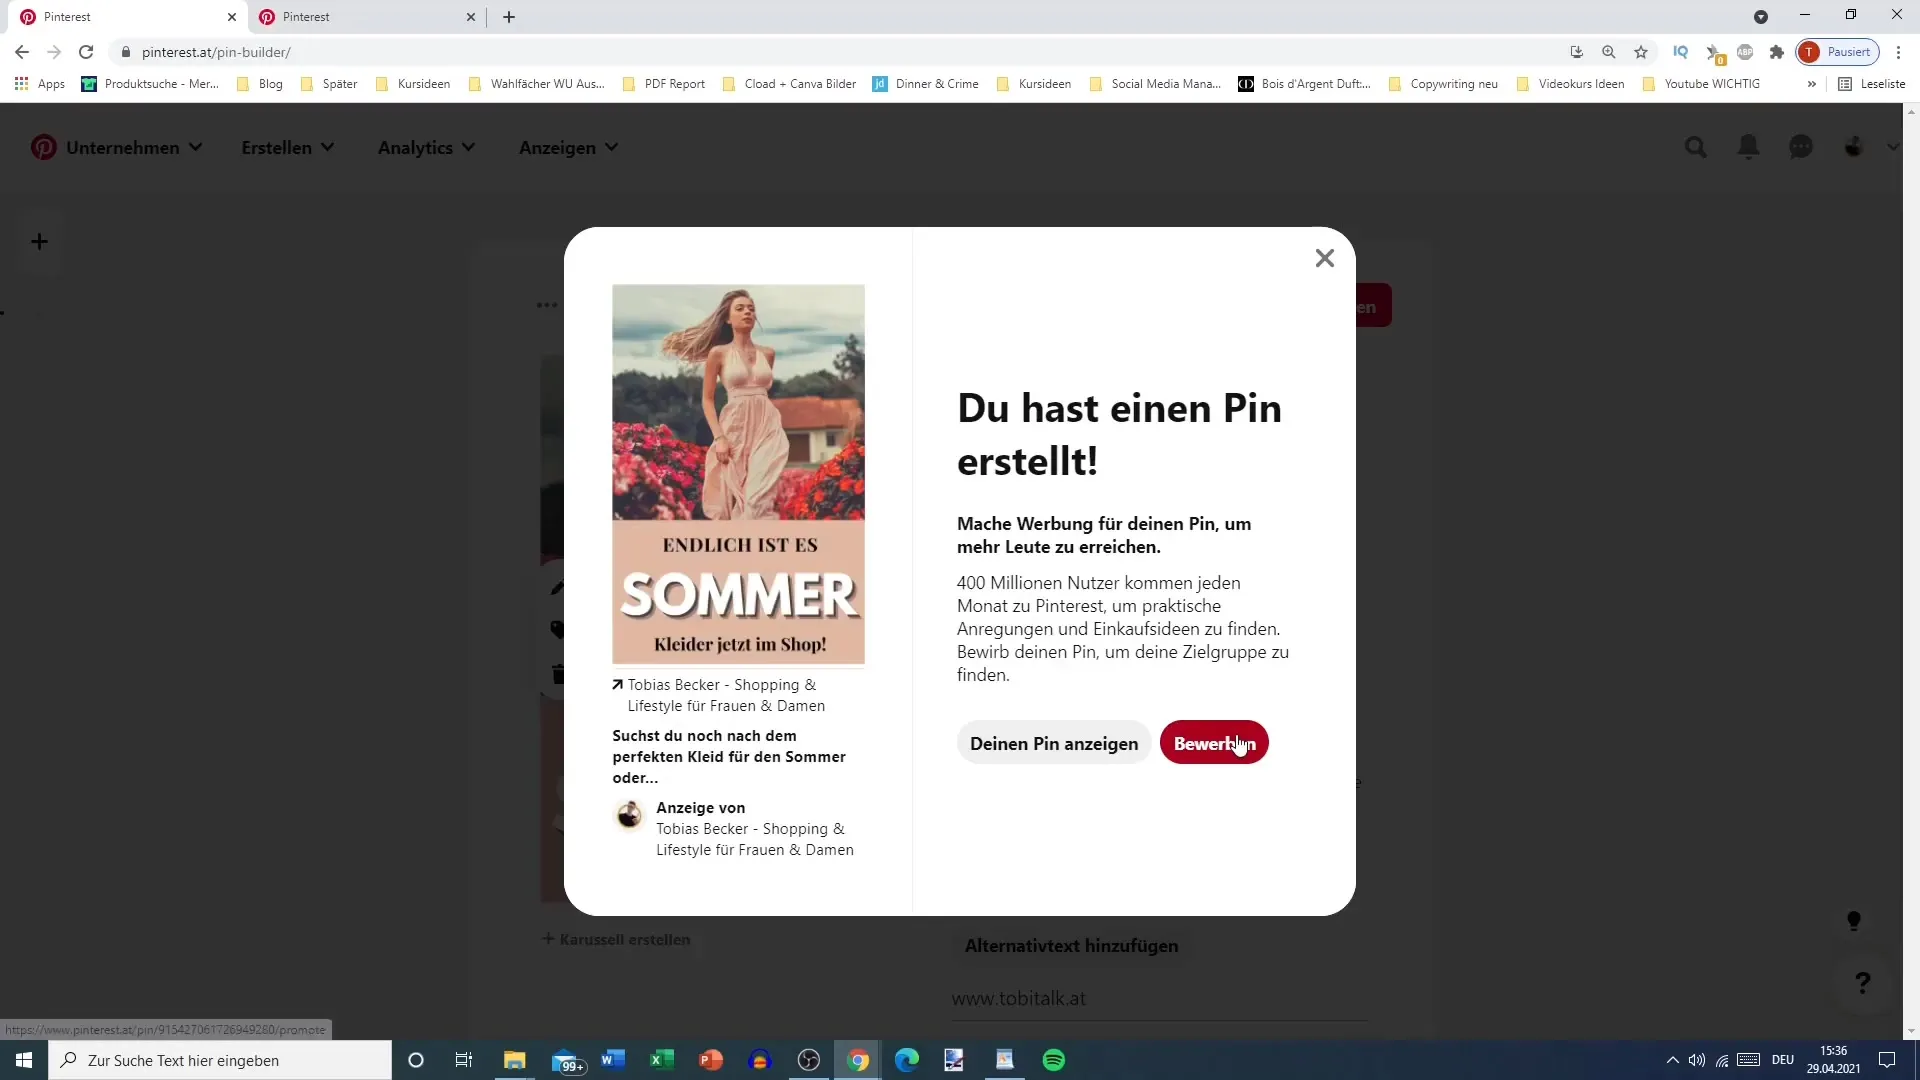
Lastly, I want to note that you can always go back and edit your pin to make further optimizations if needed.
Summary
Uploading a pin on Pinterest is a relatively simple process that helps you share your most creative ideas. Pay attention to the details in the title, description, and link to get the most out of your pin.
Frequently Asked Questions
How can I upload an image for my pin?You can upload the image either by clicking on the plus symbol or dragging it to the designated area.
What should I consider in the title of a pin?The first 40 characters are crucial as they are displayed in the preview. These should be concise and compelling.
How many characters can I insert into the description of a pin?You have a total of 500 characters available to provide users with more information.
Can I edit my pin later?Yes, you can always go back and edit your pin to make adjustments.
How do I add a link to my pin?In the corresponding field, you can enter the direct link to the product or content you are promoting.
