Pinterest is an extremely versatile tool that allows you to collect creative ideas, save inspiring content, and share your own projects with others. Below you will find a comprehensive guide on how to design and optimize your first pinboard on Pinterest.
Main Insights
To successfully work with Pinterest, it is important to structure your pinboards well and use the right keywords. Make sure to add appealing pins and carefully choose the arrangement of the pins, so it remains clear and organized for your followers.
Step 1: Accessing Your Profile
To start creating your first pinboard, you first need to access your profile. Click on the circular icon in the top right corner of your screen where your profile picture is located.
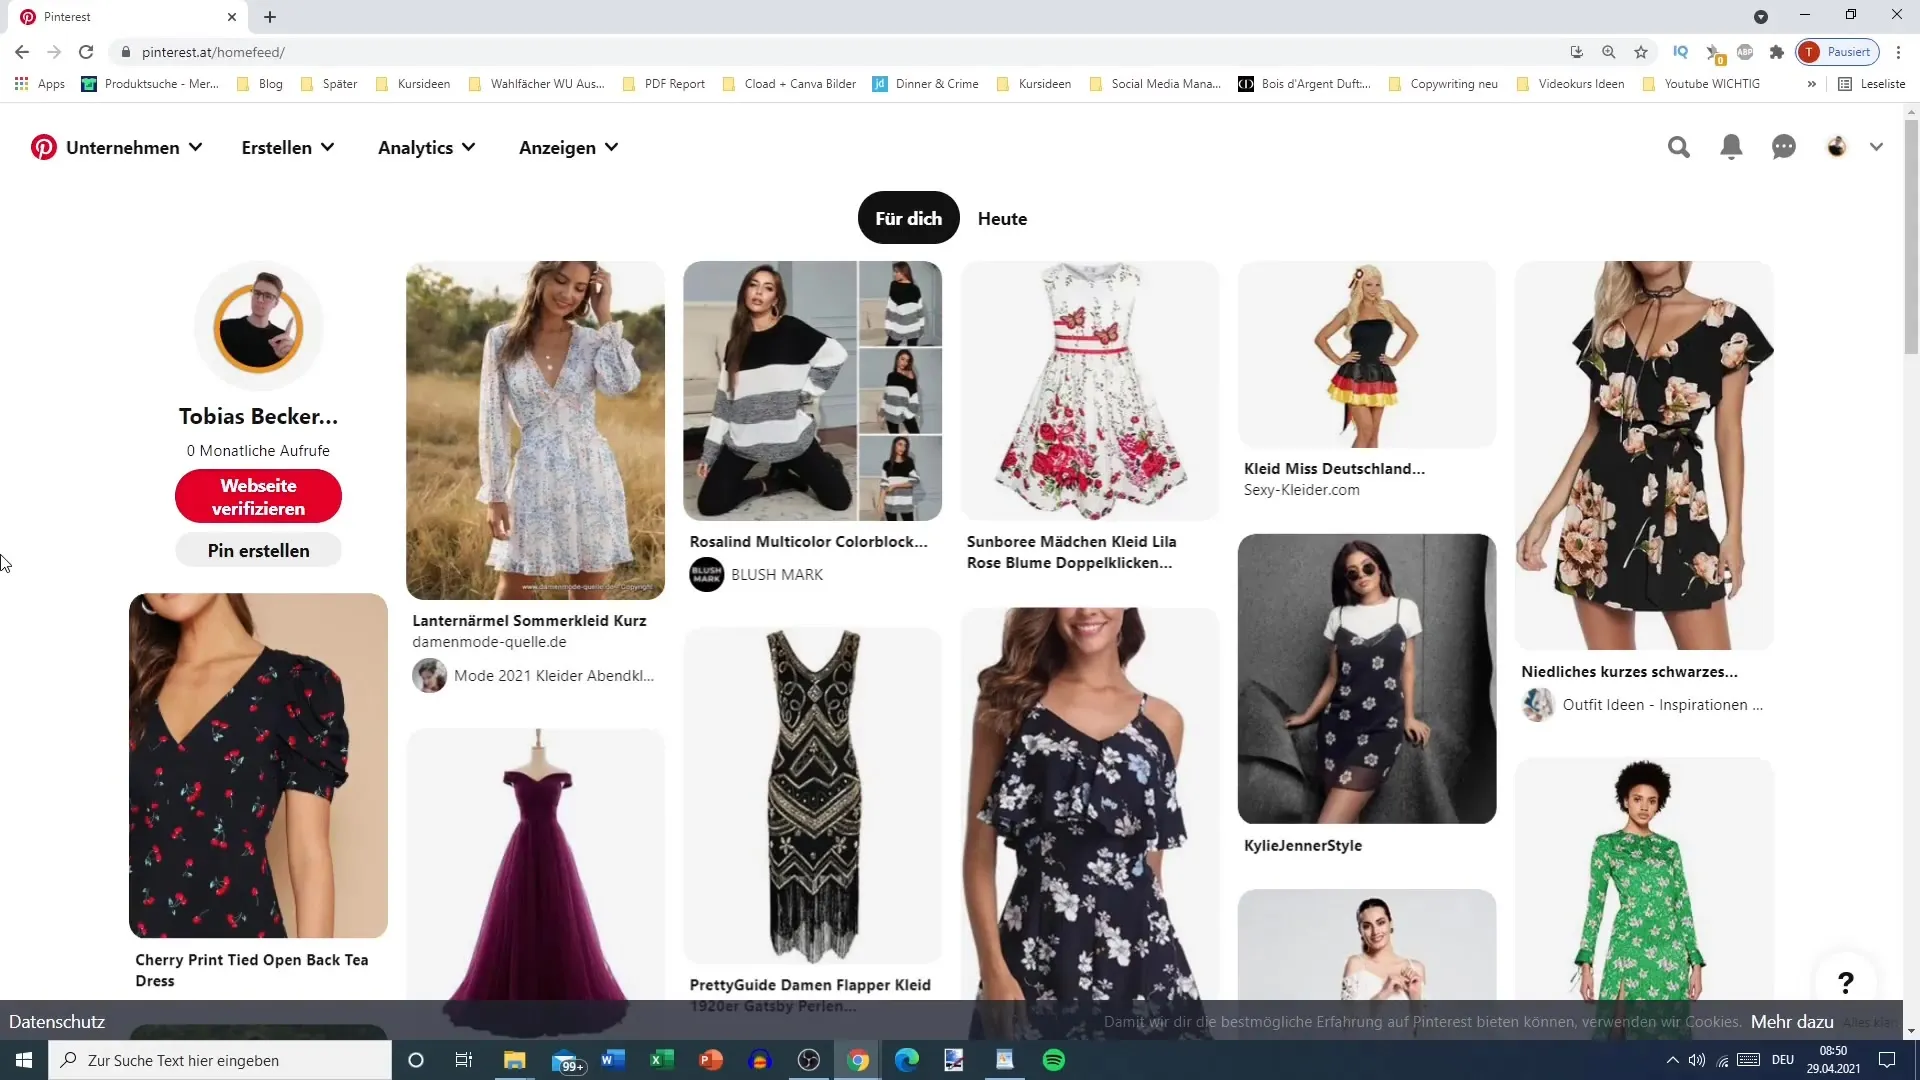
Here you will see your cover image, profile picture, and your name along with settings for your profile. There are also options for editing your profile and organizing your pinboards.
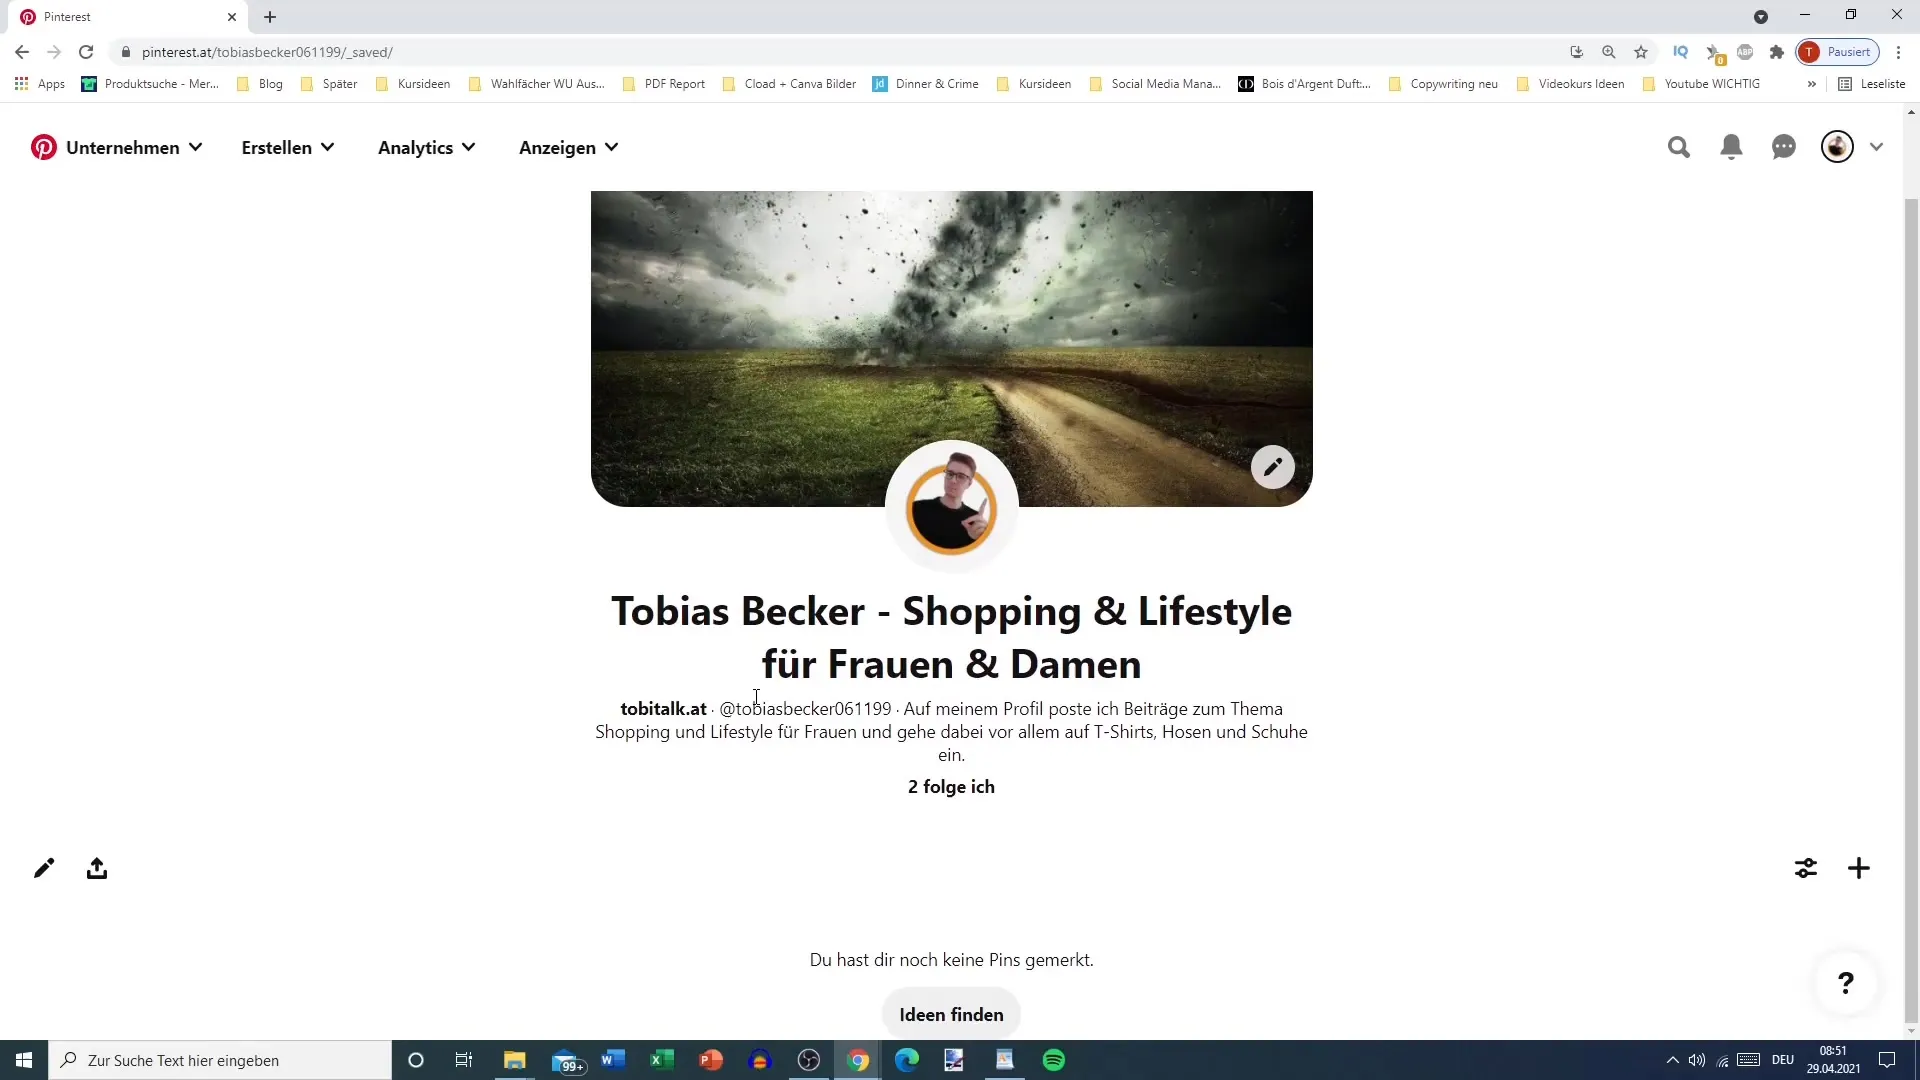
Step 2: Creating a New Pinboard
To create a new pinboard, click on the plus sign next to your existing pinboards. Then select the option "Create Pinboard".
Give your pinboard a meaningful name. For our example, we will call it "Short Summer Dresses for Women." Make sure the name contains relevant keywords.
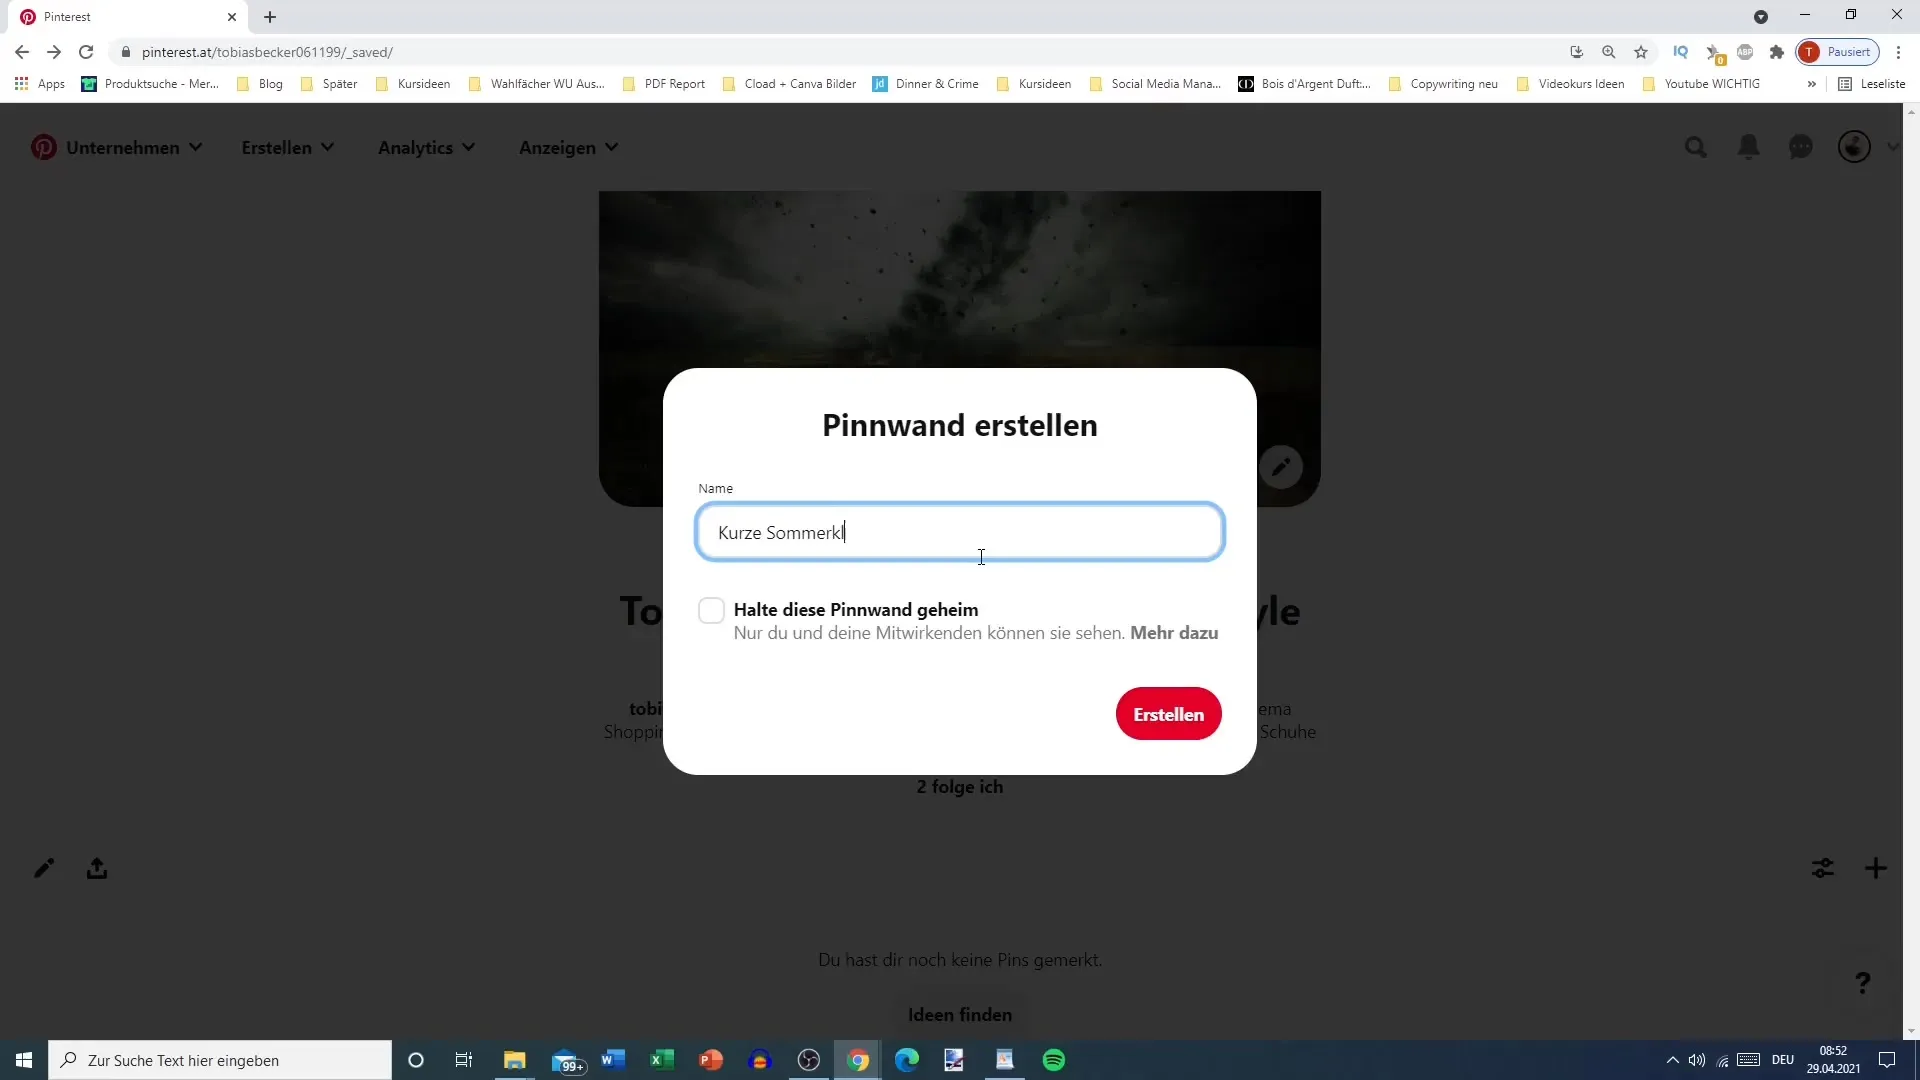
Once you are satisfied with the name, click on "Create". Now you will receive a list of matching pins that you can add to your new pinboard.
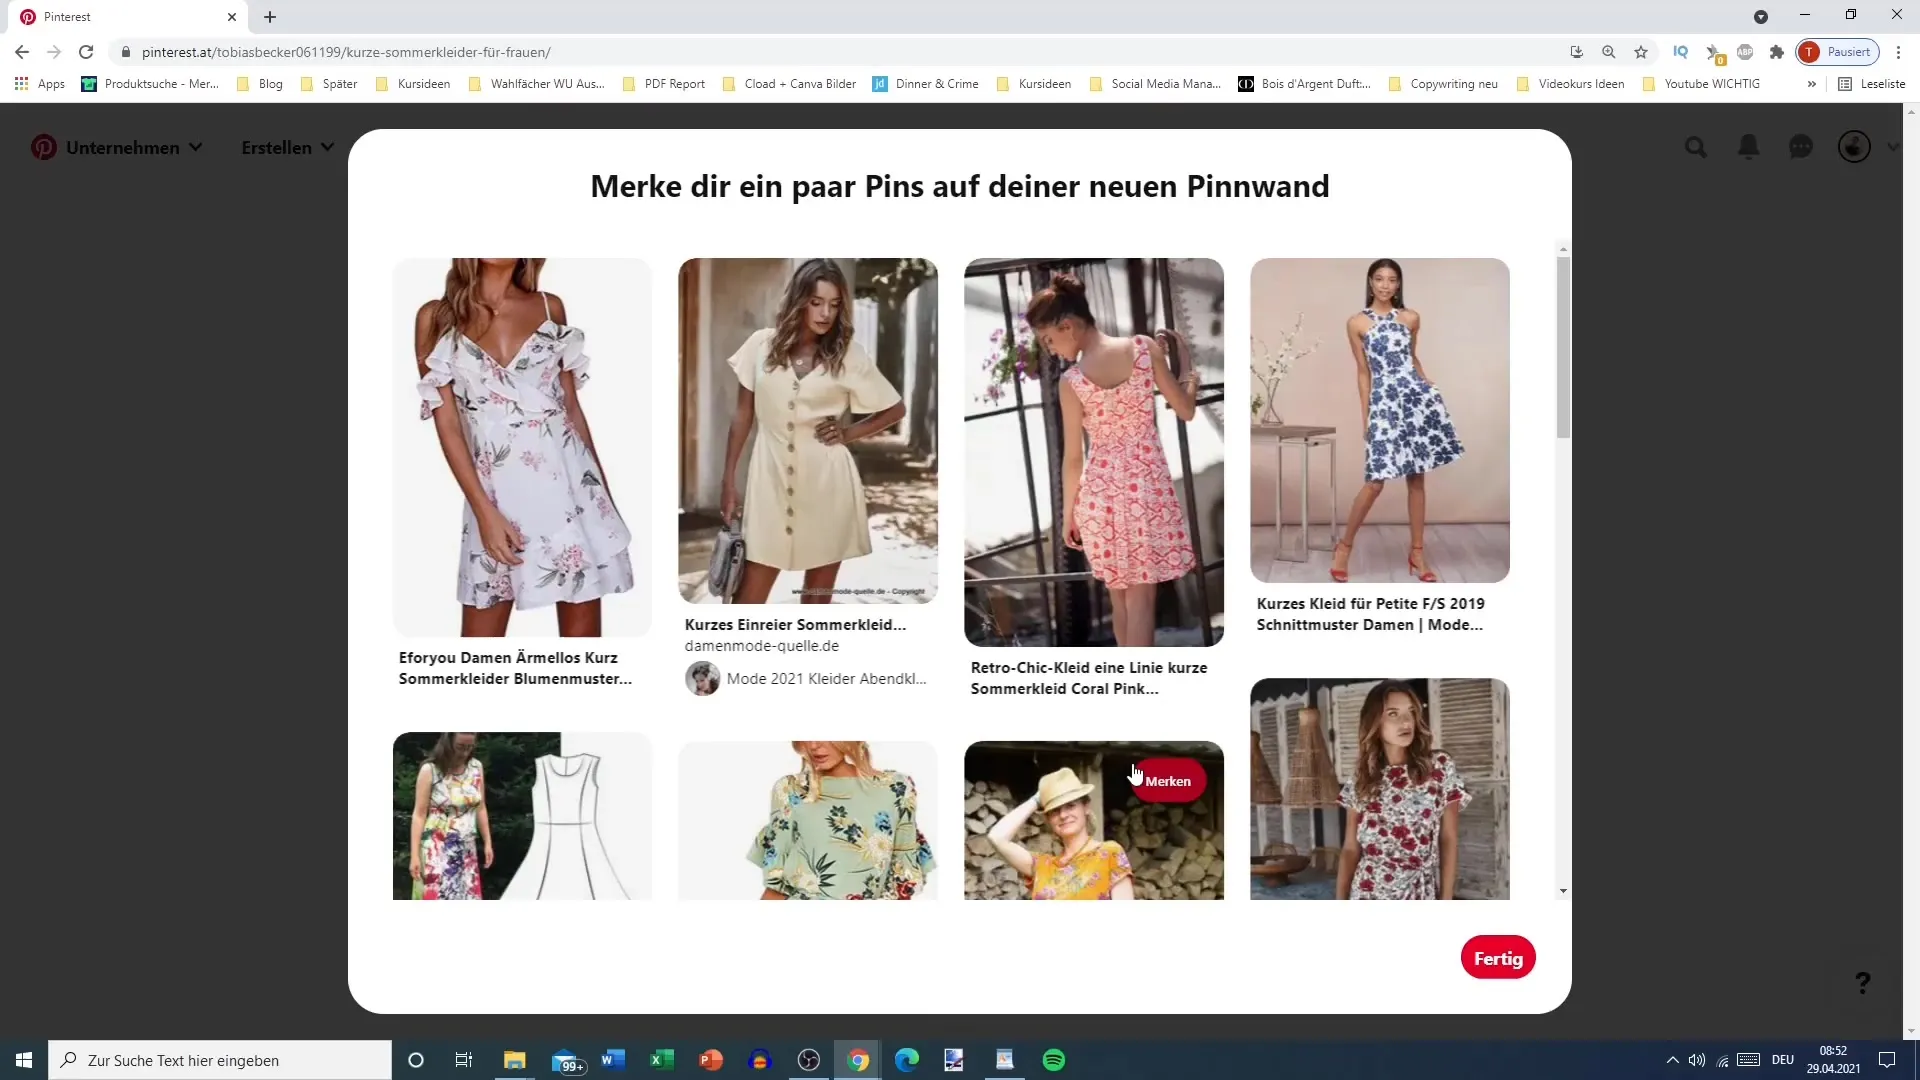
Step 3: Adding Pins
To avoid leaving your pinboard empty, you should add pins. Look for some short summer dresses and select the ones you like. Add at least a few pins so your pinboard looks visually appealing right away.
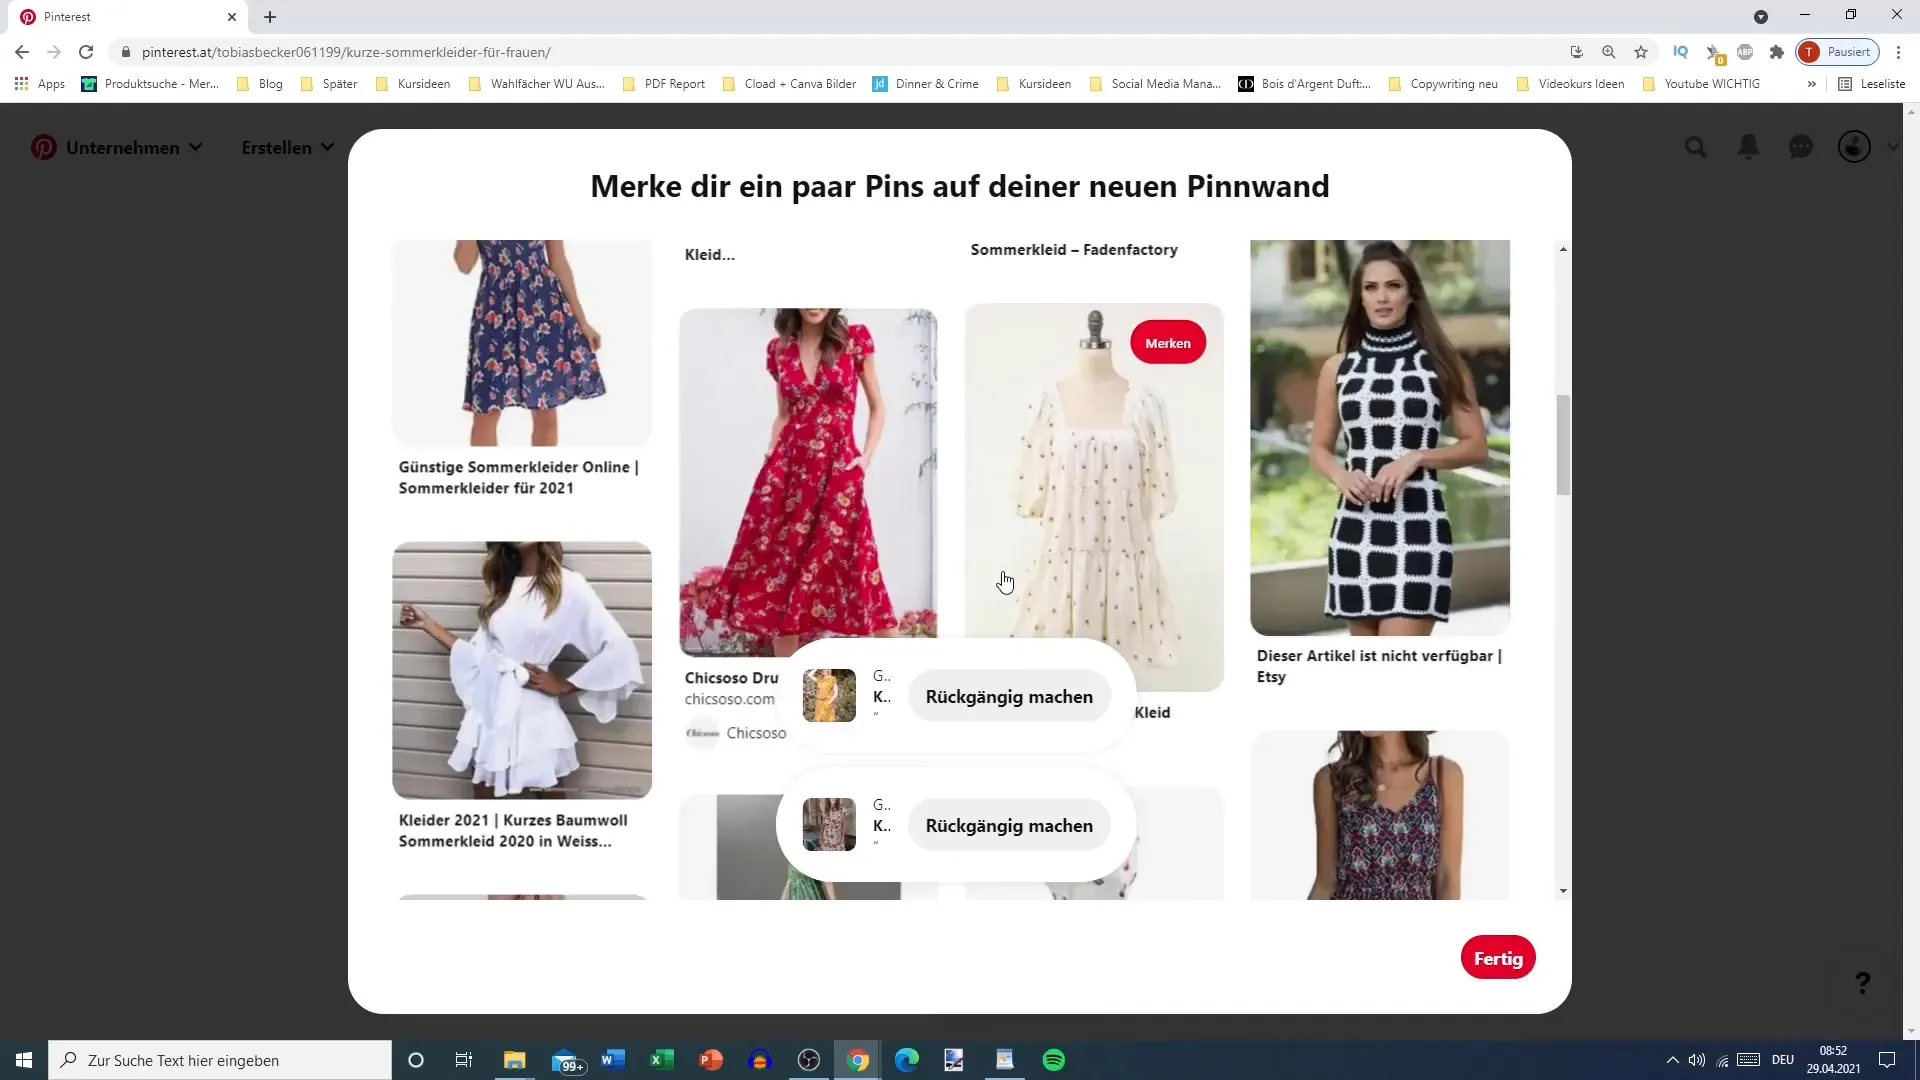
Once you have finished adding the pins, click on "Done".
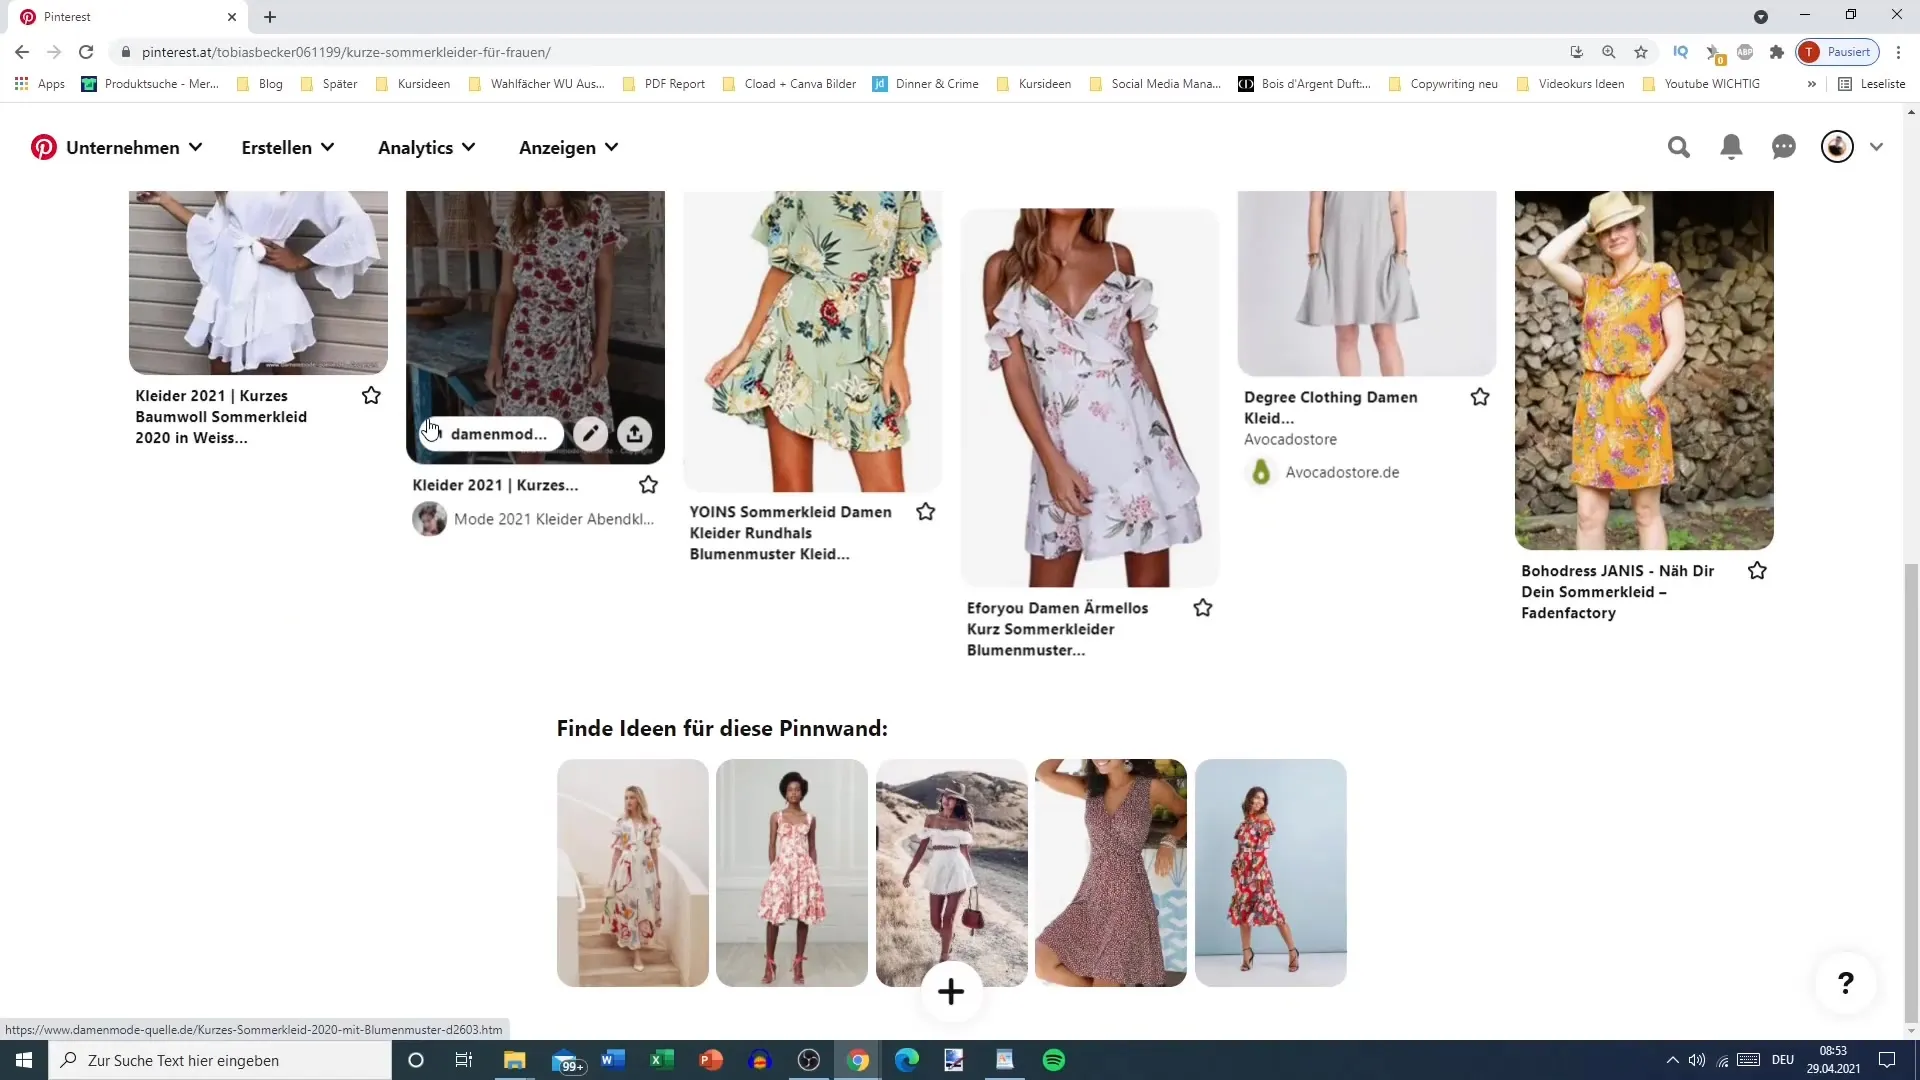
Step 4: Sorting Pins
Now comes the next step: organizing your pins. Click on the "Organize" button to see how you can change the position of your pins.
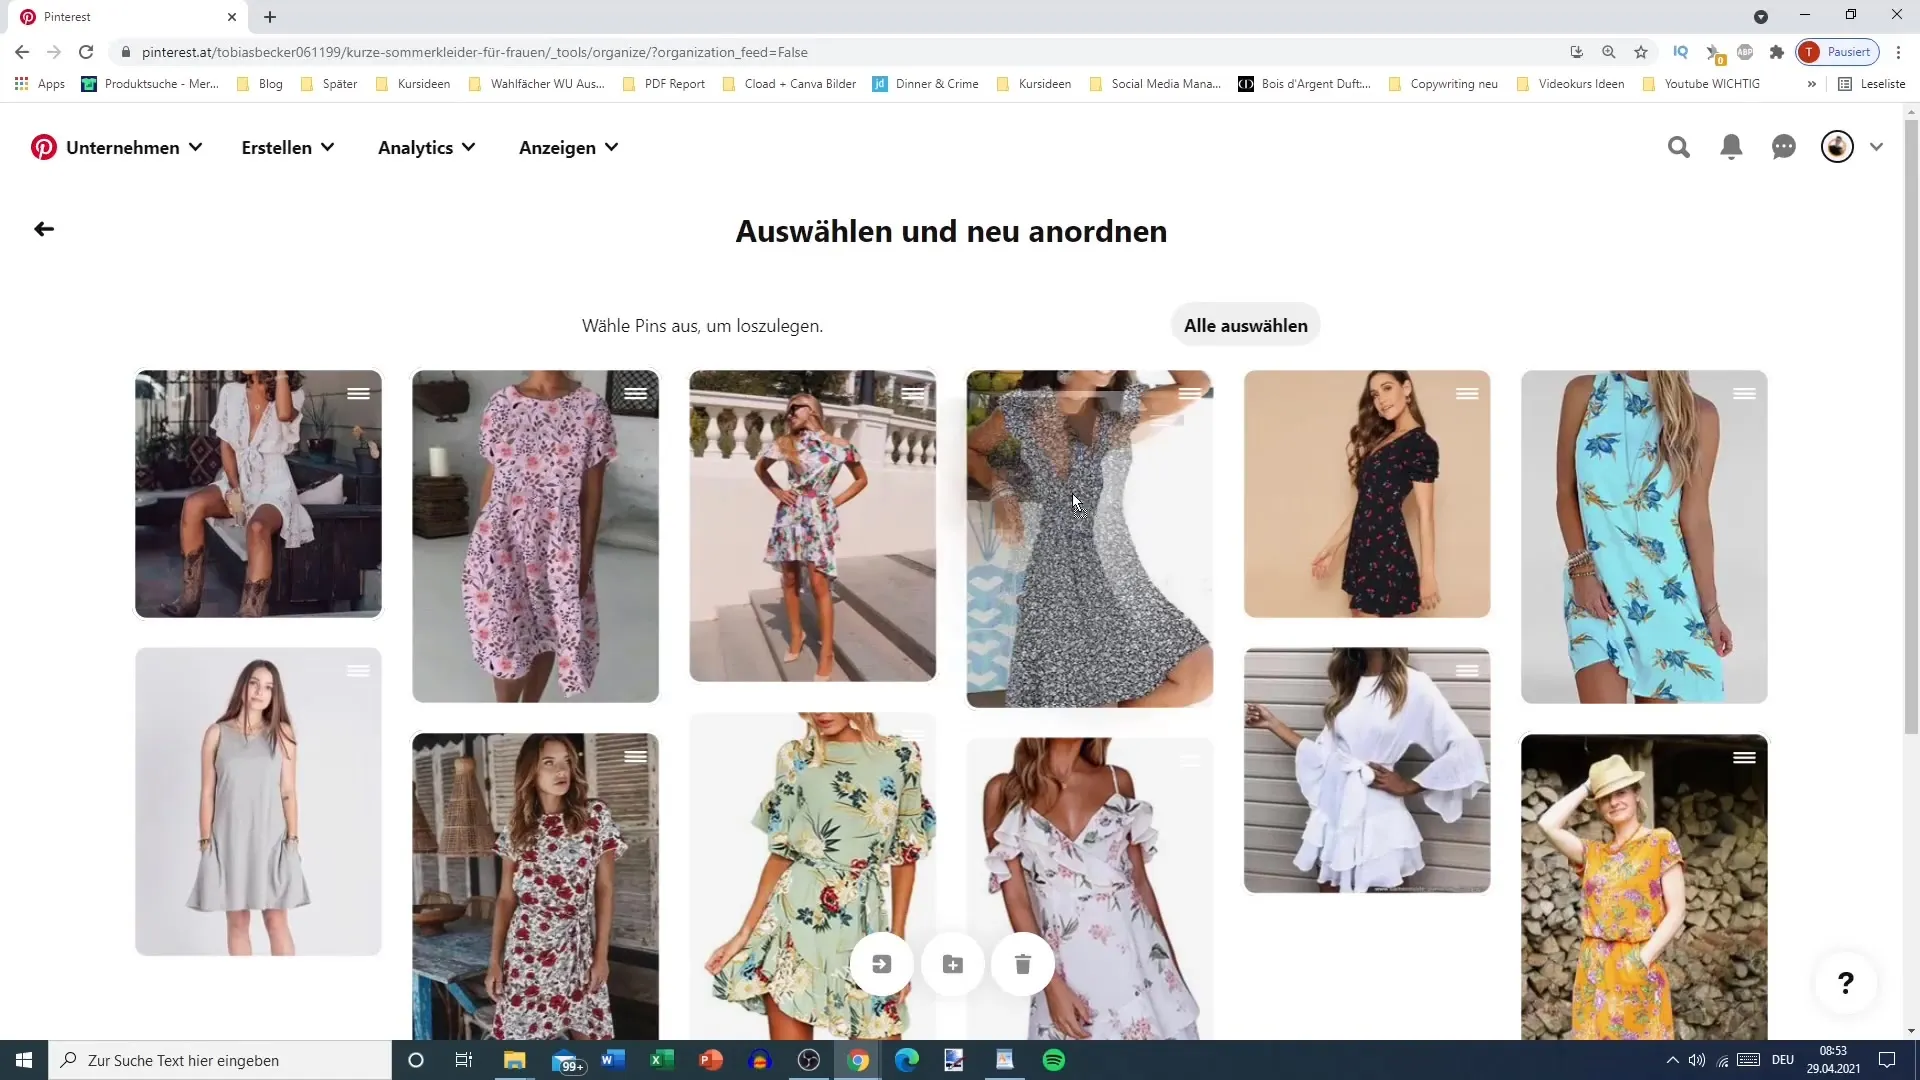
Here you can rearrange the pins by drag-and-drop. Move the pins to the desired position and make sure the arrangement is logical and visually appealing for your followers.
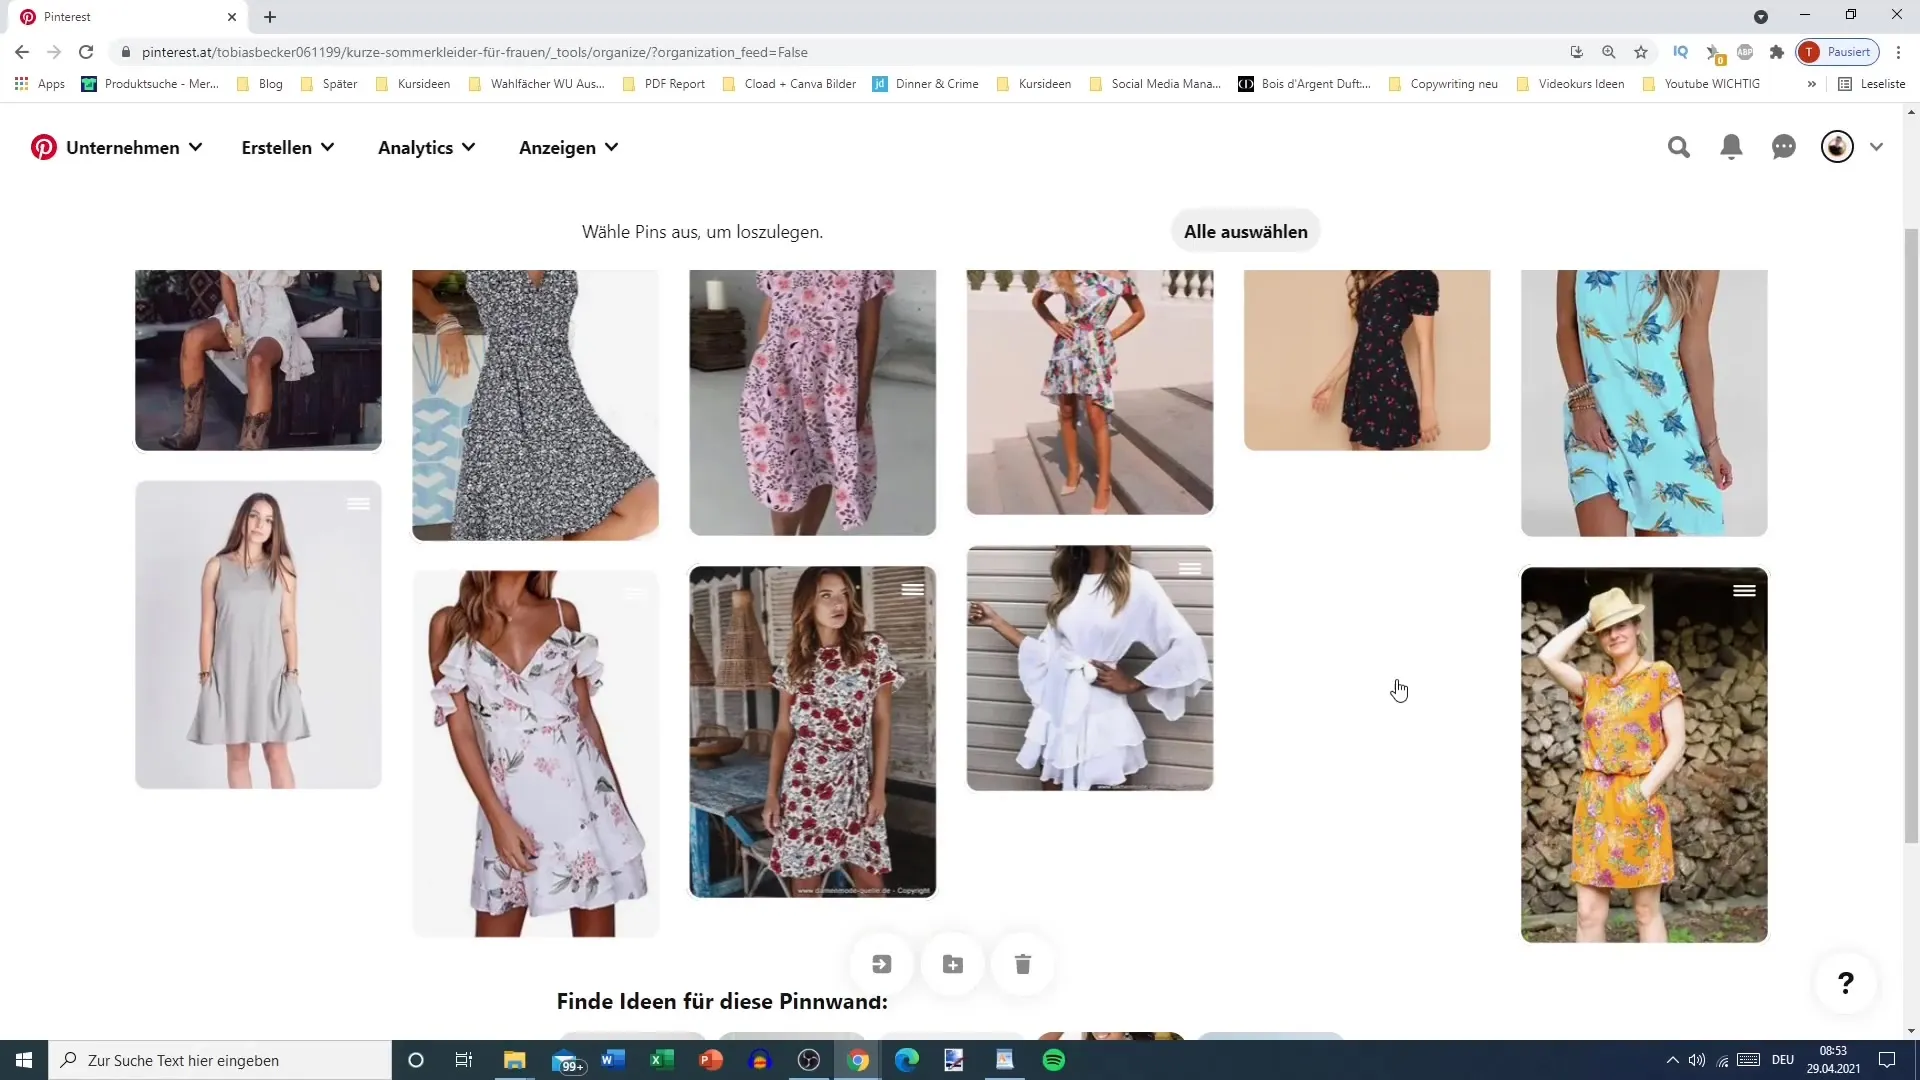
Step 5: Setting Display Options
Now that your pins have been added and sorted, you can adjust the display options of your pinboard. You can choose between different views, such as "Standard" or "Compact".
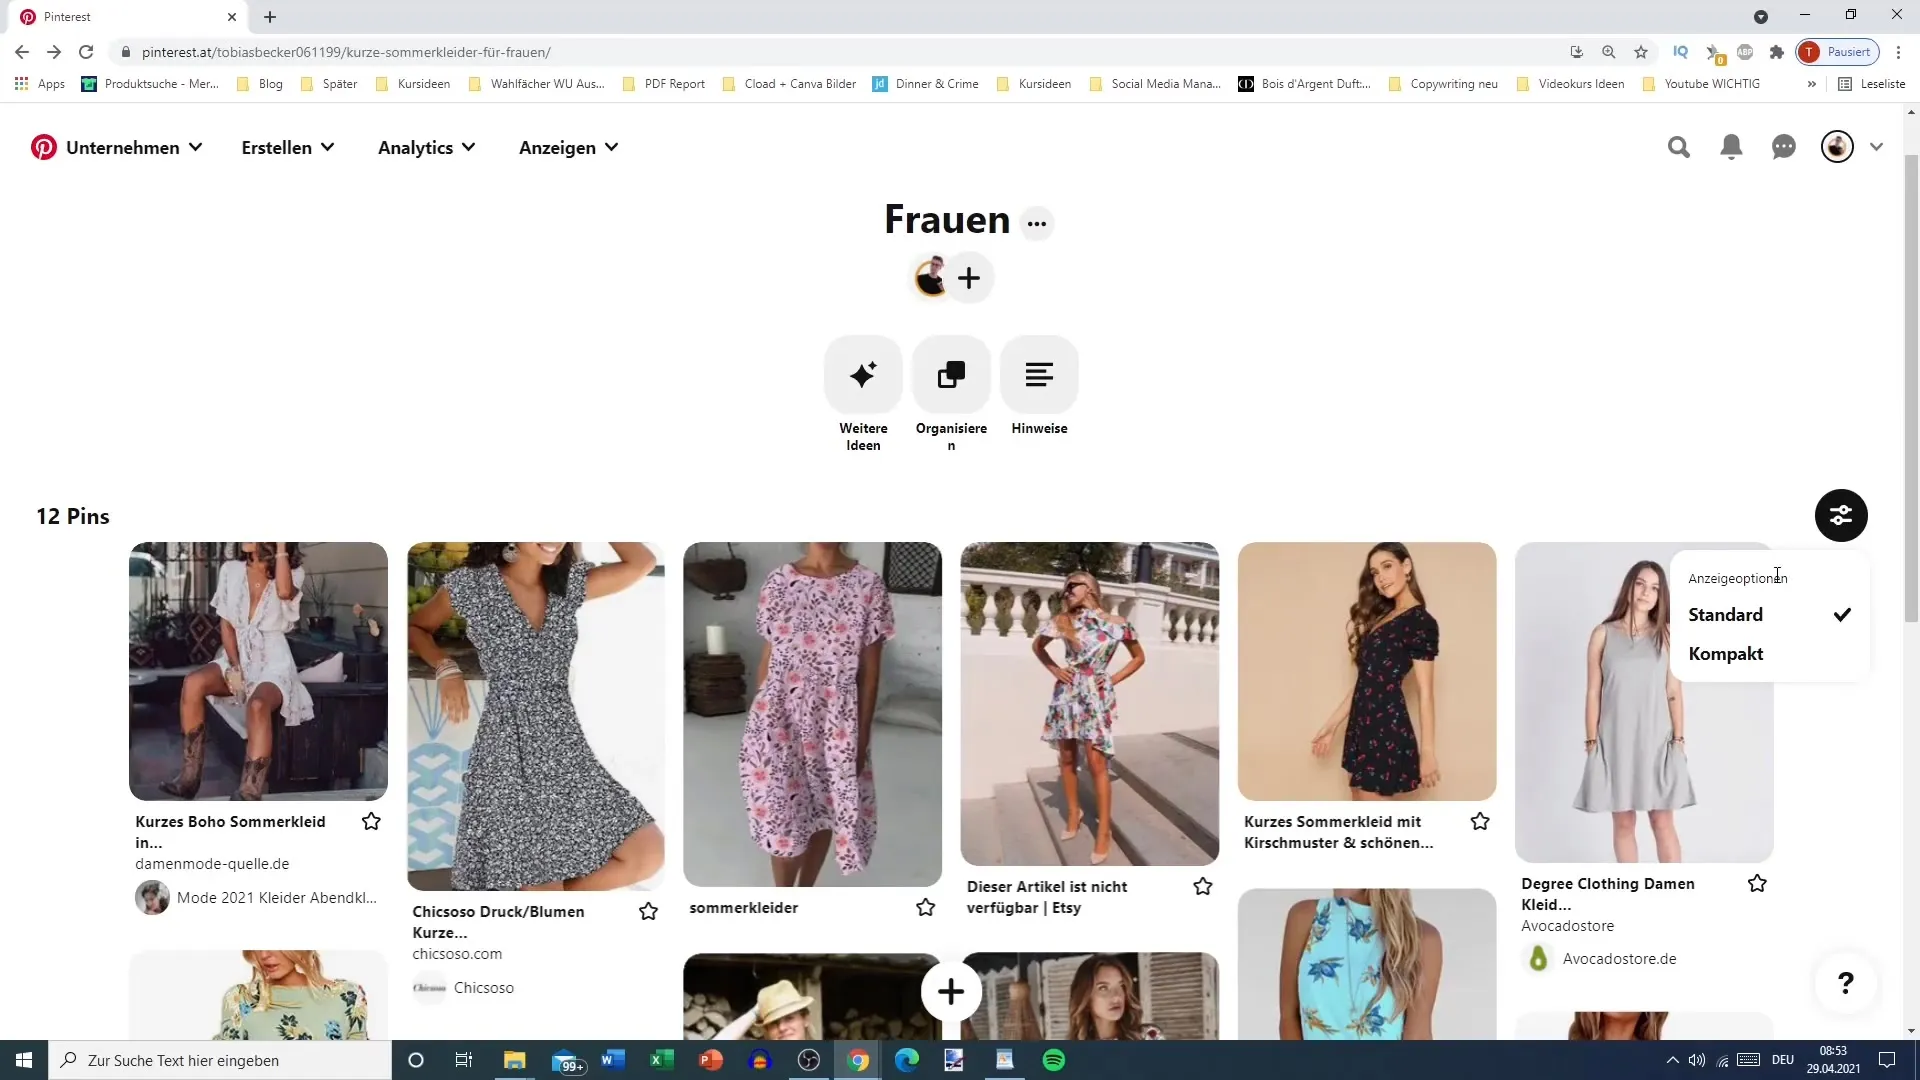
Depending on the number of your pins, a compact view may be more clear, especially if you have many pins.
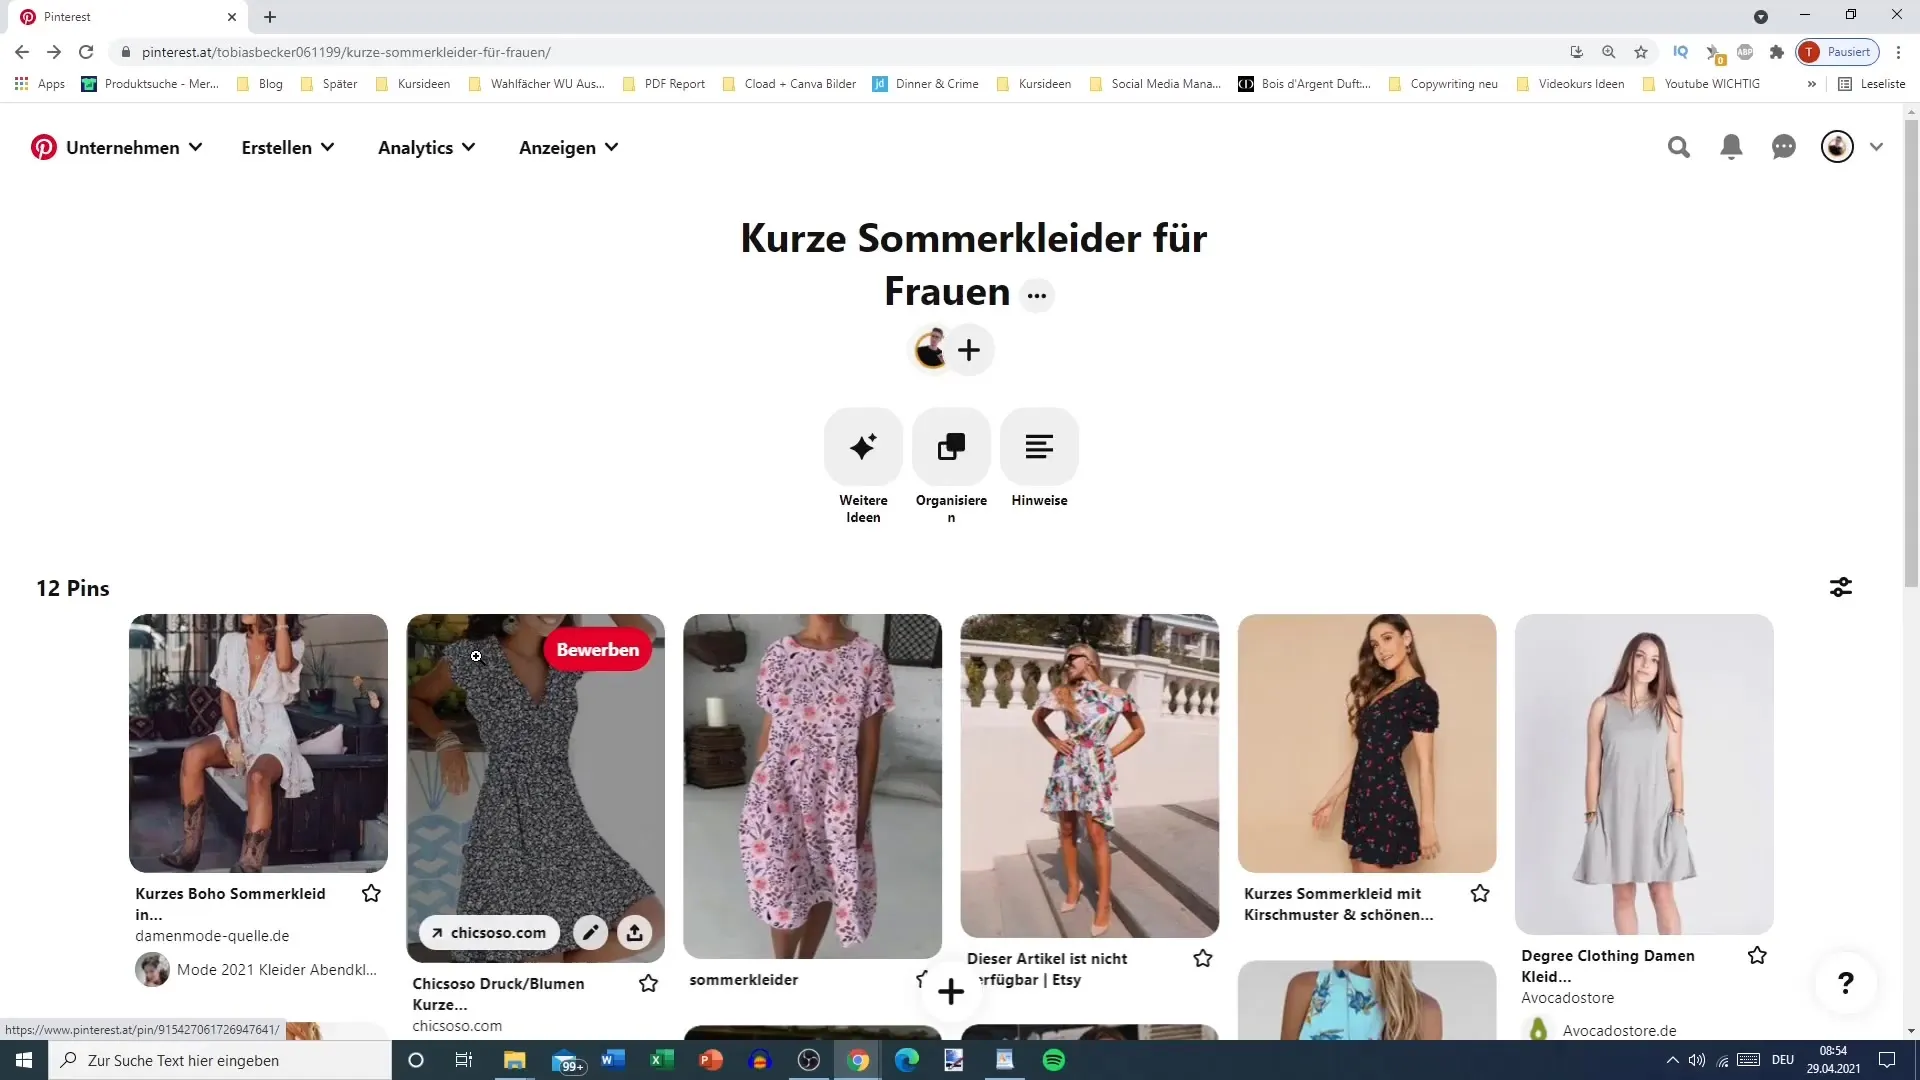
Step 6: Adding Folders
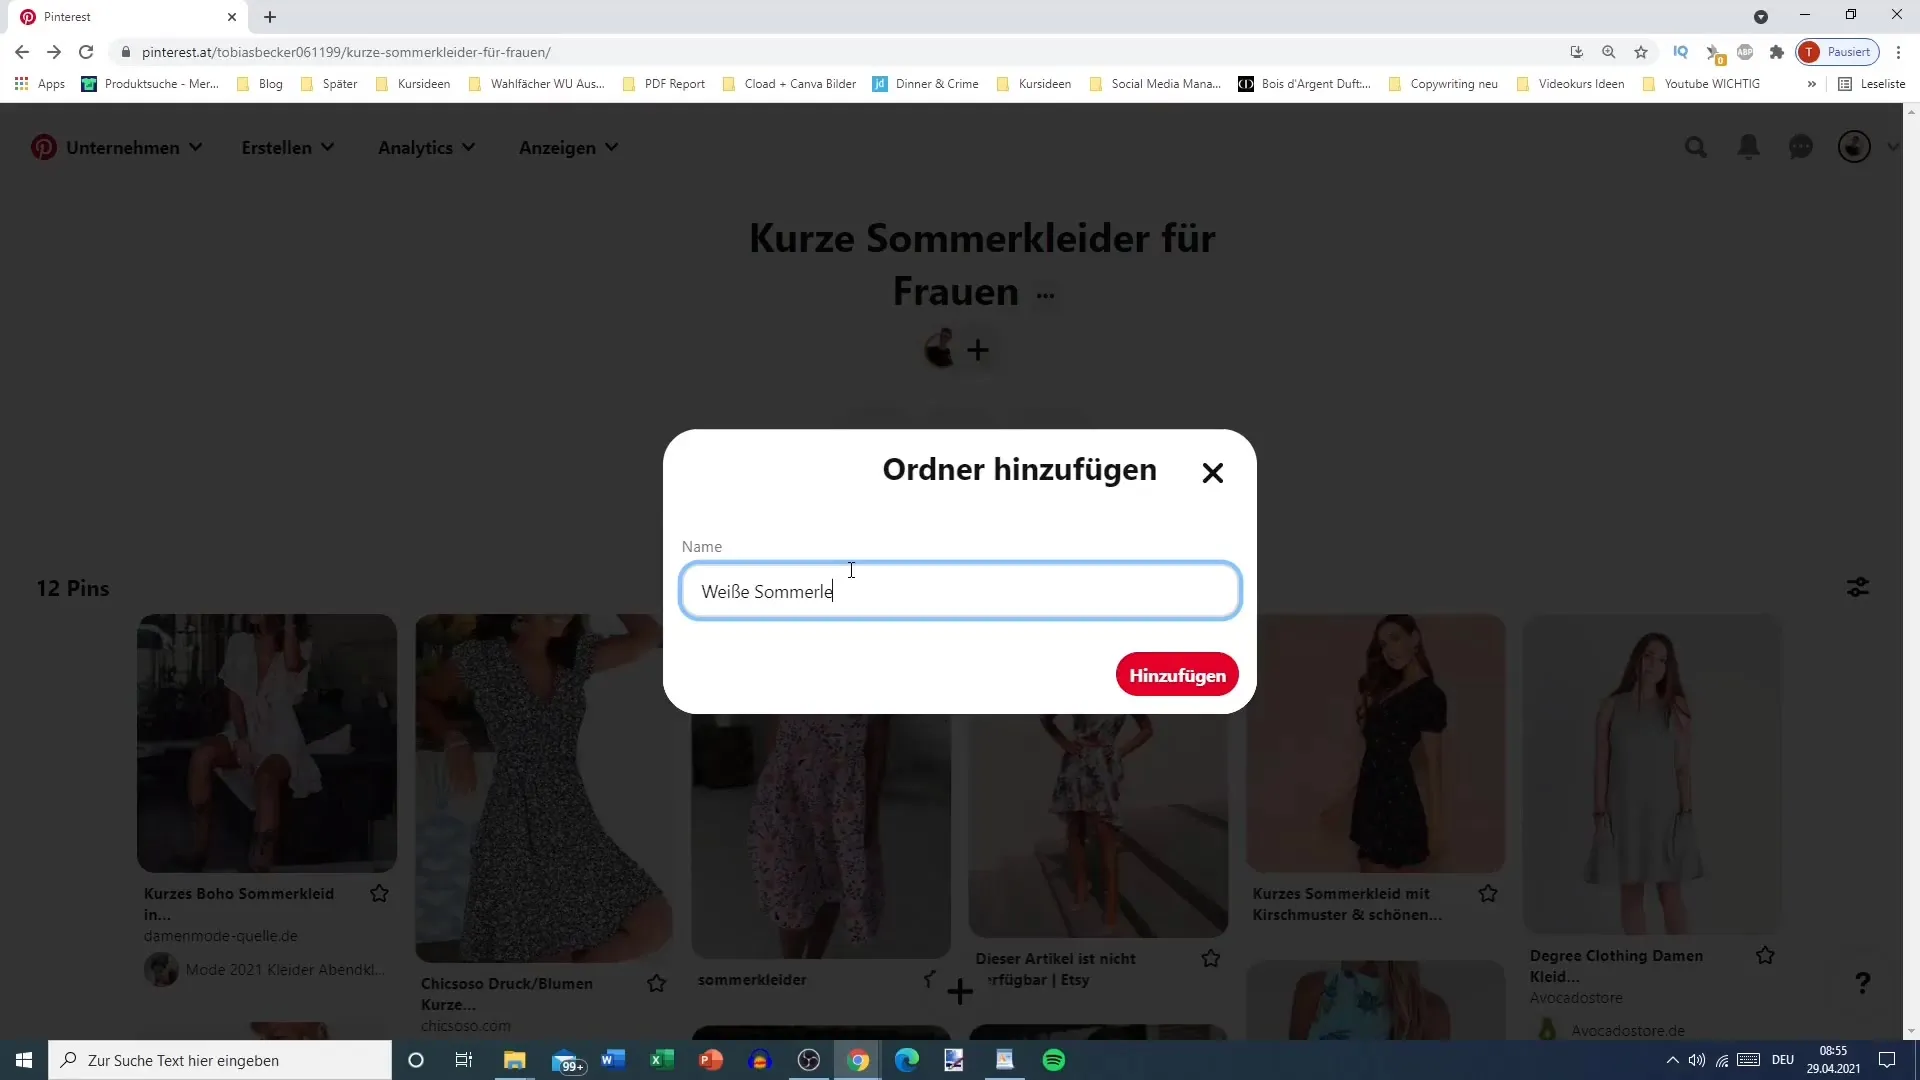
A great feature of Pinterest is the ability to create folders within your pinboard. Click on "Add folder" and create a subfolder for something like "White Summer Dresses".
With this structure, you can introduce thematic categories so that your followers can find interesting pins more quickly.
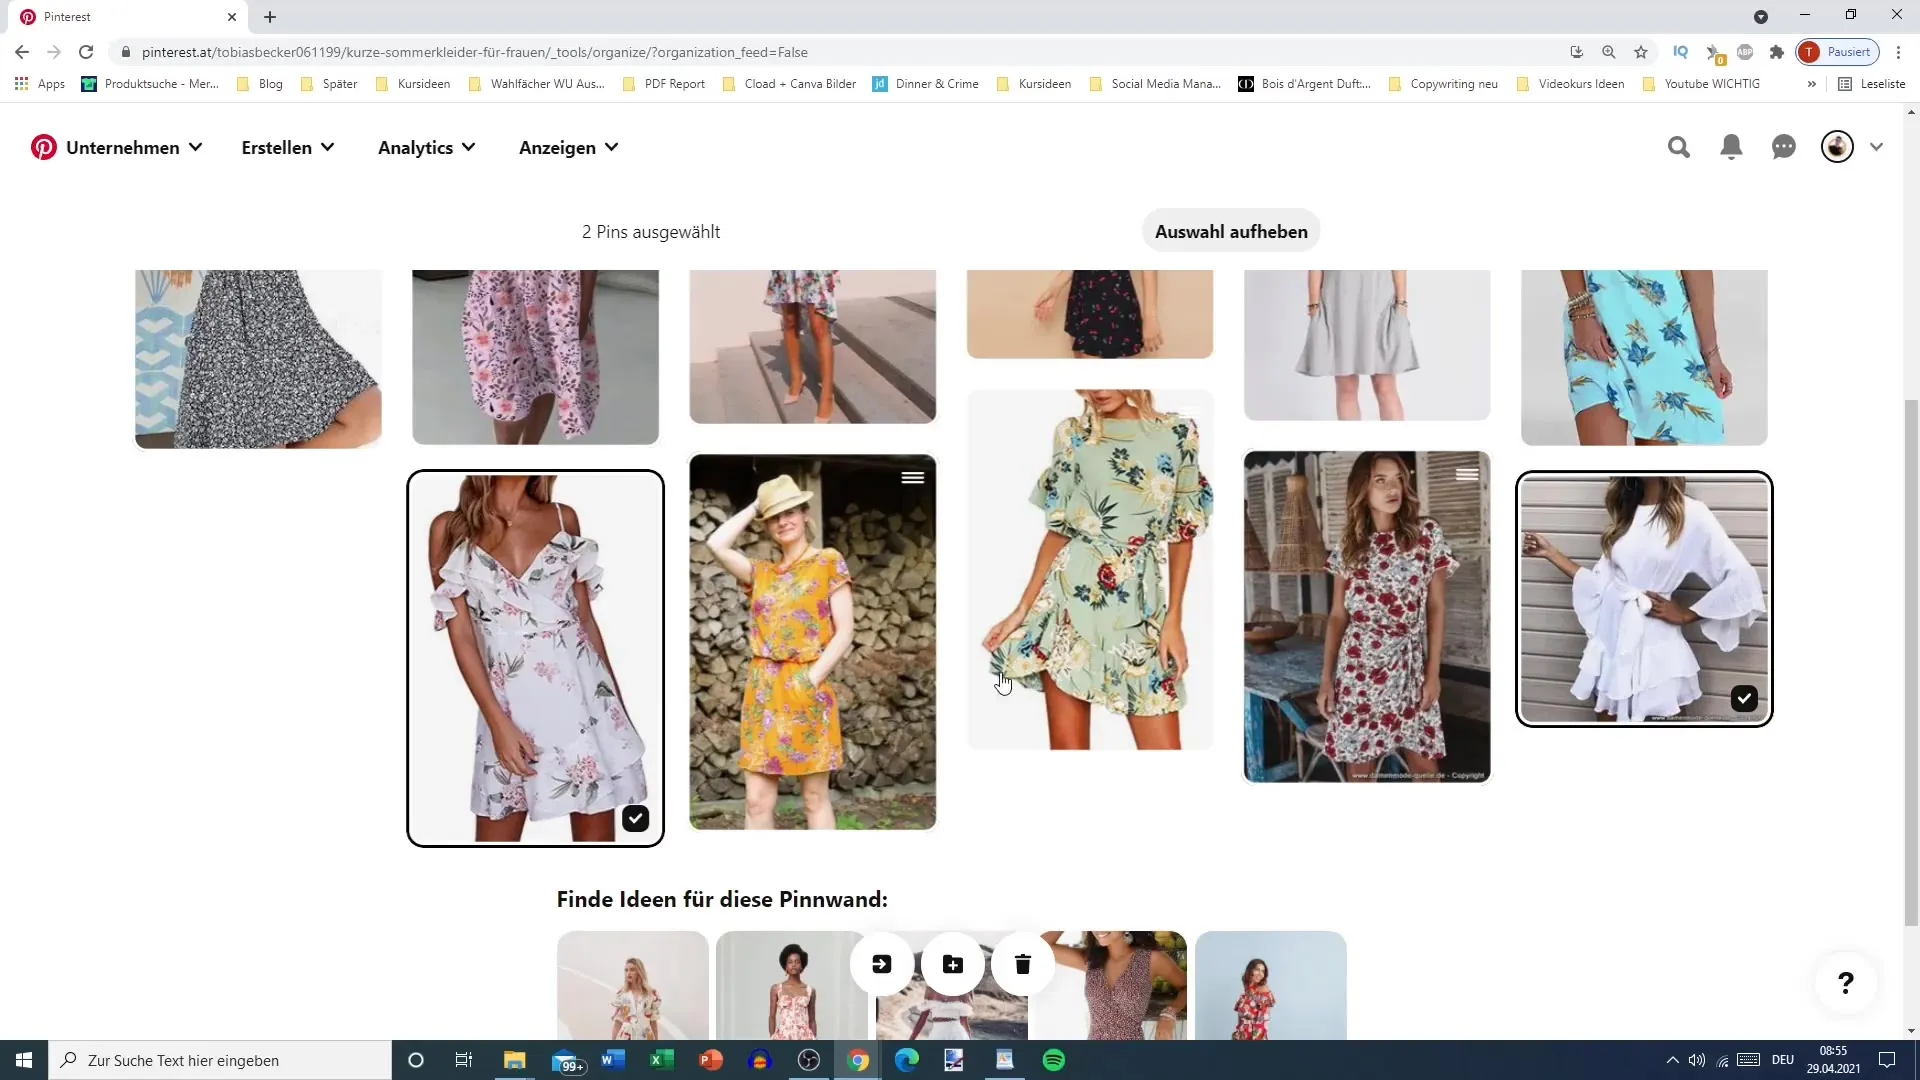
Step 7: Organize Pins into Folders
You can now move pins into subfolders. Select the pins and simply move them into the desired folder. This feature makes it easier to keep the pinboard clear and organized.
Step 8: Edit Pinboard
You should regularly review the settings of your pinboard. Click on the three dots next to the title of your pinboard to edit it.
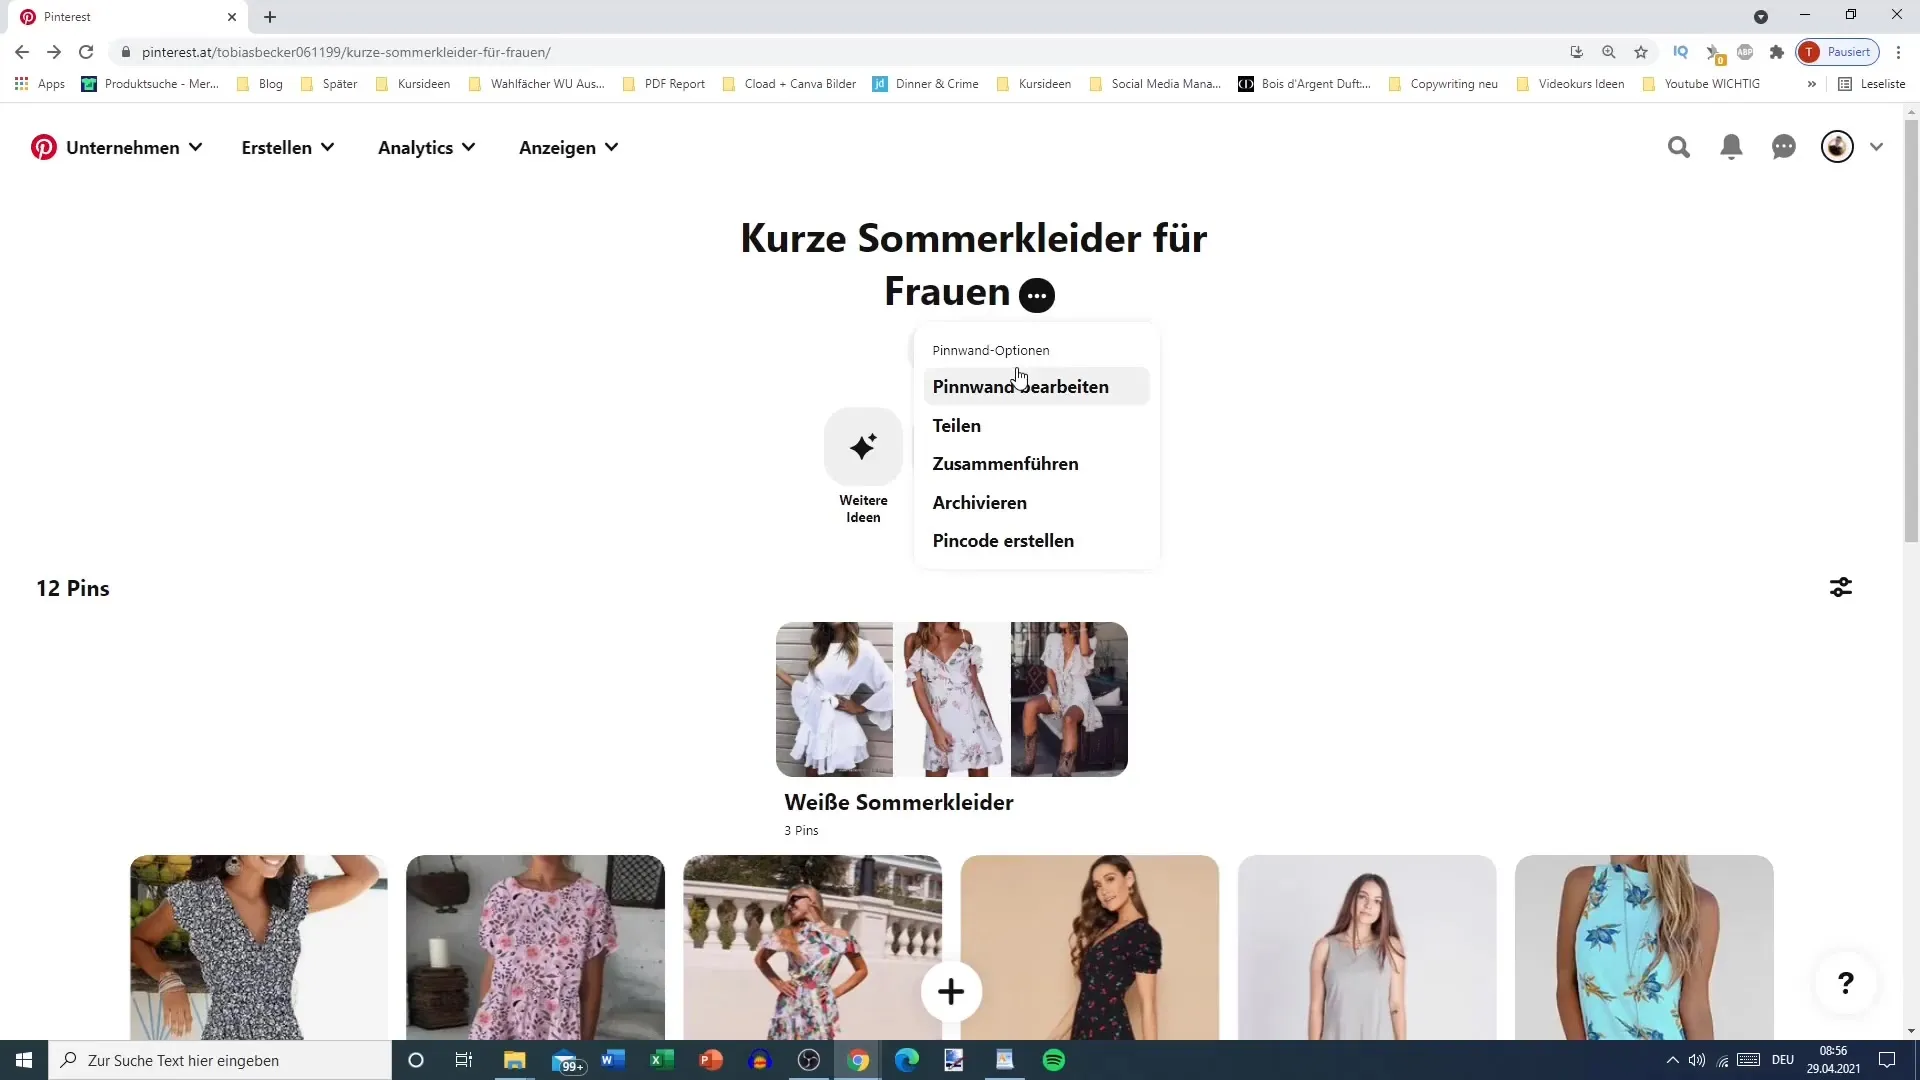
Here you can not only change the name, but also improve the search engine optimization of your pinboard. Inserting relevant keywords is crucial for the discoverability of your pins.
Step 9: Share Pinboard
Share your pinboard with other users by using popular sharing options like WhatsApp, Facebook, or email, or simply copy the link.

Sharing your pinboard is important to increase engagement and connect it with a larger audience.
Step 10: Maintain Your Pinboard
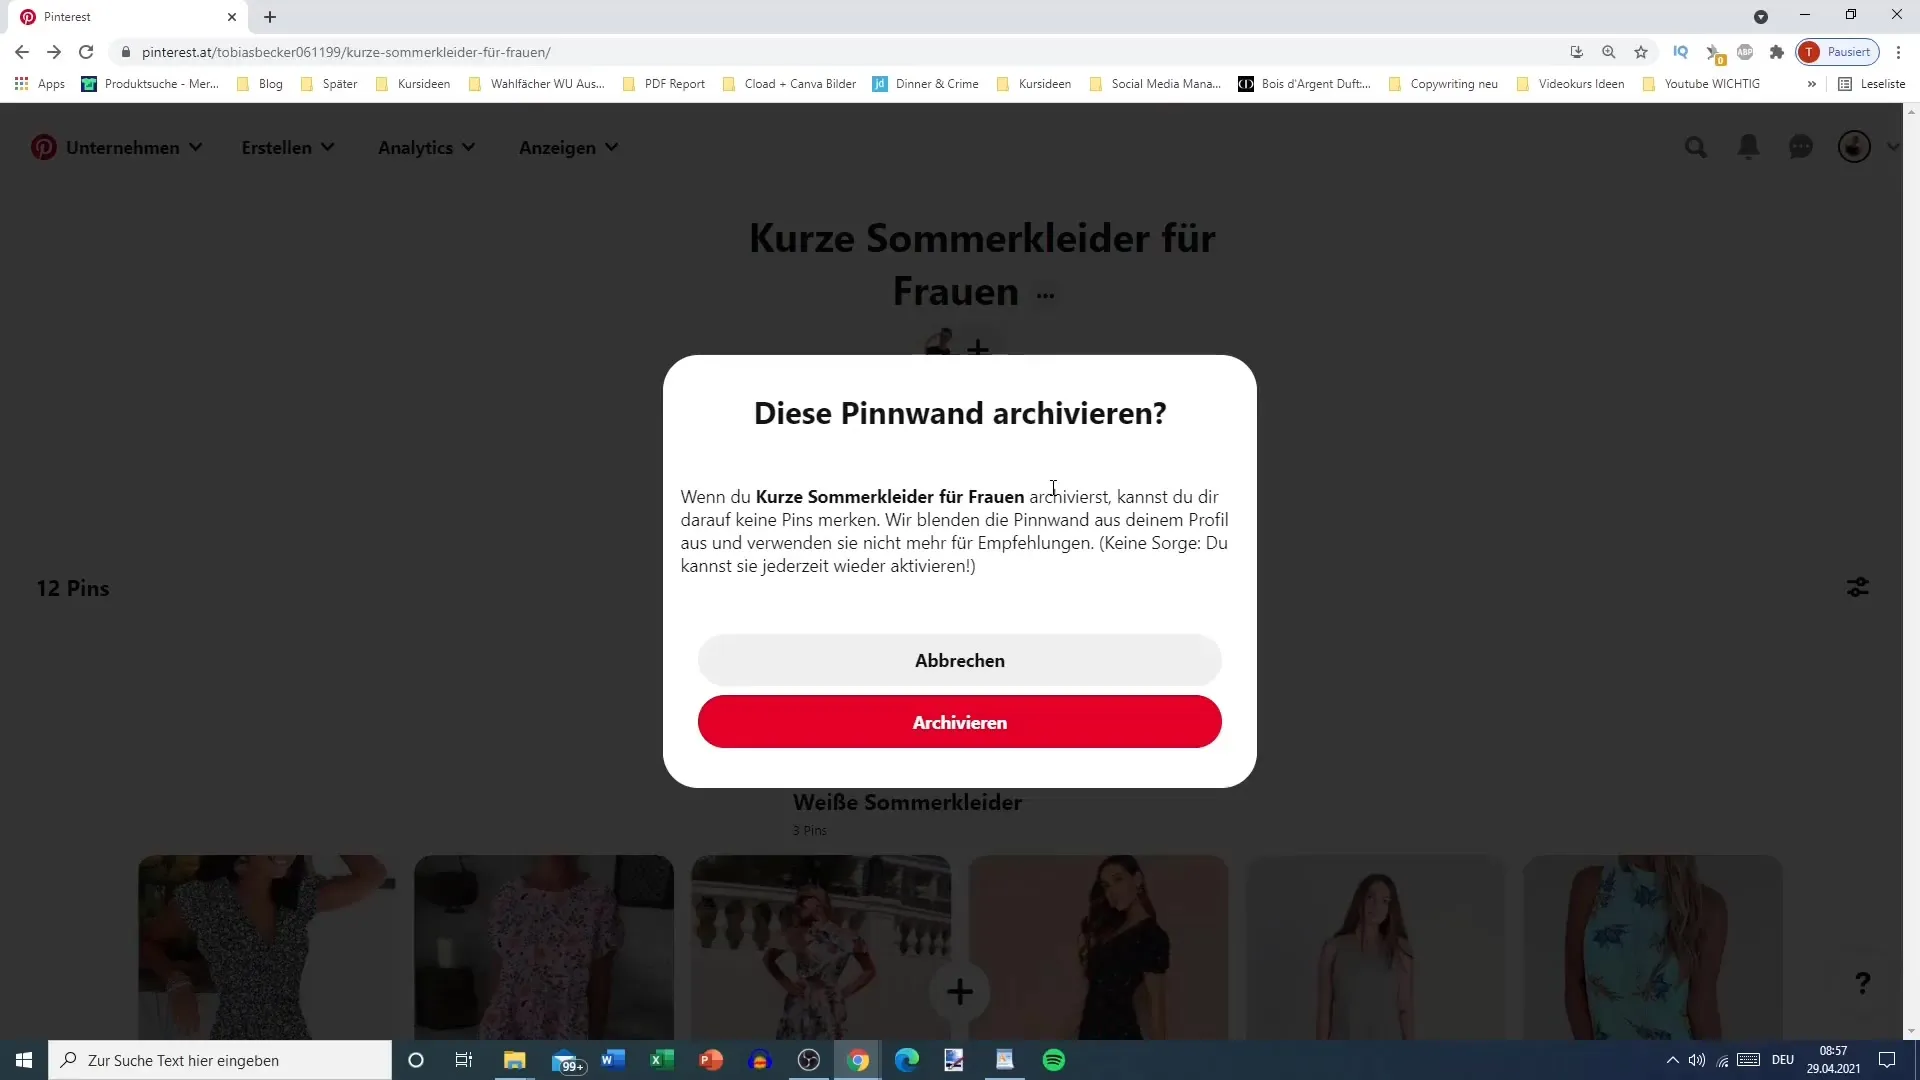
Lastly, it is important to regularly maintain your pinboard. You can archive pins, create a pincode for offline users to scan, and regularly update the order of your pins.
Summary
Creating your first pinboard on Pinterest can be both a creative challenge and a strategic necessity. With the right steps and careful organization, you will be on the right path to success on Pinterest.
Frequently Asked Questions
How do I create a pinboard on Pinterest?Click on the plus sign in your profile and select "Create board".
Can I sort pins after the fact?Yes, you can sort and rearrange pins at any time as needed.
How do I share my pinboard with others?Use the share options or copy the link to the pinboard to share it.
Is it important to use keywords?Yes, keywords are crucial for the visibility of your pinboard in Pinterest search results.
