Creating appealing Pinterest pins can be crucial in attracting the attention of potential customers and encouraging engagement with your content. This guide will show you how to create professional Pinterest pins using Canva that stand out and increase interaction. Here, you will learn how to utilize templates and creatively customize them to design the perfect pin.
Key Insights
- Pinterest pins should have the standard size of 1000 x 1500 pixels.
- Templates help speed up the design process.
- Use your own images to clearly showcase your products.
- Clear text design is crucial for readability and the first impression.
- Switching between different text effects can make your pins more appealing.
Step 1: Selecting and Customizing a Template
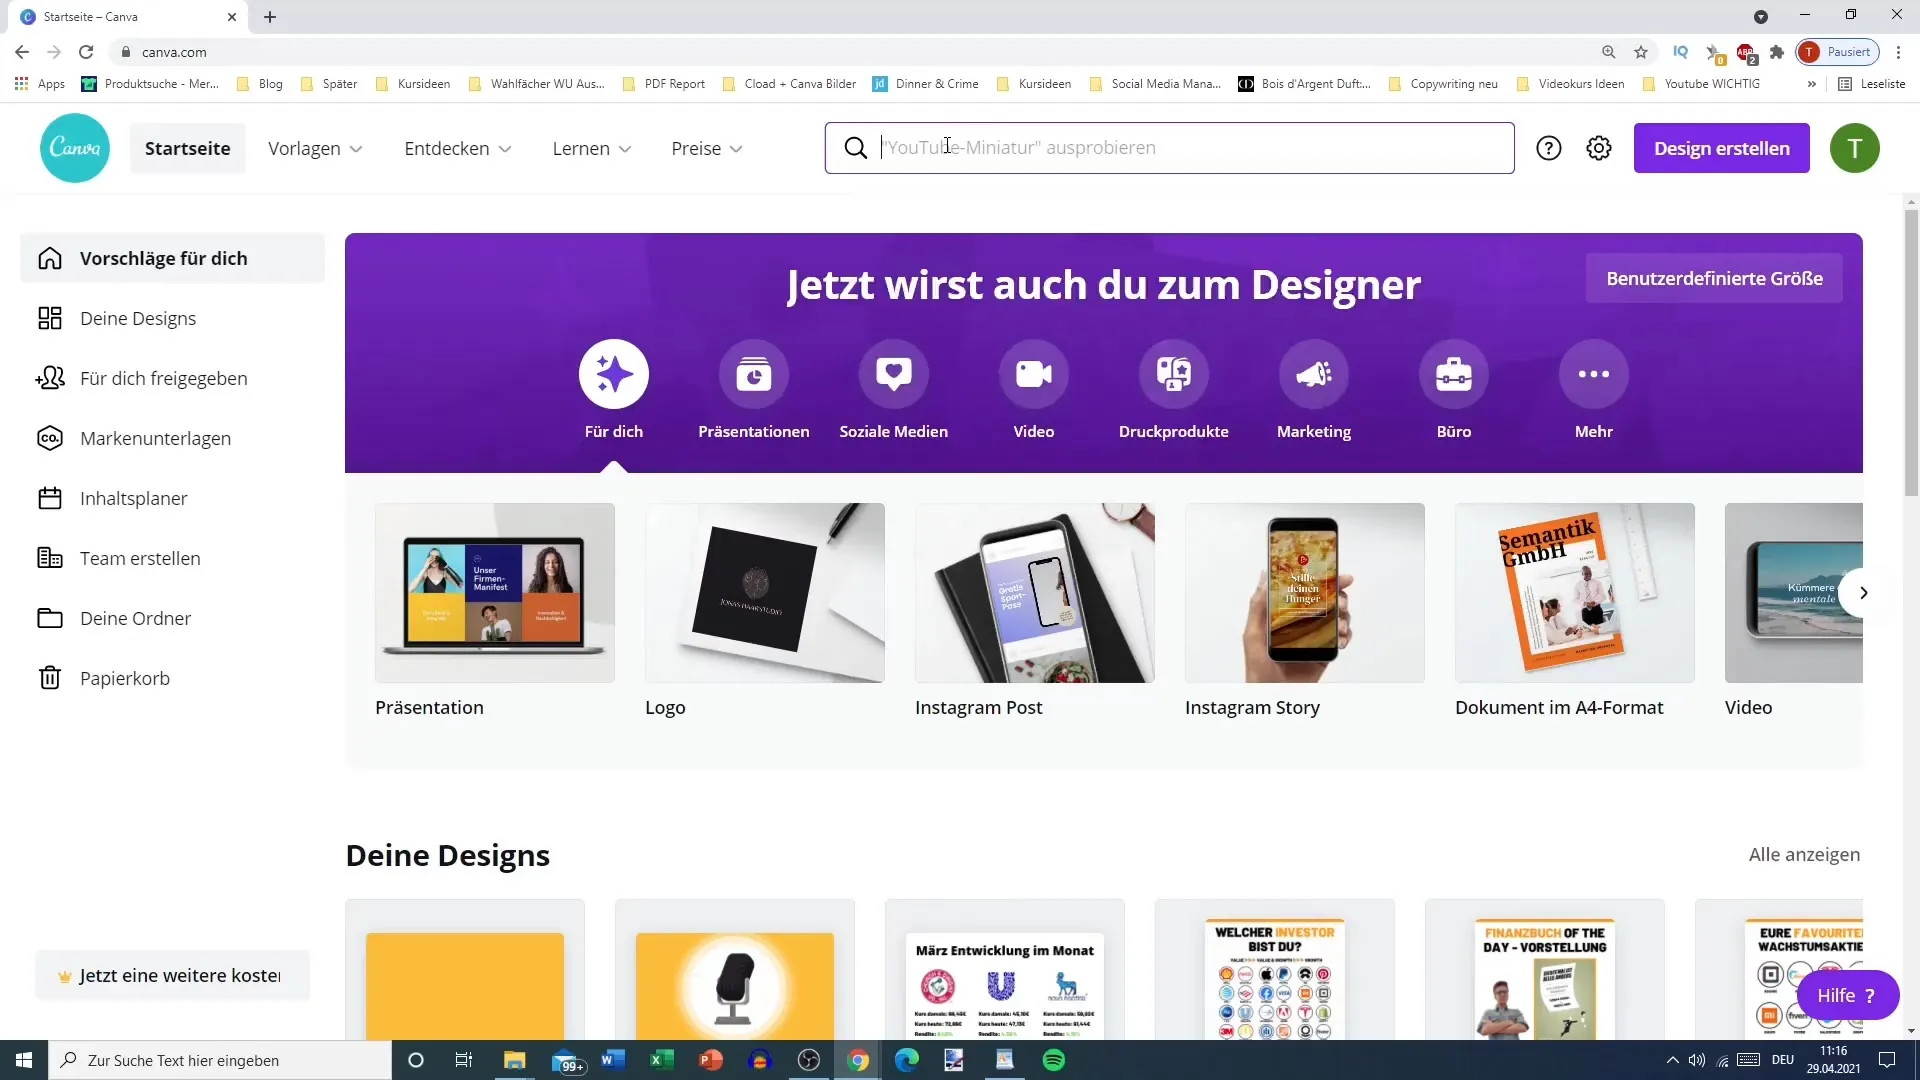
Start by opening Canva and using the search bar to look for "Pinterest Pin". You will see a variety of templates that you can use for your project. Choose an appealing template that you like. To ensure that your pin designs capture attention, it's important that they are in the right format – in this case, 1000 x 1500 pixels.
Step 2: Integrating Your Own Images
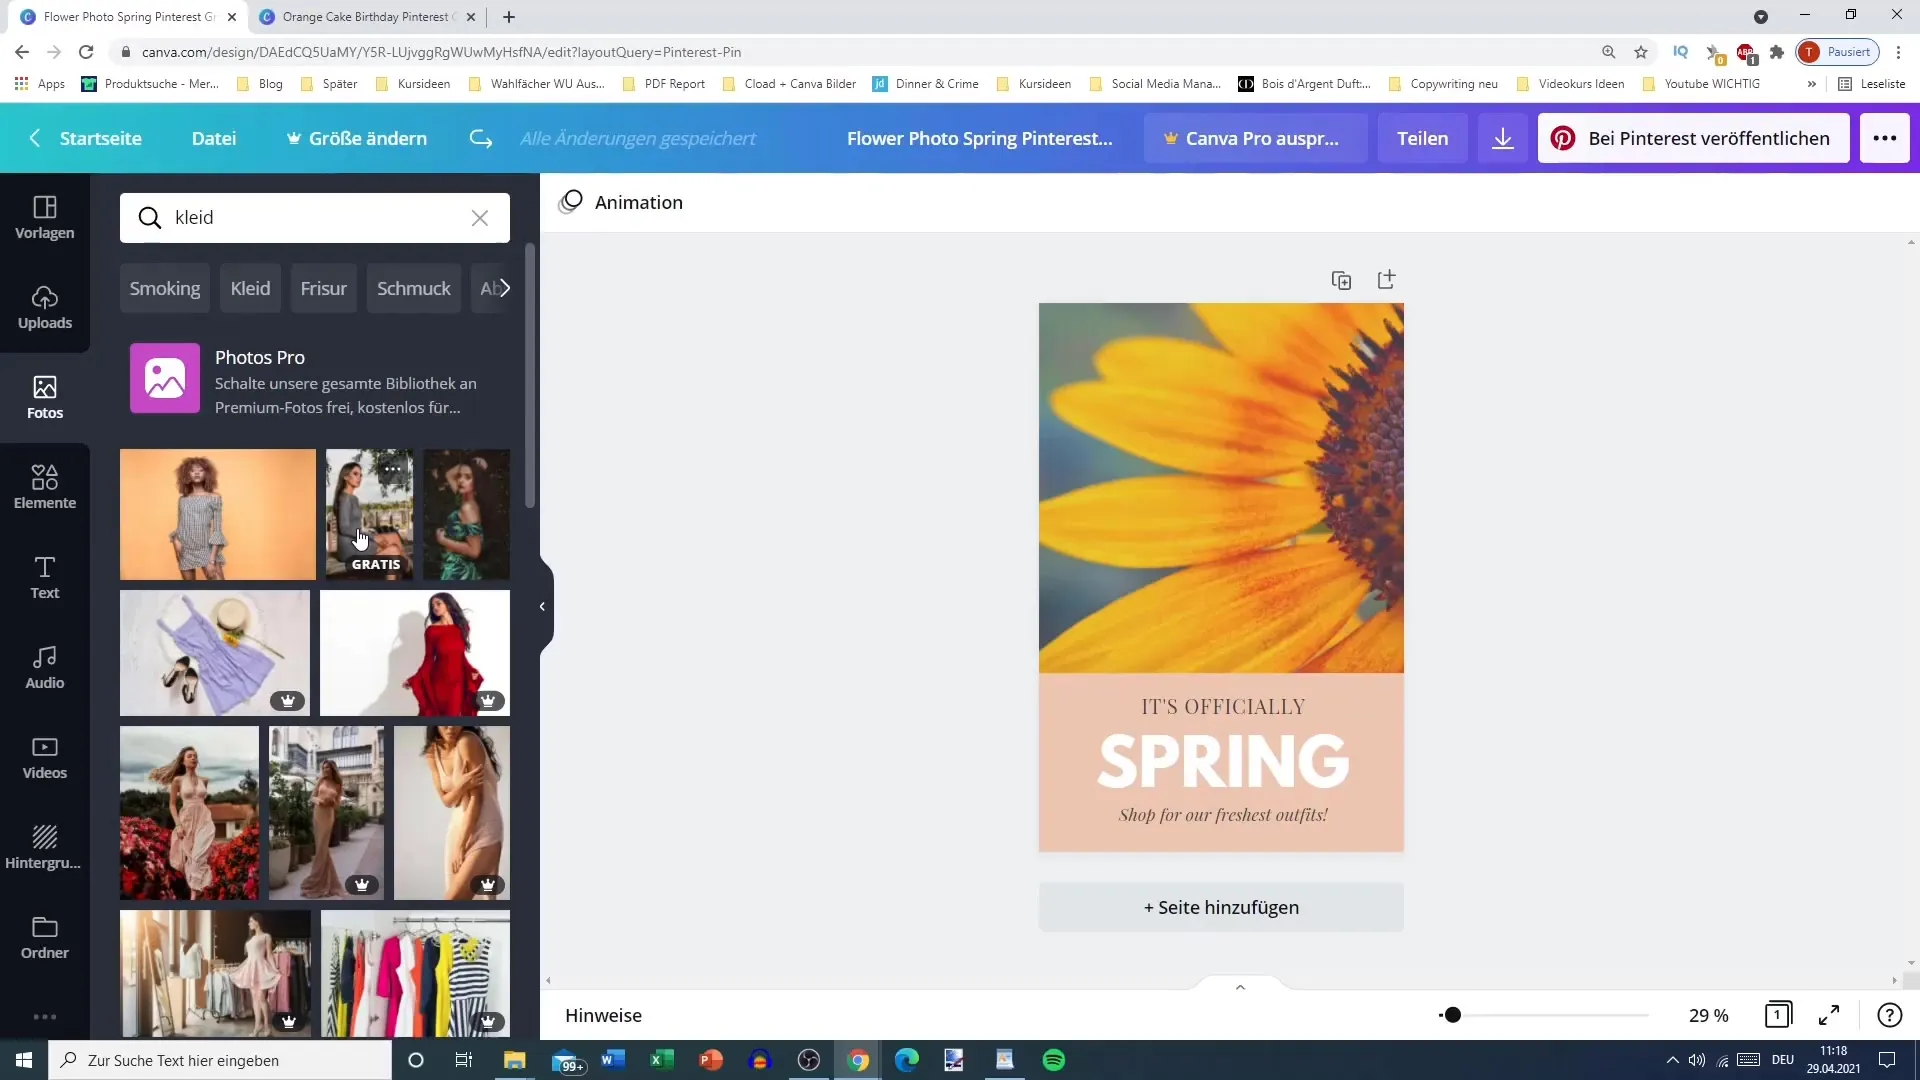
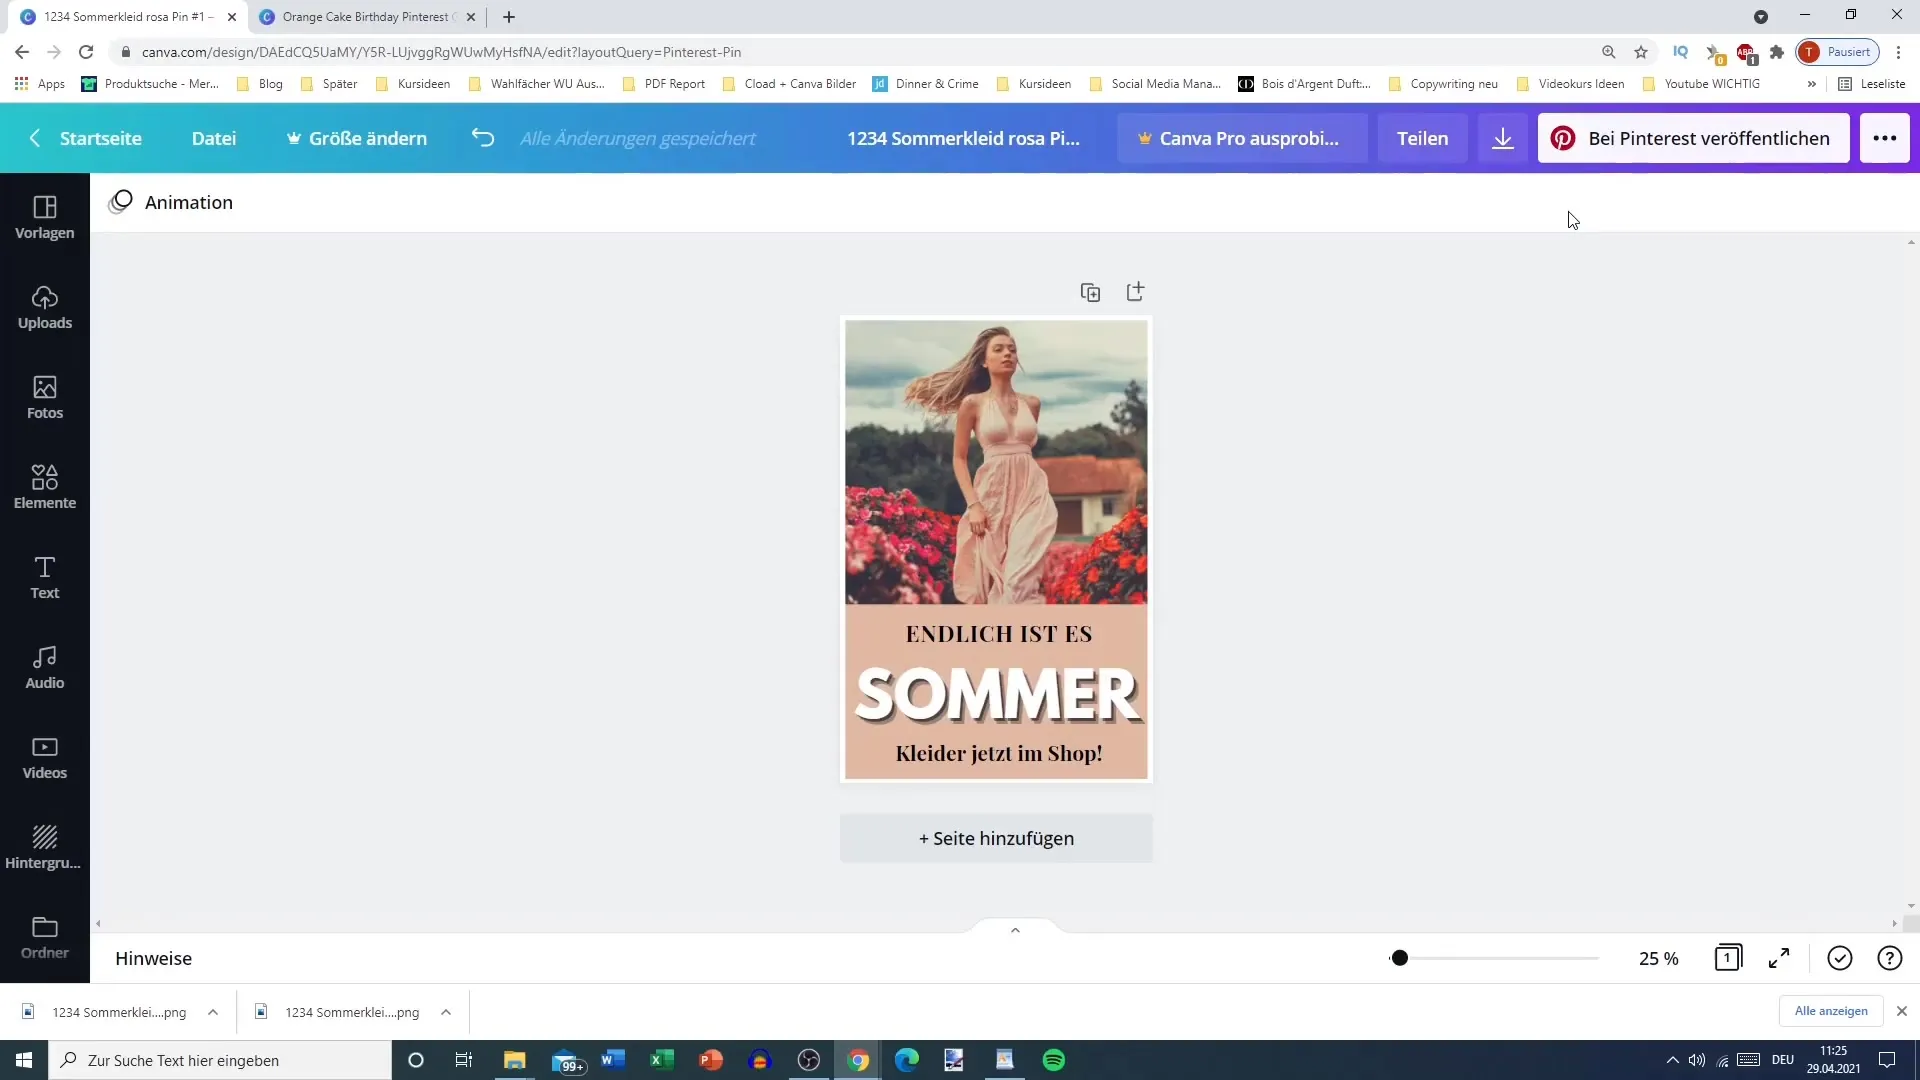
If you want to create a shopping pin, consider using your own images. This means using images of your product to avoid confusion among potential buyers. For example, if you are promoting a blooming dress, make sure the image actually shows the dress you want to sell. This helps generate clicks that lead to actual purchase intent.
Step 3: Customizing the Templates
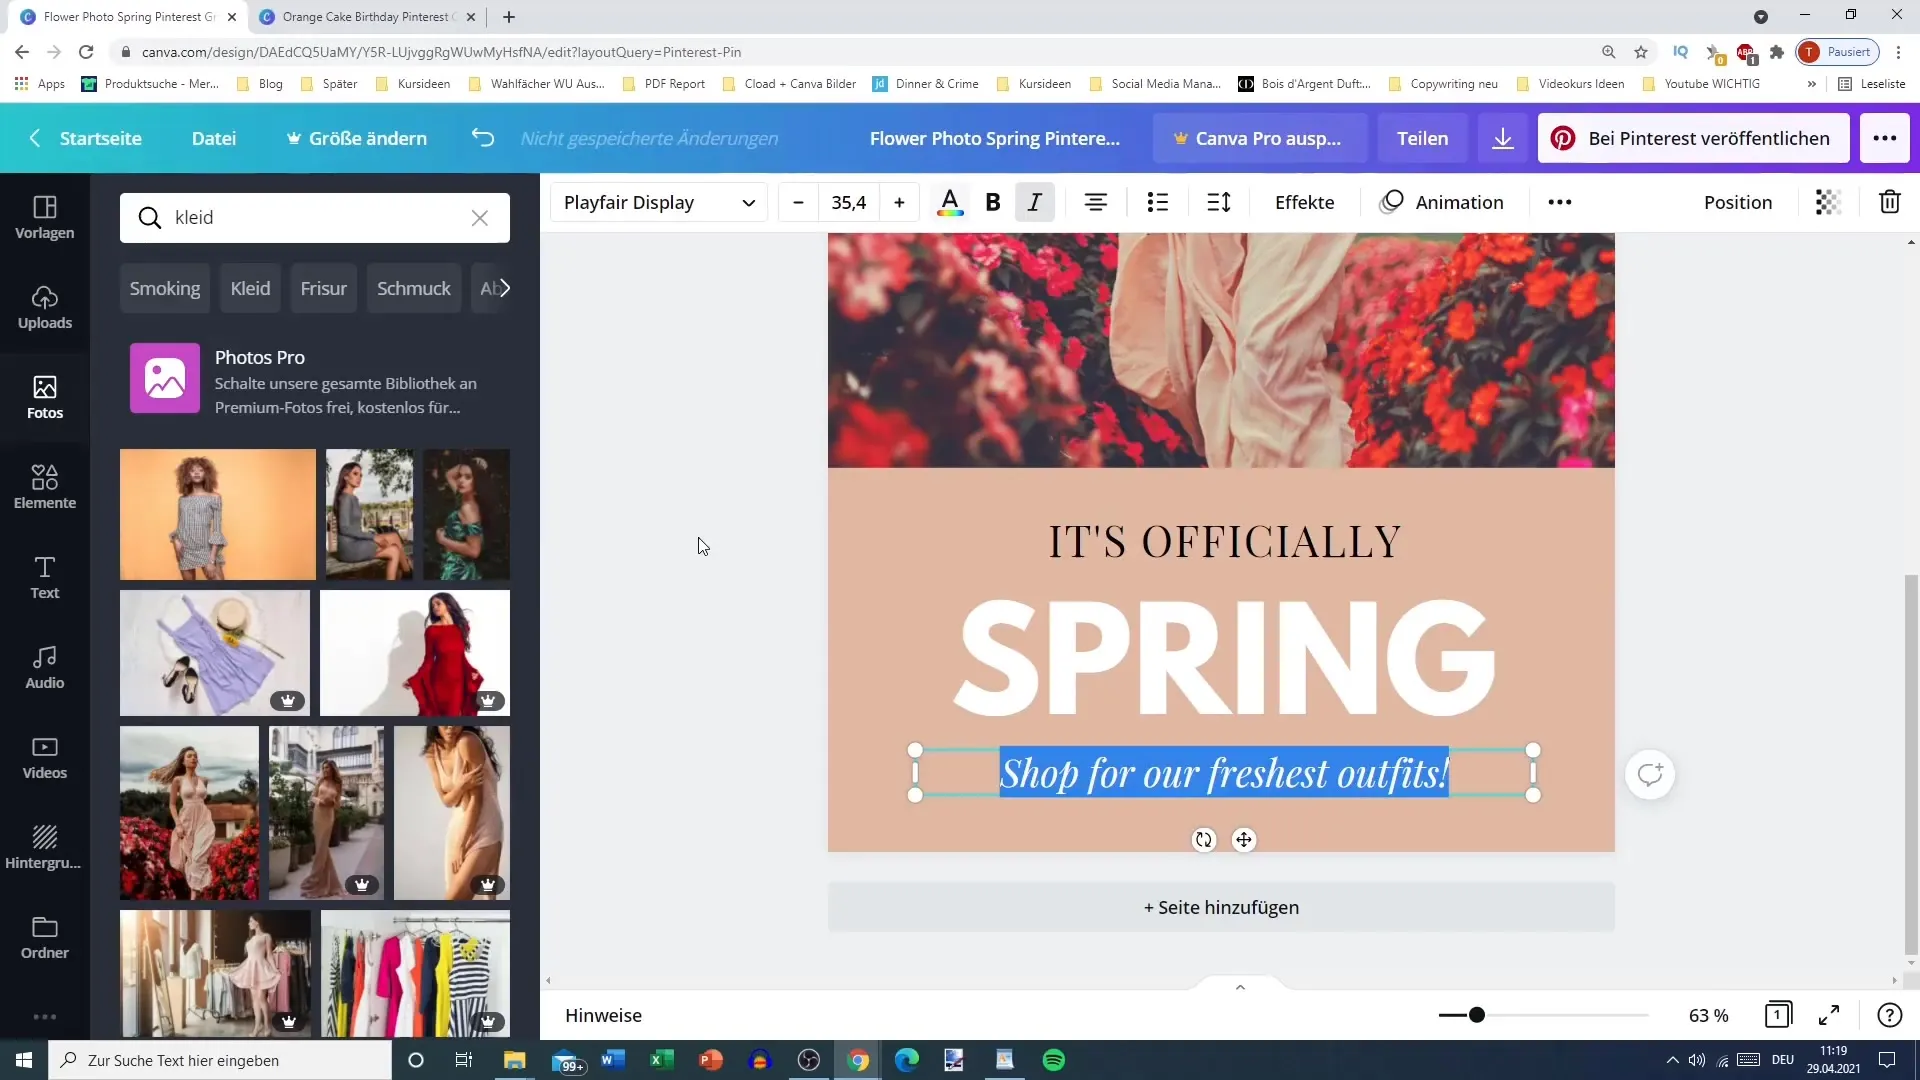
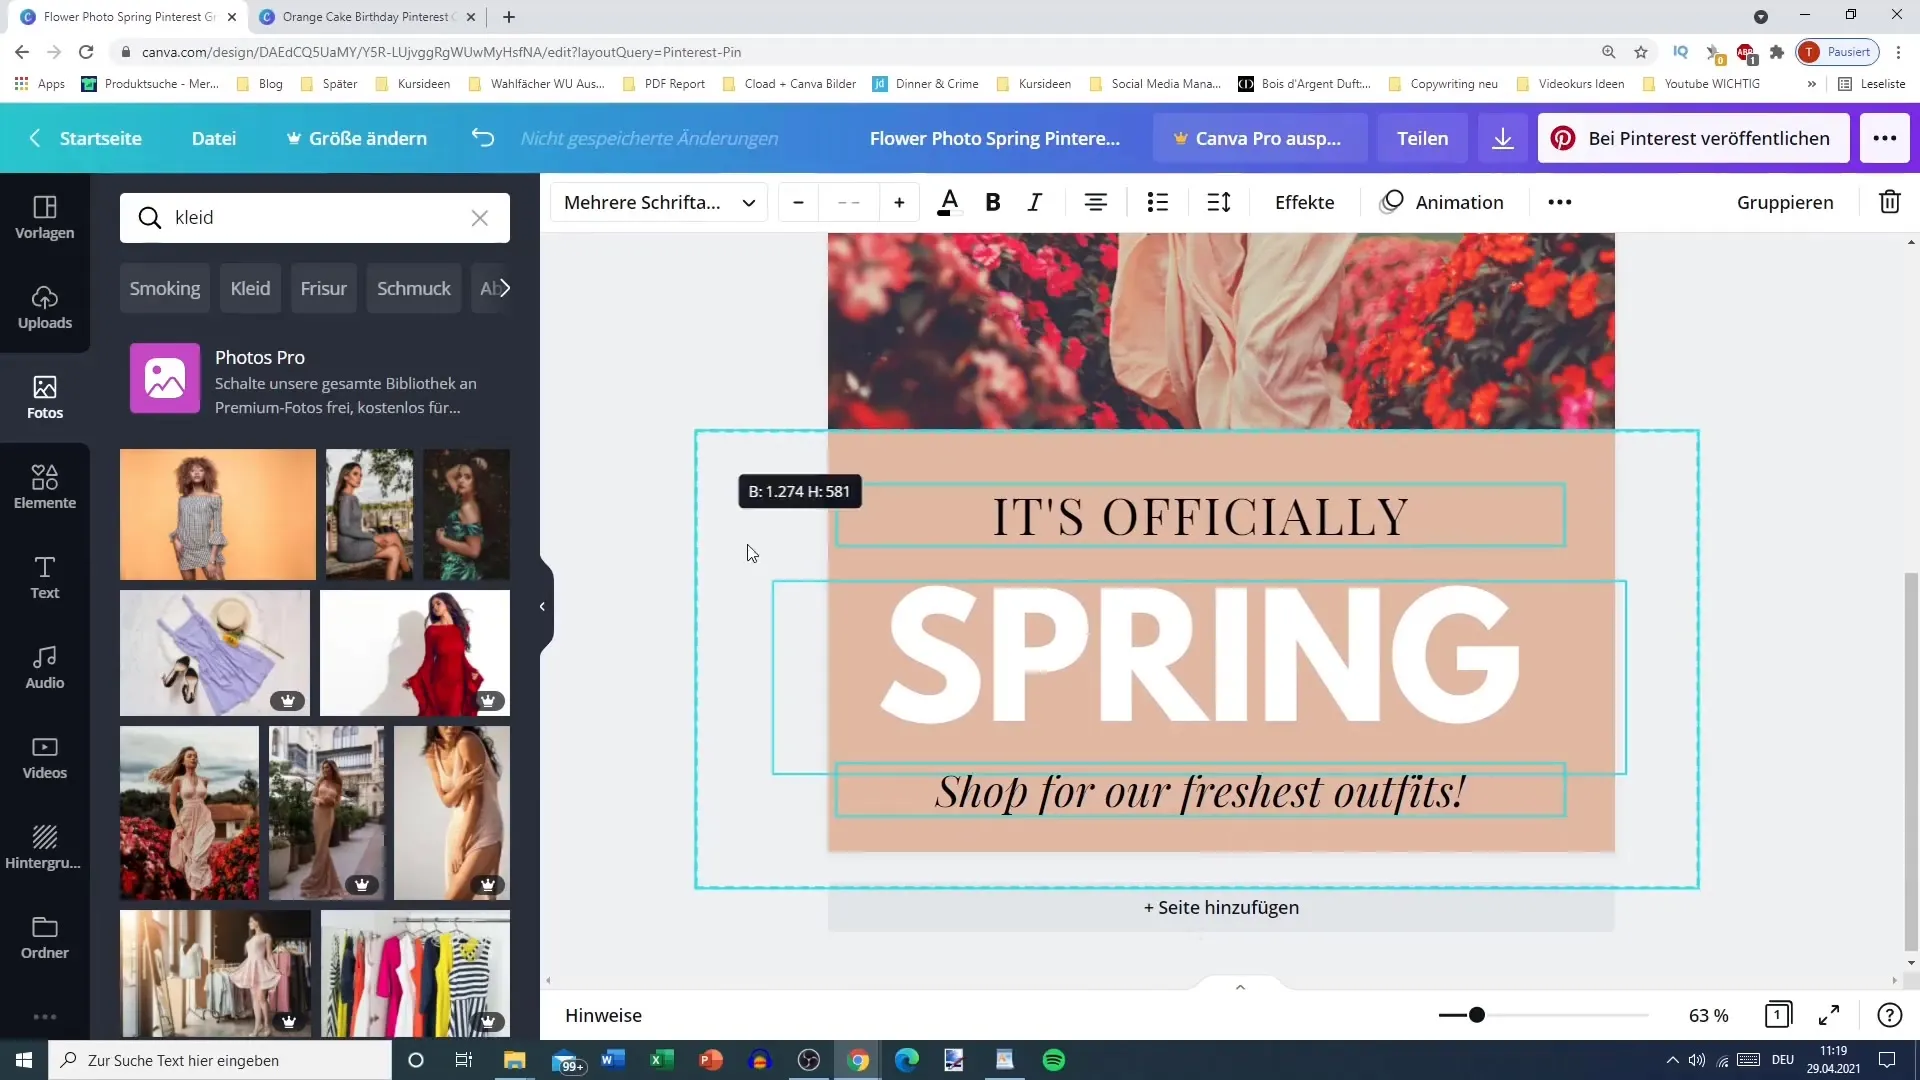
After selecting a template and an image, it's time to customize your design. You can change colors, texts, and layouts to your liking. For instance, if you want to adjust the text color, make sure everything is easily readable. You can darken the background or lighten the text to create more contrast. This will make the text stand out and improve readability.
Step 4: Text Design
The next step is to carefully edit your text. Create concise and clear messages that catch the attention of Pinterest users. Also, choose a font size that is easily readable even from a distance. Remember not to design the text in subtle colors that blend with the background. Instead, you can use a larger font to highlight the key information.
Step 5: Adding Text Effects
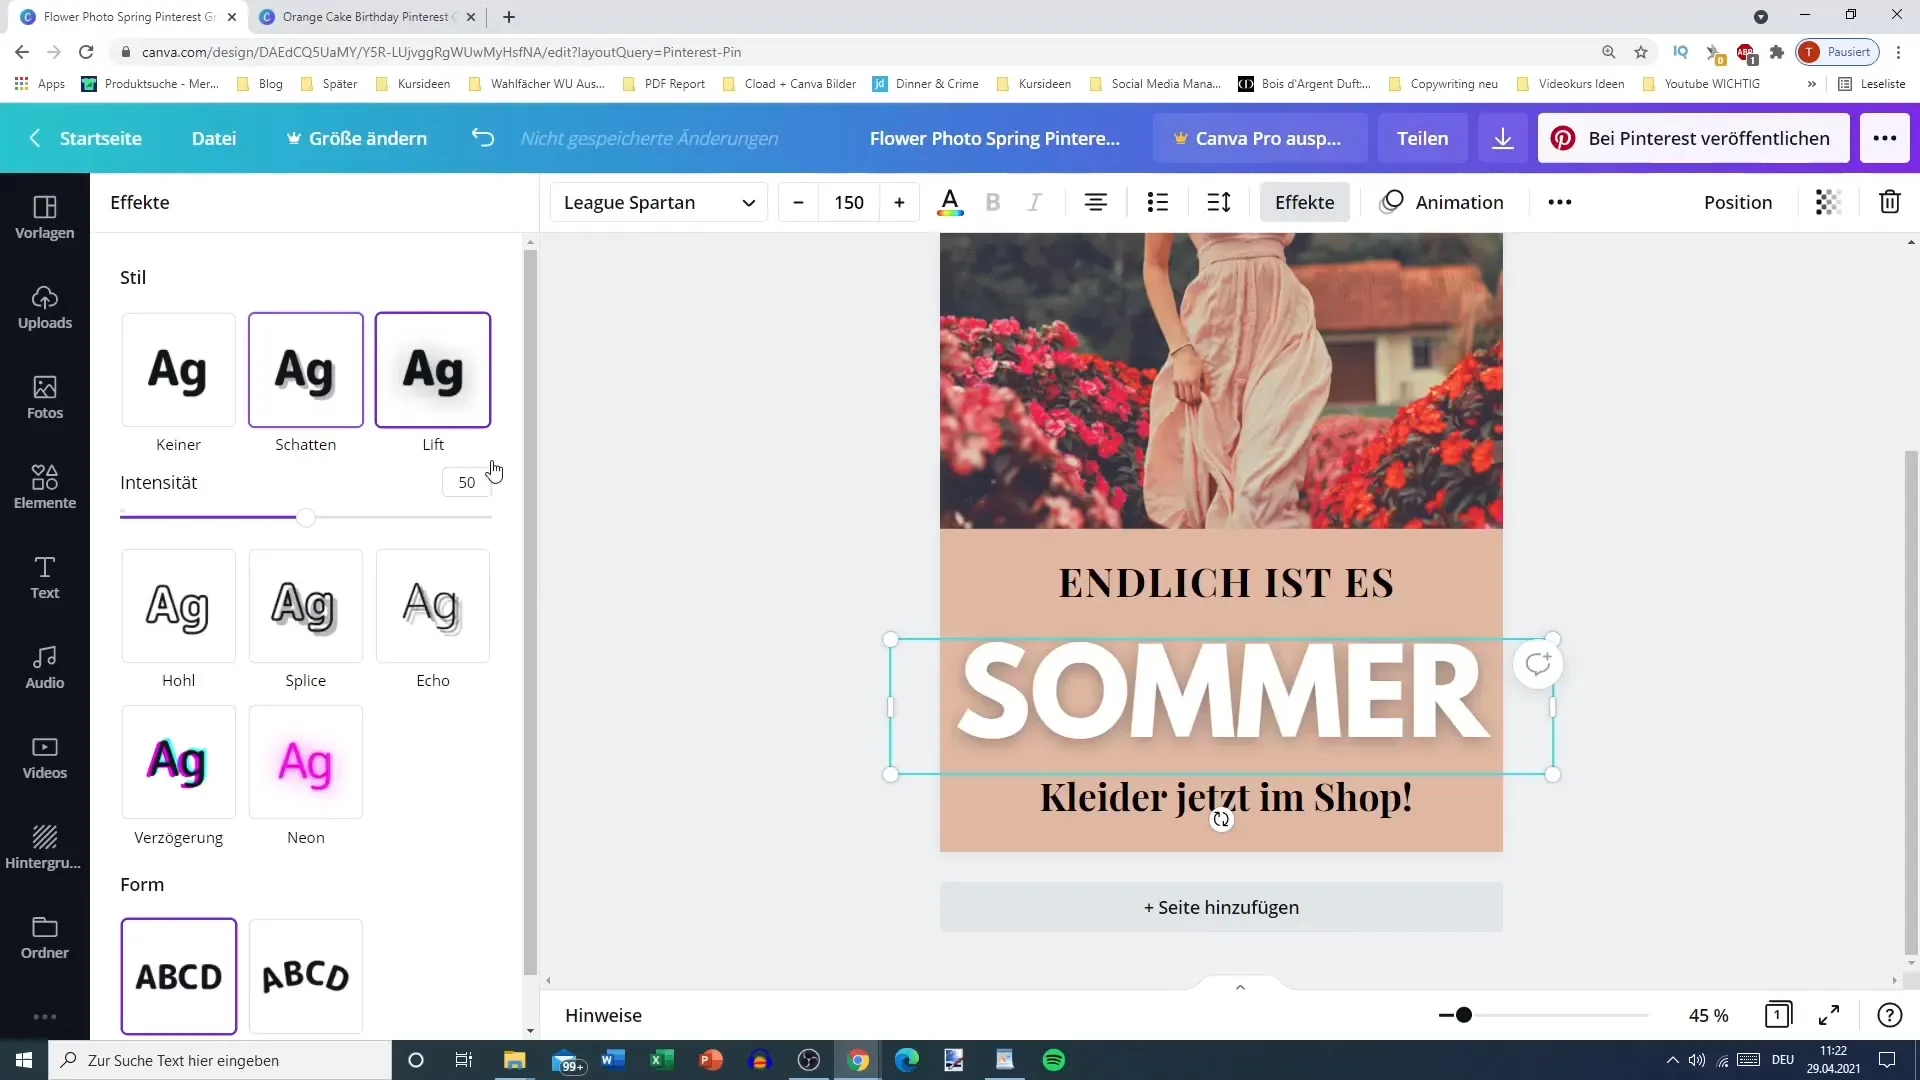
To give your pin a more exciting touch, experiment with different text effects. You can add a shadow or outline to make the text stand out from other elements. Such visual effects can help direct viewers' attention to your text. Choose a color for the effect that is distinct enough for the words to stand out clearly.
Step 6: Naming and Downloading
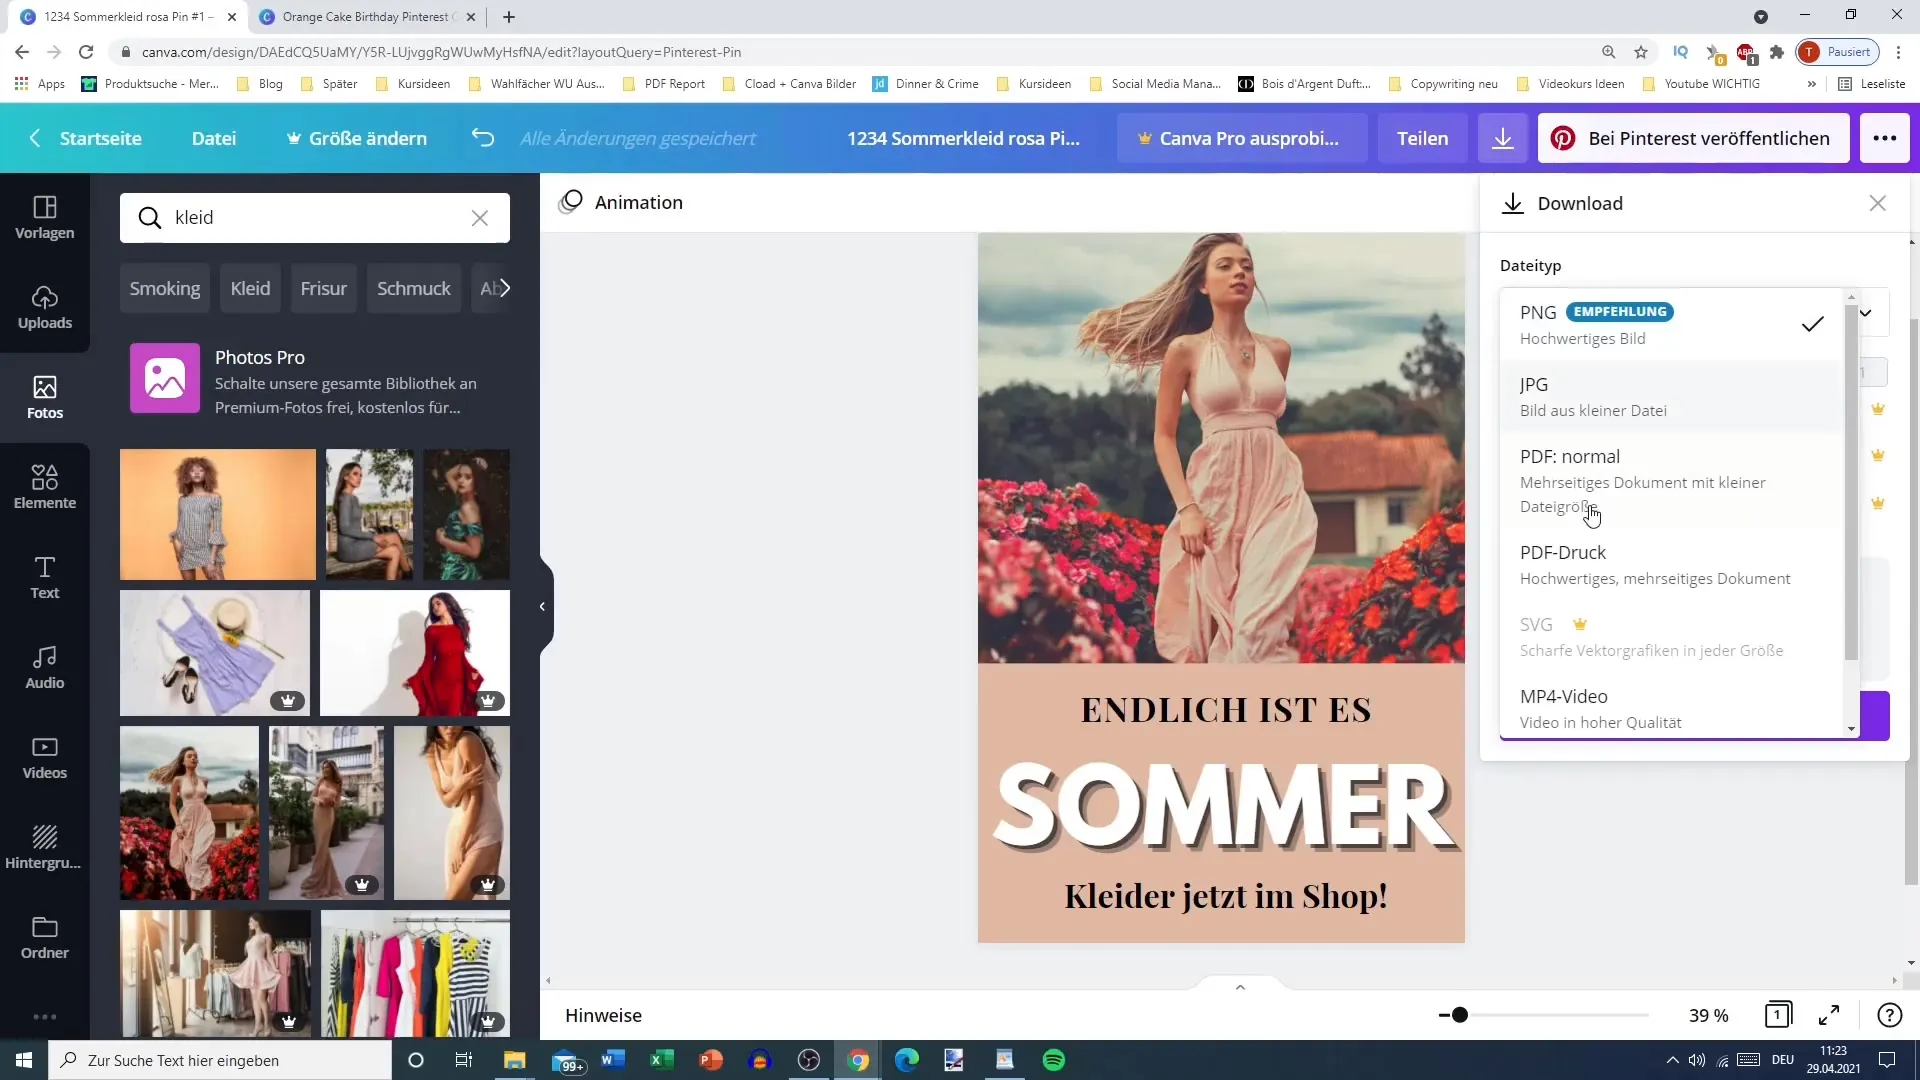
Once you are satisfied with your design, don't forget to name it properly. This will help you easily find the pin later. A meaningful filename could be for example "Summer Dress Pink #1". After naming, you can download your pin. Choose between PNG or JPG, as both formats are optimal for Pinterest.
Step 7: Adding Layout and Frame
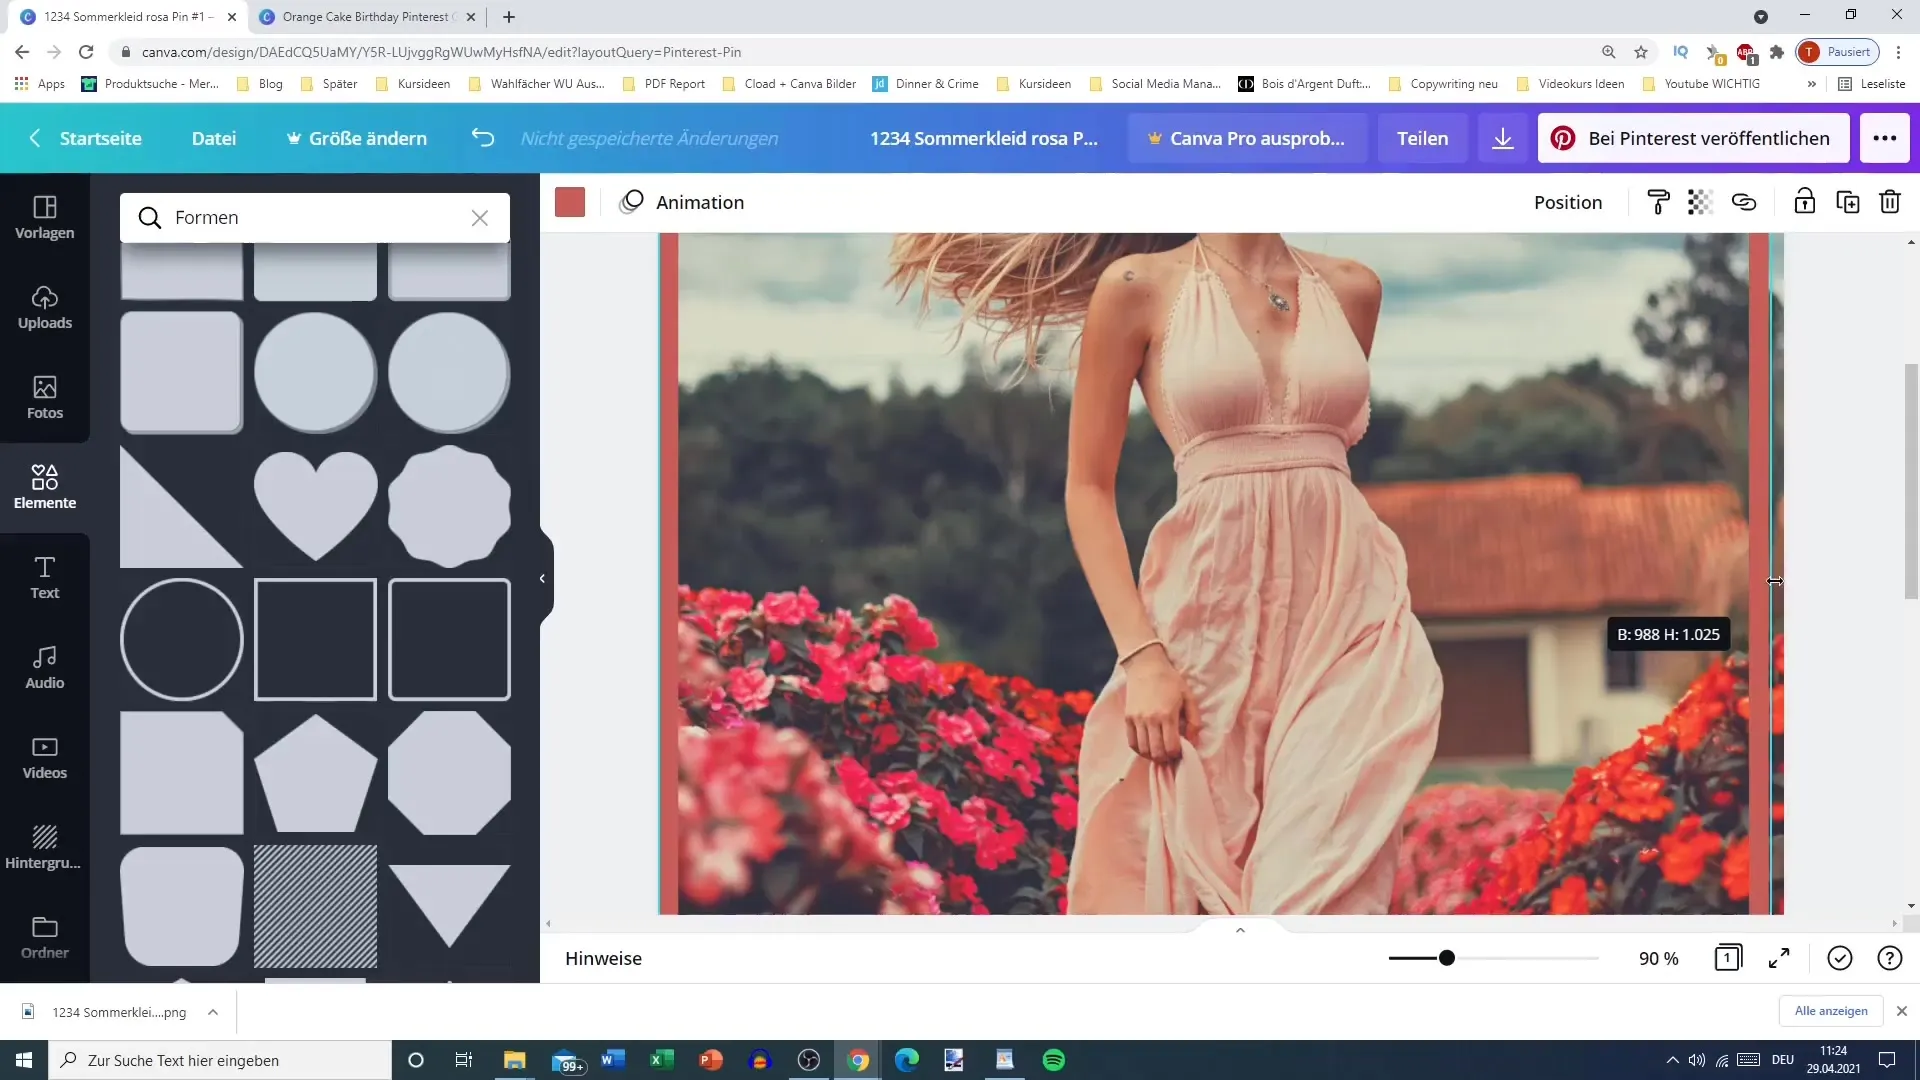
Another nice effect is to add a matching frame. Go to Canva and search for "Frame" to find different options. This element can give your pin a professional look and draw attention to your image. Make sure the frame is the right size and color to complement your design sky blue.
Step 8: Conclusion and Saving
Before you save your pin, double-check all elements. Delete any old versions to avoid confusion. Make sure the finished pin looks good, both in the overall view and in detail. A clearly structured design will help you achieve the best click-through rates on Pinterest.
Summary
In this tutorial, you have learned how to effectively create an appealing Pinterest pin with Canva. From selecting the template to the final design review – each phase is crucial to create a great pin that aligns with your goals.
Frequently Asked Questions
How big should a Pinterest pin be?The standard size for a Pinterest pin is 1000 x 1500 pixels.
Can I use my own images for my pin?Yes, using your own images helps to better showcase your product and avoid confusion.
How do I find the right template for my pin?Use the search bar in Canva to look for "Pinterest Pin" and discover various templates.
How can I improve the readability of my text?Pay attention to the contrast between the text and the background and choose an adequate font size.
In which format should I download my pin?PNG and JPG are the best formats for Pinterest.
