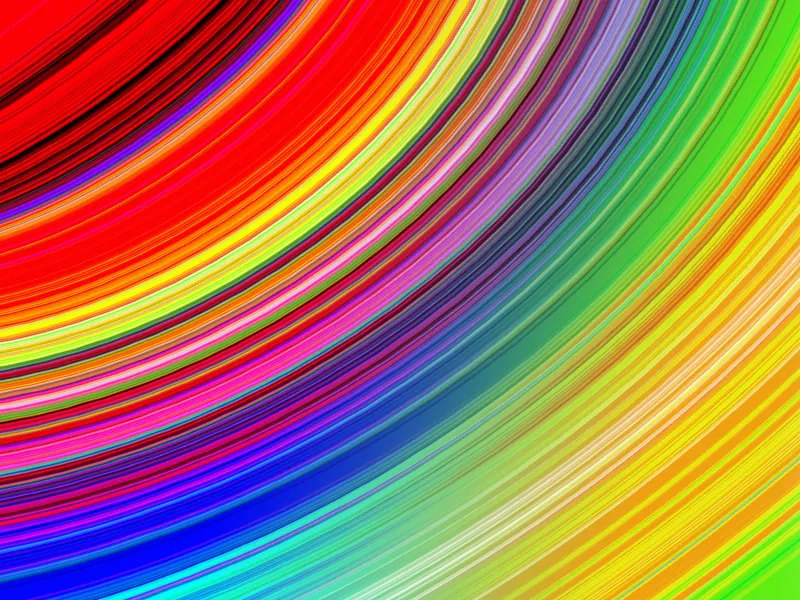
A noise gradient effect combines dynamic colors and a grainy texture pattern that gives your design depth and character. Adding an animation makes the effect even more impressive and is perfect for digital content such as social media posts or presentations. In this tutorial, I will show you step by step how to create a noise gradient effect and bring it to life with movement in Photoshop. Let's get started and give your designs a unique dynamic!
Step 1:
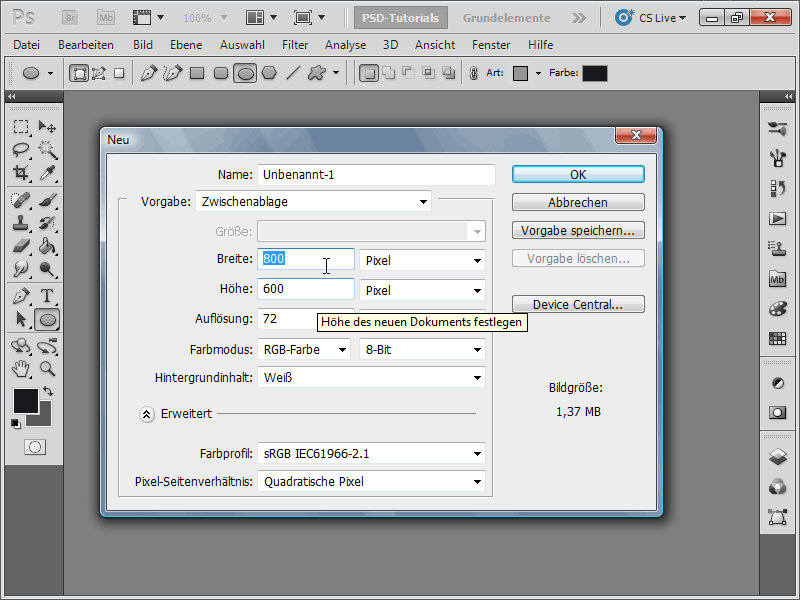
I create a document with the size of 800x600 pixels, where the size doesn't matter.
Step 2:
Now I access the Gradient Tool and load new Noise Gradient Examples.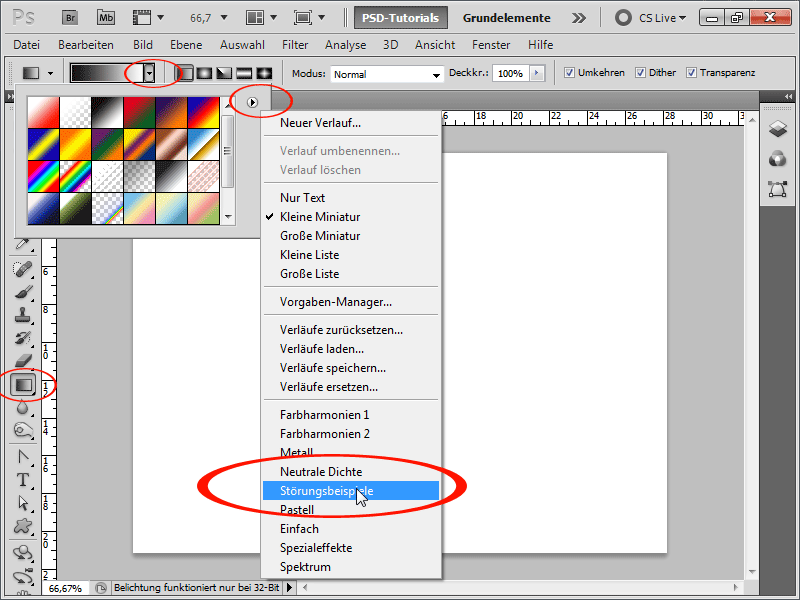
Step 3:
It is important, when I go into gradient editing, that I have Noise selected in the gradient type. Additionally, I can quickly set a differently colored gradient using the Randomize parameter.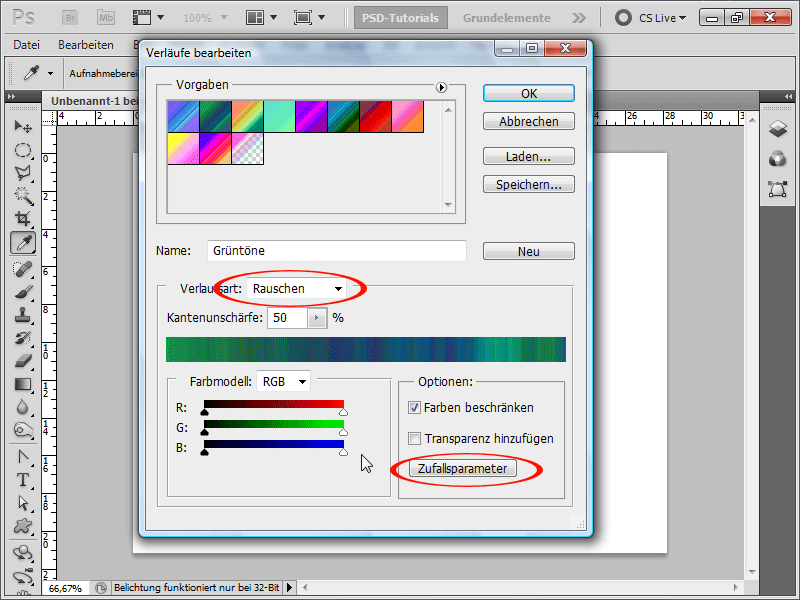
Step 4:
Now I set Edge Blur to 90% to create a nice dashed gradient.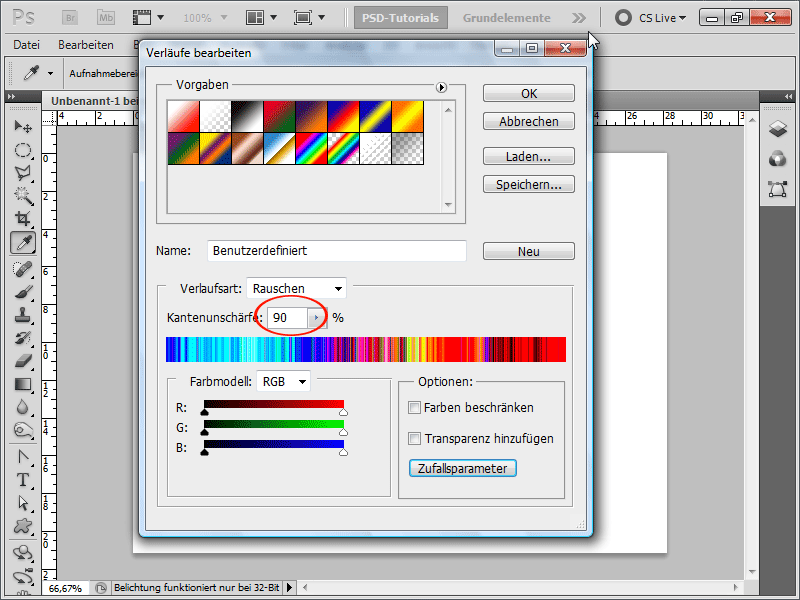
Step 5:
When I now drag out the gradient, a great background is already emerging.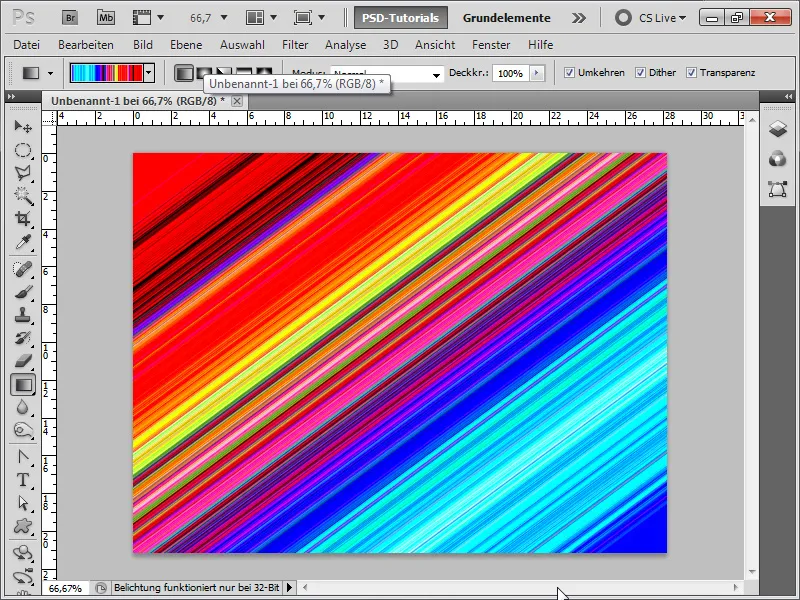
Step 6:
Now, by double-clicking on the background layer in the Layers Panel, I convert it into a regular layer.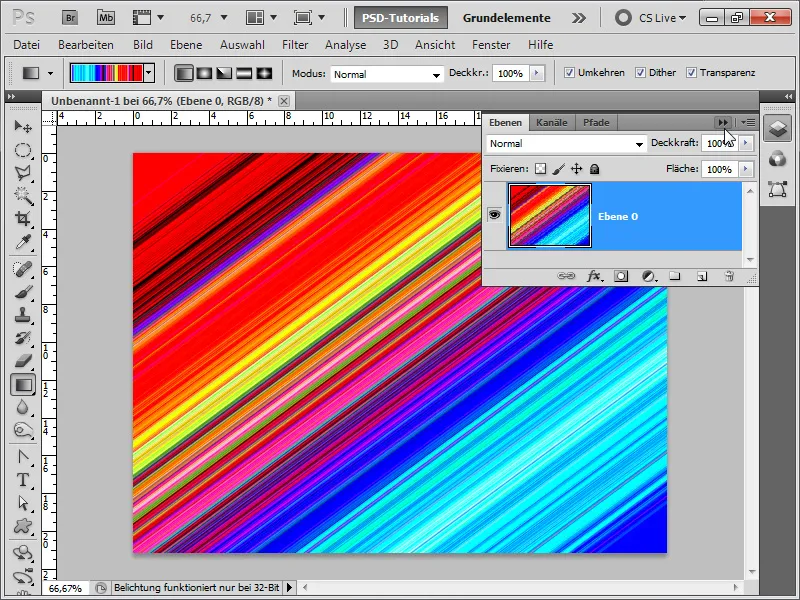
Step 7:
Next, I press Ctrl+T to transform my layer, then right-click and go to Warp. Now I grab and bend the upper right and left handles to create a nice dynamic effect.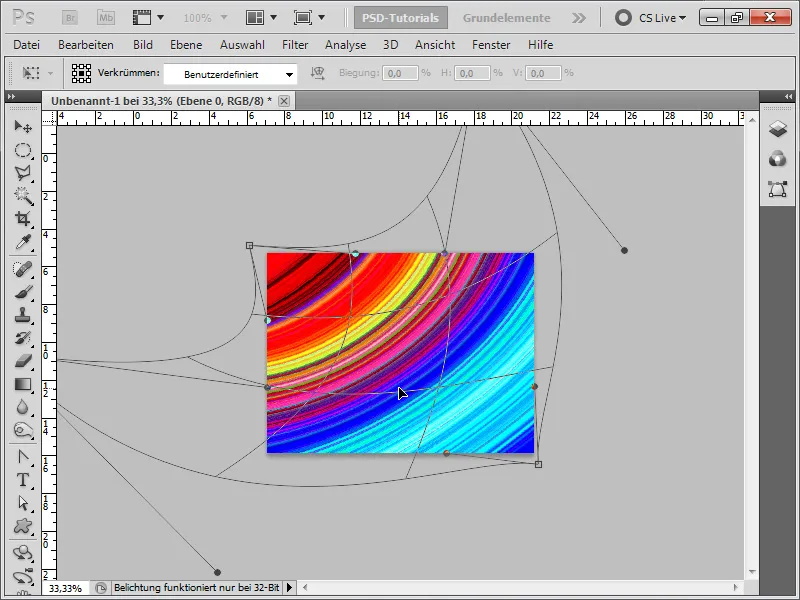
Step 8:
Looks great already, doesn't it?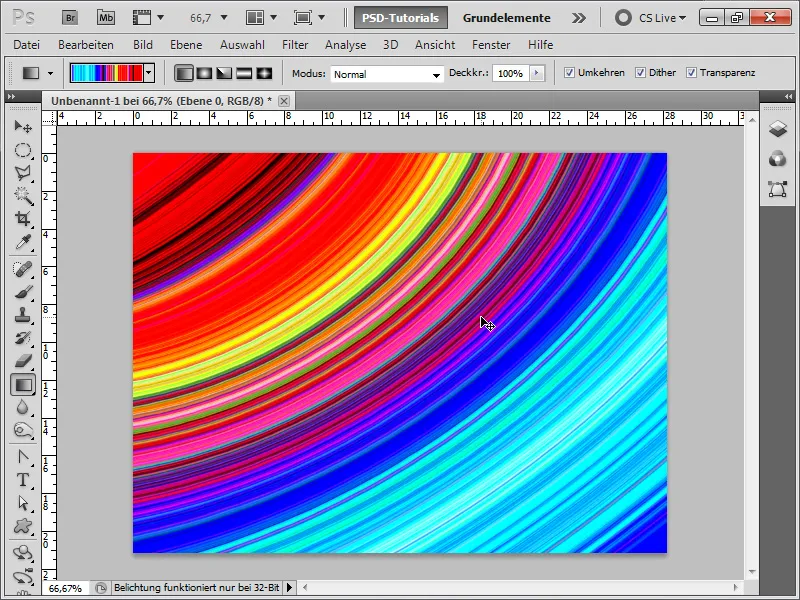
Step 9:
I duplicate the layer with Ctrl+J and then apply a Gaussian Blur to it. This could also be used as a background for e.g., greeting cards.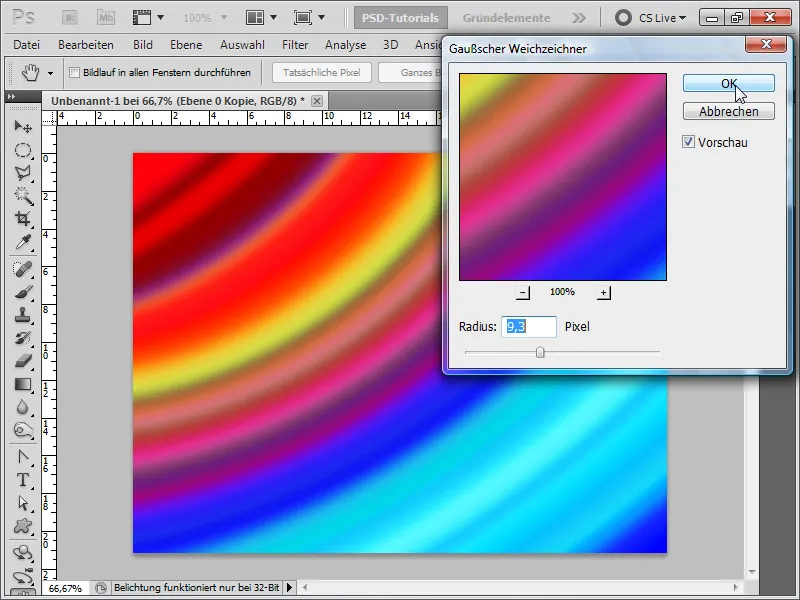
Step 10:
If I now change the fill method to Color, my gradient lines look even better.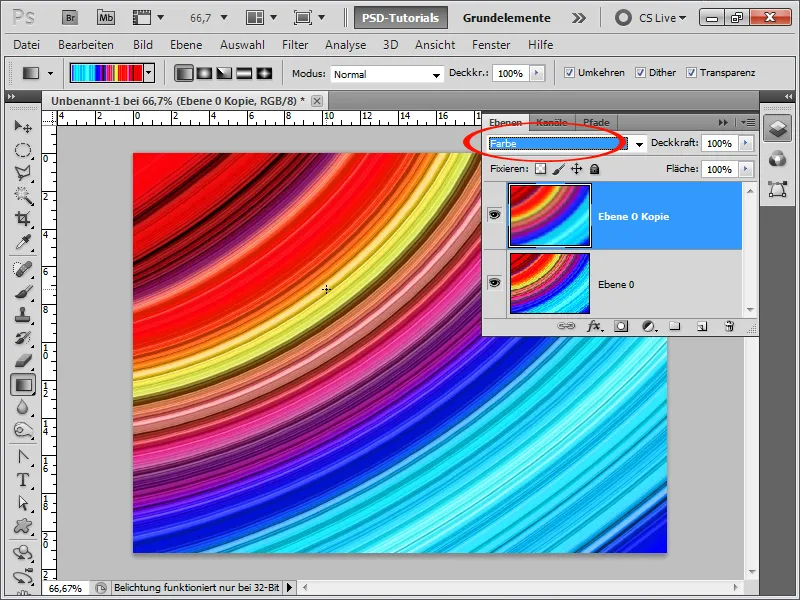
Step 11:
If I now add a Noise Filter, an interesting effect also emerges.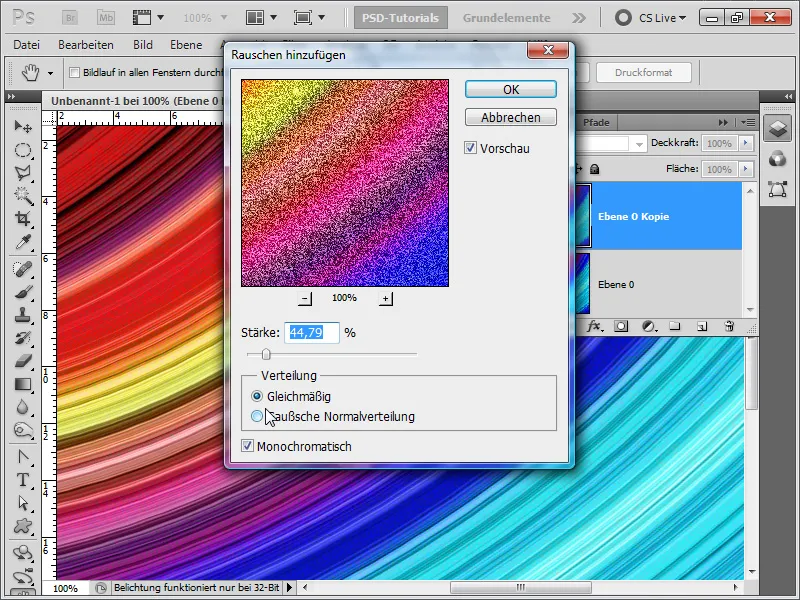
Step 12:
Next, I want to add a nice animation. To do this, I will delete my Layer 0 copy, then duplicate my background layer again (Ctrl+J), and then apply a blur. Now add a Layer Mask and insert a black and white gradient into it. Then release the link (chain icon). Next, I display the Timeline panel.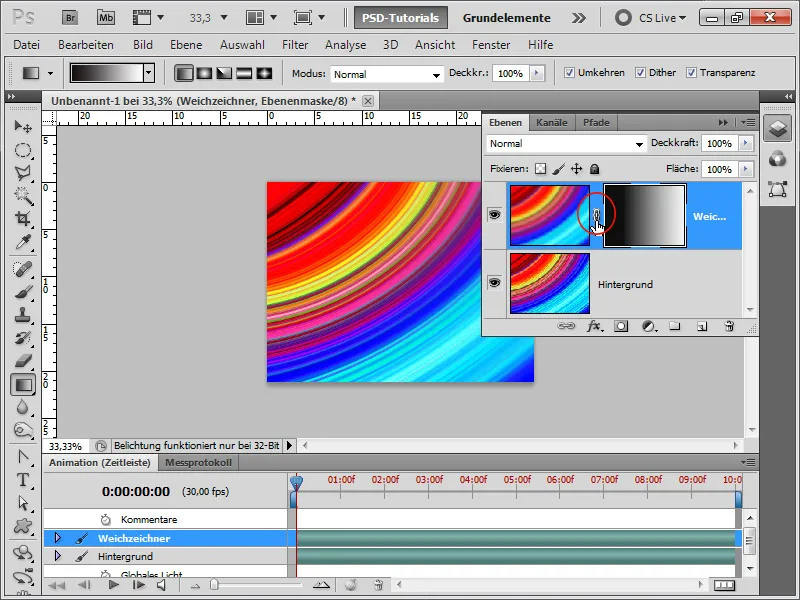
Step 13:
Then I move the Layer Mask completely out of the image to the left and set a Keyframe under the layer mask position by clicking on the small Rhombus Symbol.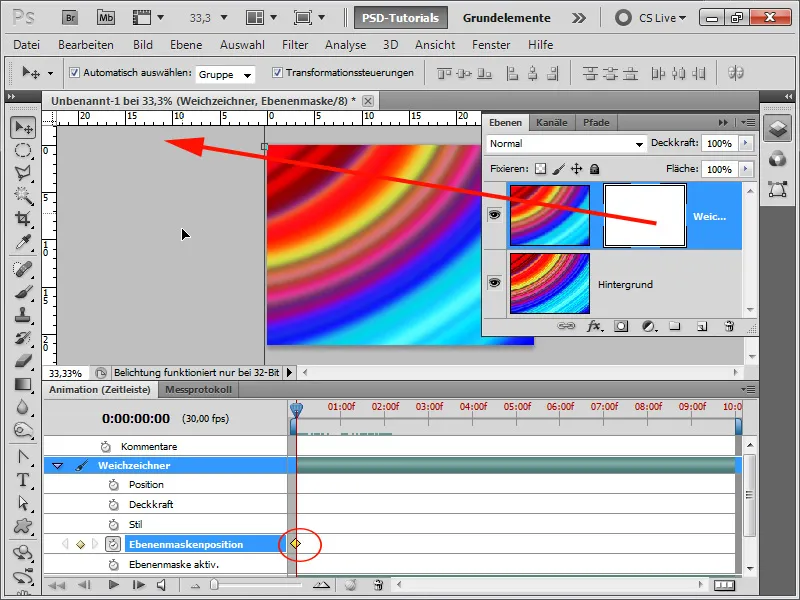
Step 14:
Now I set the slider to second 2 and move the Layer Mask all the way to the right. This creates a new Keyframe that remembers the position, resulting in an animation.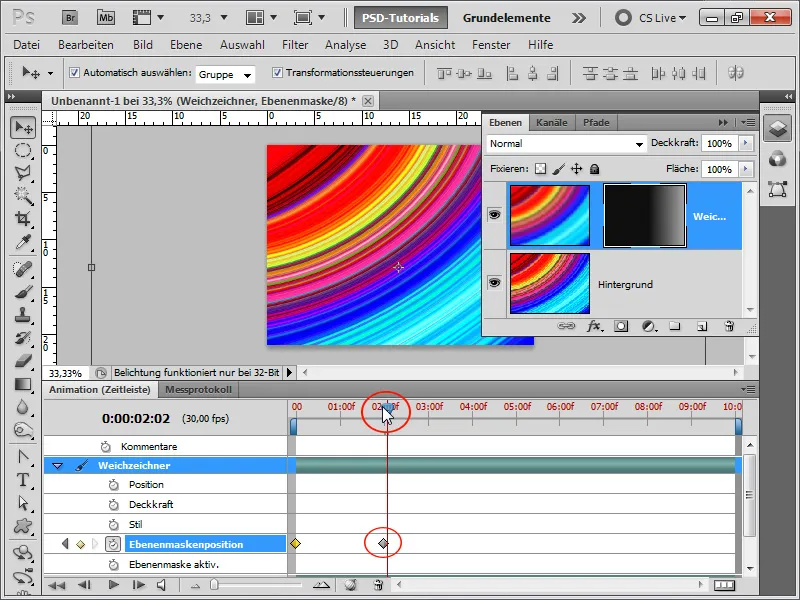
Step 15:
I can further enhance the effect by creating a new layer, making a smaller selection on it, filling it with white, blurring it, and then setting the opacity to around 60 - 66%. Now I can also move this from left to right as an animation by saving the position as keyframes. The result looks like this.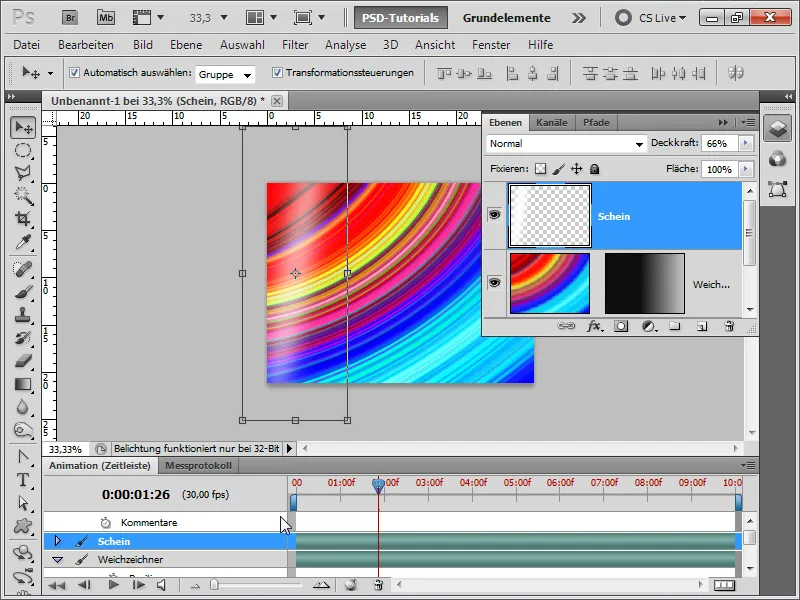
Step 16:
One last tip: I can also simply place a new layer above my background layer and fill it with color using a soft brush, as I like. I simply used orange, red, blue, orange, and blue again. Now set the blending mode to Color, and the result will be impressive as well.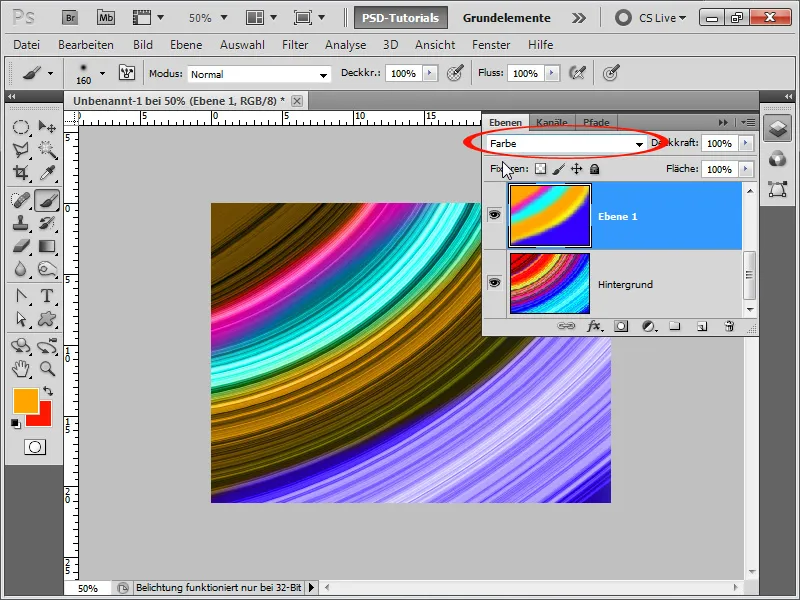
Step 17:
Alternatively, I can simply add an adjustment layer with Hue/Saturation, then I can quickly change the colors as well.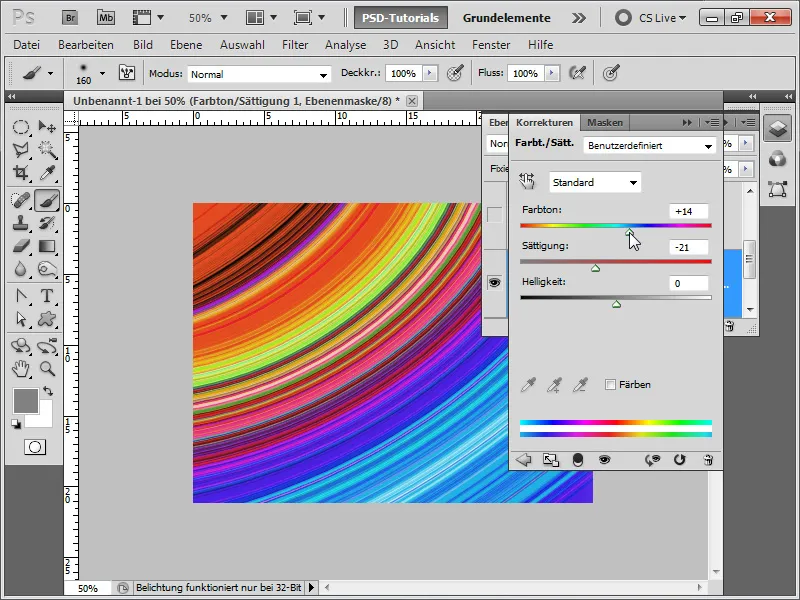
Step 18:
If I add a slight gradient to the layer mask on the adjustment layer, my result will look like this: