You want to set up Google Analytics 4 on your website using Google Tag Manager? This guide will walk you through the process step by step so you can efficiently implement all necessary steps.
Main Insights
- Google Tag Manager allows for easy integration of Google Analytics 4 on your website.
- The process involves creating an account in Google Tag Manager and linking it to your website.
- For Google Analytics 4, you no longer need to set up IP anonymization, as this is done automatically.
- You can easily manage and customize Event Tracking on your website.
Step 1: Access to the Google Analytics Account
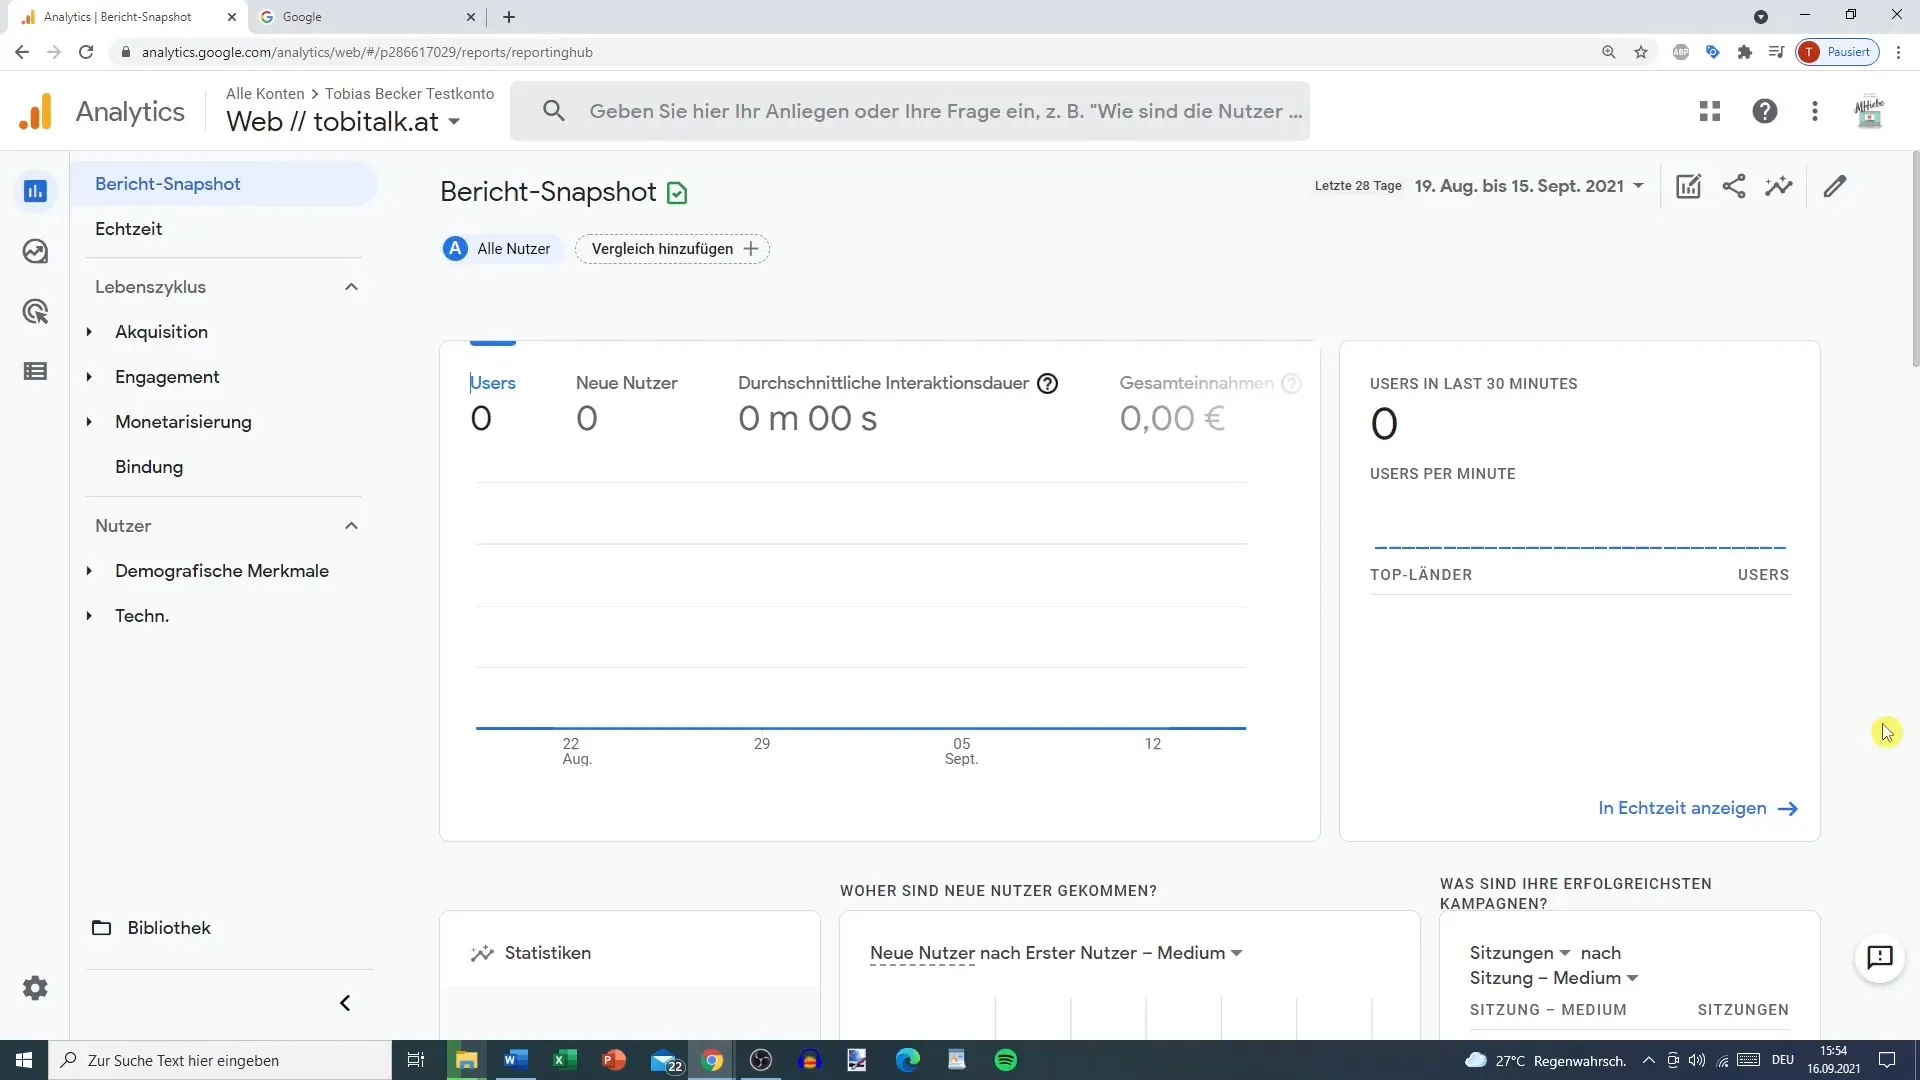
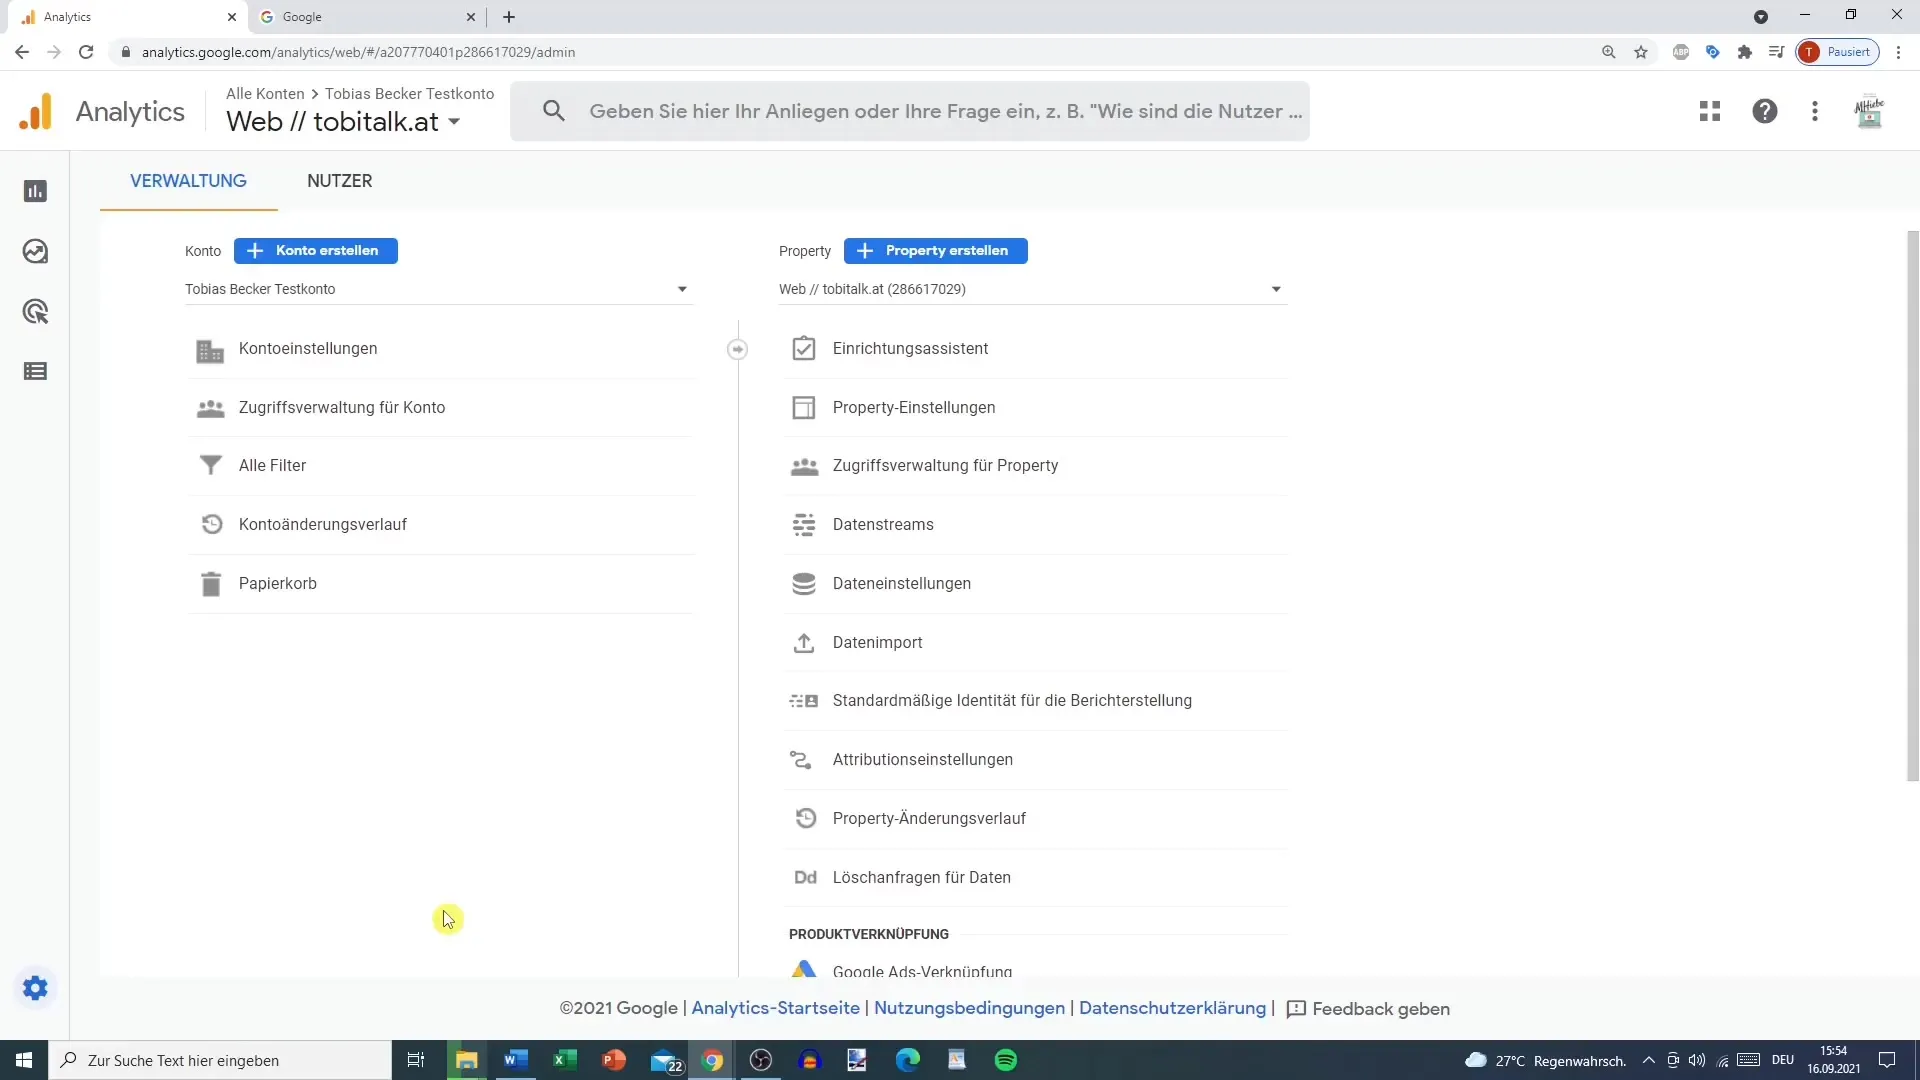
Start by signing in to your Google Analytics 4 account. Navigate to the admin section and click on the data stream of your website that you want to use for the integration. Here you will find the Measurement ID that you will need later.
Step 2: Create a Google Tag Manager Account
Go to Google and search for "Google Tag Manager". Select the first link and create a new account. Give your account a name, choose a country, and then create a new container for your website.
Step 3: Install Google Tag Manager Plugin
You need a plugin to integrate Google Tag Manager into your WordPress backend. Go to the plugins, search for "Google Tag Manager", and install the plugin with the highest rating. Activate this plugin to utilize the new options in the backend.

Step 4: Insert Google Tag Manager ID
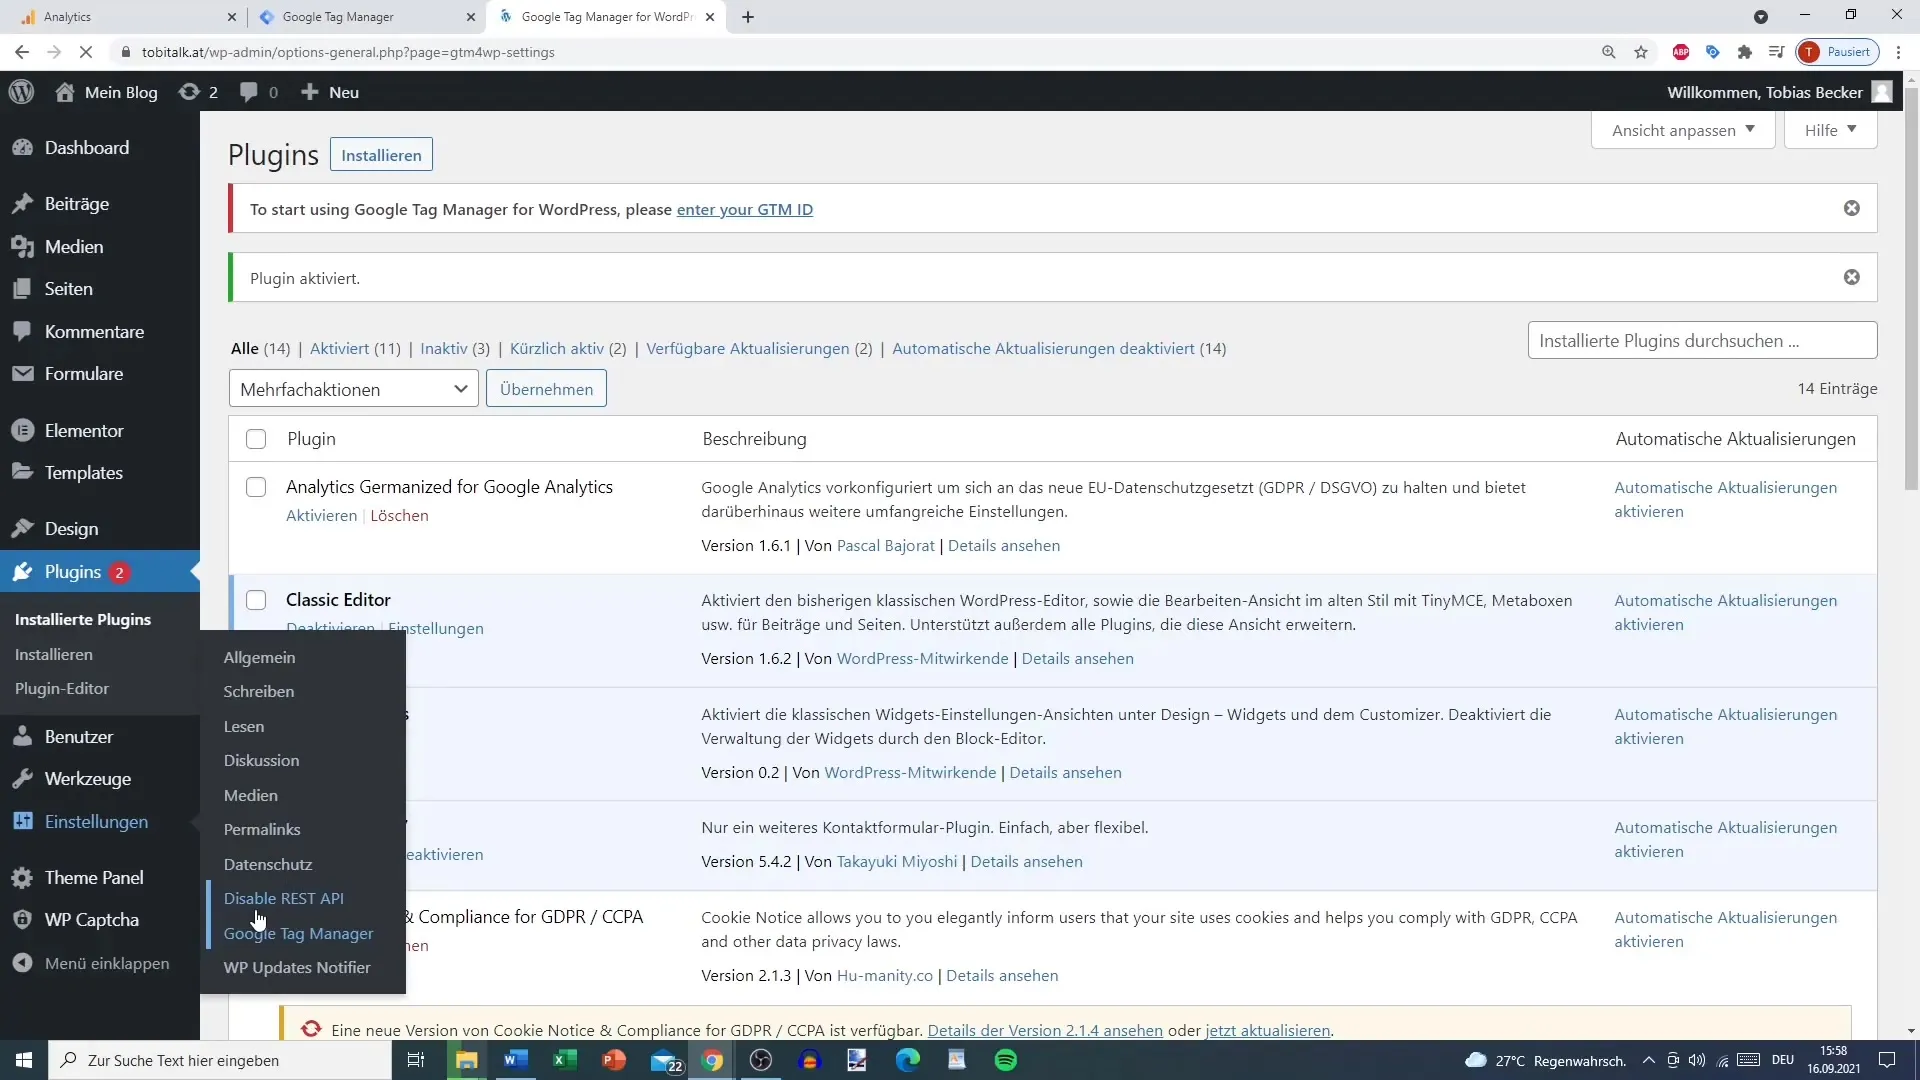
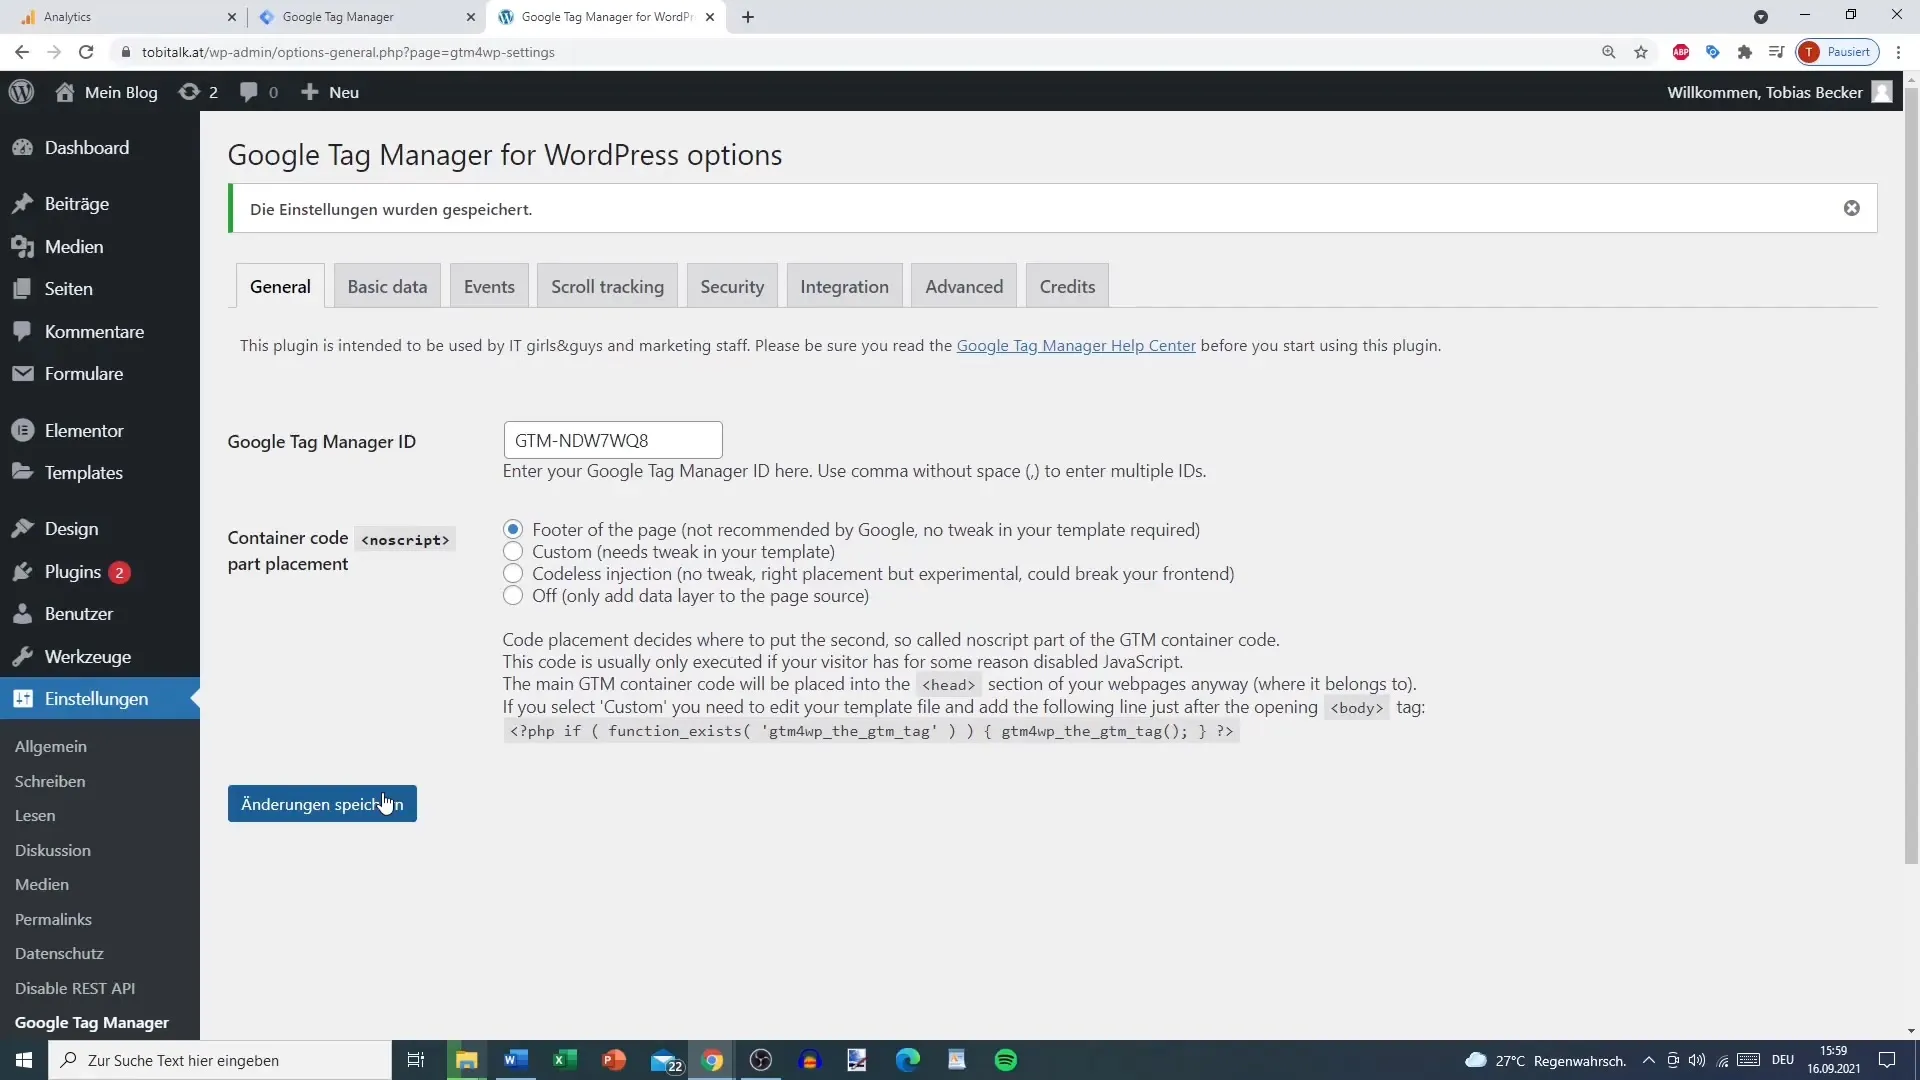
In the settings of your plugin, you will now find the new tab "Google Tag Manager". There, enter the container ID that you copied from your Google Tag Manager account earlier. Don't forget to click on "Save".
Step 5: Link Google Tag Manager with Google Analytics
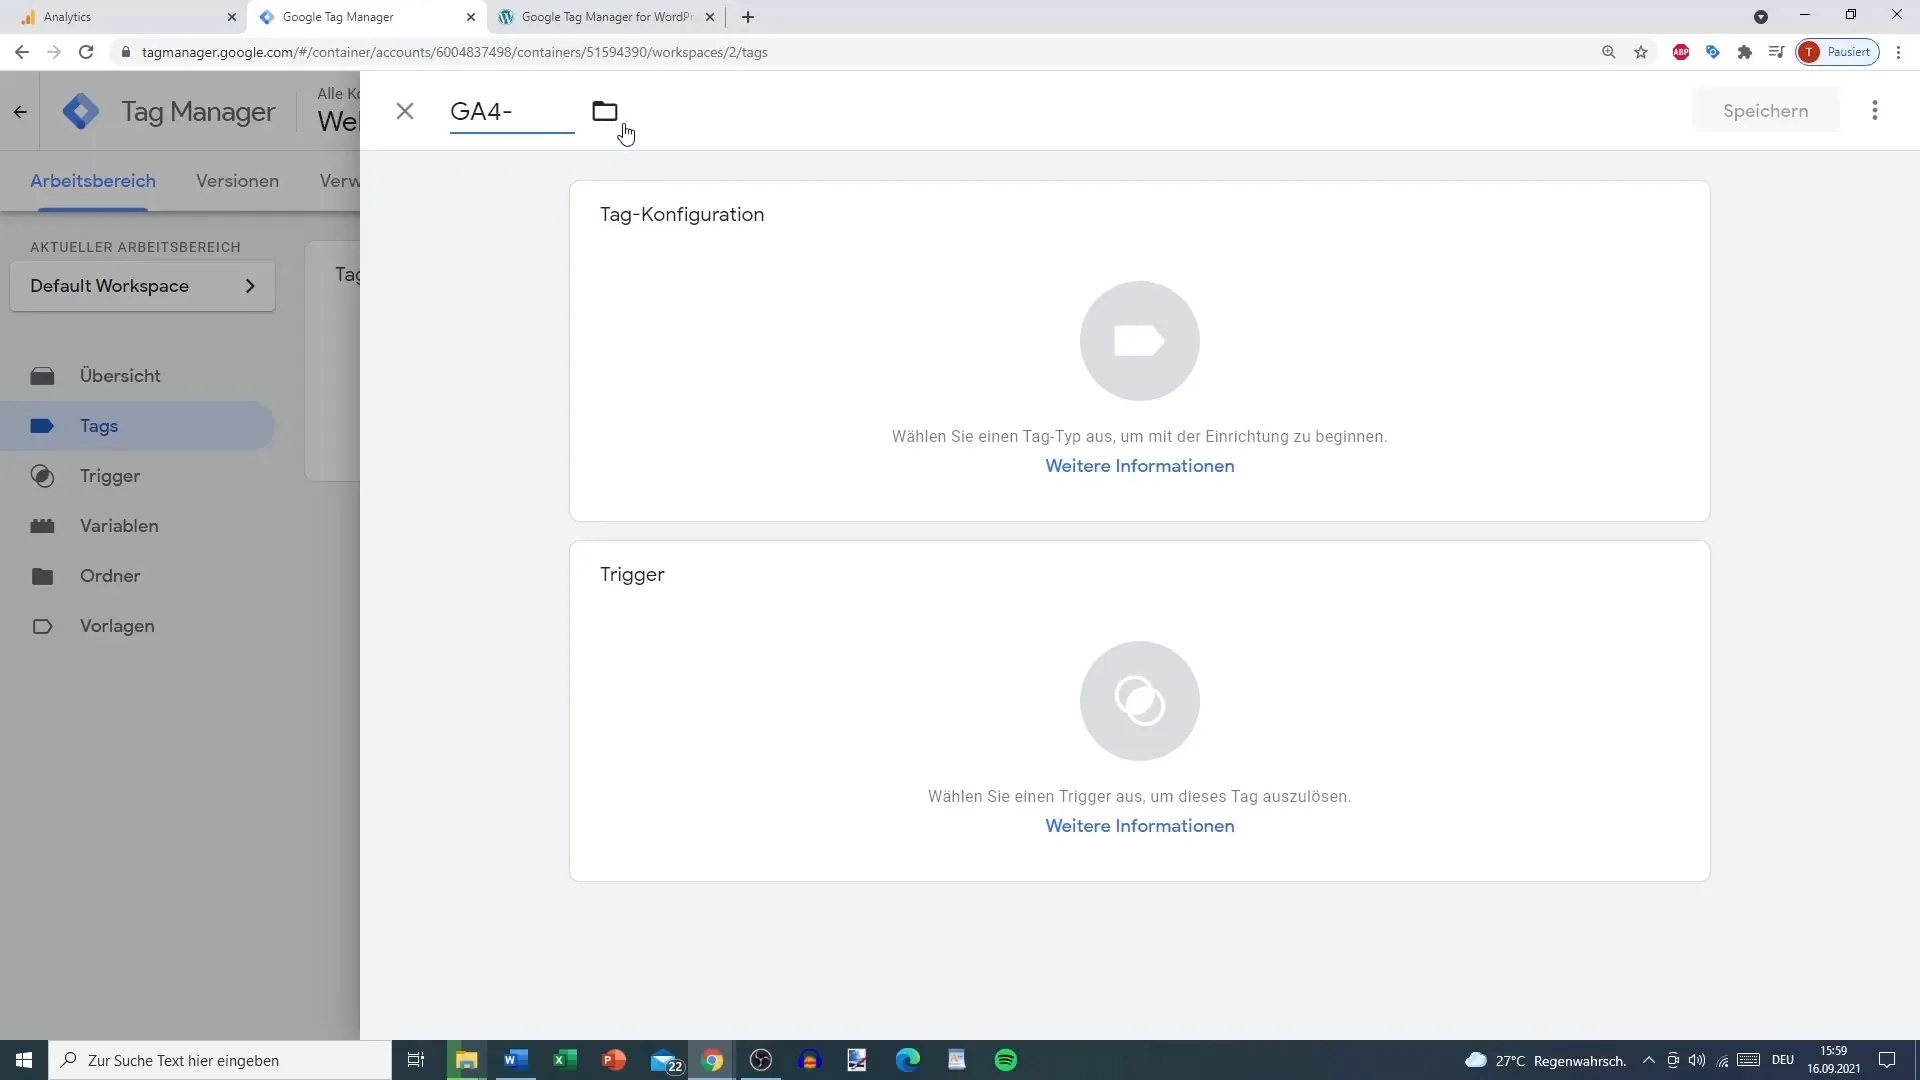
Go back to your Google Tag Manager and click on your container. In the left column, you will find the "Tags" section. Click on "New" and name your tag, for example, "Google Analytics 4 Standard".
Step 6: Configure Tag Settings
Select "Tag Configuration" and choose "GA4 Configuration". Here, you need to enter the Measurement ID that you can find in your Google Analytics account. These steps are crucial for the correct linkup.
Step 7: Configure Triggers
For the trigger, select "All Pages" to fire the tag on every page of your website. Save your changes and go to "Preview" to test if everything is working correctly.
Step 8: Test in Preview
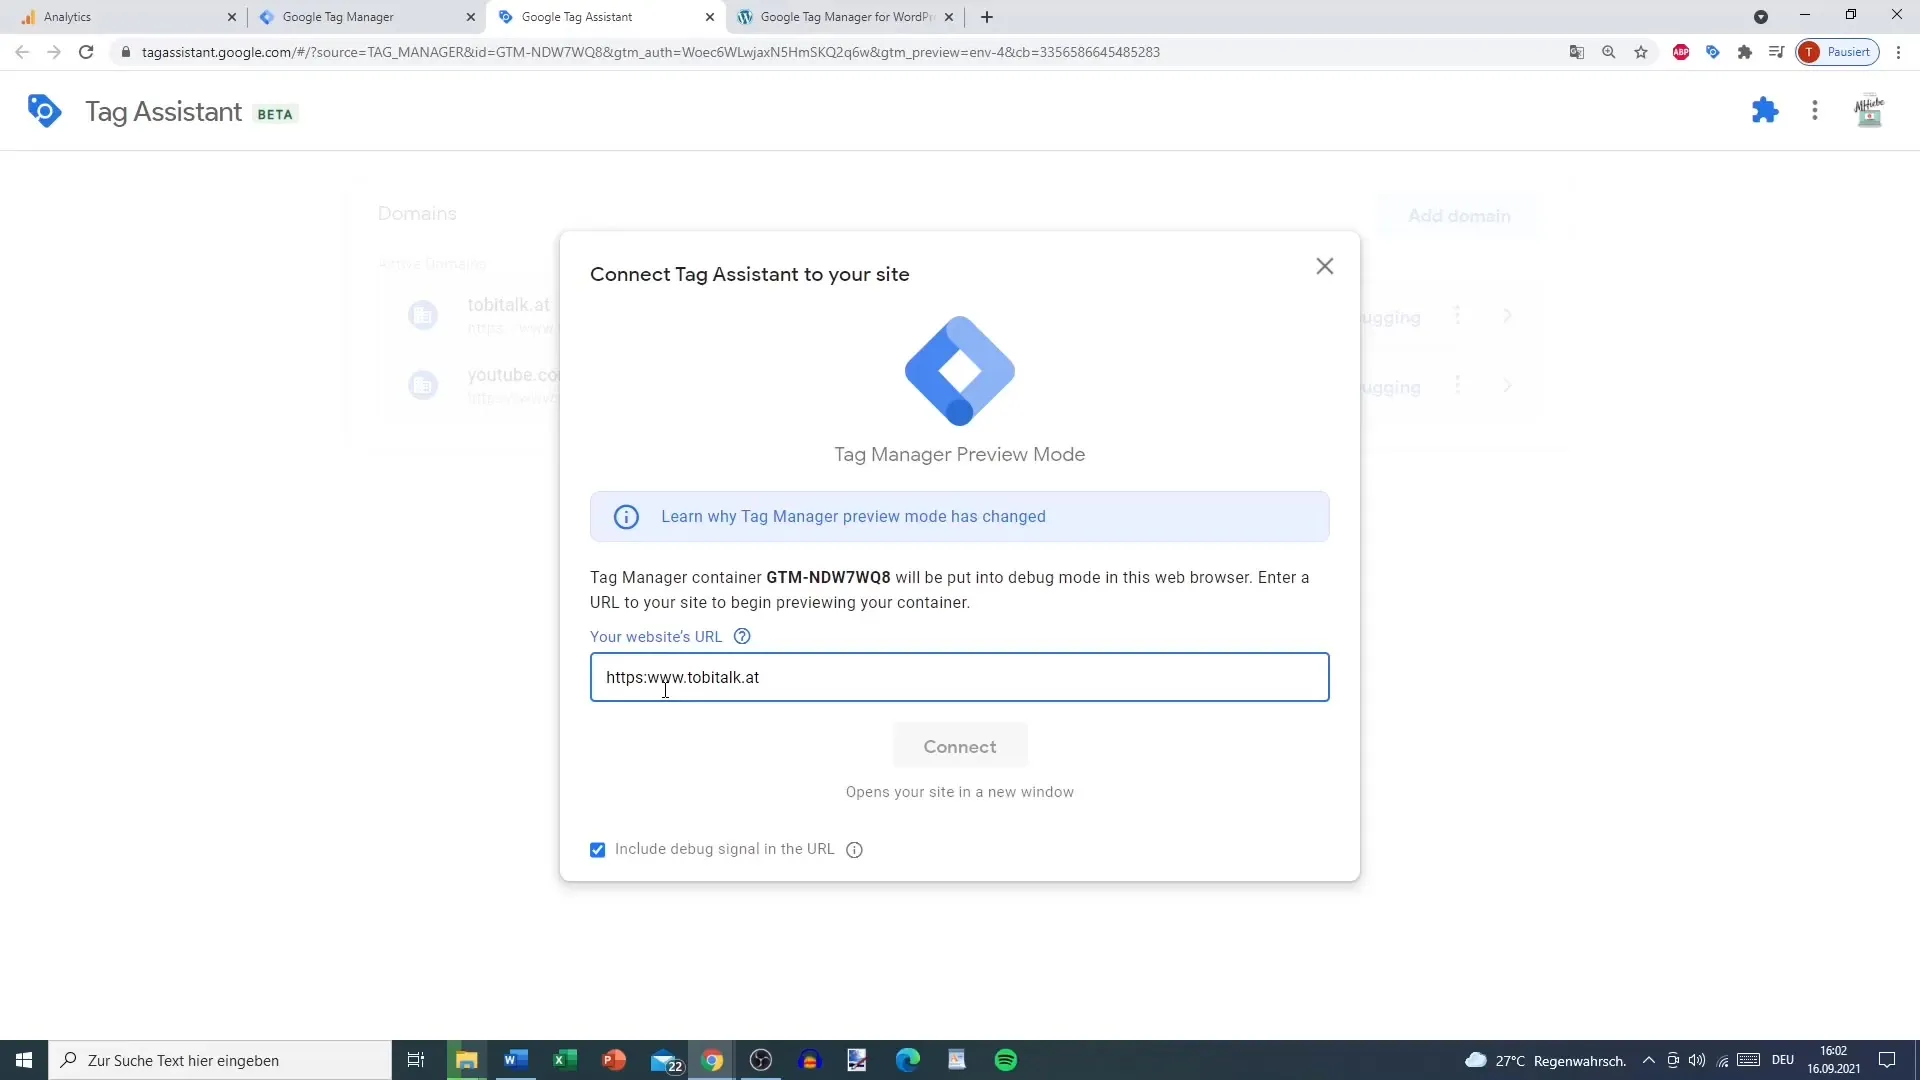
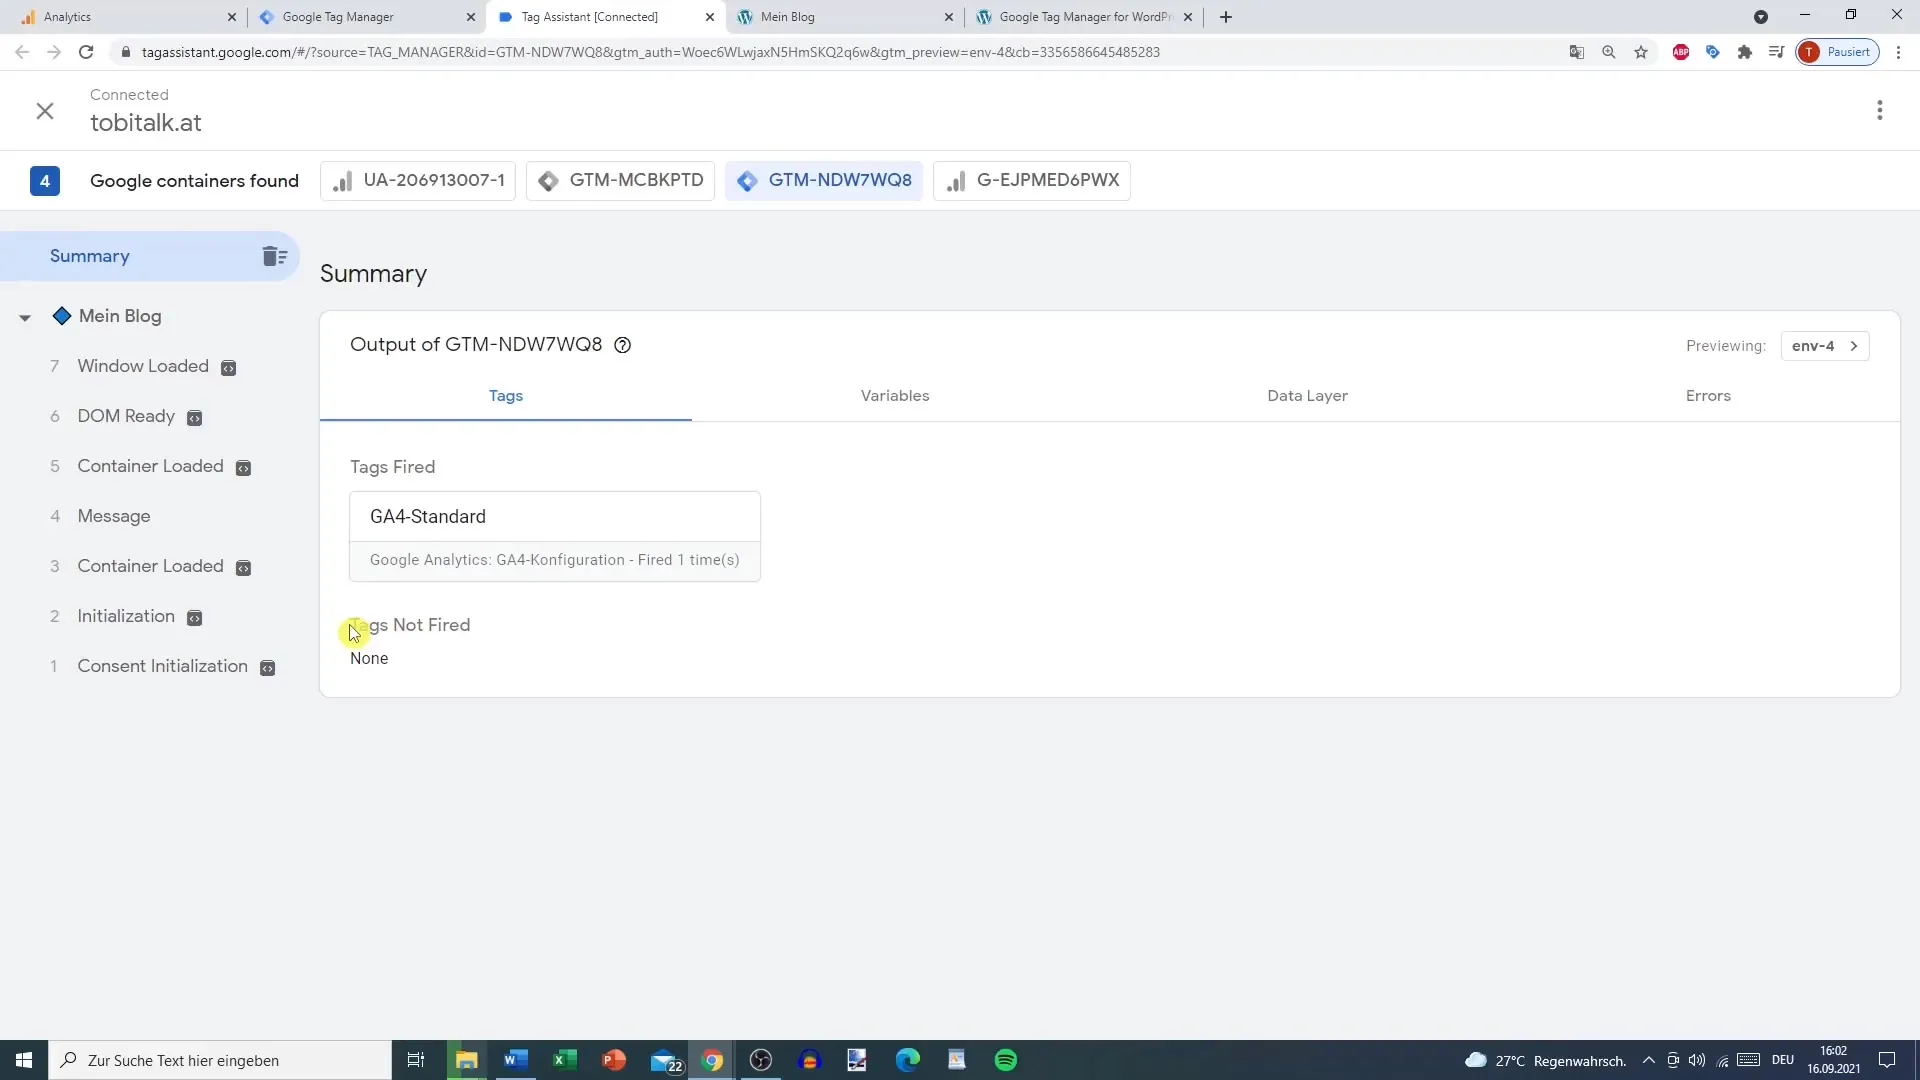
Enter your website URL to perform the integration test. A preview window will open where you can see the tags being executed. Make sure the standard tag has been fired.
Step 9: Publish Changes
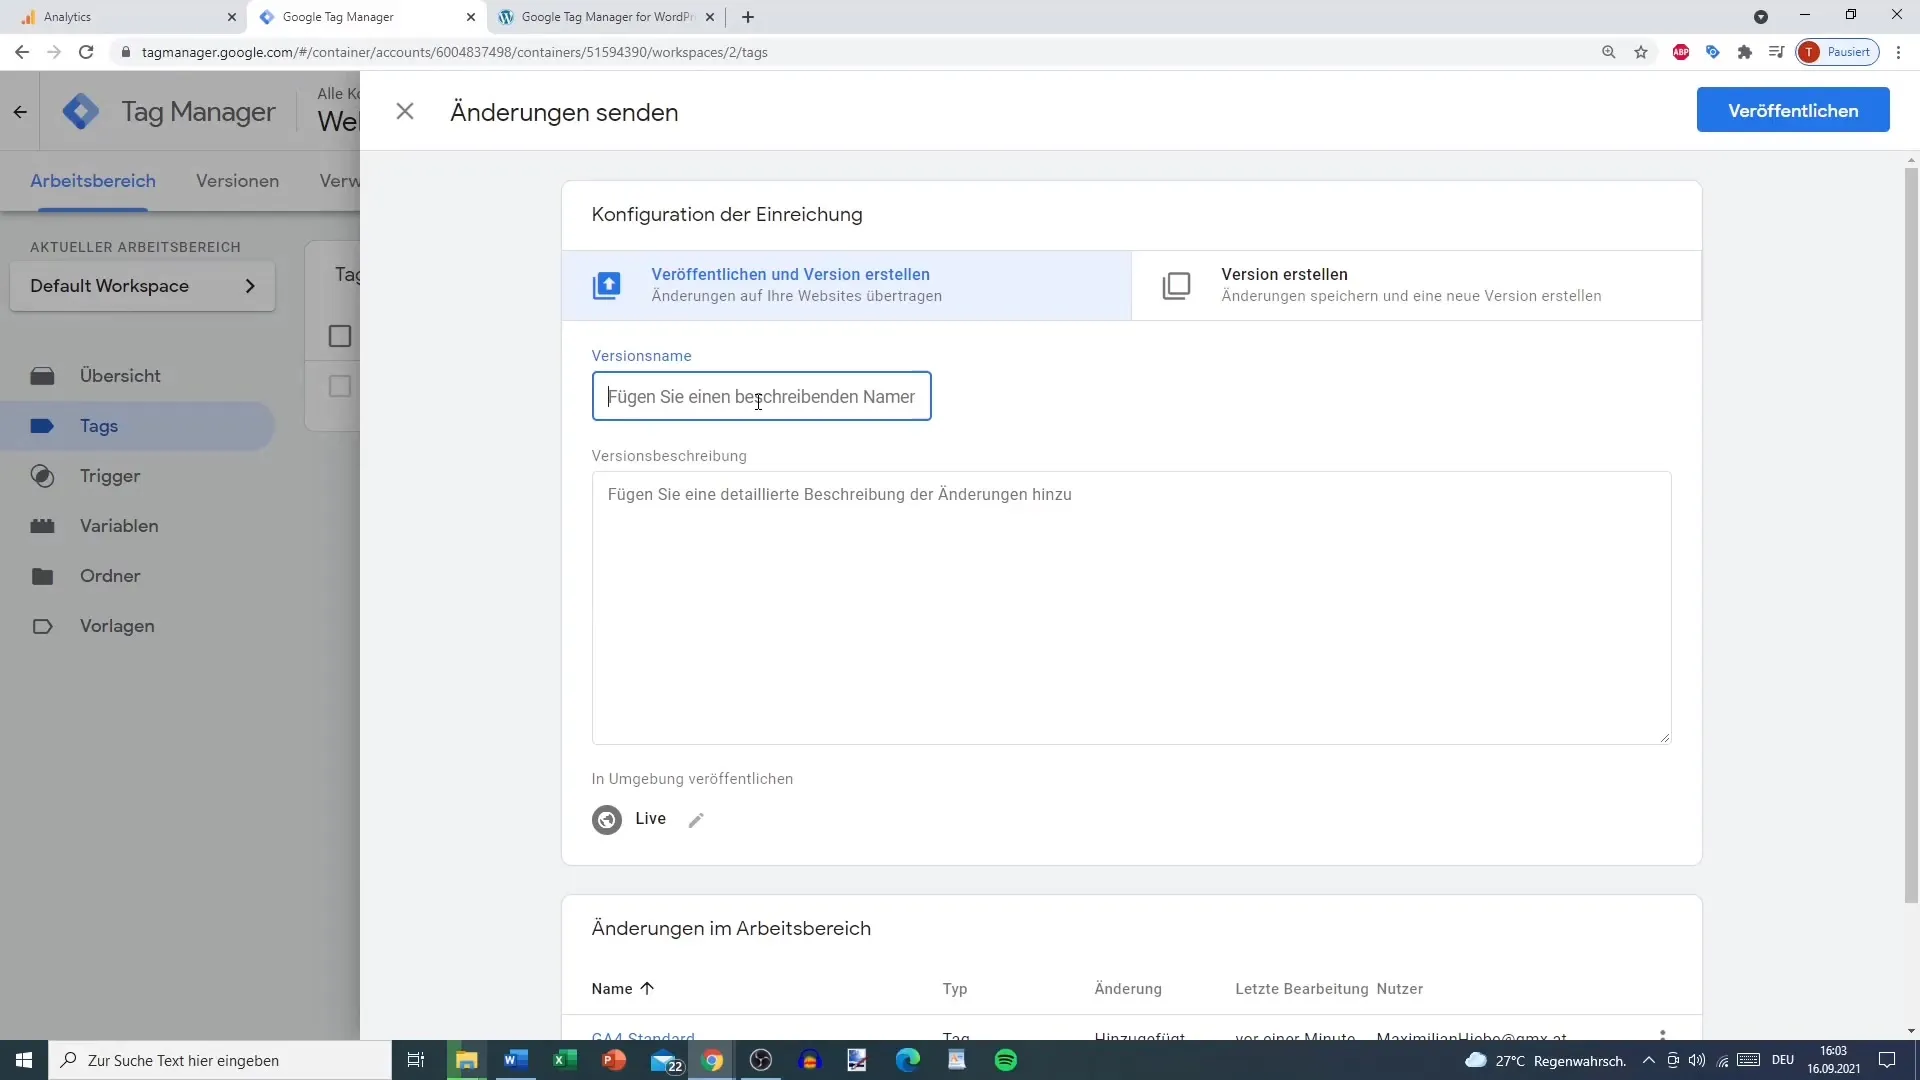
After successfully testing the preview, you can publish the changes. Click on "Submit", give your version a name and description, and click on "Publish".
Step 10: Monitor real-time data
Now go to your Google Analytics 4 account and check in the real-time overview to see if your activities are being recorded. You should now see when a user is active on your site, including information about the origin and the visited pages.
Summary
This guide has shown you step by step how to implement Google Analytics 4 on your website through Google Tag Manager. From creating your Google Tag Manager account to verifying your data, we have covered all the key points.
Frequently Asked Questions
How do I create a Google Tag Manager account?Go to tagmanager.google.com and follow the instructions to create a new account.
Do I need to set up IP anonymization in Google Analytics 4?No, Google Analytics 4 automatically anonymizes IP addresses.
How can I set up Event Tracking in Google Analytics 4?You can configure this in the tags of Google Tag Manager by defining specific events for your website.


