Efficiently tracking events is crucial for website analytics. A particularly interesting example is tracking clicks on phone numbers. Here I explain how to set up event tracking with Google Tag Manager (GTM).
Key Insights
Event tracking allows you to measure specific interactions of your visitors with your website. In Google Tag Manager, you can configure events to work with Google Analytics and gain detailed insights into your users' behavior.
Step-by-Step Guide
Let's start by setting up event tracking in Google Tag Manager.
Step 1: Open Google Tag Manager
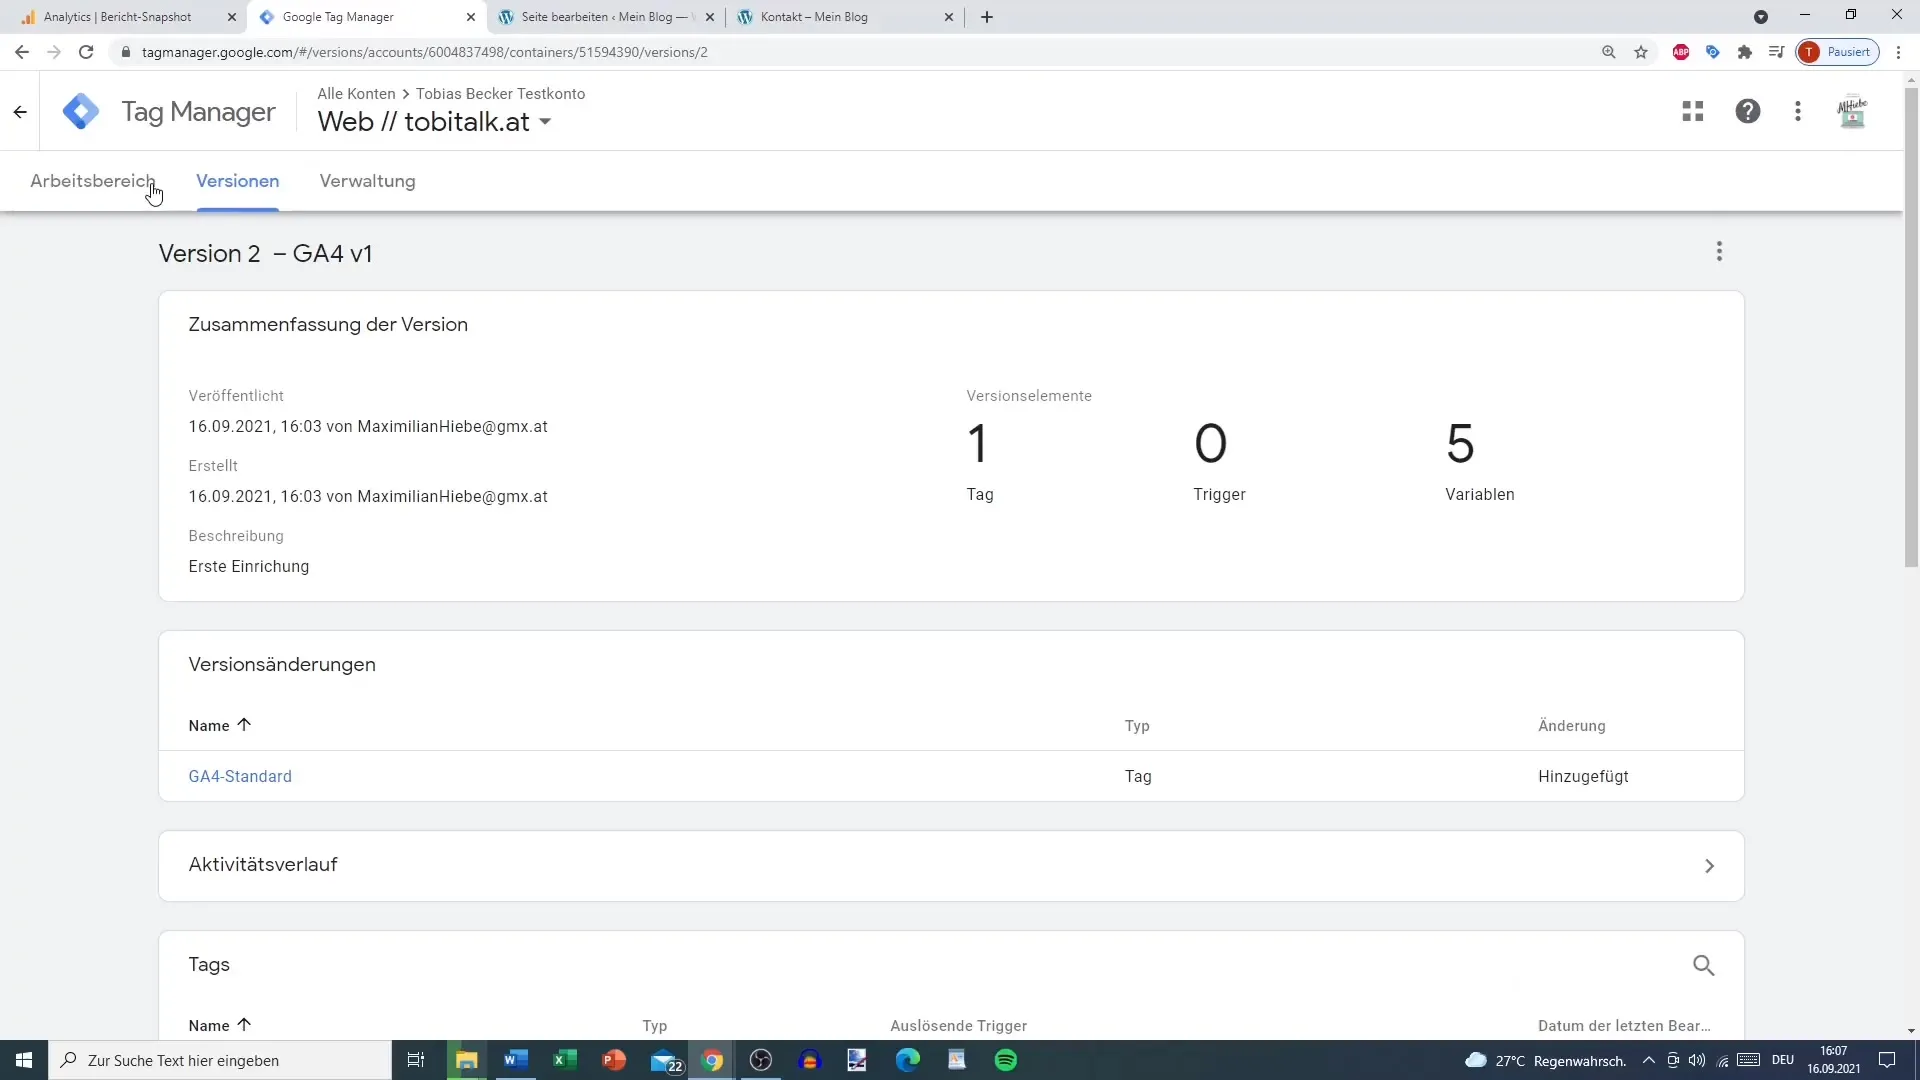
Open Google Tag Manager and navigate to "Tags" in the workspace. Here, you will see an overview of your existing tags.
Step 2: Tag Configuration for Google Analytics 4
Select the Google Analytics 4 tag to edit it. You will now see the configuration of your tag, divided into a standard tag and an event tag.
Step 3: Create Phone Tracker
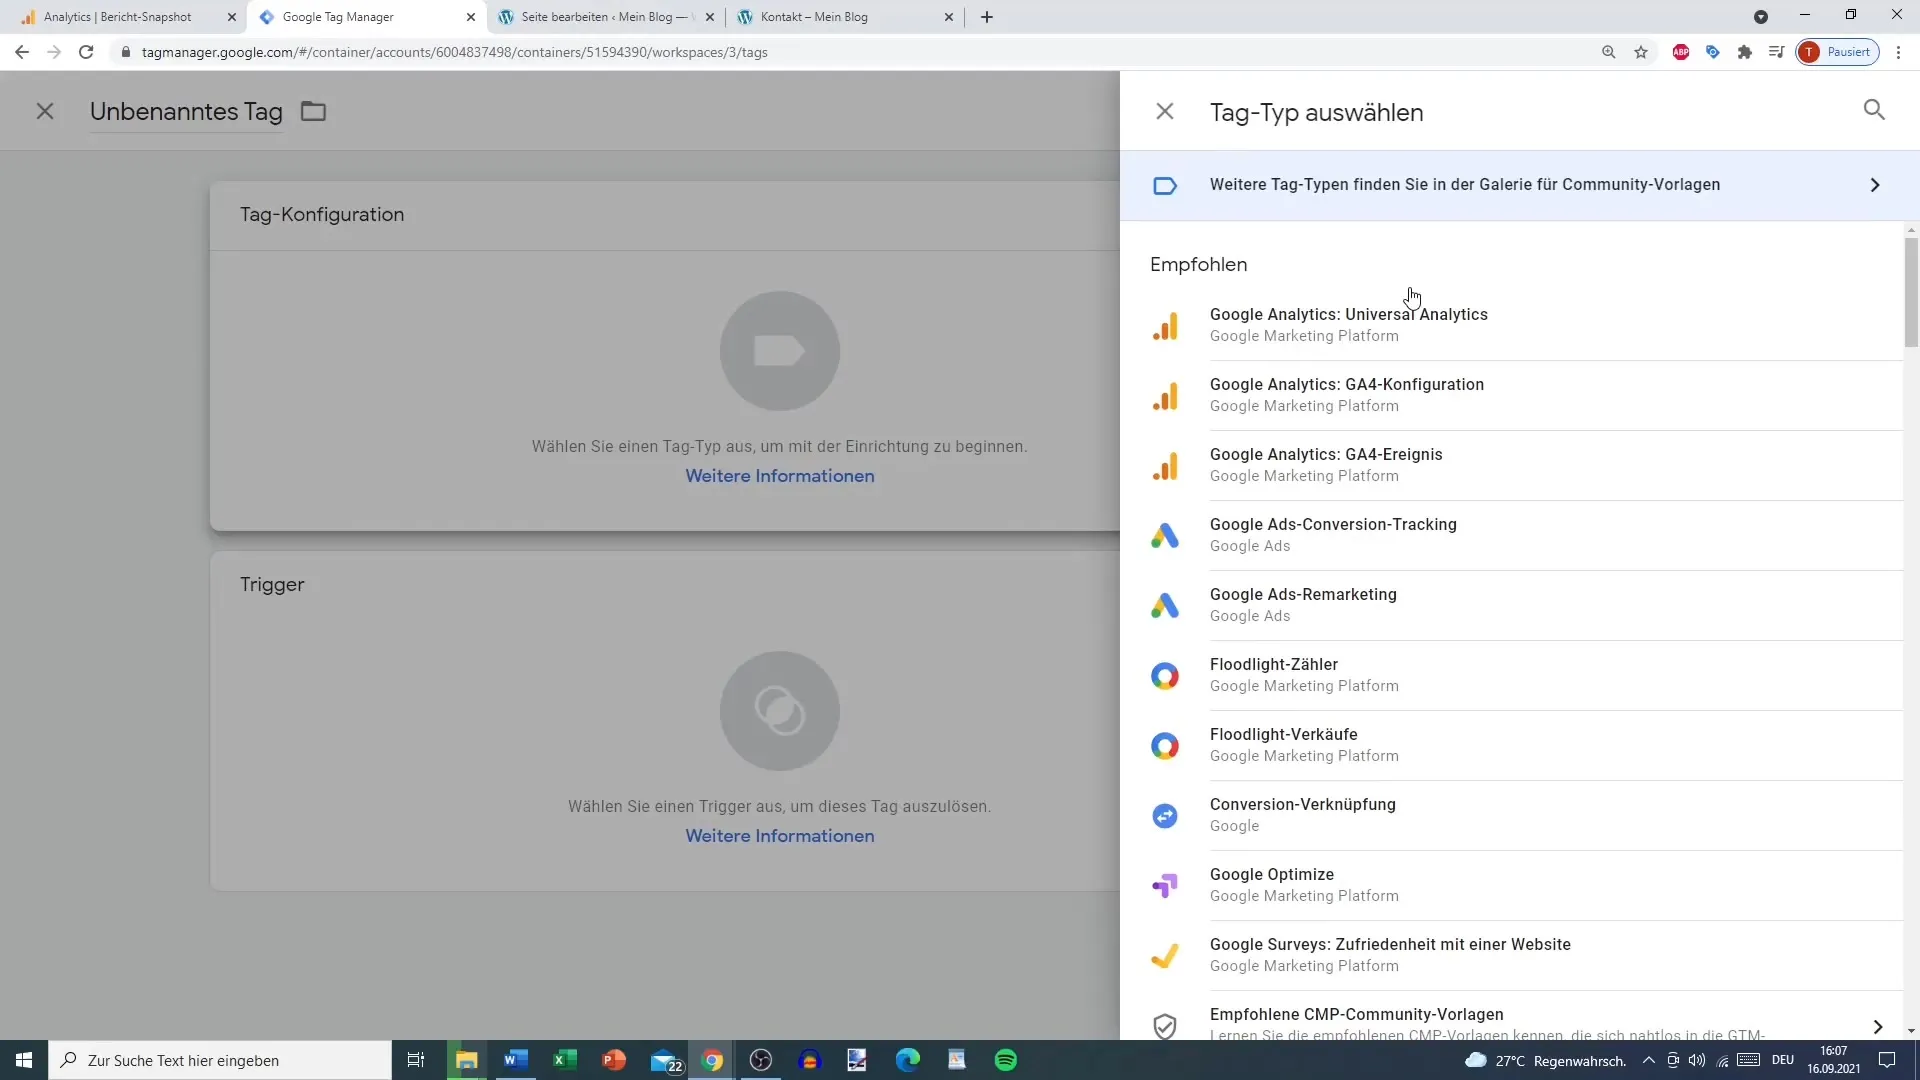
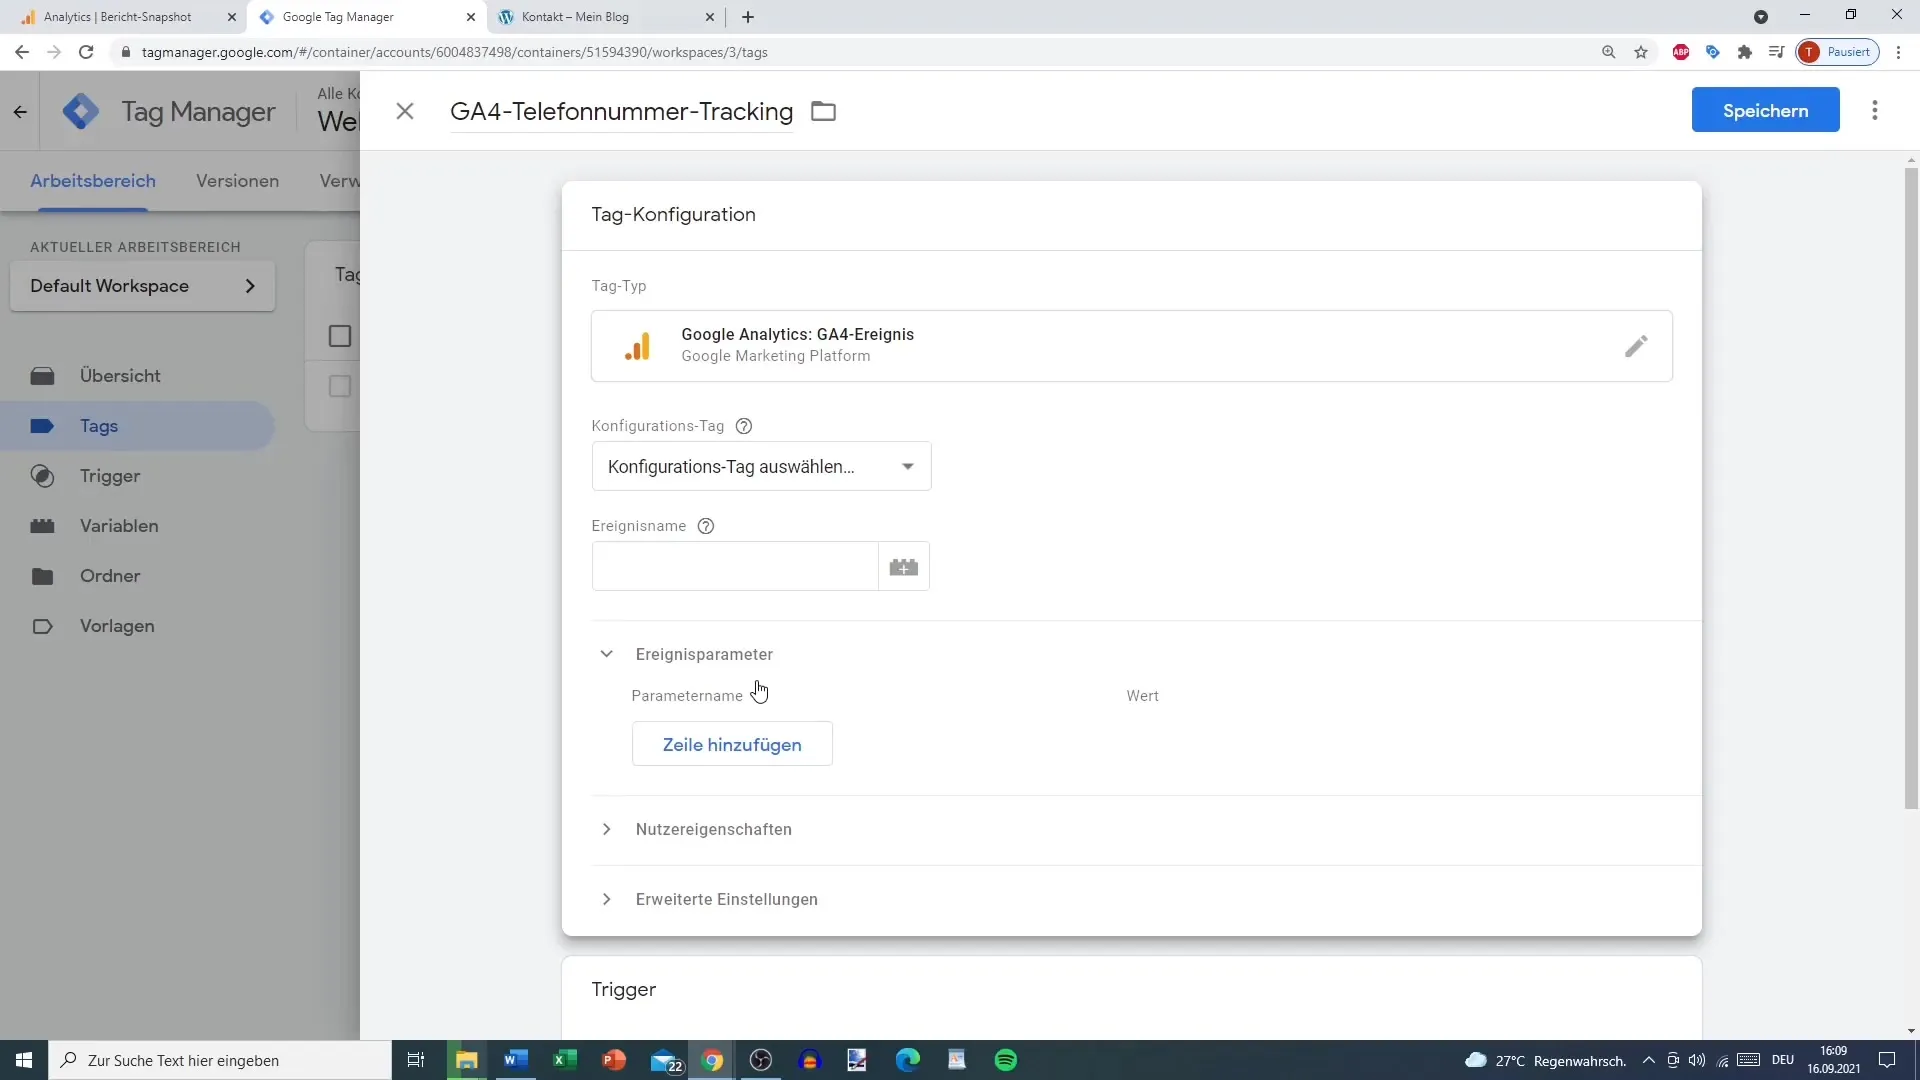
Create a new tag for tracking the phone number. Under tag configuration, select "GA4 Event." You must specify the event name, especially recommending naming it "click_to_call."
Step 4: Add Parameters
Now you can add parameters yourself. Here you have the opportunity to define up to 25 parameters. Under the parameters, you will find the name "Phone Number" and the value you want to specify – using the variable "Click URL."
Step 5: Activate Variables
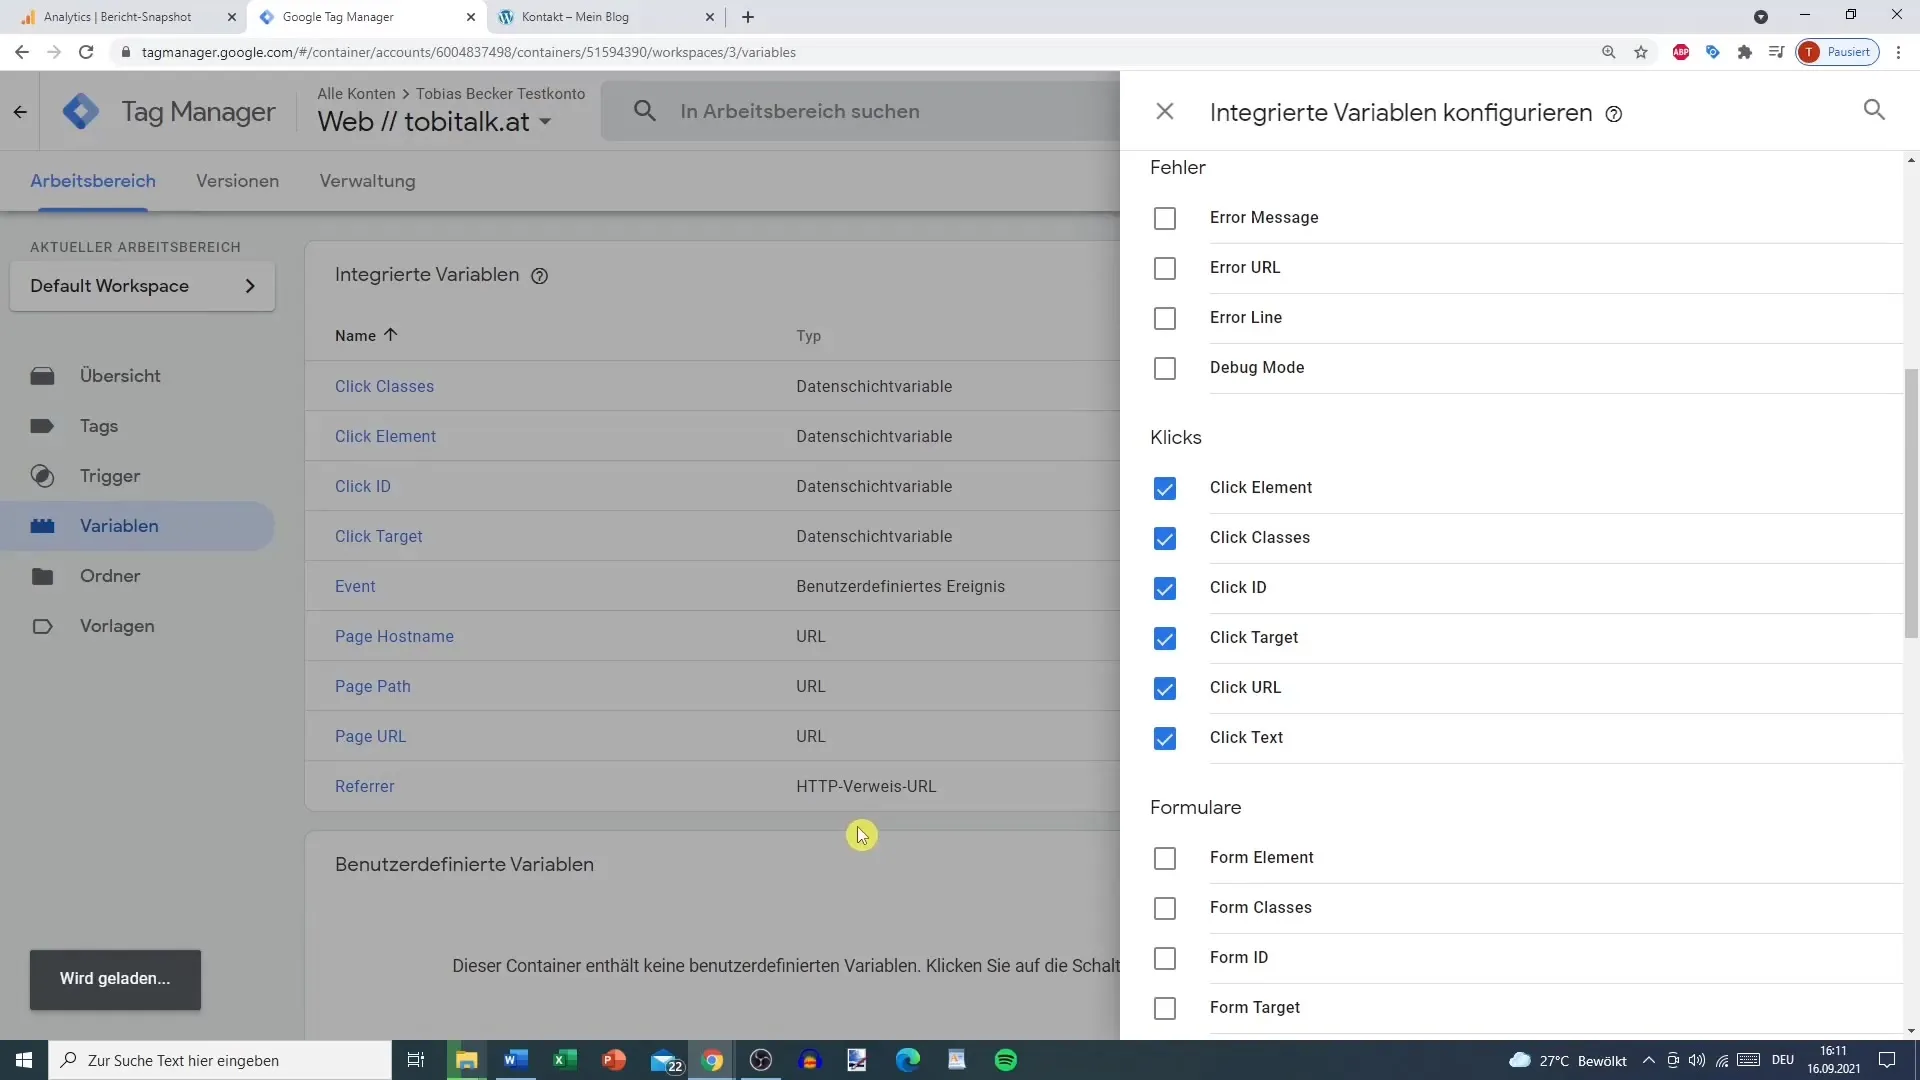
Go back to tag configuration and activate all the variables you need. This is important to ensure that you capture all relevant data for click tracking. Do not hesitate to activate "Click URL."
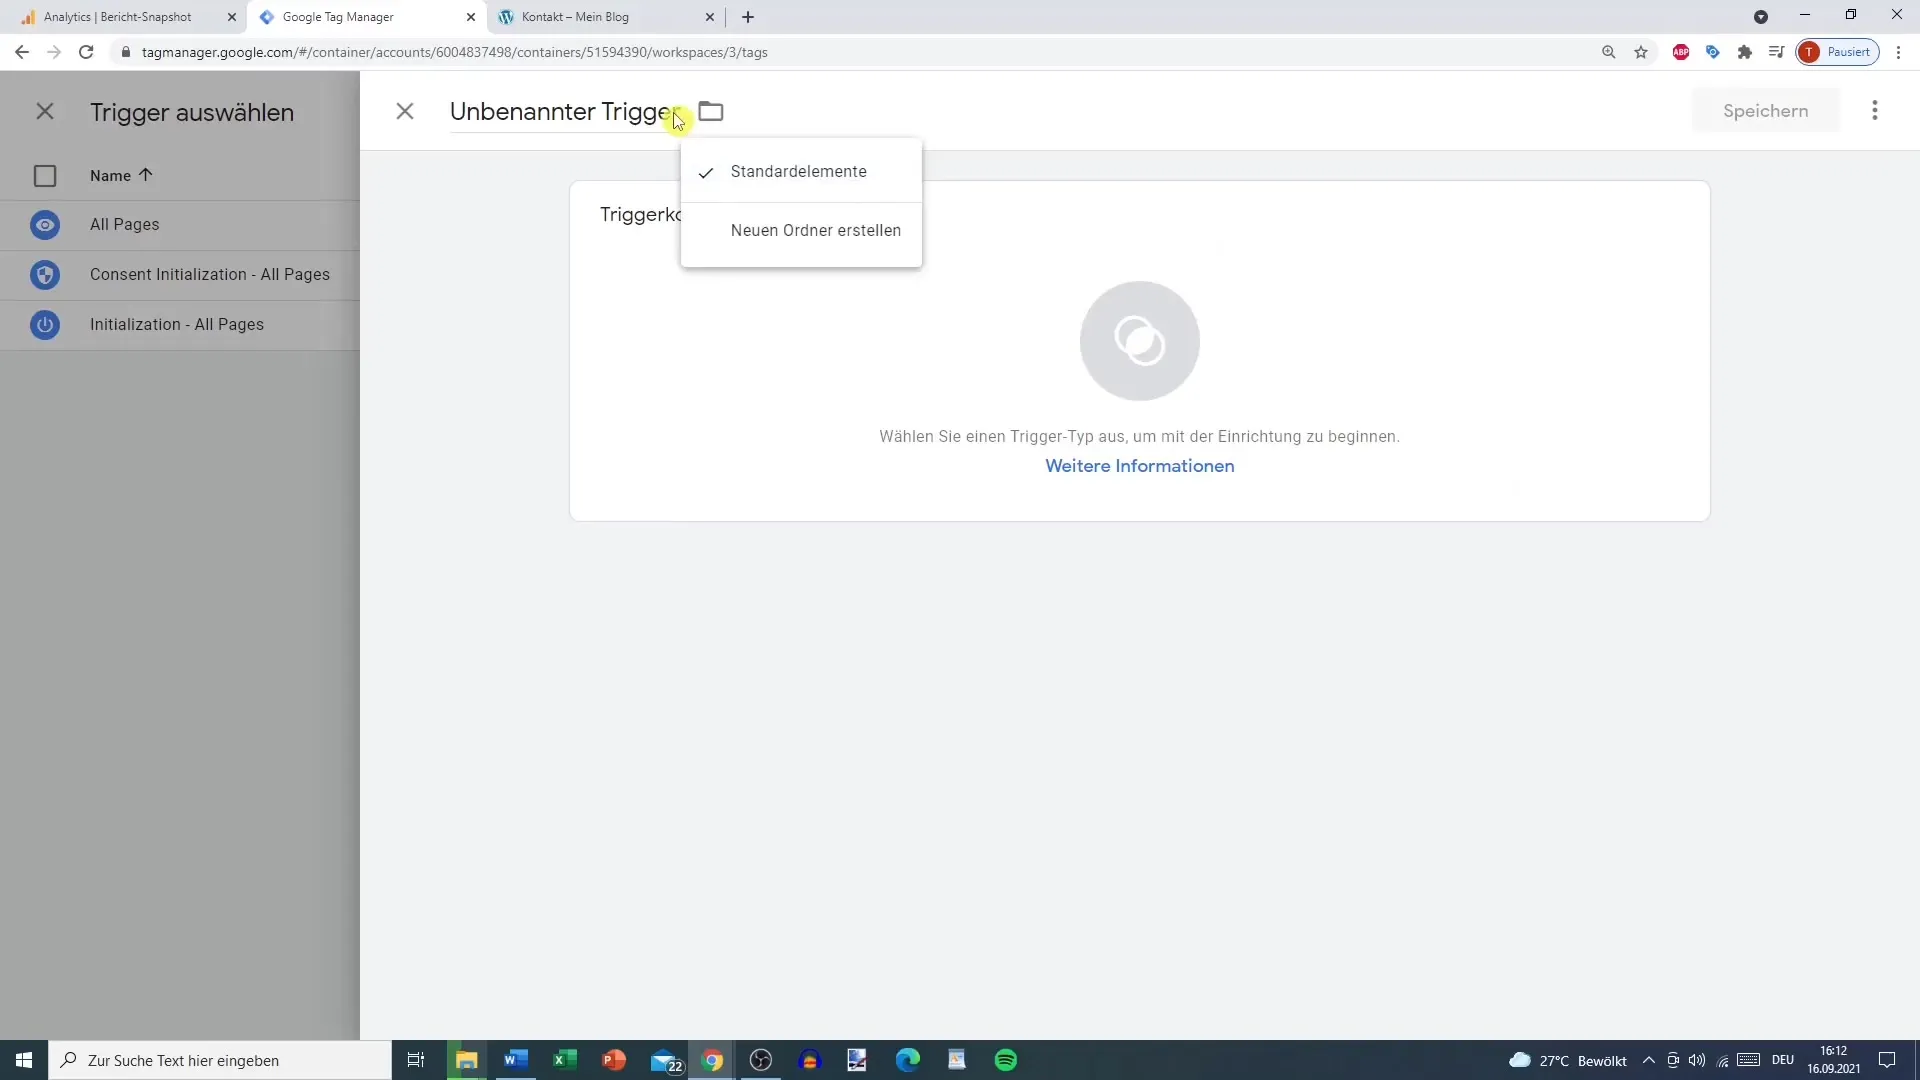
Step 6: Add Triggers
Now it's time to create triggers for your tag. Name the trigger "Phone Number Click Trigger." Select the option "Click Only Links" and add the condition that the click URL starts with "tel:".
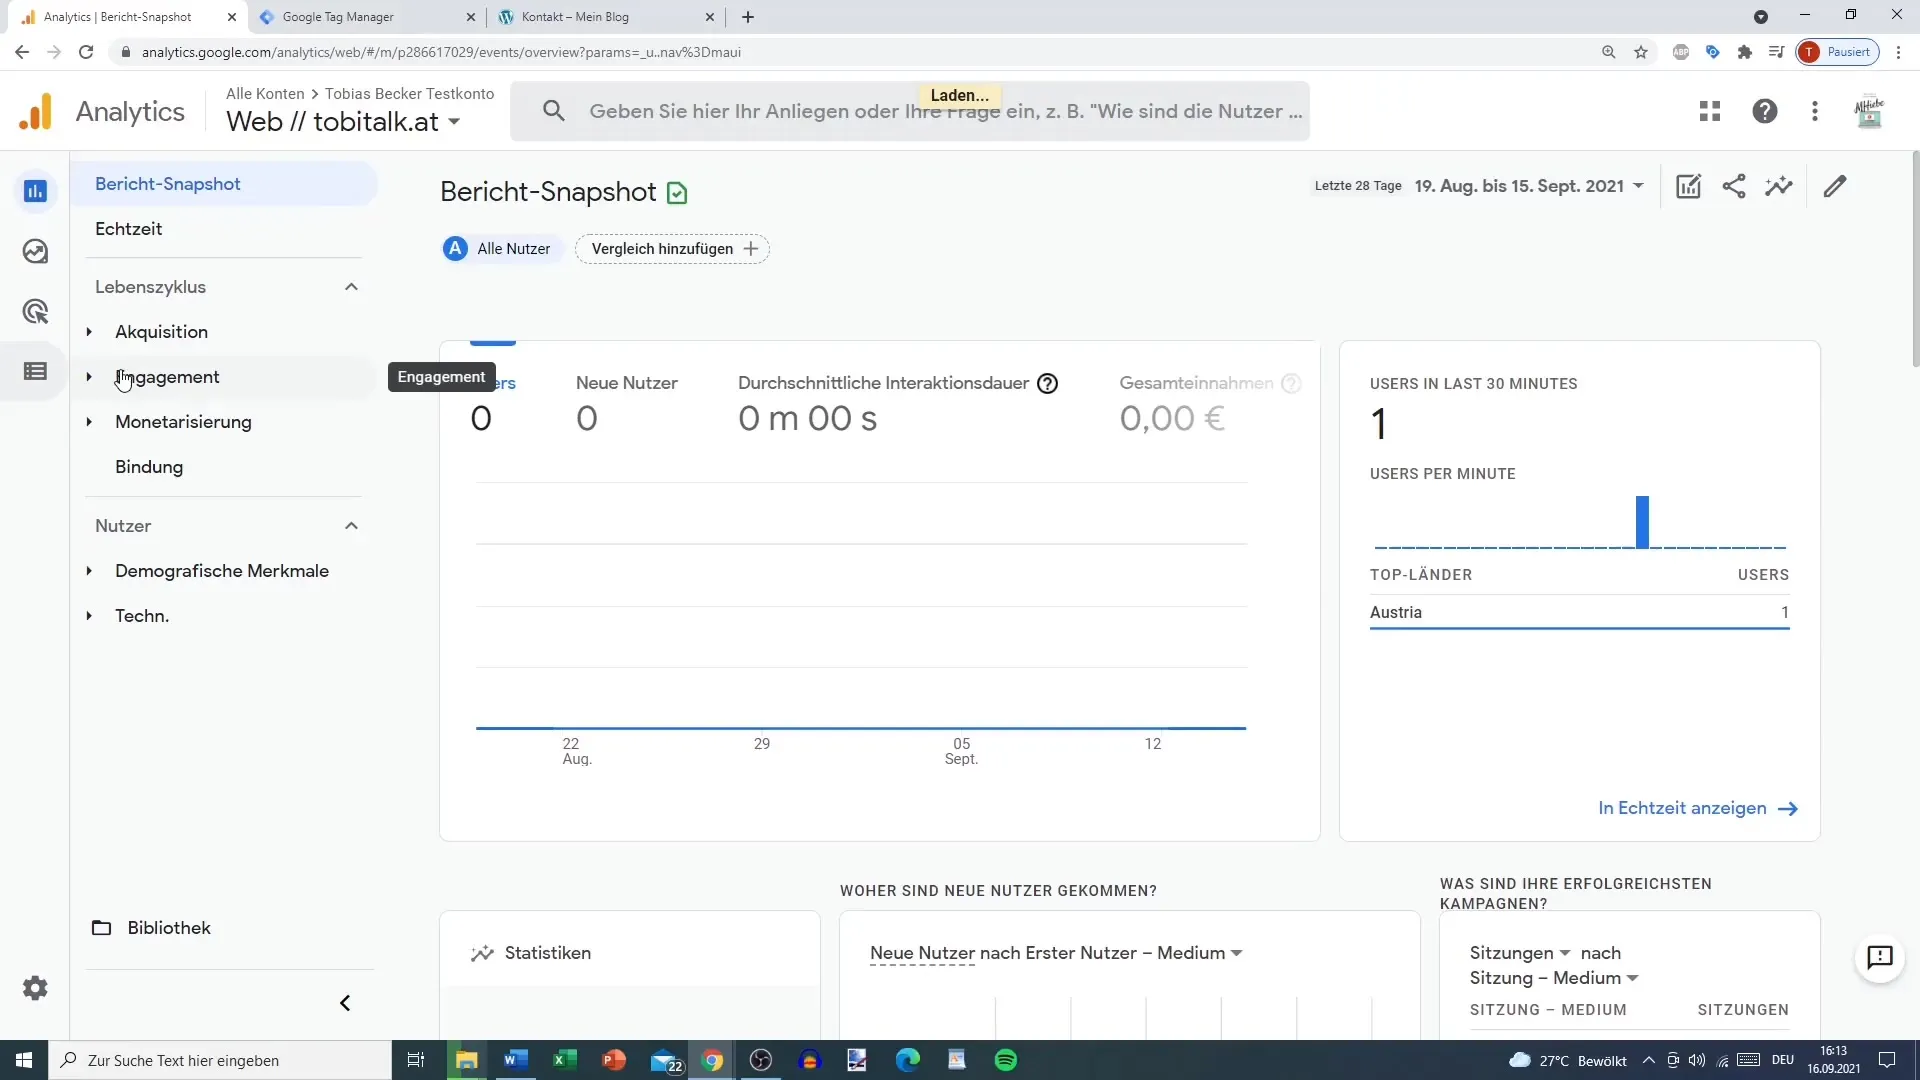
Step 7: Configure Google Analytics
Before activating the tag, go to Google Analytics. Under "Configure," select "Define User Dimensions" and create a new dimension named "Phone Number."
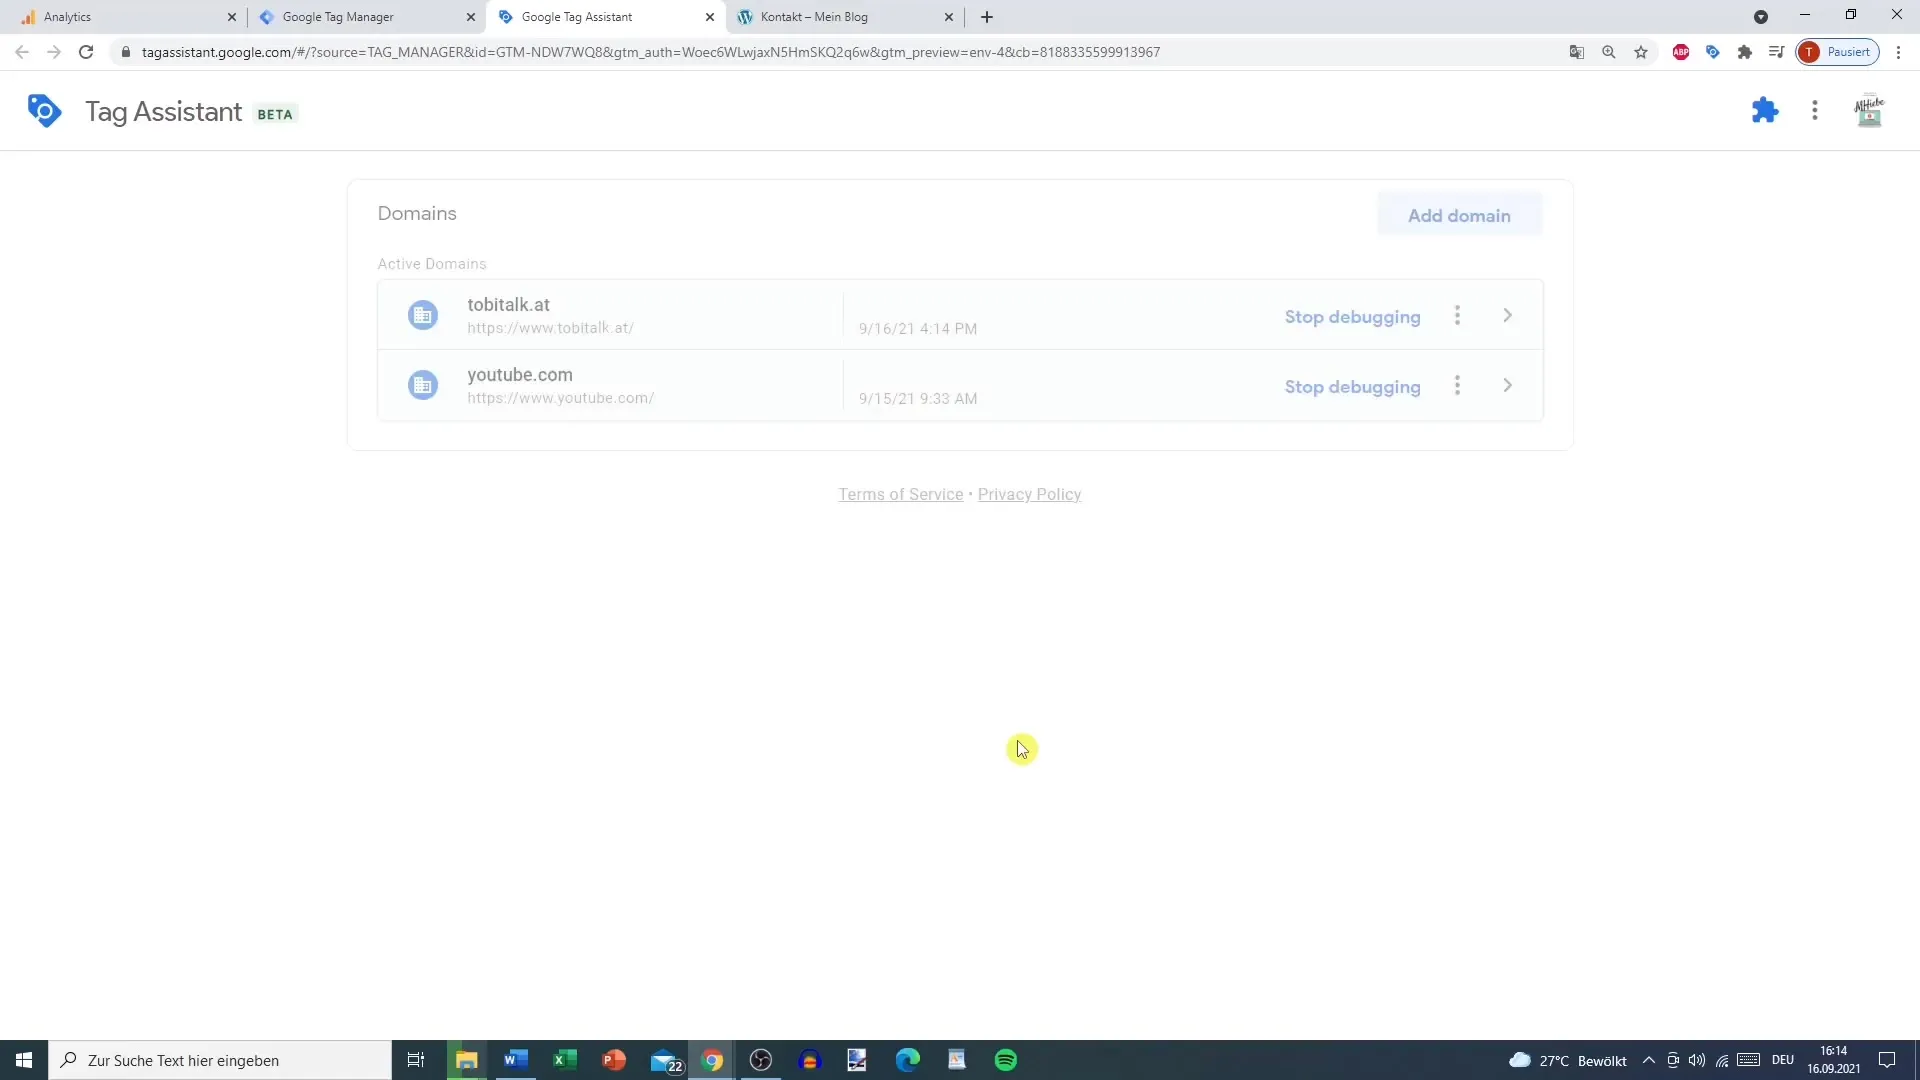
Step 8: Preview and Test
Use the preview function in Google Tag Manager to test your changes before publishing. You can now check if the tag fires when clicking on the phone number.
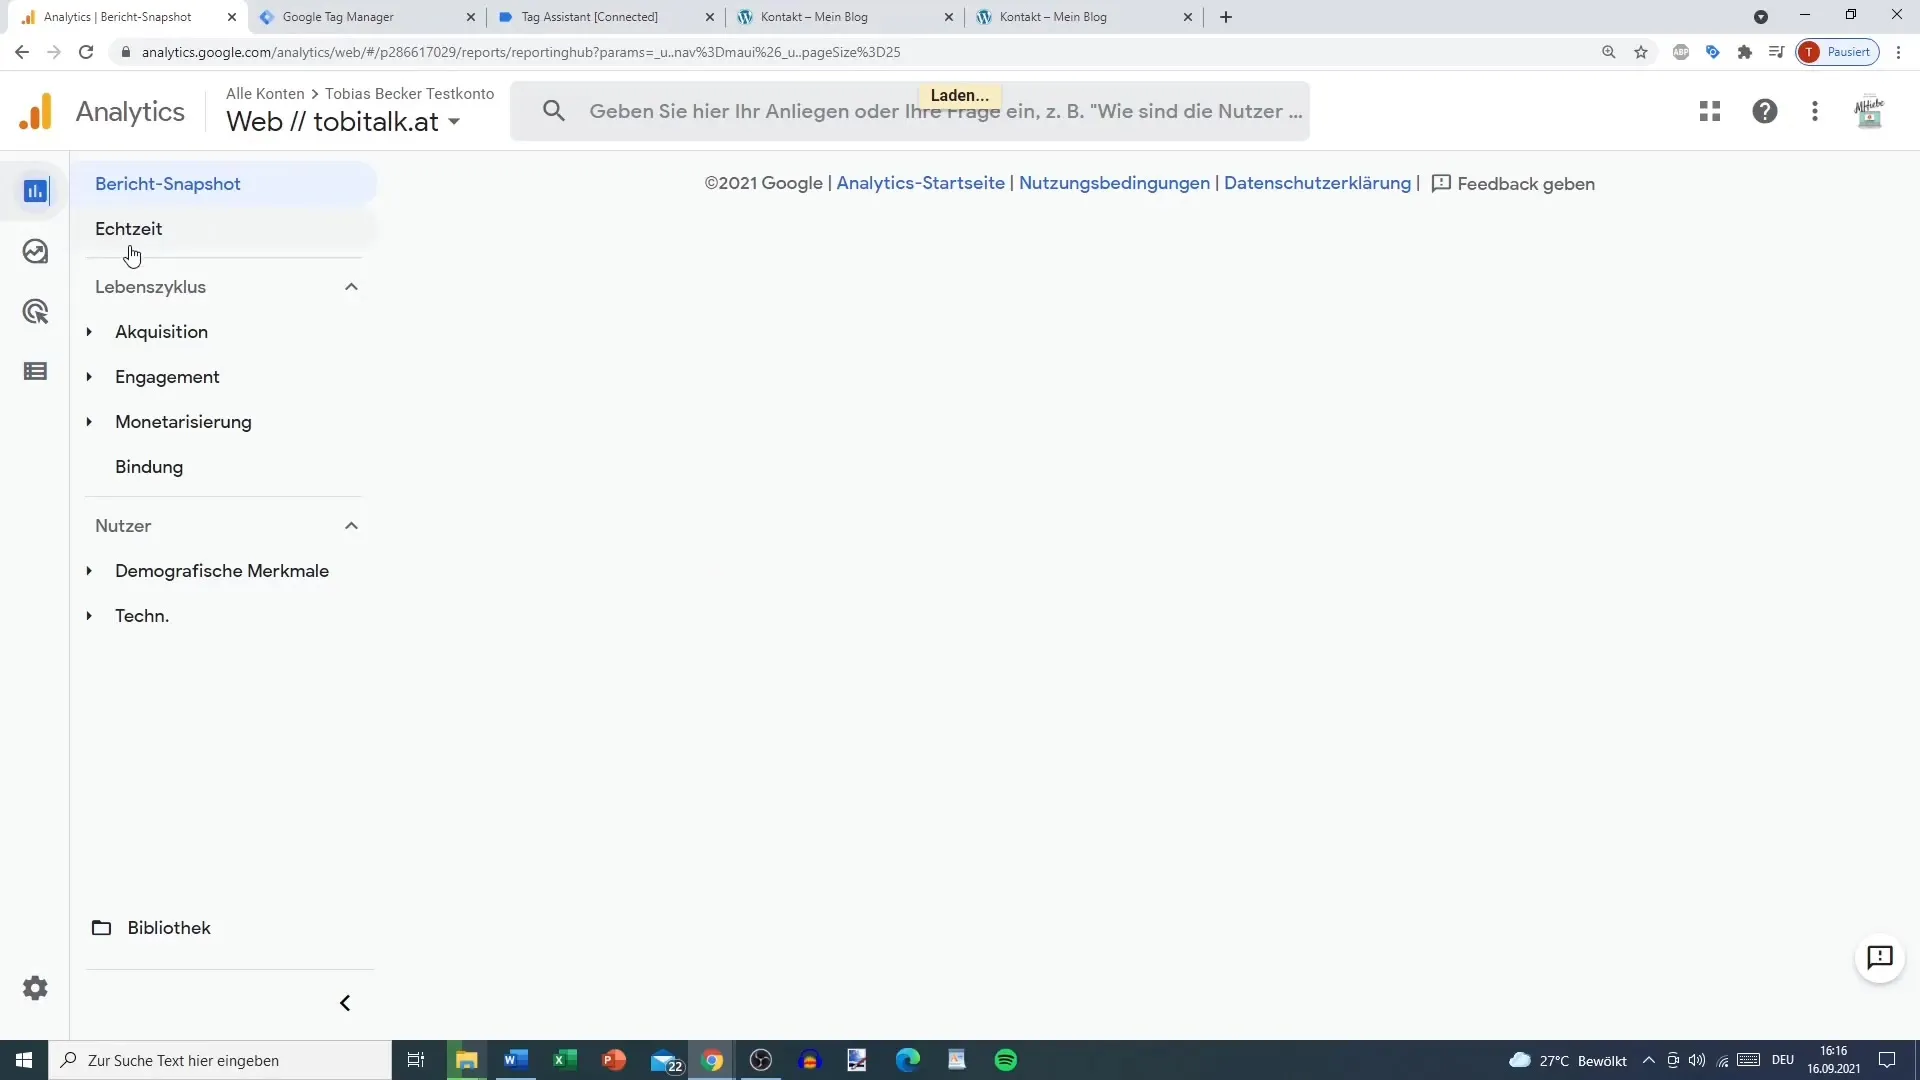
Step 9: Check in Google Analytics 4
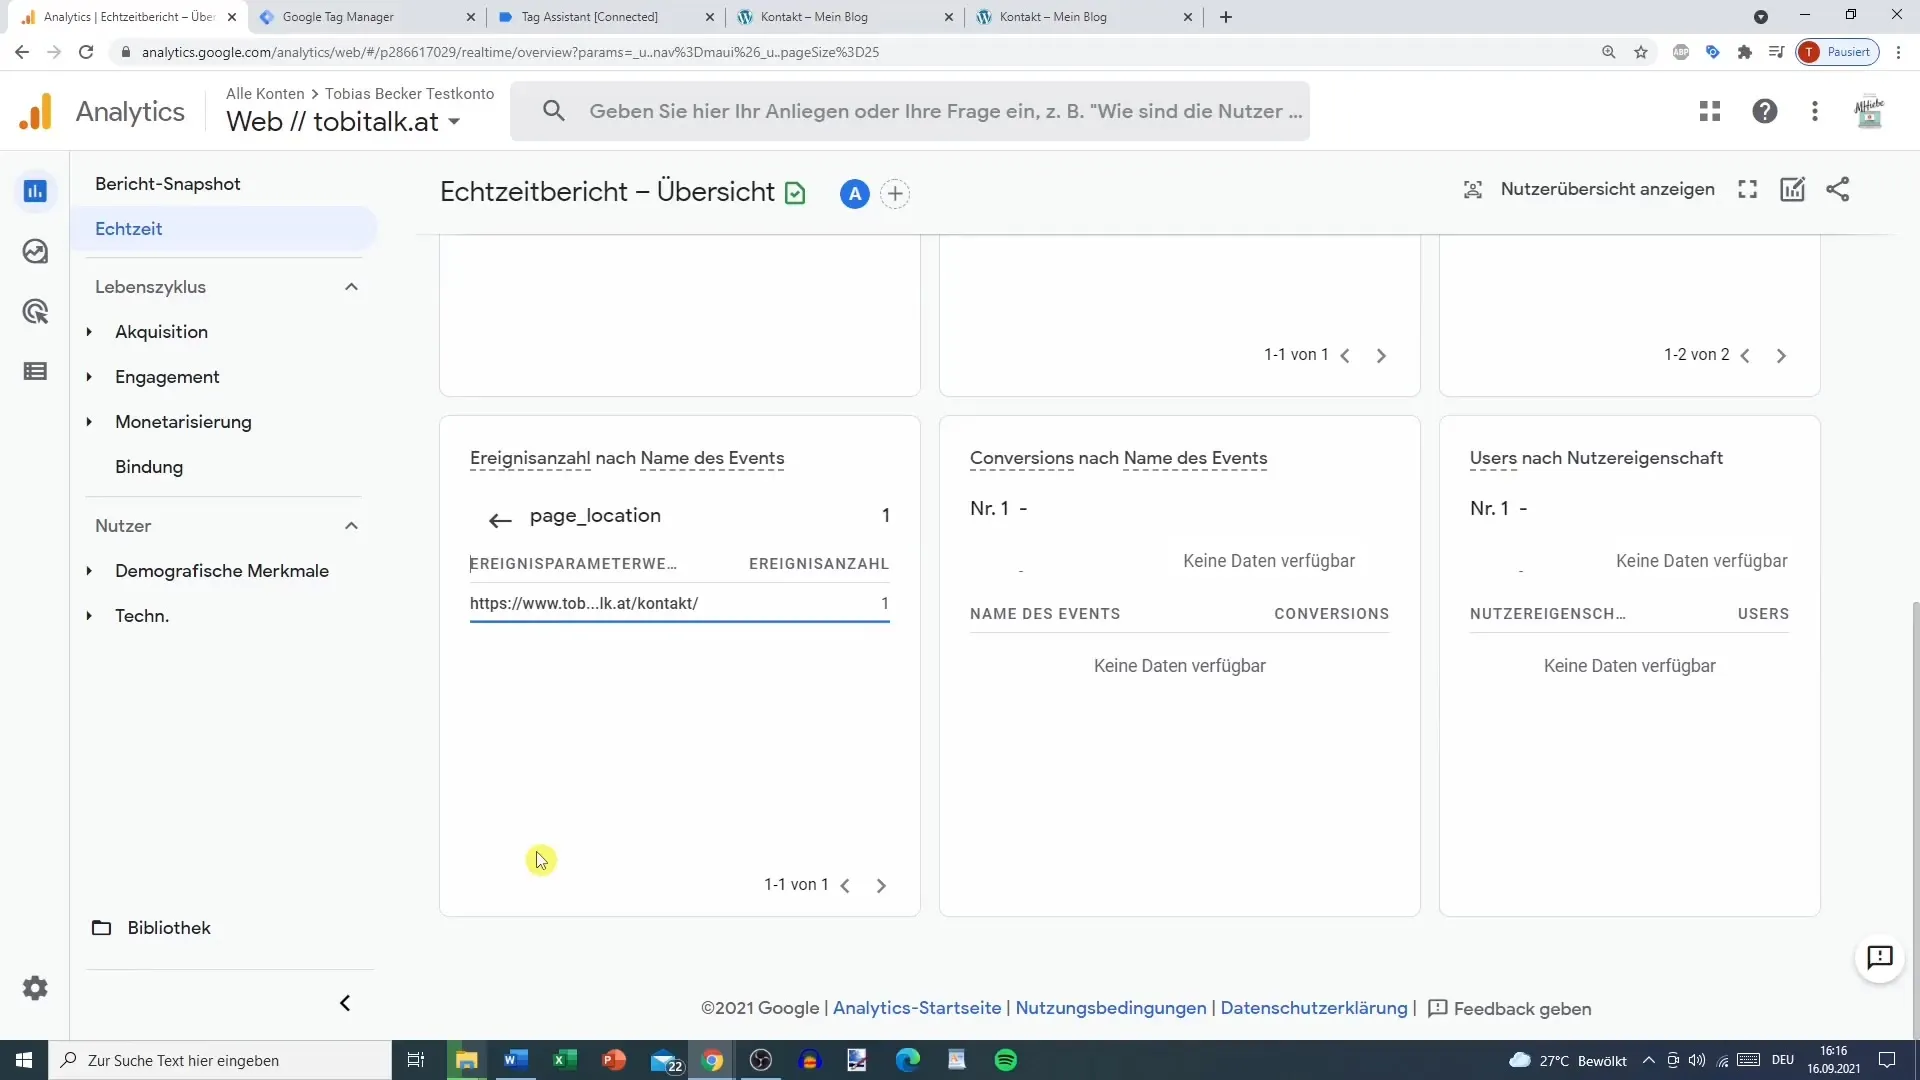
Now you can check in Google Analytics 4 if your clicks are being recorded. Look at the real-time report. If you don't see the event "click_to_call" immediately, it may take some time for the data to be updated.
Step 10: Data Verification
After clicking on the phone number on your contact page, you should see in the display that the event was successfully recorded. You can check the details of the phone number and the page location.
Summary
Setting up event tracking in Google Tag Manager is a simple process that gives you valuable insights into user behavior on your website. With the proper configuration, you can efficiently track specific interactions, such as clicking on phone numbers. By setting up tags, triggers, and variables correctly, you have control over the data you want to collect.
Frequently Asked Questions
How many parameters can I add to a GA4 event?You can add up to 25 parameters.
Do I need special knowledge to set up event tracking?No, with some patience and this guide, you can set it up easily.
What should I do if I don't see my changes?It may take some time for changes to appear in Google Analytics. Check the real-time reports again later.


