Tracking visitor data on your website is crucial for understanding user experience and for marketing initiatives. However, your own traffic – visits from you or your team – can significantly skew the analysis of real user statistics. To prevent these distortions and make your analyses more accurate, Google Analytics offers the option to define and exclude internal IP addresses. This guide will show you step by step how to successfully define internal IPs in Google Analytics.
Key Takeaways
- Defining internal IPs helps exclude your own visits from the statistics.
- The correct setup prevents distortions in the analysis data.
- Dynamic IP addresses require a special configuration approach.
Step-by-Step Guide
Step 1: Accessing Administration Settings
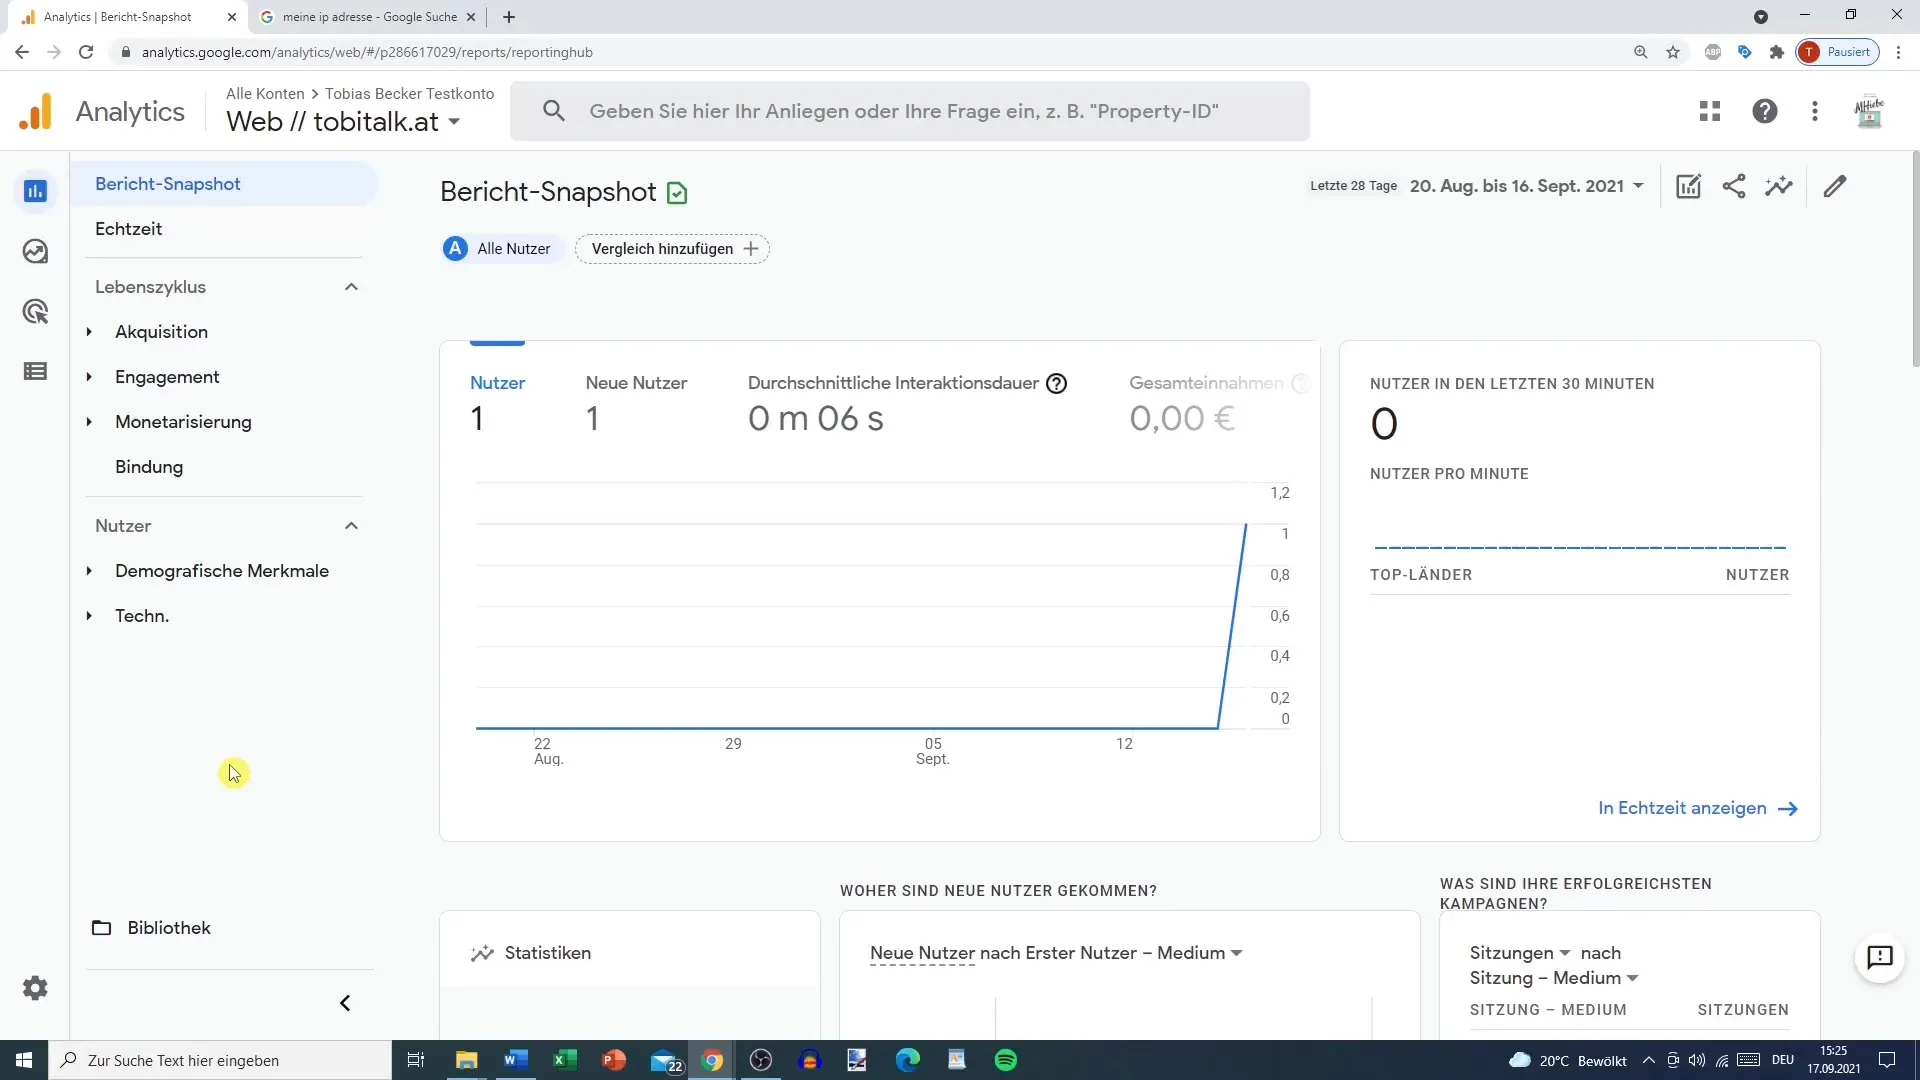
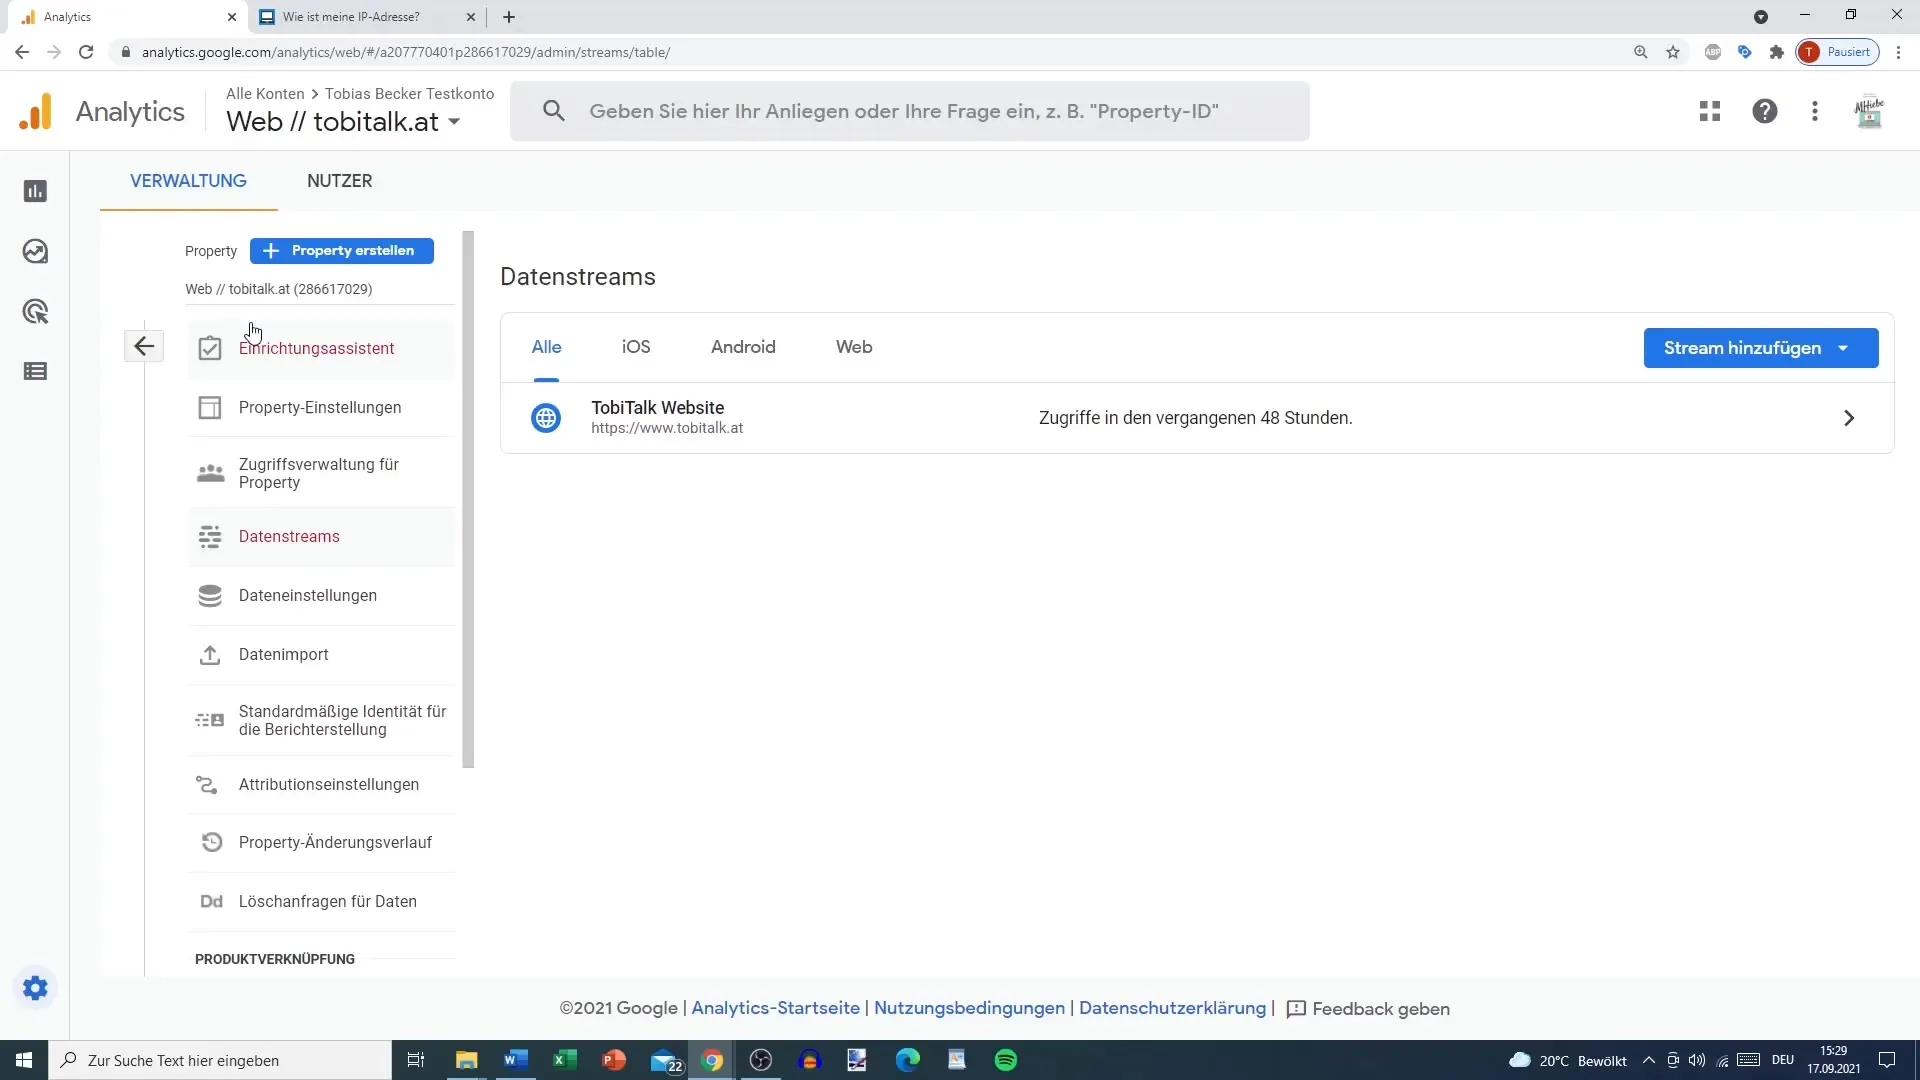
To start defining internal IPs, you need to access the administration settings of Google Analytics. Log in to your Google Analytics account and navigate to the Administration section.
Step 2: Selecting the Data Stream
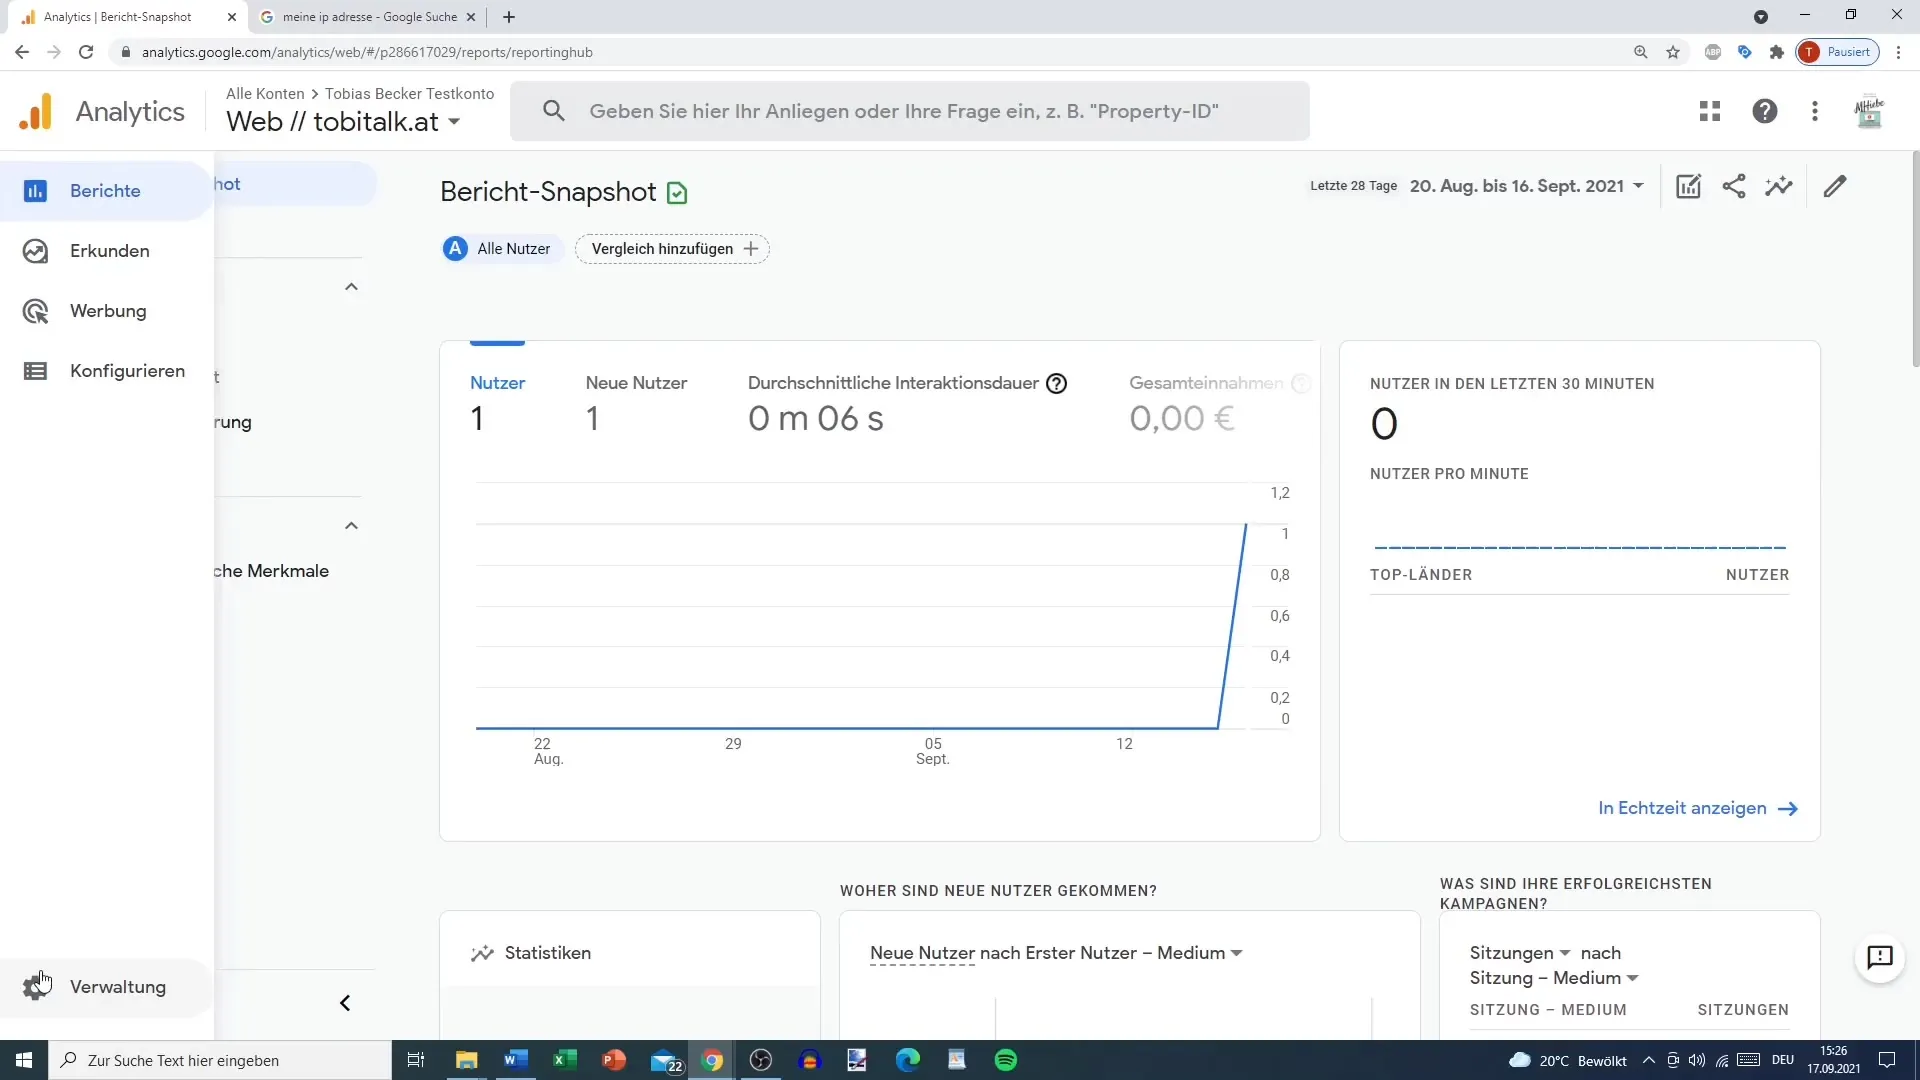
In the Administration section, choose the specific data stream for which you want to define internal IPs. Scroll down to the Tagging Settings section.
Step 3: Defining Internal Traffic
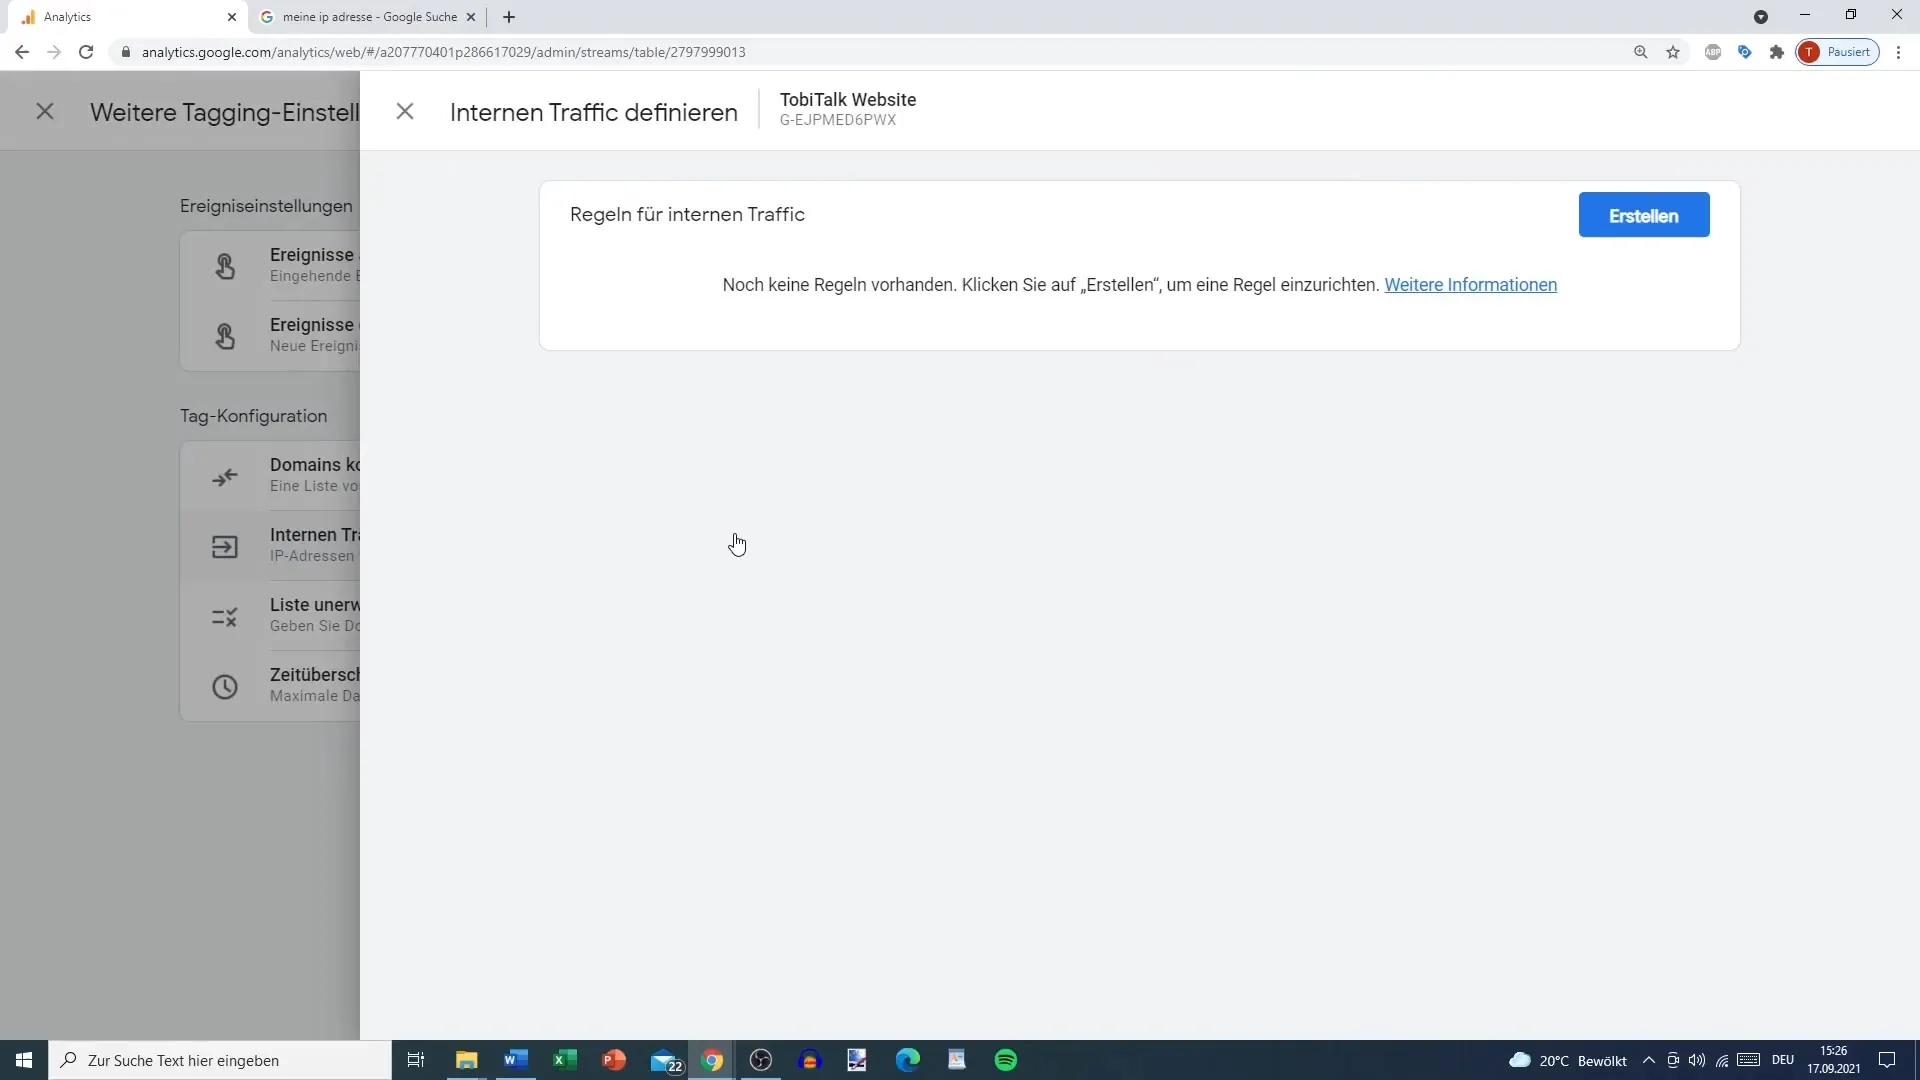
You will now find the option to define internal traffic. Click on Define Internal Traffic. You will be redirected to a page where you can create new rules.
Step 4: Creating a Rule
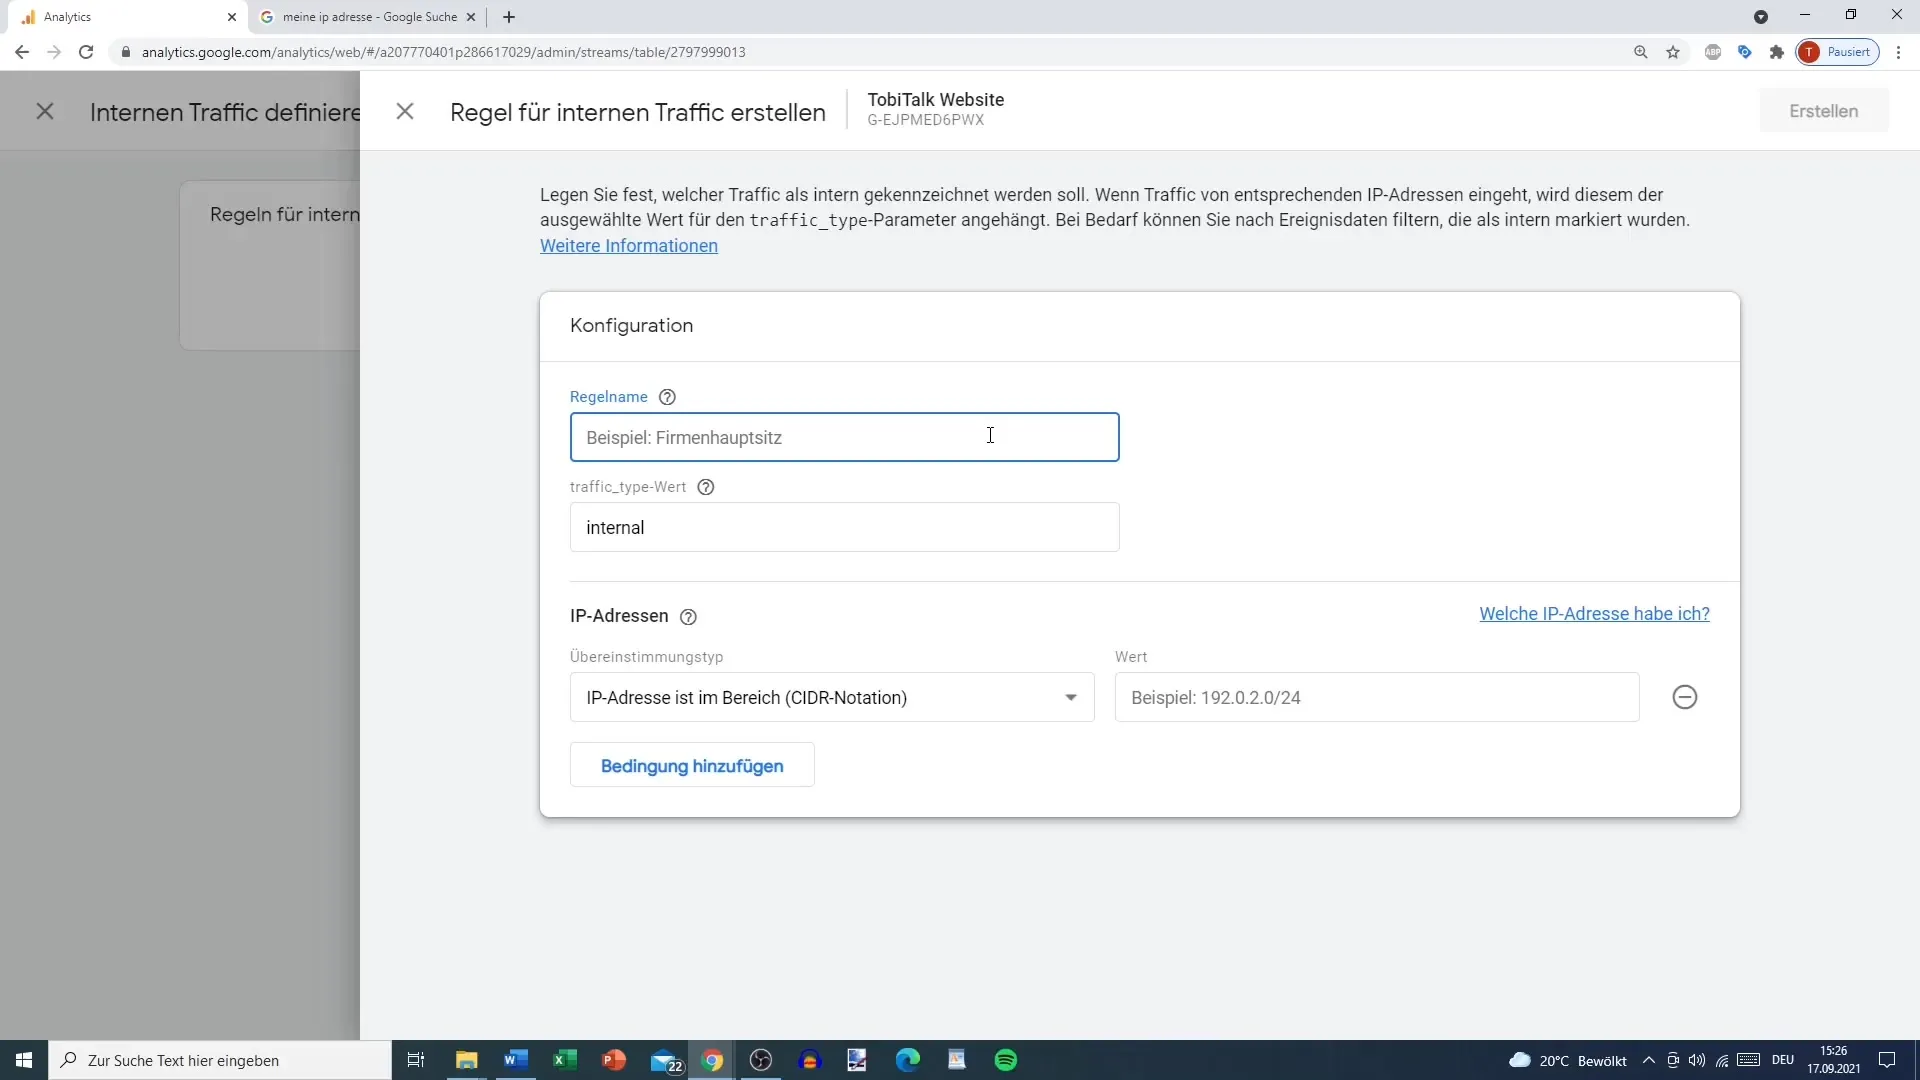
Click on create to add a new rule for internal IPs. You can give this rule a name that helps you identify it later, such as "Home" or "Office". In the Traffic Type field, select "internal" by default and leave it at that.
Step 5: Specifying IP Address
Now it's time to enter the IP address you want to define. In the "IP Address is in Range" section, there are different options like "starts with", "ends with", or "contains". For most users, it is recommended to choose the "is equal to" option if you have only one specific IP address.
Step 6: Find Your IP Address
If you're not sure what your own IP address is, you can simply ask Google by searching "What is my IP address?" There are many websites that provide this information, e.g., "whatsmyip.com". Note down your IP address to enter it later.

Step 7: Saving the Rule
Enter the IP address in the designated field and click on the create button in the top right corner to save the rule. You can also add more rules if you want to set multiple IP addresses for internal users.
Step 8: Considering Dynamic IP Addresses
Keep in mind that there are dynamic IP addresses as well. These change regularly, for example, when the router reconnects or at certain times. If you have a dynamic IP address, it would be advisable to set up the configuration via the Google Tag Manager interface.
Step 9: Flexibility in Configuration
It is important to keep the configuration flexible. If only the last digit of the IP address changes for you, you can also use the "starts with" option. However, be careful not to make too general of a specification, as you might exclude other unwanted IPs.
Step 10: Completing the Setup
Once you have defined your internal IPs, you are now ready to operate on your website undisturbed and without the risk of data distortion.
Summary
Defining and hiding internal IP addresses in Google Analytics is an effective way to increase the accuracy of your collected data. Through precise configuration, you can optimize the analysis of your website without distorting the statistics with internal visits.
Frequently Asked Questions
What is the benefit of hiding internal IPs in Google Analytics?Hiding internal IPs offers the advantage that the analysis of visitor statistics is not distorted by your own visits.
How can I find my IP address?You can simply search for your IP address on Google or visit sites like "whatsmyipaddress.com" to have it displayed.
What is the difference between static and dynamic IP addresses?Static IP addresses remain constant, while dynamic IP addresses can change regularly, for example, upon restarting a router.
How many internal IPs can I define?You can define as many internal IPs as you need, and you have the option to create multiple rules.
How do I handle dynamic IP addresses?For dynamic IP addresses, you should use other methods for definition, such as Google Tag Manager, to ensure that your settings remain up to date at all times.


