Events are the centerpiece of Google Analytics 4 (GA4). Each user interaction on your website is tracked as an event. If you want to maximize the capabilities of GA4, it is crucial to define custom events to better understand specific user actions. In this guide, I'll show you how to create and customize events in GA4 to gain valuable insights into user behavior.
Key Takeaways
- Events are fundamental components of GA4.
- You can create both predefined and custom events.
- Customizing events allows you to precisely track important user actions.
- Setting conversions is also an essential step to gather valuable data.
Step-by-Step Guide
Step 1: Access Events
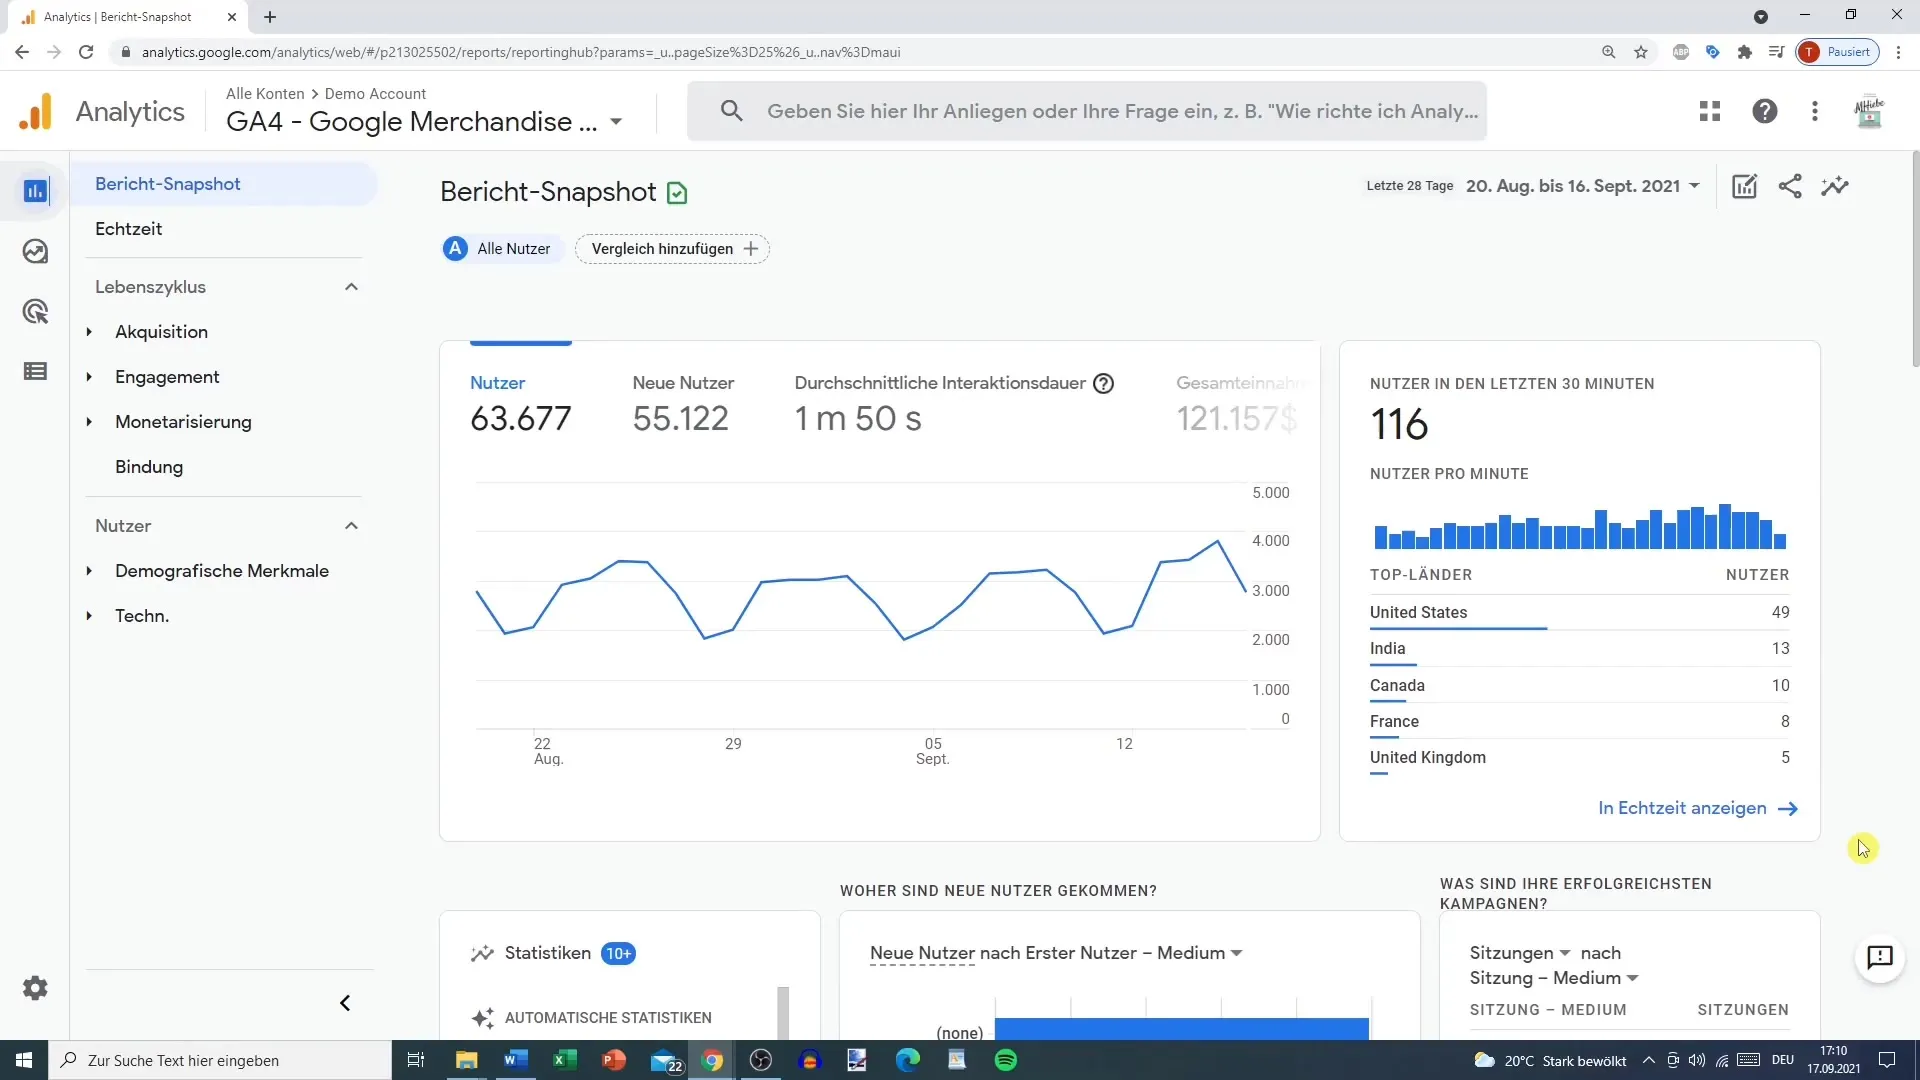
First, you need to access events in GA4. To do this, navigate to Configure in the left menu and click on the fourth tab where events are displayed. There you will see various events that are captured by GA4 by default.
Step 2: Overview of Existing Events and Conversions
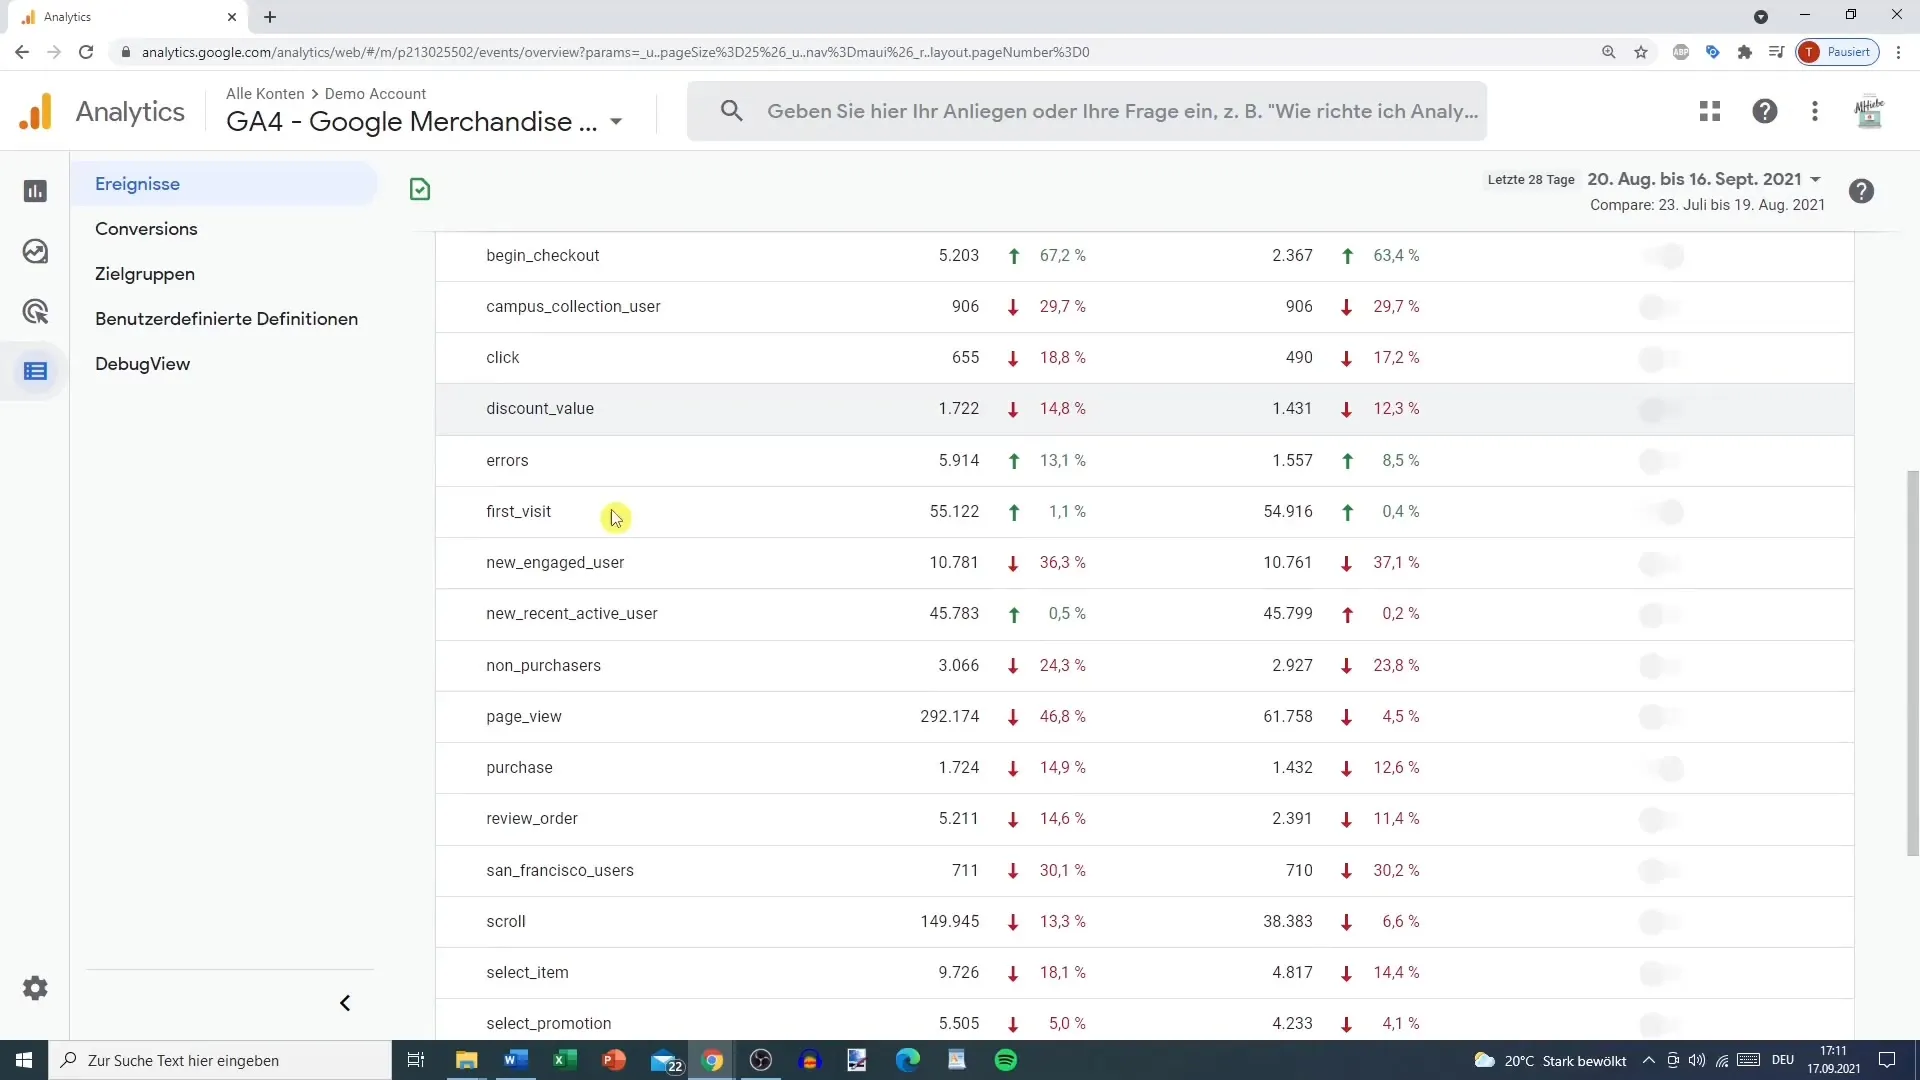
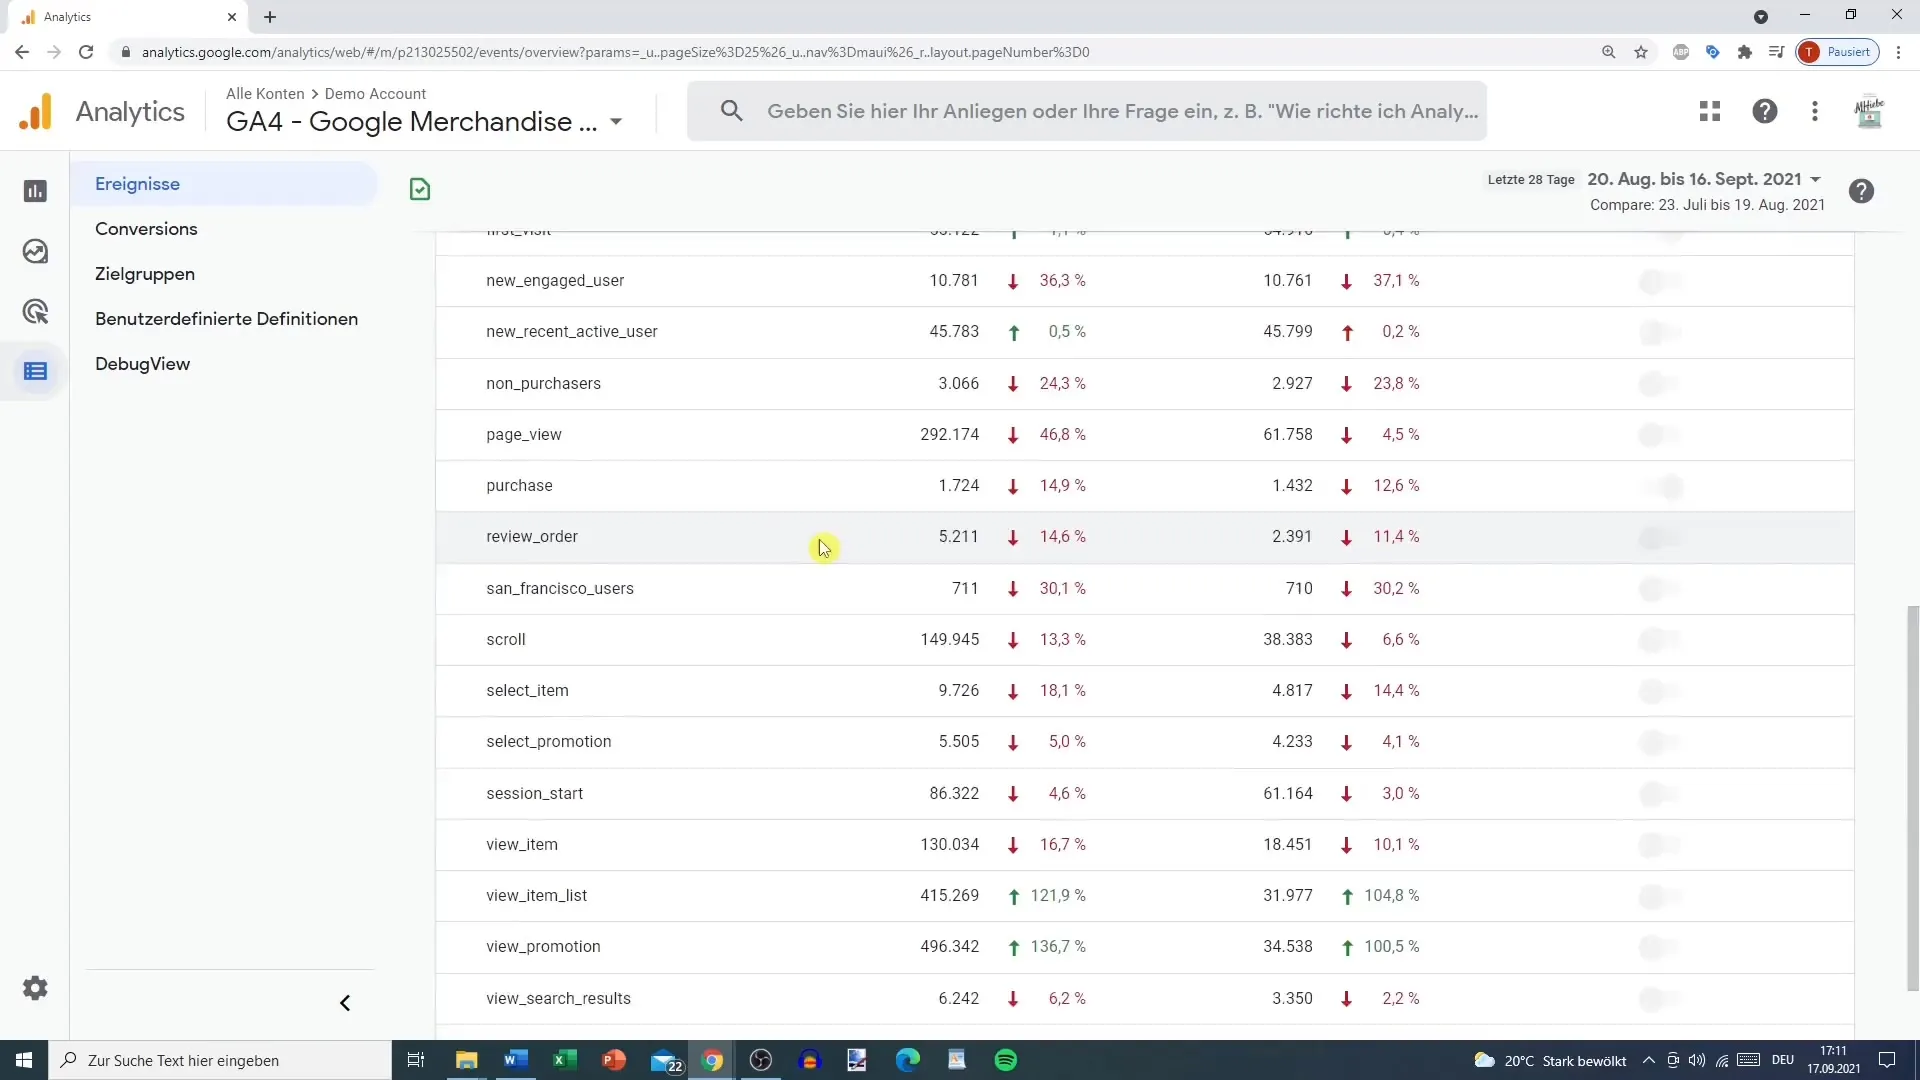
In this section, you get an overview of existing events, such as "First Visit," "Pageview," and many others. Here you can also see which events are already marked as conversions. Make sure to identify those events that are particularly valuable for your business.
Step 3: Create New Event
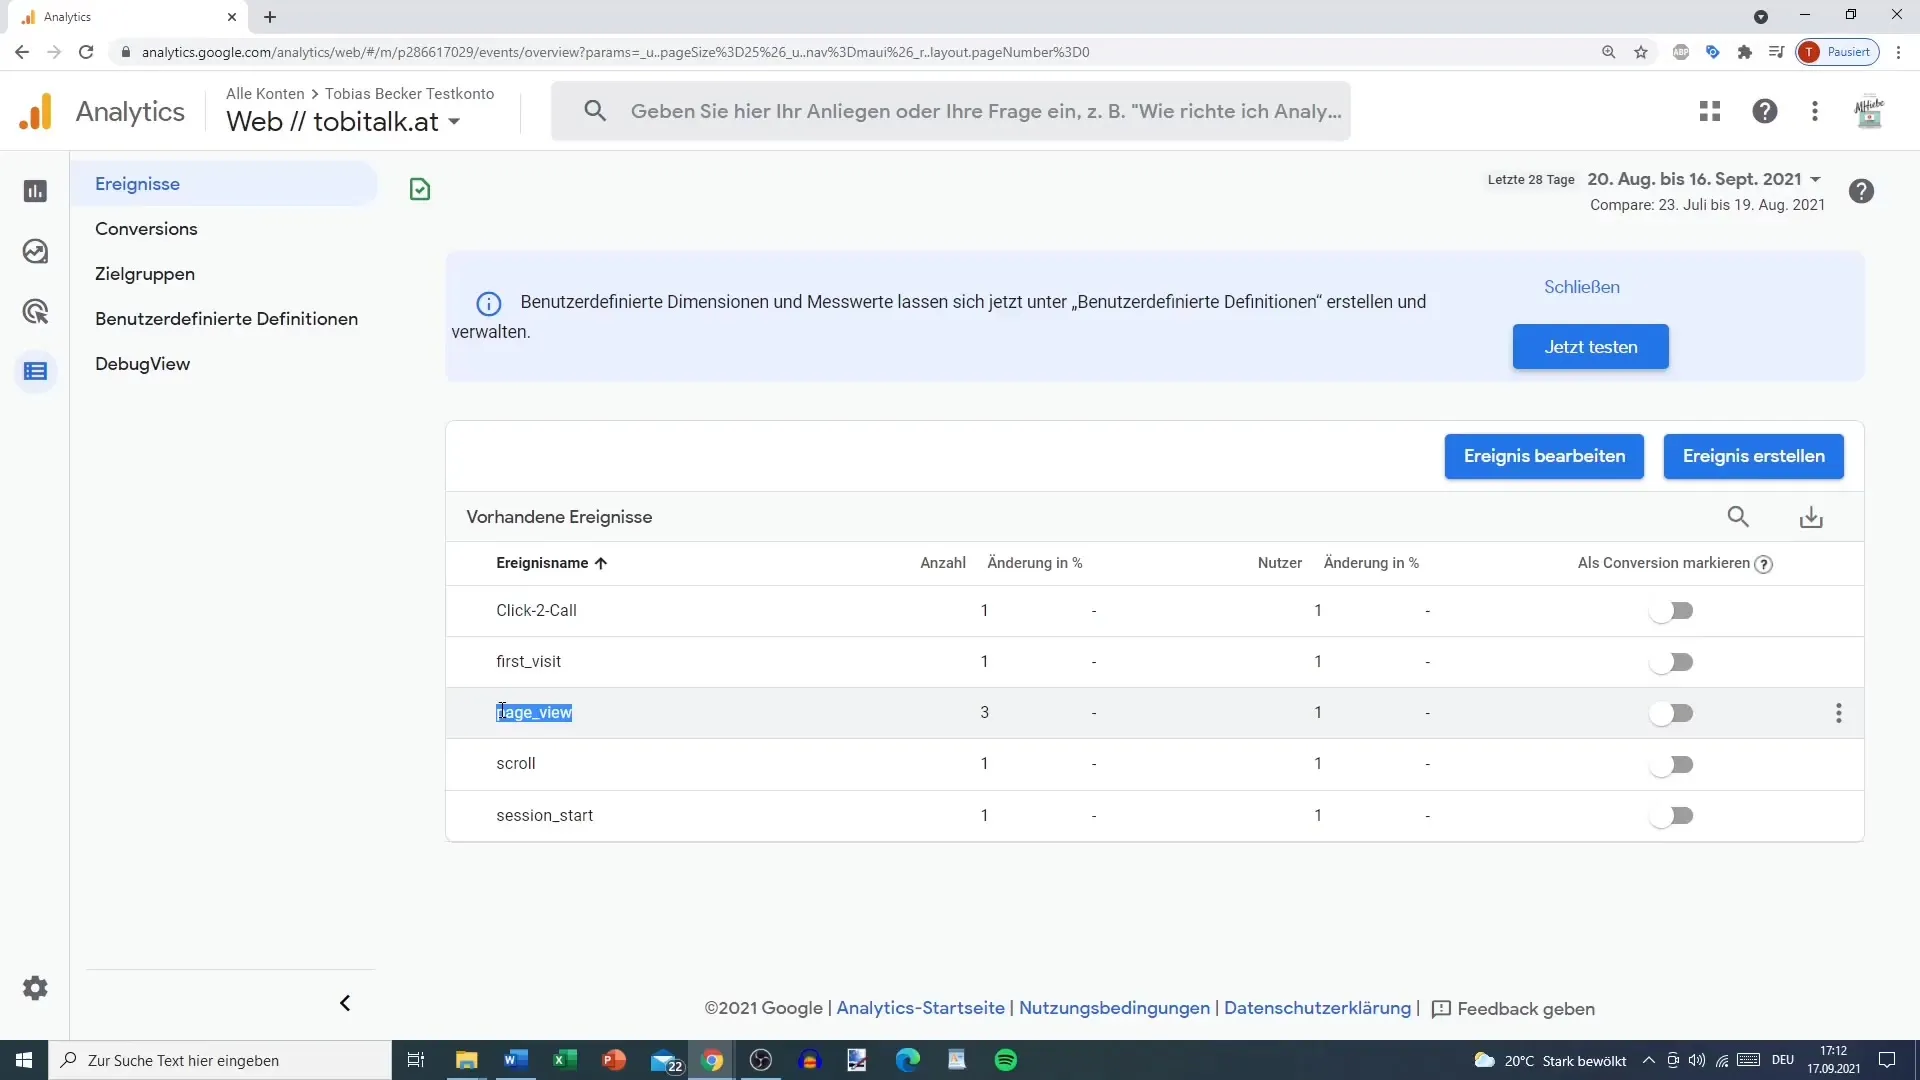
To create a new event, go to Events and click on the Create Event option. This is the starting point to add custom-defined events tailored to your specific needs.
Step 4: Define Your New Event
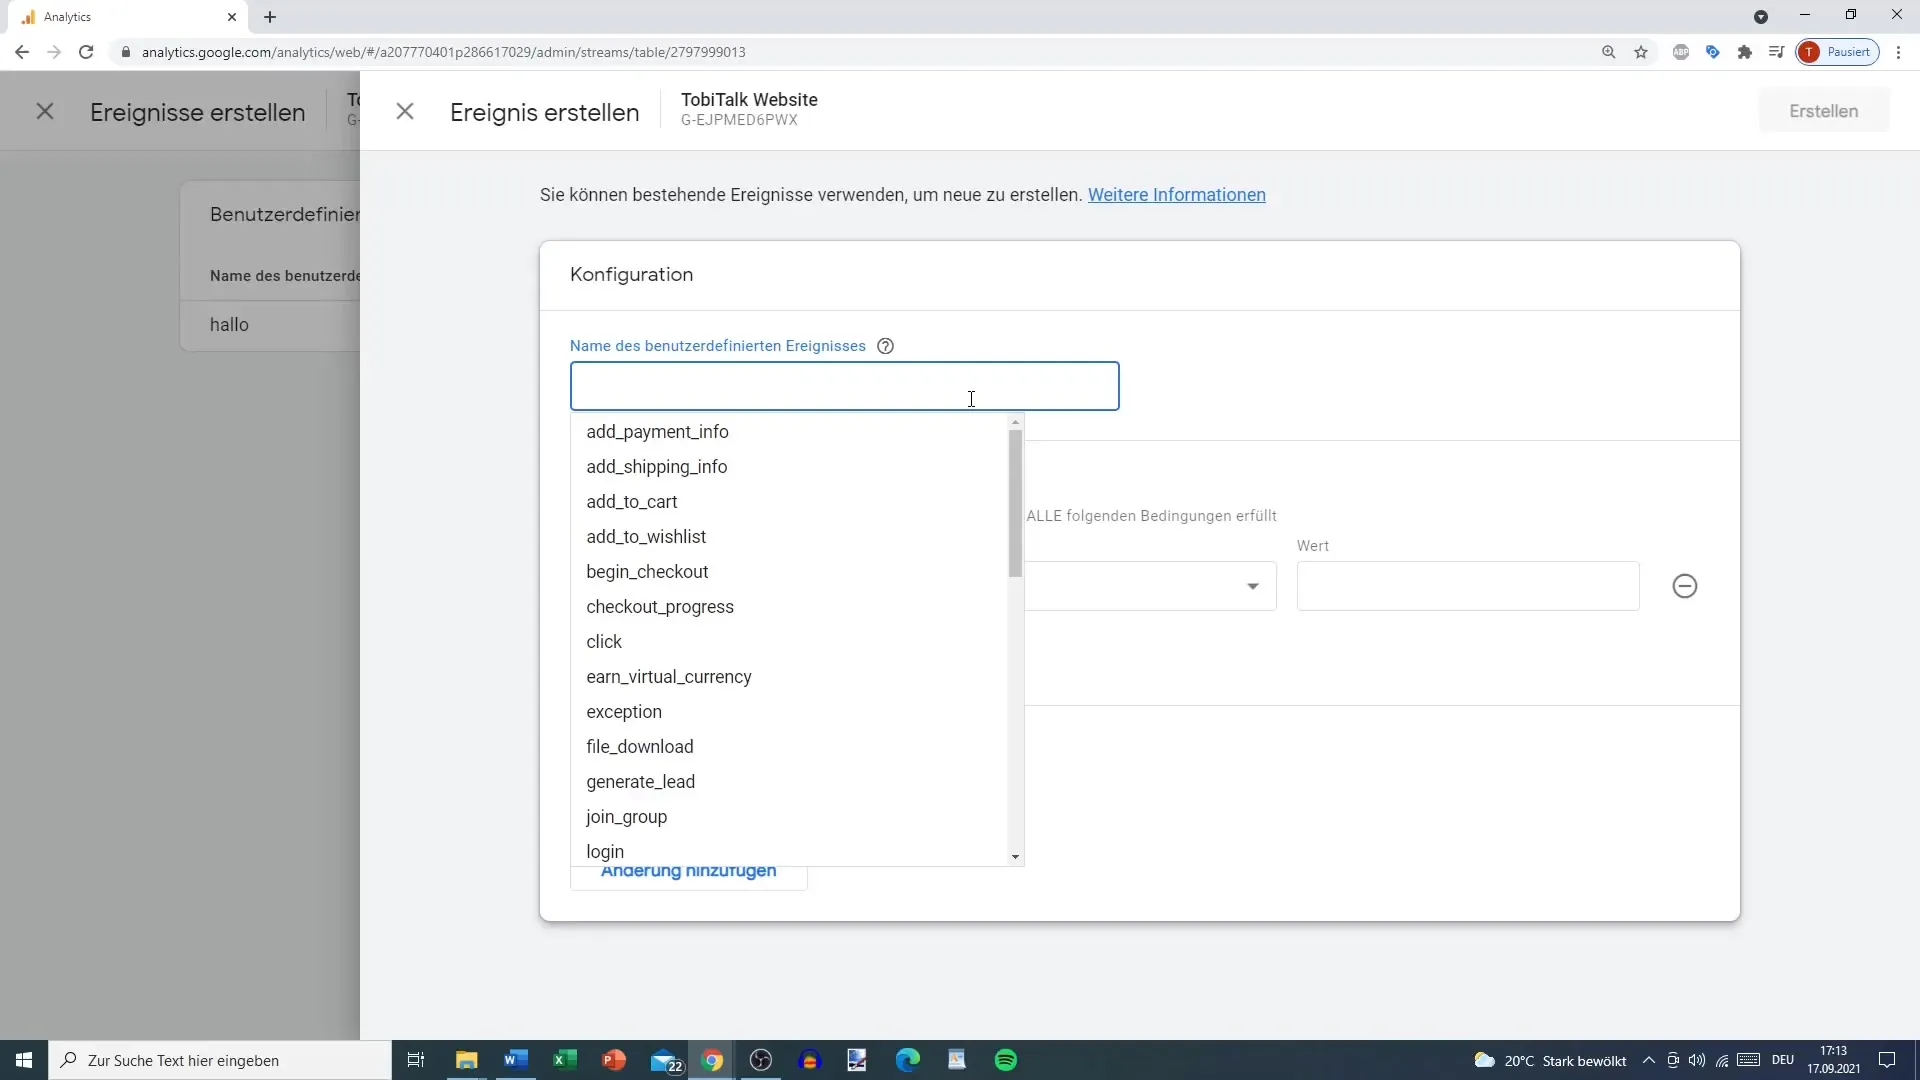
Give your new event a unique name. For example, it may be useful to name the event after the page you want to track. A possible name could be "contact_page_view." Make sure the name is intuitive so you can easily find it later.
Step 5: Set Additional Parameters
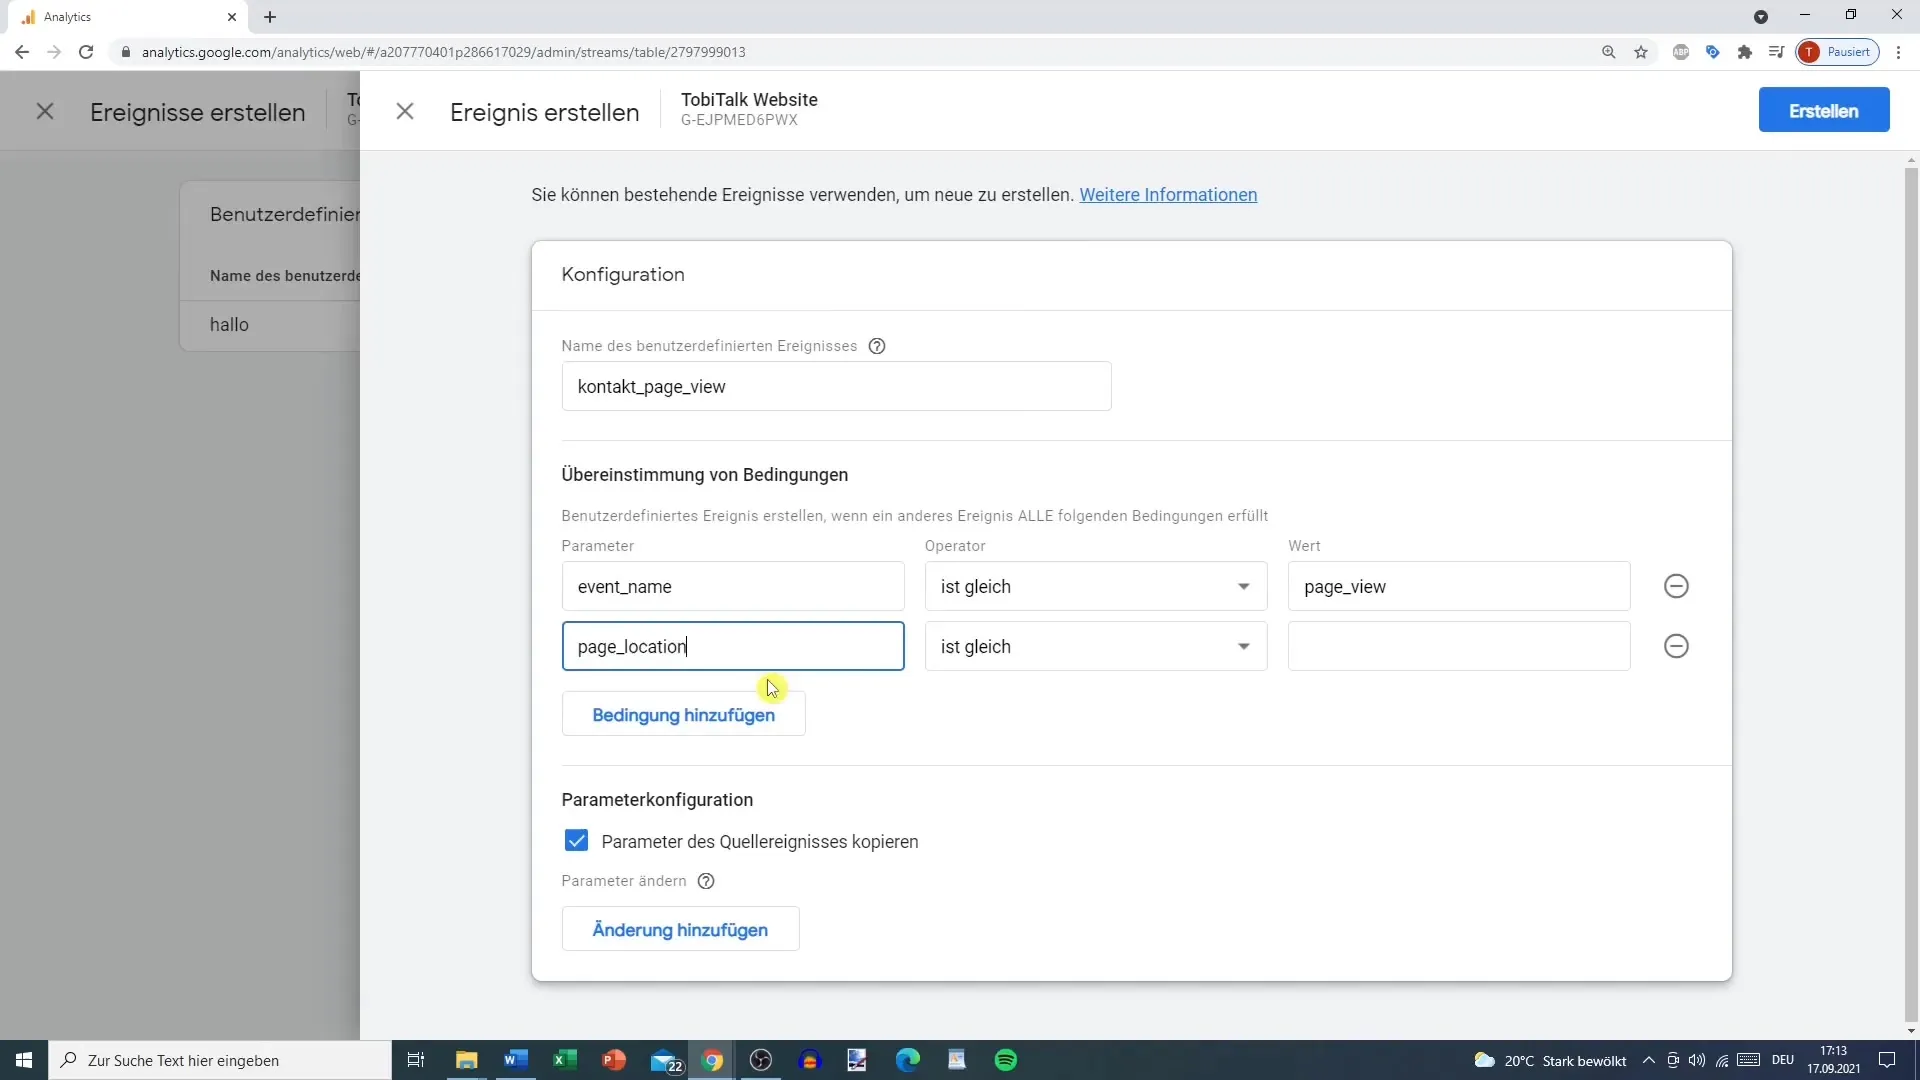
In addition to the event name, you must now define parameters. The basic parameters you should use are the "Event Name" and the "Page Location." Here, you specify that the event should only be recorded when the page view is on the contact page.
Step 6: Add Condition
To further refine the event, add a condition. Ensure that the condition for the event is set to trigger only when the user actually visits the contact page. This is done by specifying the specific URL of the page.
Step 7: Save Event
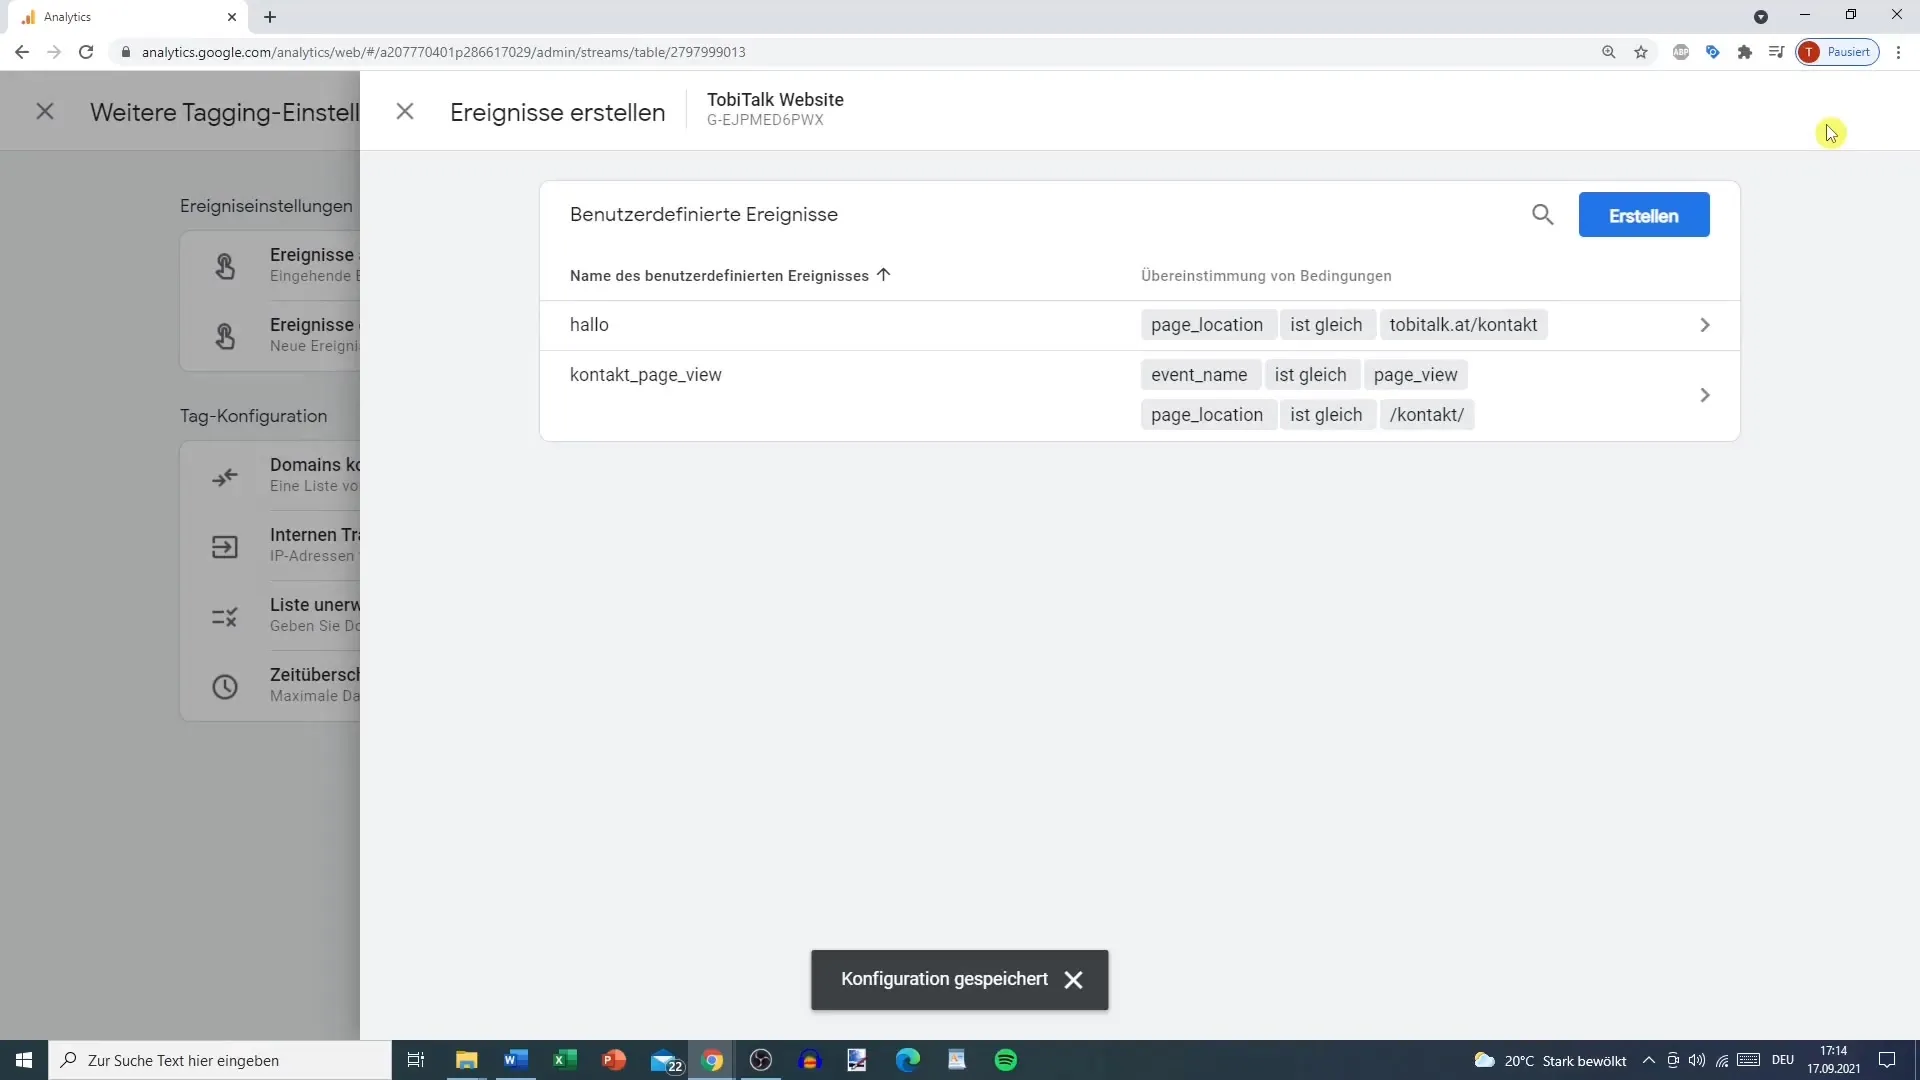
Once you have set all the required parameters and conditions for your event, click on the Create button. Your new event will now be saved in GA4. Note that it may take up to 24 hours for the event to appear.
Step 8: Set Event as Conversion (optional)
If you have marked the new event as a conversion, you will be able to quickly identify significant user interactions. Go back to the Event section and check the box for the new event to mark it as a conversion. This will display this event in the conversions.
Summary
To collect valuable data on user behavior, it is essential to create custom events in Google Analytics 4. This guide has introduced you to the steps for creating simple custom events focused on specific interactions. By setting conversions, you increase the efficiency of your analyses and can gain important insights.
Frequently Asked Questions
How long does it take for a new event to be displayed?It can take up to 24 hours for a newly created event to appear in Google Analytics 4.
How can I edit an existing event?Go to the event settings and select the event you want to edit. There you can make changes.
Can I add multiple conditions to an event?Yes, you can add multiple conditions to precisely define the event.
Do I have to mark every event as a conversion?No, only the events that are particularly important for your analysis should be set as conversions.
What predefined events are available in GA4?Predefined events in GA4 include "Pageview," "First Visit," and "Scroll," among others. These are automatically captured by GA4.
