Pagination, what is it? What do you need it for and is it potentially toxic?
We want to answer this question today. First of all, however, let me ease any worries you may have, because pagination is not a threat to life and limb.
On the contrary: it is one of the many tools that help us a lot when working with InDesign.
Pagination means nothing more than the consecutive numbering of pages in a document and is derived from pagina. Pagina comes from Latin and means "the page".
Creating page numbering
We want to use pagination in this document. A glance at the page control panel shows us that we are dealing with a document that is not so extensive. There are currently only three pages.
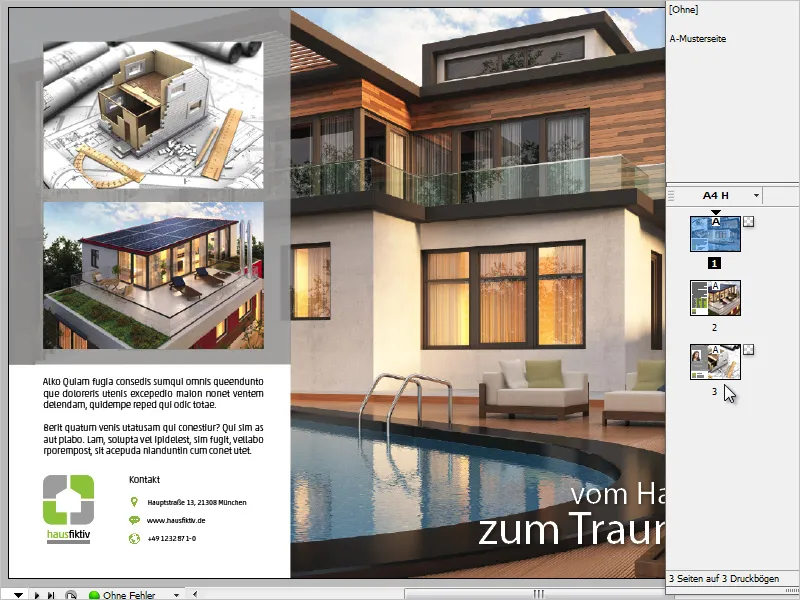
I imagine such page numbering to be somewhere in the bottom left-hand area.
Of course, you don't enter such page numbers manually, but use one of InDesign's many automation aids.
It is also advisable to always create a pagination on the master page.
When I look at my document again, I notice that some elements have been placed all over the pages. First and foremost the large background image, but also the white area at the bottom left of the image.
If we were to place the page number on the sample page, it would be behind the elements on the final pages and therefore hidden.
To avoid this problem, it makes sense to work with different layers.
I have currently selected the (empty) master page and select a New layer in the context menu of the Layers panel.
The layer principle represents a hierarchy. What is on top is always visible in case of doubt, while what is below may be covered.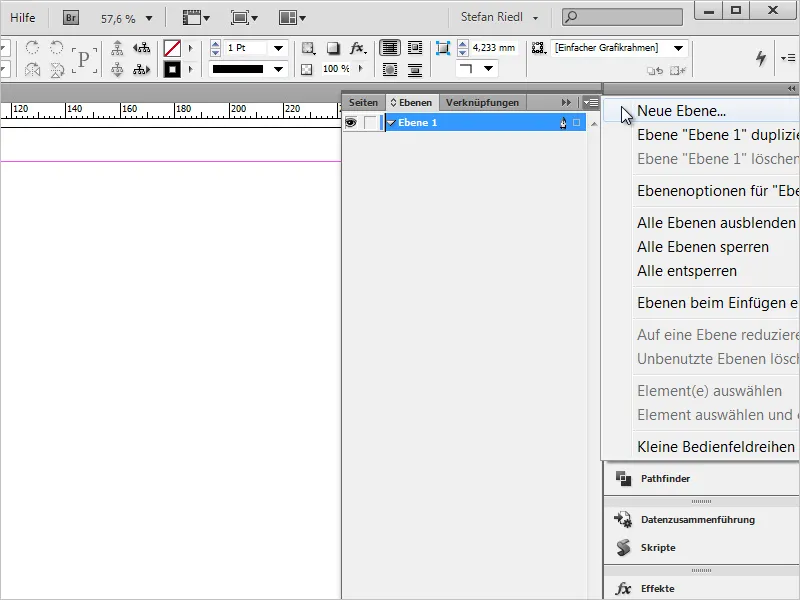
Once the layer has been created, we can see from the small fountain pen on the right which layer we are currently working on or which layer is active.
In my example, it is "Layer 2", which is also marked with the color red.
If we select the small triangle next to the layer name, an overview of all elements on this layer opens. Here you can quickly see that all previous design elements are on "Layer 1", while we are currently working on "Layer 2".
We now also create the consecutive page number there so that they are always above the objects from "Layer 1".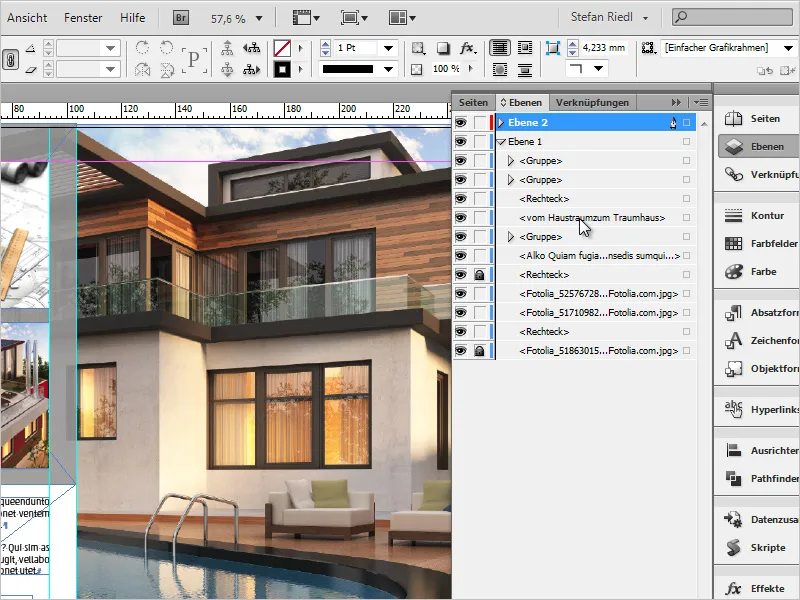
On the master page, I now simply drag a text box to the position where I want the page number and format it accordingly. I select the font family and style, as well as the size and possibly the color.
That should be enough for now, but you can also "tweak" numerous other settings if required.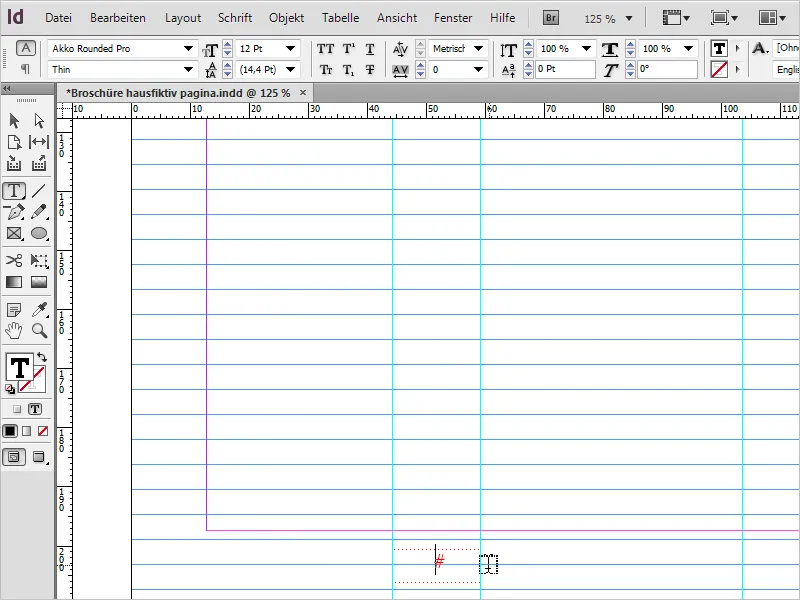
The cursor is still in the active text field and now is the time to create the page number.
This works via Font>Insert special characters>Marks>Current page number. This action has also been given the wonderfully short shortcut: Alt+Shift+Ctrl+N.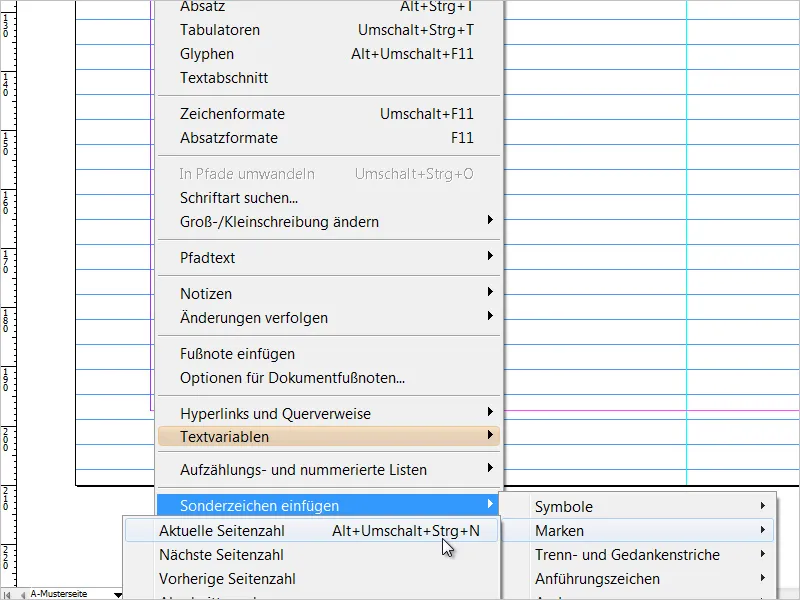
InDesign has now placed an "A" where the cursor was located, which is representative of the page number and is derived from the master page.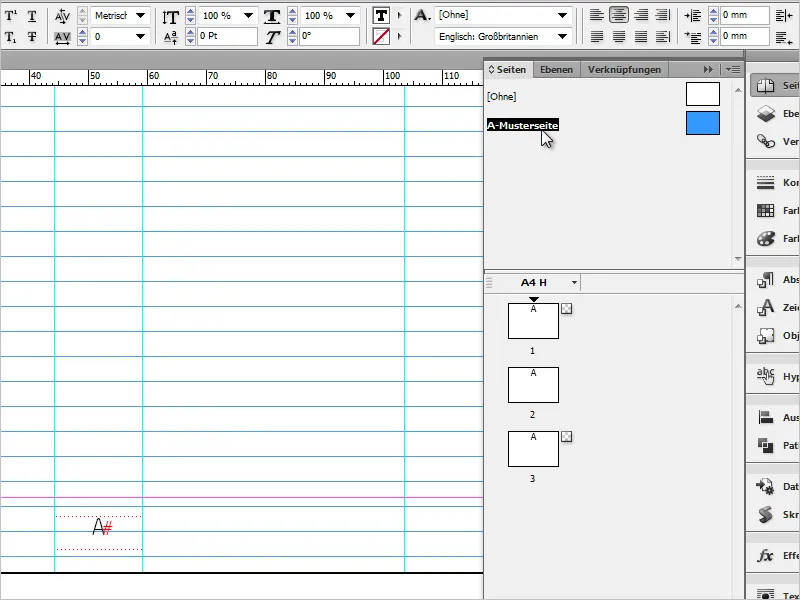
If we click through the page control panel and take a look at the pages we have already created, we will find the correct and consecutive page number at the bottom left of each page. It is now easier to assess whether the page number has been placed in the correct position.
However, it often happens that you still have to make small changes to the alignment somewhere.
In this case, I recommend working with a second window. The aim is to see the original pages in one window and the sample page in a second window, on which we can make adjustments.
This allows us to see immediately and in real time how any changes will affect the final printed sheet 1:1.
To open a second window, I select Window>Arrange>New window for "...filename...indd".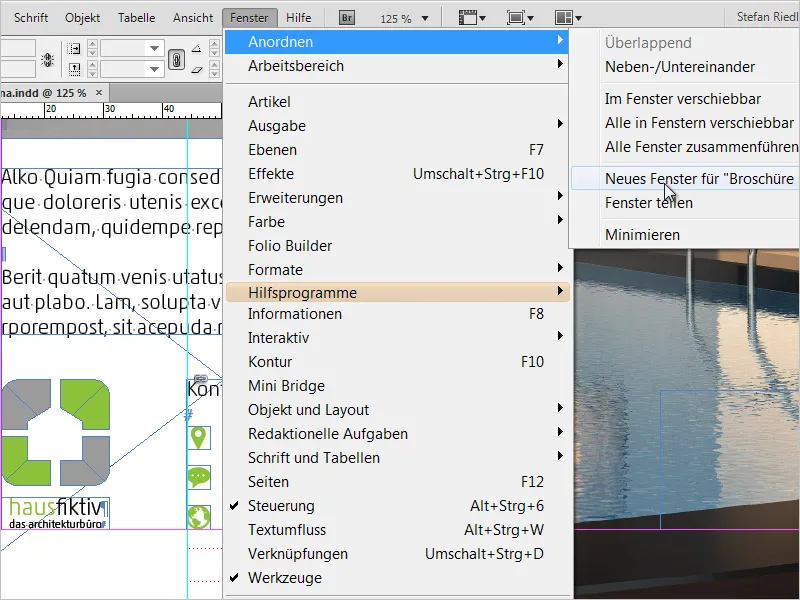
Now I see a clone of the document on my monitor. In other words, the document is visible twice (but only opened once).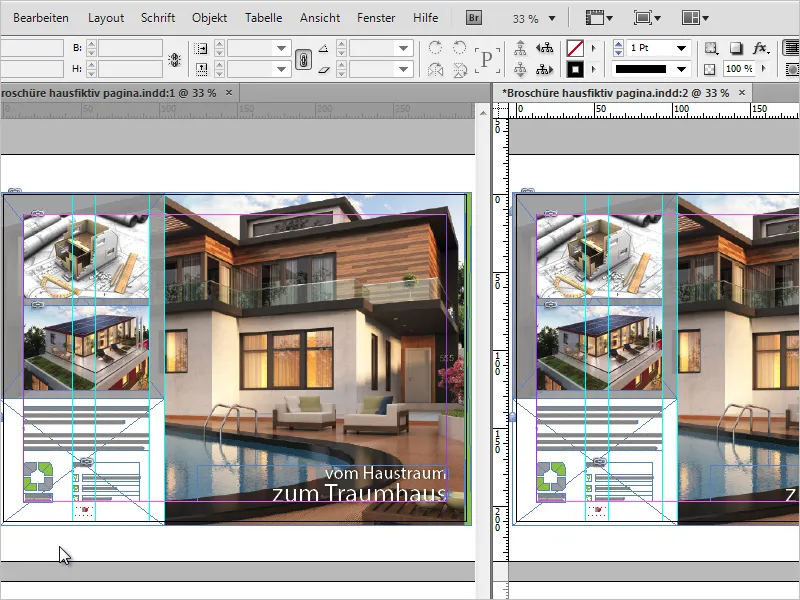
On the left we see the original image, on the right the sample page.
Now it's time to align the page number in detail once again and highlight it visually as required.
As a demonstration effect and to emphasize the advantage of this view, I will place two concrete-grey, flat rectangles to the left and right of the page number. The alignment is now very easy for me.
The second window can then simply be closed.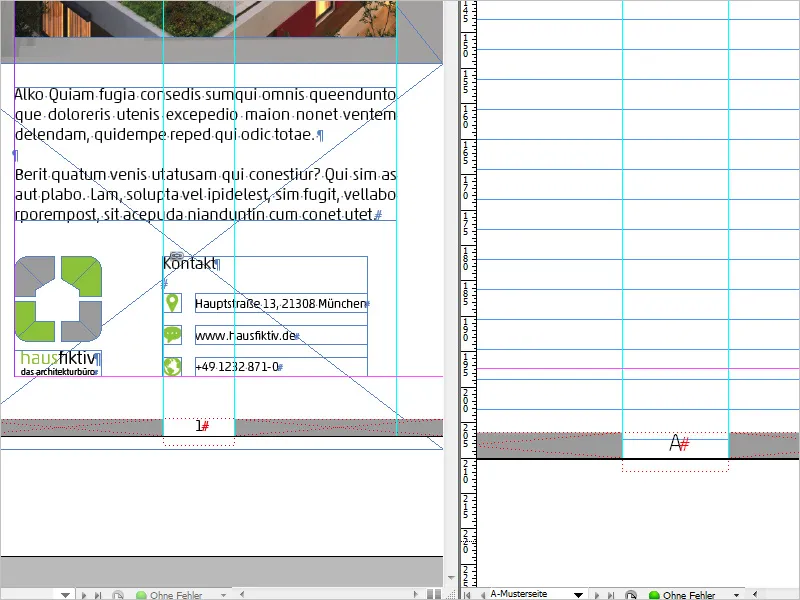
Adjustments and modifications - displaying the last page number
On the sample page, we also have the option of modifying the view of the page number a little. For example, in addition to the current page number, we can also display the last page number of the document.
I click with the cursor on the sample page in my text field (page number) and select Font>Text variables>Insert variable>Last page number.
You should now see "A1" in your document.
Where "A" stands for the current page number and "1" for the last page number.
However, it is certainly not reader-friendly in this form, which is why I click between the two characters and insert spaces and special characters manually.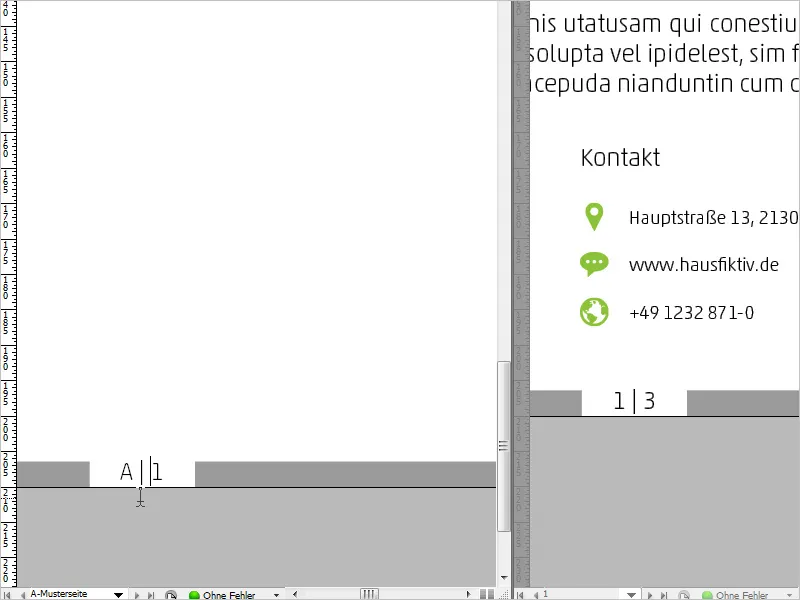
The effect is immediately visible on all pages. If you now want to test whether everything has worked, you can simply create several blank pages as an example and you will see that the number of pages increases continuously.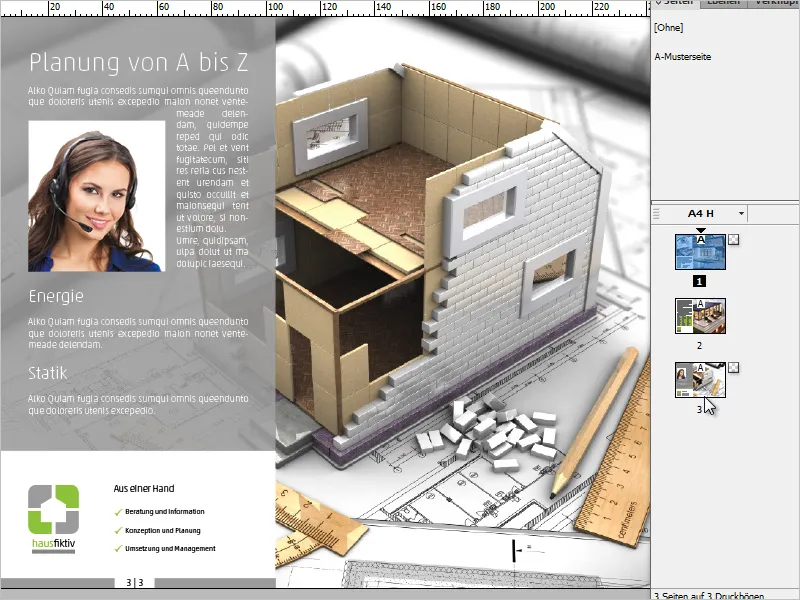
Adjustments and modifications - Roman numerals and leading "zero"
Another modification is to display Roman numerals instead of Arabic numerals.
This can be achieved in the following way: Click on any page of your document and select the numbering and section options in the context menu of the page panel.
In the dialog box that opens, you can select your desired format from the drop-down menu under Format. I now select Roman numerals.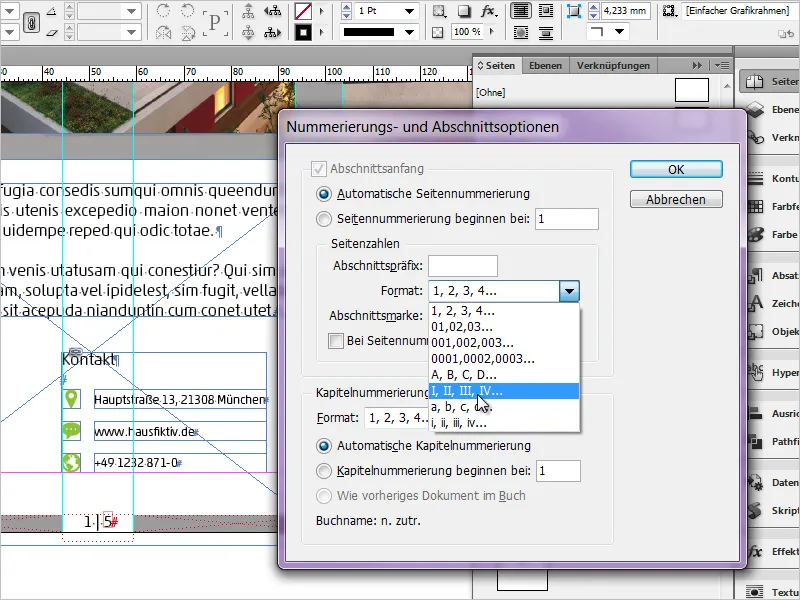
The result looks like this: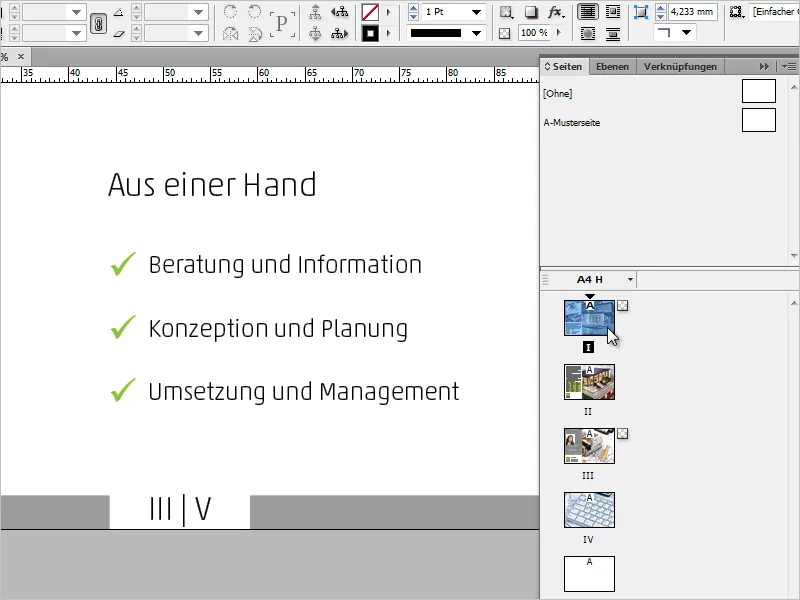
In the numbering and section options dialog box, in addition to Roman numerals, you can also select a format in which the first page number is listed with a "0", for example. This applies to both the current and the last page number.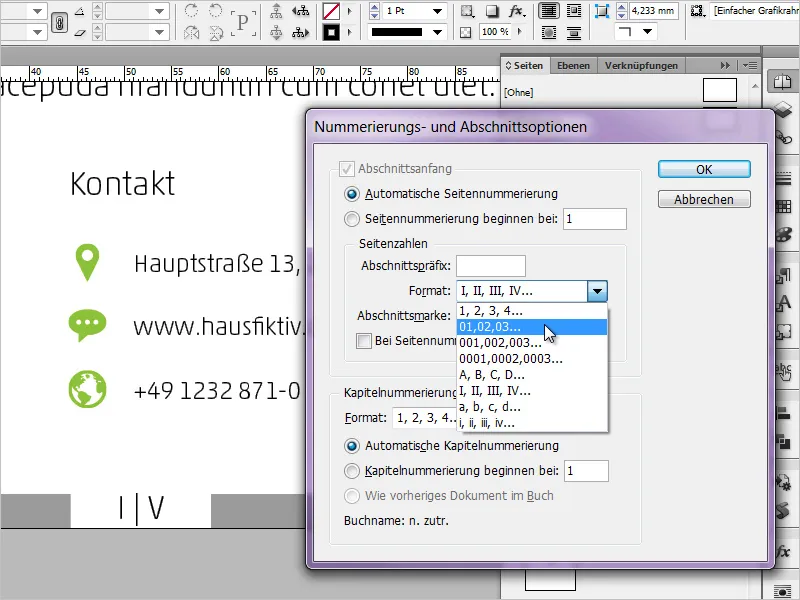
I hope you enjoyed this little digression. If you have any comments, ideas or additions, just write them in the comments. Thank you very much!


