The text area is the foundation of every professional layout and defines the position and size of the text and image area within a page. In Adobe InDesign, you can accurately set up the text area to ensure a harmonious and easily readable design. Whether for books, magazines, or brochures - the right text area ensures a clear structure and an aesthetic result. In this guide, I will show you step by step how to set up the text area and customize it to your project's requirements. Let's get started and give your layout the perfect foundation!
When you start InDesign, you will initially see (if it has not been hidden) the welcome screen.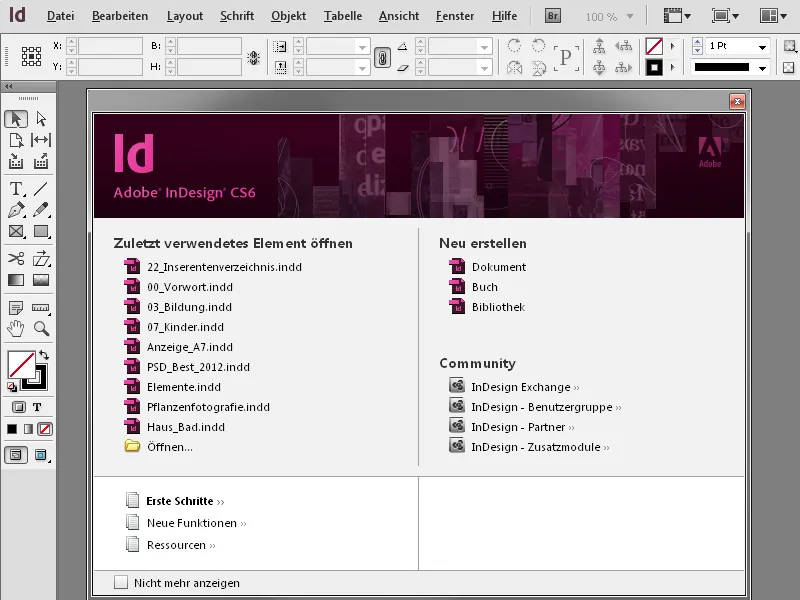
Click on New>Document.
If the welcome screen is hidden, go to the menu File>New>Document or - quicker - through Ctrl+N.
Now a dialog box opens where you can make the basic settings for the intended target medium (for screen or print output), the preliminary number of pages, the format and number of columns, as well as the page margins.
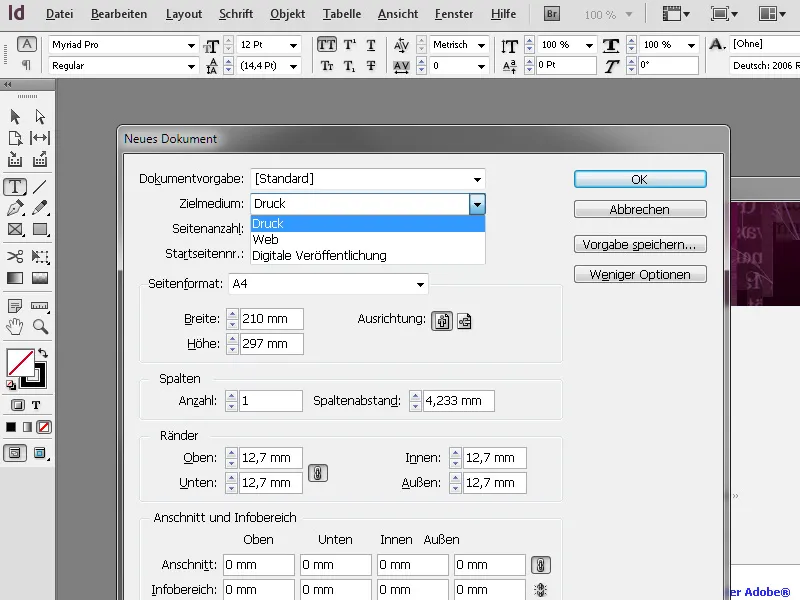
Specify the number of pages in your document. You can easily add or delete pages later. If the pages are supposed to face each other like in a book or brochure, activate the Two Pages checkbox.
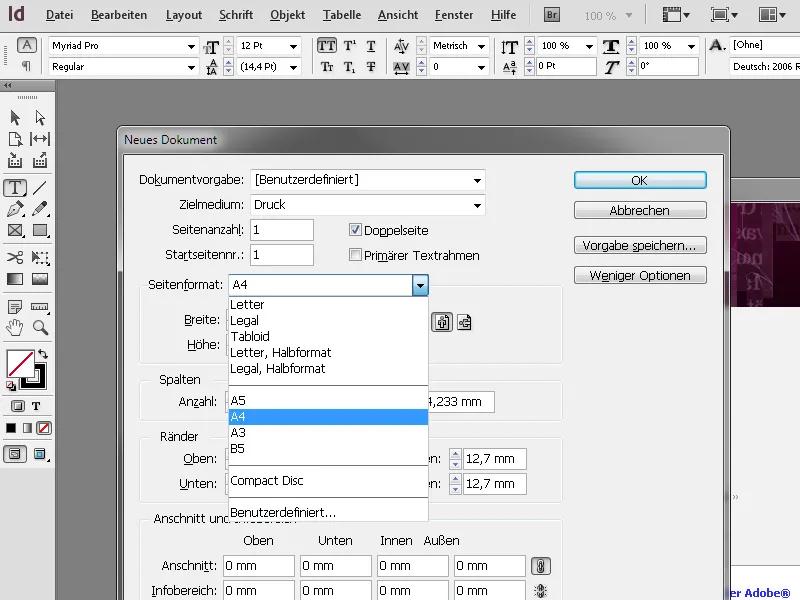
In the Page Size drop-down menu, you will find a number of predefined standard formats for both print and screen output. You can also enter your own custom format.
Next to the options for Orientation in Portrait or Landscape, you can set the number of columns, as well as the Gutter - the spacing between the columns.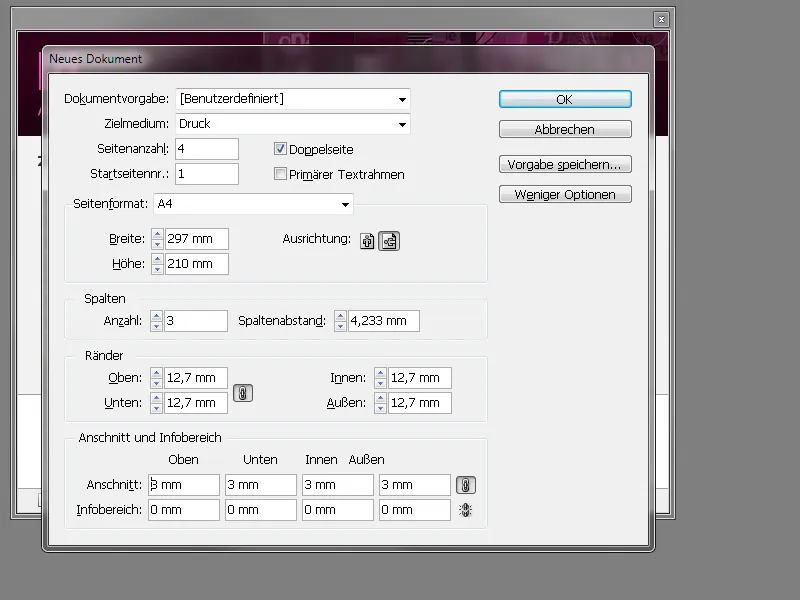
For the Margins and Bleed settings, the padlock symbol is initially activated, causing adjustments in one area (top, bottom, left, or right) to affect the others uniformly. To set different values, you must click to disable the linking.
If the document is intended for print output, you can also set the Bleed after clicking on More Options.
It is necessary when layout elements like images or colored fields are positioned directly at the edge of the page. To prevent white paper areas from flashing at the edge later due to minimal processing tolerances, these elements must be positioned beyond the paper edge to the bleed line (usually 3mm all around) (see previous screenshot).
If you wish to use these settings for future documents, you can save them permanently. Click on Save Preset and give it a name.
When you want to create a new document, you will find the newly created preset in the Document Preset drop-down menu alongside the standard presets.
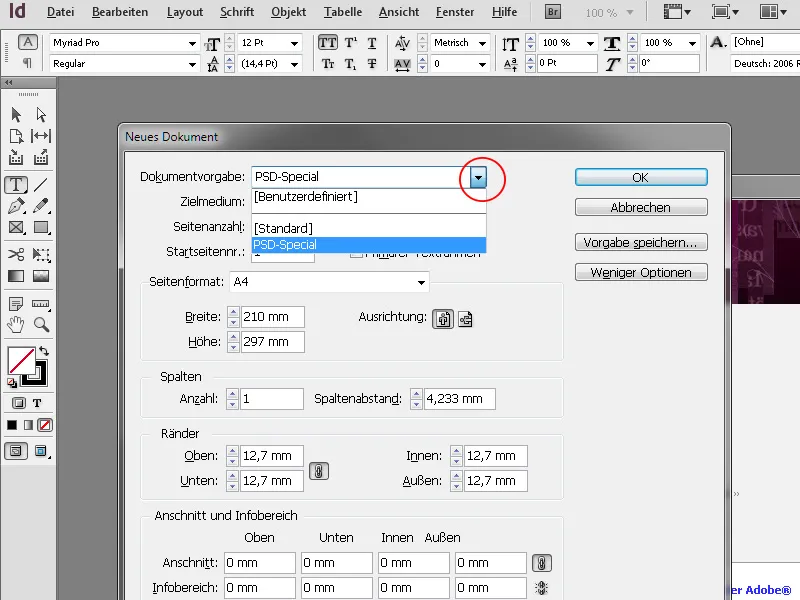
Once all settings are done, clicking OK will open the new document.
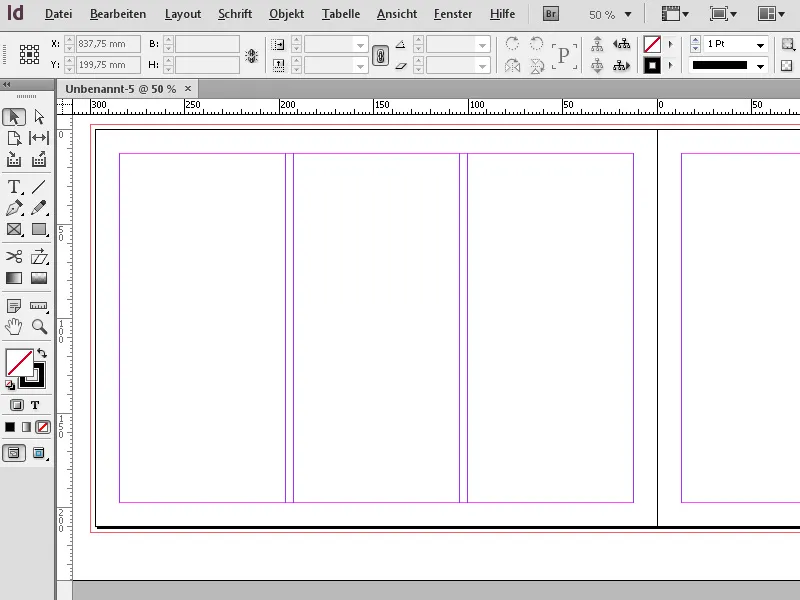
The different colored lines have the following meanings:
• The outer red border marks the bleed area.
• The black border defines the actual document format.
• The magenta lines mark the page margins and the violet lines are column guides.
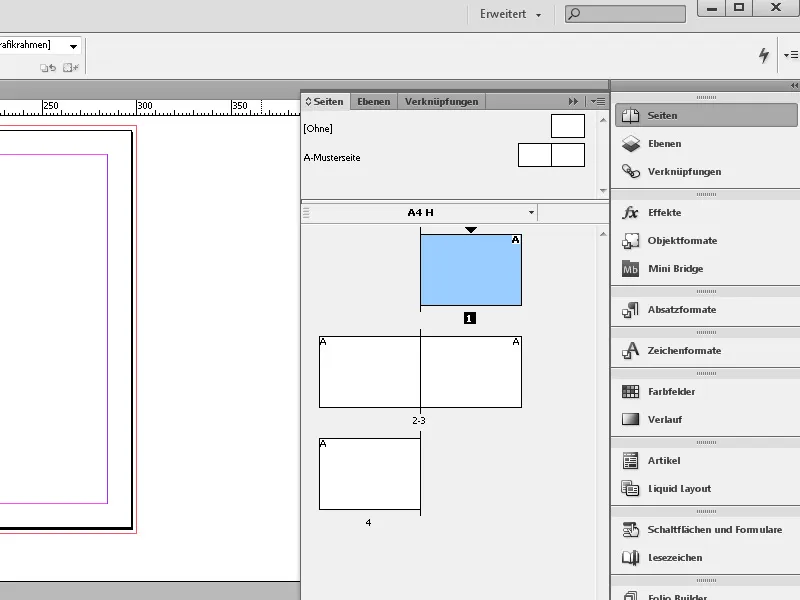
To get an overview, also open the Pages palette (F12). Here, you will see the created pages in a preview with the A marking in the upper outer area. This means that they are copies of the A master page (in the upper area of the Pages palette) with the settings you just made.
If you realize that you want to make some changes to these settings, that's not a problem:
To modify the page margins and column settings afterwards, go to the menu Layout>Margins and Columns.
But beware: For changes to affect all pages in the document, you must first go to the master page in the Pages palette - for double-sided pages, the left and right must be marked - otherwise, the adjustment will apply only to the currently selected page. Therefore, when selecting, it is best not to click directly on the Master page itself but on the adjacent A-Master label.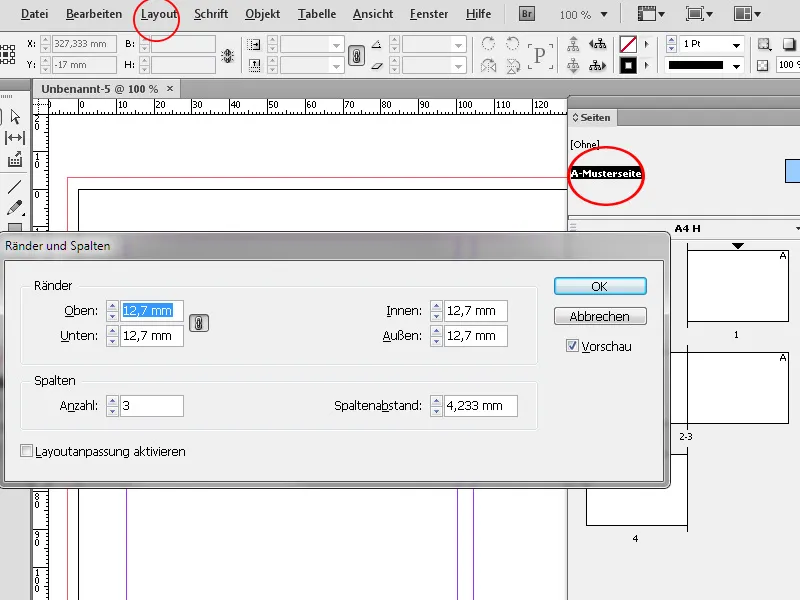
Using the menu File>Document Setup (or the shortcut Ctrl+Alt+P), you can later modify the Page Count, Format, and Bleed.
This will apply the changes uniformly to all pages.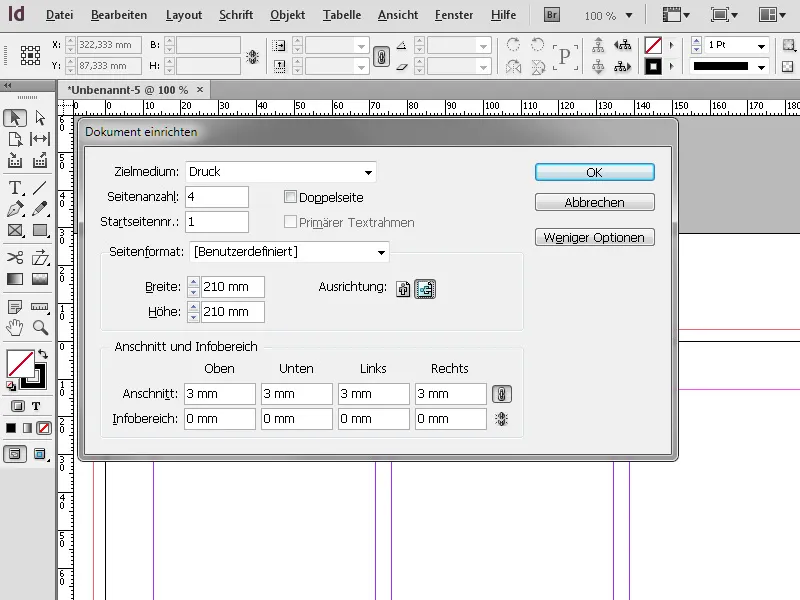
After these preparations, you can start working on the layout.


