Google Analytics is an essential tool for anyone looking to optimize their website and understand visitor behavior. Triggers play a crucial role as they define when and how certain actions are recorded in Google Analytics. In this tutorial, I will guide you through the key aspects of trigger integration and show you how to efficiently utilize them to gather valuable data about interactions on your website. Let's get started!
Key Insights
- Triggers are crucial for data collection in Google Analytics.
- There are different types of triggers that can monitor various events on your website.
- Configuring triggers is flexible and can be tailored to specific pages or elements.
- You should ensure that sensitive data is not collected to maintain user privacy.
Step-by-Step Guide
First, let's see how you can add triggers in Google Analytics.
To start creating a trigger, make sure you have already added a tag in Google Analytics. If you have done that, you can proceed directly to the section for triggers. If you have not created a tag yet, simply save your tag first so you can edit it later.
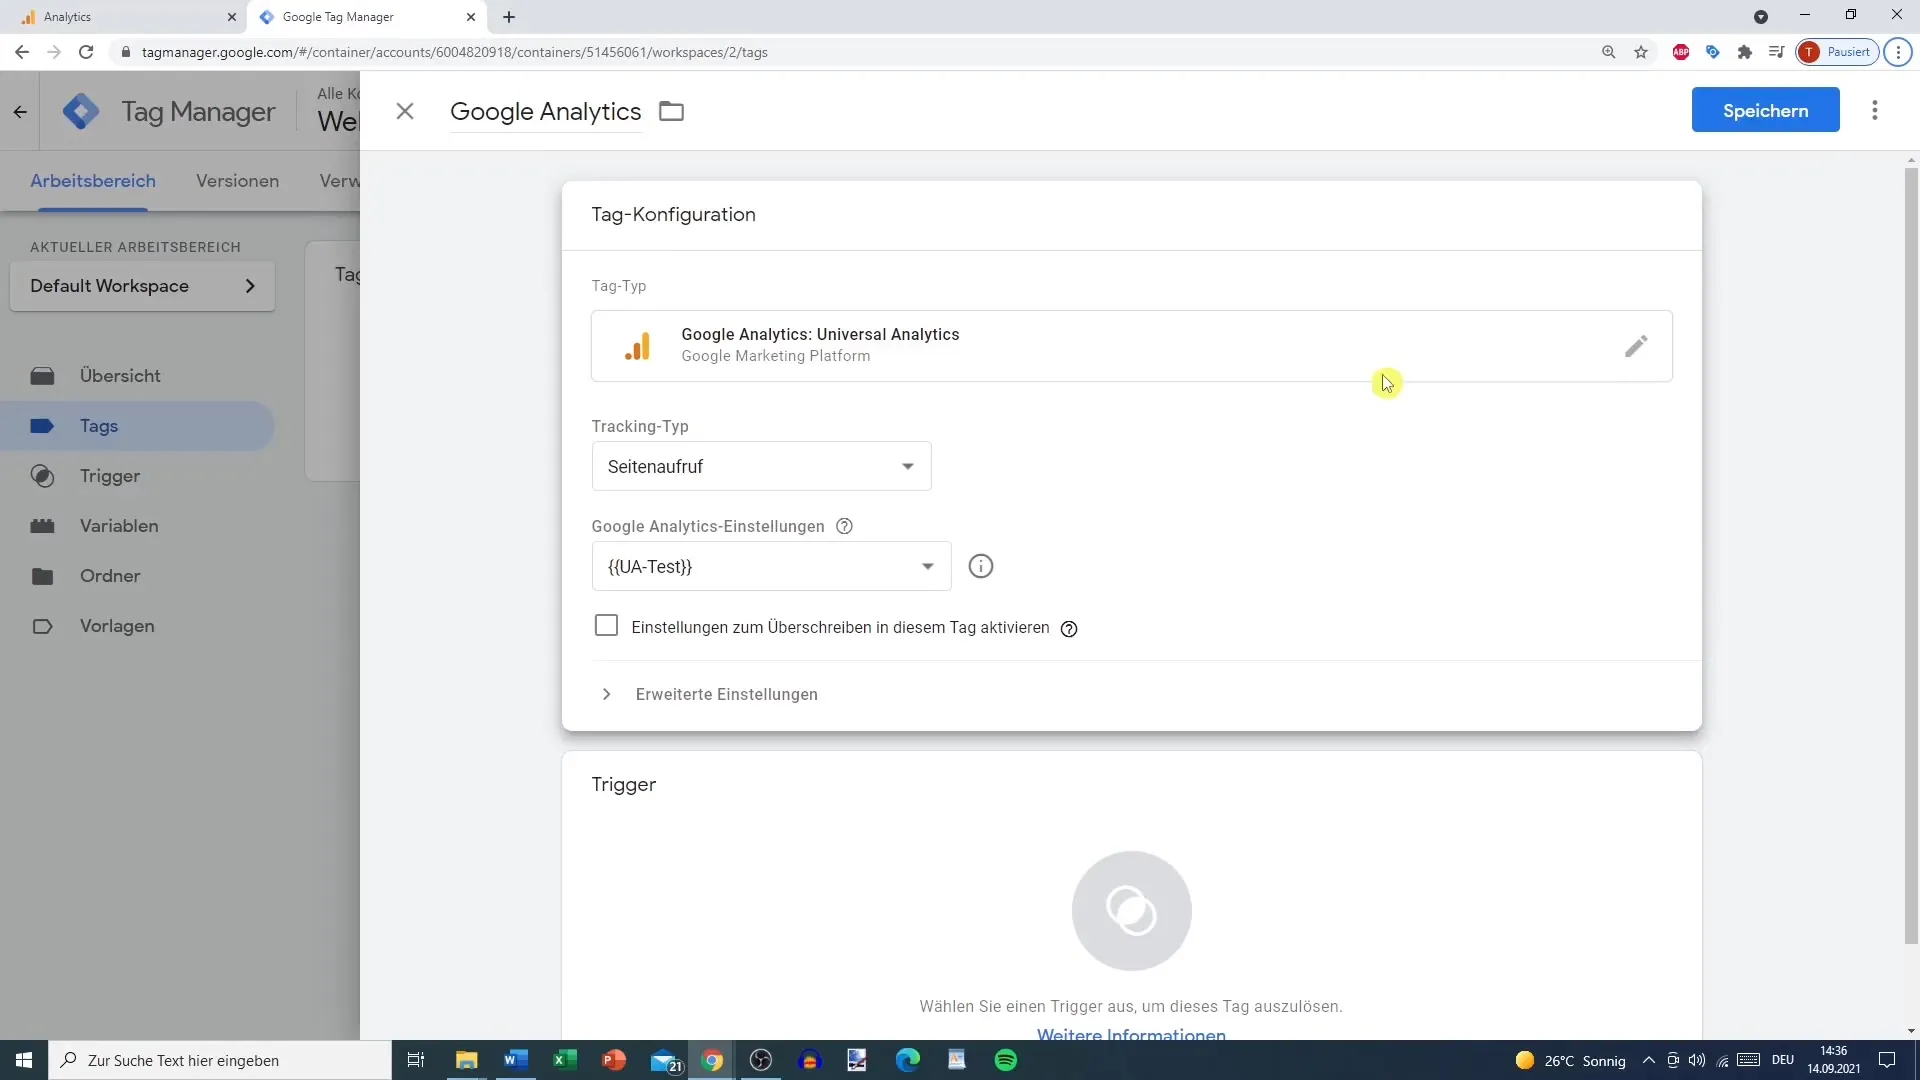
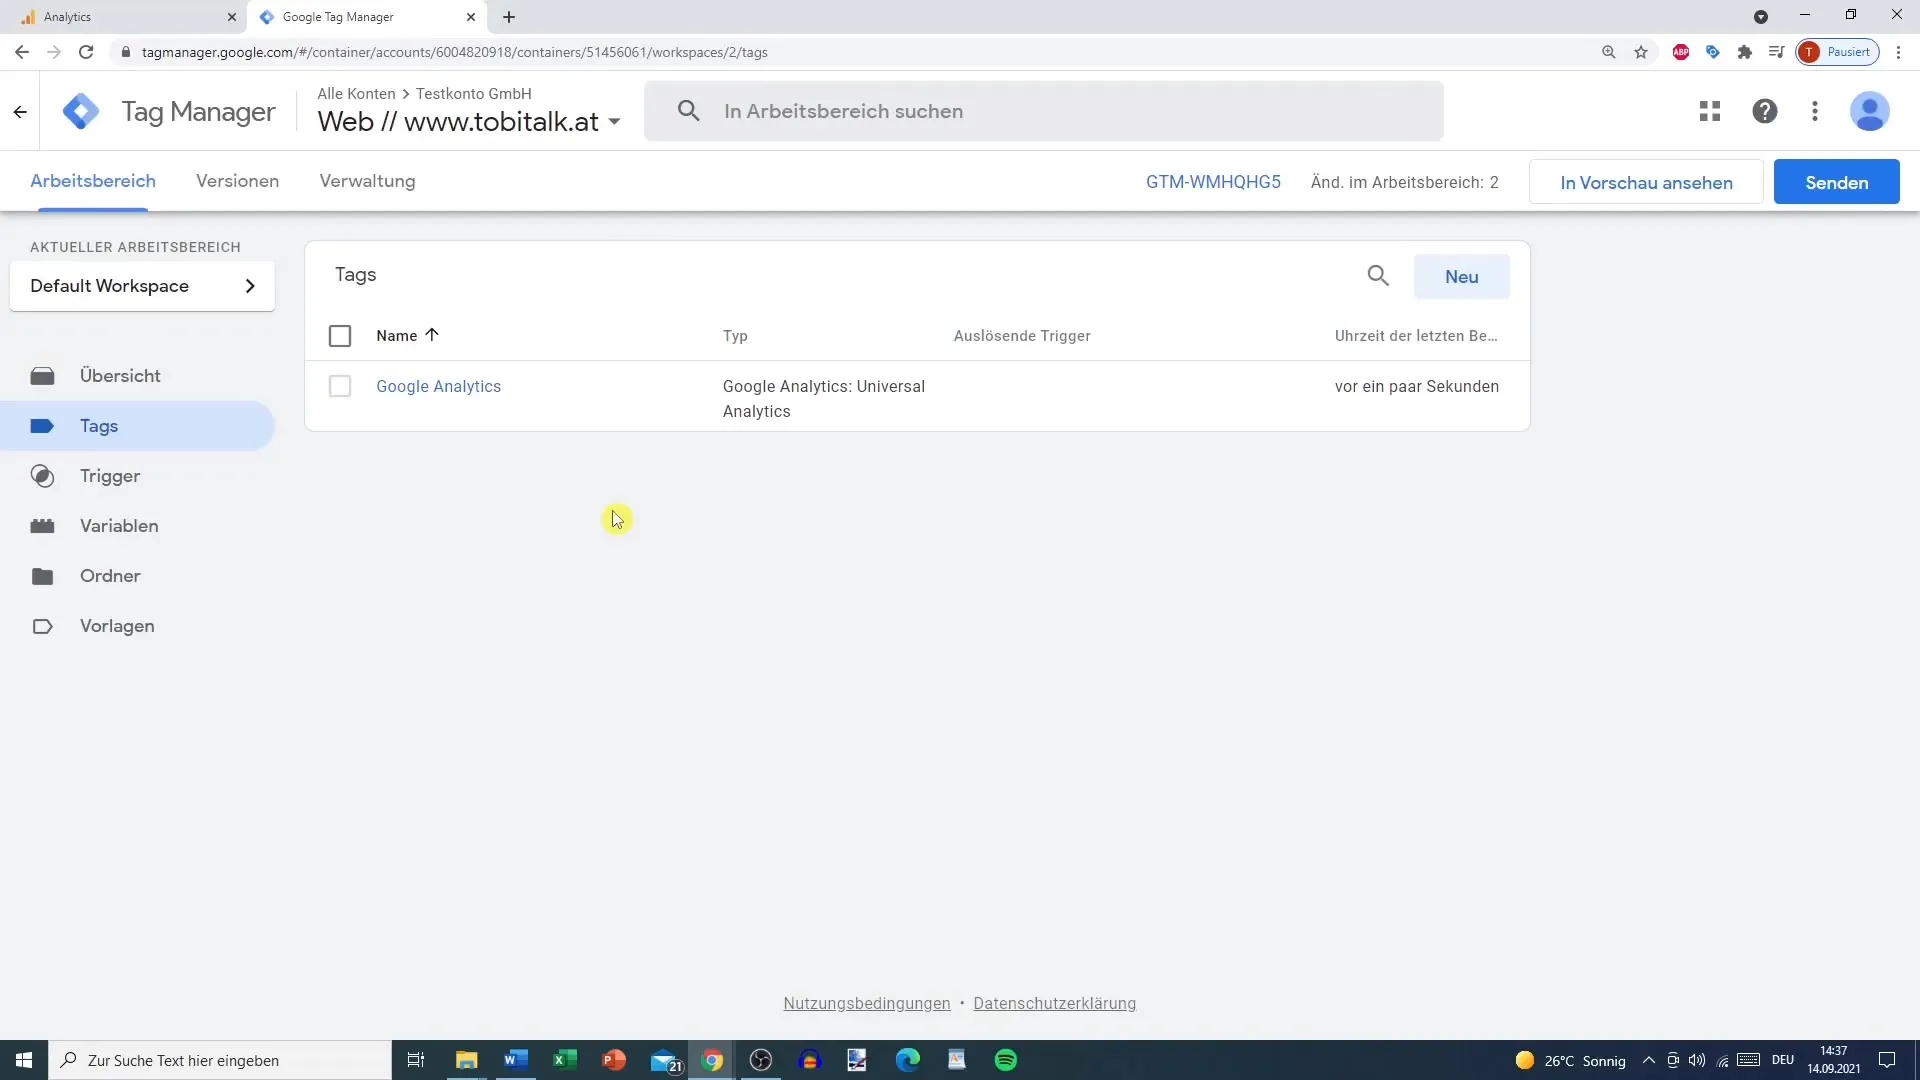
Now click on the "Triggers" option in your Google Analytics account. Here, you have the option to create a new trigger. First, give your trigger a concise name. For example, if you want to configure a page view trigger, simply name it "Page View Trigger."
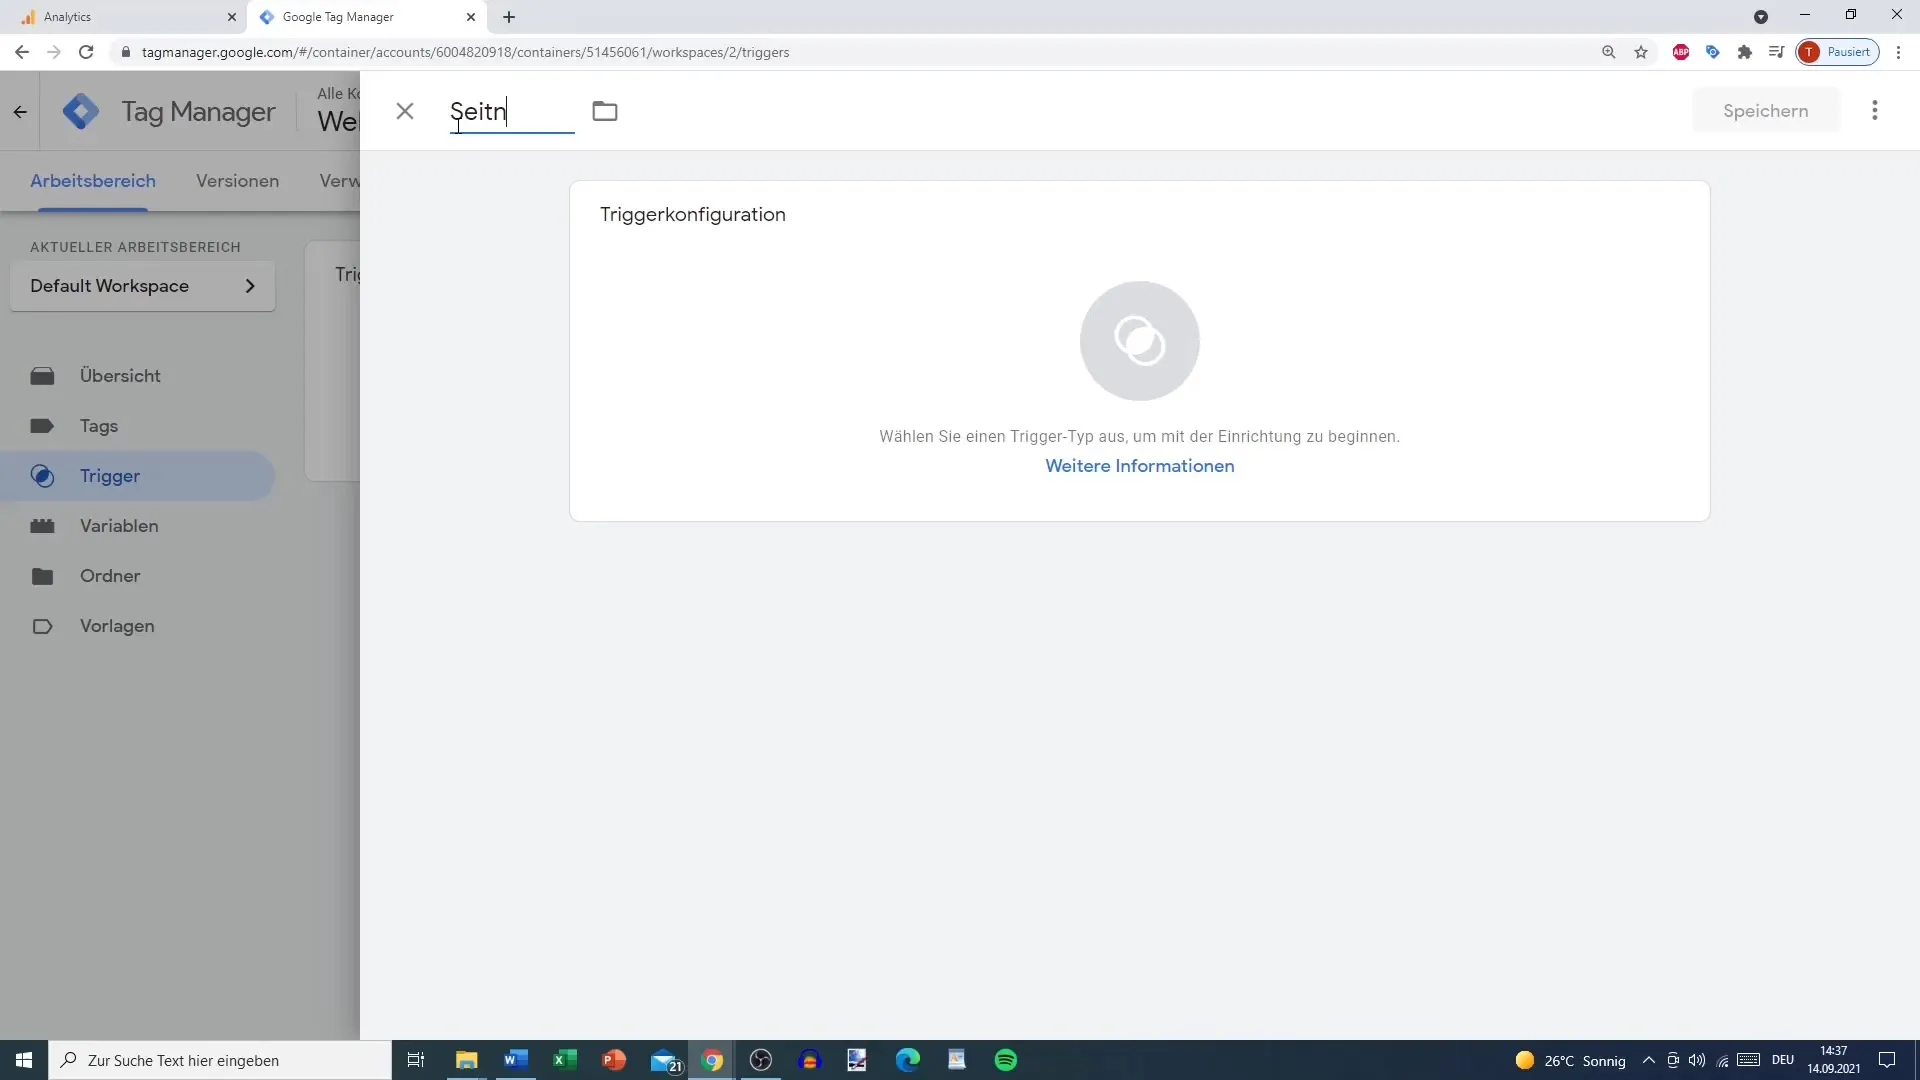
Next, select the trigger configuration. Here, you can specify what type of trigger it is. In our example, we want to create a page view trigger. You will find various trigger types, including Timer, Engagement Trigger, Form Submissions, and Click Triggers.
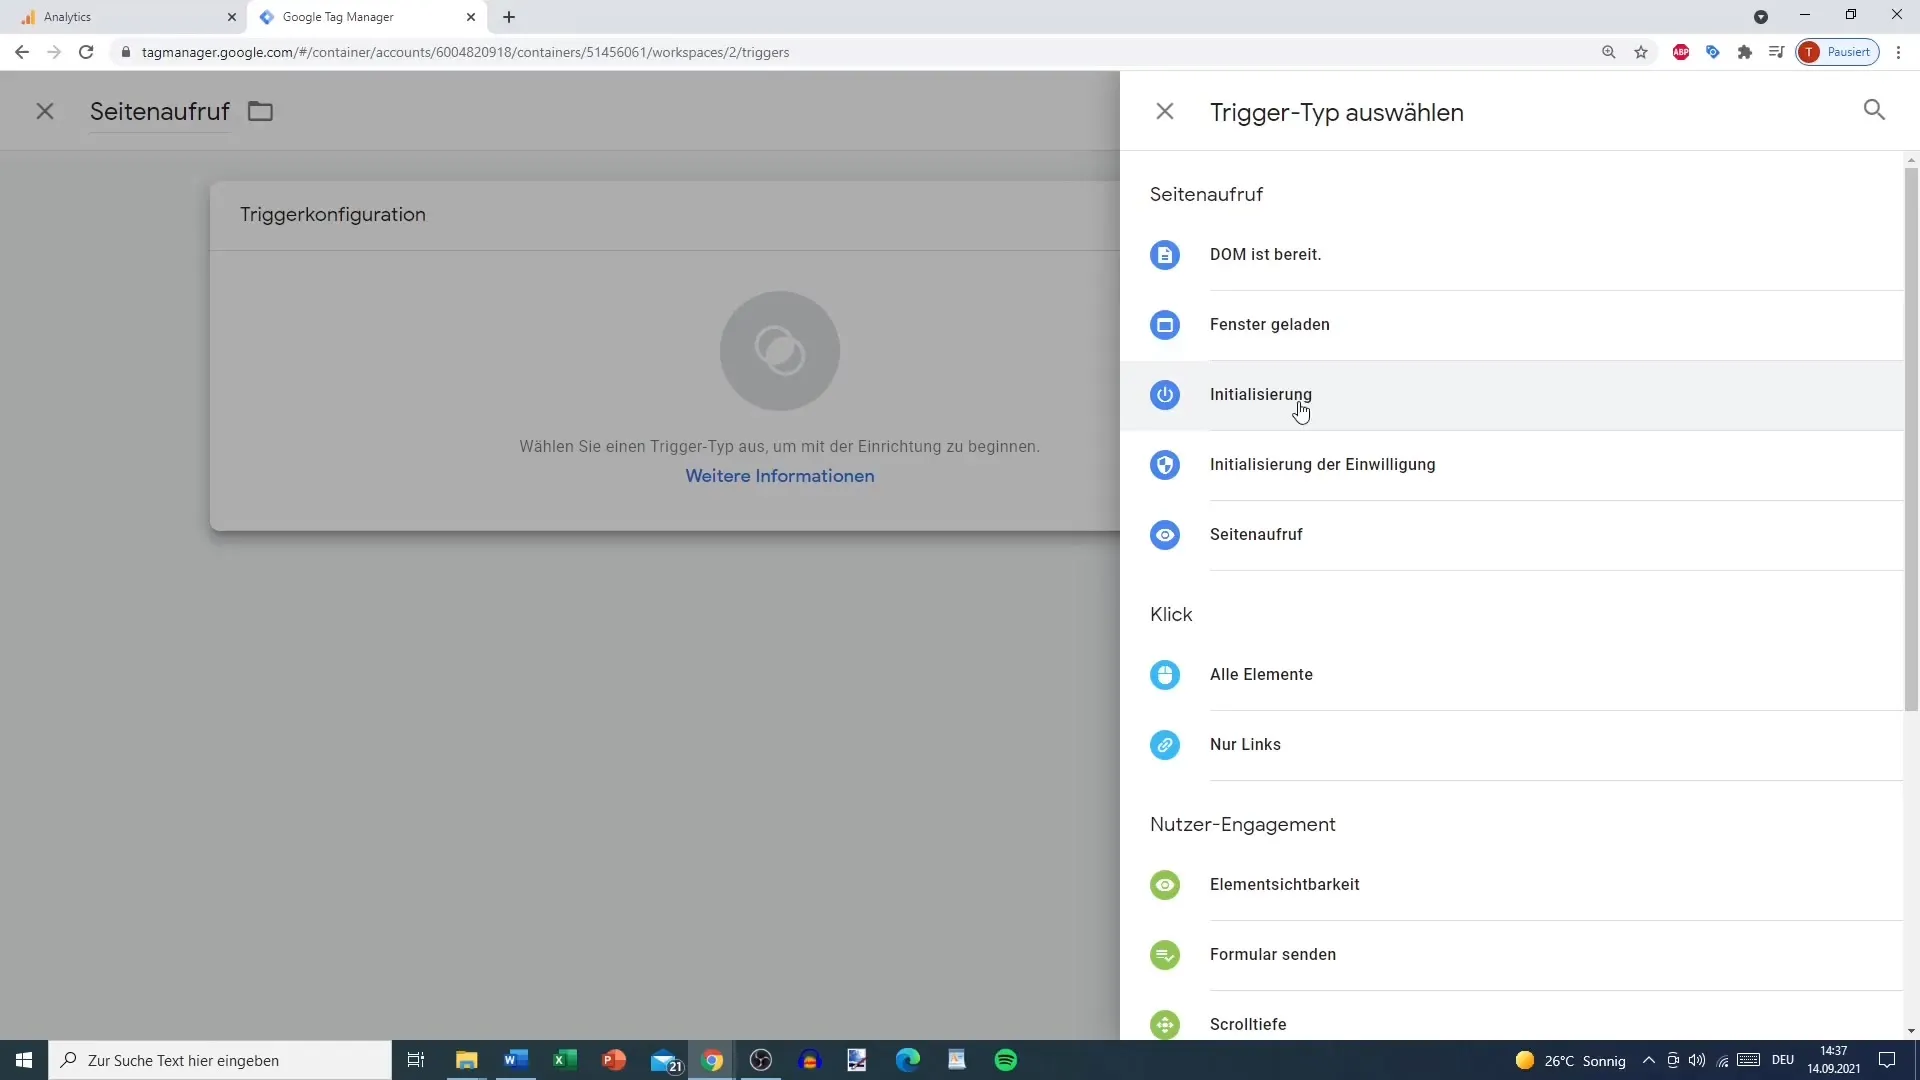
Let's focus on Click Triggers specifically. When selecting a Click Trigger, you have the option to choose whether you want to measure all clicks or only specific clicks. For instance, you could decide that the trigger should only be fired when a specific link or element is clicked.
If you want to target a specific element, you can specify a specific URL for it. This allows you to trigger the event only on certain pages or elements. If the element is present on a specific URL, you can also specify that the trigger should only be fired if the URL starts with your domain.
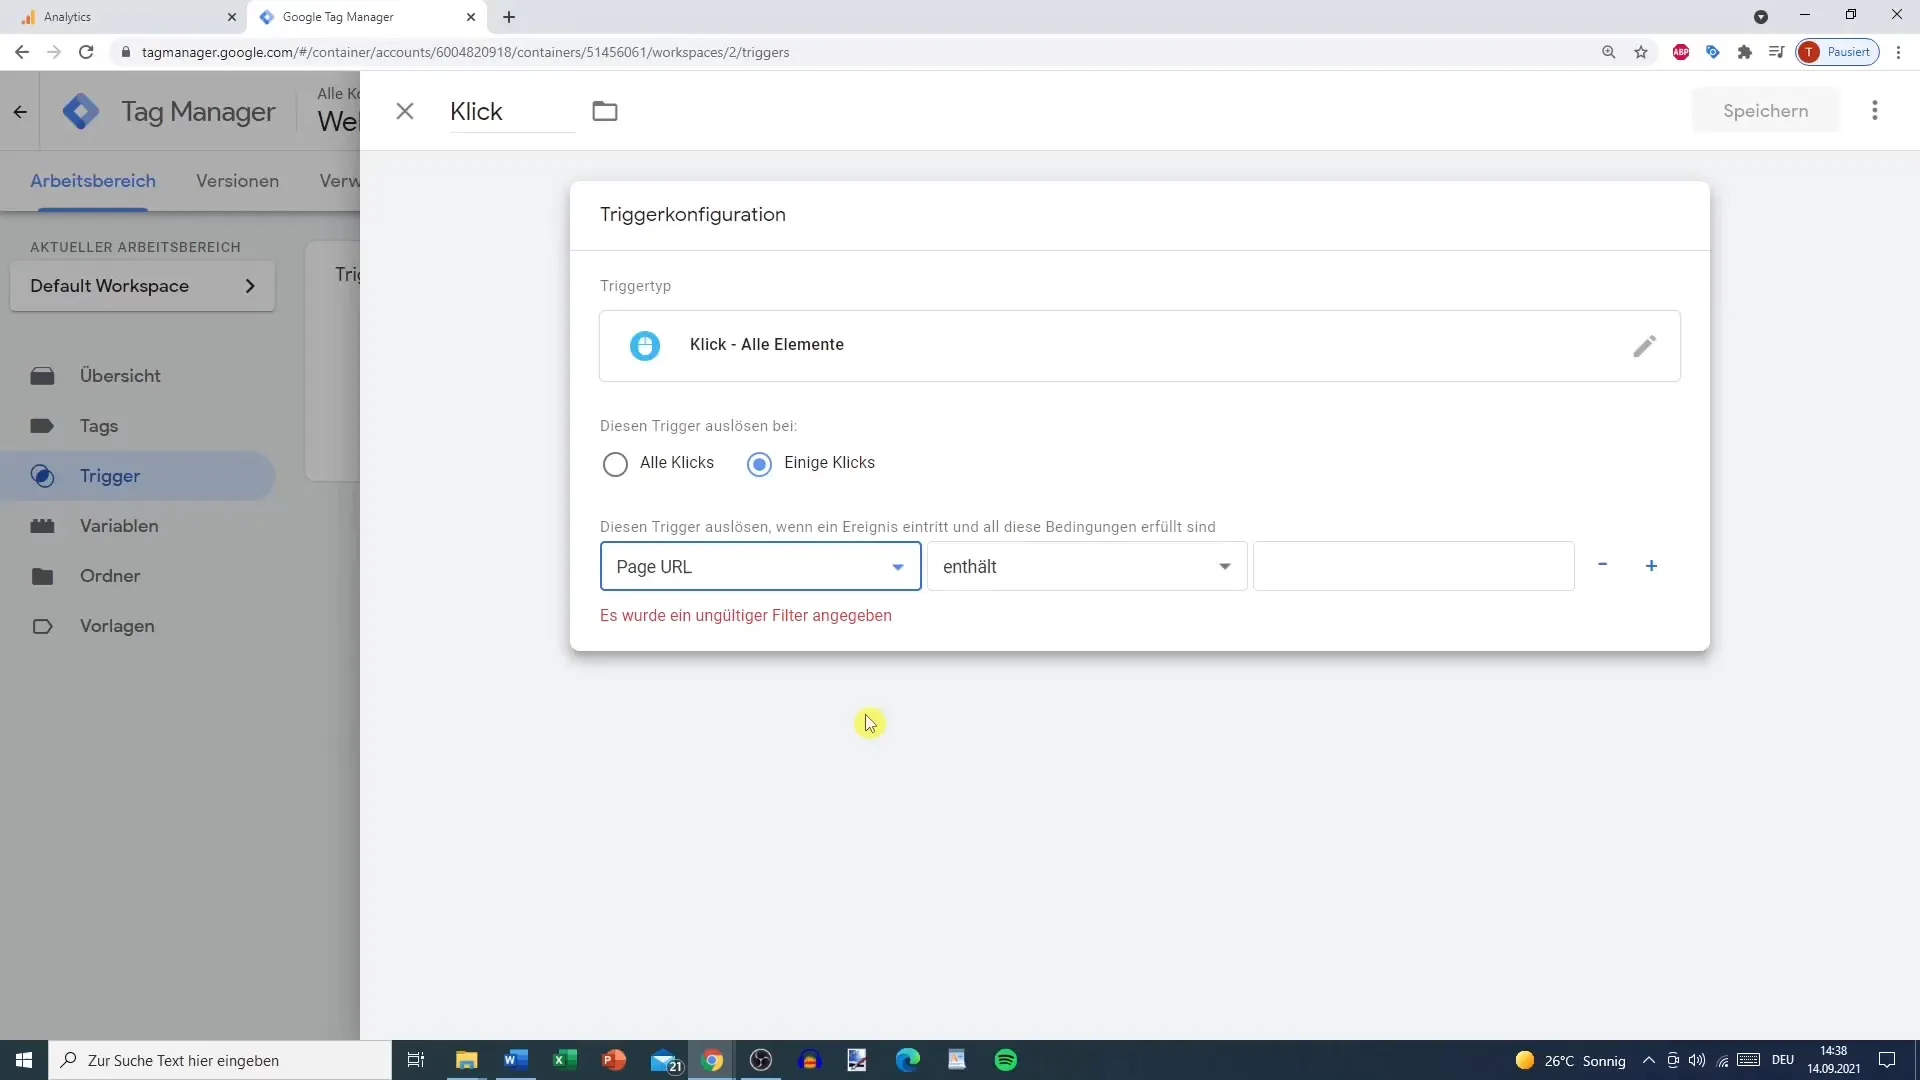
To be more precise, you could also add conditions to ensure that the trigger is not fired when clicking on specific elements located on a specific landing page. This is particularly helpful if you want to prevent collecting data from confidential content, for example.
An important feature is the ability to combine multiple triggers. If you want to add more conditions, you can do so using the plus symbol. If you want to remove a condition, simply use the minus symbol.
Once you have made all the necessary settings, click "Save."
Now you are ready to link your tag with the new trigger. Go back to your tag and select the trigger you just created. You should now see the new trigger in the list.
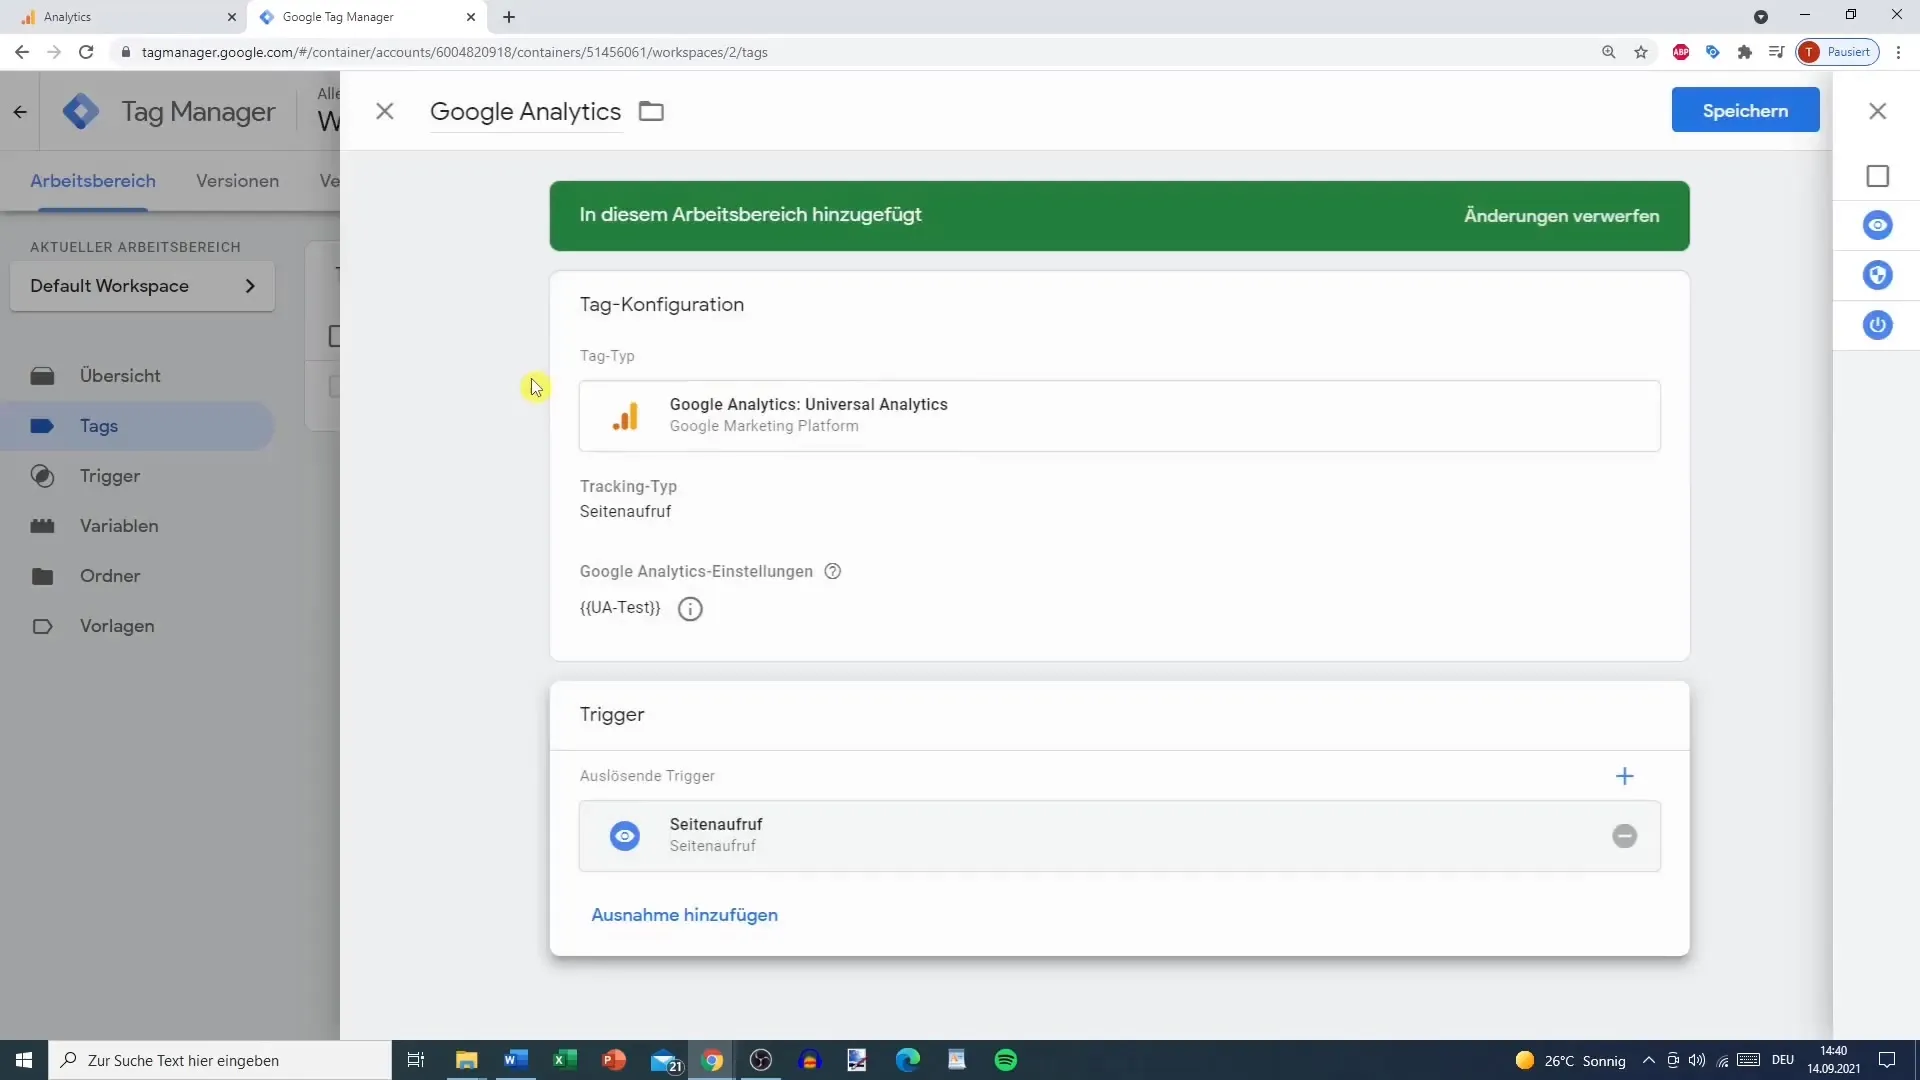
If everything looks as it should, save the changes. Your tag is now ready to capture data whenever the trigger is activated. Before you finalize everything, let me briefly explain what variables are all about.
Variables can help you collect even more specific data and use them in your triggers. To achieve complete flexibility in your analysis, I recommend exploring variables as part of your trigger configuration.
Summary
In this guide, you have learned how important triggers are in Google Analytics and how you can effectively add and configure them. Fine-tuning these triggers can provide you with valuable insights into the behavior of your users and ensure that you collect the right data at the right time. Take advantage of the opportunity to combine different types of triggers and link them with specific variables to achieve even better results.
Frequently Asked Questions
What are triggers in Google Analytics?Triggers are conditions that define when and how data is captured in Google Analytics.
How many triggers can I create in Google Analytics?There is no fixed upper limit on triggers you can create, as long as they are meaningfully integrated into your data strategy.
Can I customize triggers for specific pages?Yes, you can configure triggers to be triggered only on specific pages or elements.
What happens if I configure a trigger incorrectly?Incorrectly configuring a trigger can result in important data not being captured or in collecting more data than desired.
How can you ensure that sensitive data is not captured?By defining conditions for triggers that prevent data collection on specific pages.
