You want to better understand user behavior on your website? Then setting up triggers in Google Analytics is an effective tool to gain valuable insights. In this tutorial, I'll show you how to set up a trigger that captures all clicks on your website. This is a simple yet powerful step to analyze user engagement and precisely optimize your marketing strategies.
Key Insights
- You can create a trigger for all clicks on your website.
- The trigger is activated with every click on any element.
- Data on the clicks can easily be viewed in Google Analytics.
- It is possible to configure the trigger for specific pages or URLs.
Step-by-Step Guide to Setting Up a Trigger
Step 1: Create a New Trigger
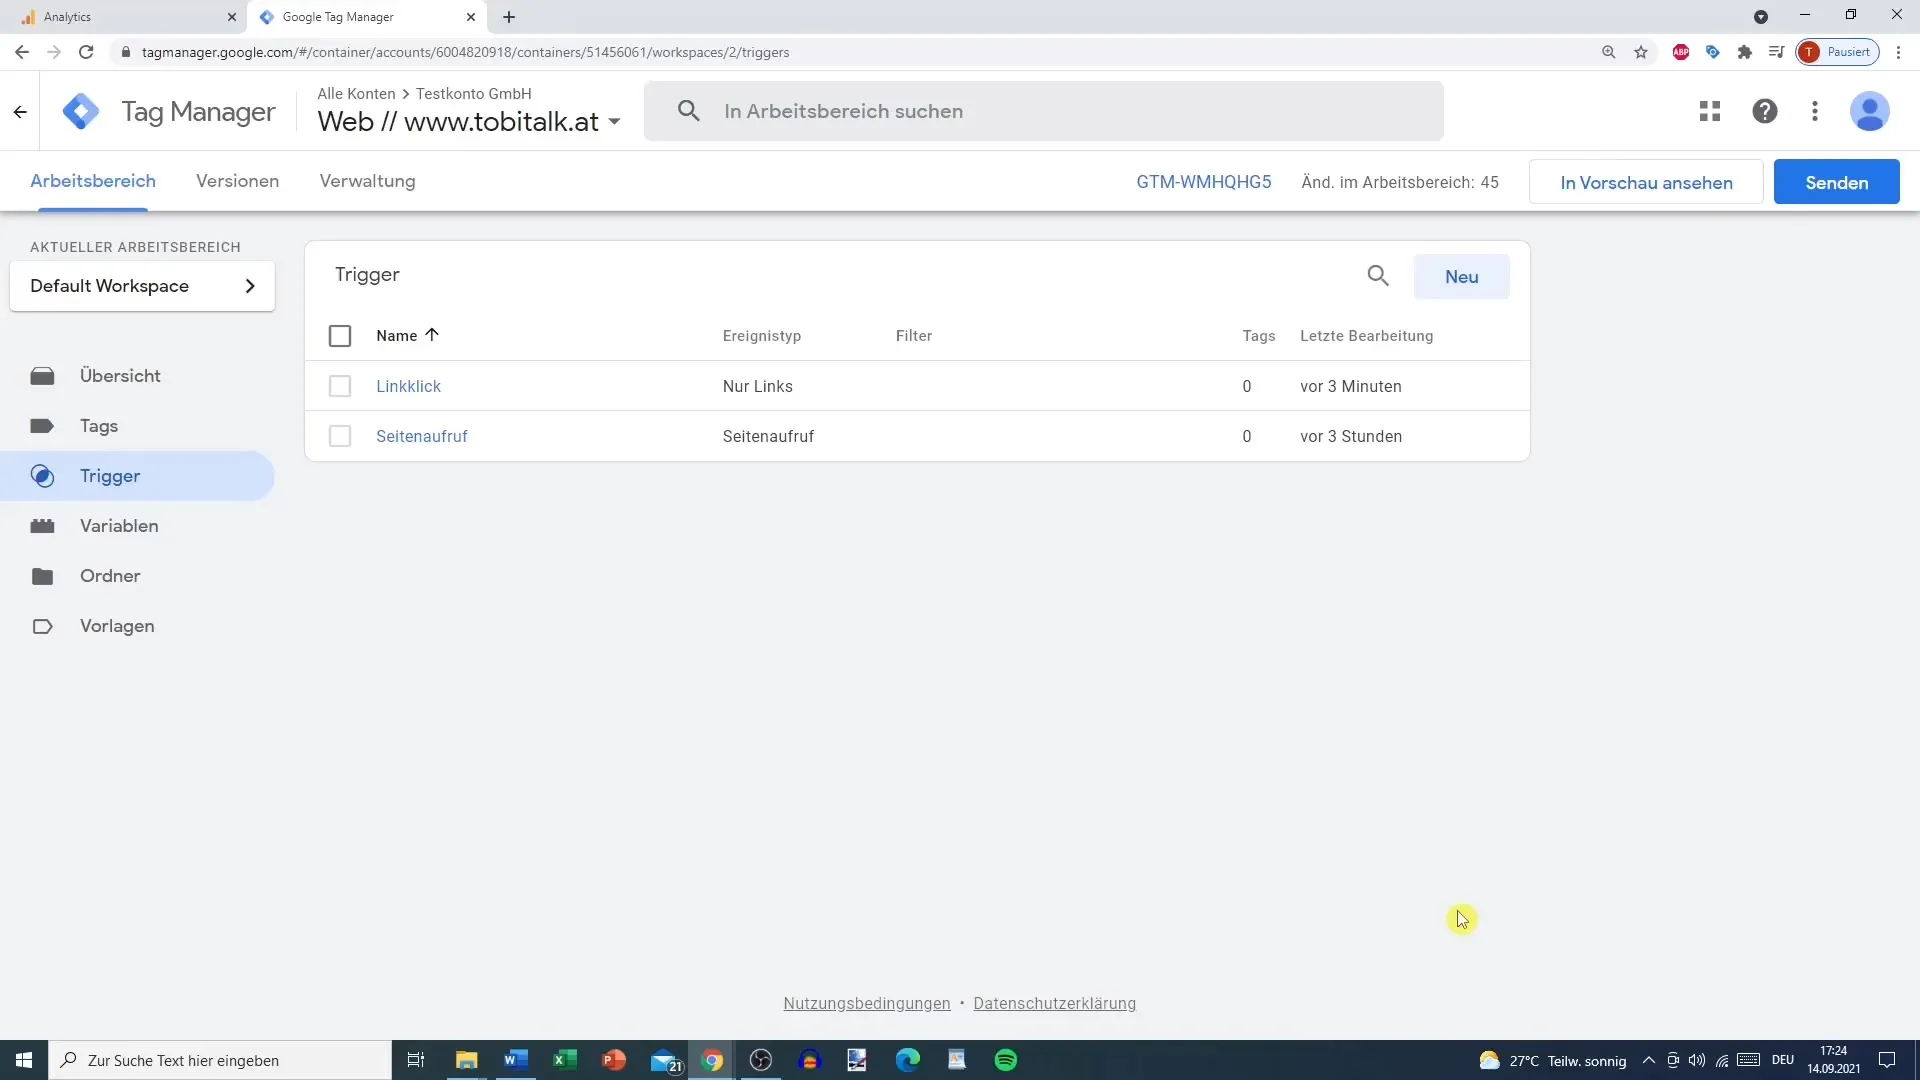
To create a trigger, go to the Google Analytics platform and navigate to your account. Click on "New" to start the creation process.
Step 2: Choose Trigger Type
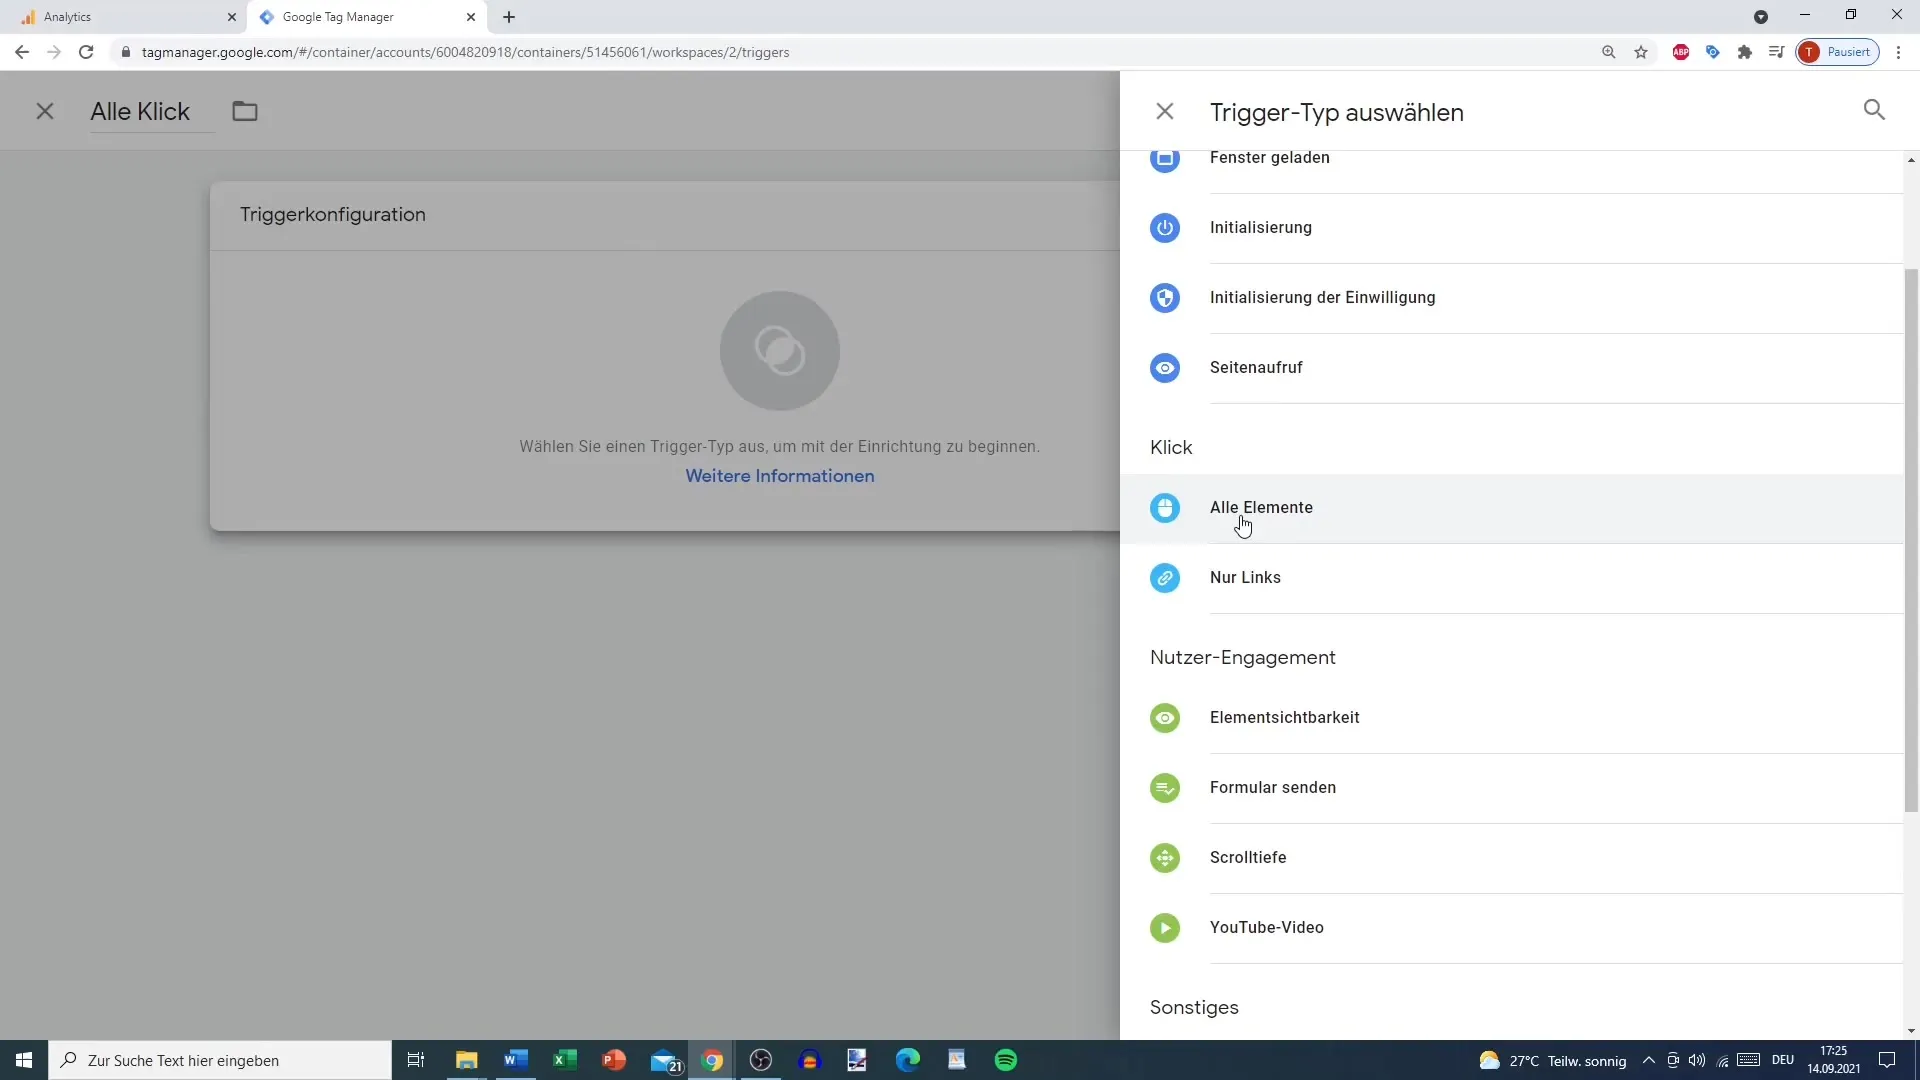
Here you select the type of trigger. In this case, you want the trigger to be activated with every click on your website. Choose the option "Click - All Elements." This way, the trigger captures every click, regardless of whether it is a link, an image, or another element.
Step 3: Name the Trigger
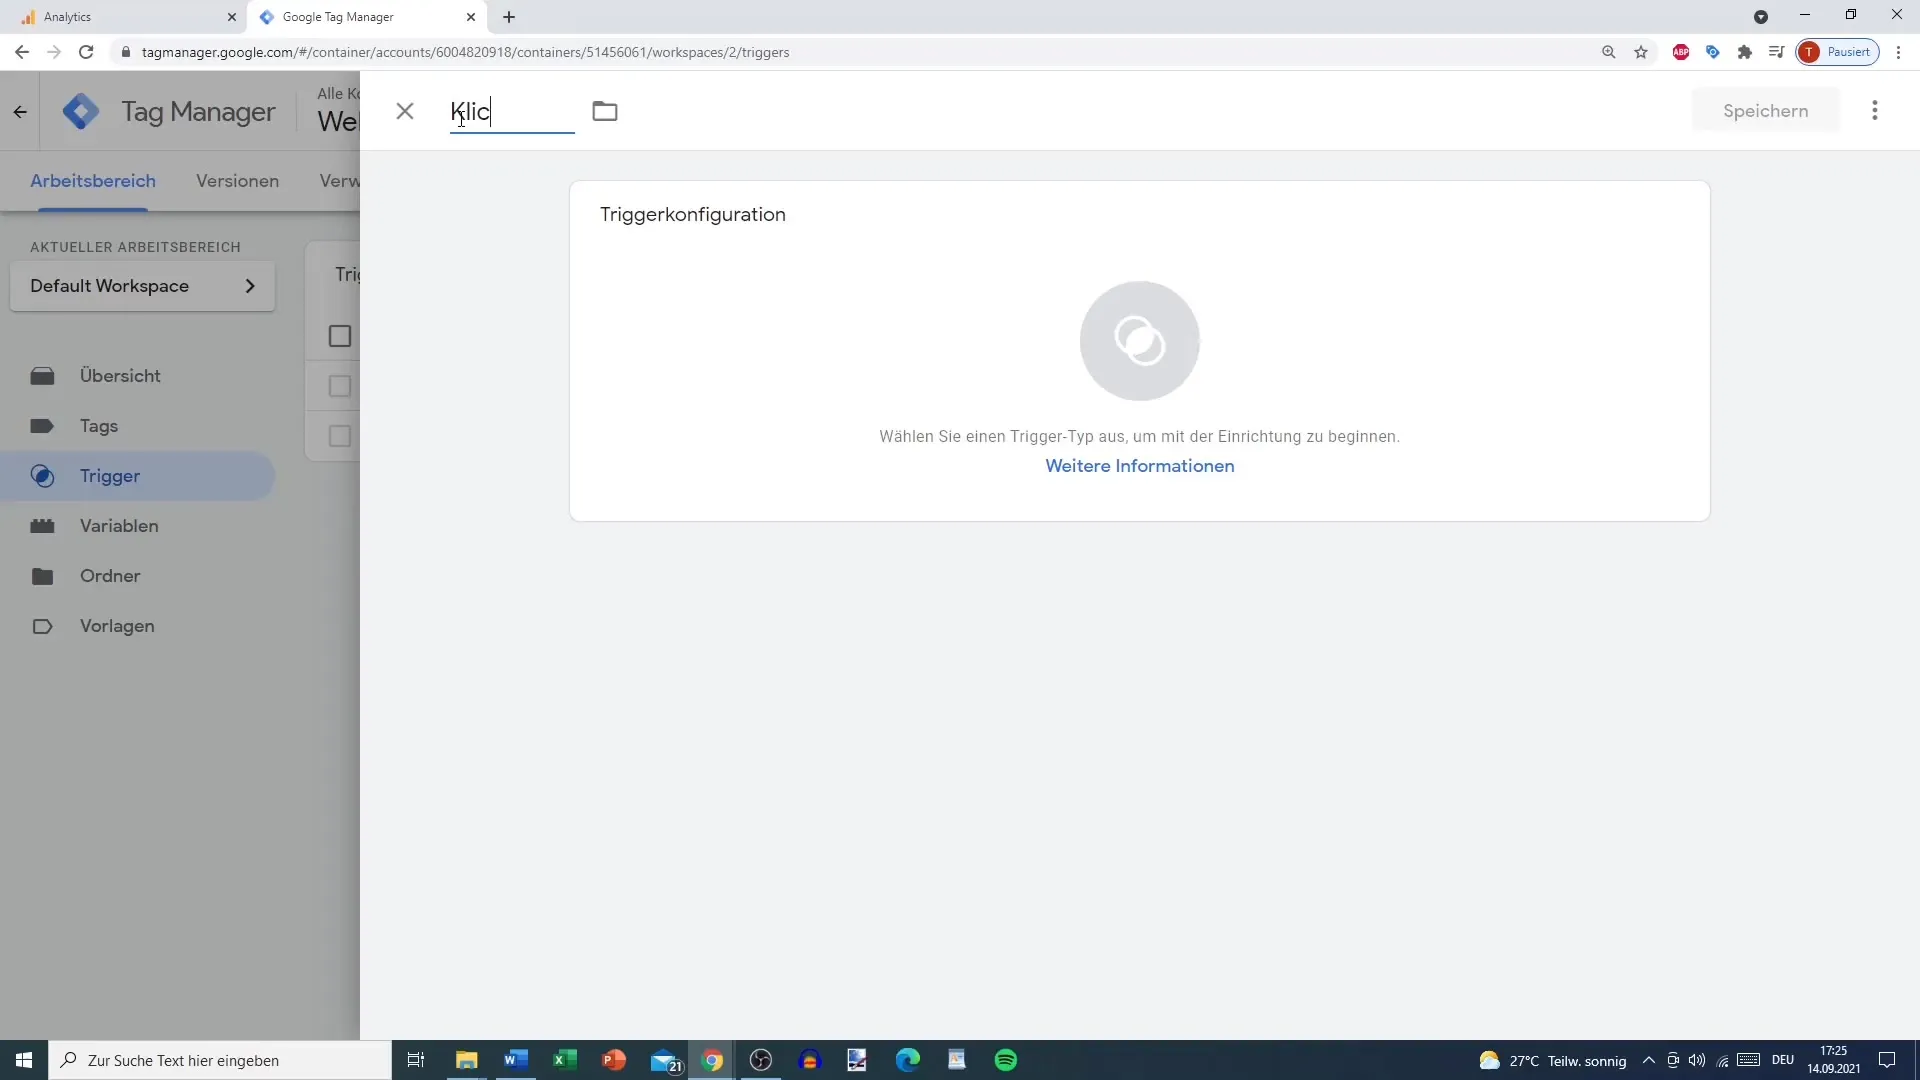
It is important to give the trigger a meaningful name so that you can easily identify it later. For example, you could name it "Click - All Clicks." This helps you keep track, especially if you have multiple triggers in your account.
Step 4: Configure the Trigger
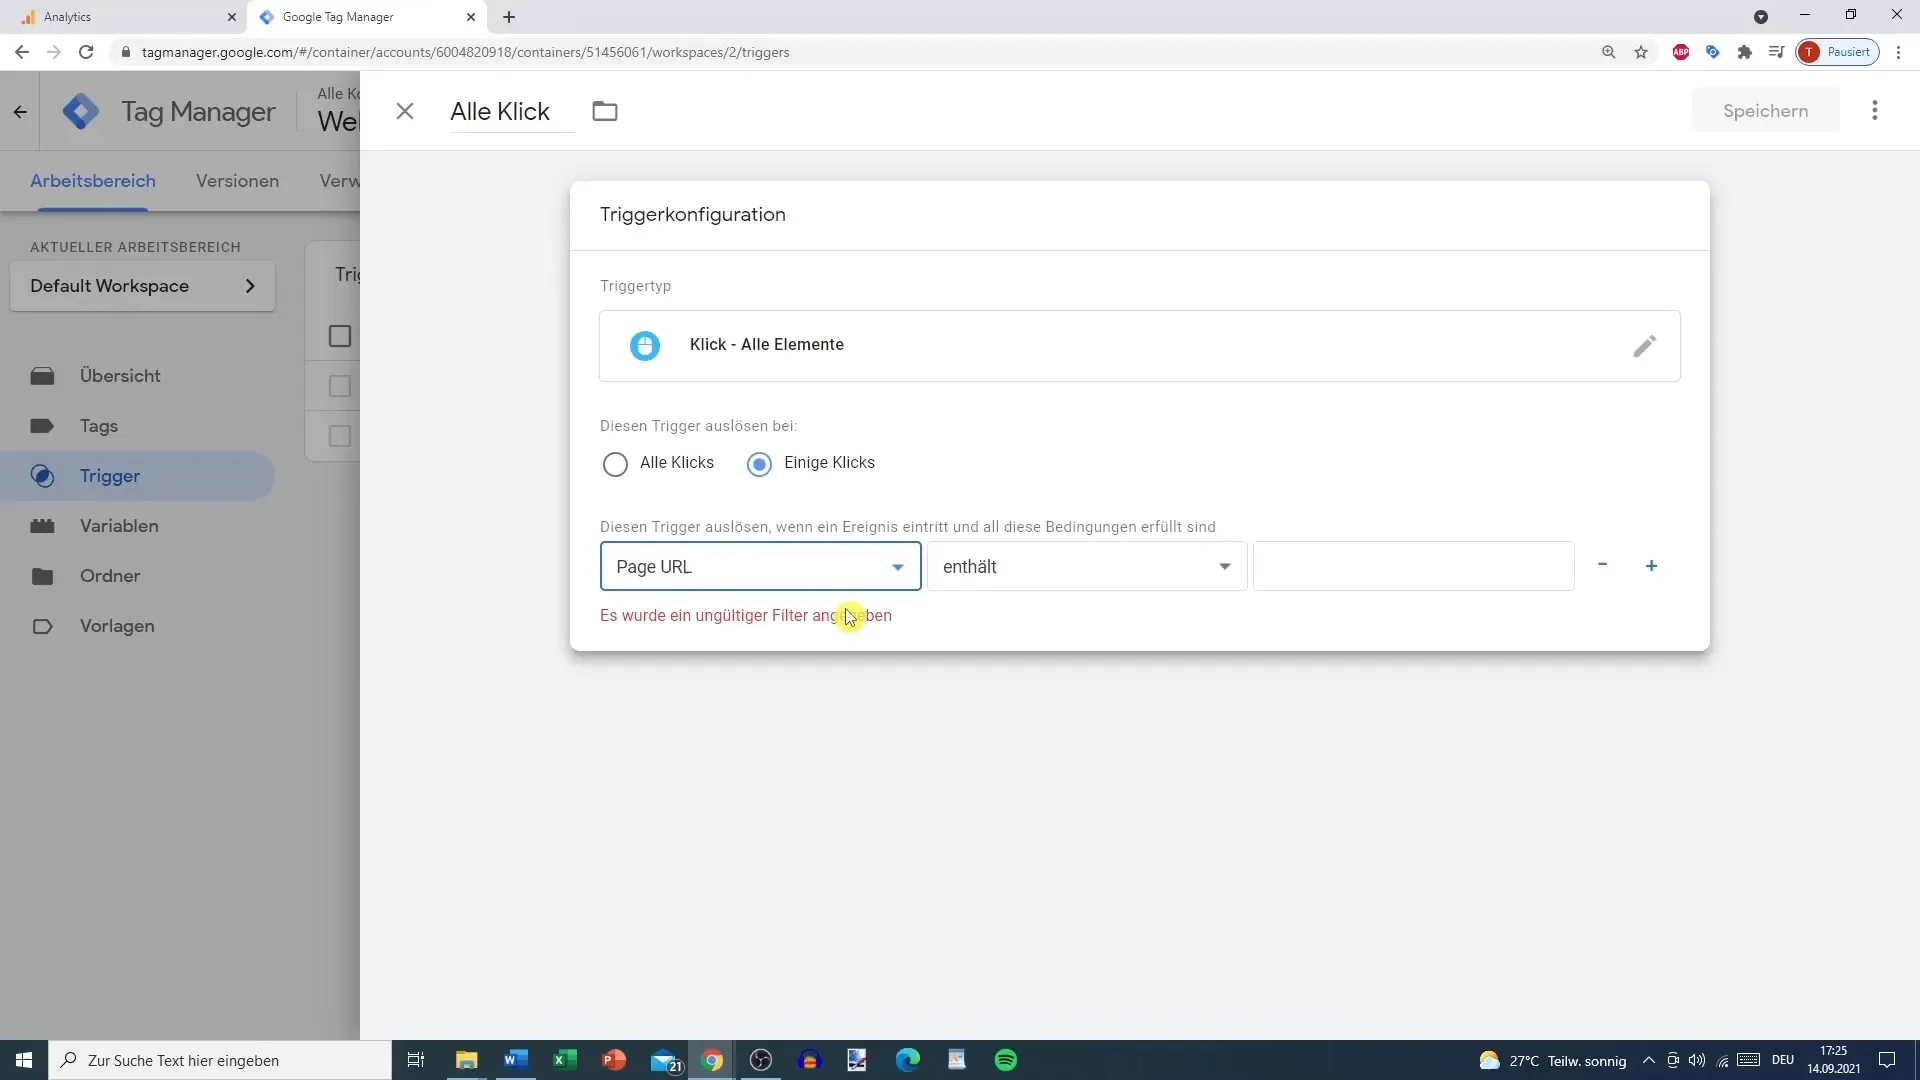
Now you can customize the trigger configuration. By default, the trigger should work on all pages of your website. If you wish, you can also restrict the function to specific URLs. If you want to exclude other pages, you can do so by specifying the specific URLs you do not want to track.
Step 5: Save the Trigger
Once you have made all the settings, click "Save" to secure the new trigger. You have successfully created a trigger that captures all clicks on your website.
Step 6: Add a Tag
After creating the trigger, you can now add it to a tag. Choose the option "New" and create a tag connected to Google Analytics. It is important to select the trigger created earlier to ensure that the data is correctly captured.
Step 7: Test in Preview Mode
To ensure that your trigger is working properly, go into preview mode. Here, you can visit your website and see if the trigger is activated with each click. Make sure the test is executed correctly.
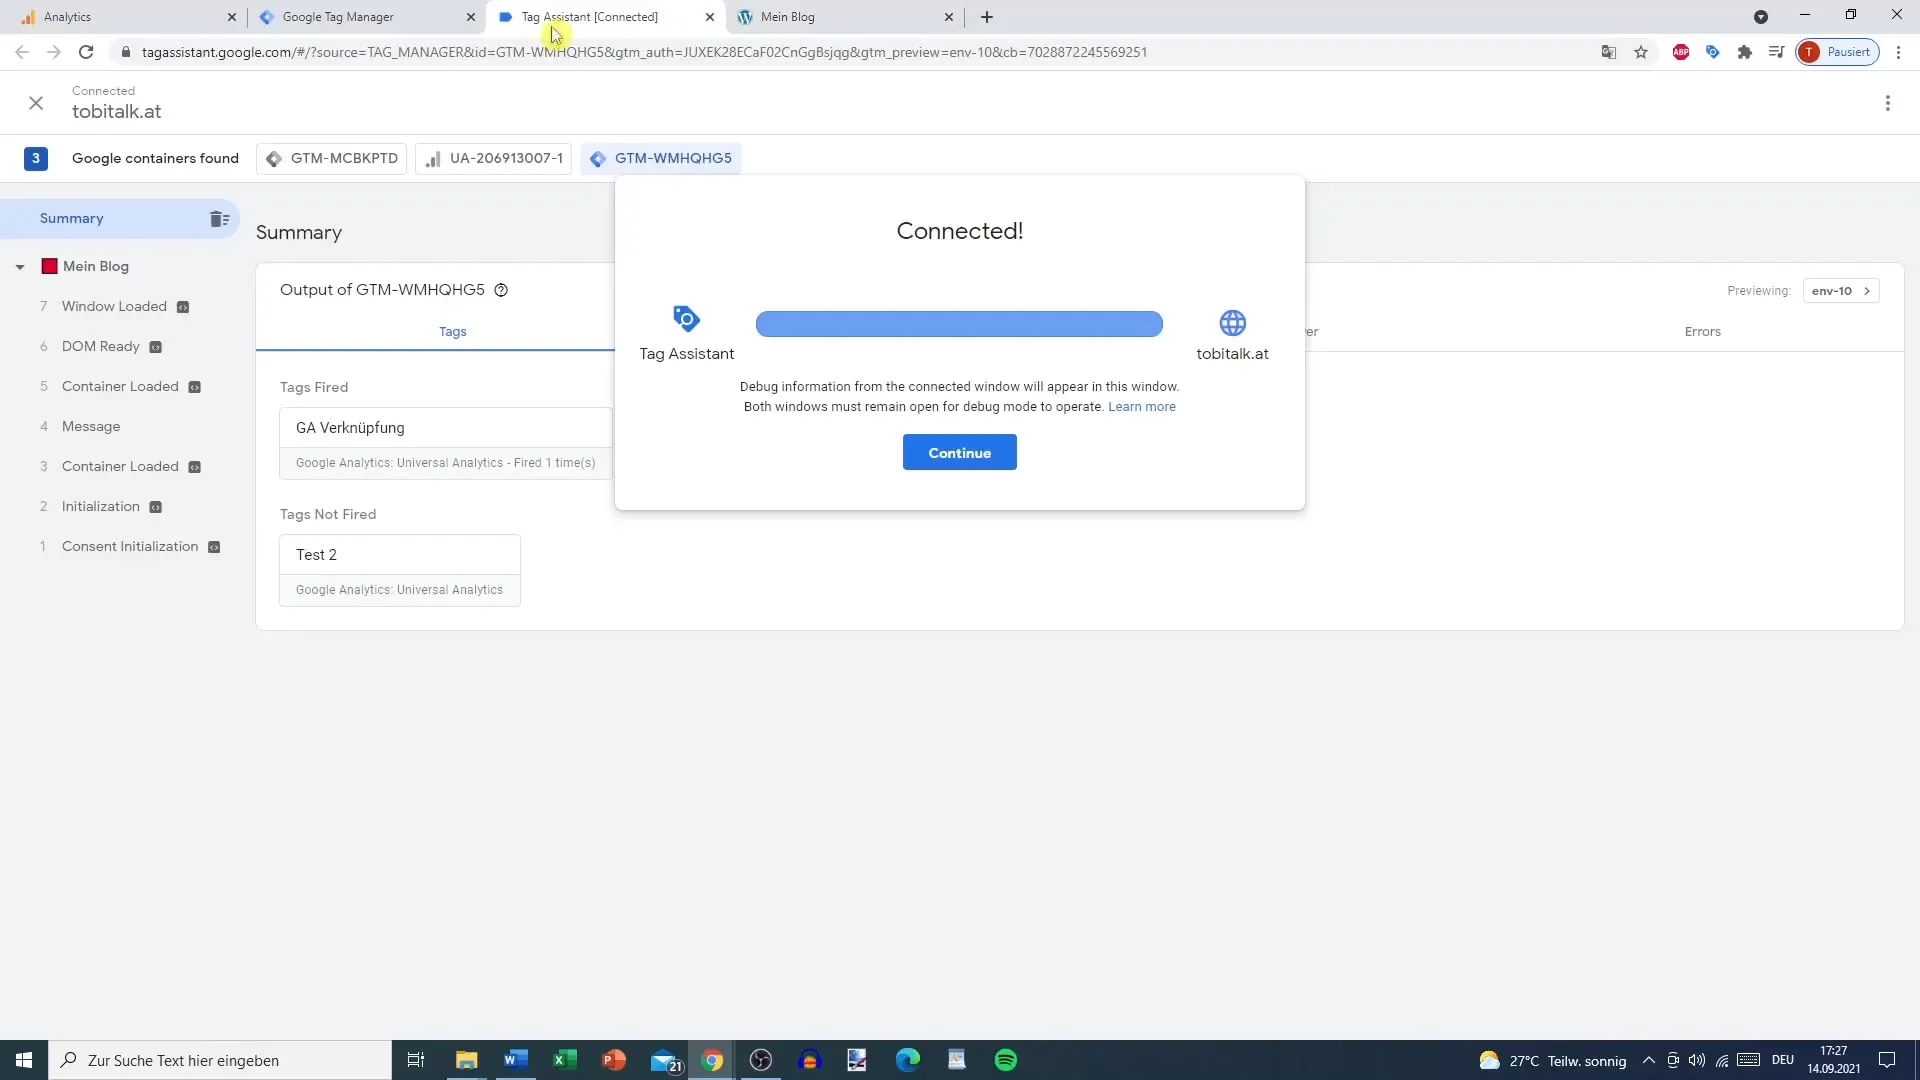
Step 8: Track Clicks
After testing in preview mode, you should now be able to see that the trigger is successfully activated when you make clicks on your website. These clicks will be displayed in your Google Analytics account, allowing you to precisely track where the interactions are taking place.
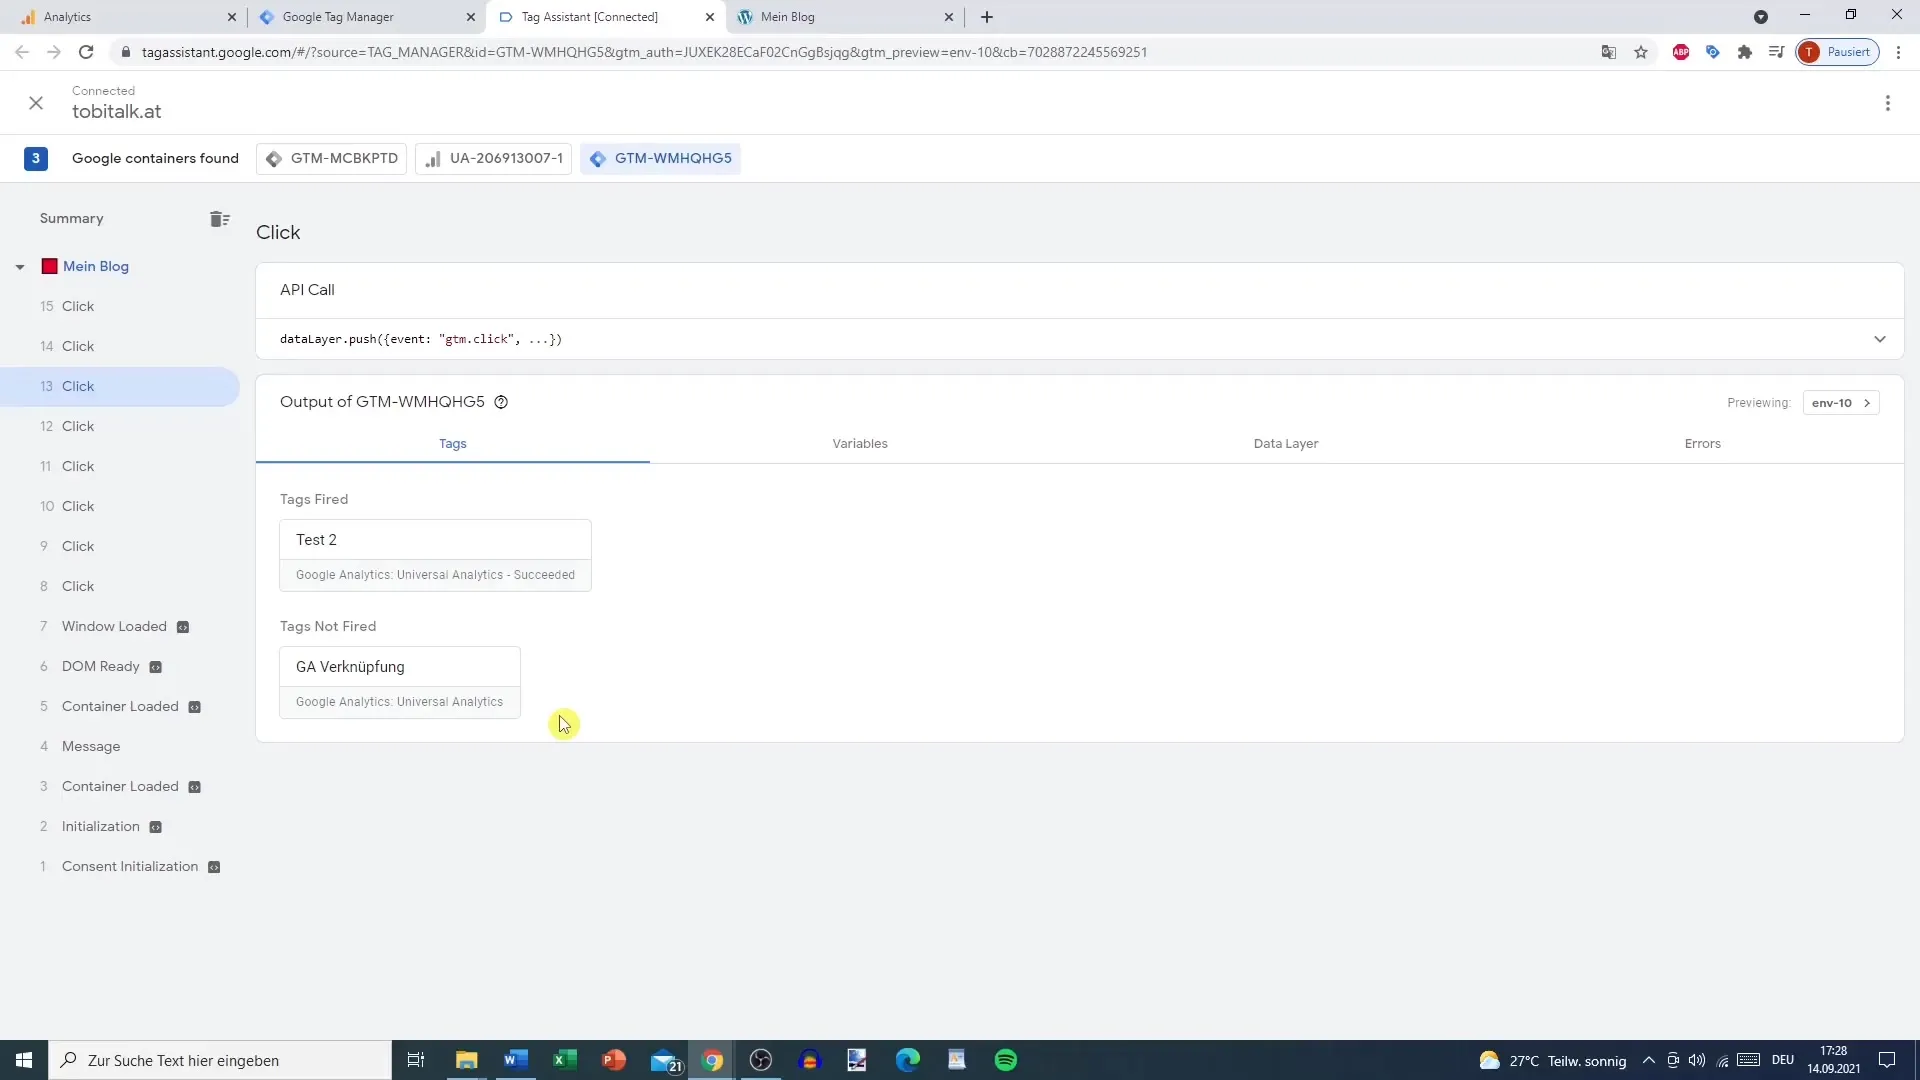
Step 9: Analyze the Results
Finally, you can analyze the click data captured by the trigger in Google Analytics. This information will help you understand user behavior and optimize your website accordingly.
Summary
In this guide, you've learned how to set up a trigger in Google Analytics that captures all clicks on your website. With this knowledge, you can better understand user engagement and gain valuable insights for your marketing strategies.
Frequently Asked Questions
How do I create a trigger for specific pages?You can adjust the URL settings in the trigger to capture clicks on certain pages only.
What happens if I delete the trigger?All data collected through this trigger will be lost and cannot be recovered.
Can I customize the trigger for specific elements?Yes, you can modify the trigger conditions to track specific elements like links or buttons.
How often can I adjust and save triggers?You can make and save as many changes as you want as long as you have the necessary permissions.
Does this trigger work for mobile websites as well?Yes, the trigger captures clicks on both desktop and mobile versions of your website.
