The proper tracking of contact forms is a crucial factor when it comes to analyzing user interactions on your website. In this guide, I will show you how you can set up effective tracking for the "Contact Form 7" plugin in WordPress. You will receive step-by-step instructions to ensure that no important data is lost. Especially in a time where precise data analysis can determine the success or failure of your online interactions, it is important to take the right steps.
Key Takeaways
- Contact form tracking allows you to analyze user interactions.
- The guide focuses on the WordPress plugin "Contact Form 7".
- Correctly set up tracking can significantly enhance the quality of your data analysis.
Step-by-Step Guide
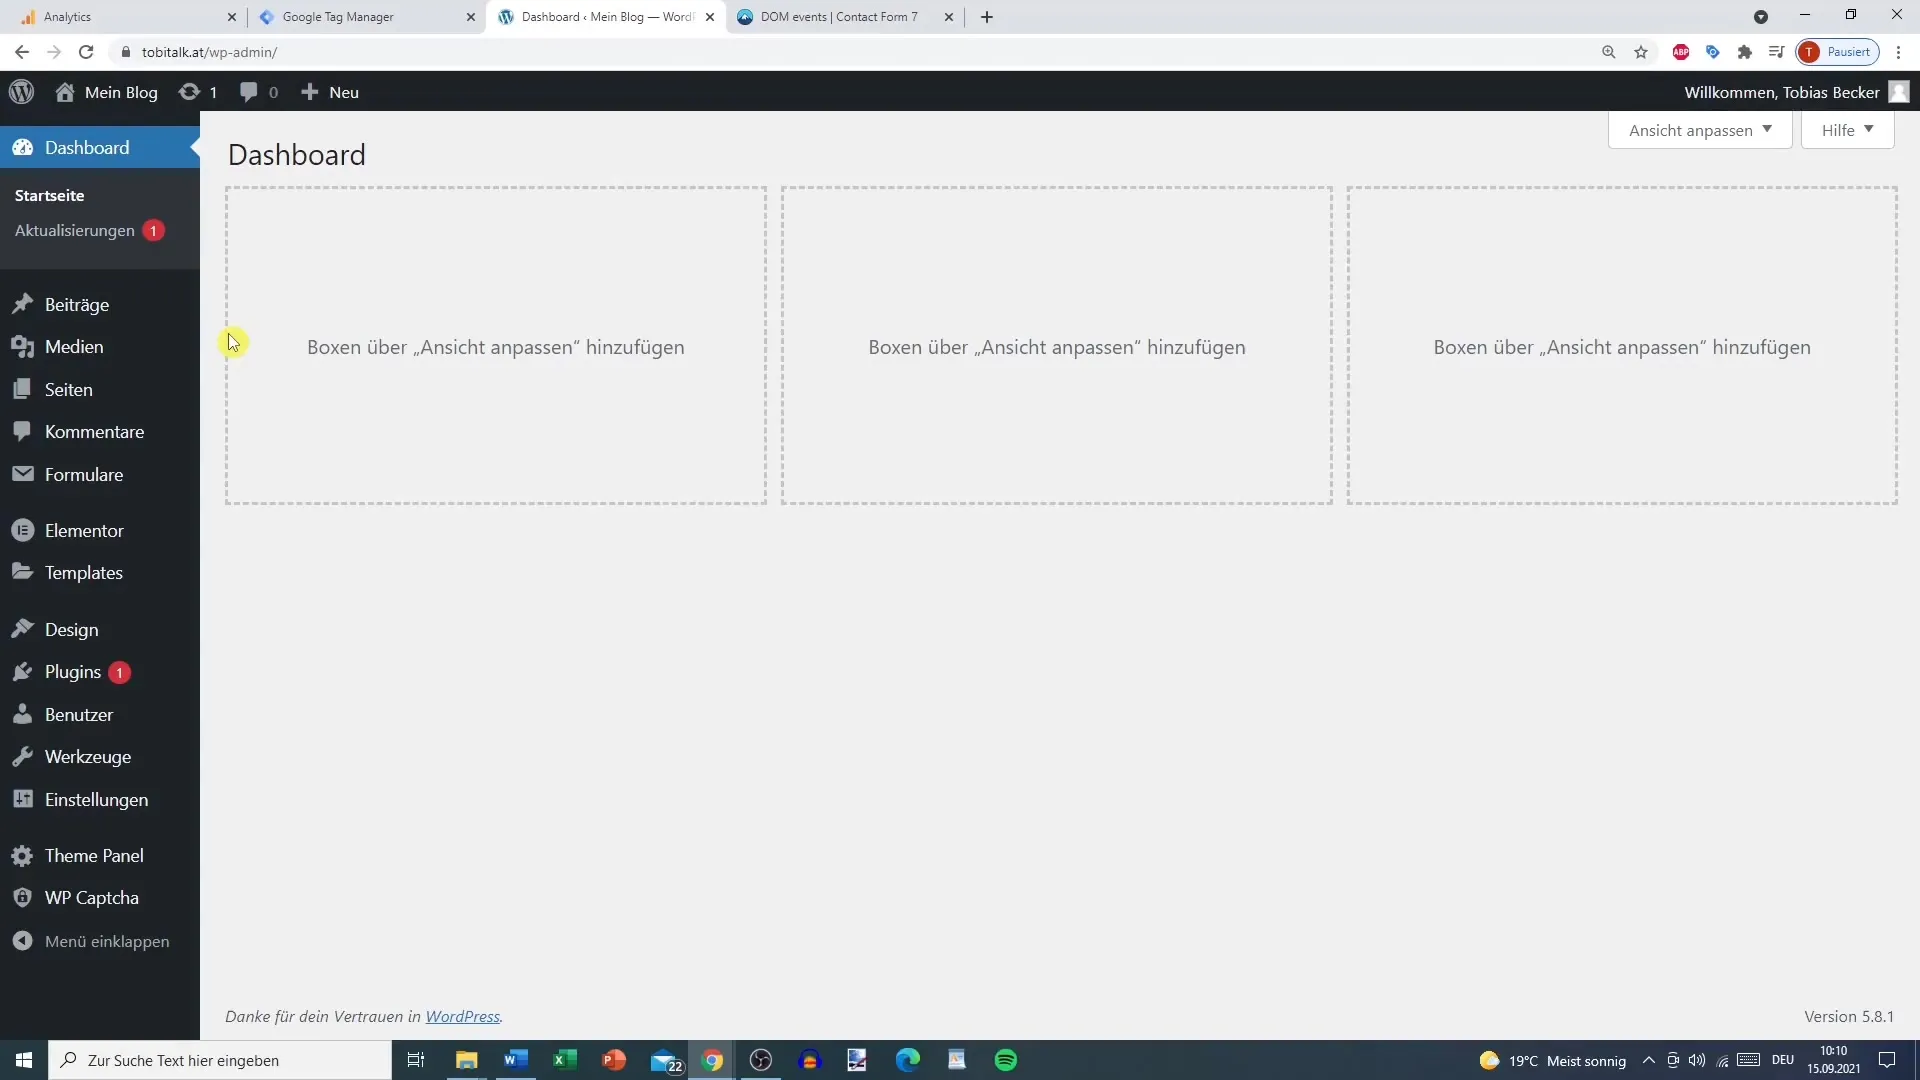
First, you must ensure that you have installed the "Contact Form 7" plugin and set up your contact form. Once you have done this, navigate to the backend of your WordPress website.
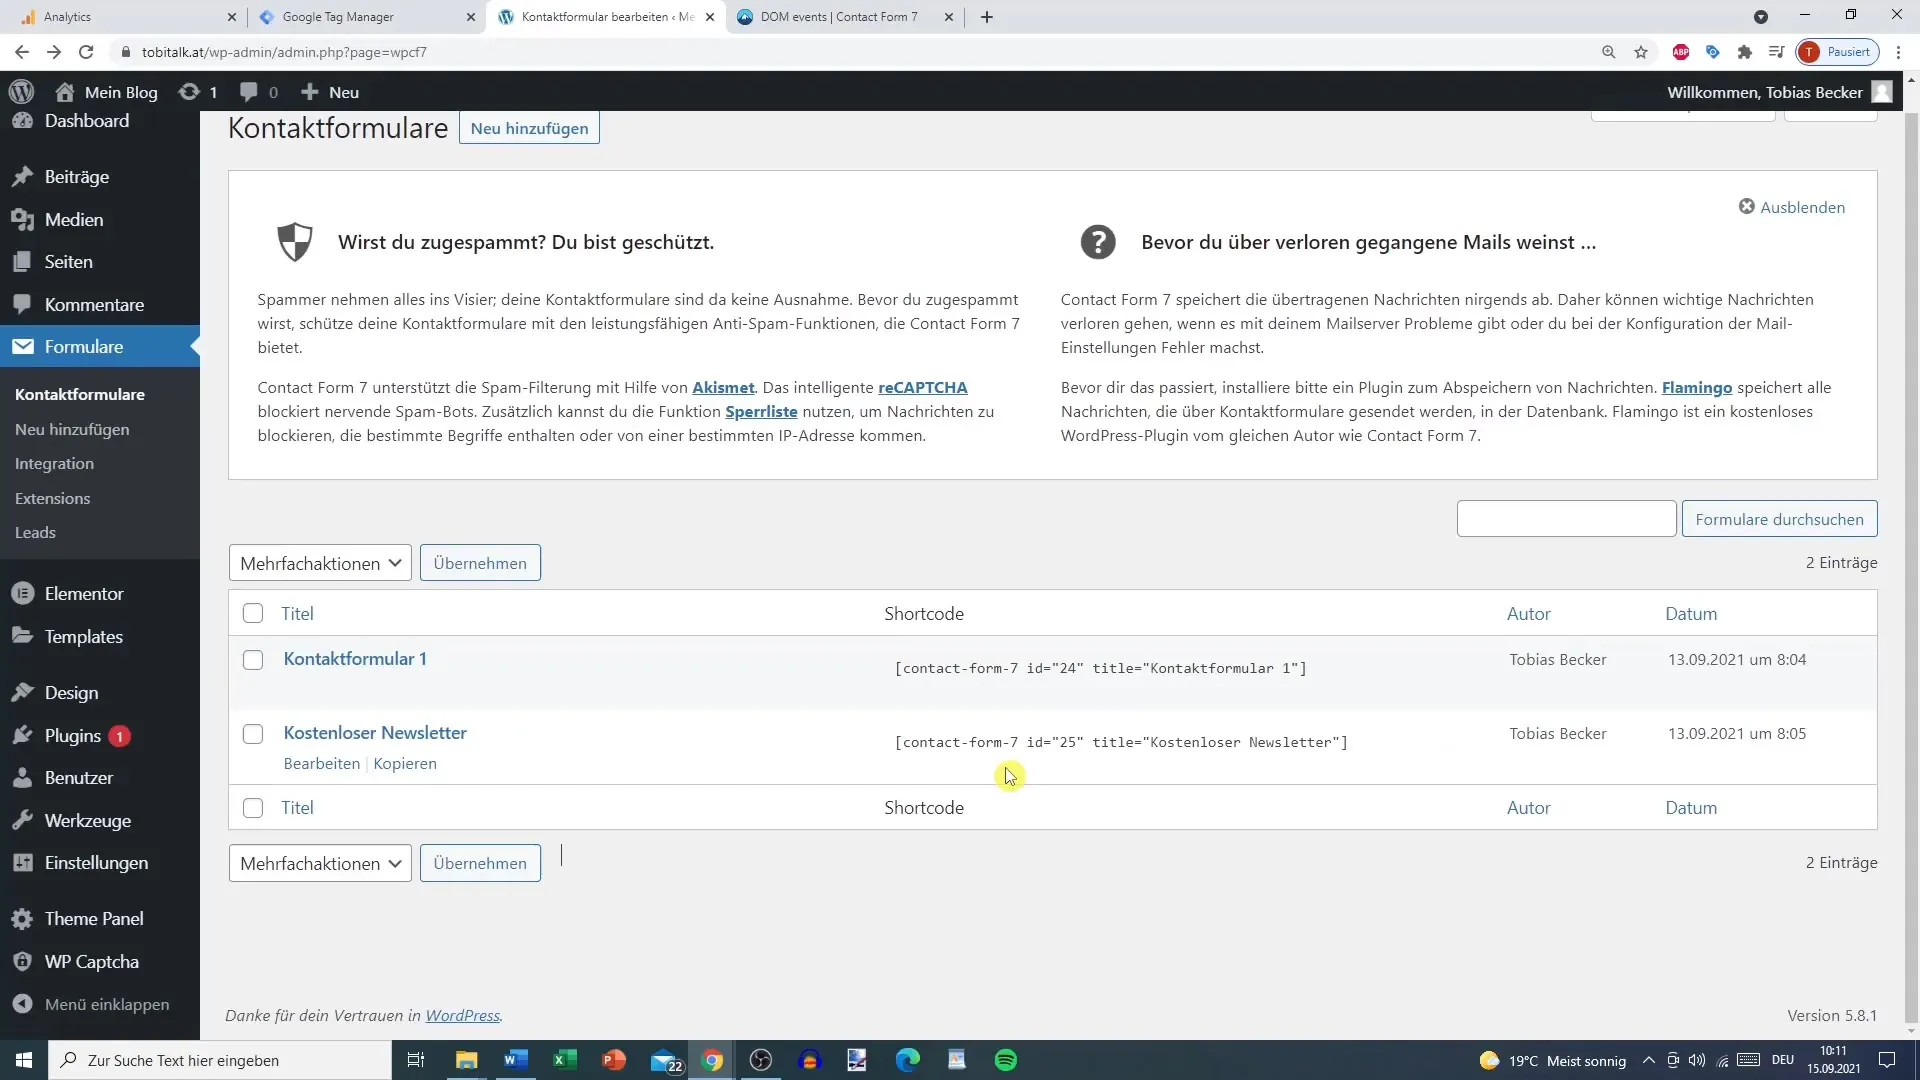
Next, go to the page of your contact form. Here you can read the shortcode of your form, which we will need shortly. Have the shortcode ready.
Now open the Google Tag Manager and prepare the tracking. You can create a new tag and make sure to remove all unnecessary tags beforehand. Click on "New" and choose "Tag Configuration" for this purpose.
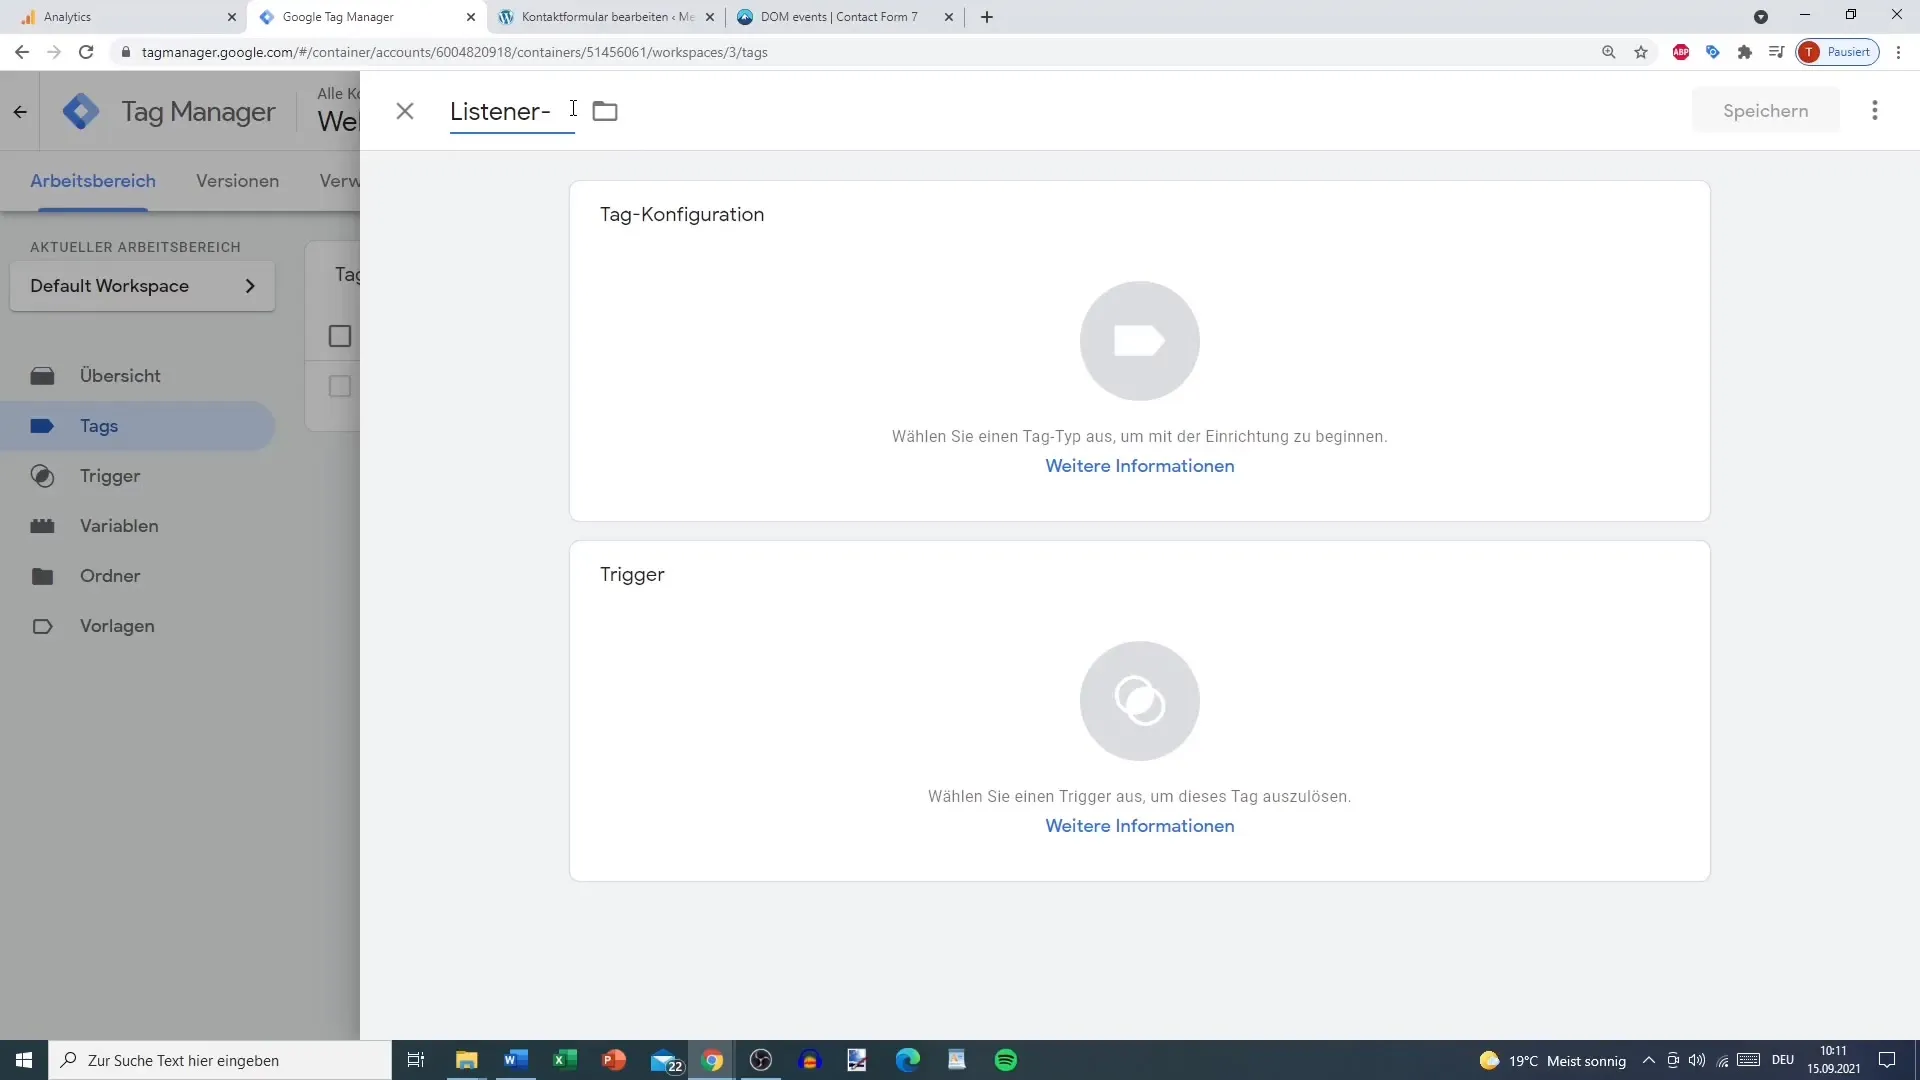
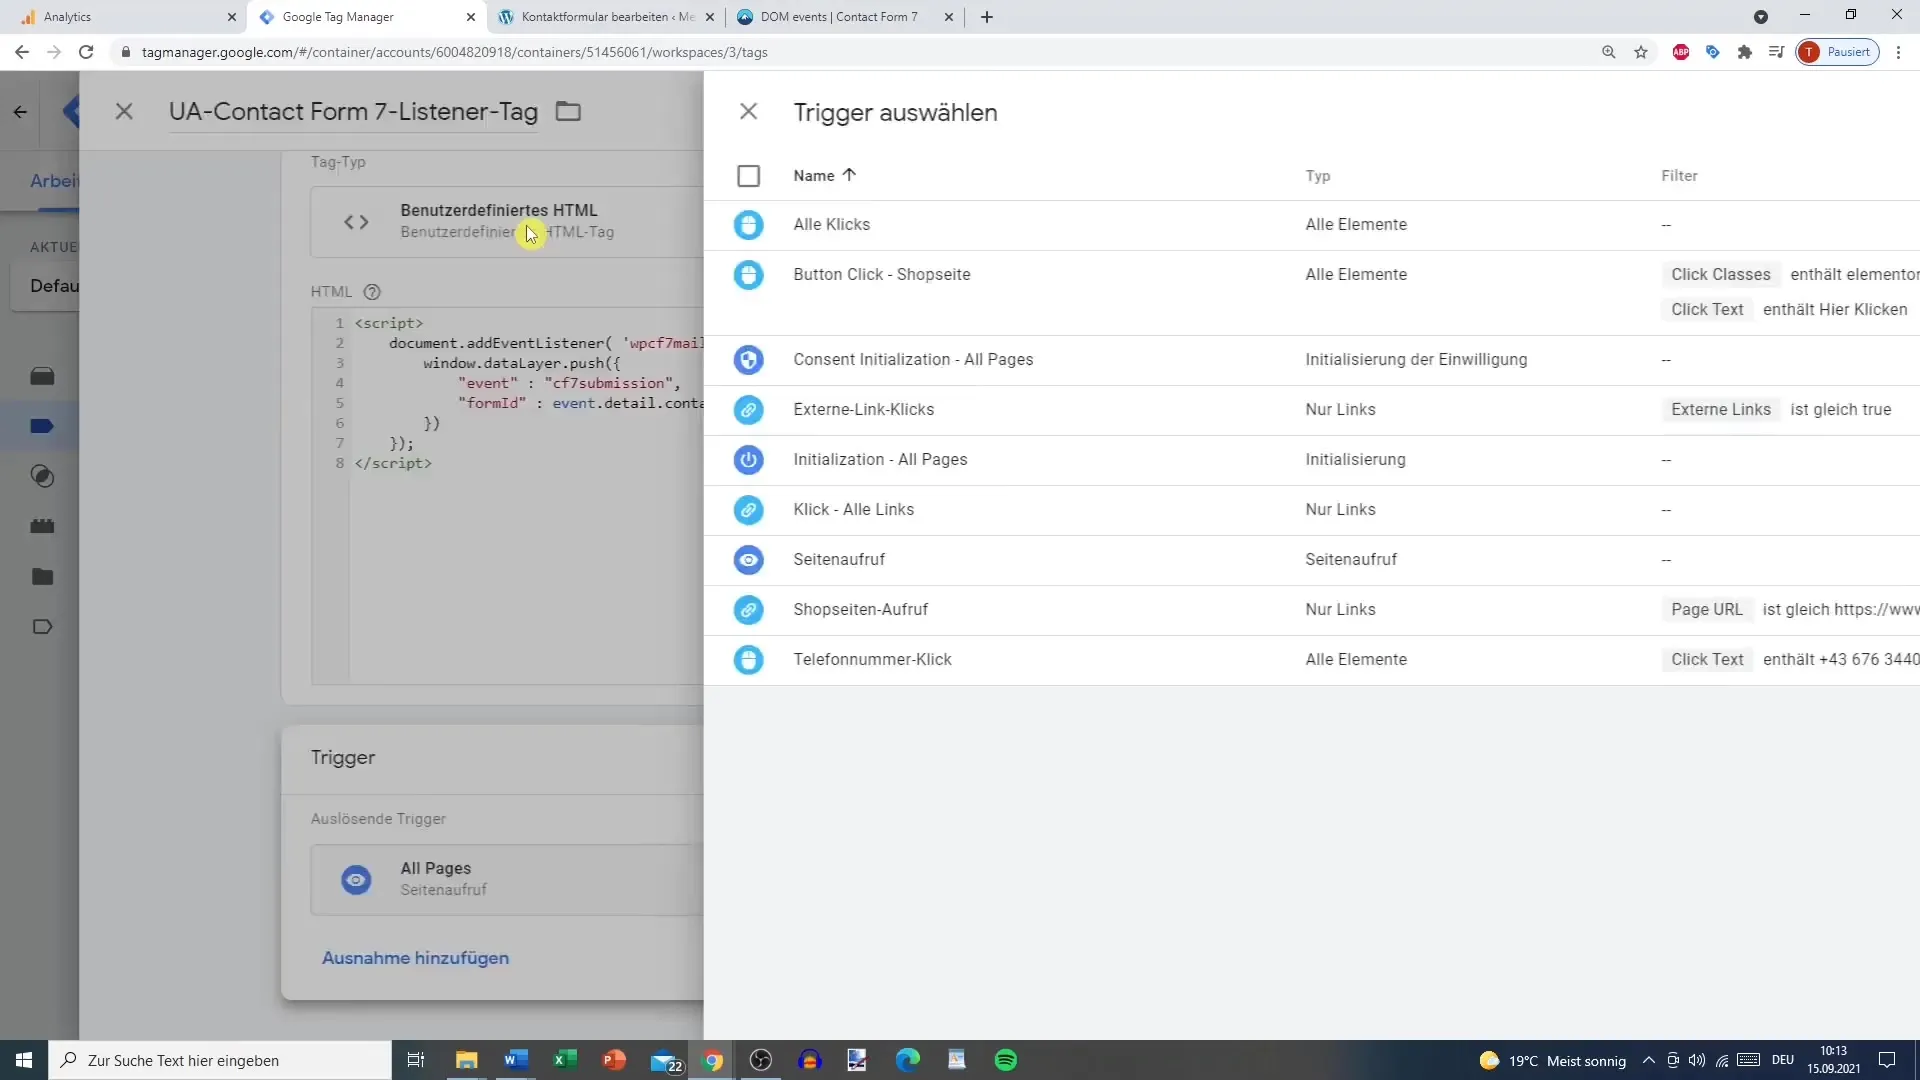
Now create a listener tag that tracks if a contact form is present on your site. Choose the option "Custom HTML" for this and insert the code prepared in advance. The code you need displays events like "submit," "fail," and "send."
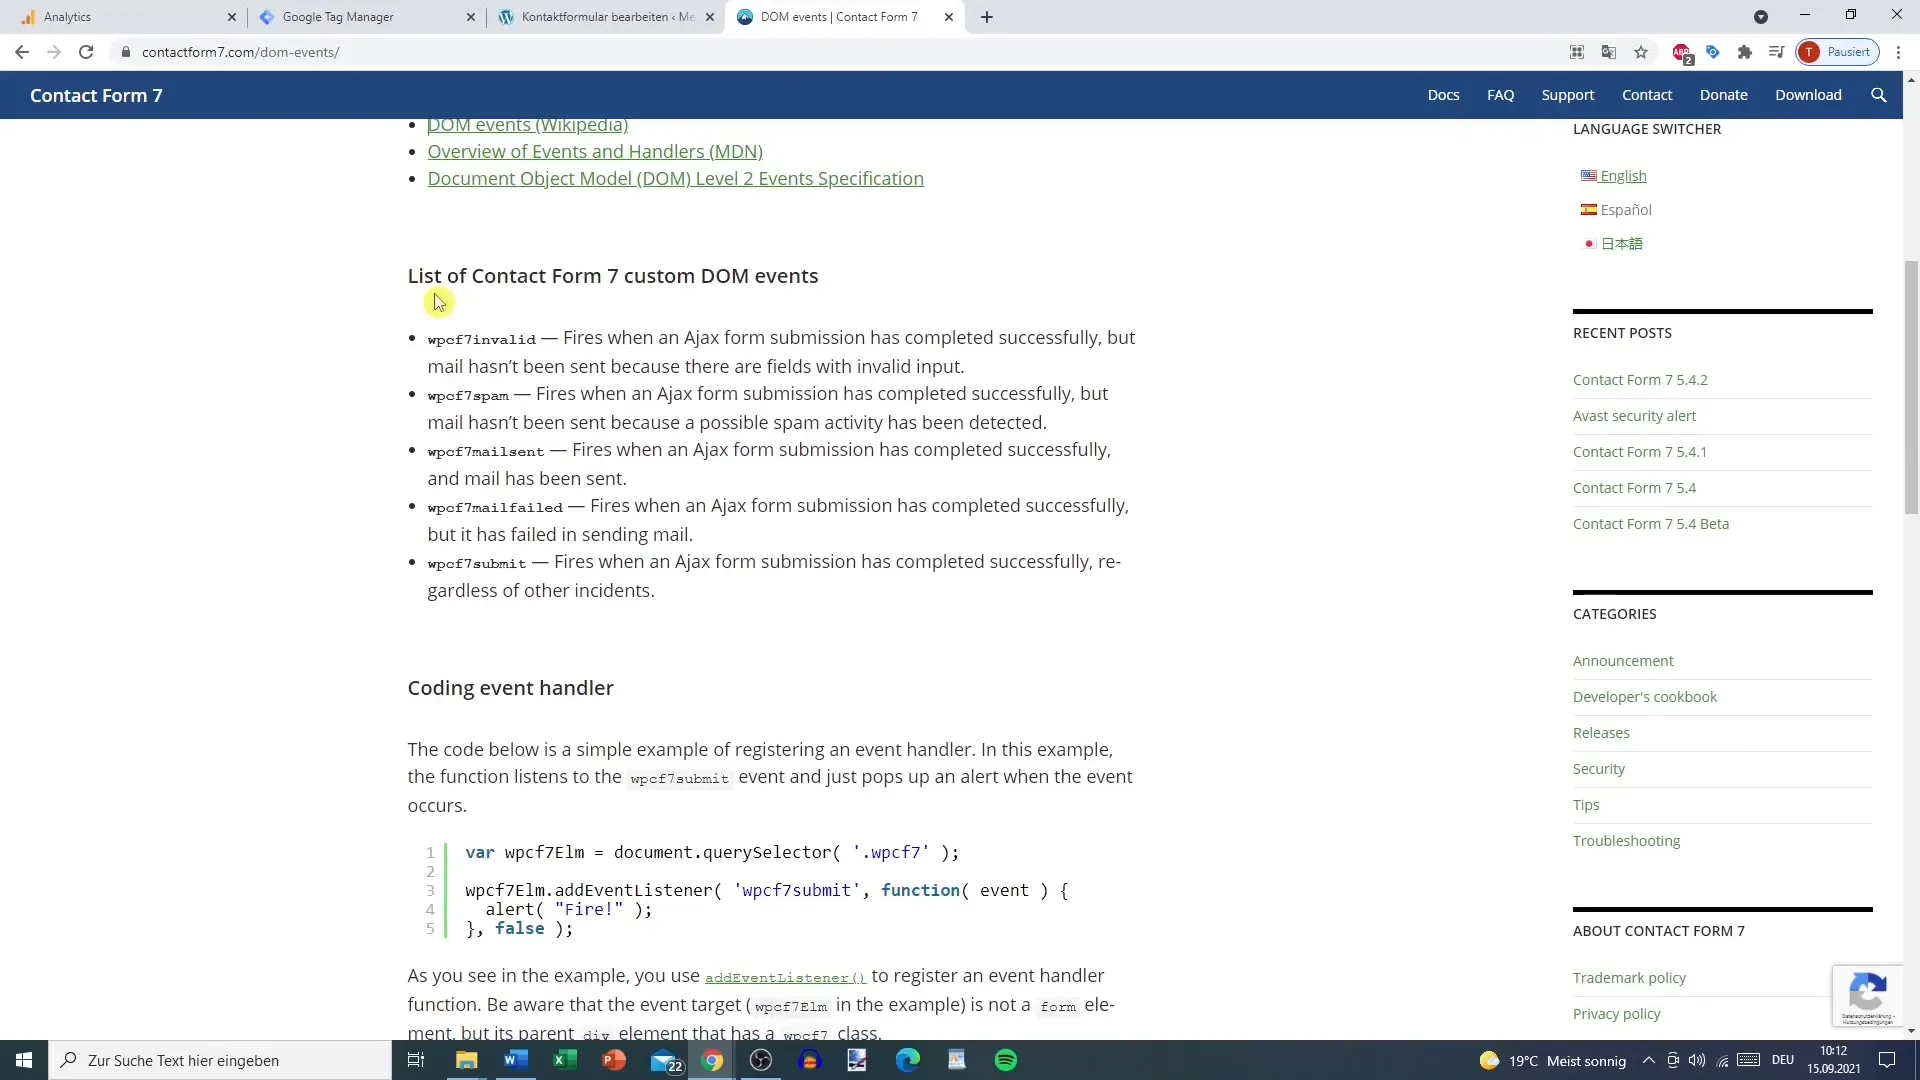
Ensure to pay attention to the formatting when copying the code. Once you have pasted the code, save the tag. To ensure that this tag works on every page, select "All Pages" as the trigger.
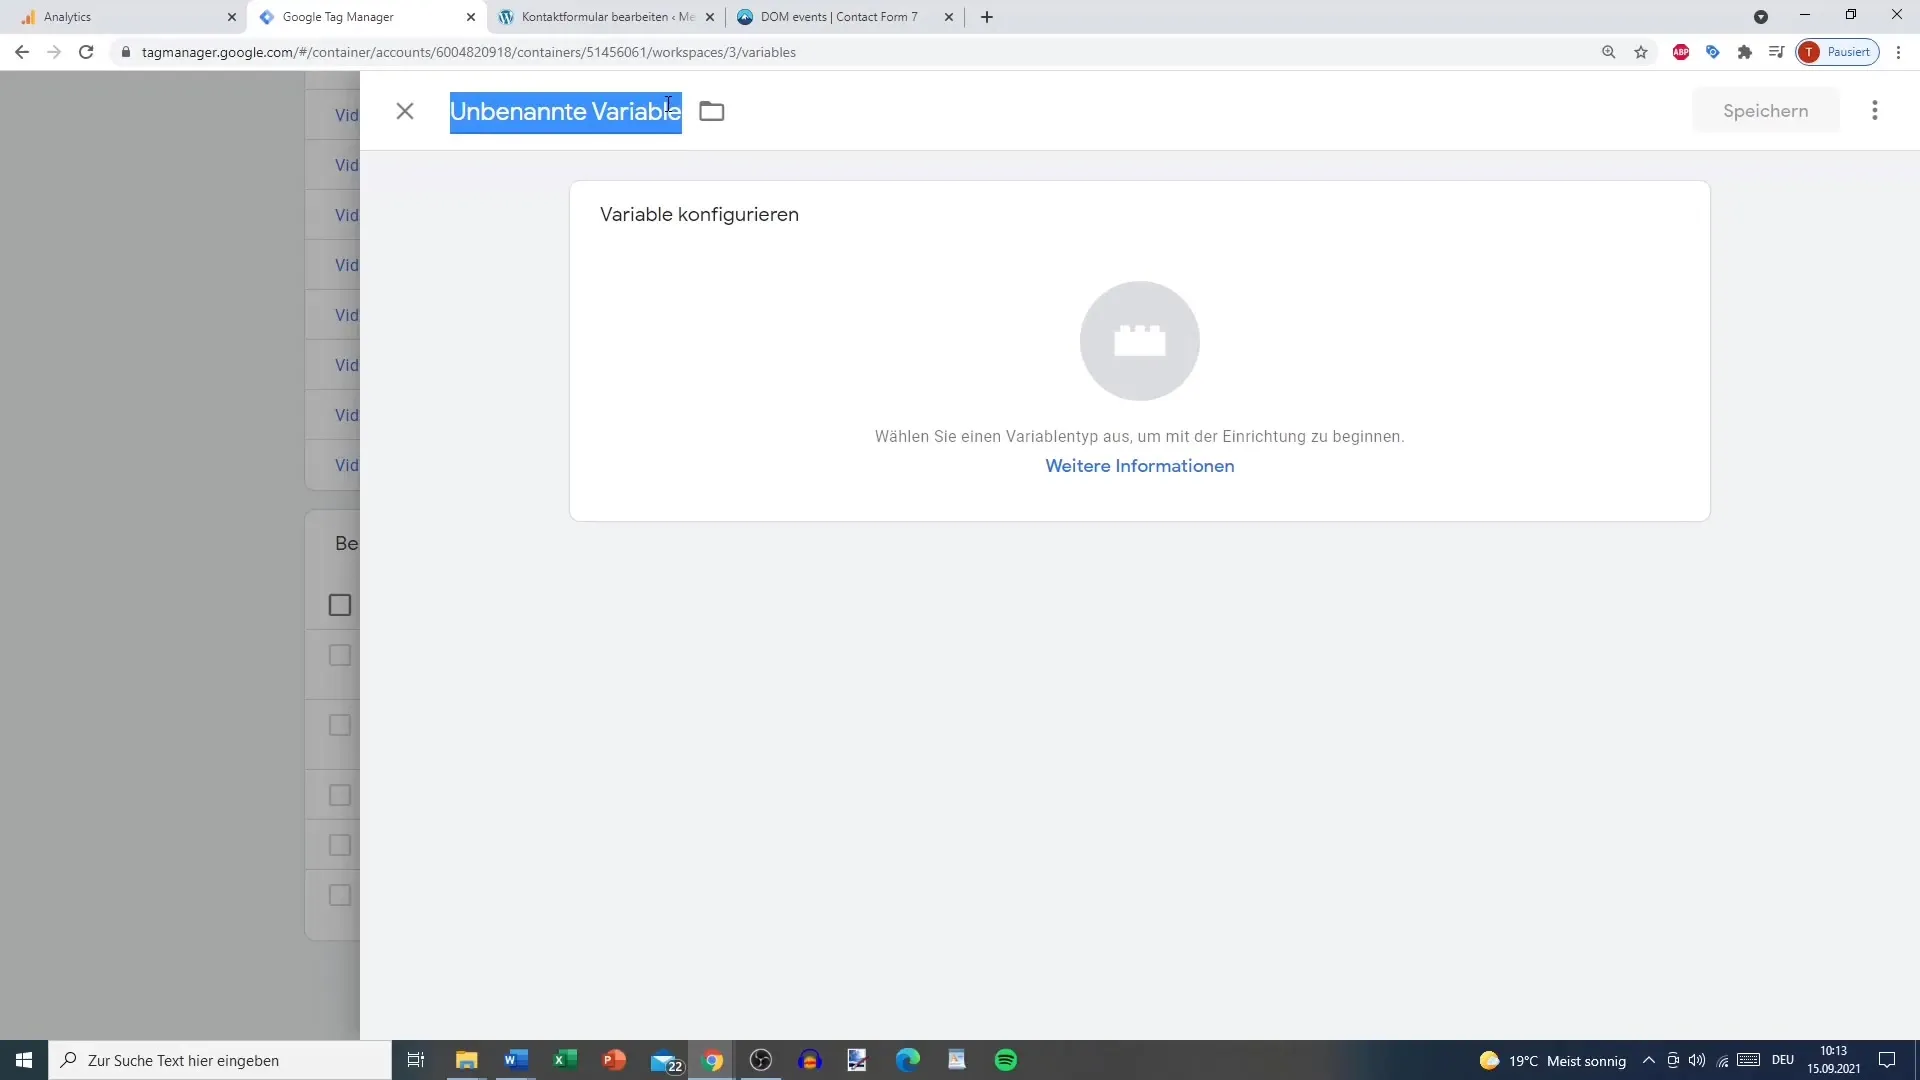
Now it's time to create a Custom Variable. Name this variable something like "Contact Form 7 Form ID." This variable is important as we will need it later.
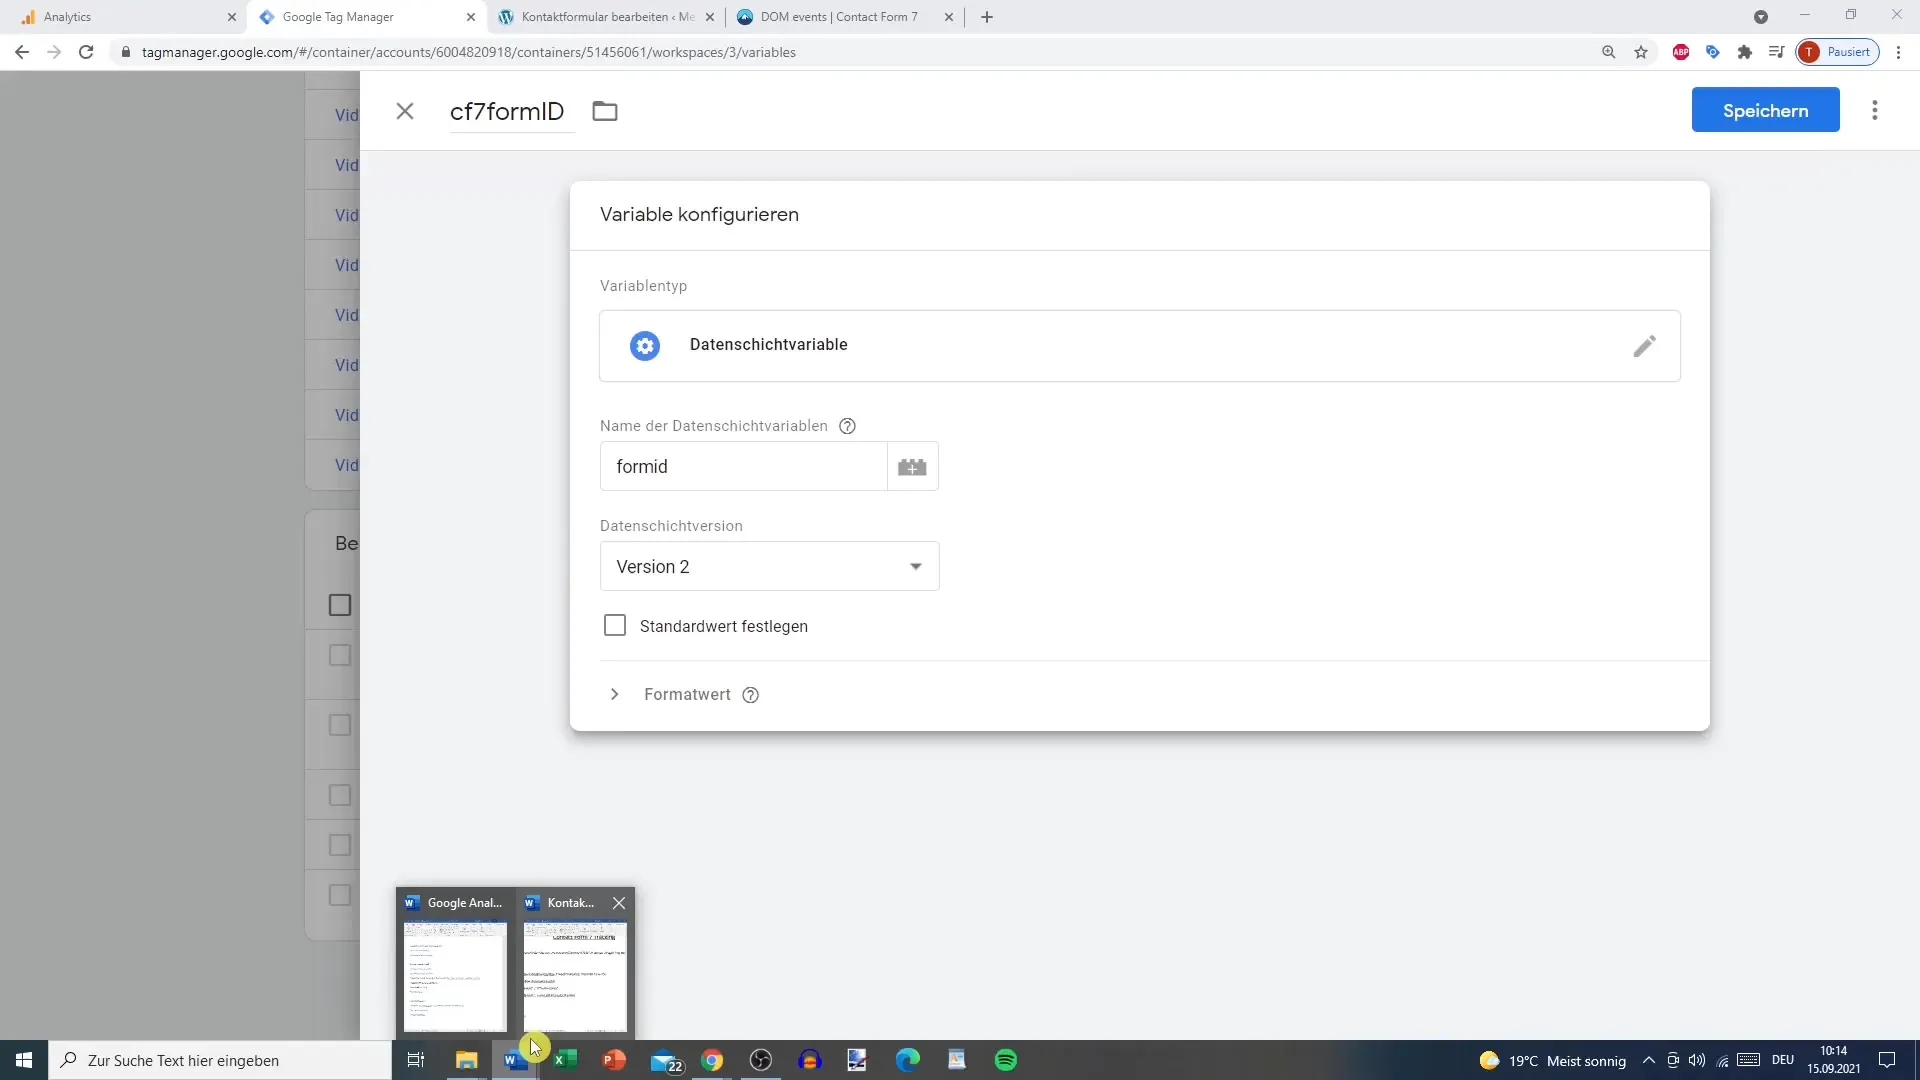
Configure the variable and choose the option for page variables. Name it "Form ID." This will help you better organize your data. Insert the specific code for the Form ID.
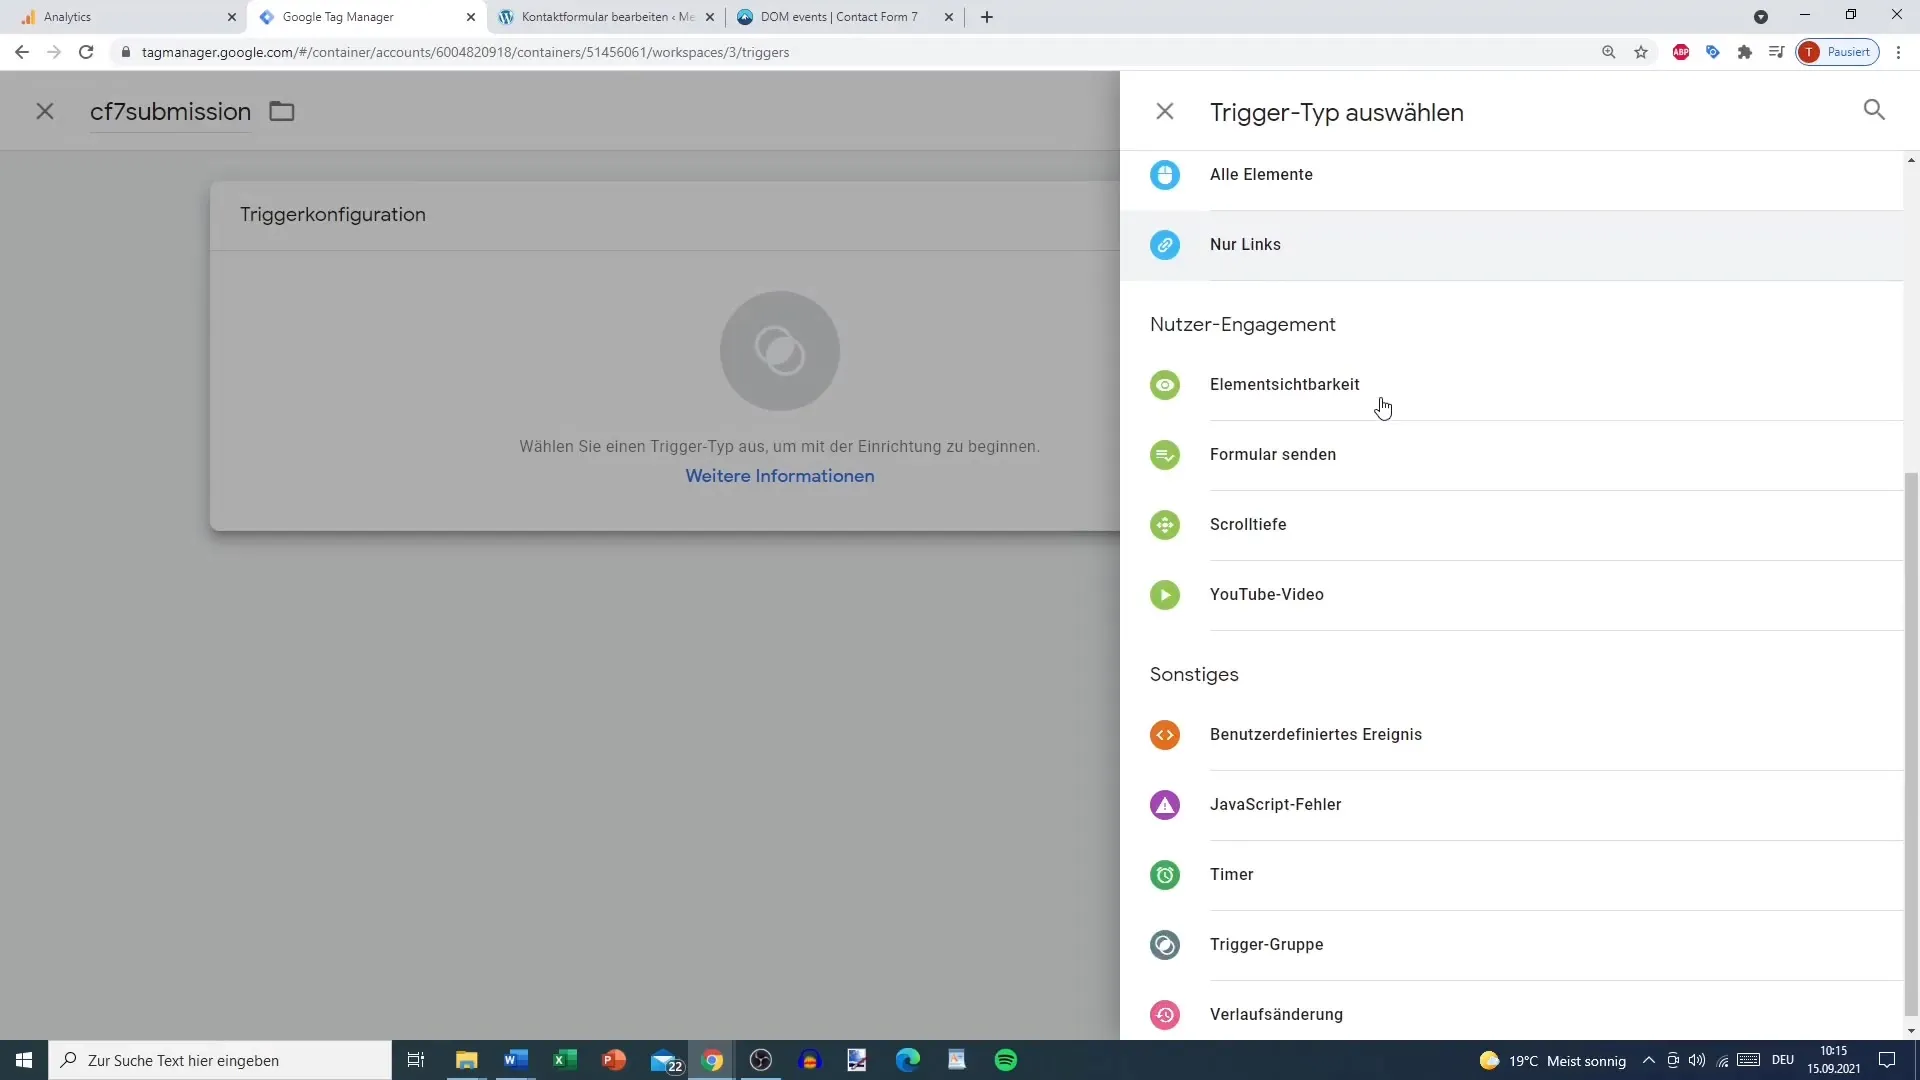
Next comes creating a trigger for submissions. Name this trigger something like "Contact Form 7 Submission." This is a custom event.
To create the event name, copy the specific name "contact form 7 submission" into the trigger field. Ensure that the variable you created for the Form ID is selected and define that the trigger should only be activated if the ID contains specific numbers only.
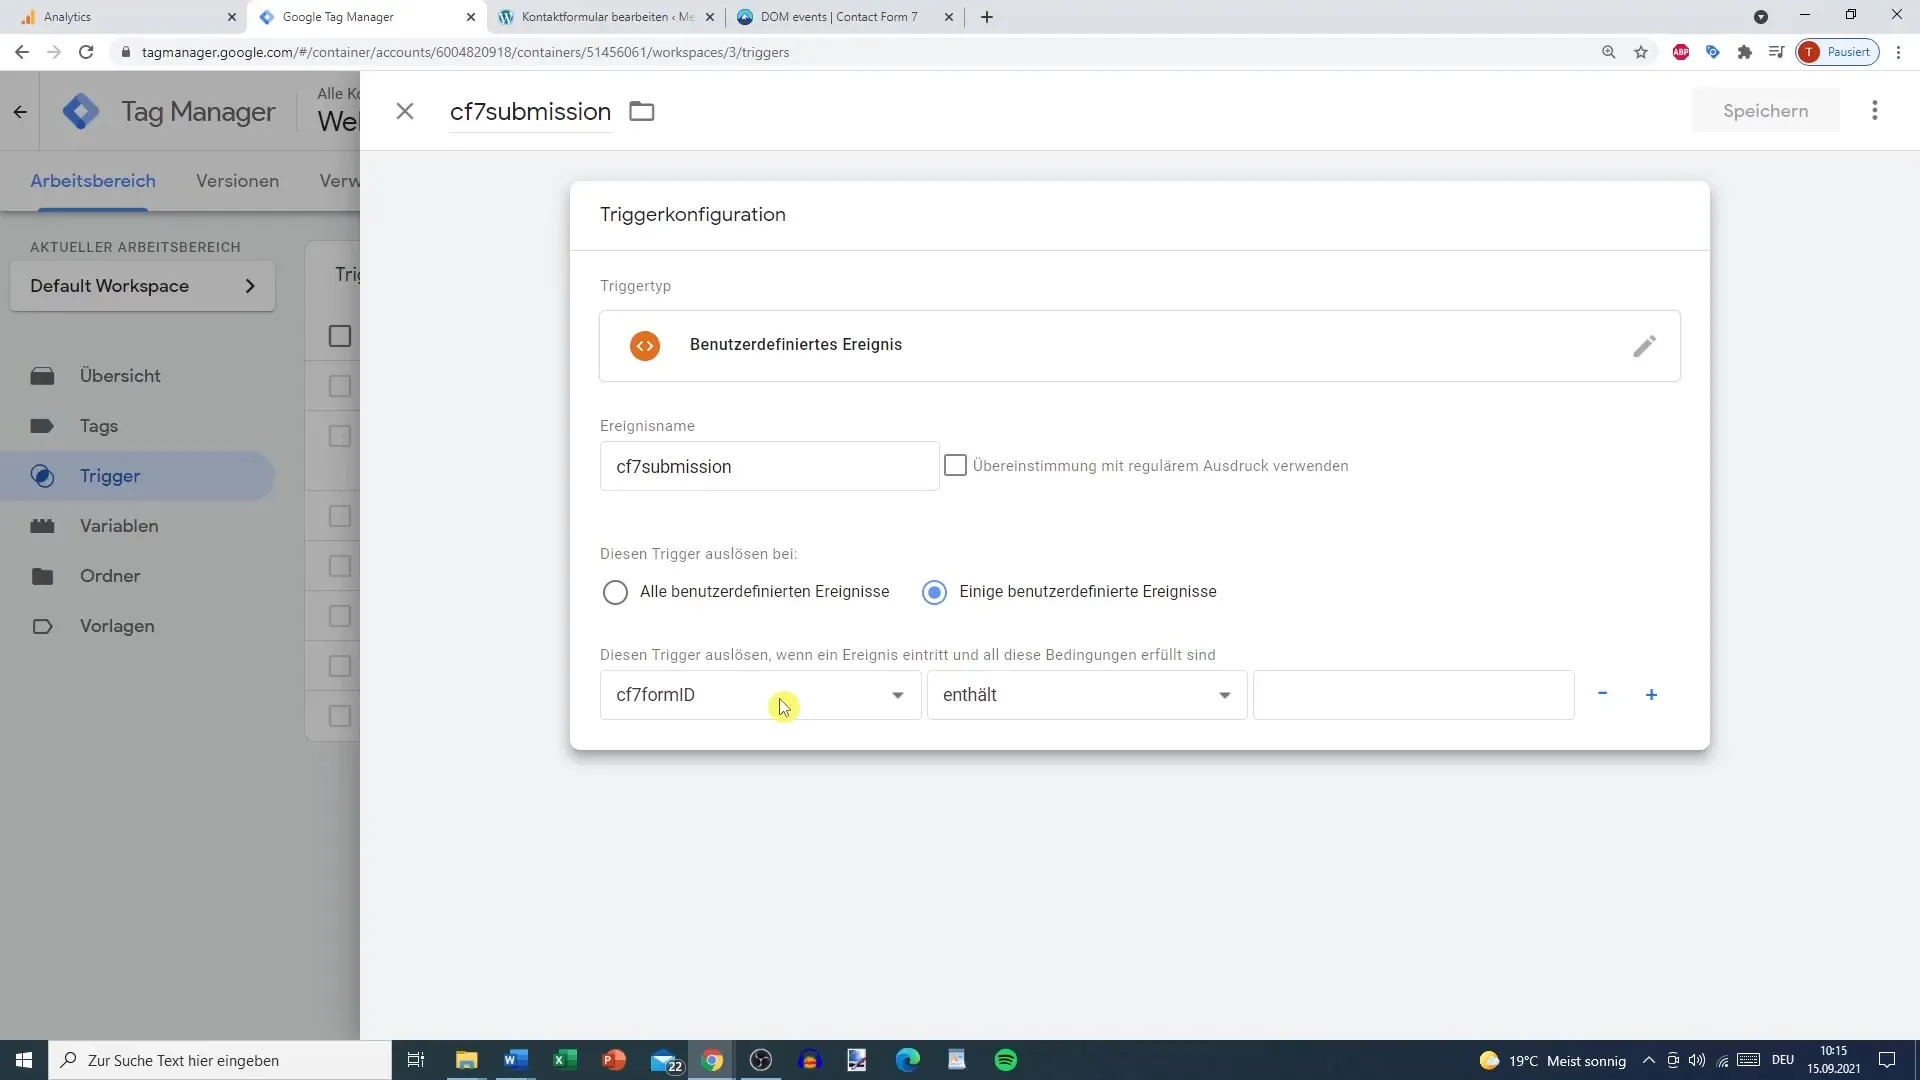
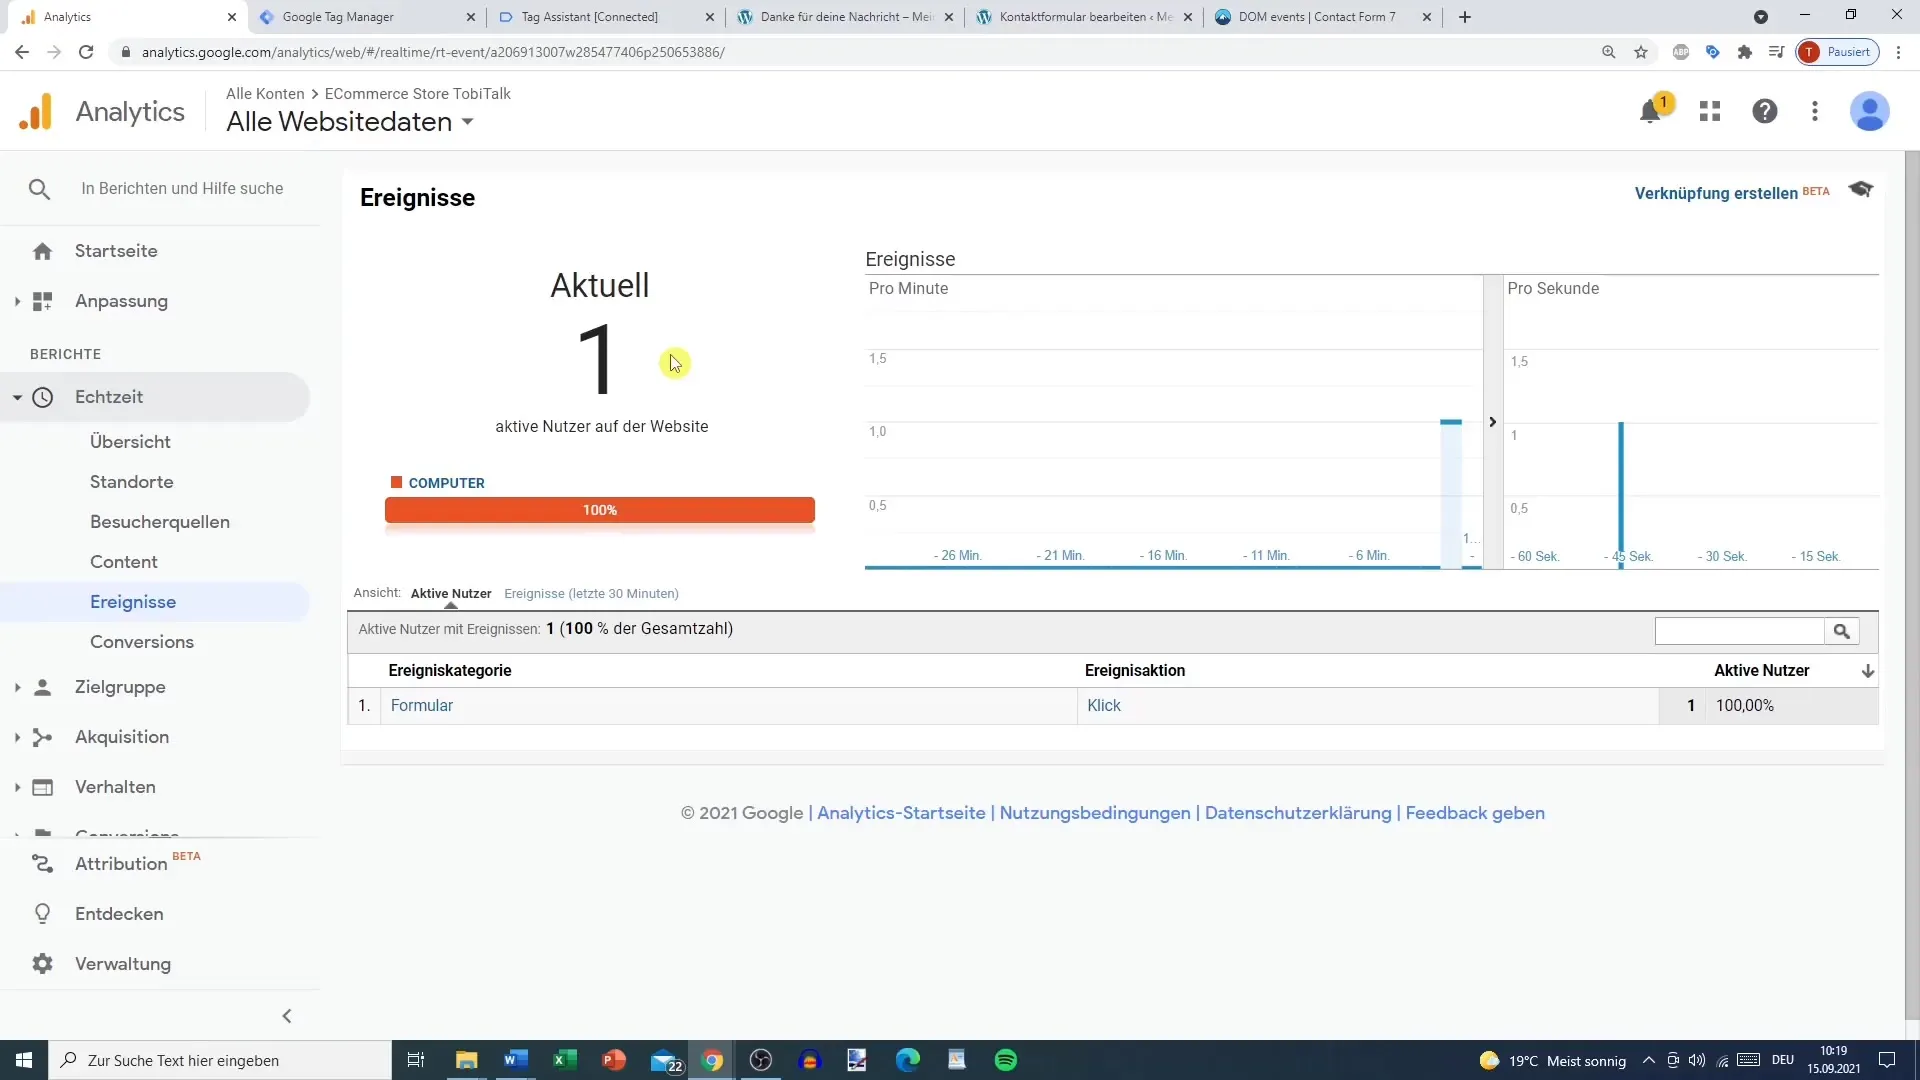
Now you need to create a tag for the events. Choose "Universal Analytics" and set up this tag for events. Assign the category "Form," action "Click," and for the label "Success." Connect this tag with Google Analytics and choose the trigger you created for the Form Submission.
Once everything is configured, save your tag. You can now check if everything is working using the preview feature. When you open the preview view and go to your contact form, you will see that the tracking is active.
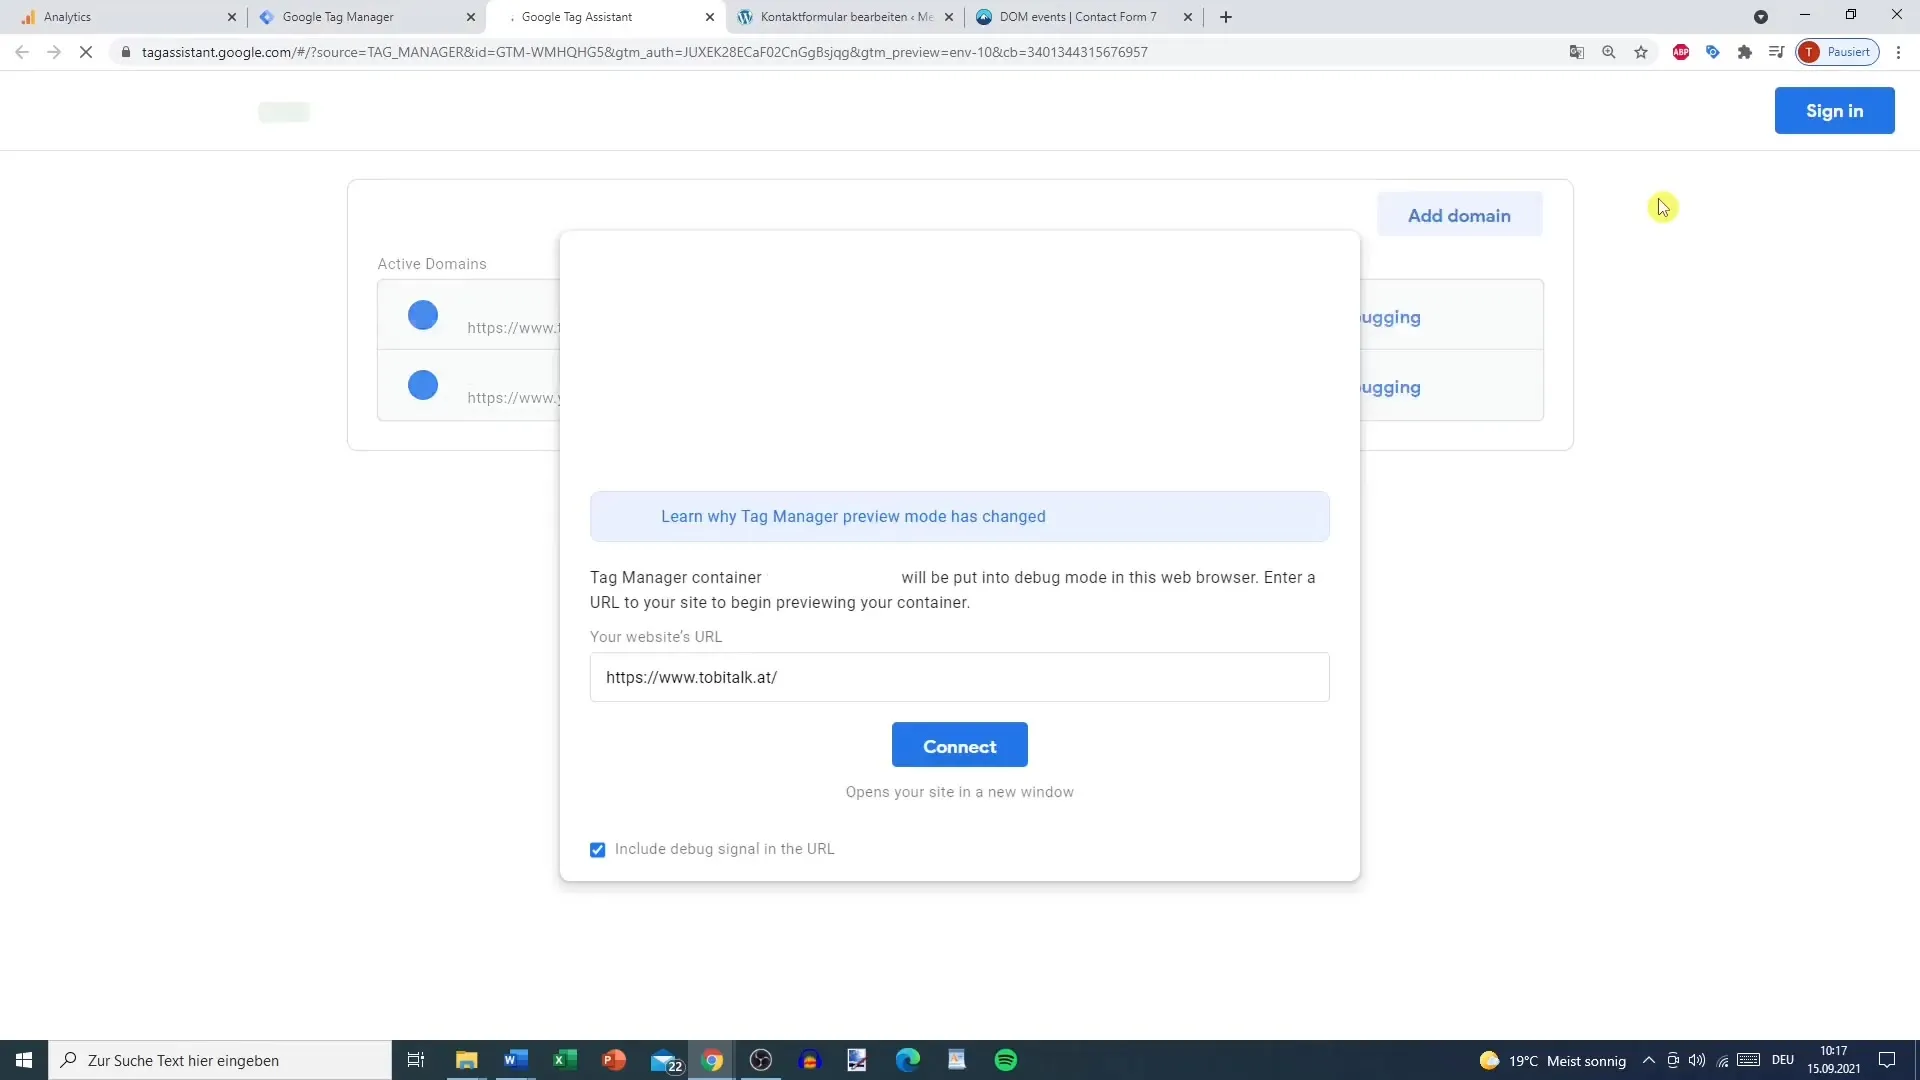
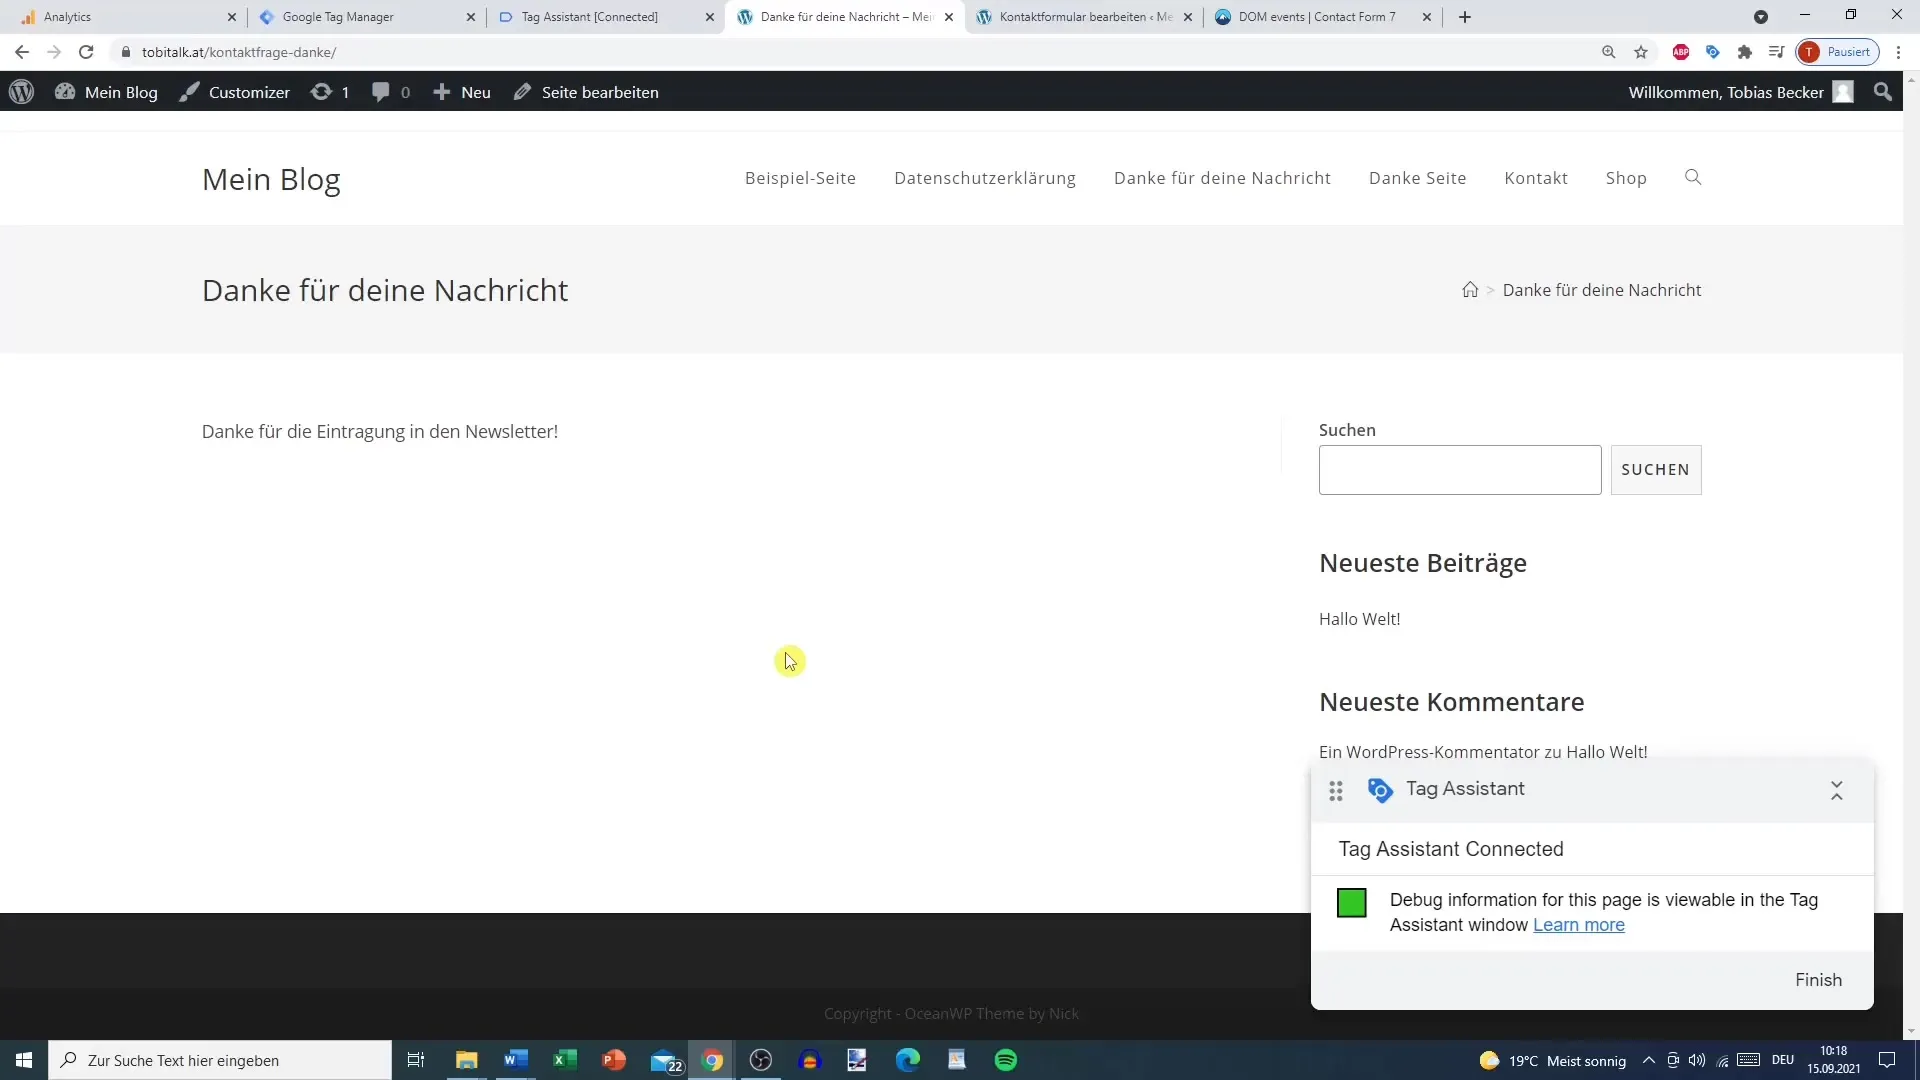
Now, perform a test by filling out and submitting the contact form. You should see a confirmation that the message has been sent. At the same time, your tag should appear in Google Analytics under real-time reports.
When you check the real-time report in Google Analytics, you will see that your event has been successfully captured as "submission." This way, you now have effective tracking for your contact form.
Summary
The detailed steps will show you how to set up tracking for your contact form using Google Tag Manager and Google Analytics. It is important to carefully carry out this setup in order to collect valuable data that will help you better understand the interactions on your website.
Frequently Asked Questions
How can I verify if the tracking is working?You can use the preview feature in Google Tag Manager and then check the real-time report in Google Analytics to see if your tag has been fired.
What should I do if I am using a different contact form plugin?The principles remain the same, but the code implementation may vary. Make sure to use the specific events and IDs of your plugin.
How long does it take to see the data in Google Analytics?Generally, the event should be visible immediately in the real-time report after it has been triggered.
What benefits does tracking contact forms offer me?It helps you analyze user interaction and identify potential improvements for your website.


