An animated glitter text gives your designs a glamorous and dynamic look - perfect for social media posts, invitations, or digital artworks. With Photoshop, you can easily create this effect by combining layer styles, glitter effects, and timeline animation. In this tutorial, I will show you step by step how to create a sparkling glitter text and make it shine through animation. Let's get started and put your text in motion!
1. New Document
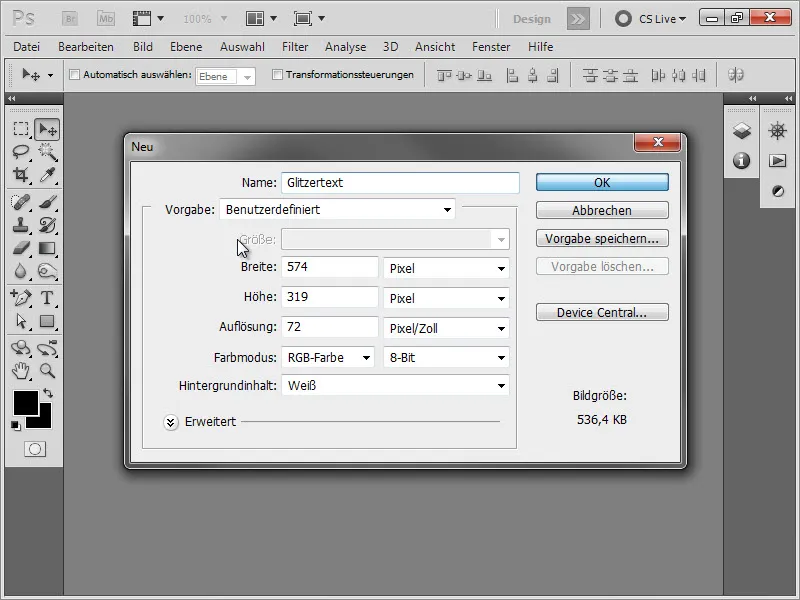
We start by creating a new document with the dimensions 574 px x 319 px.
Then we use the Gradient Tool to fill the background with colors #29108c to #152869.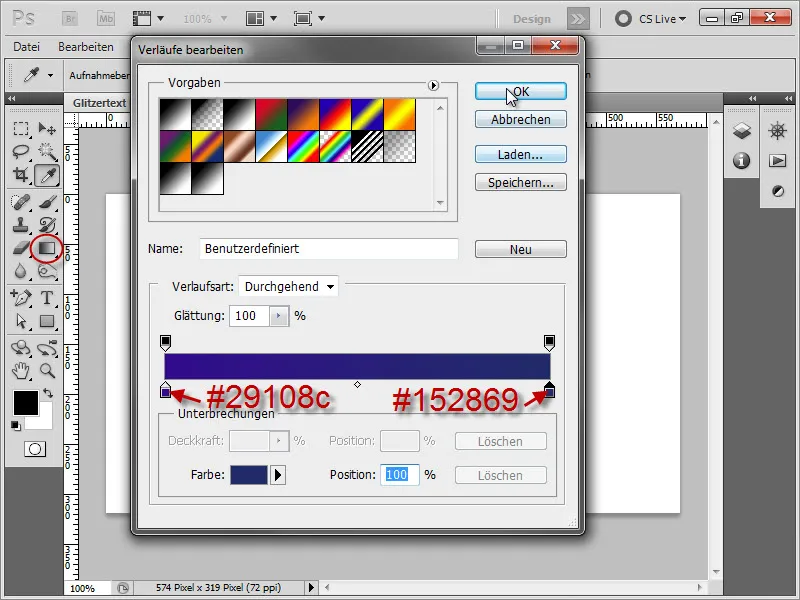
We drag the gradient from the top left to the bottom right.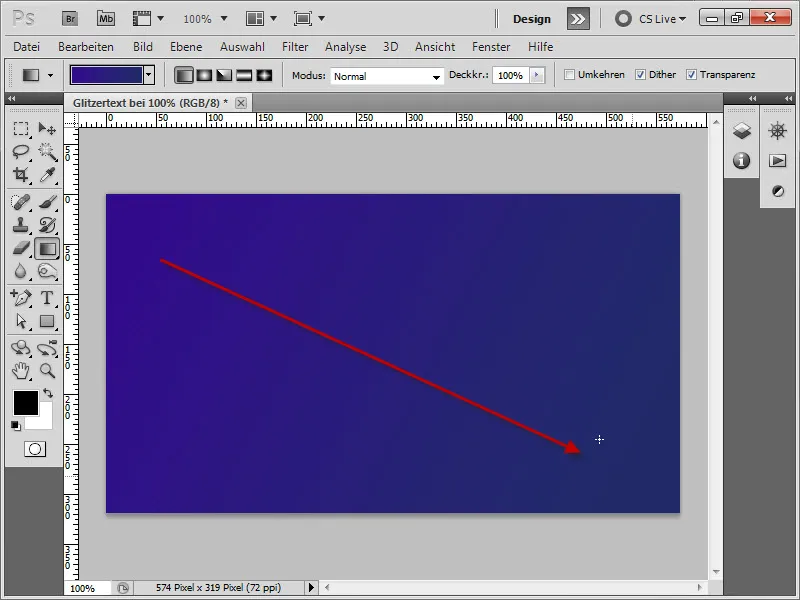
2. Create Text and Add Glitter Effect
We select a font and write the text. Here I used "Franklin Gothic Heavy" in 235 px size and color #8e5ade.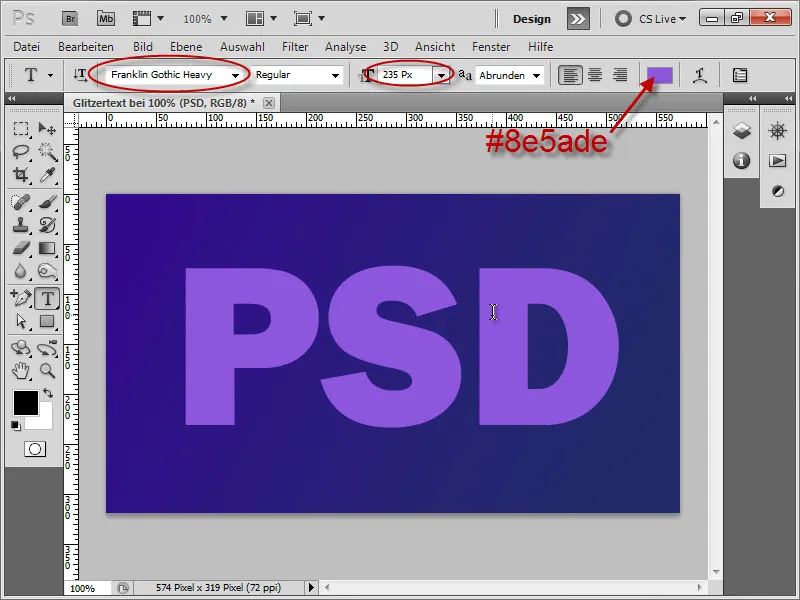
We duplicate the layers by pressing Ctrl+J 2 times. Now we have 3 identical layers.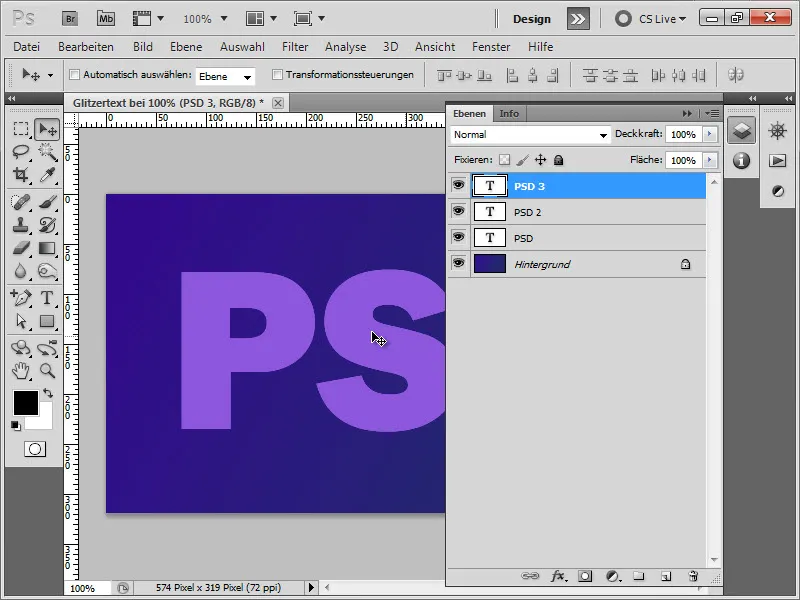
For the first glitter effect, we add noise to the first layer under Filter > Noise > Add Noise and choose a value of 20%. When asked if we want to rasterize the layer, we confirm with OK.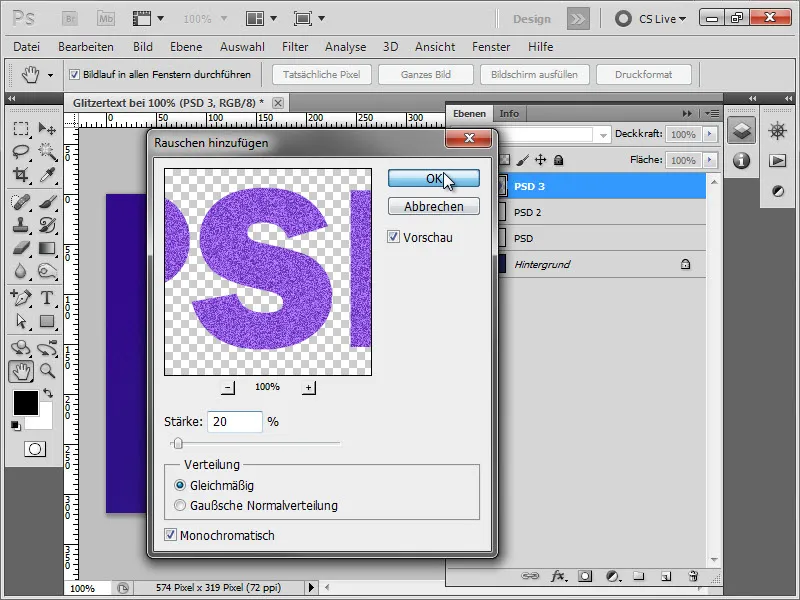
We do the same for the second layer, but with a strength of 21%.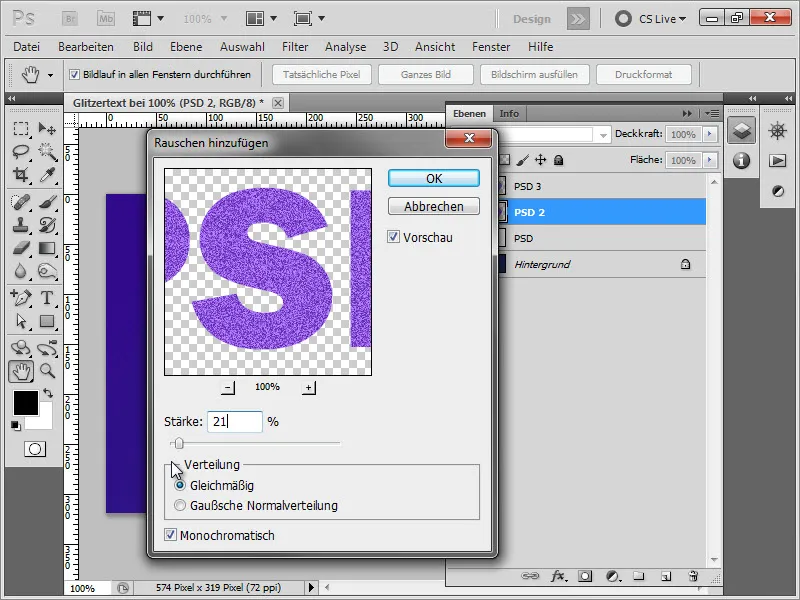
And once more for the third layer with a value of 22%. Now we have a different noise behavior for each of the three layers.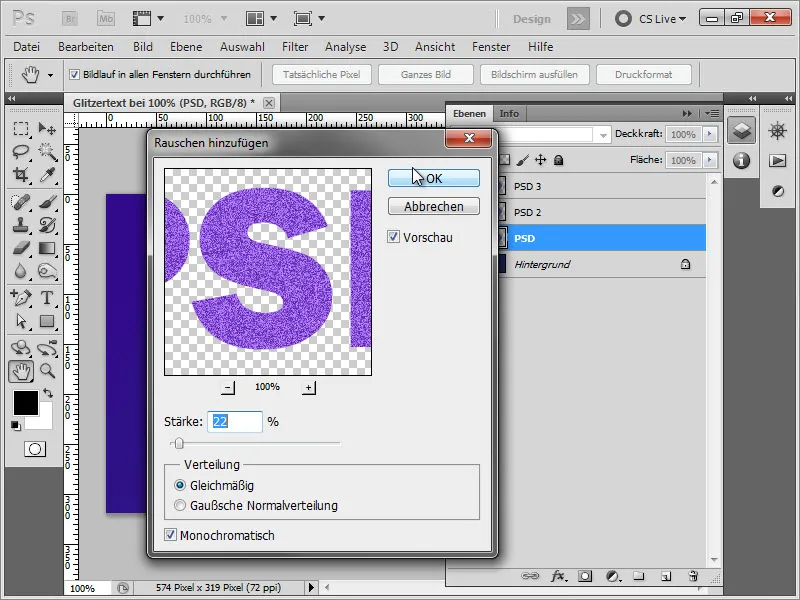
3. Create Sparkles
Next, we create an empty layer above each text layer to place different star patterns on them.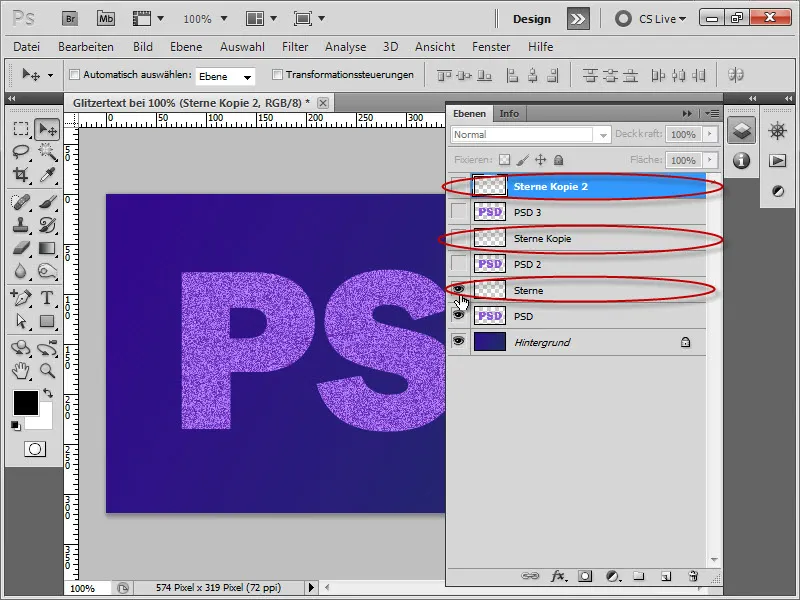
You can also find star brushes on PSD-Tutorials.de, and using your selected star brush, you create many stars on the bottom layer. Also, vary the brush size slightly to place the stars in a nice random pattern.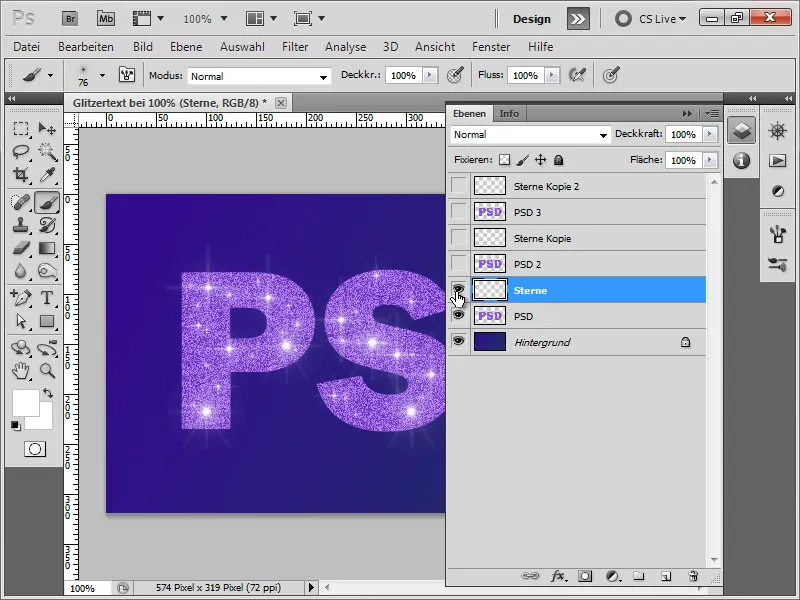
Repeat this process for the remaining two star layers to achieve a different star pattern.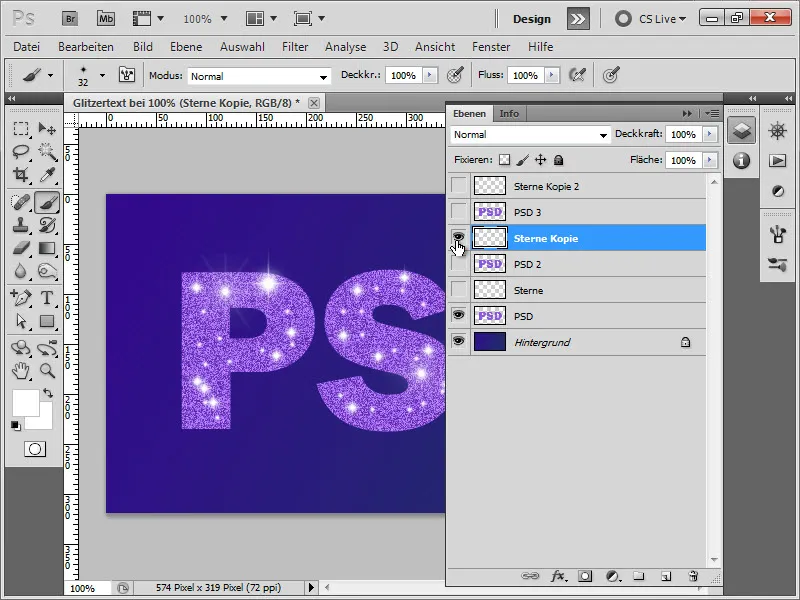
4. Animate Glitter
Now comes the exciting part, we will animate our created glitter. To do this, we go to Window > Animation...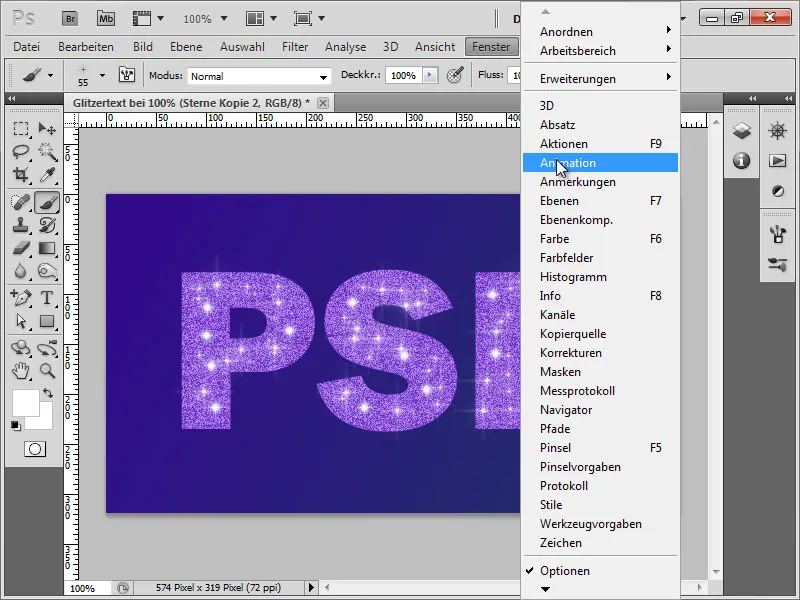
Then in the appearing window, we click on the bottom right icon for the Frame Animation...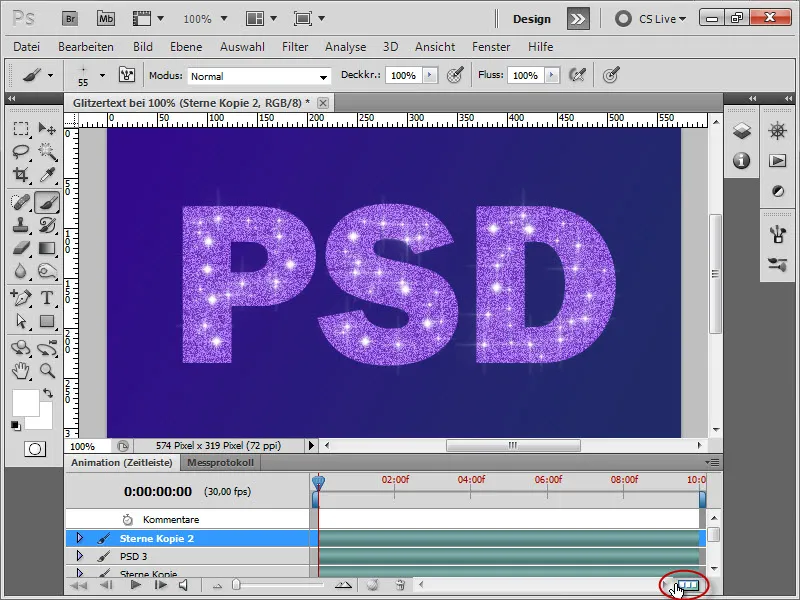
After that, we click twice on the small page-tear icon at the bottom to create two additional frames.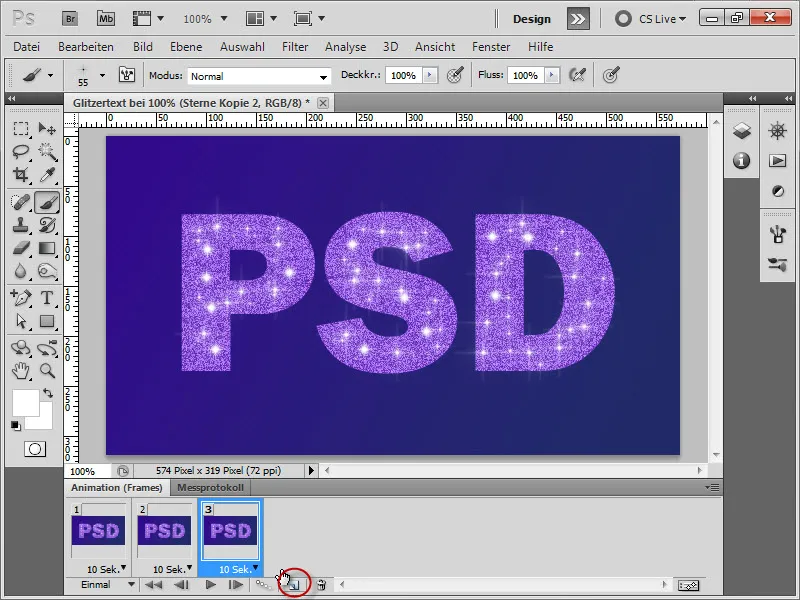
We then select the first frame and display the first text layer accordingly with its corresponding star layer.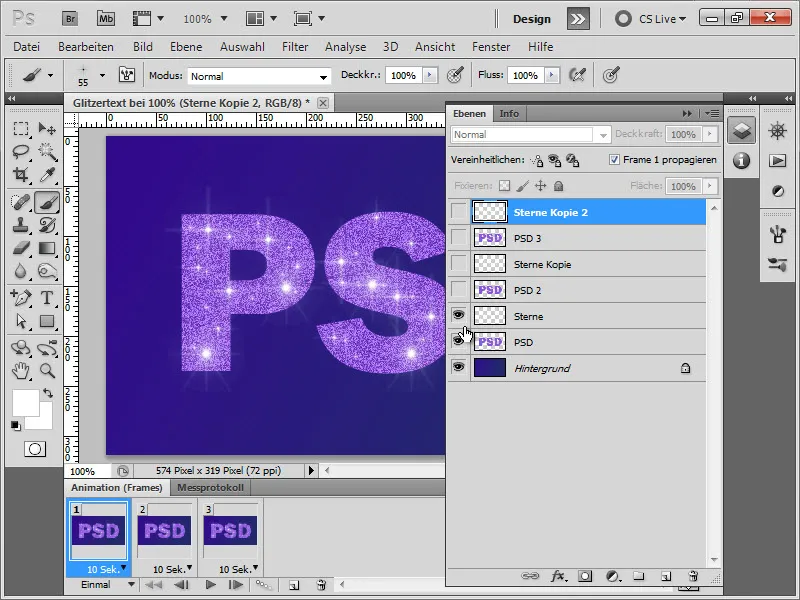
Then, we click on the second frame and display the second pair of text and star layers...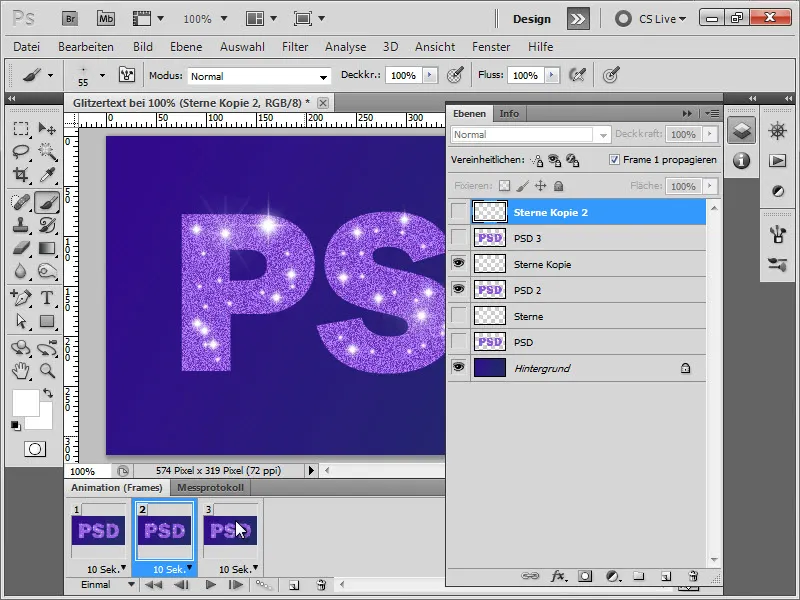
And on the third frame, we display the last two layers.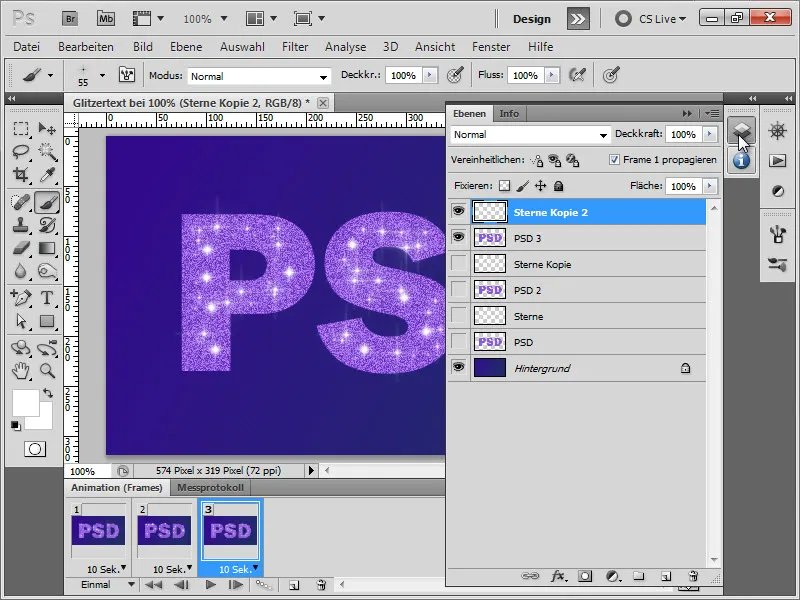
After that, holding down the Shift key, we select all three frames at once...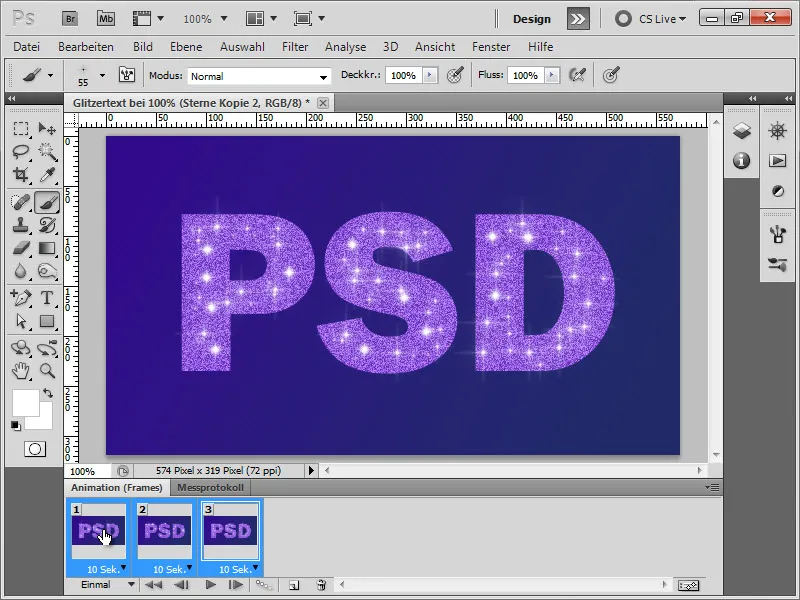
...next to the seconds count, click on the small triangle and set a playback duration of 0.2 seconds per frame.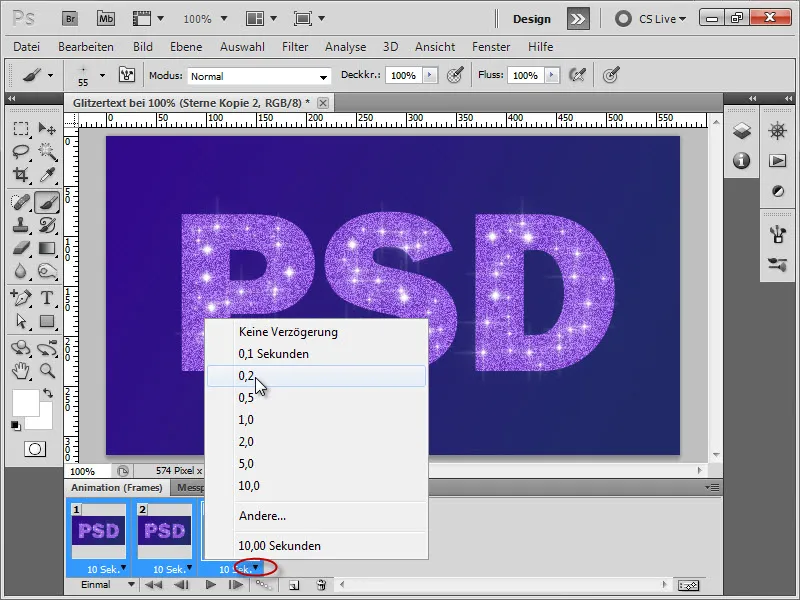
And so that the animation is not played only once, but repeatedly in a loop, as shown below, we set unlimited.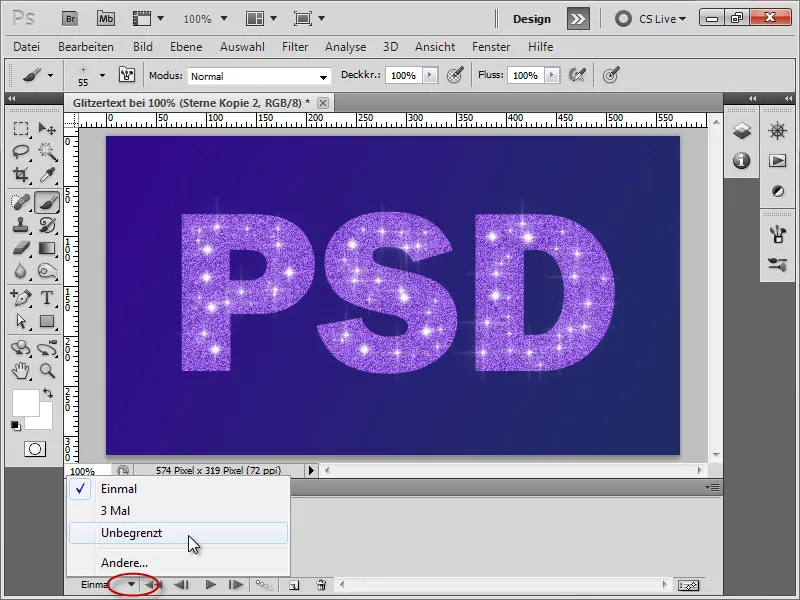
When we then press the Play button, our animation plays.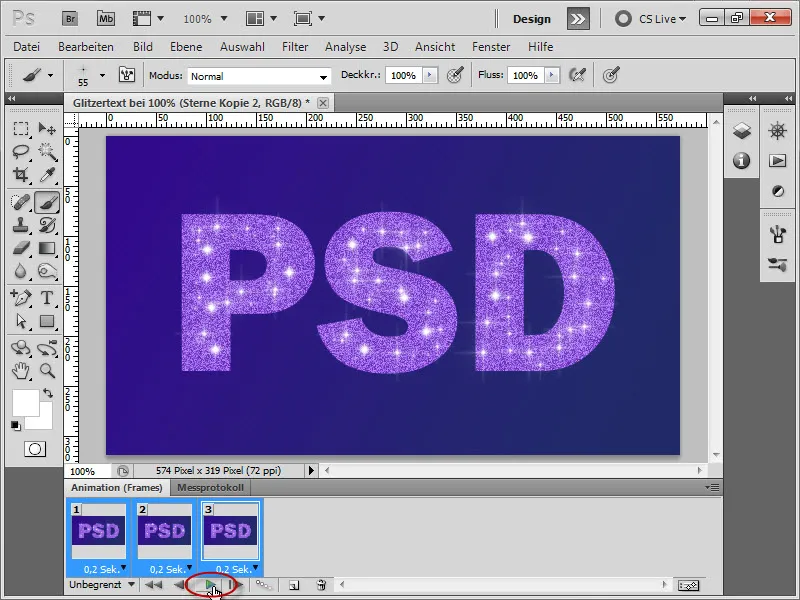
5. Saving the animation
To save our animation, we go to File>Save for Web & Devices.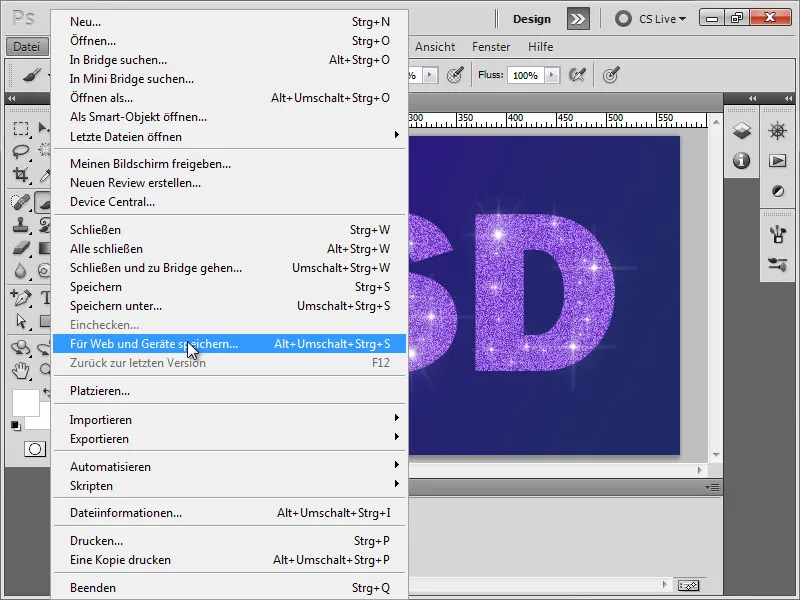
And in the window that appears, we just need to select GIF. Then we click on Save and our animation is saved.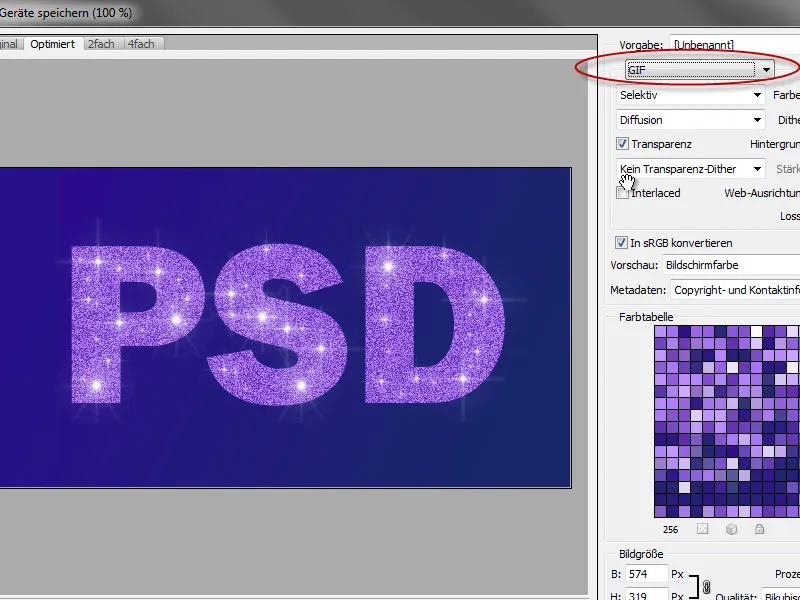
Often, animations opened with image viewers do not play. Only one frame is displayed. However, to view the animation, it is sufficient to simply drag and drop the image file into a browser window. Then it will play.
I hope you enjoyed the tutorial. Here is our final result:
