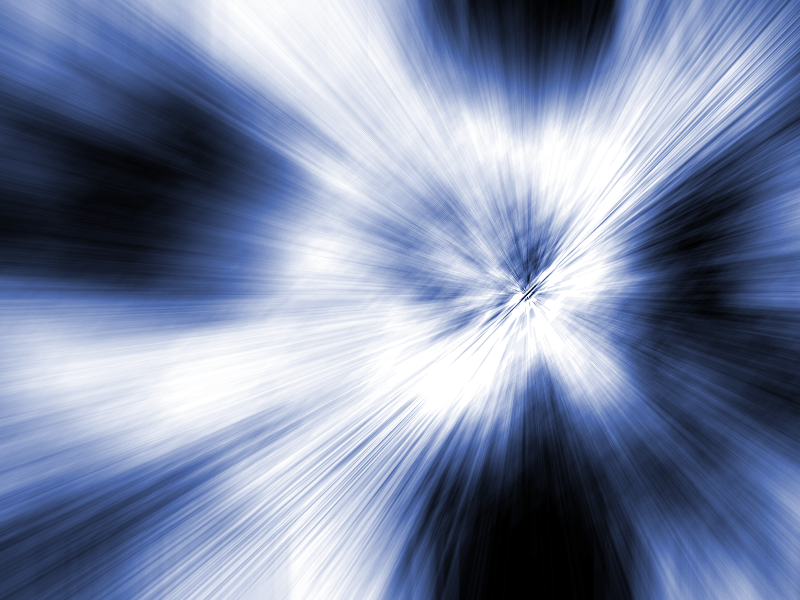
A light shine effect makes text and layouts shine and gives your designs an impressive radiance. Instead of recreating the effect from scratch each time, you can record it as an Action in Photoshop and apply it to other projects with just one click. In this tutorial, I will show you how to create a light shine effect step by step and save it as an Action to save time and achieve consistent results. Let's get started and optimize your creative processes!
Step 1:
So that I can create the Action at the touch of a button later, I record an Action. To do this, I open my Actions panel, click on the New icon, and name it "Light Shine Effect".
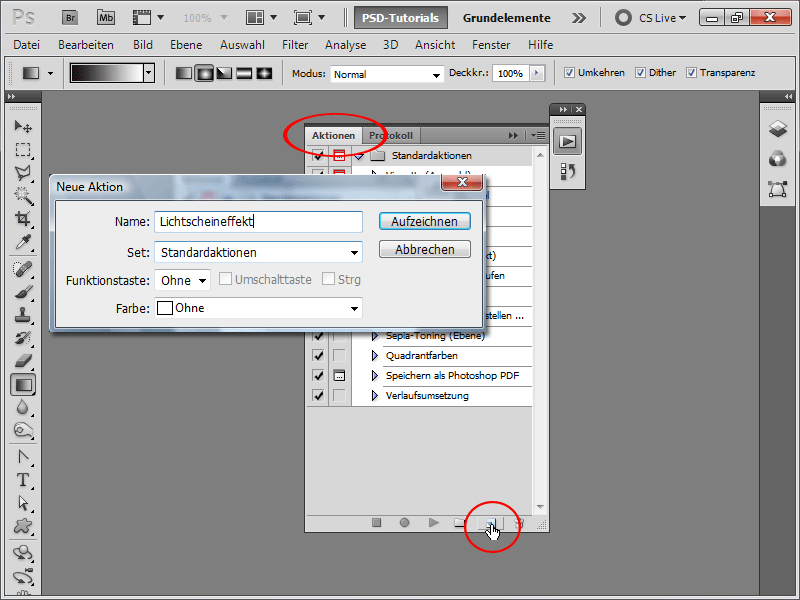
Step 2:
I create a document with the size 800x600 pixels, although the size is actually unimportant.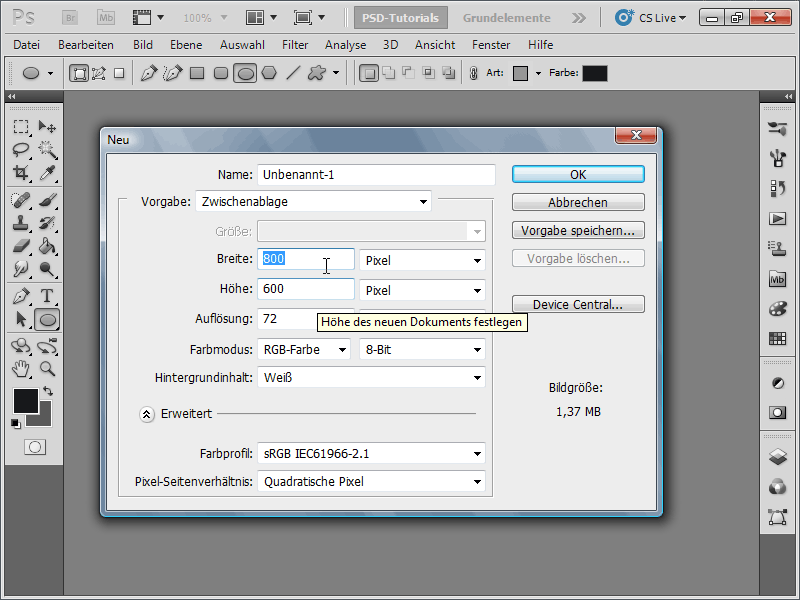
Step 3:
Now I press the D key to set the default colors, and then I apply a gradient.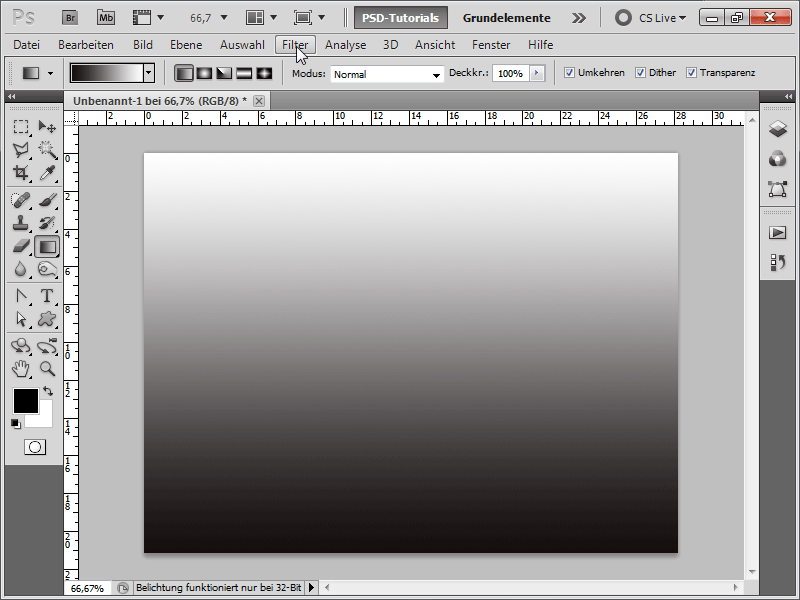
Step 4:
Next, I go to Menu>Filter>Distort filter and select Ripple, adjusting the values as follows: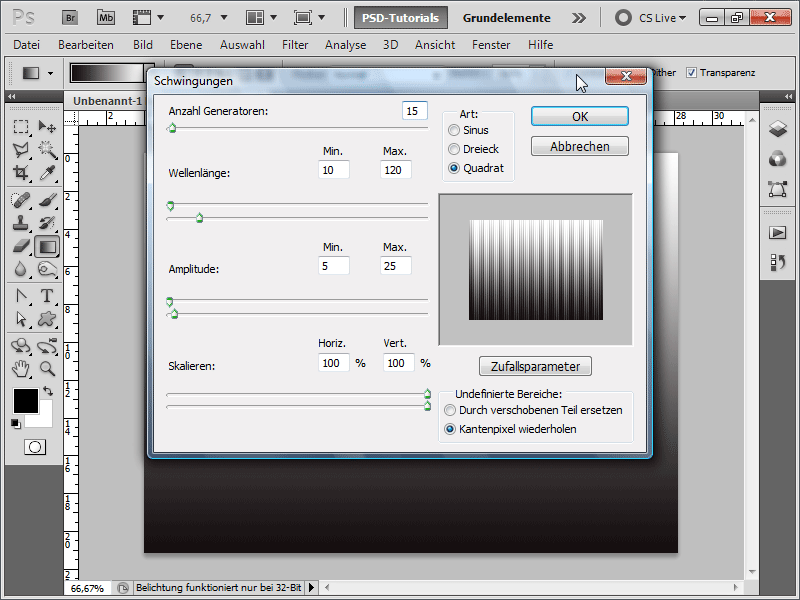
Step 5:
Then, under Menu>Filter>Distort filter, I choose Polar Coordinates and make the following adjustments: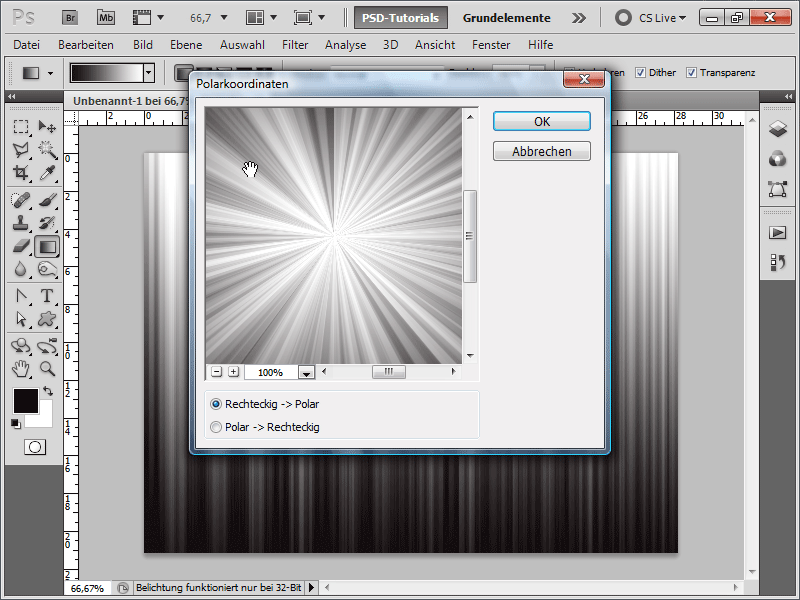
Step 6:
The effect that comes out looks very good already.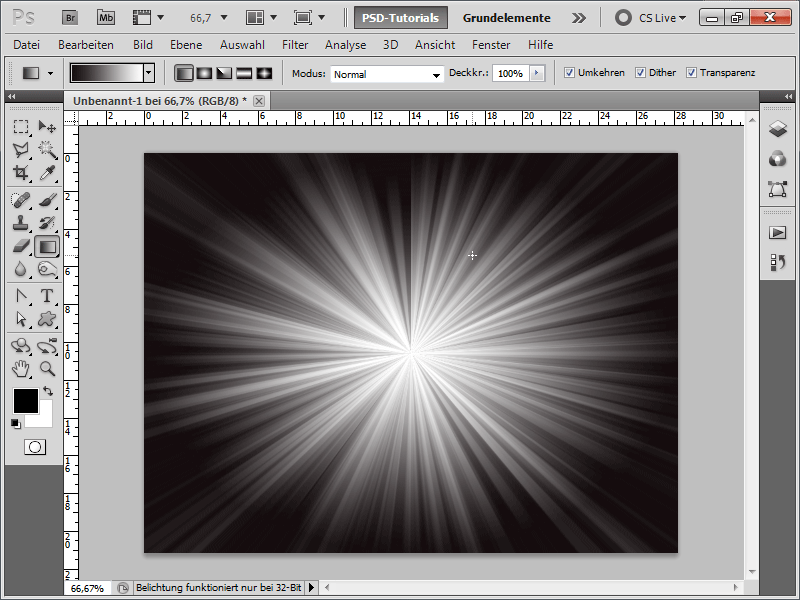
Step 7:
I colorize my effect with a Hue/Saturation adjustment layer.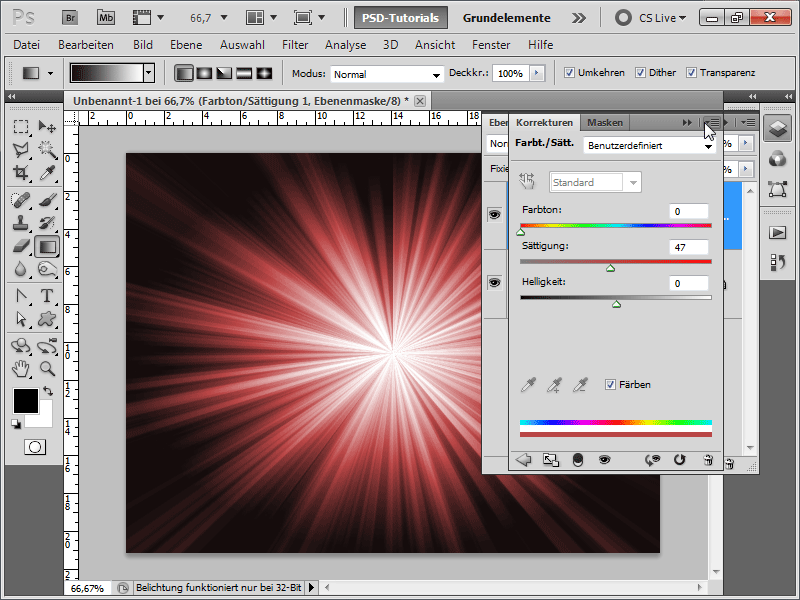
Step 8:
Now I can stop recording my Action and replay it anytime. Tip: If I want to apply the effect in different sizes, I click on the icon next to the checkbox (Activate/Deactivate dialog) before the Create entry. This way, a dialog box will always appear when playing back the Action, allowing me to define the document values, and then the Action will continue automatically.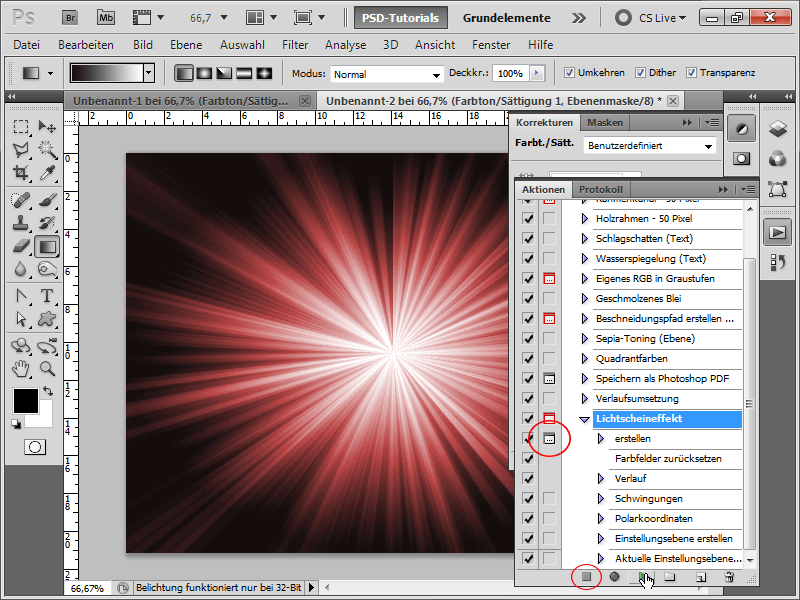
Step 9:
I can enhance the effect further by brightening the colors in the middle of the effect. The easiest way to do this is to create a new layer with Ctrl+Shift+N, set the mode to Overlay, and check the box for With Neutral Color for Mode....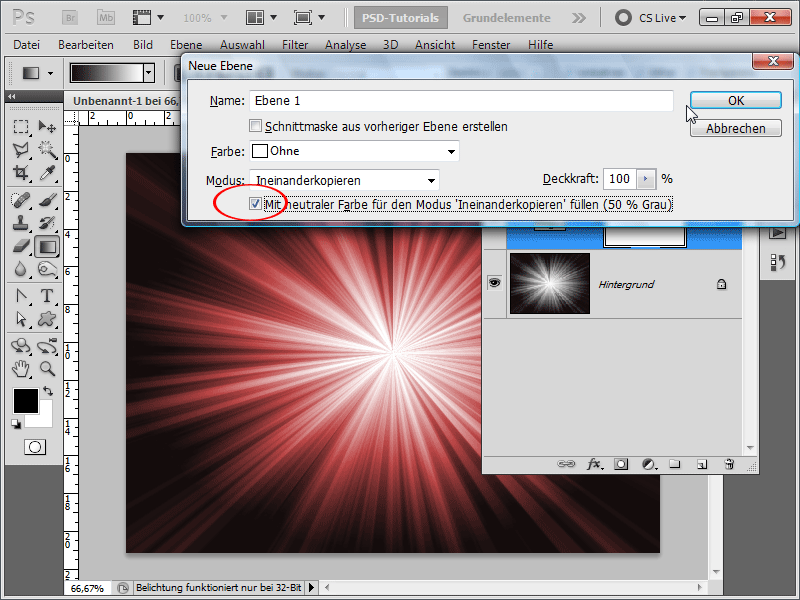
Step 10:
Now, by painting with a soft, large brush in white color on my gray layer, the underlying layer will become brighter.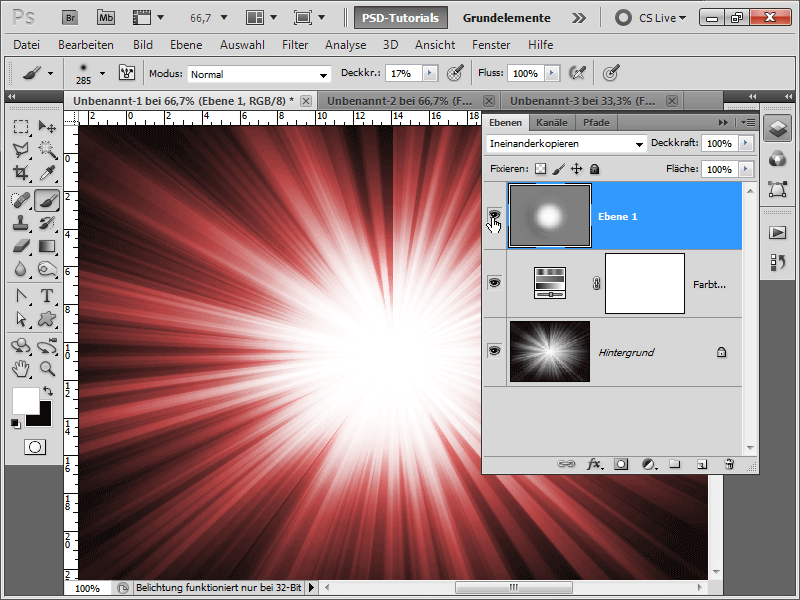
Step 11:
Next, I insert a logo in the center. I give it an Outer Glow effect with the color white.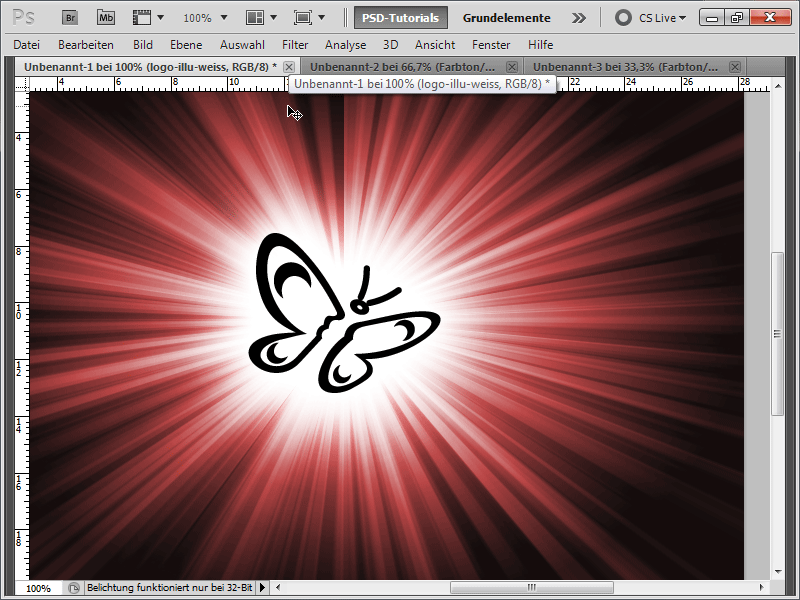
Step 12:
If I duplicate the Hue/Saturation adjustment layer, set it to blue, and then add a gradient to the mask, the result looks even better.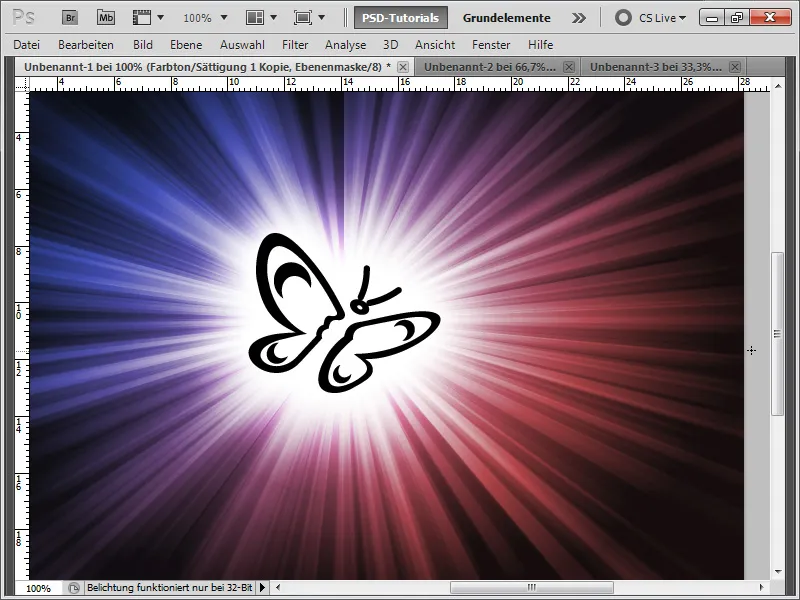
Step 13:
I can further refine the effect by creating a Levels adjustment layer and slightly adjusting the slider.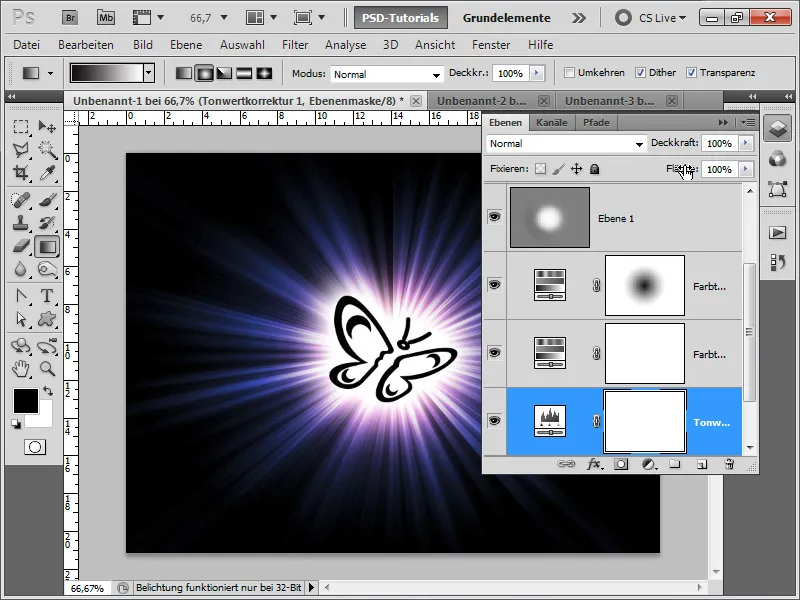
Step 14:
The finished effect looks like this:
Step 15:
And because it's so beautiful, I will briefly explain another effect. For this, I create a new document and then color the background layer in black. After that, I go to Menu>Filter>Render Filter>Difference Clouds.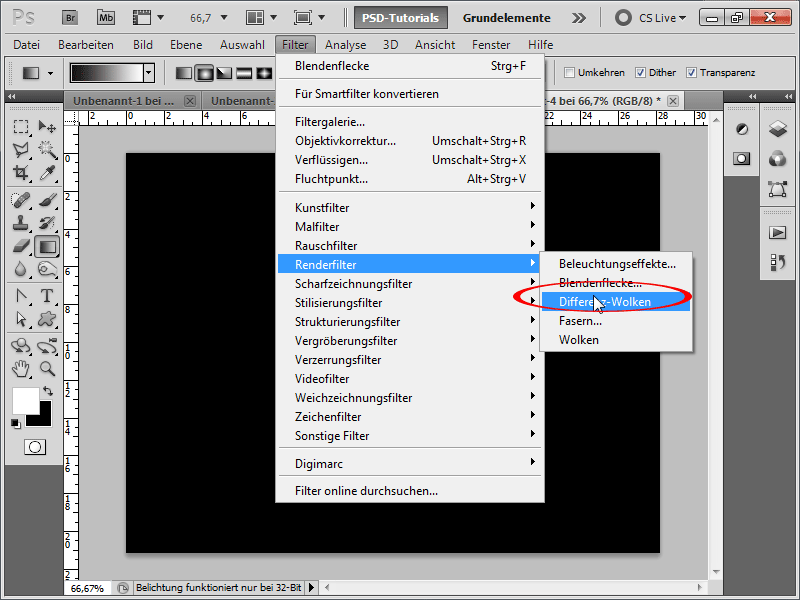
Step 16:
Next, I select Brush Strokes under the Filter Gallery.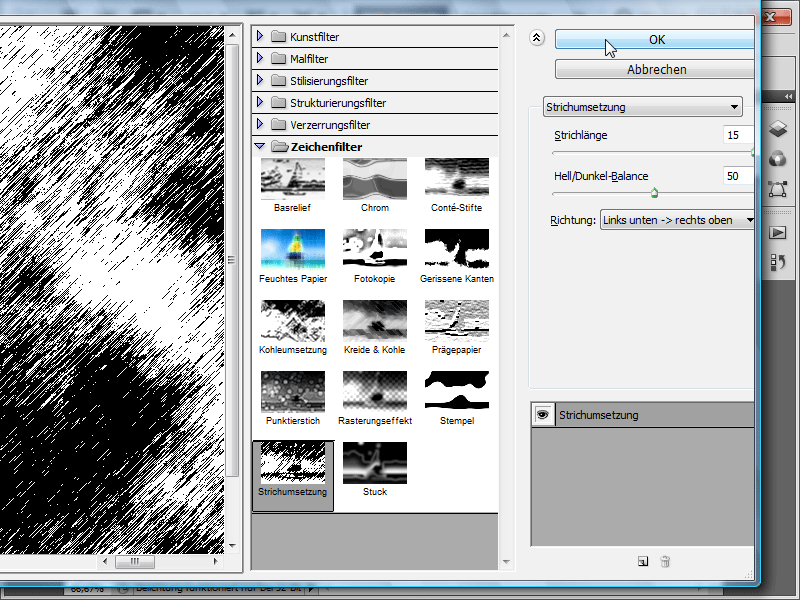
Step 17:
Now comes the crucial filter: Menu>Filter>Blur Filter>Radial Blur. Here, I set the Amount to 100, the Method to Spin, and the Quality to High.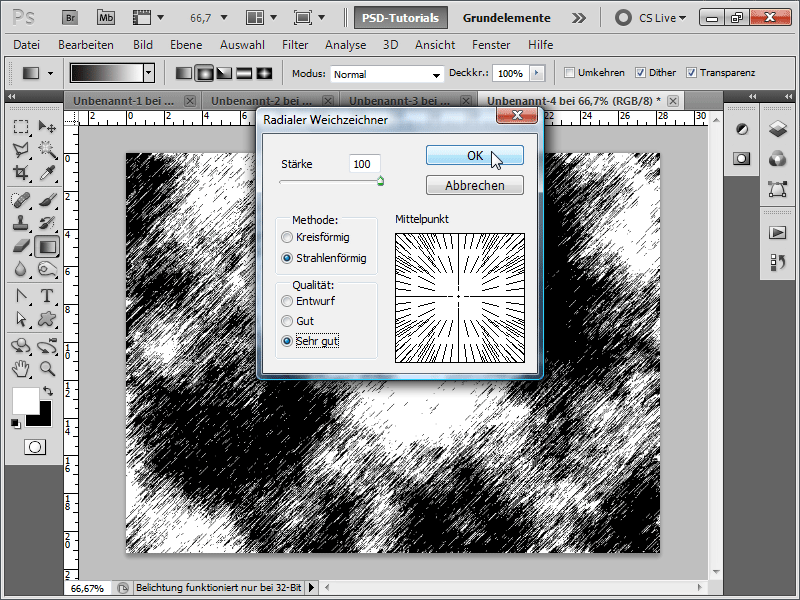
Step 18:
Just like with the previous effect, I can also use a Hue/Saturation Adjustment Layer here to bring some color into play.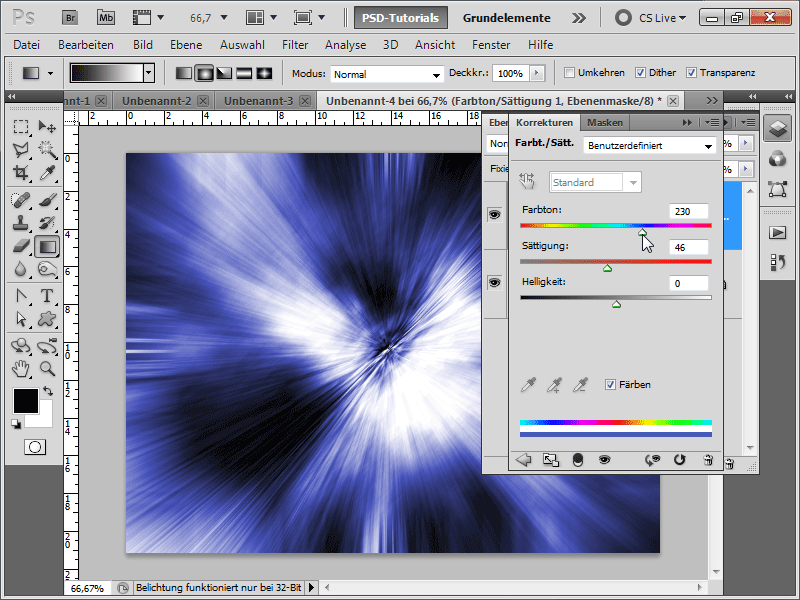
Step 19:
The result could look like this: