In another training course, I have already shown you pagination, i.e. consecutive numbering within a document. Sometimes, however, this is not so easy, because documents are not always designed so ideally that you can place a page number on every page. I have brought along our handout as an example. Here you can see the cover page.
And if I scroll through the document, you can see that we usually have a full color on the left-hand side, while the right-hand side is white.
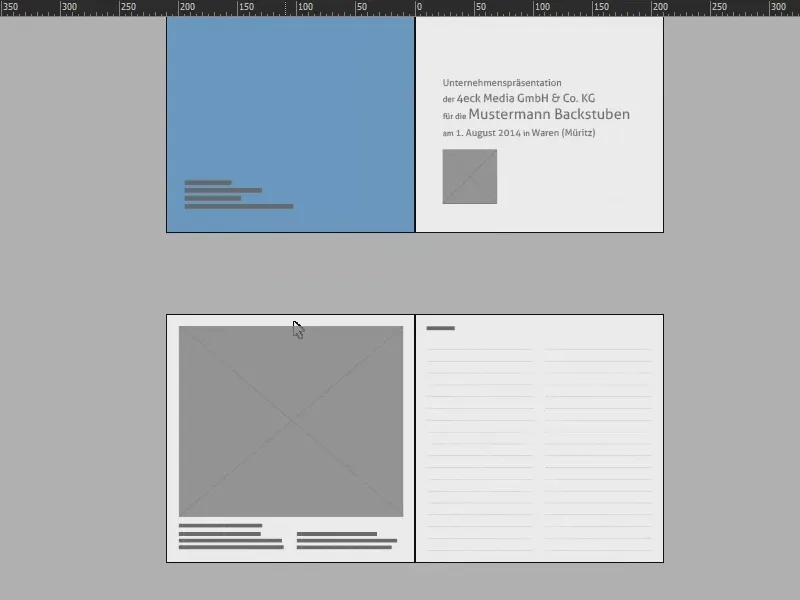
It might also be a bit difficult on the following pages.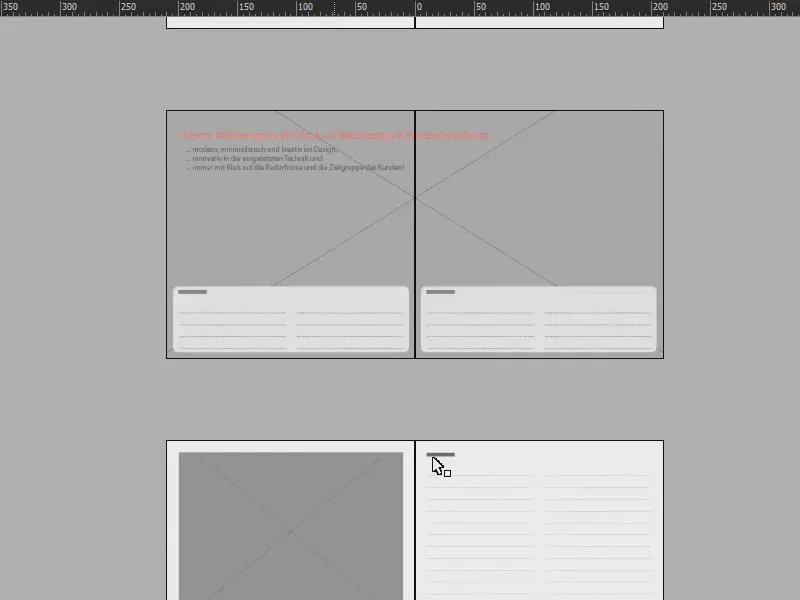
The aim of this training is therefore to be able to display page numbering for both pages on one page, so that the right-hand page contains both the page number of the right-hand page and the page number of the left-hand page. As I said, this is suitable if you have large images, for example, and don't want to paginate them.
To achieve this, it is of course necessary to work on a second layer. That's why I open the layers panel(1), click on it once at the bottom (2) and we have a new layer (3). Why a second layer? This is important so that the numbering is applied to all other elements of the document.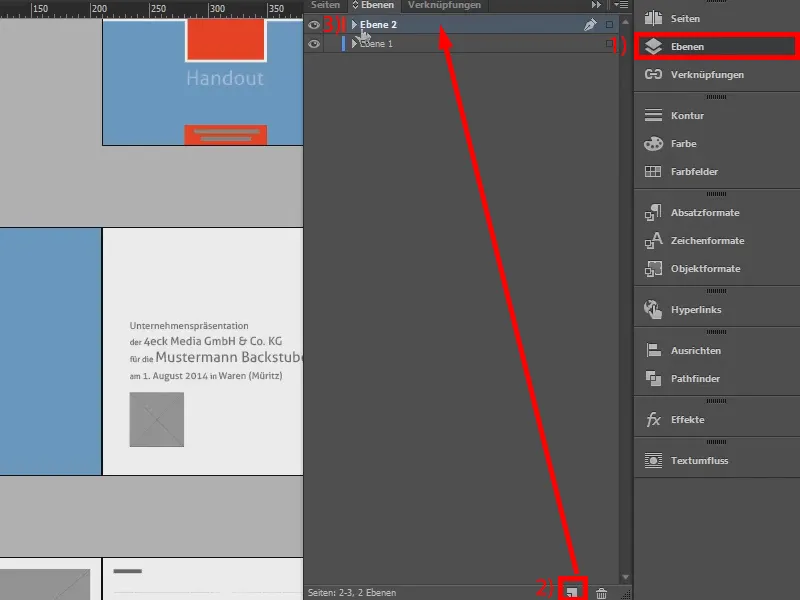
Let's take a closer look at the page control panels(1): We go to the master page (2) ...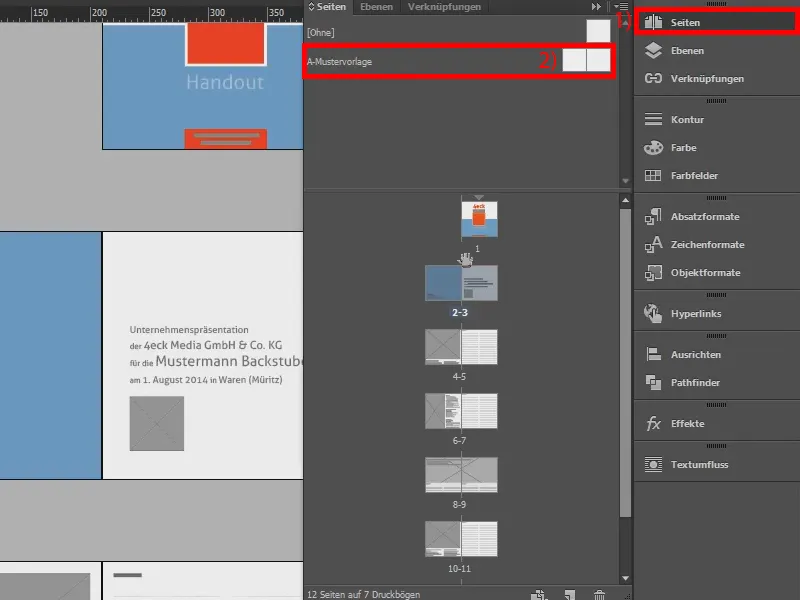
... and create the page numbering here. First, I'll use the text tool (1) to draw a text field on the left-hand side (2), simply duplicate it with Alt and Shift and drag it to the right (3).
Now it is important that you create a text link, i.e. a text bridge between the two fields. You do this by clicking on this square (4) and then dragging the text to the other field (5 and 6). This creates a rubber band between the two text boxes (7).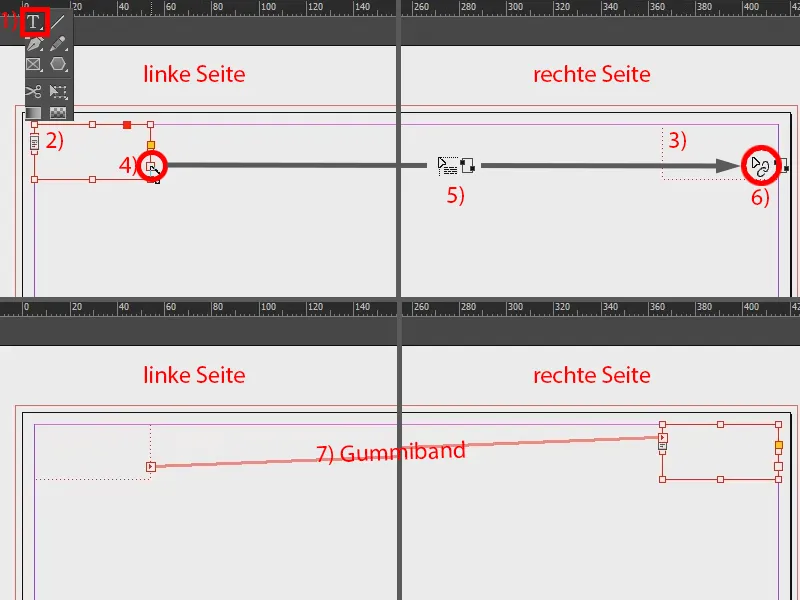
Next, I go to the left text box. Under Font (1), I select Insert special characters (2) and then Marks>Previous page number (3). This is important. Then I make a space and repeat the whole thing: Font>Insert special characters>Marks and this time select Current page number (4). I place a bullet point between the two marks as a visual separation, which I copy from my clipboard (5).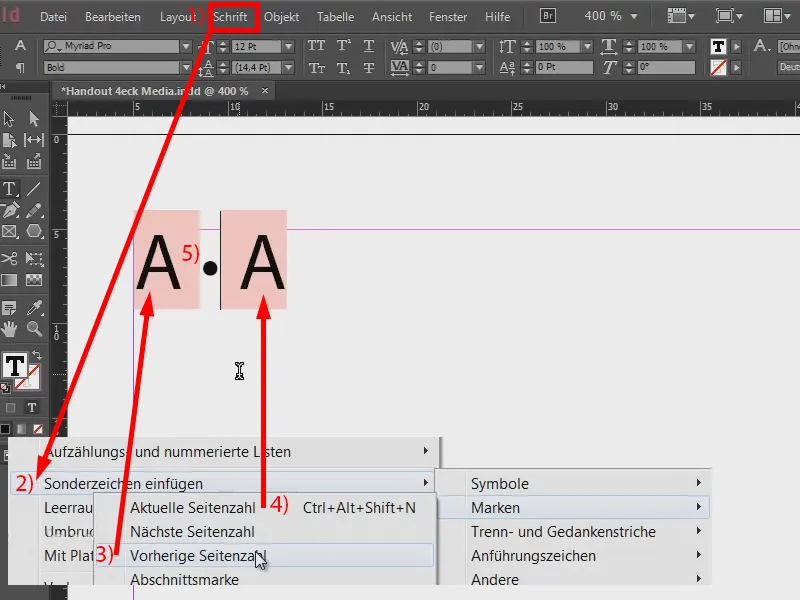
Now we need to get these page numberings for the first and second page onto the right-hand page. But we can take a look at the result first - there's nothing there yet (1), because the template still has to be applied to these pages. So I select both master pages (2), right-click on them and select Apply master page to pages (3). And here I select All pages (4) and confirm with OK (5). Now we have the example as created earlier (6). But it's not finished yet.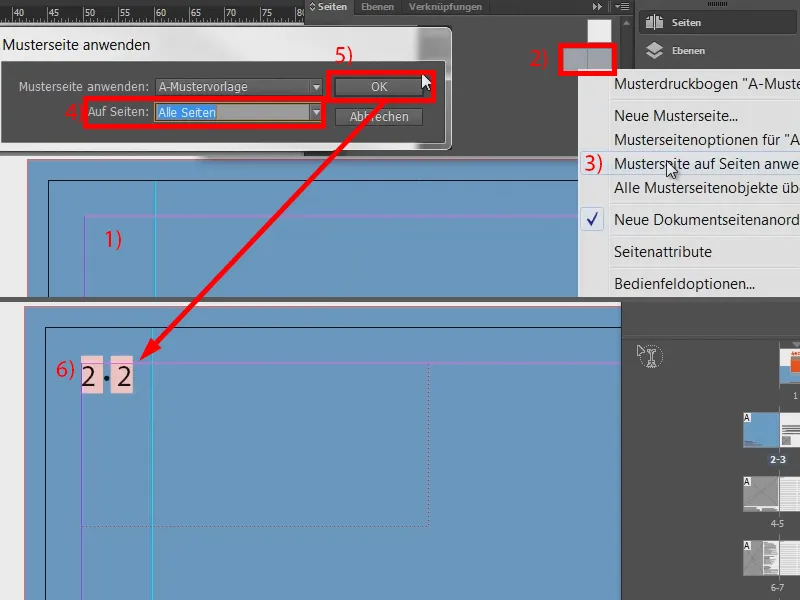
Let's go back to our sample page (1) and move it to the second field on the right-hand side. To do this, we place the cursor in front of the two marks (2) and then go to Font>Insert Wrap Character>Column Break (3). The text then jumps to the right (4).
Now we can format it: I take my cue from the color scheme of the document, where the text is a rather soft shade of gray. And I'll just use that up there: Highlight the text and select the color tone with 70 percent black (5).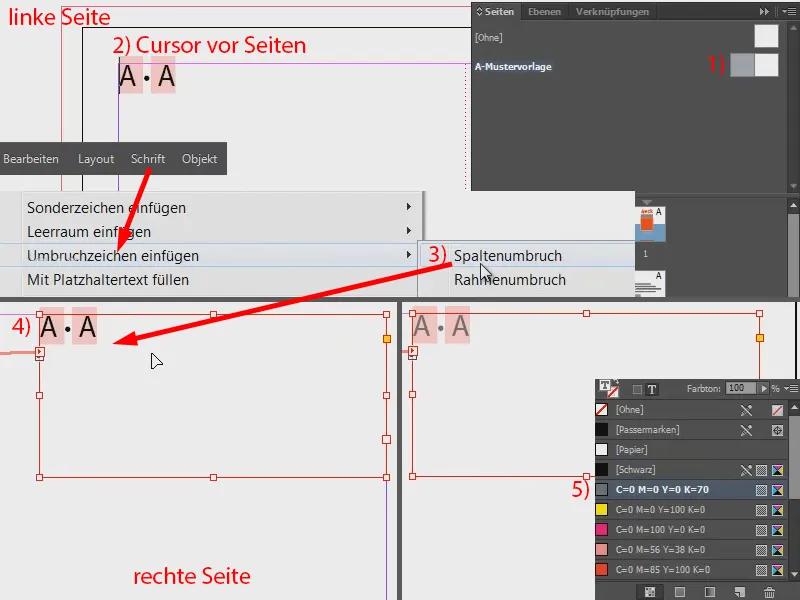
Now we have to move the whole thing to the center. The easiest way to do this is to open a new window via Window>Arrange>New Window for "Handout 4eck Media.indd" (or for your corresponding file).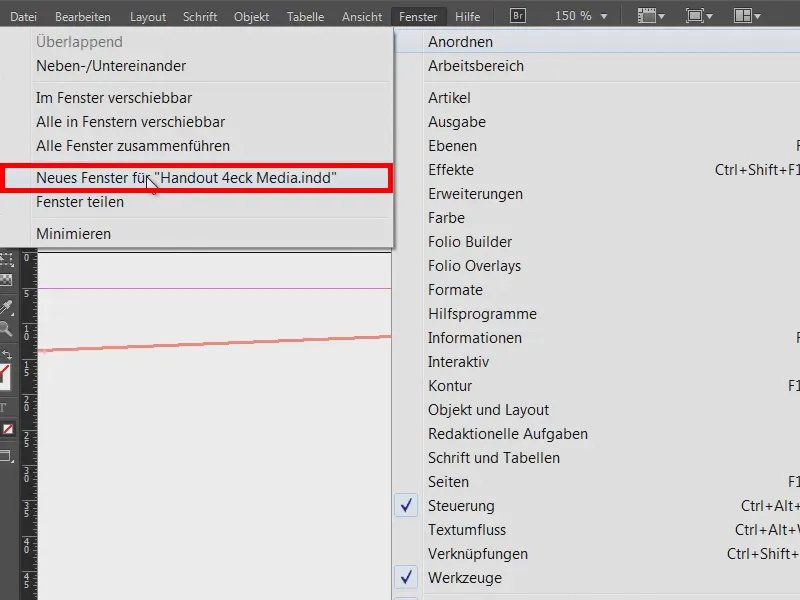
This gives me a clone of this view, so to speak. And now I go to the actual page in one example (1) and in the other window we stay on the sample page (2).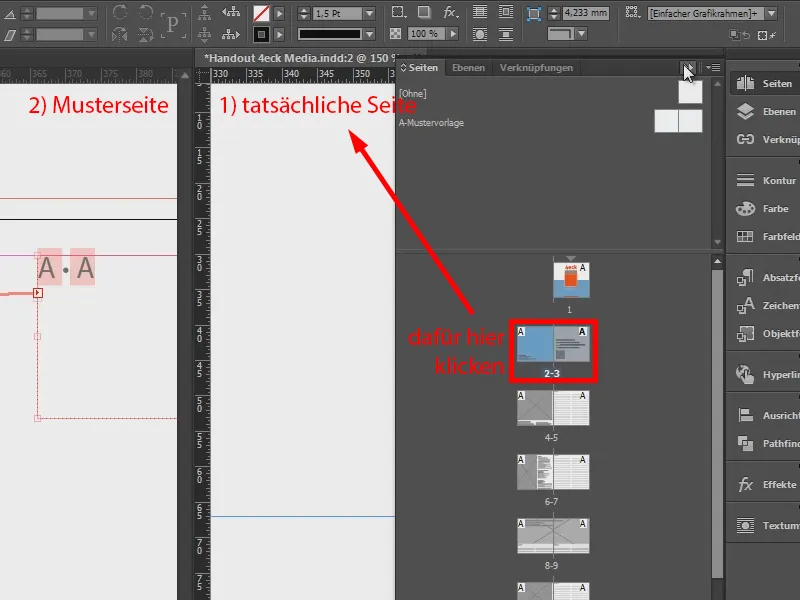
Double-click on the handle to make the text field a little smaller (1). This allows us to move it to the center (2).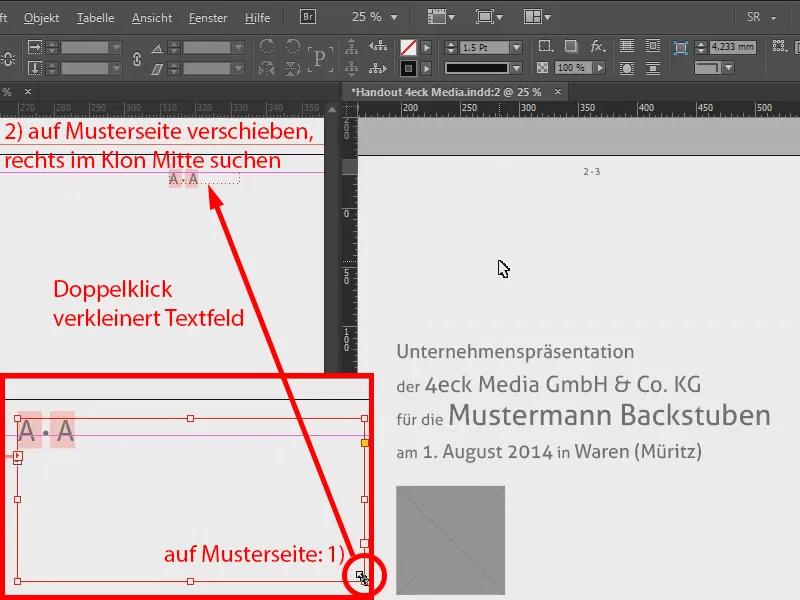
Here you can see that we don't have the page numbering on the left, but on the right for both pages. So it works perfectly.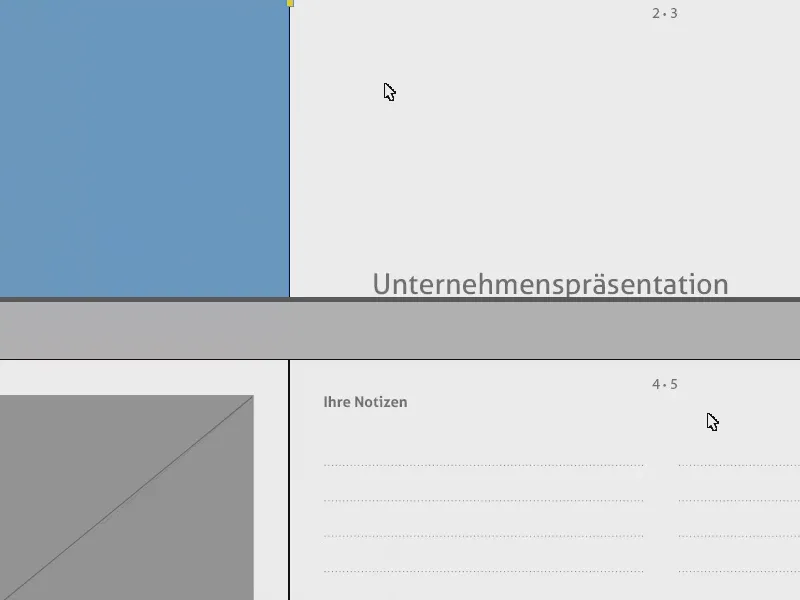
Now there is still a small problem: The page numbering is of course also on the cover page (1). We will therefore simply drag the sample page, which is still completely without content (2), onto the cover page (3). This will also remove it (4).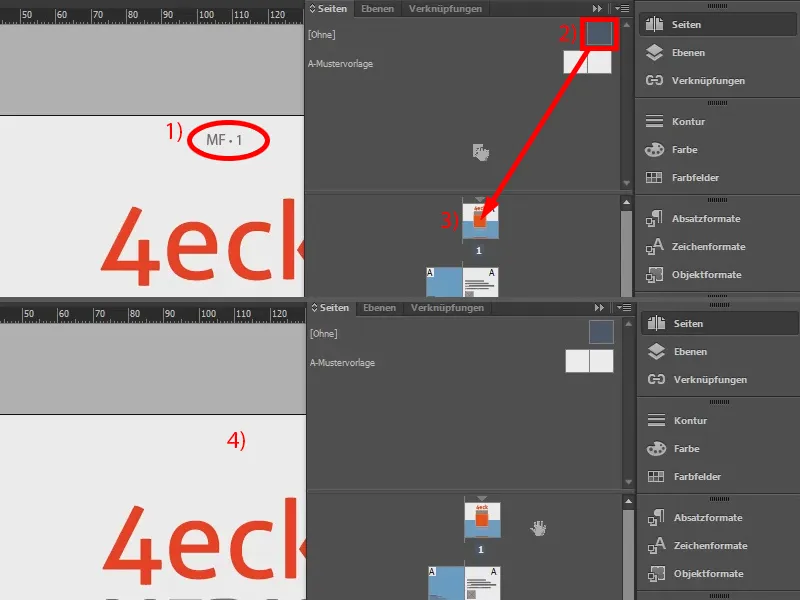
You can do this so easily that you can add double page numbering on the right.


