Master pages are an essential tool in Adobe InDesign for creating consistent and time-saving layouts. They allow you to design elements such as headers, page numbers, or recurring graphics centrally and automatically apply them to multiple pages. In this guide, I'll show you step by step how to create, edit, and effectively use master pages in your document to create professional and consistent layouts. Let's start and explore the potential of master pages!
After setting up a new blank document, open the Pages panel by pressing F12. Here you can see the thumbnail views of the still empty pages. All pages have the letter A as a sign that they are copies of master template A. This master template itself is located at the top of the Pages panel.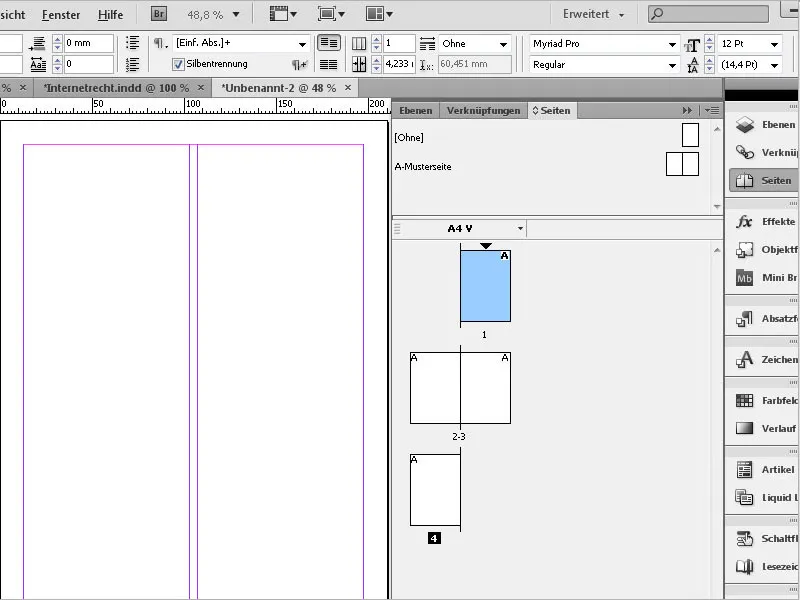
If you plan to create various elements such as text frames and page numbers on all pages of the document, it is done on the master page. All pages in the document based on the master page will then have the same appearance. If you later make changes to the master template, accordingly all pages will change as well.
To get started, double-click on the left master page. First, create a text frame that all pages should receive.
To do this, use the Text tool to draw a frame along the column guides. If the Align to Guides option in the View>Grids and Guides menu is enabled, the frame will align perfectly with the column guides.
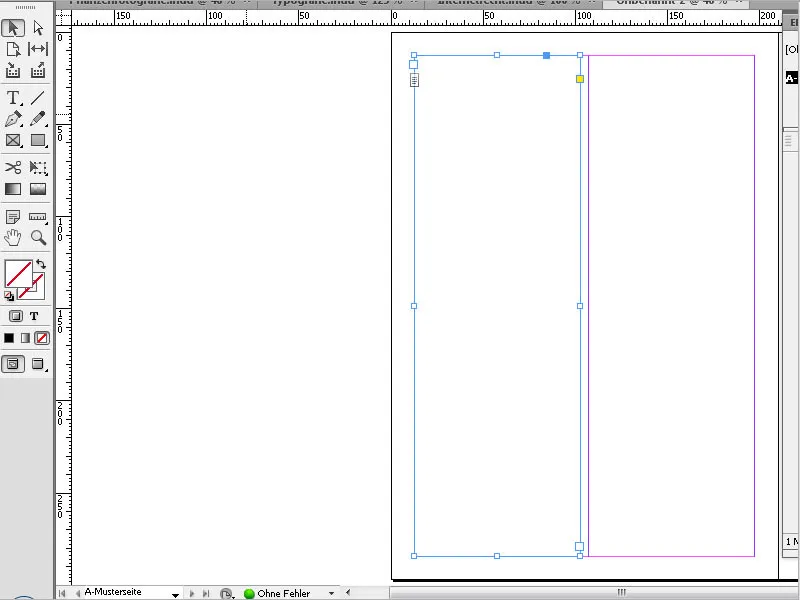
If the document has two columns, you can copy the frame from the first column by clicking with the Selection tool on the small white square above the bottom right corner.
This action will change the cursor to a symbolic text filling and a text linkage symbol. Click now on the top left corner of the guidelines for the right column. InDesign will then copy the frame exactly to that position. Repeat the same process for the right master page as well.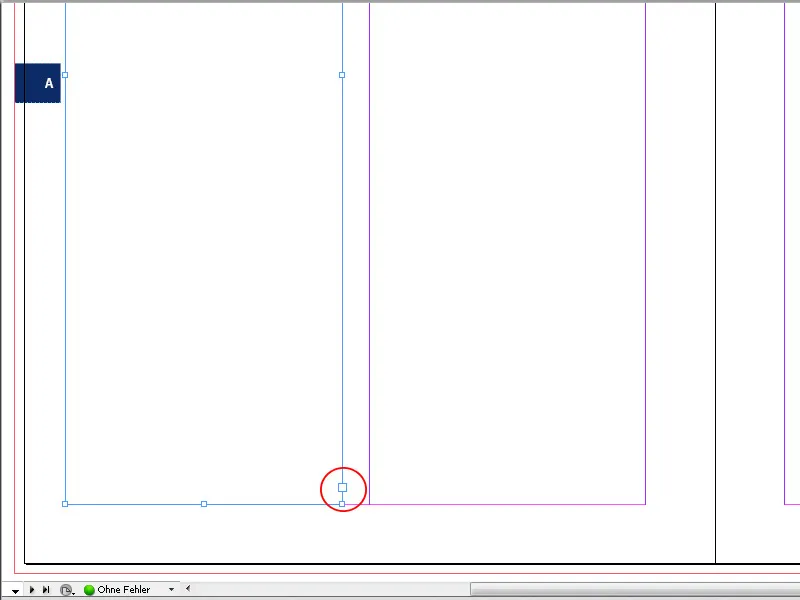
Depending on the size set for the thumbnails in the Pages panel, you may already see the text frames there as dashed lines. It's best to set the view to very large in the Palette Menu under Control Panel Options while working on this. Next, add the page numbers. Use the Text tool to create a small frame where the page numbers should appear later. Once the text cursor blinks, insert the current page number with the placeholder name A using the right-click context menu and selecting Insert Special Character>Markers.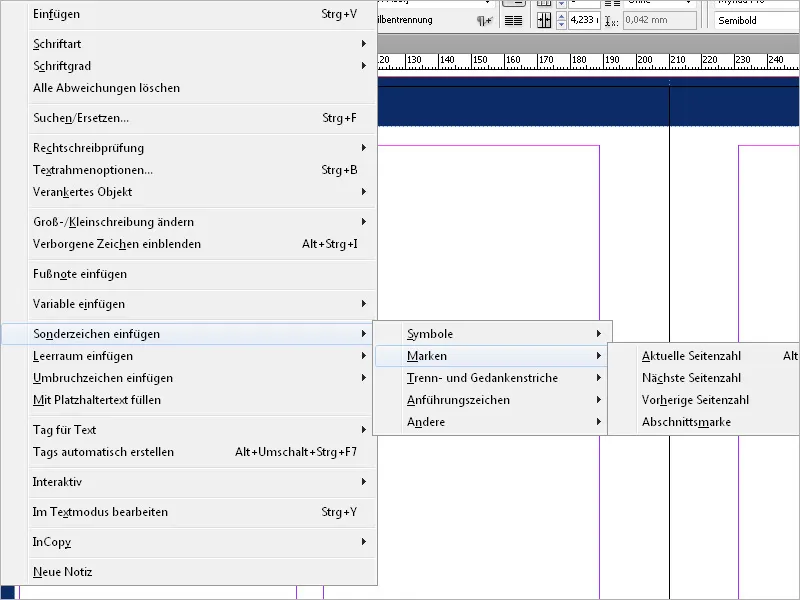
Align the page number according to the desired position and assign the desired font and size. Once these settings are done, you can drag a copy of the frame with the page number to the mirrored position of the right master page while holding Shift+Alt. This avoids repeating the entire process.
In the next step, add a header area as a headline for the current topics to the master pages. Use the Text tool to create a frame starting from the top left bleed edge (x and y at -3 mm) to the edge of the page at a height of 15 mm. Write a placeholder text for the headlines now, for example, "Cover Story" or "Headline." Format the font and align it sideways. Since the text should appear in negative on a colored bar at the top edge, select the text and then bring up the color fields with the keyboard shortcut F5. Choose the color Paper.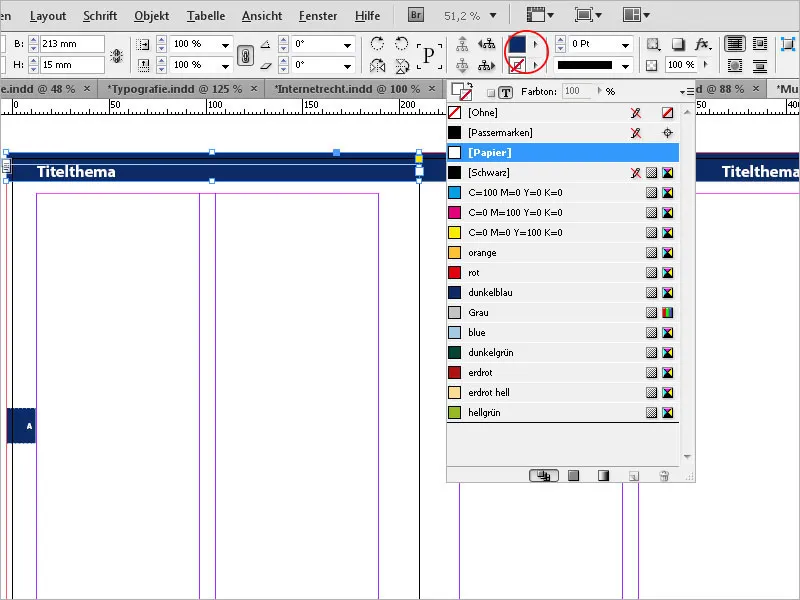
To create a colored background for the text, click on the Selection tool. This will select the text frame. Assign the corresponding color to it by clicking in the color palette.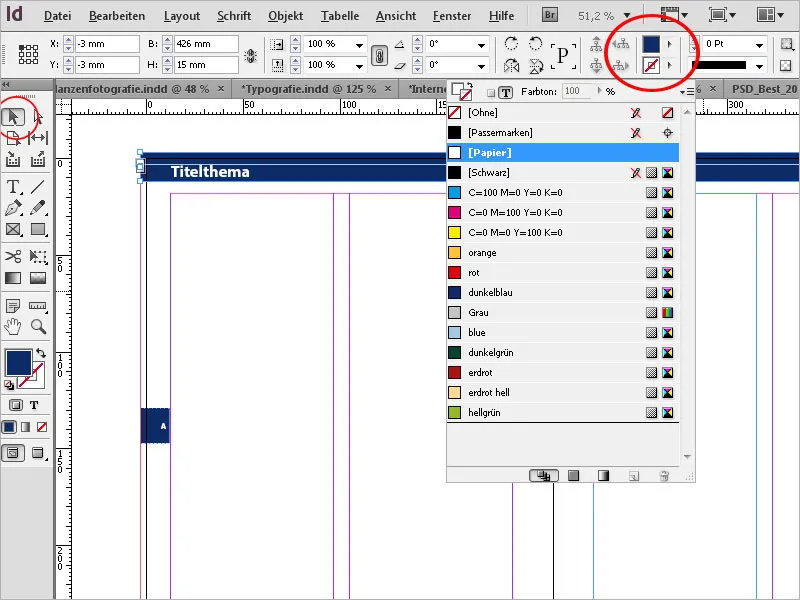
To place this layout element also on the right master page, drag it to the right side while holding Shift+Alt again. You may need to adjust the text alignment. In the Pages panel, you can already see the newly created elements from the master page on the document pages. Double-click on a page to view it in page mode. Now, all elements are present, and the placeholders for the page numbers contain the actual column numbers instead of the placeholders.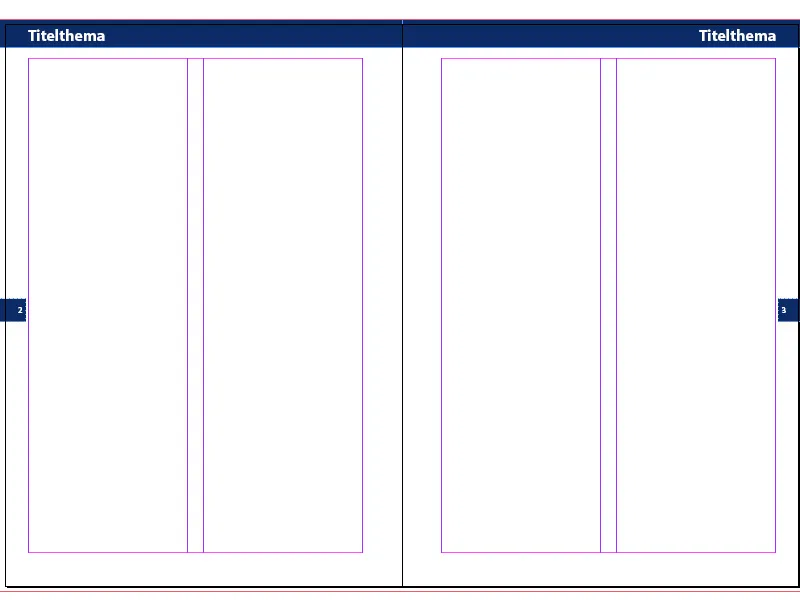
If you want to add a new page, click on the corresponding icon at the bottom of the Pages panel (hovering over with the mouse shows the function in a tooltip). If you need to add multiple additional pages, it's more convenient to open the Palette Menu and use Insert New Pages.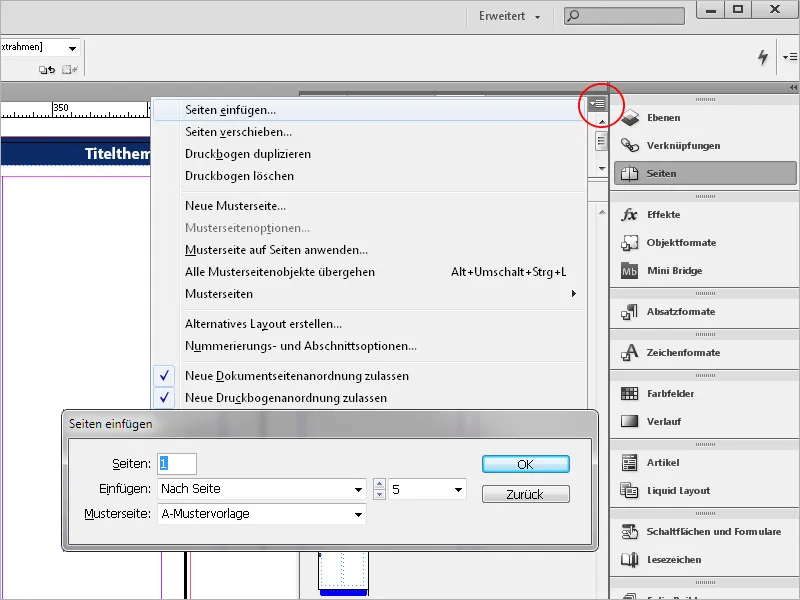
Here you can specify the number of new pages and also the page behind which they should be inserted. If you are using two or more master templates, they will be named with their own letter, and then you can also select the desired master template. By clicking OK, the new pages will be added to the document including all elements.
For certain pages, such as the title, back, or advertising pages, you cannot use the master page layout. For these pages, you want a completely unique, non-recurring design. For this, there is the template [None] above master template A in the page palette. Drag this template with the mouse button pressed down to the title page. Now it is free from all elements of master template A and you can start designing immediately.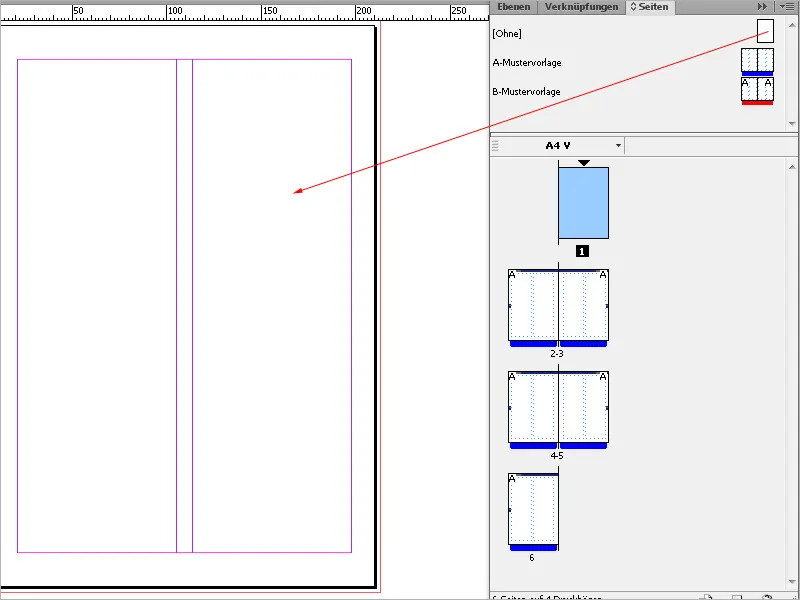
If you want to use different designs for individual chapters of a brochure, it is recommended to create your own master templates for this purpose. For example, the colors for the background of the headline and page number, and possibly a background color, could be different. To create new master pages, select "New Master Page..." in the palette menu of the page layout panel.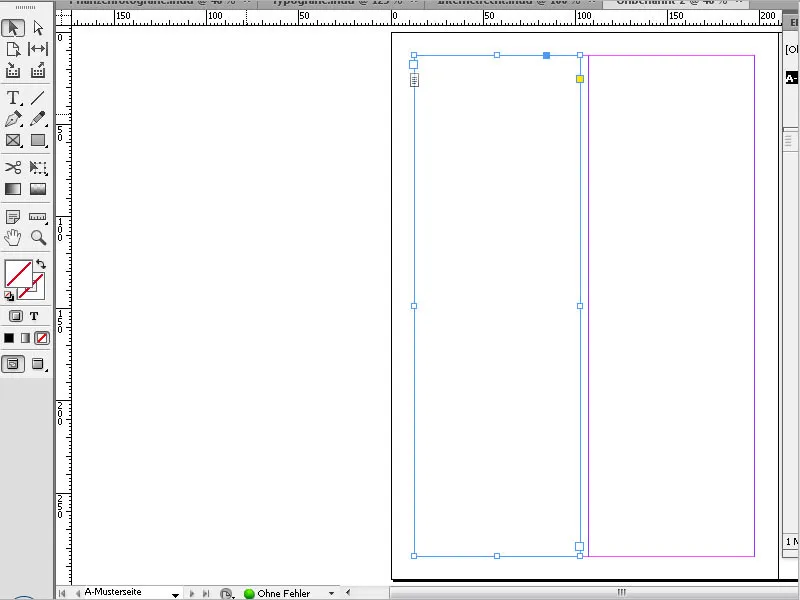
The next free letter in the alphabet is suggested as the prefix, but you can also assign your own designation with a limit of four characters. In the "Name" field, you can enter the chapter designation.
In the field below, you can select an existing master page if only details (such as color scheme) are meant to differ. In case the page should be designed differently, choose "[None]" from the drop-down menu. If it should be a double page again, enter a 2 in the "Number of Pages" field.
After clicking OK, the new double page will be created below the first one, and you can start designing or adjusting. At the top of the page palette, you will now find the standard template "[None]" at the very top, followed by master template A and master template B (or the name you assigned). If the available space is not enough, enlarge the page palette by dragging the bottom right corner downwards with the mouse button pressed. Then, enlarge the area for the master templates by dragging the separator to the document pages downwards in the same manner.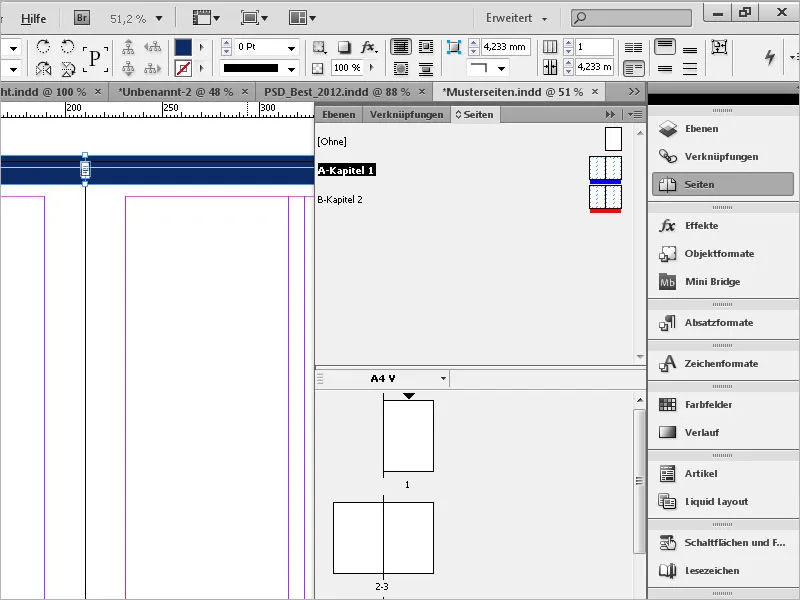
To visually differentiate different master pages more effectively, InDesign offers the option to mark them with colored labels. Right-click on the respective master page (both sides must be marked for double pages), and choose "Page Attributes>Color Label" from the context menu.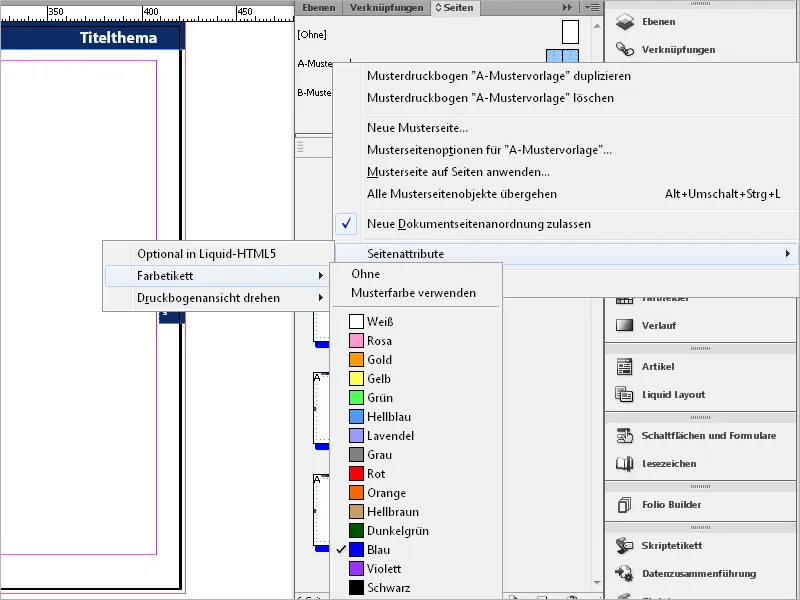
After that, InDesign displays a menu with color fields from which you can choose an appropriate one. Both the master pages and the document pages based on the template will subsequently receive a colored label at the bottom of the page palette, making their association immediately recognizable.
Just as properties of a master template can be transferred to document pages, it is also possible vice versa to drag a designed document page with the mouse button pressed up into the area of the master templates in the page palette. It will automatically receive a prefix and can now be used as a template for document pages.
You can also import master templates from other InDesign documents. Click on "Master Pages>Load Master Pages" in the palette menu of the page layout panel.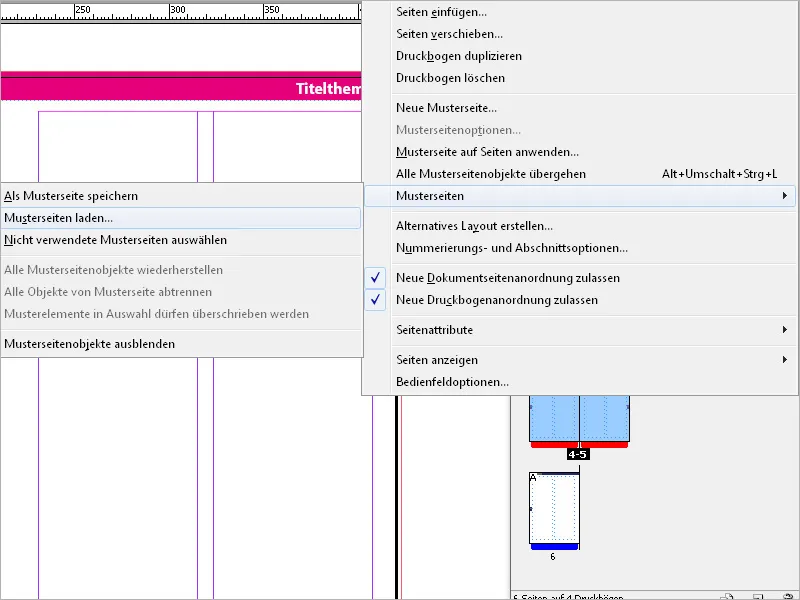
Search for the source document in the file browser. By double-clicking on the filename, the master pages will be imported. If both documents have the same names for the master pages, a warning will appear with the option to replace or rename pages with the same designation. When renaming, the master pages to be imported are automatically renamed with a consecutive prefix and arranged among the existing ones (you may need to adjust the separator below the master templates slightly downwards).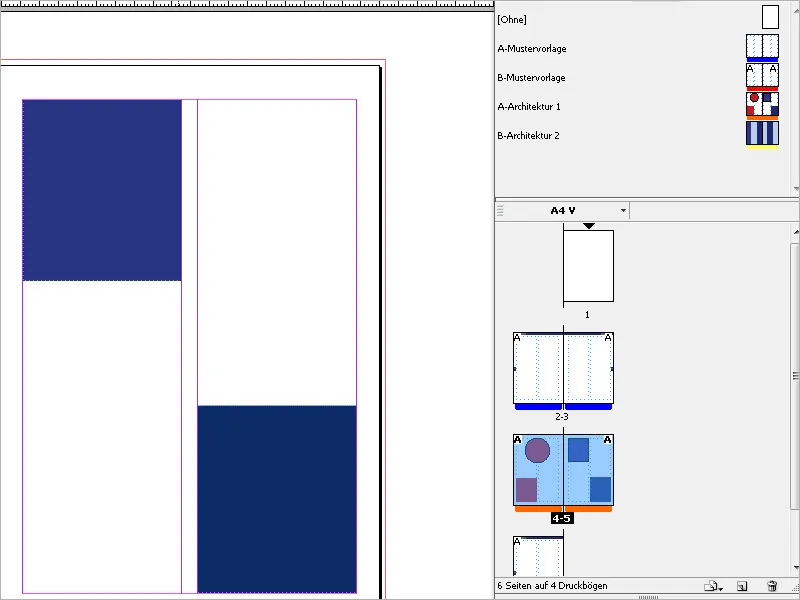
To apply the imported master pages to document pages, select them in the page palette and choose "Apply Master Page to Pages" from the right-click context menu.
In the following dialog box, select the desired master template. Click OK to assign it to the selected pages.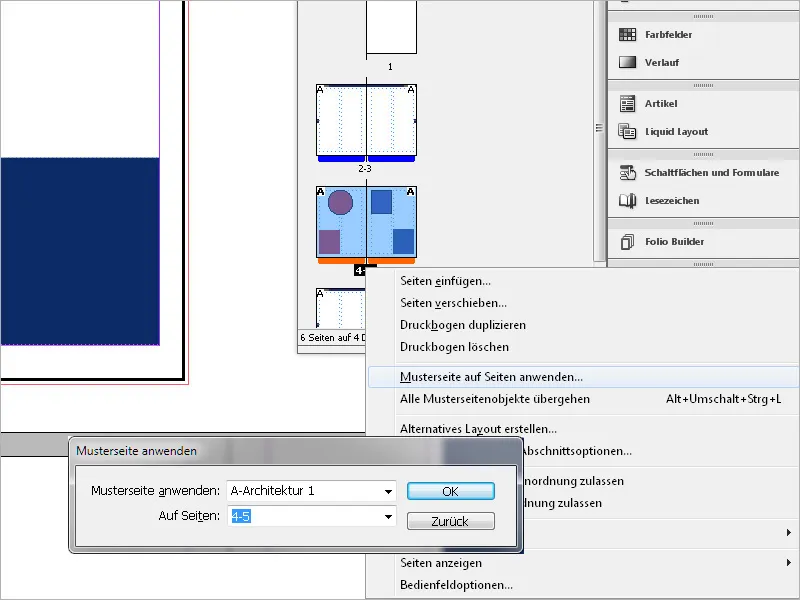
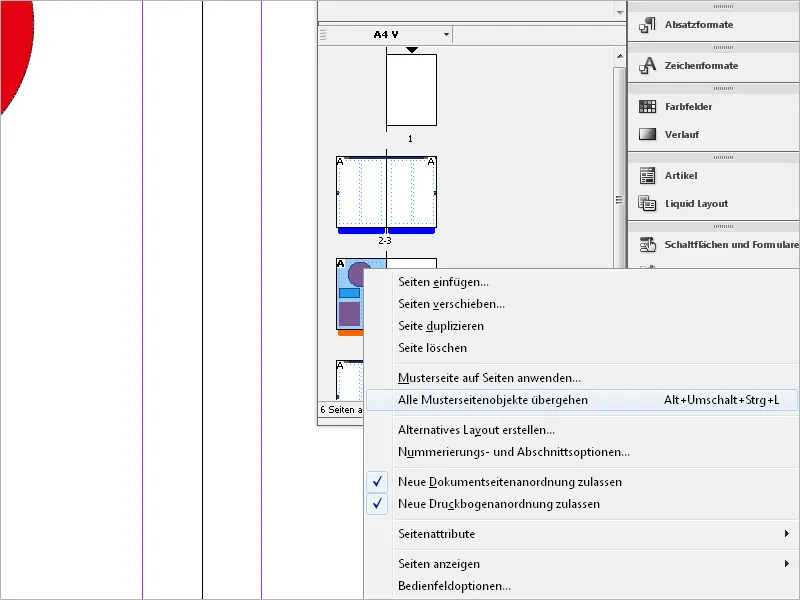
Elements of master pages are locked for editing on document pages. If you still want to make adjustments to a page, select the page in the page palette and choose "Override All Master Page Items (Alt+Shift+Ctrl+L)" from the context menu.
Subsequently, all master page items on the relevant page can be edited. However, changes to the master page will no longer affect these pages. To restore the master page state after changes, select "Apply Master Page to Pages" from the context menu.