PDF files intended for printing must fulfill special requirements so that they can be imaged without errors and no nasty surprises occur when the printed matter is delivered. I would like to describe some common problems below and show how they can be solved with Acrobat 11.
You should always start by checking the output preview. Here you can immediately see how many color channels have been created in the document. In the example shown below, the file was output not only with the Euroscale channels but also with an additional spot color channel for printing a special color (HKS 5). However, if only 4 colors are to be printed (as is usually the case for cost reasons), the file is not correct for printing.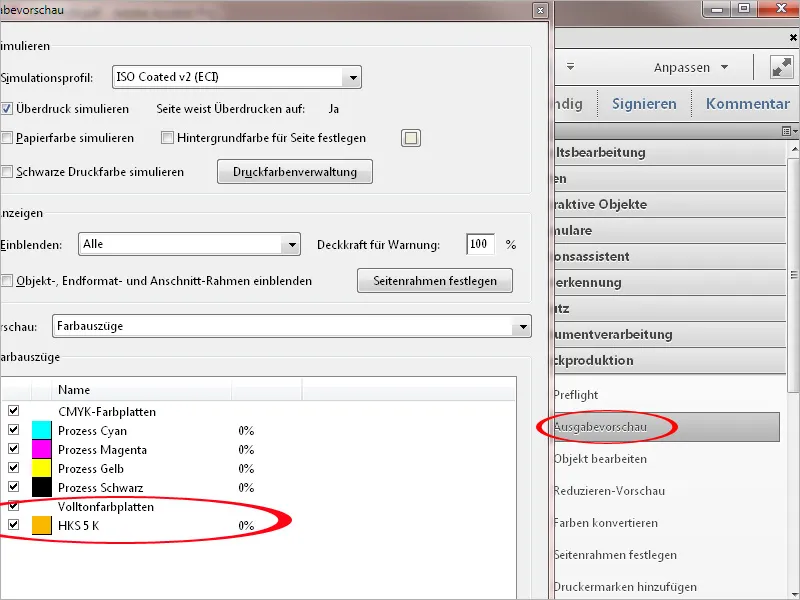
To convert the spot color to the Euroscale, first close the output preview and open the Convert colors tool.
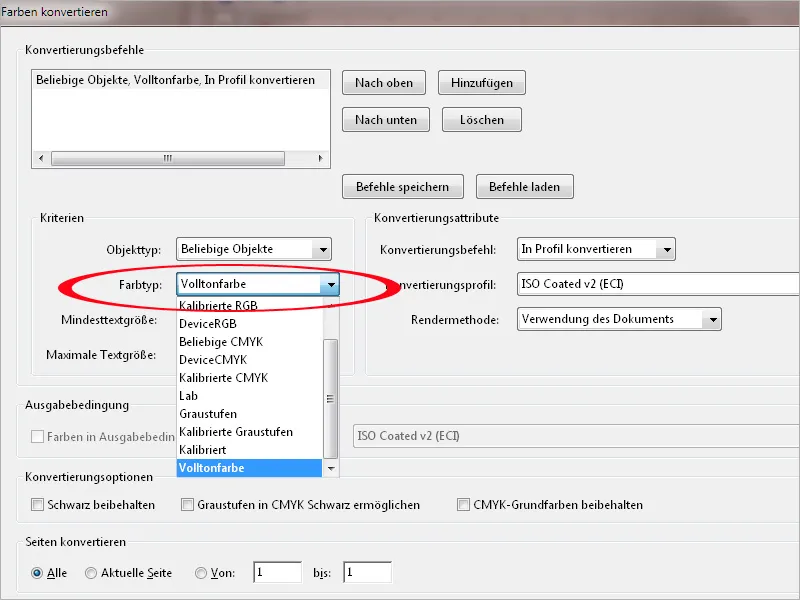
In the Color type field, select the entry Solid color from the pull-down list ; the entry Any objects can remain as the object type in the field above. In the Conversion attributes area on the right-hand side, select the output intent - usually ISO Coated V2 - and confirm the settings with OK.
The spot colors are now converted to the Euroscale, which you can check again after looking at the output preview.
As an alternative to manual conversion, you can also use a correction rule with the preflight tool. In the example below, I first copied the standard rule Convert colors to "Coated Fogra 39", Convert spot colors to CMYK and then edited it to be able to use the ISO Coated V2 profile from the ECI as the output target. After clicking on the Correct button, all spot colors are then converted to the Euroscale.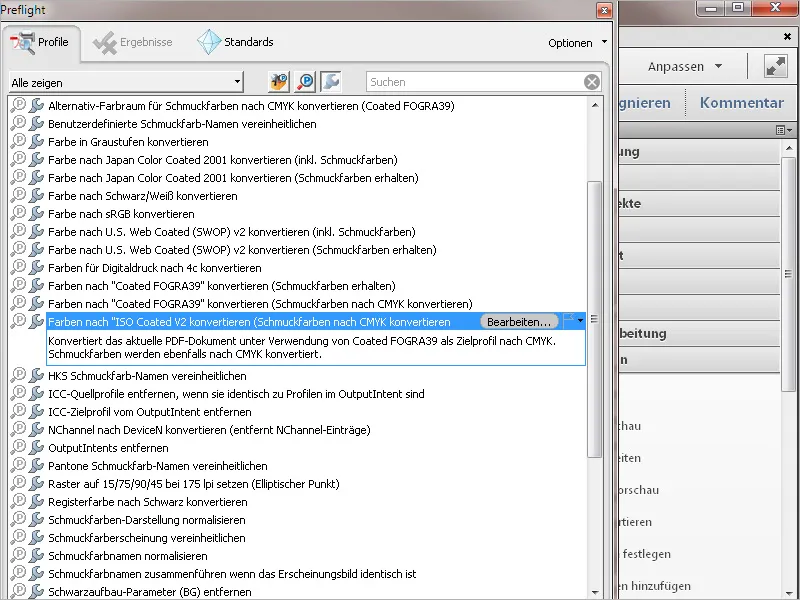
If, when checking the output preview (by removing the checkmark for the black channel), you notice that black text is output in all color channels (this often happens with PDF documents that were created with Office programs), this error should be corrected so that it is only output 100% in the black channel so that you get a clean typeface.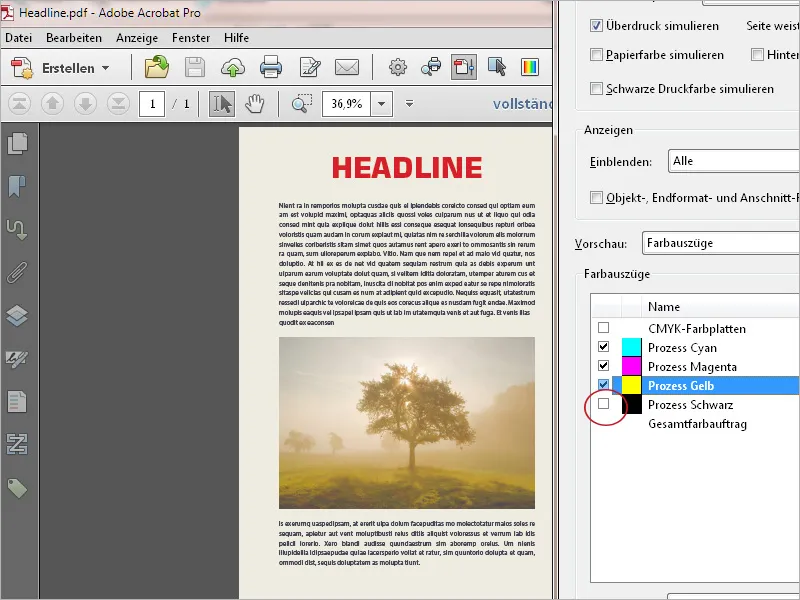
To do this, first search for the color space in which the black text exists in the pull-down list of the Fade in field.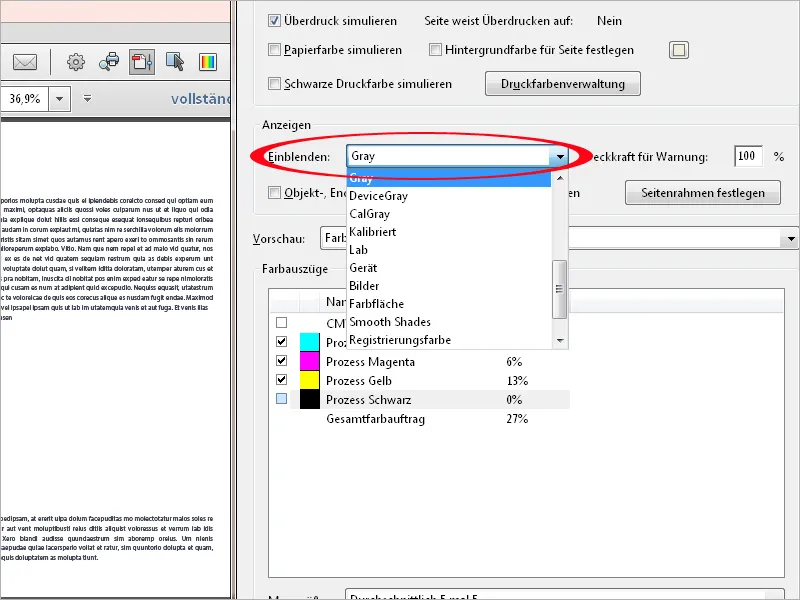
Now open the Convert colors tool again , set Text as the object type and the color space you have just identified as the color type. The conversion profile for black text is Dot Gain 15%. In the conversion options, the checkboxes Keep black and Enable grayscale in CMYK black are also activated. After clicking OK, the text is converted for output in the black channel alone.
Alternatively, if you have elements in mixed color spaces, you can convert any objects directly to the ISO Coated V2 profile; in this case, the Preserve CMYK basic colors checkbox must also be activated in the conversion options. Acrobat then converts all objects for this output intent; black text is then only in the black channel.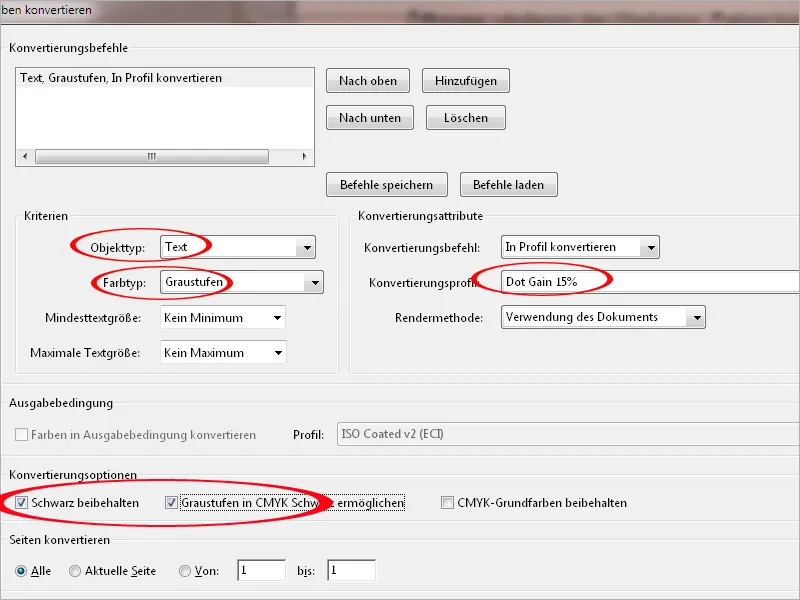
If a look at the output preview shows that black text on a colored background is omitted, you have discovered another error that should be corrected.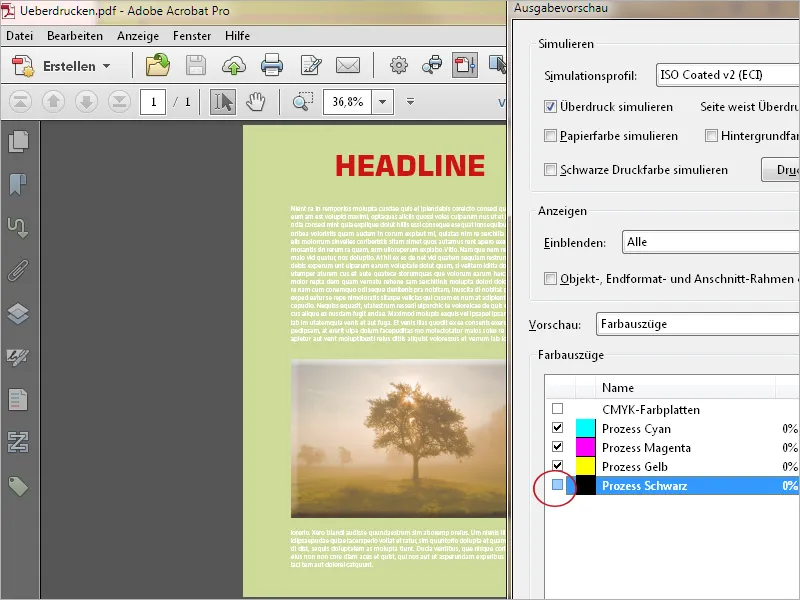
To do this, open the Preflight panel, select the Set black text to overprint rule in the Corrections category and click on Correct. Acrobat sets the 100% black text to overprint and thus corrects this error, which you can see for yourself with a second look at the output preview.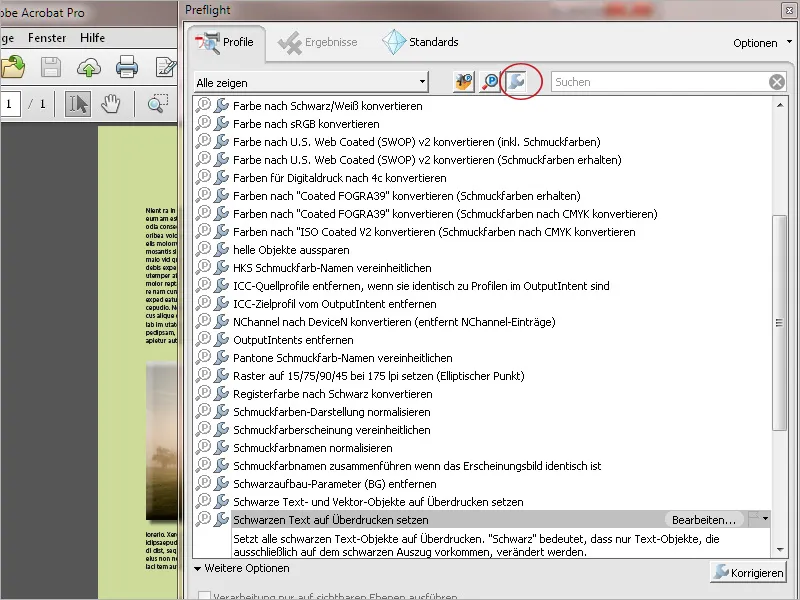
By activating the Total color application checkbox in the output preview, you will see that a PDF file intended for a newspaper advertisement far exceeds the value for the coldset web offset (see areas marked in green in the preview image).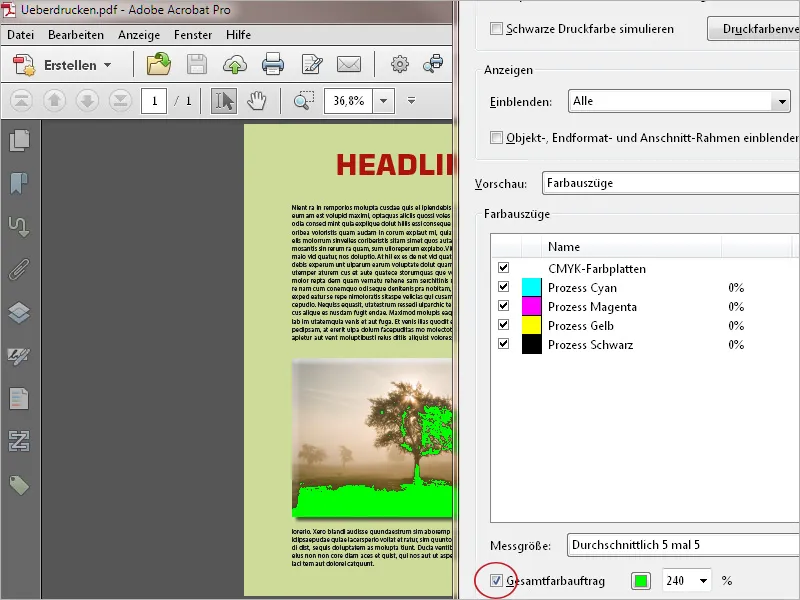
Open the Convert colors tool and select a conversion profile for newspaper printing for any objects and color spaces. Activate all checkboxes in the conversion options and click OK to convert the document to the new output intent.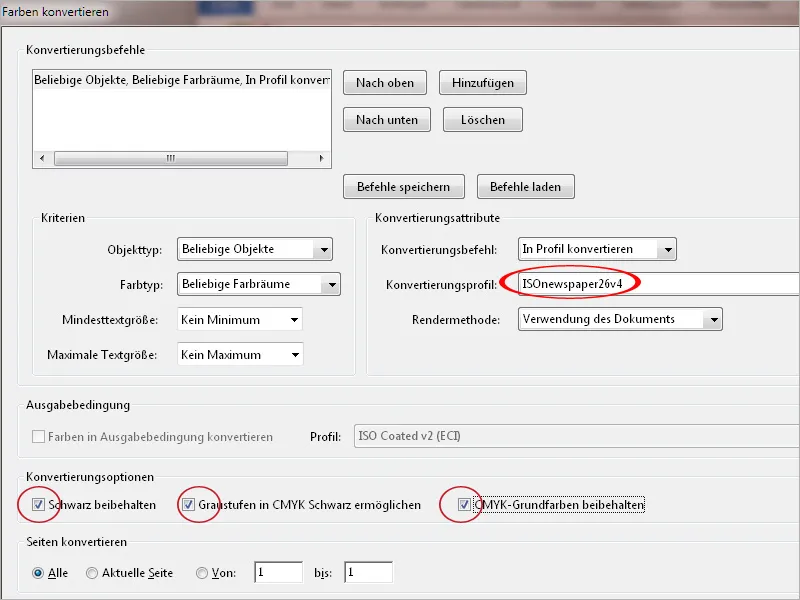
Acrobat now converts the gradation curves for the new output intent and reduces the total color application to the required value.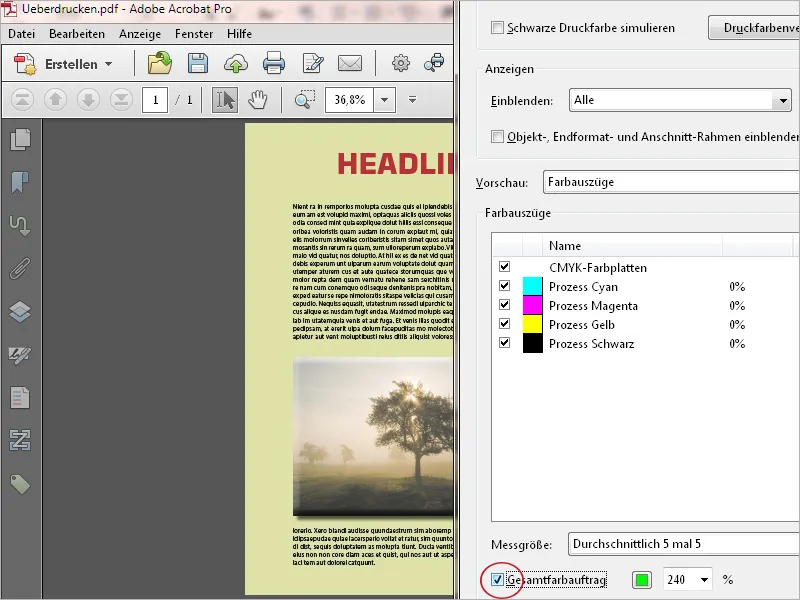
Another problem can arise if you reduce transparencies in a PDF document with spot colors.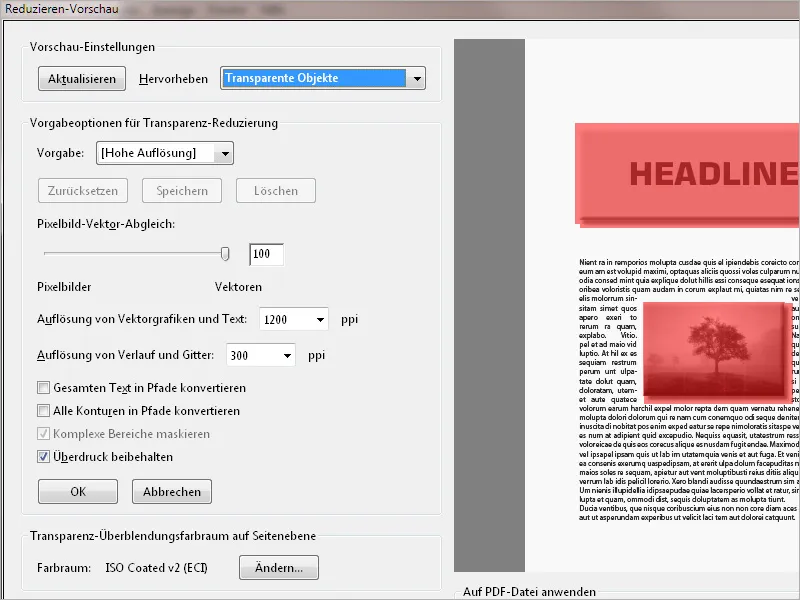
This is because the element in the spot color is then no longer displayed correctly. In this case, you should first convert the spot color to Euroscale BEFORE reducing the transparencies. If the transparencies are then reduced, everything will be displayed correctly.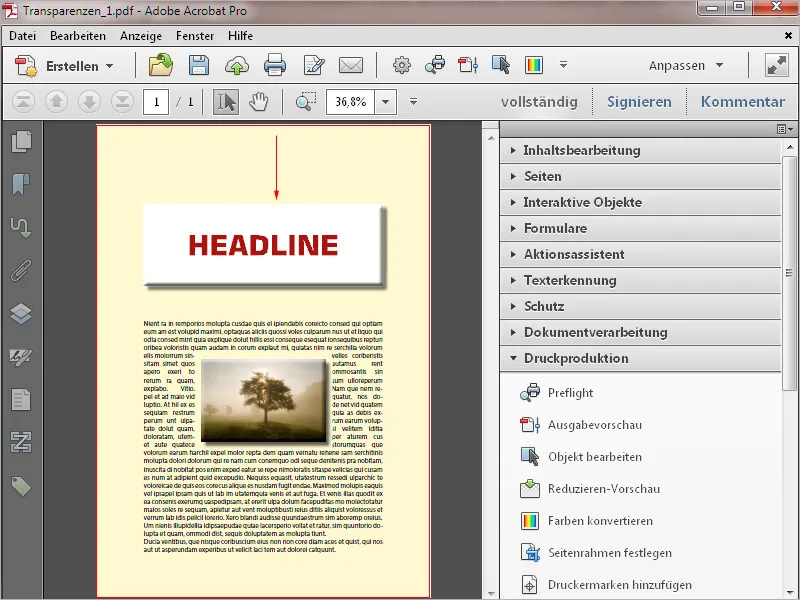
In order to comply with an exchange standard such as X1, X3 or X4, a final format frame (trim box) must be defined in a PDF file. This definition is often missing, especially for files from the Office environment, which is why a corresponding error message is displayed during the preflight check.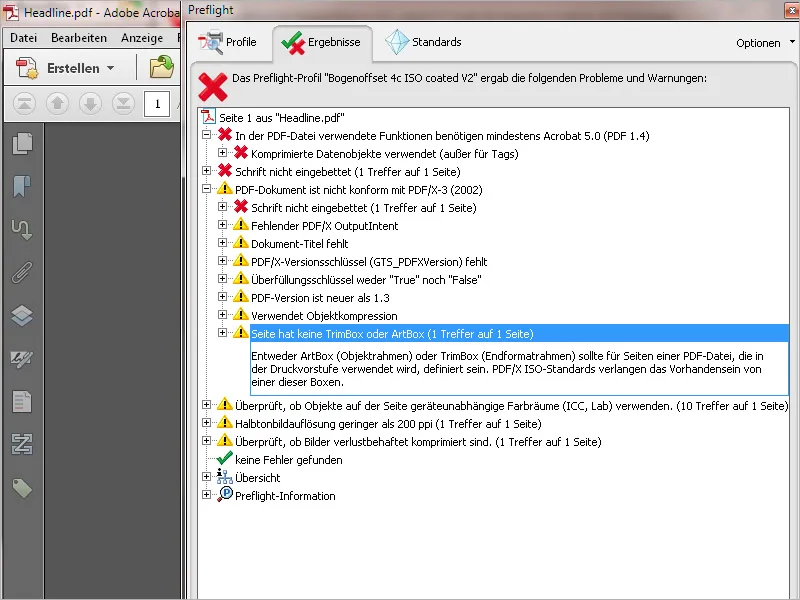
You can correct this error with the Define page frame tool. Select the final format frame in the Apply to field and confirm the setting with OK. Acrobat now writes the information about the trim box to the file and thus corrects this error.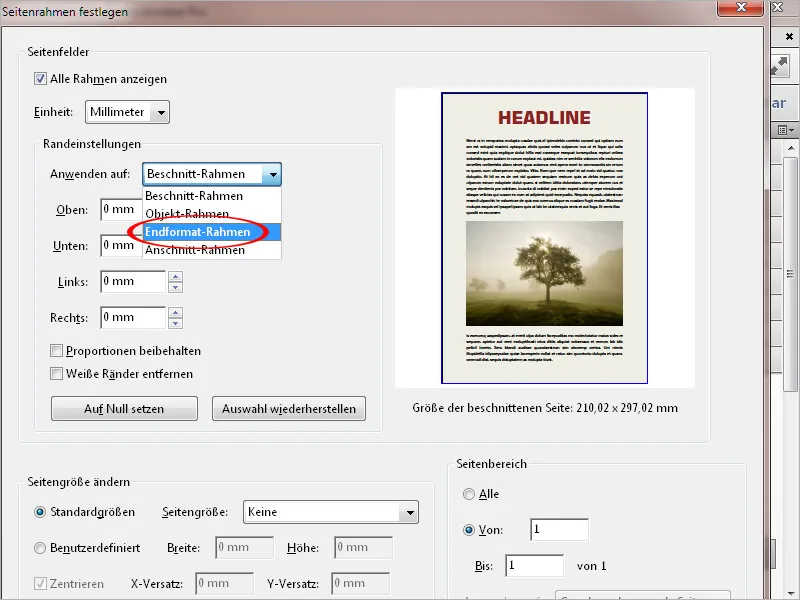
Another problem arises with a PDF file intended for printing, in which graphic elements such as images or color areas extend to the edge of the page, but no bleed area has been added to the document into which these elements extend.
The example shows such a document, which is in the final A4 format. If it is printed like this together with other pages on a larger print sheet, it would then have to be cut off exactly at the edges of the color areas. This is impossible to implement in production, as small processing tolerances must always be taken into account. However, as soon as this bleed differs just a little, the white paper flashes up next to it. This is why these documents always require a bleed.
But this is obviously missing, so what can you do? First open the Set page frame tool.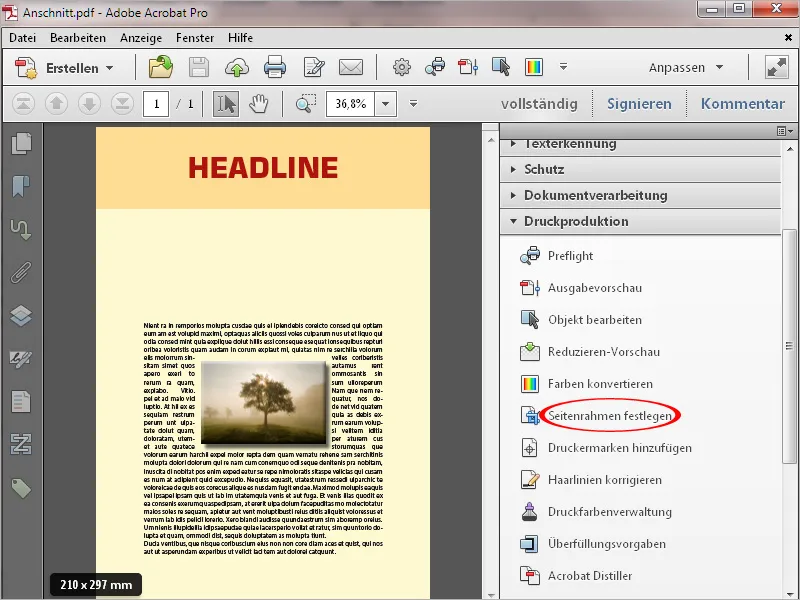
Under Margin settings under Apply, select the Final format frame option.
Change the page size from Standard to Custom and enter the required dimensions for width and height including the bleed. With a final format of A4 (21 x 29.7 cm) and a bleed of 3 mm all the way around, you will get the dimensions shown below.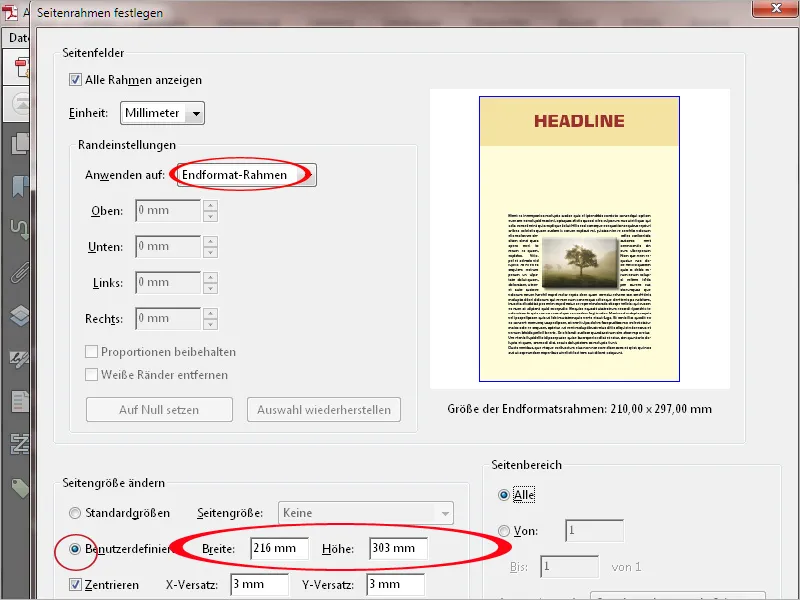
After clicking OK, the page size is changed accordingly and the document now has a white frame the size of the selected bleed. Now the images or color areas that extend to the edge must be enlarged into the bleed.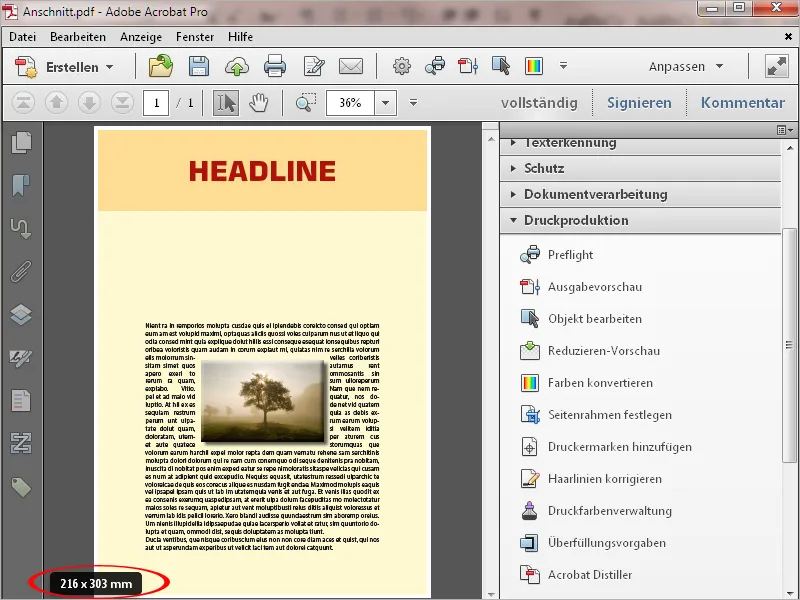
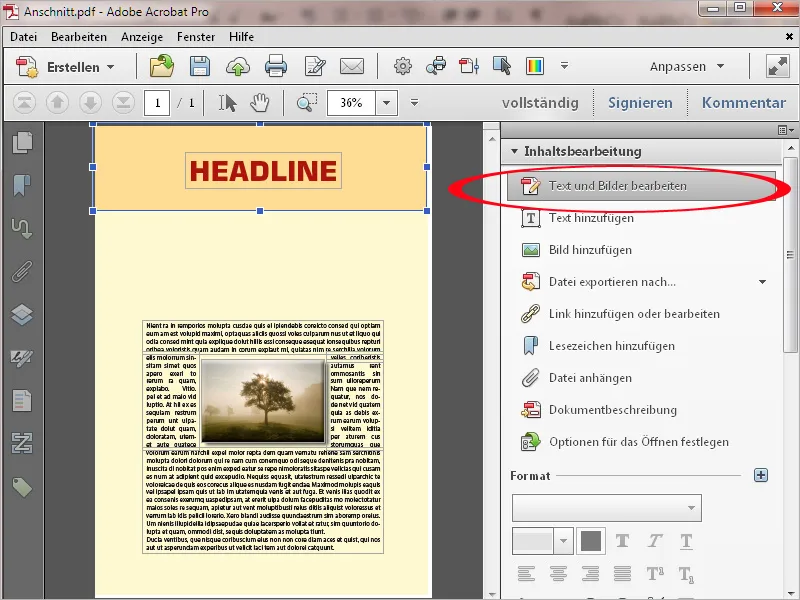
To do this, use the Edit text and images tool in the Content editing category. Select the relevant elements and drag the nodes of the frames into the bleed. This reduces the resolution of images slightly, vector objects can be enlarged without loss.