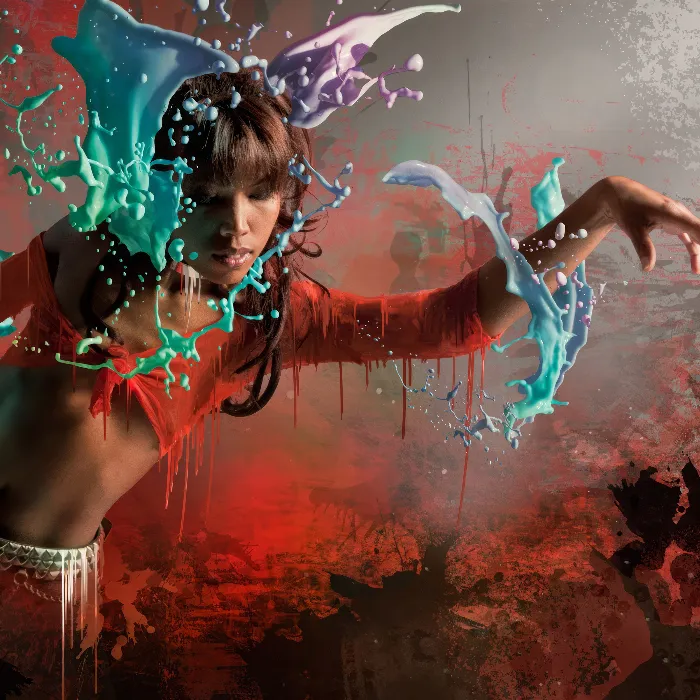
A 3D glass text is an impressive effect that gives your designs depth, transparency, and elegance. Perfect for logos, posters, or digital art, this look combines glass reflections, light refractions, and dimensional effects. With Photoshop, you can easily achieve this style by using layer styles, gradients, and lighting effects. In this tutorial, I'll show you step by step how to create a realistic 3D glass text that will make your typography stand out. Let's get started and make your text shine!
1. New Document
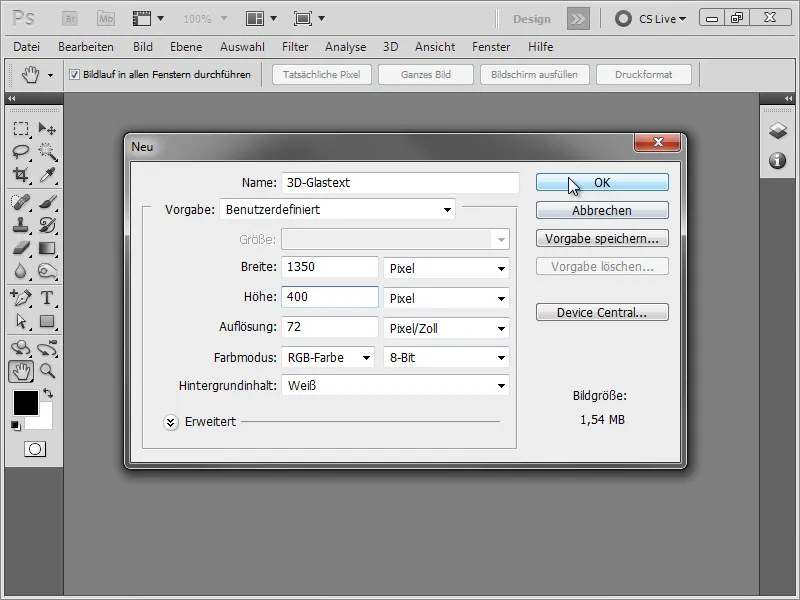
We start by creating a new document with dimensions of 2090 Px x 1000 Px.
Then we go to the website www.sxc.hu to find our background image. We simply enter the following image number in the search bar: 28415.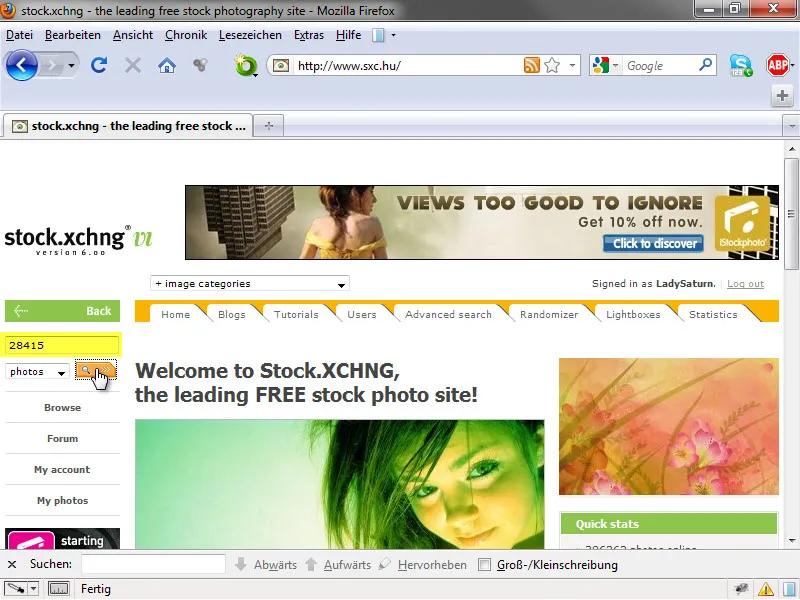
We then click on the image and drag it into our Photoshop document.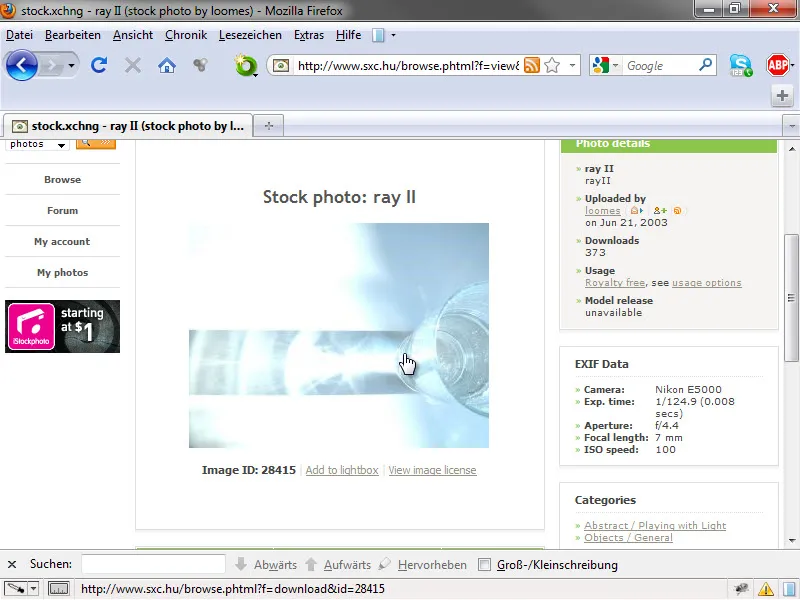
If necessary, we may need to scale the image a bit wider (Ctrl+T) to fit our workspace. It's okay if we distort the image as it serves only as a background texture.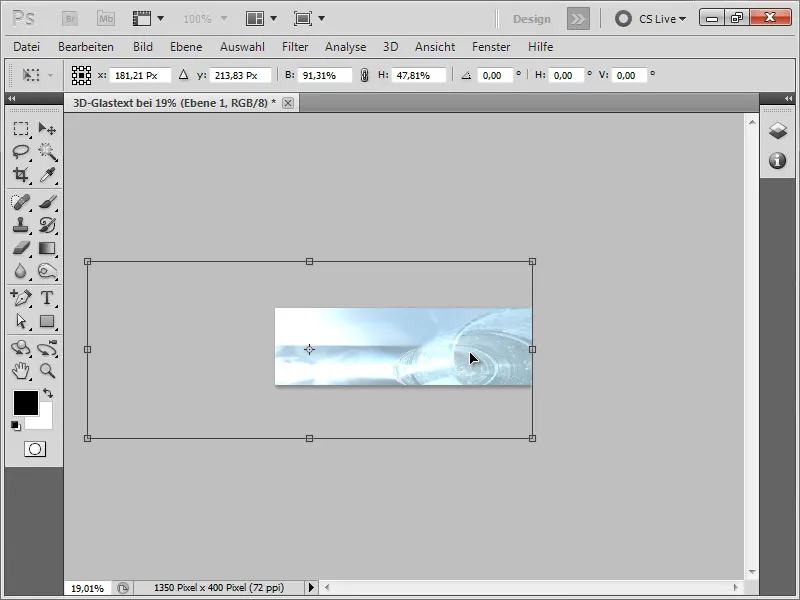
2. Darken Background
We will further optimize the background to make it less dominant. For this, we create two adjustment layers. Firstly, the Hue/Saturation.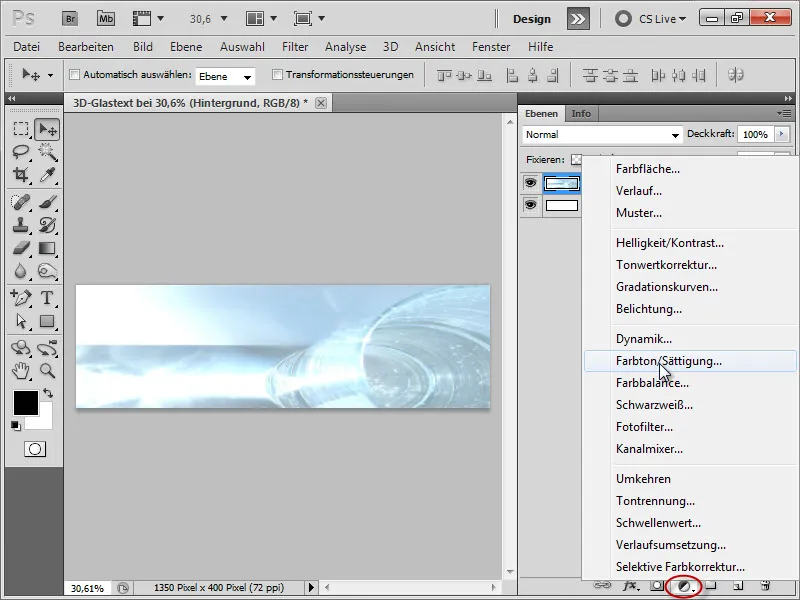
We set the Saturation to -42.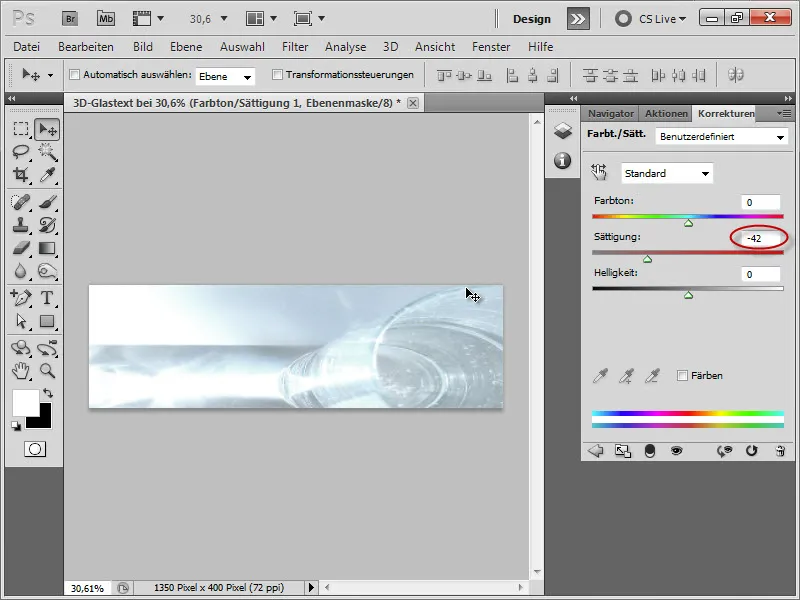
Then we create another adjustment layer with Exposure.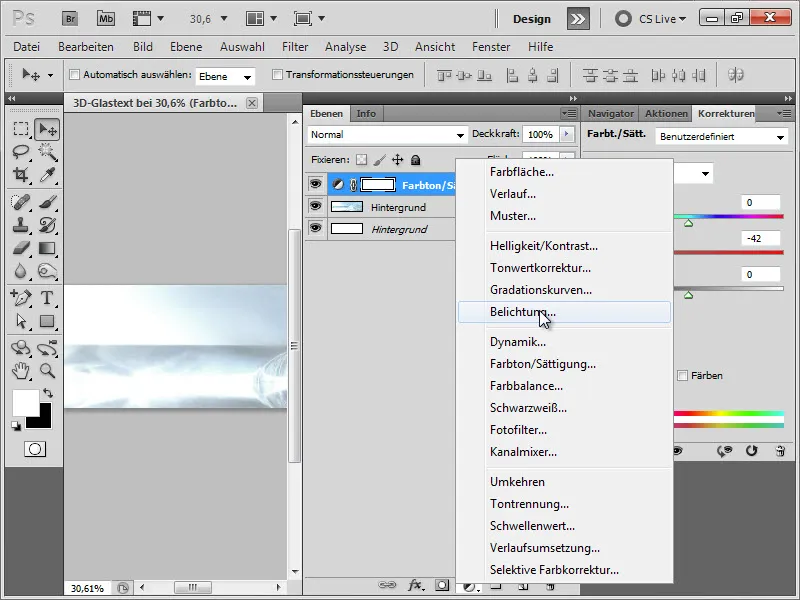
We enter the following values:
• Exposure: -1.14
• Offset: -0.2016
• Gamma Correction: 0.40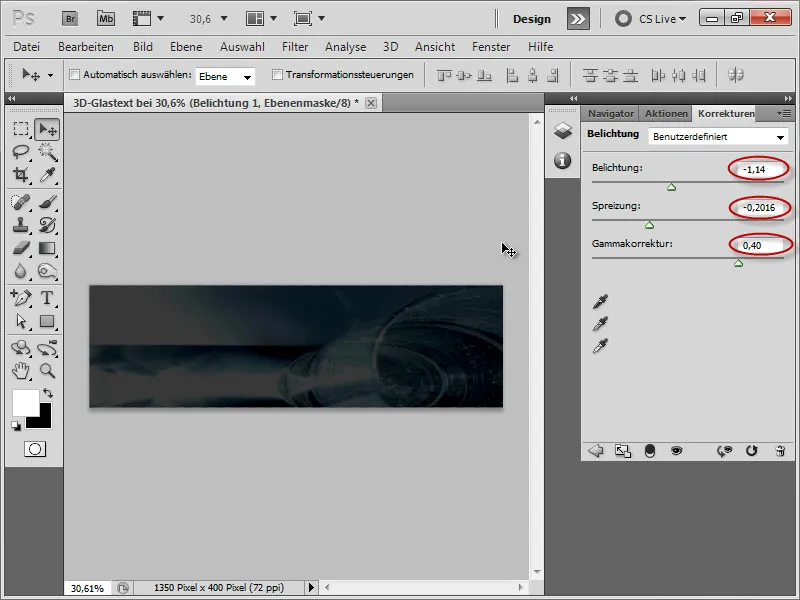
3. Create Text
Now we select the Text tool and choose a suitable bold font. In this case, it is "Adobe Gothic Std" with a size of 160 Px, Anti-Alias set to Smooth, and white color.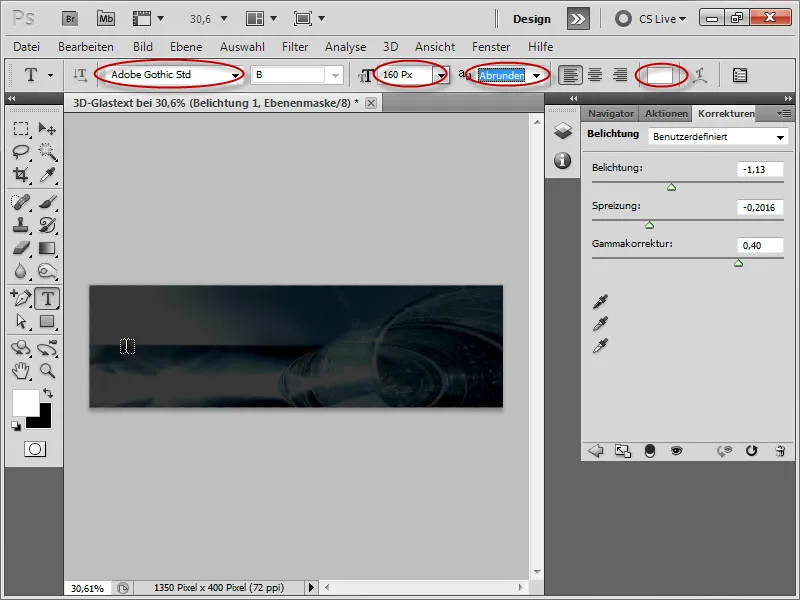
Then we go to the Layers panel and duplicate the text layer using Ctrl+J. We then rename it to "White" and the one below to "Black". Now we need to set the lower text layer to black.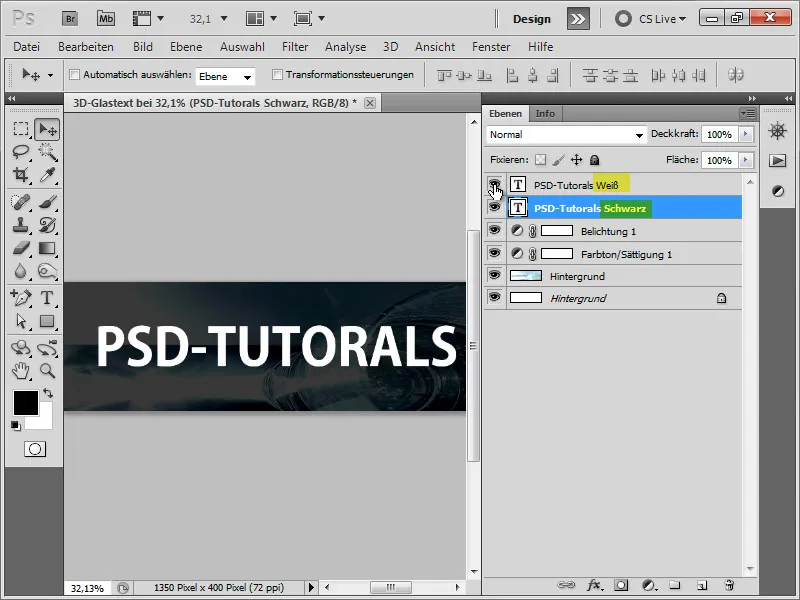
Next, at the black text layer, press Ctrl+T and distort the text slightly inwards so that the black edges show through.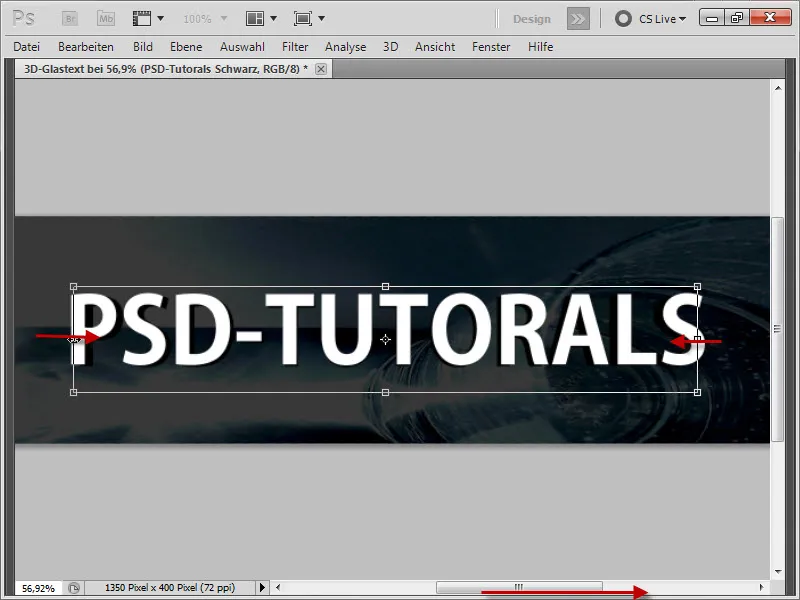
4. Add Layer Effects to the White Text Layer
Then double-click on the white text layer to add the following layer style effects:
Drop Shadow:
• Distance: 6 Px
• Size: 18 Px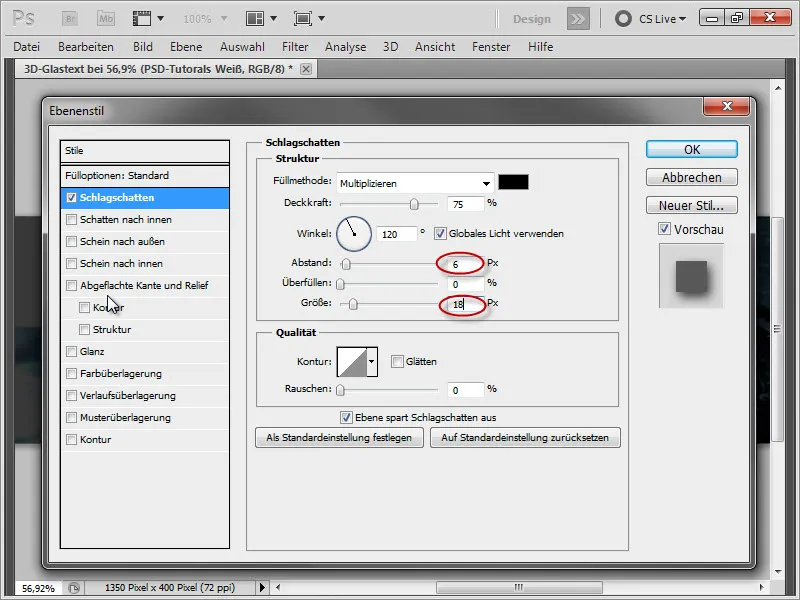
Bevel and Emboss:
• Size: 1 Px
• Light Mode: Normal, 100% Opacity
• Shadow Mode: Normal, 100% Opacity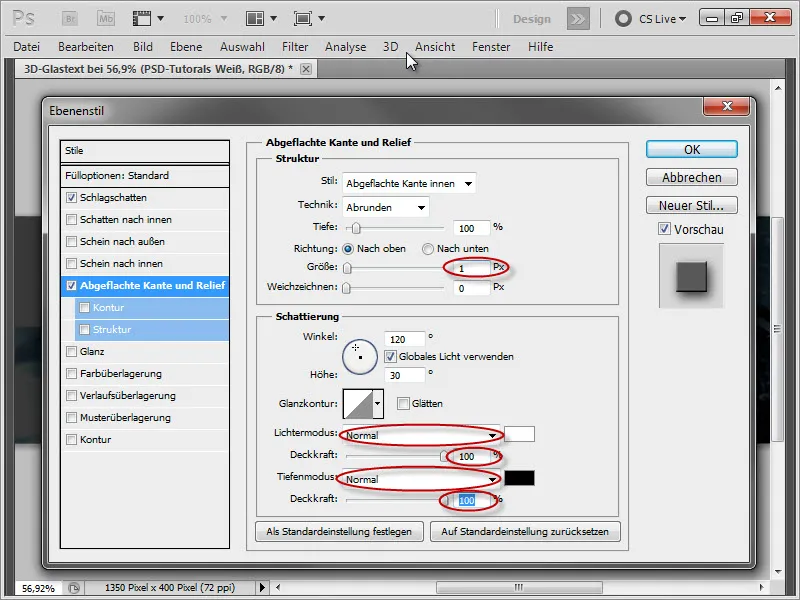
Intermediate Result: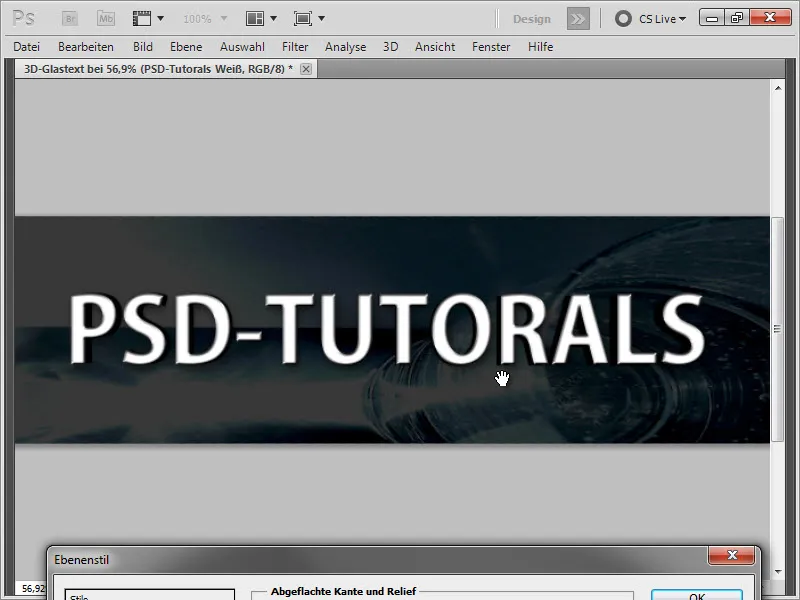
Gloss:
• Color: #3e9ebf
• Distance: 14 Px
• Size: 10 Px
• Smooth: Checkmark
• Contour: see image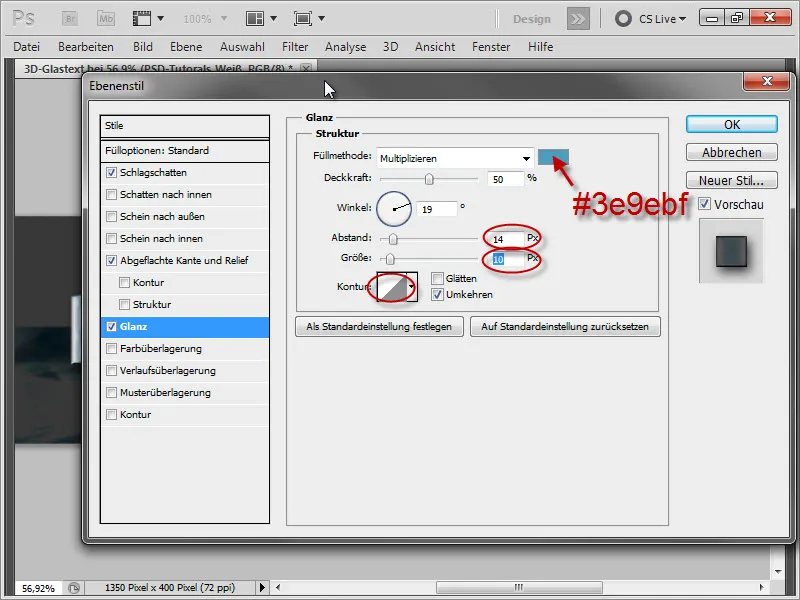
Intermediate Result: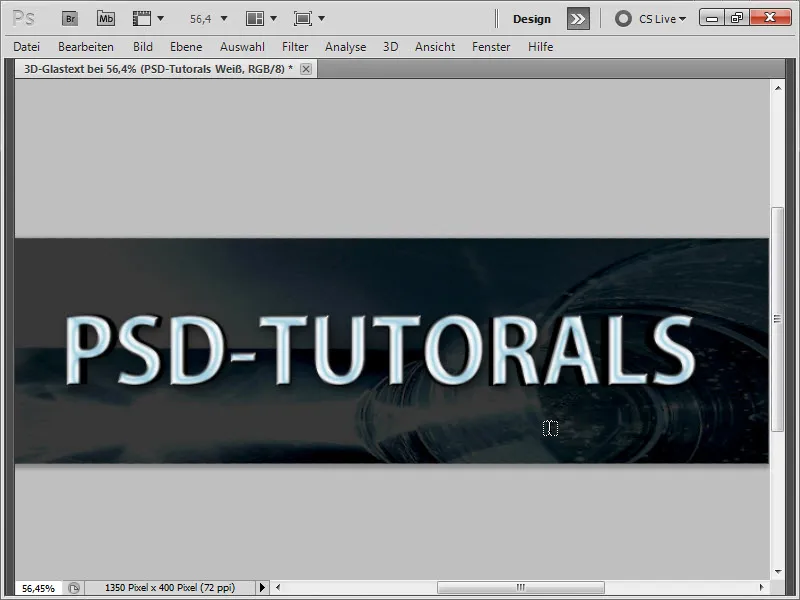
5. Add Layer Effects to the Black Text Layer
Next, double-click on the black text layer to add layer styles to it as well.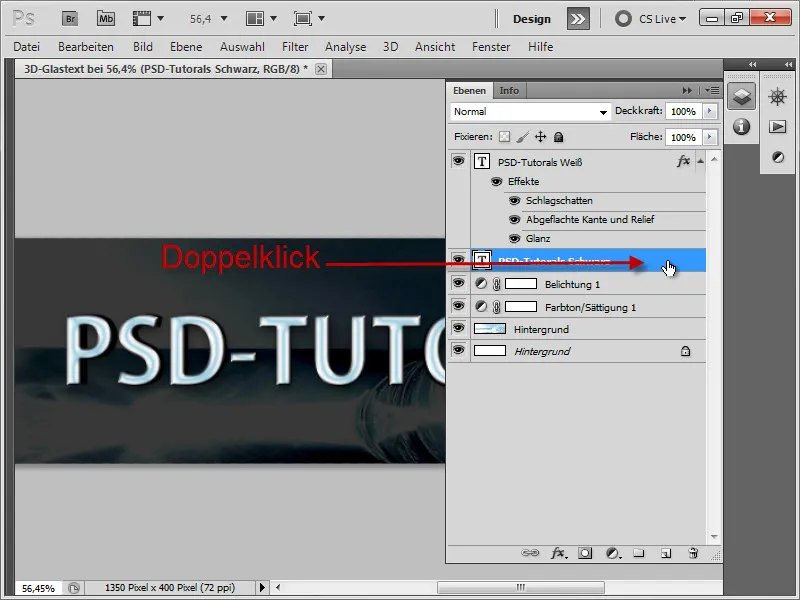
Drop Shadow:
• Distance: 4 Px
• Size: 11 Px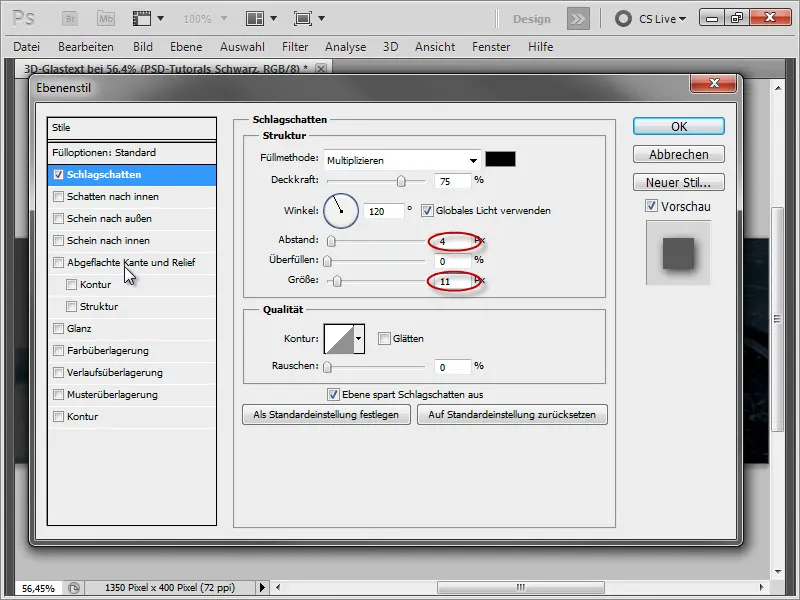
Flattened edge and relief:
• Size: 1 px
• Angle: 30°, deactivate global light
• Height: 30°
• Light mode: Normal, 100% opacity
• Shadow mode: Normal, 100% opacity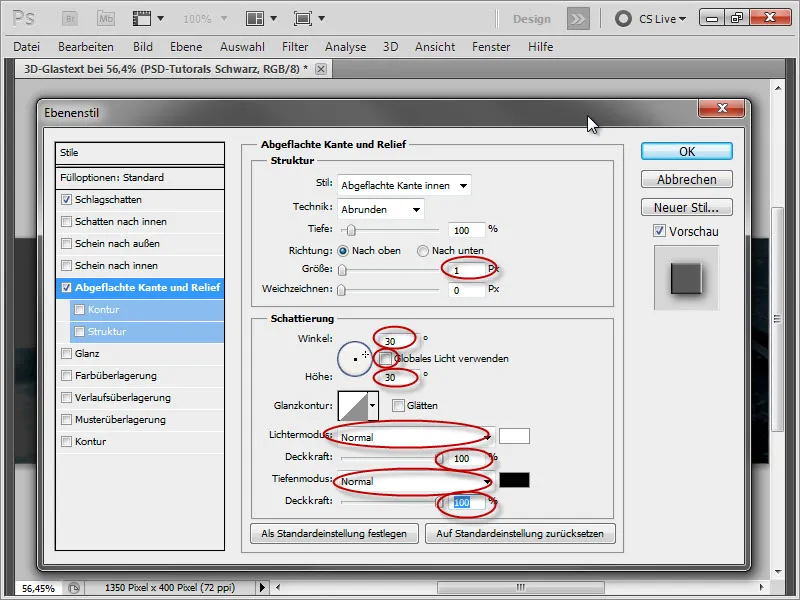
Intermediate result: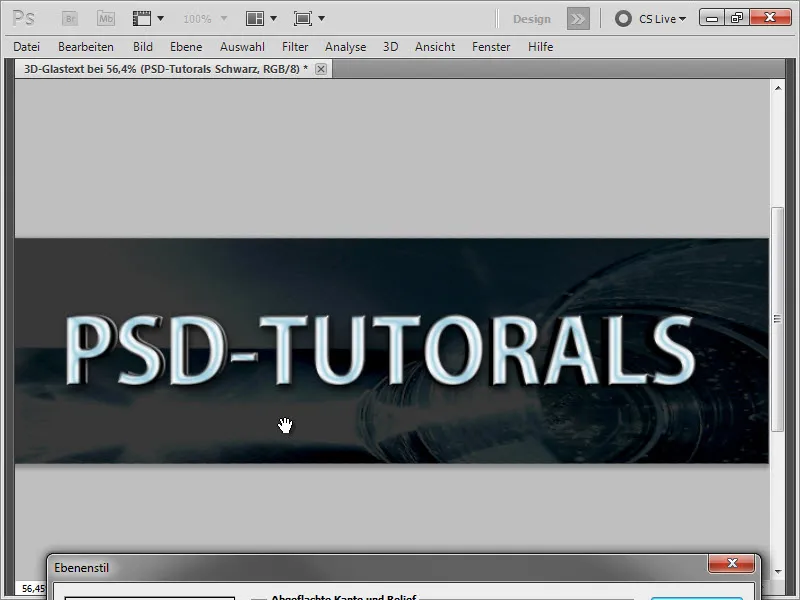
Gloss:
• Fill method: Color burn, • Opacity: 43
• Angle: 20°
• Distance: 12 px
• Size: 14 px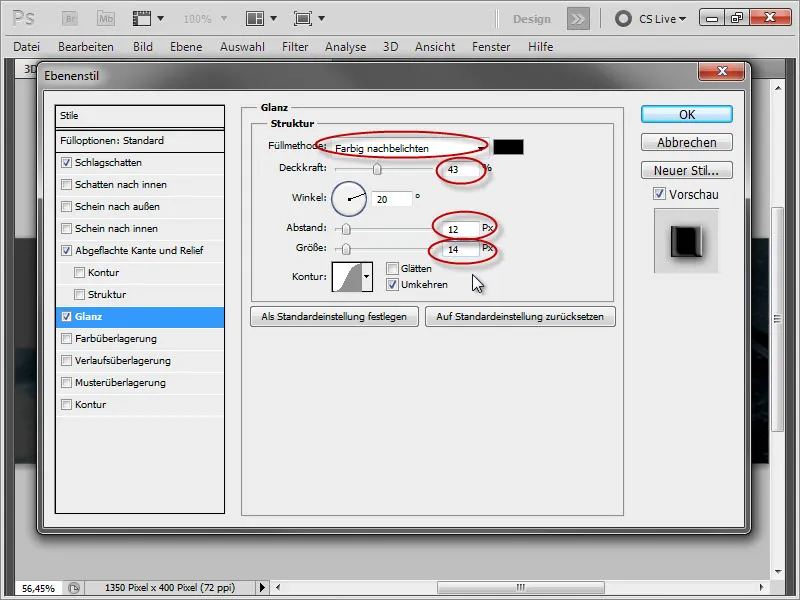
Intermediate result: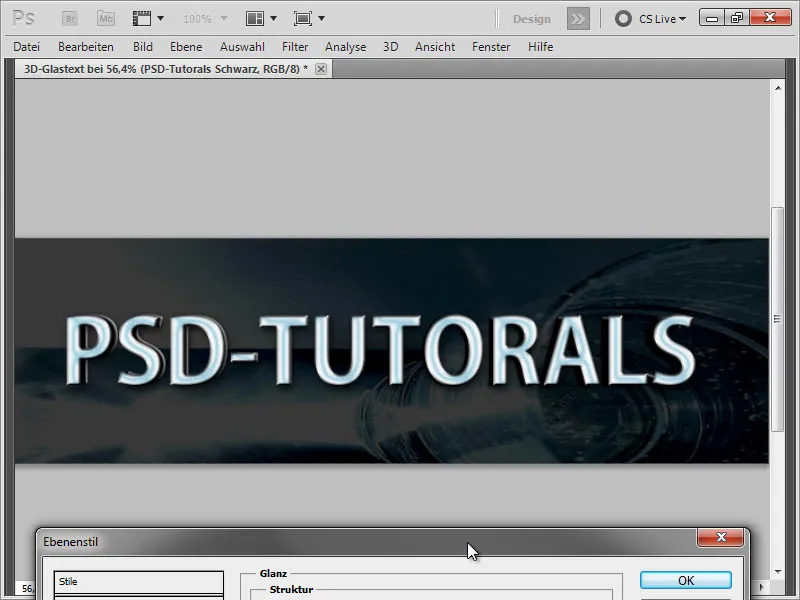
As you can see, there is not a huge change compared to the previous intermediate result. However, it will only take full effect when we switch to Color overlay, as our fill method will then have the desired impact.
Color overlay:
• Color: #337d94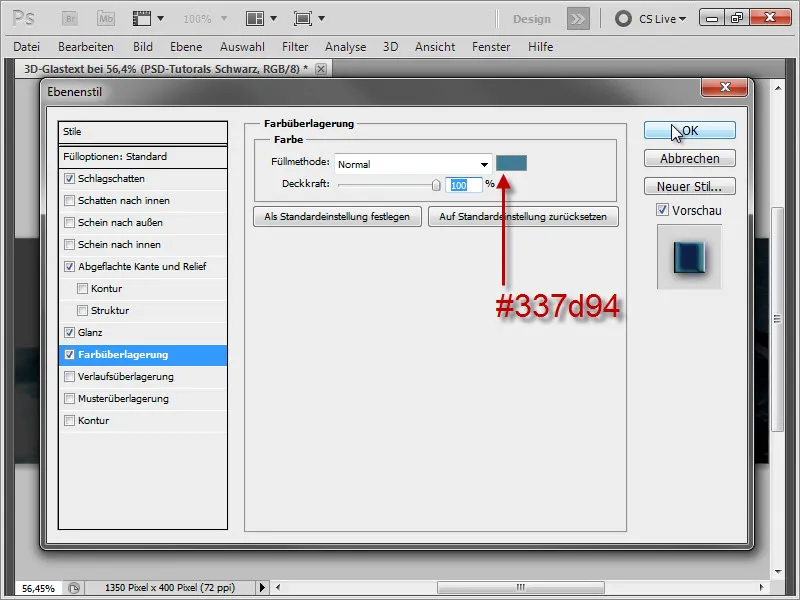
Intermediate result: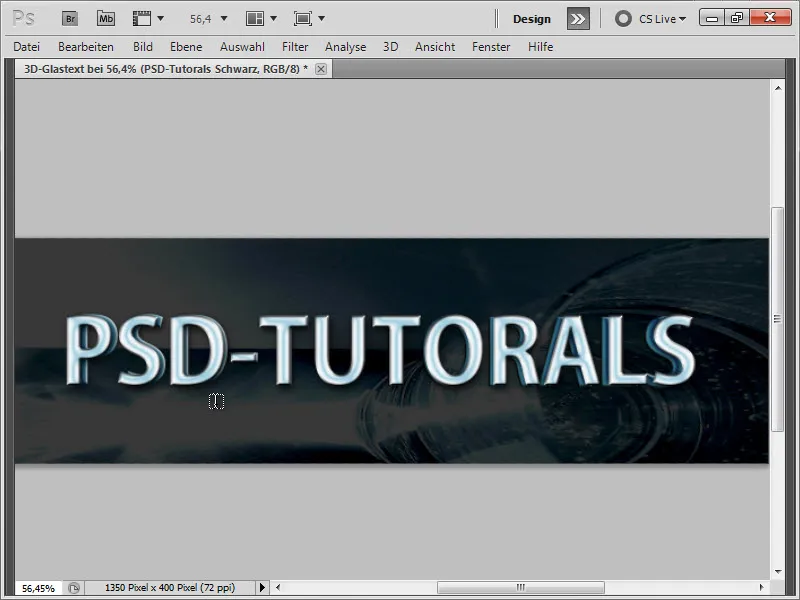
Zoomed-in intermediate result: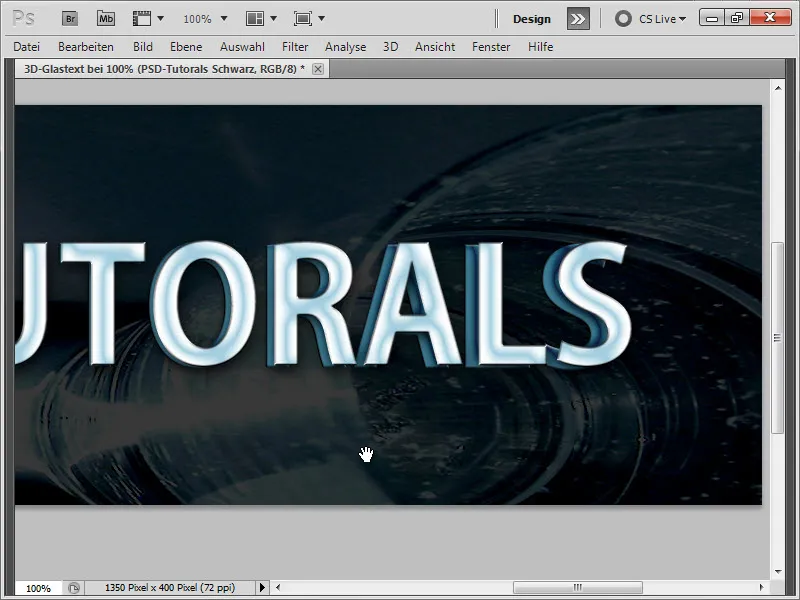
6. Drawing reflections
Next, we want to draw some reflections. For this, we create a new layer and rename it to "Reflections."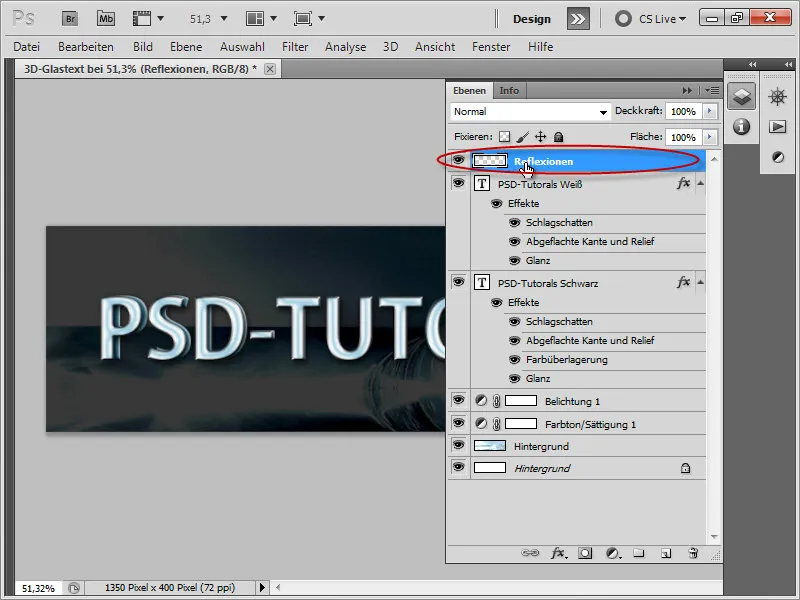
Now, we take the brush tool and choose a soft 200 px brush. With that, we create some reflections. Here, we paint or click once over the shown areas.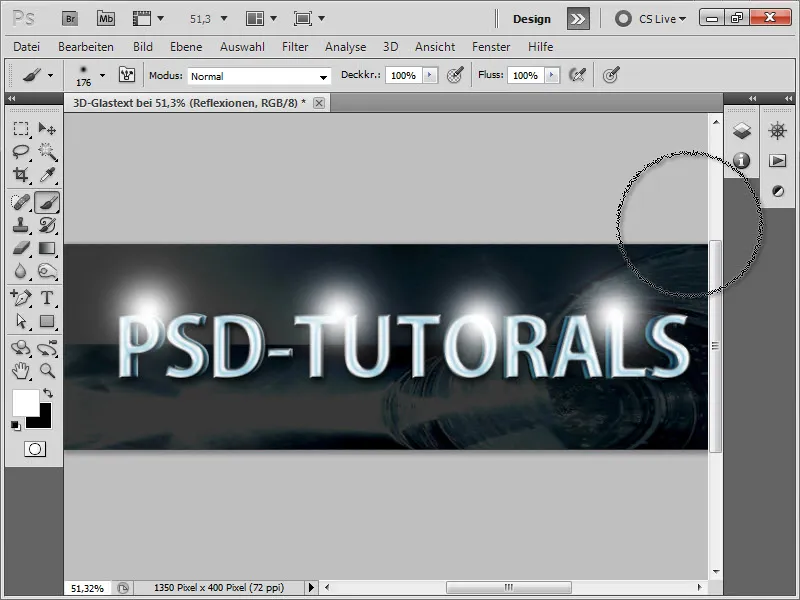
We set the layer to Soft light.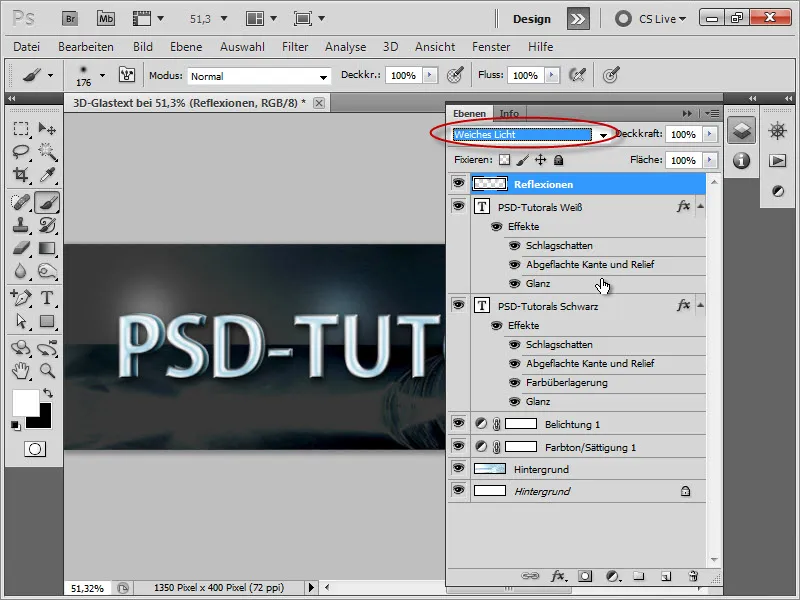
7. More reflections
Next, we rasterize the rectangle layer, so we duplicate it first...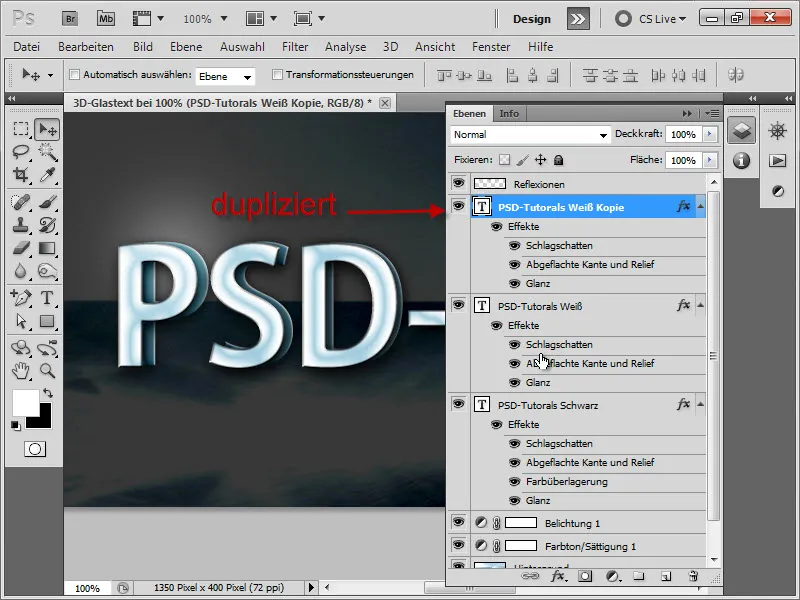
Then, right-click on the copy and choose Rasterize layer.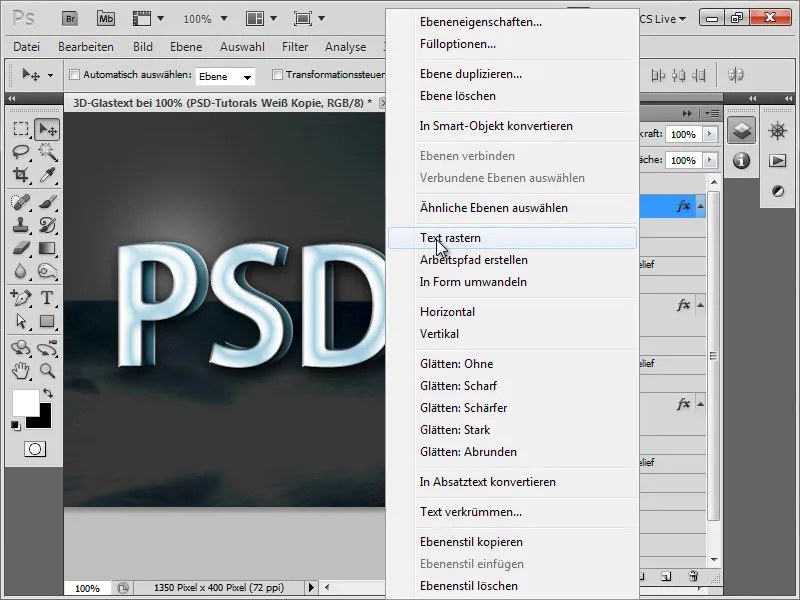
After that, we remove the layer styles of the rasterized layer by clicking on the "Effects" line and dragging it down into the trash bin.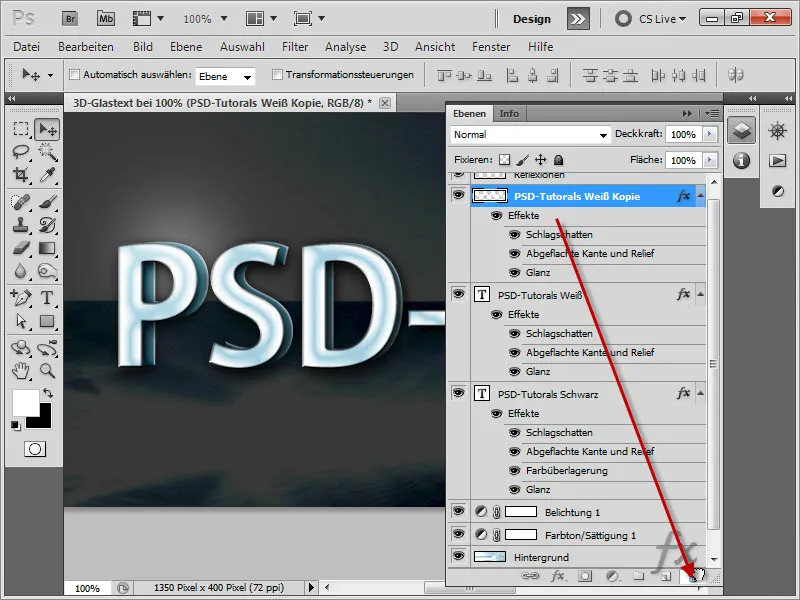
This will bring back our normal white text layer. Now, we select the Elliptical Marquee tool...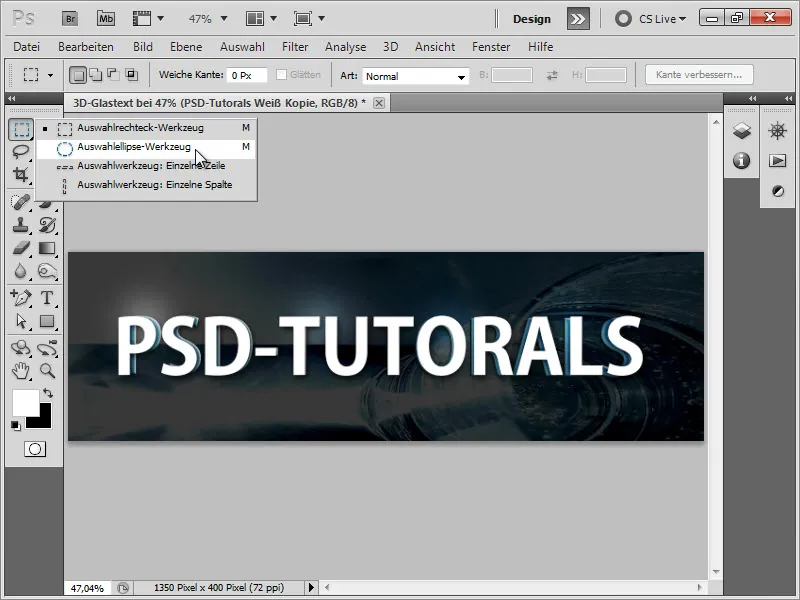
And make a selection as shown below, on the lower half of the text layer. Then, we press the Delete key to remove the bottom part.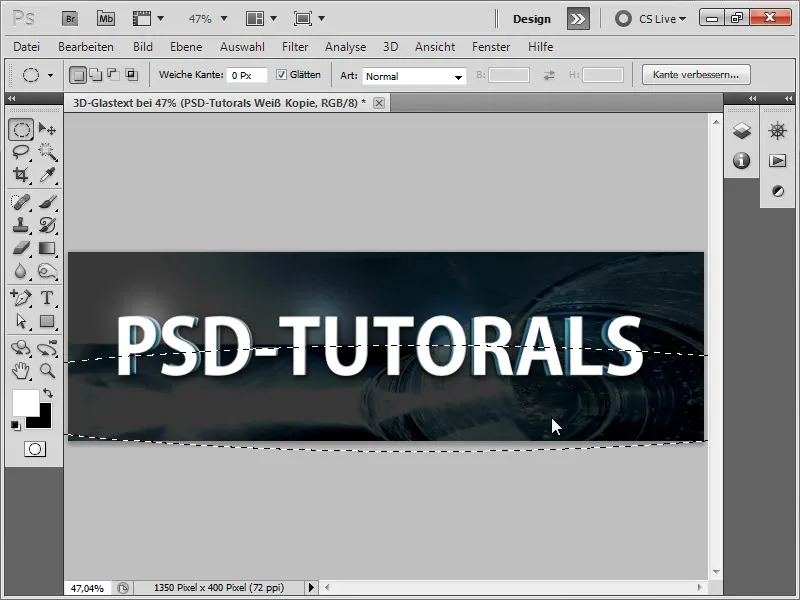
Next, we use the Eraser tool with a soft edge to erase the top edge, in order to achieve a light, soft transition.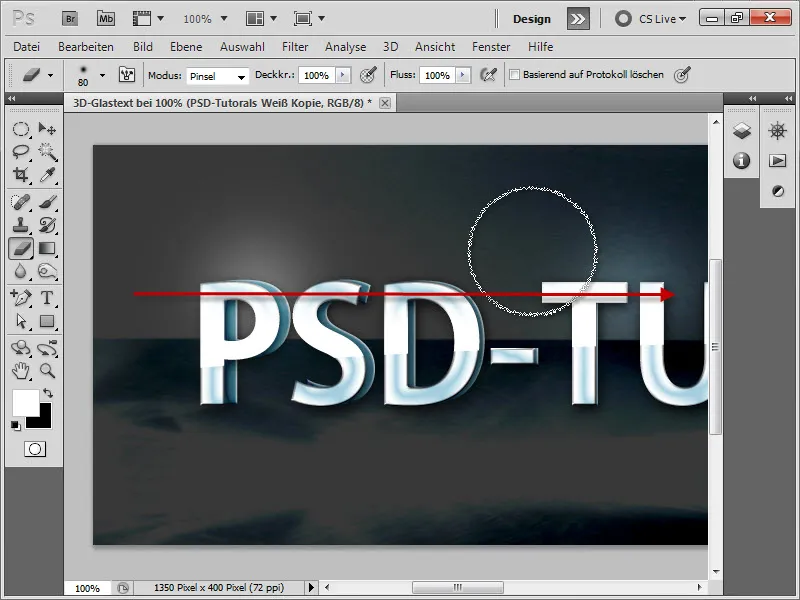
Then, we change the fill method to Hard light and adjust the Opacity to 65% for a more delicate appearance of the reflection.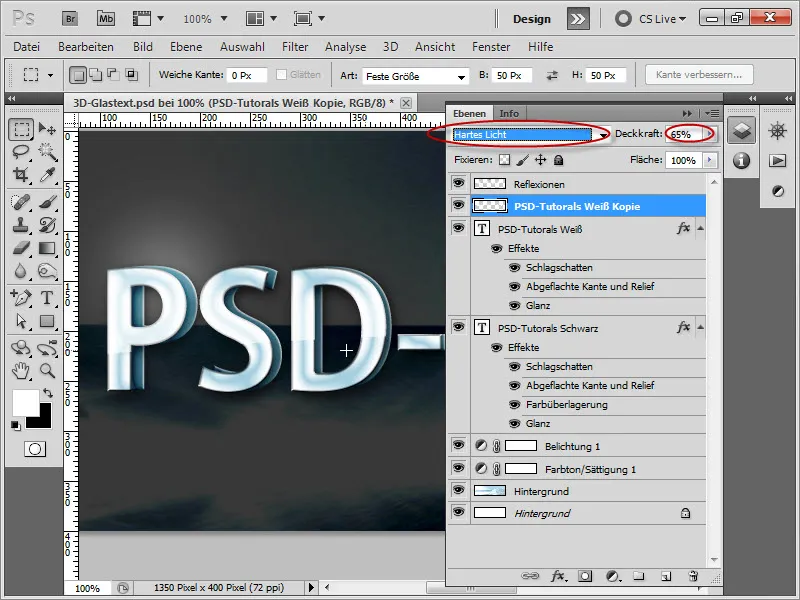
7. Drawing star highlights
Next, we create a new layer and rename it to "Star."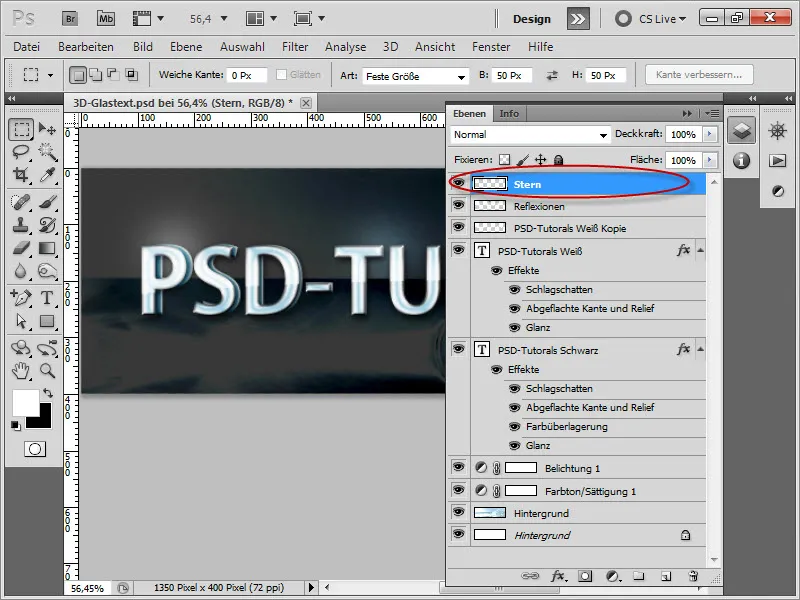
Then, we take a soft brush and click once on the image.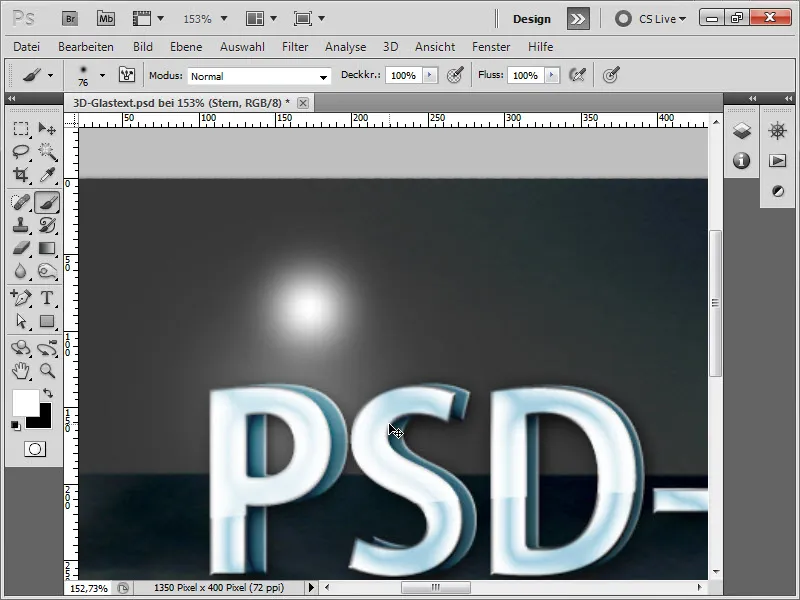
After that, we press Ctrl+T to narrow down this layer.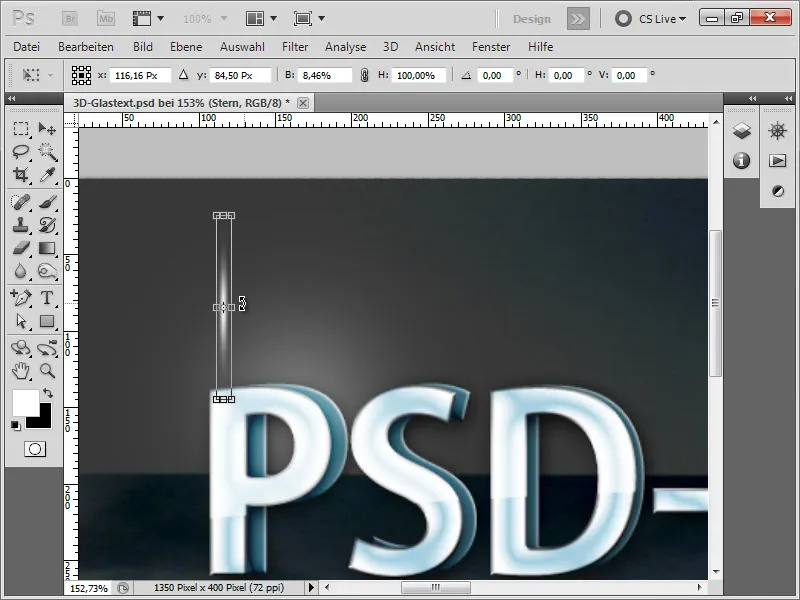
Then, we hold down the Shift key to rotate the layer exactly 45°.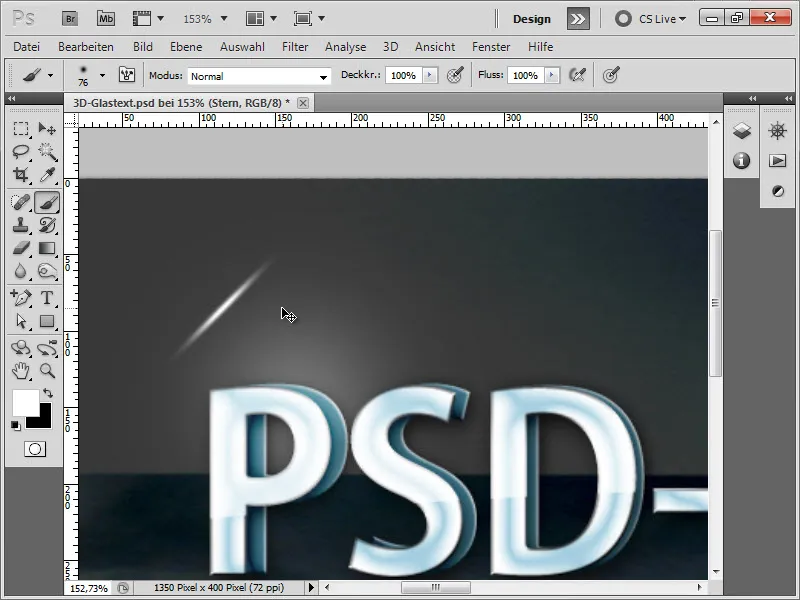
Next, we press Ctrl+J to duplicate the layer. Then press Ctrl+T again and rotate the reflection in the other direction while holding the Shift key.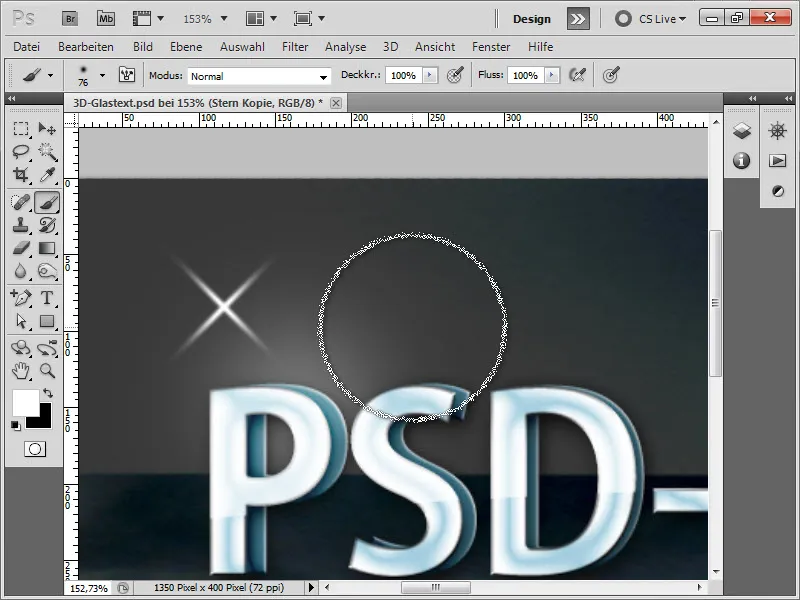
Now we press Ctrl+E to merge these two layers together. If we want, we can create another star that is not so slim.
After that, we can duplicate the stars as many times as we want and distribute them over the text. We can also vary the size so that it doesn't look so uniform.
This is what our final result looks like!
