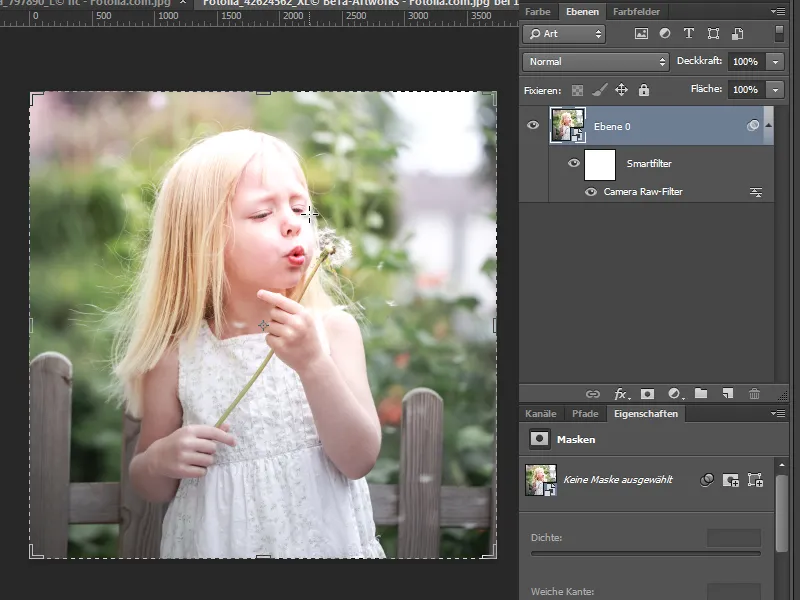
In Camera Raw 8 there are a few improvements to existing functions and also some new tools.
The Camera Raw filter
A new feature is that I can now also open JPG files already opened in Photoshop in Camera Raw. The Camera Raw filter (Ctrl+Shift+A) is a new feature in the Photoshop filter menu.
This means that numerous basic corrections (hue, saturation, contrast, perspective corrections, ...) can already be made in Camera Raw without having to create a large number of adjustment layers and associated masks in Photoshop. Logically, however, I only have access to the correction options in Camera Raw that do not specifically affect the raw workflow.
Tip: Always convert the layer to a smart object so that you can make changes to the corrections in Camera Raw at any time. Camera Raw has thus become a smart filter and fits elegantly into the image editing workflow.
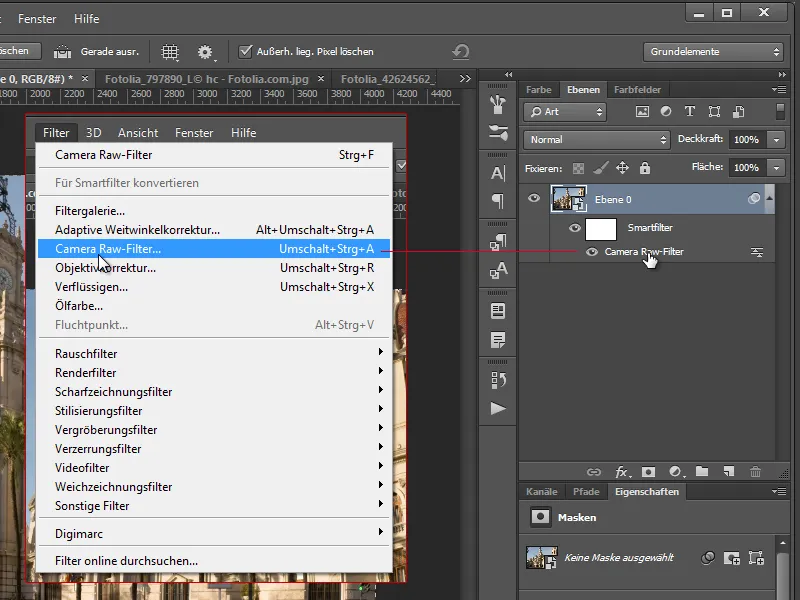
Automated corrections of perspective errors
In the Manual tab in the lens corrections, I have a new section at the top called Portrait. This contains a bar with five icons. The icon on the left, with a slight offset to the others, is for resetting. The three icons on the right are there to compensate for skewed horizon lines and slanted lines separately and together. The A stands for Automatic and performs the horizontal and vertical corrections simultaneously. The symbol on the far right also scales the result to the original aspect ratio.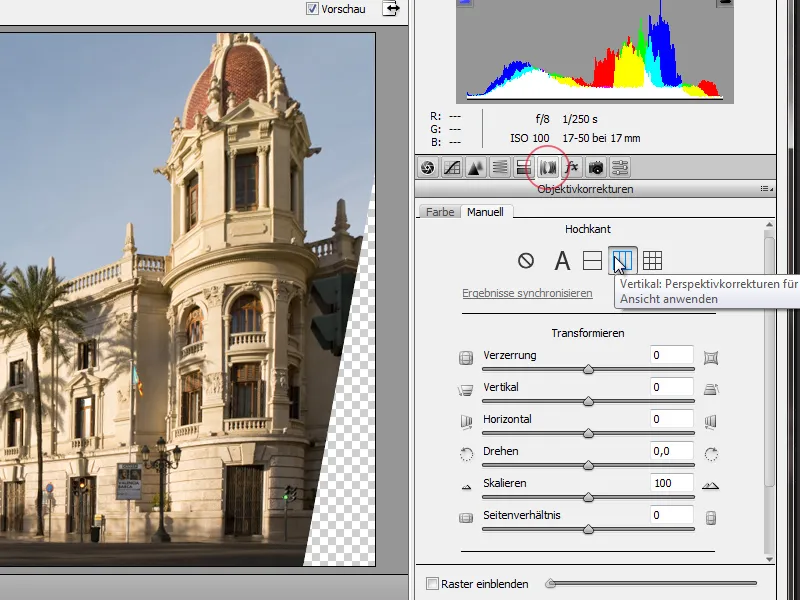
A cool new feature, because Camera Raw even recognizes perspective errors in the image quite reliably and corrects them with one click.
A note at this point: The portrait correctionsonly work separately from the manual perspective corrections under Transform. This means that only one of them works.
There is also a new feature for portrait correctionthat can extend the correction results to entire image series of a subject. This means that the correction results are synchronized to a coherent series. This can make sense if, for example, I want to create an HDR from my image series. But you could also make the HDR first and then carry out the perspective correction on the final image.
New options for local corrections in area repair
There is also a new feature for area repair.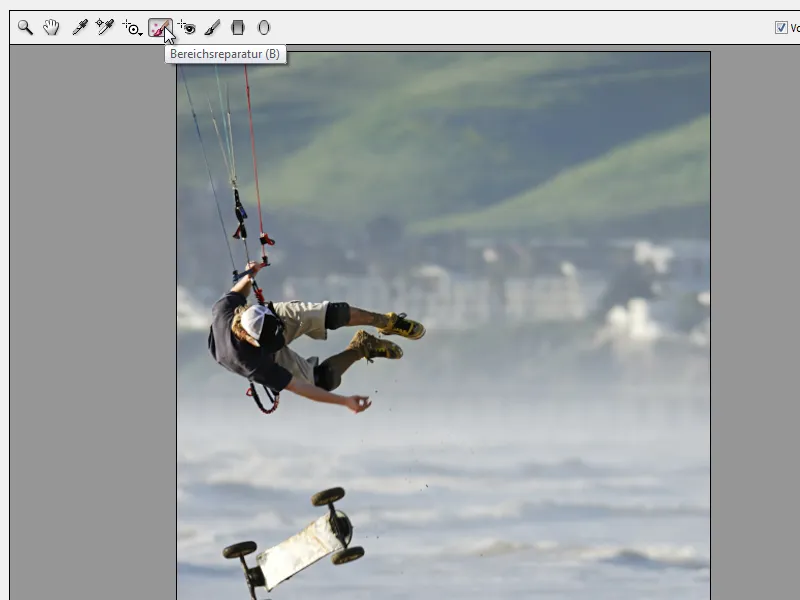
If area repair (B) is activated, I will find a checkbox in the right-hand menu for activating automatic area detection of errors in the image, which I can control in the tolerance using the corresponding slider. The view is then similar to the color range selection with the tolerance.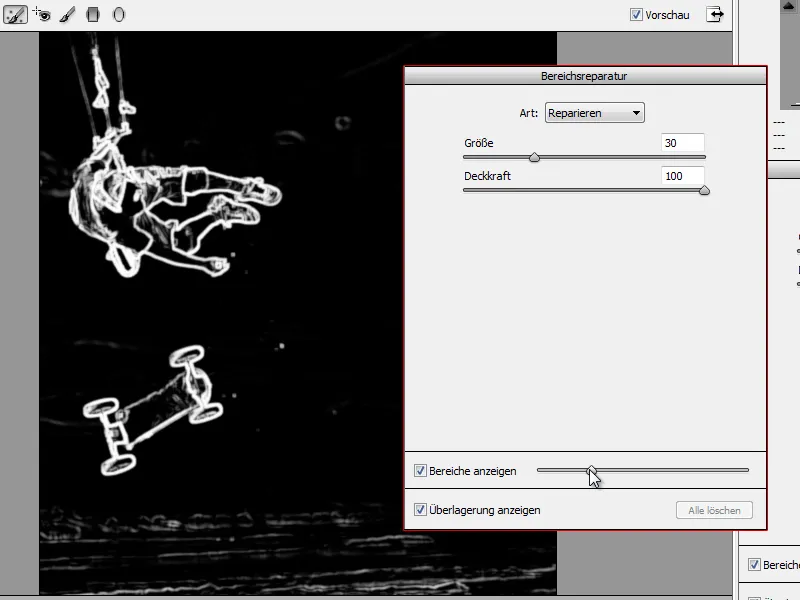
This allows the image defects to be specifically deleted in a separate view. So if I have defects in my image, I simply select them and Camera Raw looks for source areas alone, which serve as a reference for the repair, and repairs the image area.
By activating the Show overlay checkbox, I can also see where defects have already been repaired and where the source area is taken by Camera Raw during an active repair.
For optimum control, it is probably better to carry out the area repair in normal view mode and only activate the area detection again afterwards in order to check the result for overlooked defects in the image. What's new is that I can also reselect the source area assigned by Camera Raw by pressing the slash key.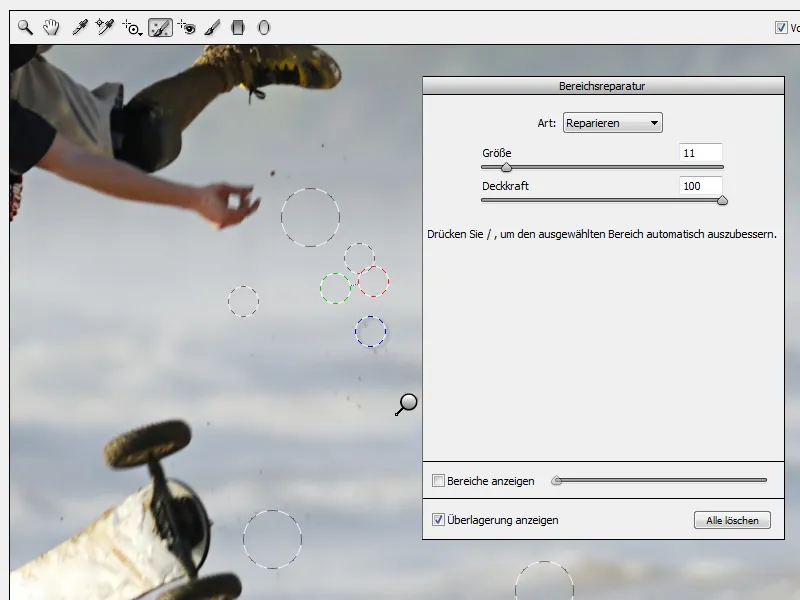
Another new feature is that I can use the area repair tool to select larger repair areas directly in my image by holding down the left mouse button. It is important to know that Camera Raw then also requires an identically sized source area for the repair. This means that the area must not be too large, otherwise the repair will fail. But apart from that, it's pretty cool and is also based to some extent on Photoshop's area repair brush tool.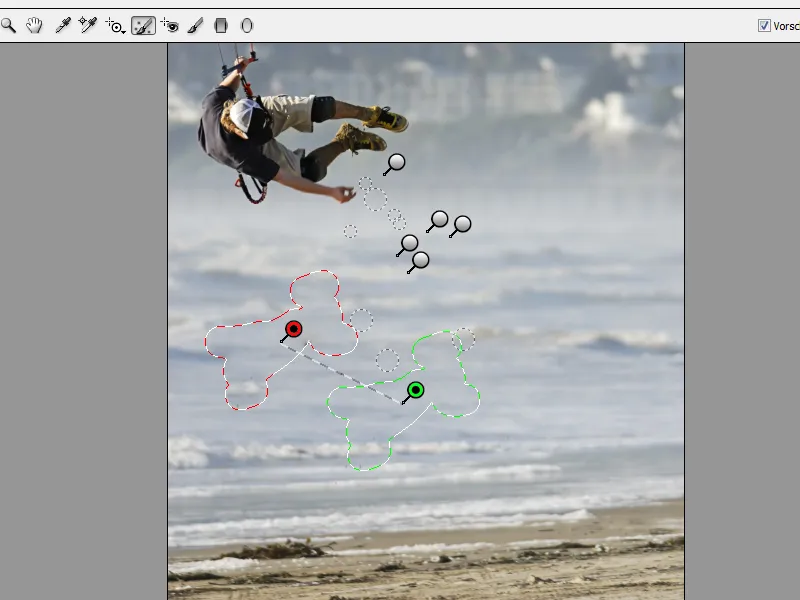
Incidentally, Adobe calls the area repair the blemish removal tool in the help (see https://helpx.adobe.com/de/photoshop/using/whats-new.html). In terms of content, Adobe is quite right with this name, but since it is more closely related to Photoshop's area repair, I am pleased that it is also called that in Camera Raw.
New tool for local corrections: the radial filter (U)
While the previous version had a graduated filter that could be used to apply linear gradients to correction areas, Camera Raw 8 now has a radial filter for round or elliptical correction areas. As with other tools, I simply hold down the Shift key for circular radial gradients.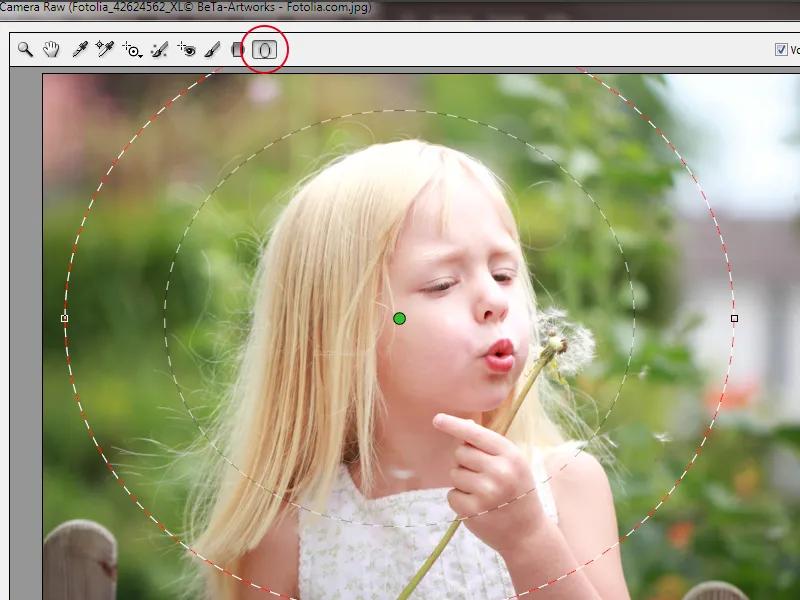
The position and shape of the drawn radial gradient can of course still be changed. I use the red dot in the middle to move the radial gradient. I can change the shape using the side line.
I determine the transition of the correction using the soft edge slider. The higher the softness setting, the softer the transition. A low value results in a hard transition.
I use the Inside and Outside effect radio buttons to determine where my correction should be applied. And off I go with the correction settings. The radial filter is ideal for setting a focus in the center of the subject and softening the effect around the edges.
I can also set several radial filters, for example to process the interior and exterior equally.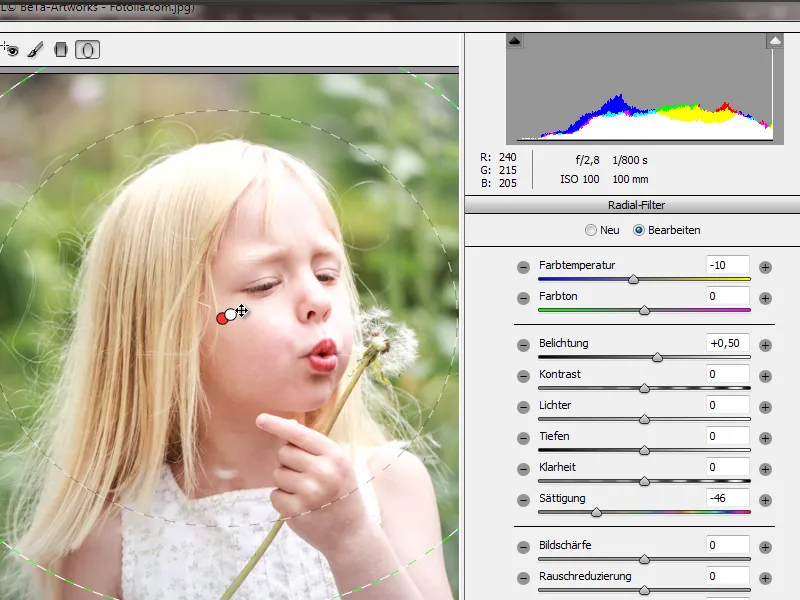
A few small shortcuts for the radial filter, as they also apply to the graduated filter:
- H>Deactivate the entire correction
- V>Deactivate the overlay
- X>Switch between inside and outside when applying the effect
And there you have my quick local correction using the radial filter with Camera Raw as a smart filter.