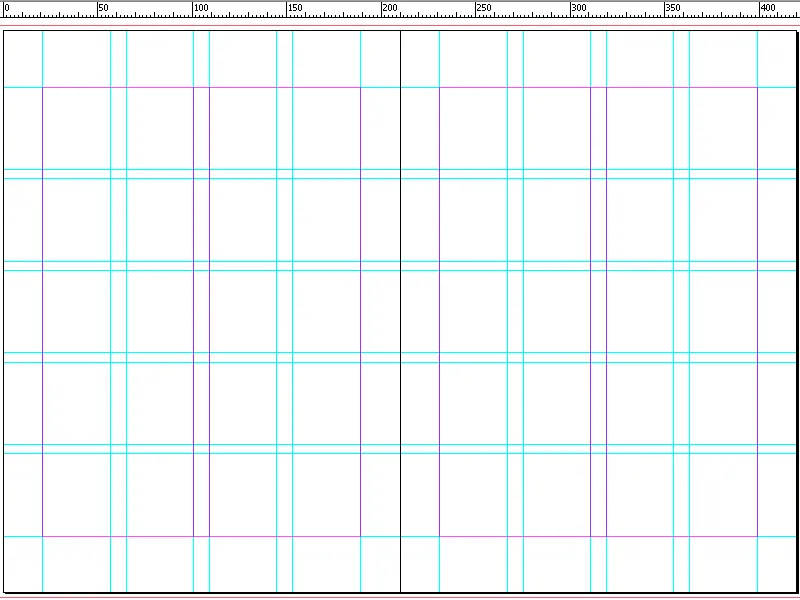
Rulers, Grids, and Guides are essential tools in Adobe InDesign for designing layouts precisely and professionally. Rulers help you determine exact positions, grids ensure consistent alignment, and guides assist you in arranging elements perfectly. These features are particularly useful for complex layouts such as magazines, brochures, or multi-page documents. In this guide, I will show you step by step how to effectively use rulers, grids, and guides to create precise and clean designs. Let's get started and optimize your workflow!
1. Setting up the Baseline Grid
To reproduce texts in print later in such a way that the lines on the front and back exactly match or hold line in adjacent columns, InDesign provides the Baseline Grid as a professional layout and typesetting program (as opposed to word processing programs like e.g. Word).
To demonstrate its settings, you first draw a text frame along the guides for page and column margins with the Text tool. To do this, place the Text tool precisely at the intersection of the guides for the first column (the cursor will then additionally display a small triangle) and drag a text frame to the diagonally opposite corner while holding down the mouse button. To try out the setting for the Baseline Grid, first fill it with Placeholder Text (right-click and select the corresponding entry).
.webp?tutkfid=82572)
To create an additional second column, first select the Selection tool with Esc, then click on the small white box in the bottom right of the highlighted text frame so that symbolic text appears in the mouse pointer, and click on the upper left corner of the adjacent column guides..webp?tutkfid=82573)
An exactly positioned duplicate of the first column is now created, which can also be filled with Placeholder Text.
In the next step, you display the Baseline Grid via the menu View>Grids and Guides>Show Baseline Grid or through the keyboard shortcut Ctrl+Alt+ß.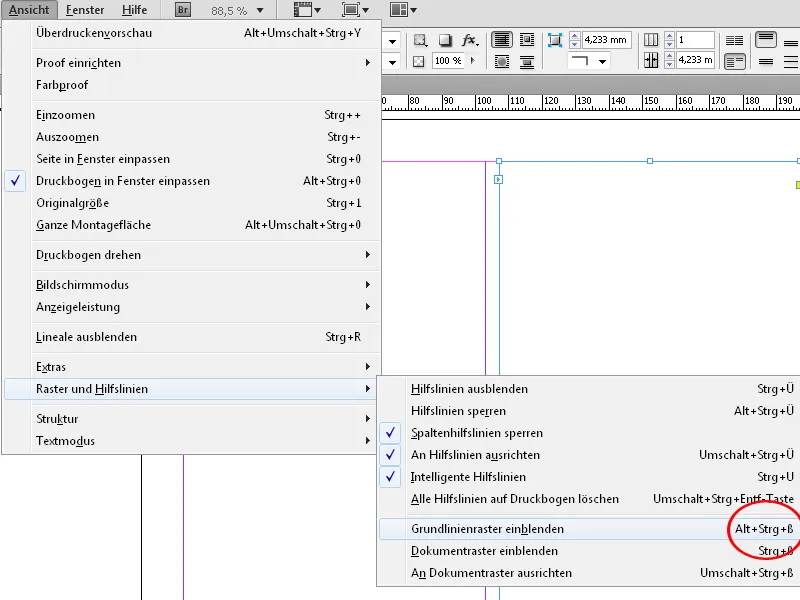
To customize this to your needs, go to the Edit menu, select Preferences, and then the Grids tab.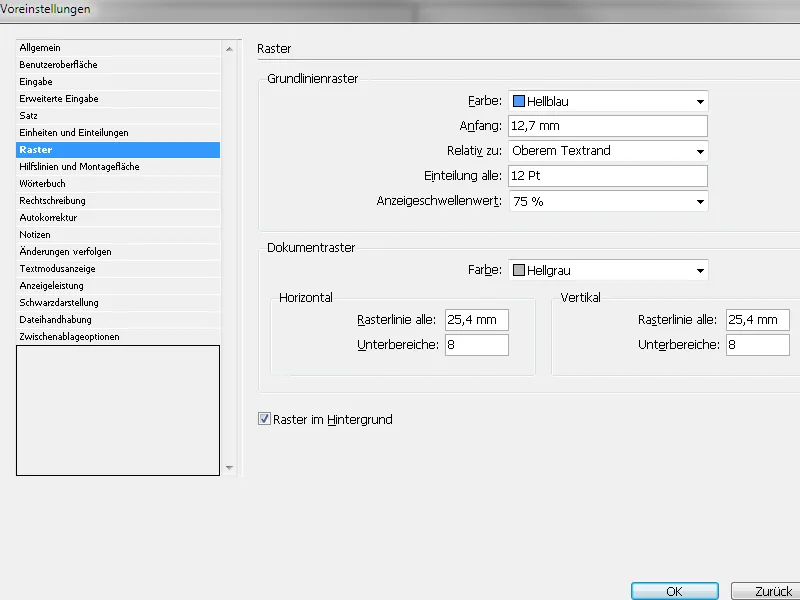
To adjust the Baseline Grid to the columns, edit the Start field with the value 0 and set the drop-down menu to Relative To and then Top Margin.
The value in the Division every: field corresponds to a line spacing of 12 pt and is left as it is for now. After these settings, your page will look like this:.webp?tutkfid=82576)
To align the text to this Baseline Grid, first select it with Ctrl+A and then click on the Align to Baseline Grid symbol in the Control Panel area of the Paragraph Formatting.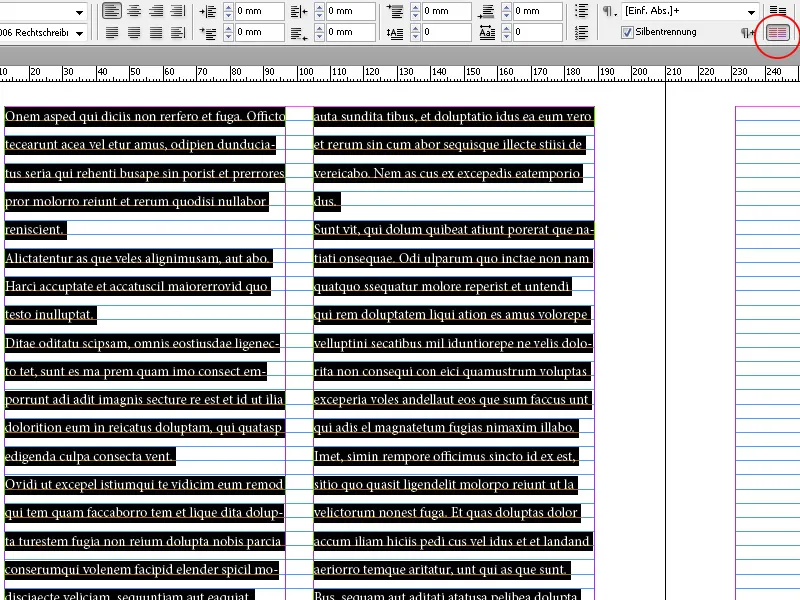
The text will now align to the Baseline Grid.
If you want to change the settings for the page margins later without having to adjust the Baseline Grid afterwards, go to the Master Pages and then in the Layout>Layout Adjustment menu, check the Enable Layout Adjustment box.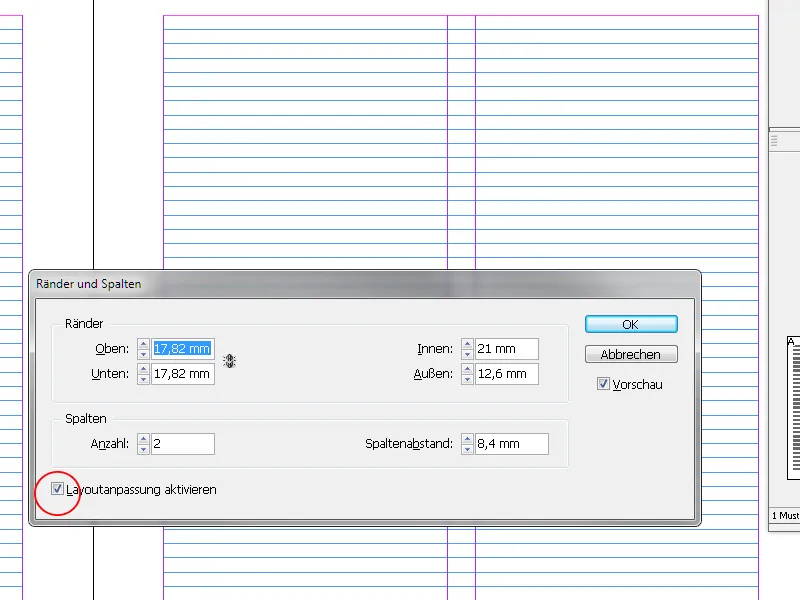
Confirm the settings with OK and then adjust the measurements via Layout>Margins and Columns. With Preview enabled, you can see how the Baseline Grid moves in accordance with your settings.
2. Document Grid
To ensure that layout elements such as image and graphic frames can be arranged on the page according to a consistent scheme, InDesign offers the Document Grid as a complement to the Baseline Grid for text.
To display this, click on Show Document Grid in the View>Grids and Guides menu or use the shortcut Ctrl+ß.
You can now drag graphic or image frames with the mouse while orienting yourself to the grid structure. To ensure easy alignment, activate Align to Document Grid in the View>Grids and Guides menu. A graphic frame drawn afterwards will always align with the grid structure.
However, the Baseline Grid has not yet had anything to do with the Text Frame.
To align it to this, go to the Edit menu, select Preferences, and then the Grids tab.
In the lower section, edit the values to one-tenth of the A4 document format, that is, 21 mm horizontally and 29.7 mm vertically. Set the value for the sub-divisions to 5.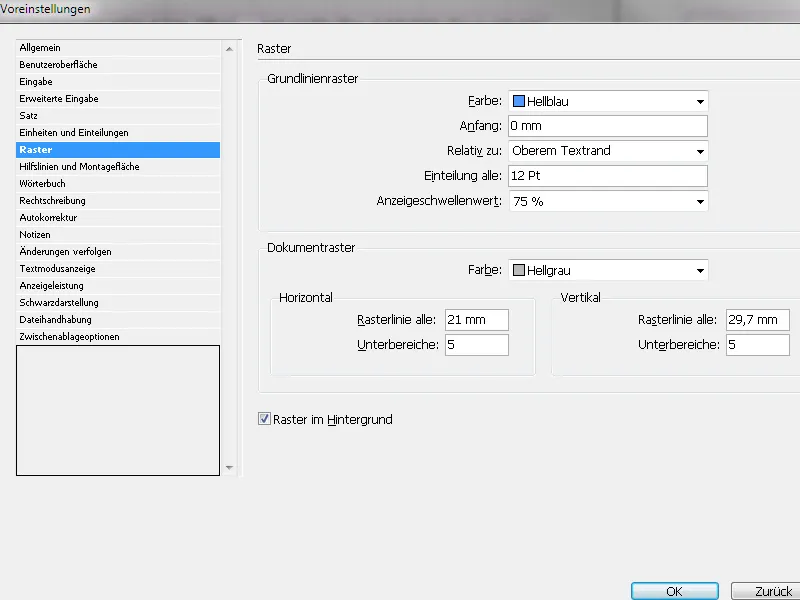
In order for the document grid to match the margin of text, the page margins must also correspond to multiples of a tenth of the document format. (Menu Layout>Margins and Columns).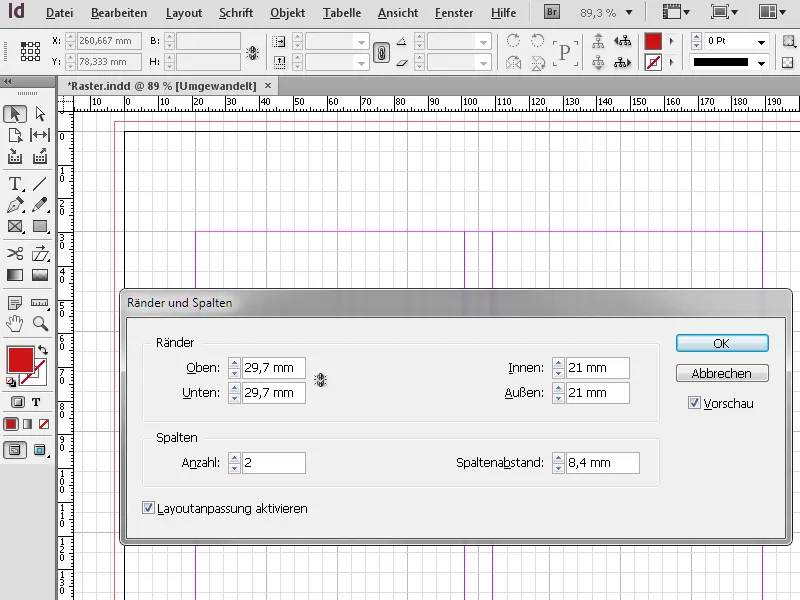
After clicking OK, you will see that the baseline grid guides align exactly with those of the text frame.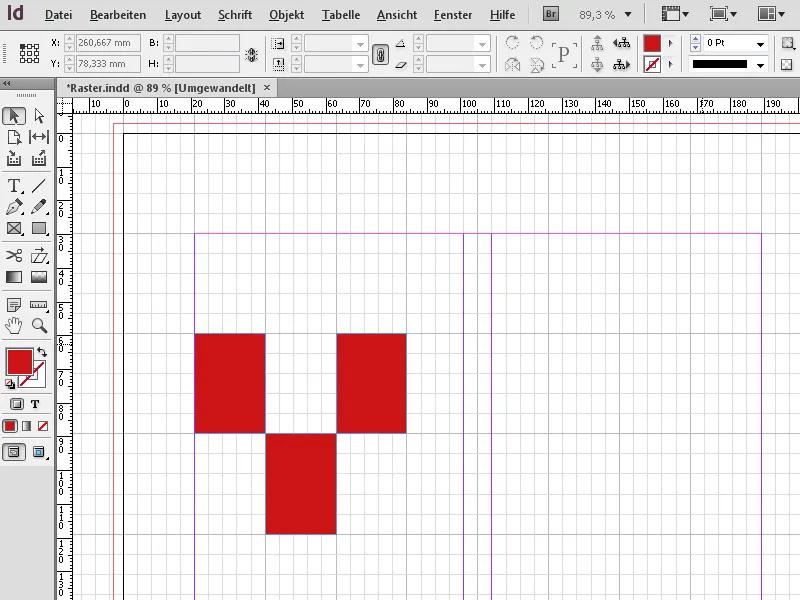
3. Guides
To align objects evenly, you can use guides in InDesign. You can drag these guides from the X or Y axis ruler while holding down the mouse button. If no ruler is visible, you can show it by using the shortcut Ctrl+R (or later hide it with the same command). On double-sided pages, the guide will only appear on the side where it is drawn. If you want to place it simultaneously across both adjacent pages, hold down the Ctrl key while dragging it.
The position of a guide is displayed in the Control palette and you can also set the value very precisely there. You can also enter a formula for the position on the respective axis in the Control palette. InDesign will calculate it automatically.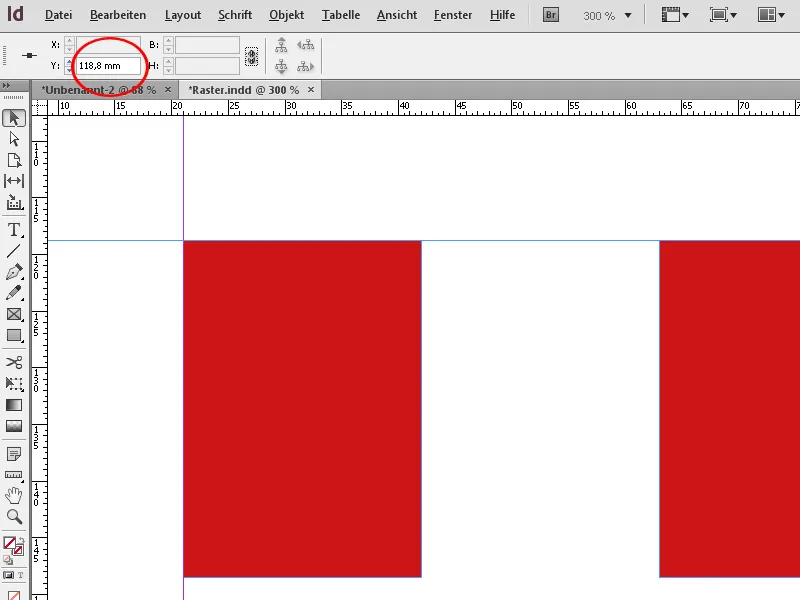
By pressing the Alt key, you can switch between positioning on the X and Y axes and thus readjust a guide that has already been drawn from the ruler.
If you want to distribute it symmetrically across the size of the page, you can also mark a guide and then through the menu Edit>Duplicate and Offset Paste generate guides offset by an exactly defined value.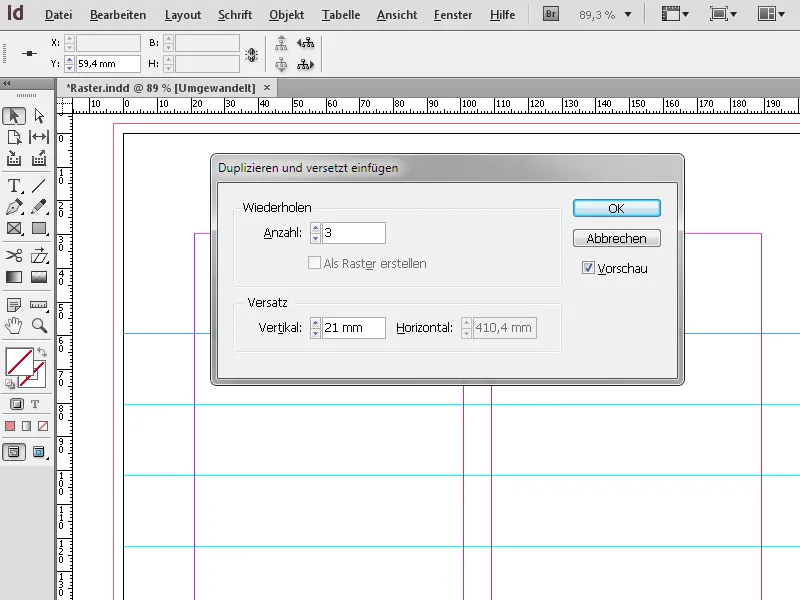
For setting up a design grid, InDesign offers a particularly elegant solution: through the menu Layout>Create Guides, you can generate a number of rows and columns with a uniform distance. The option Adjust Guides to Margins ensures that they align with the text frame.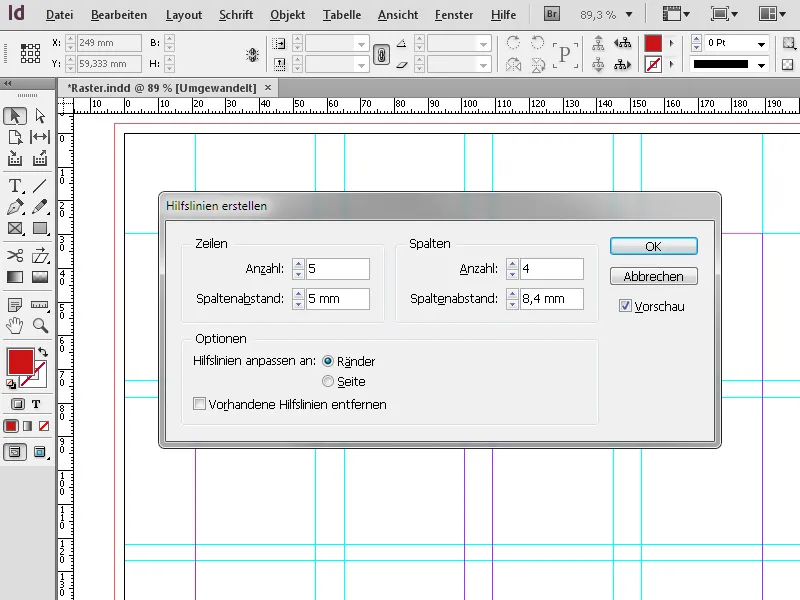
With a click on OK, you will be presented with a perfect design grid for symmetrically positioning your layout elements.