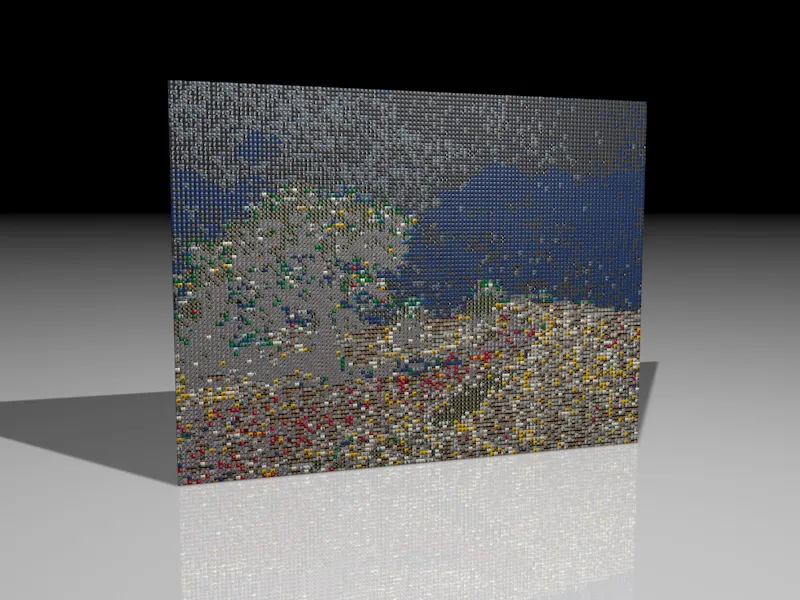
If you want to recreate this tutorial from scratch, you will find our common starting point in the working file "PSD_C4D_R13_MoGraph_Mosaic.c4d". This scene consists of a textured floor object, a pre-installed light source for illumination and a small mosaic tile, which we will use to set up a clone wall for the mosaic.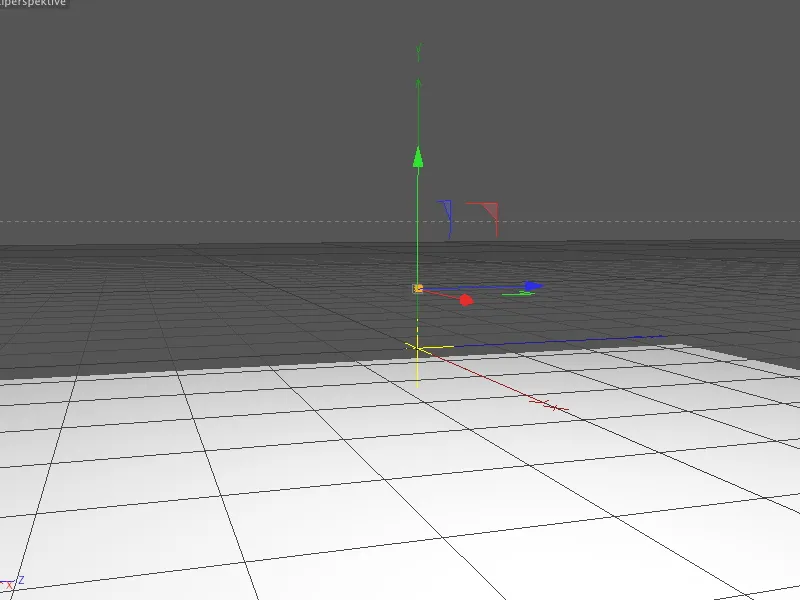
Construction of the clone wall
The first tessera is just 5x5x5 cm in size so that the mosaic created from it also provides a usable resolution. If you want to create coarser patterns, simply use a larger tessera - the settings for the clone wall must then of course also be adjusted.
The small rounding of the cube objects is what makes the stones recognizable as individual elements in the first place.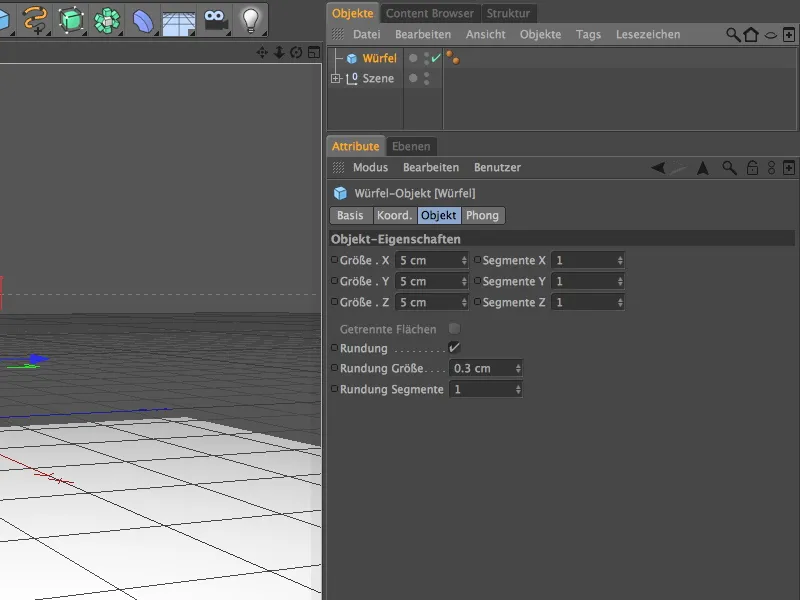
Now that we have the foundation stone for the mosaic, we build the other stones with MoGraph. We bring a clone object into the scene from the menu of the same name.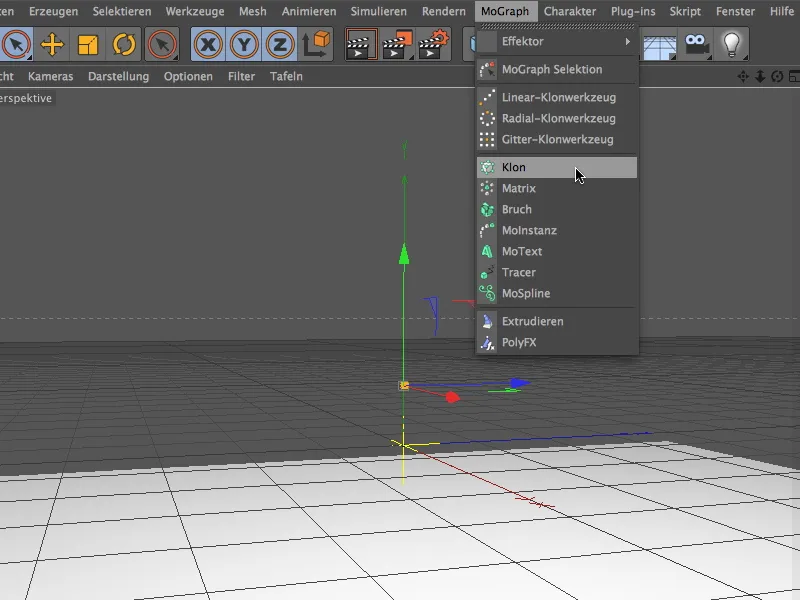
We create the cube object as a sub-object - and therefore clone - by dragging it onto the clone object in the Object Manager. In the settings dialog of the clone object, we first set the clone mode to grid in order to be able to build the clone wall using the number.
Only one layer of clones should be created in the X direction, so we only set 1 clone here. As the image to be converted into a mosaic has an aspect ratio of 4:3, this ratio also applies to the number of clones in the Y and Z directions. With 90 or 120 clones and a cube size of 5x5x5 cm, the total size of the clone wall is 450 cm in the Y direction and 600 cm in the Z direction.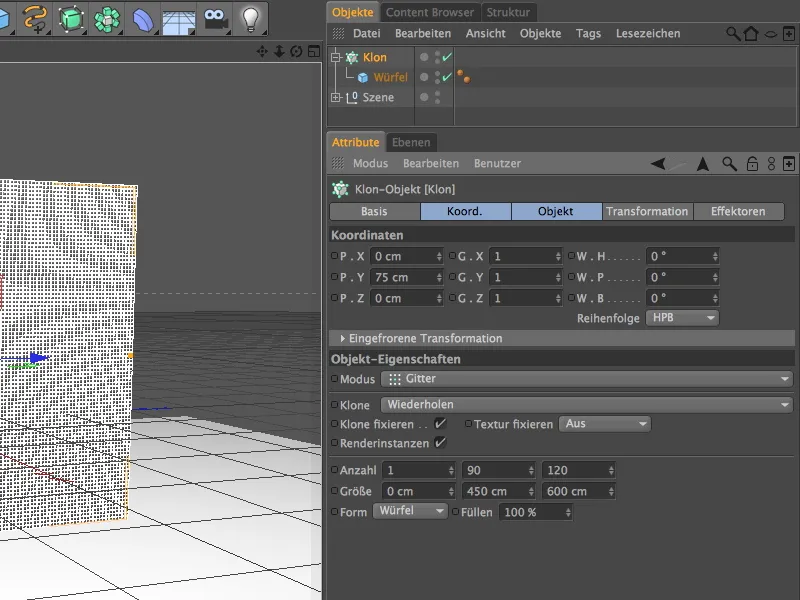
Our clone wall is ready. As you can see, the mosaic tiles are quite small. If the tesserae were even smaller, there would be a risk that our mosaic would no longer be perceived as an overall picture of individual tiles, but merely as a "pixel painting".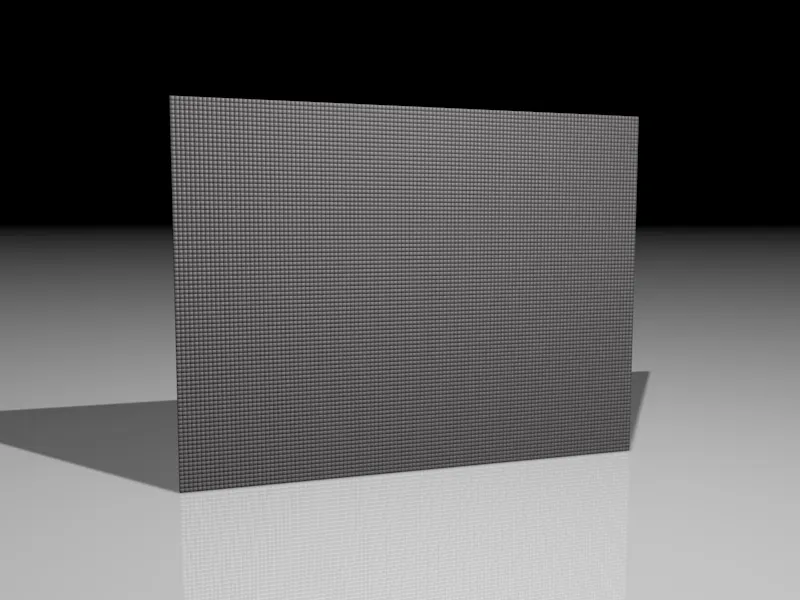
Creating the materials
To turn the clone wall into a mosaic, we need a total of two materials. The first material ensures that each clone is assigned a single texture from a selection of images. The second material is required by the shader effect to generate the image from the mosaic tiles. But more on this later.
We start with the material for the tesserae by first creating a new material by double-clicking on a free space in the Material Manager.
We activate the color and highlight channel for the material. Use a pointed highlight that is not too high so that the mosaic is not distorted by too many highlights on the stones.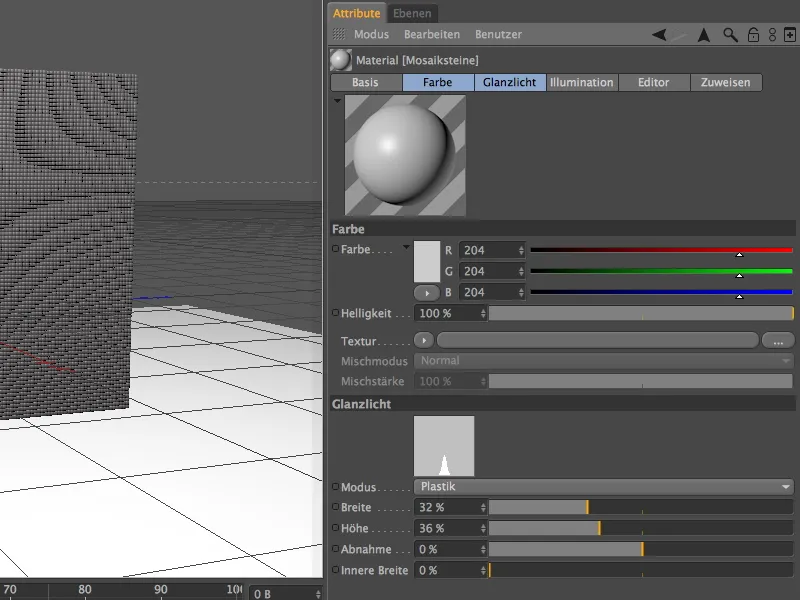
In the color channel, we load the multi-shader from the Mograph submenu as a texture via the texture menu in the arrow button.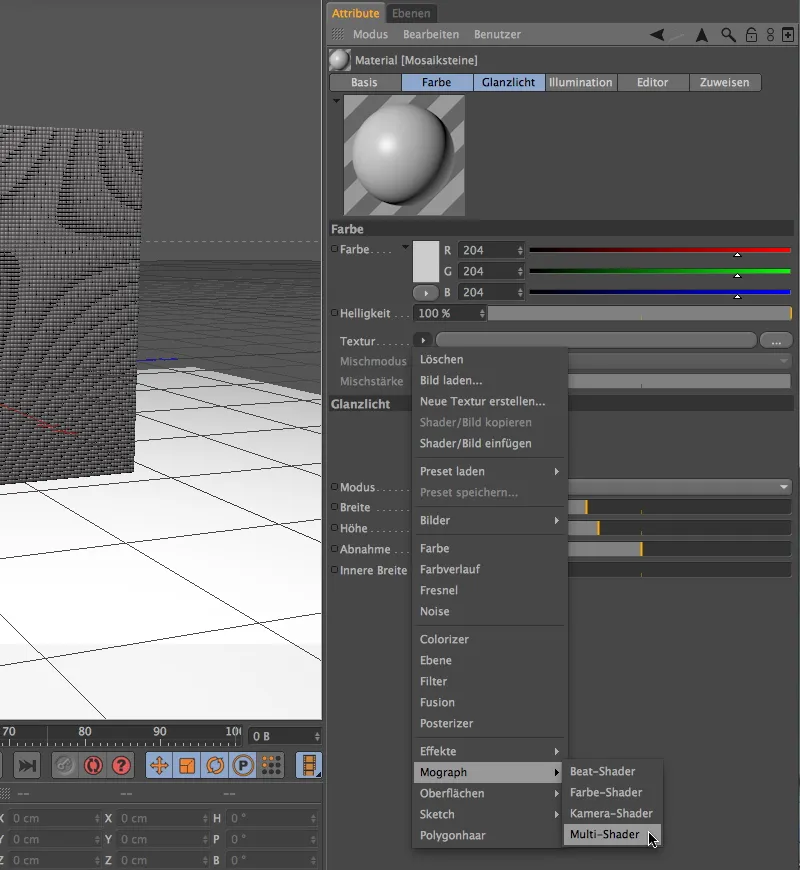
Clicking on the Multi-Shader button takes us to its settings dialog. There we first change the mode of the shader to average color (color tone difference). This means that the individual tesserae will later be based on the color tone of the image template and select the most suitable texture from the list of tesserae images.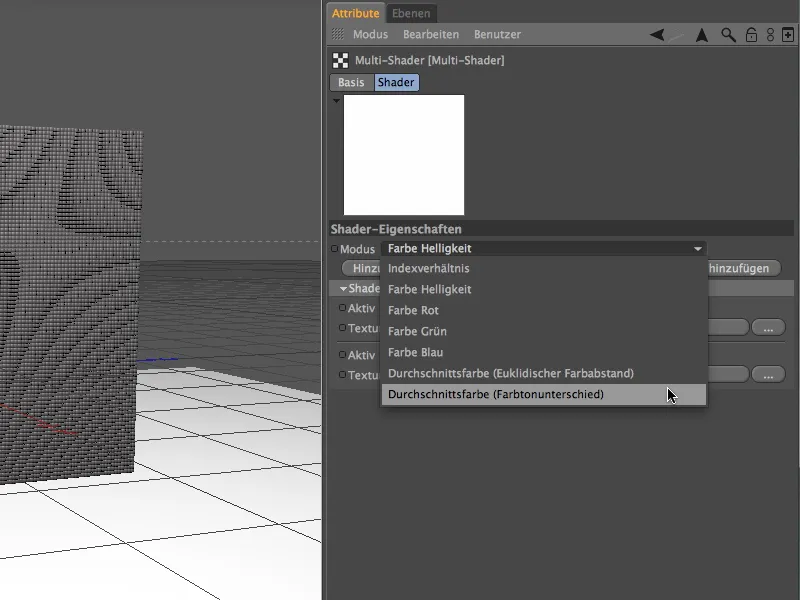
Our next step is precisely about this list. In order for the multi-shader to work as desired, it needs specifications for the tesserae. This can be a simple color shader or, as in our case, a variety of textures. To avoid having to add all the textures individually, we import the images using the Add from folder button.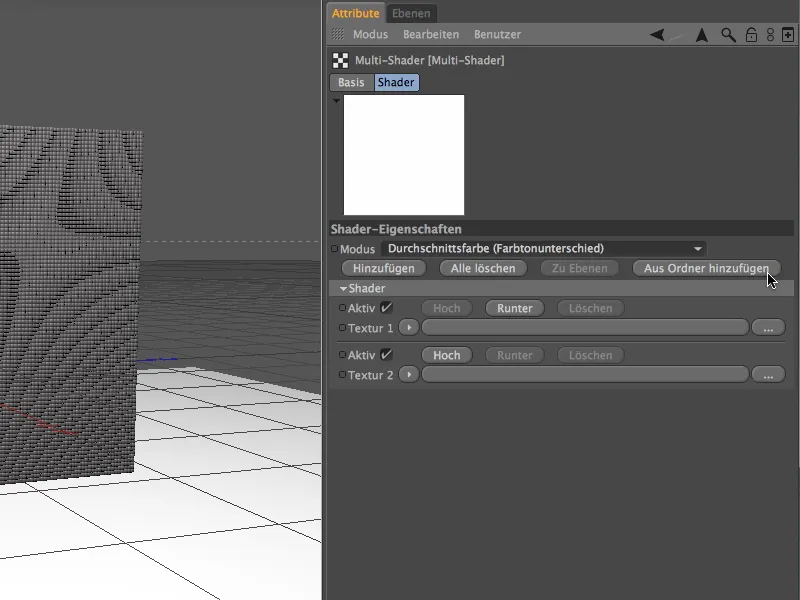
Using the selection dialog, you can now either use the tex folder supplied with my work materials or, if available, your own image folder with a color palette that is as well sorted as possible as a texture portfolio.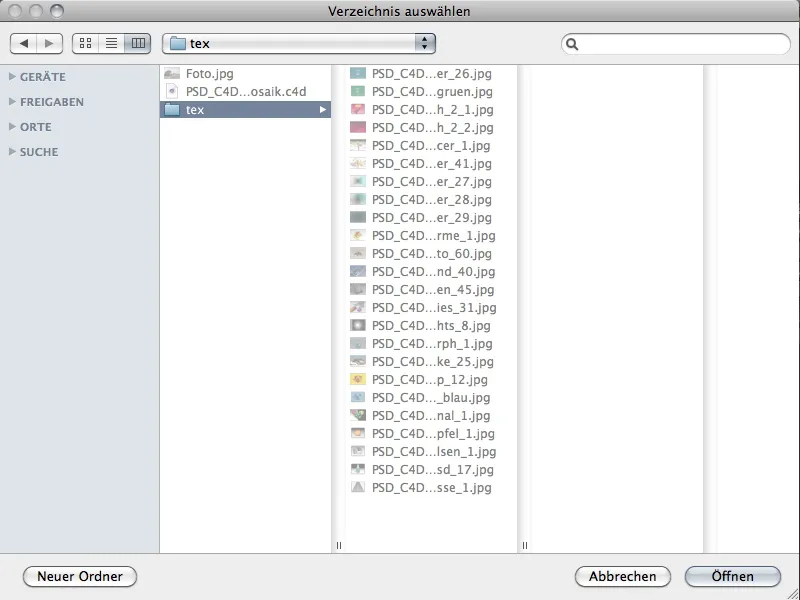
Once you have selected the complete folder by clicking on the Open button, the imported textures will be available in the shader list of the Multi-Shader. Please note that CINEMA 4D does not automatically use all the textures in this folder. If you add new textures to the folder that should also be taken into account, you must import them into the shader afterwards.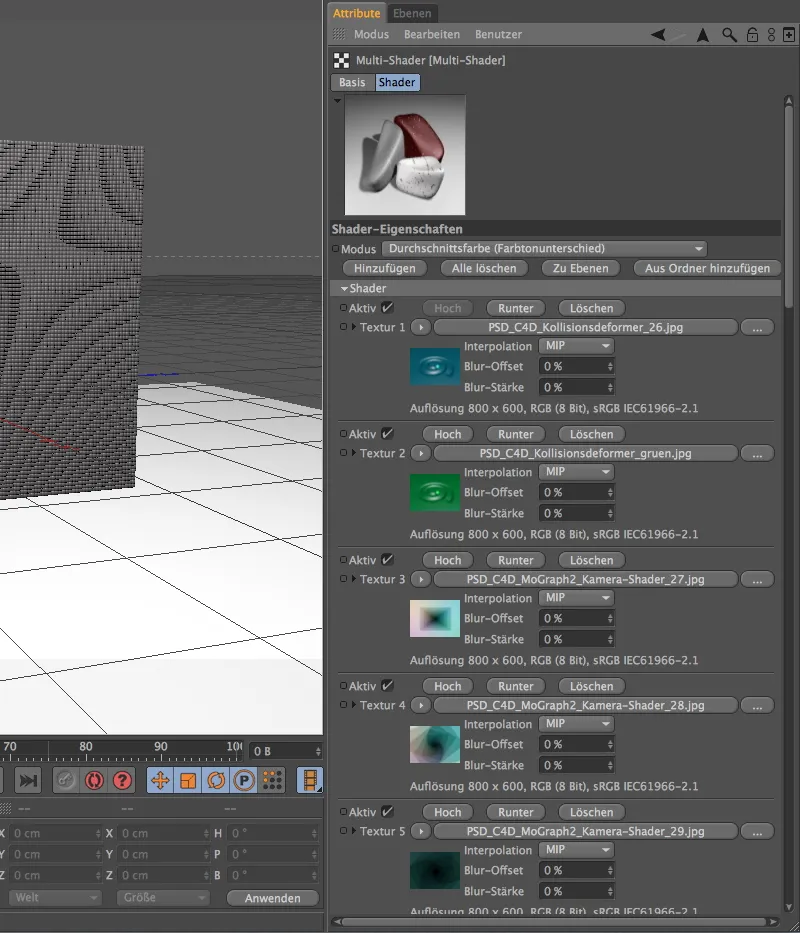
Texturing the clone wall
We now assign the finished material to the clone object in the Object Manager using drag & drop from the Material Manager. In this case, we do not need to change the settings in the texture tag.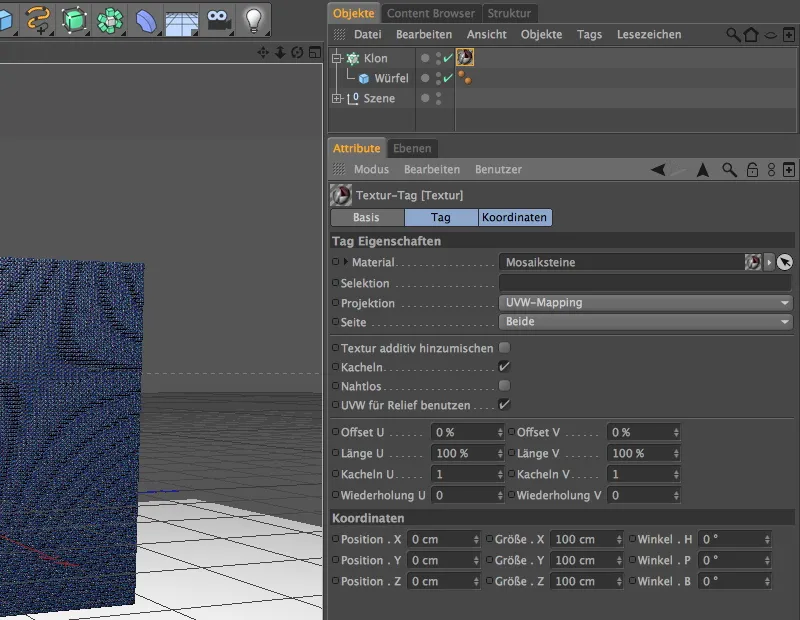
We have now covered the mosaic tiles with the multi-shader. Now we just have to teach the tesserae which image they should form. To do this, we need a shader effector, which we can find in the Effector submenu of the MoGraph menu.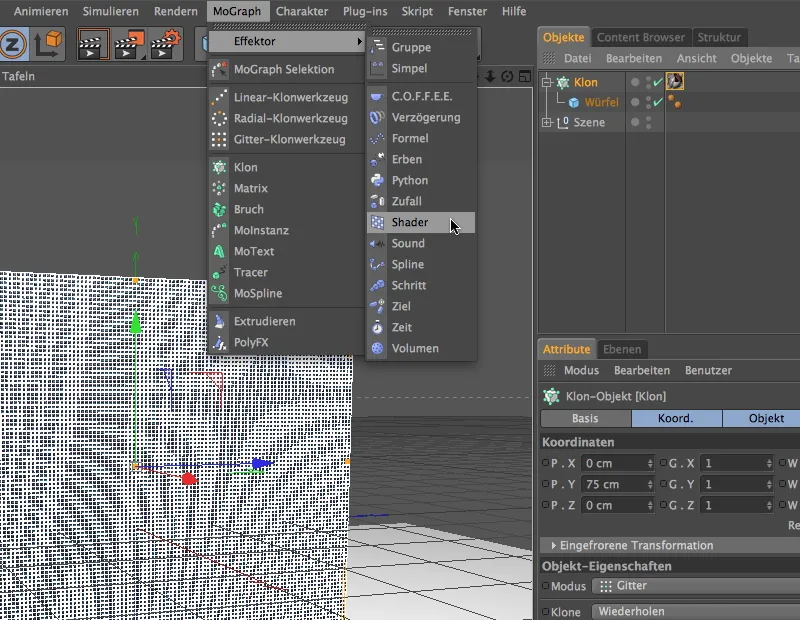
If we select the clone object via the Object Manager before we bring the shader effector into the scene, the effector is automatically assigned to the clone object. Otherwise, you can also assign the shader effector by placing it in the effectors field in the settings dialog of the clone object.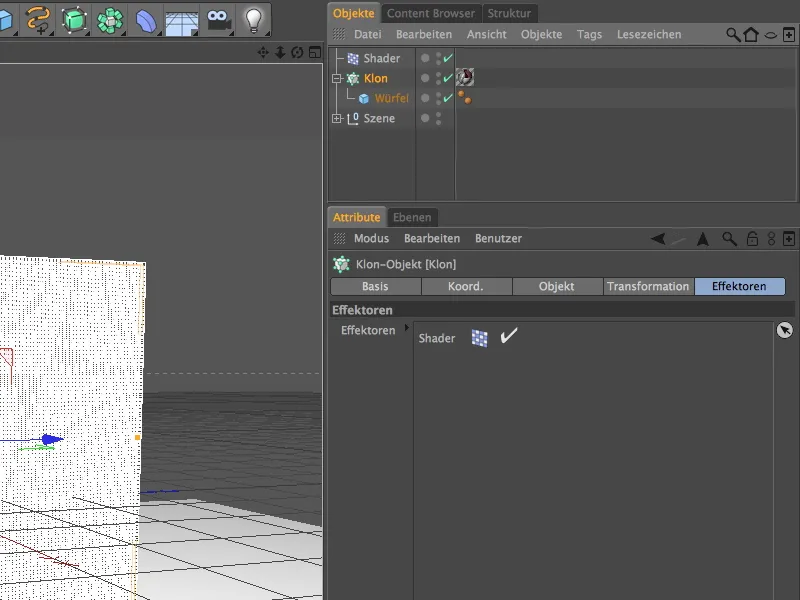
As its name implies, the shader effector requires a texture or a shader in order to be able to develop its effect on the clones. In our case, this is the image that the tesserae should produce. To do this, we need a new material, which we create by double-clicking on a free space in the Material Manager.
For this material, we can deactivate the highlight channel and only leave the color channel active, as this is only about transmitting the mosaic image. We load this image into the material as a texture using the command of the same name in the texture menu of the arrow button.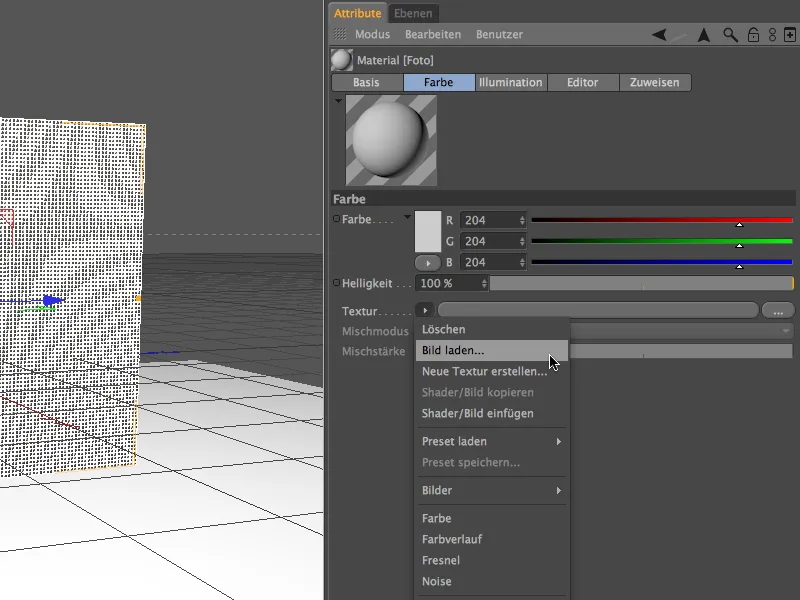
The folder with the working files contains the image I used, Foto.jpg, but you can of course use any other image you like.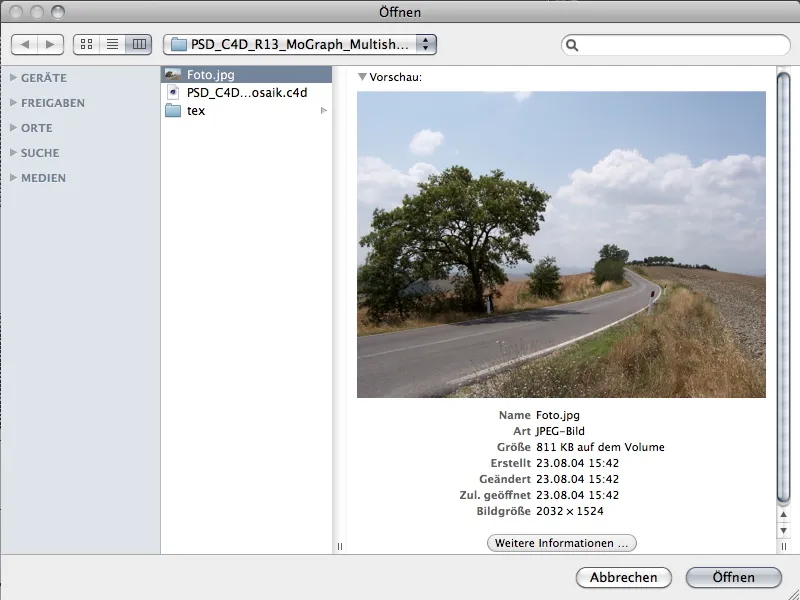
Once you have loaded the image into the material as a texture by clicking on the Open button, you can drag and drop it from the Material Manager to the Shader Effe ctor in the Object Manager.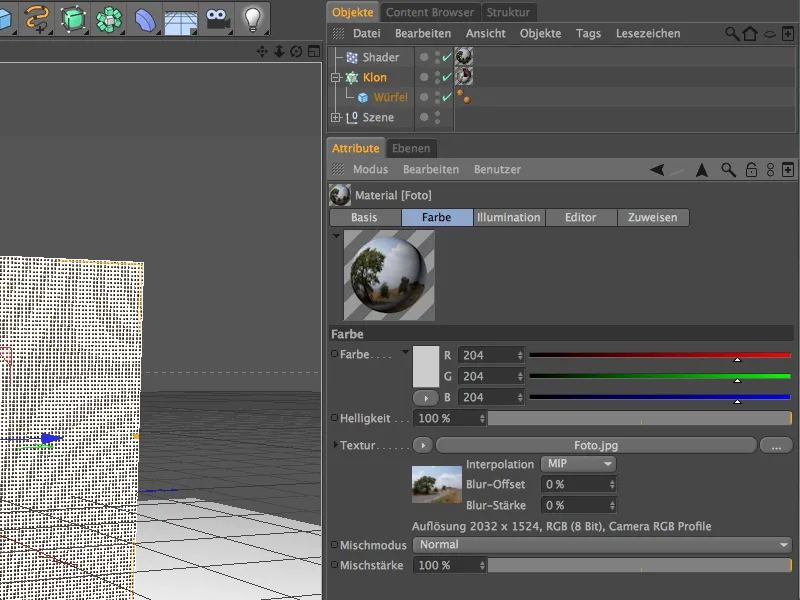
To ensure that the shader effector only uses the texture assigned to it to control the shading of the clone wall, we switch off all transformation parameters in its settings dialog on the parameters page. On the shading page, we make sure that the Color channel is used for the effector and finally drag the texture tag of the shader effector into the corresponding field.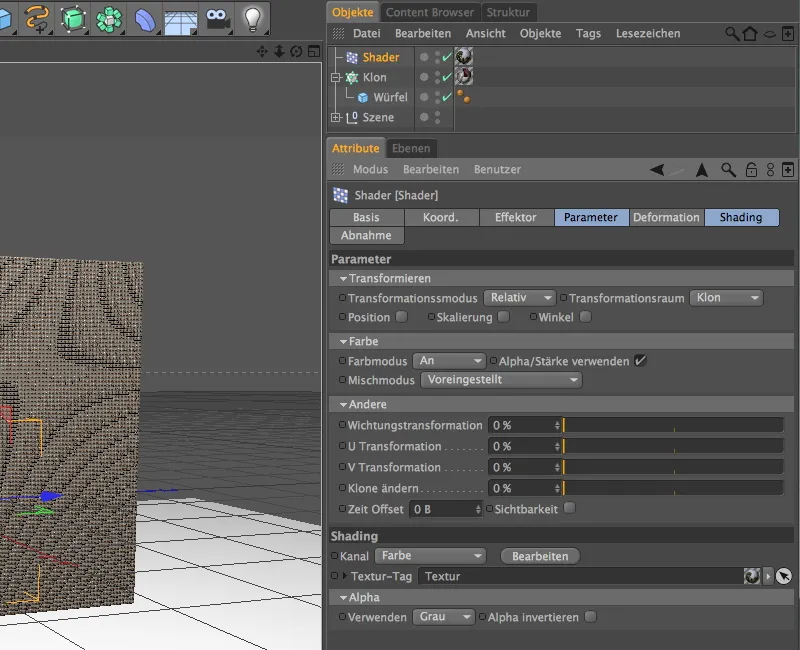
Now we just have to map the texture for the mosaic onto the clone wall. To do this, we go to the settings dialog of the texture tag and set the projection to surface mapping. We achieve the correct alignment by setting the heading angle of the texture to 90°.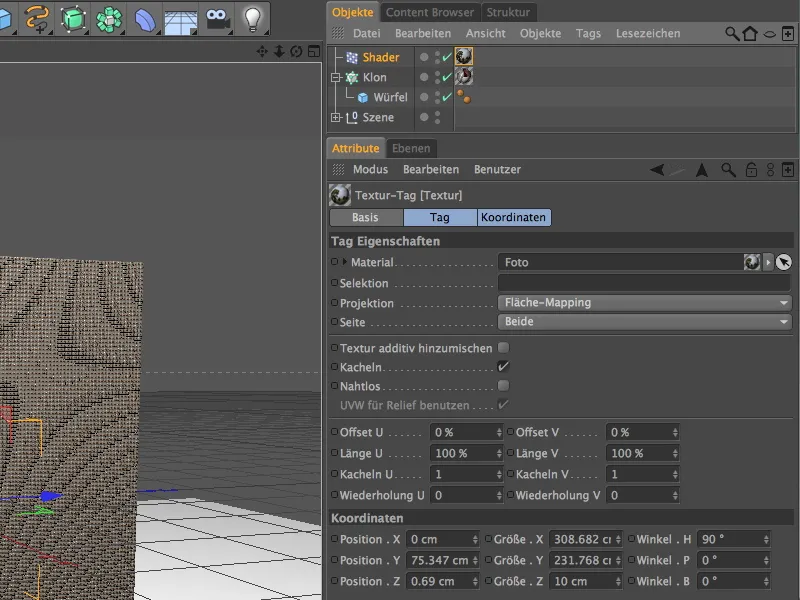
To adjust the size of the texture to the clone wall, use the Fit to Frame command in the Tags menu of the Object Manager.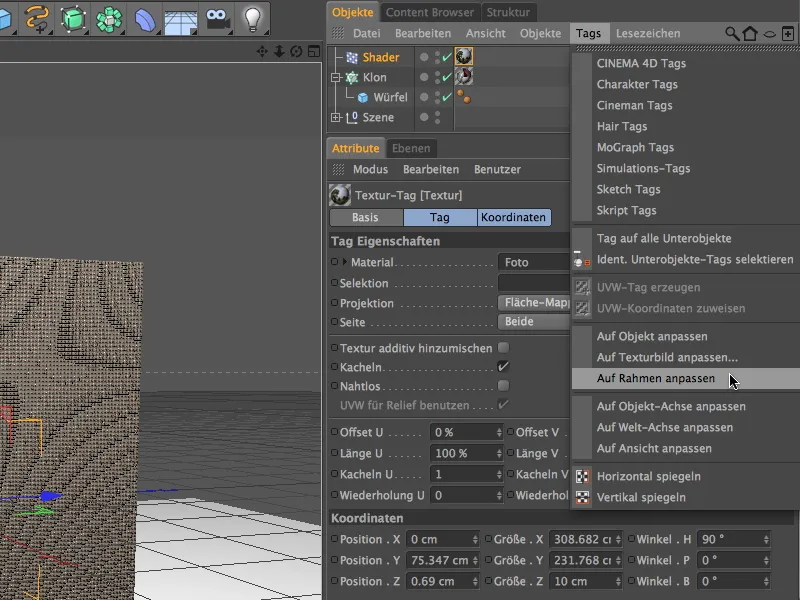
To see the texture geometry in the editor, we activate the edit texture axis mode. From the view from the right (F3 key), we use the mouse to trace the contour of the clone wall as precisely as possible. The texture geometry is fitted exactly into the specified frame as desired.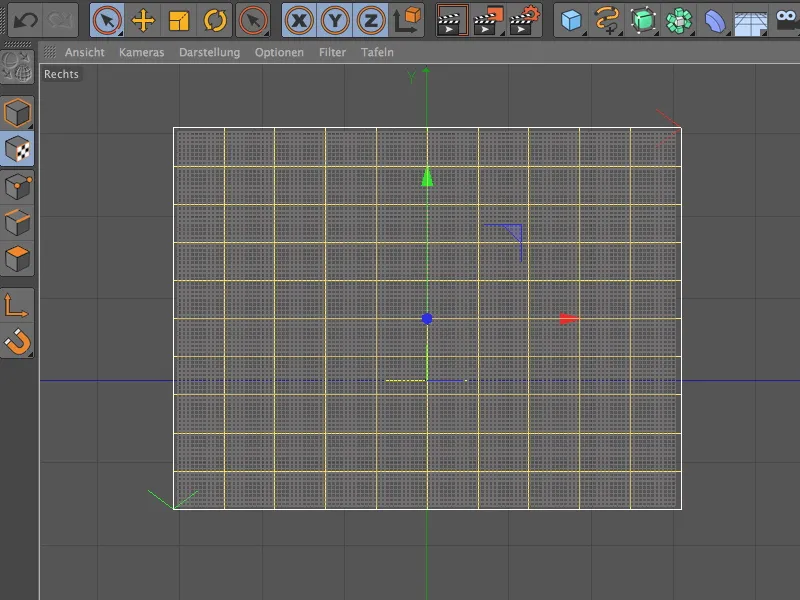
Now we can switch back to the central perspective using the F1 key and render the mosaic of the now finished textured clone wall. The more color tones you make available to the mosaic via the textures of the mosaic tiles, the better the shader effect can implement the mosaic.