Glowing lines give your designs a dynamic and futuristic effect. This effect is ideal for posters, digital art, or social media graphics. With Photoshop, you can create this look in a few steps by combining layer styles, gradients, and light effects. In this tutorial, I'll show you how to make lines shine and add an impressive glow effect to your projects. Let's get started and illuminate your designs!
Step 1:
I create a document with the size of 800x600 pixels, although the size is actually unimportant.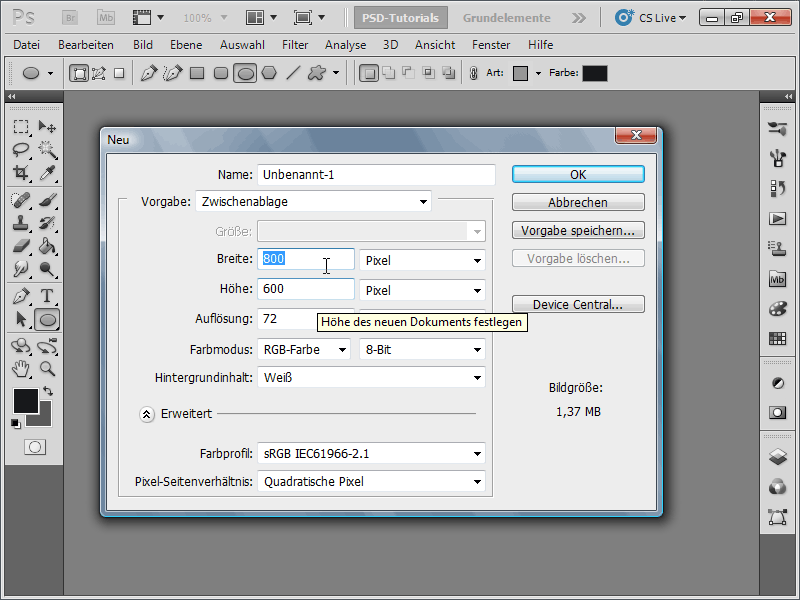
Step 2:
Now I create a new layer and select the Pen tool. It's important that I choose the Paths option at the top of the Control panel.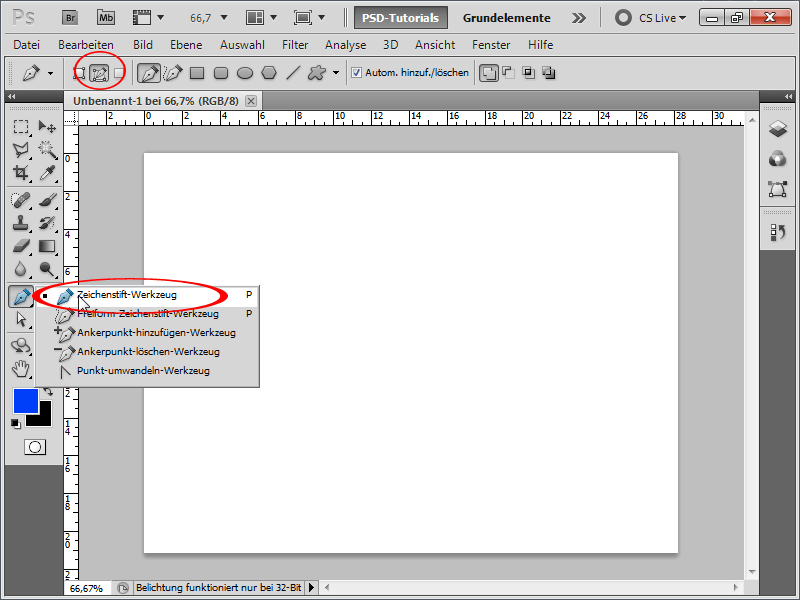
Step 3:
Now I click once below and release the mouse immediately. Then I create the next point higher up and this time I don't release the left mouse button but pull a little to create a curve.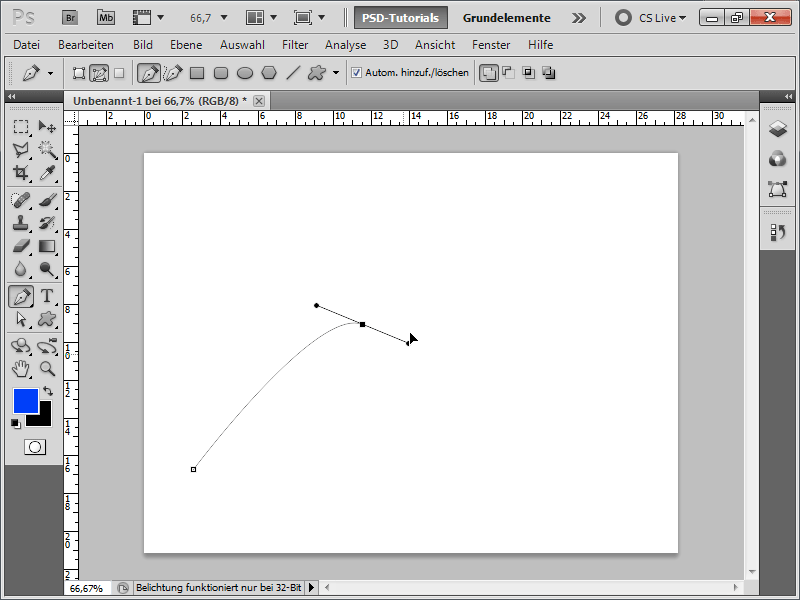
Step 4:
Then I create another new point and pull slightly to create a curve, and then do the same again. With the Direct Selection tool, I can still move the individual points.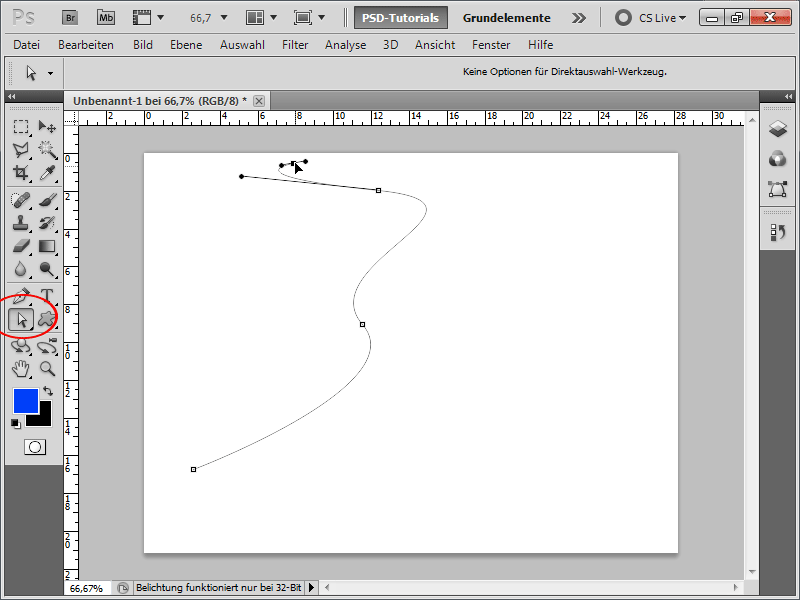
Step 5:
Now I select a brush about 12 pixels in size. I can leave the Hardness at 0% to make the line very soft, or set it to 100% to make the line sharply defined.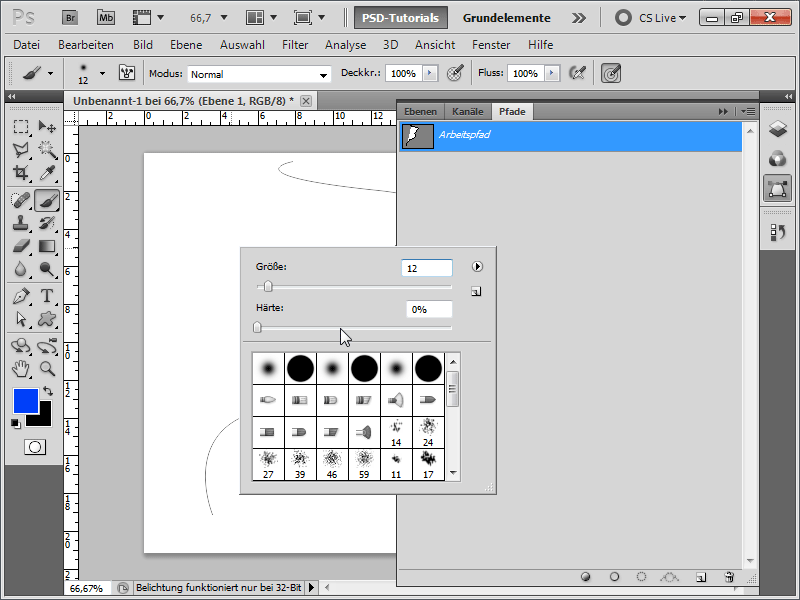
Step 6:
In the Paths panel, I right-click on my Work Path and then choose Stroke Path.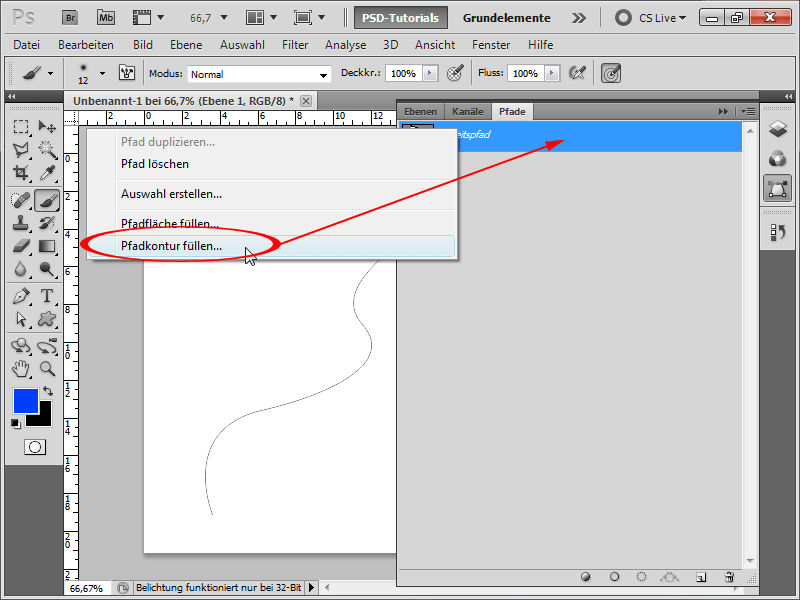
Step 7:
Now a dialogue box appears asking with which tool I would like to fill the line contour. I choose Brush and check the box for Simulate Pressure.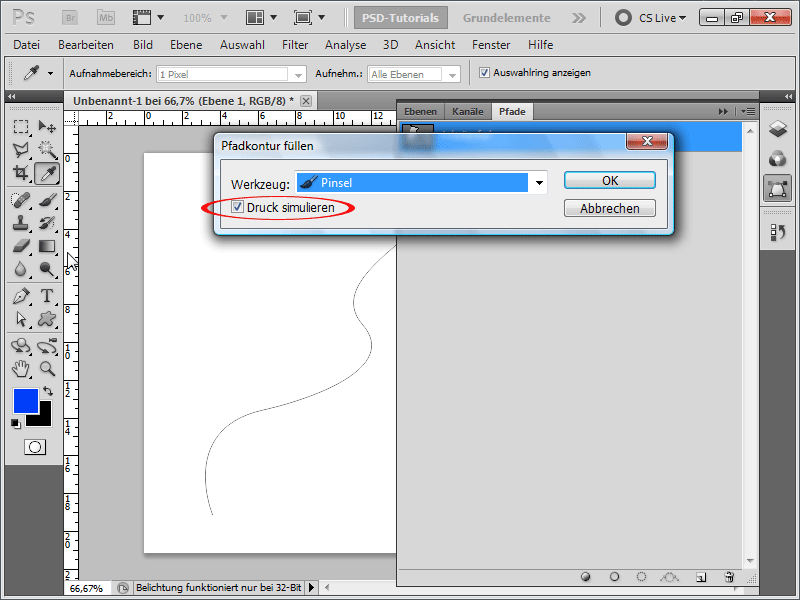
Step 8:
The line already looks very good now. The line is thinner at the top and bottom and thickest in the middle. In the background, I will create a radial gradient to make the line stand out more.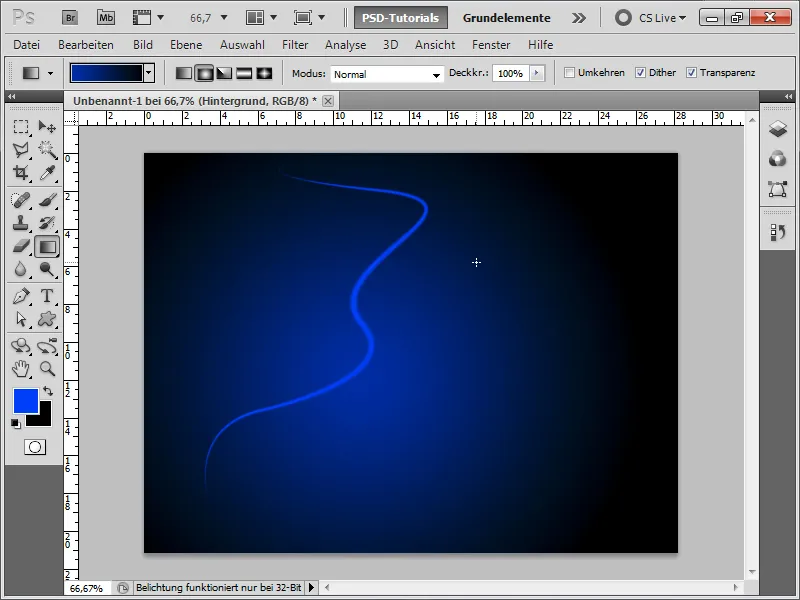
Step 9:
Now I go into the Layer Style options of my line and define the following values for the Drop Shadow.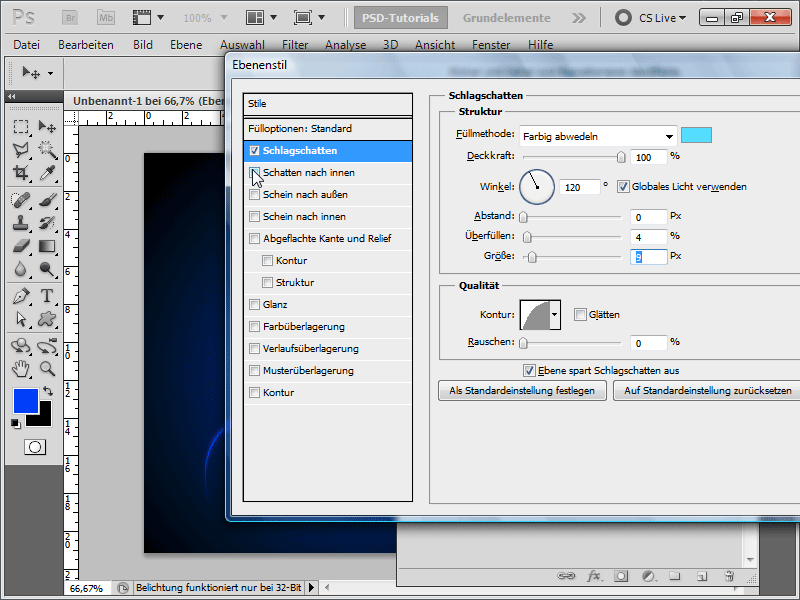
Step 10:
For Outer Glow, I enter the following: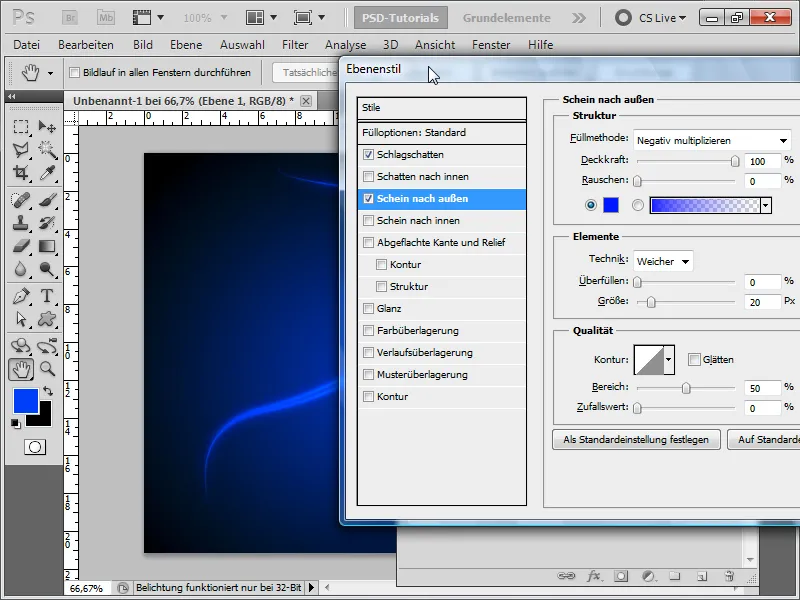
Step 11:
And for Color Overlay, I choose a white color.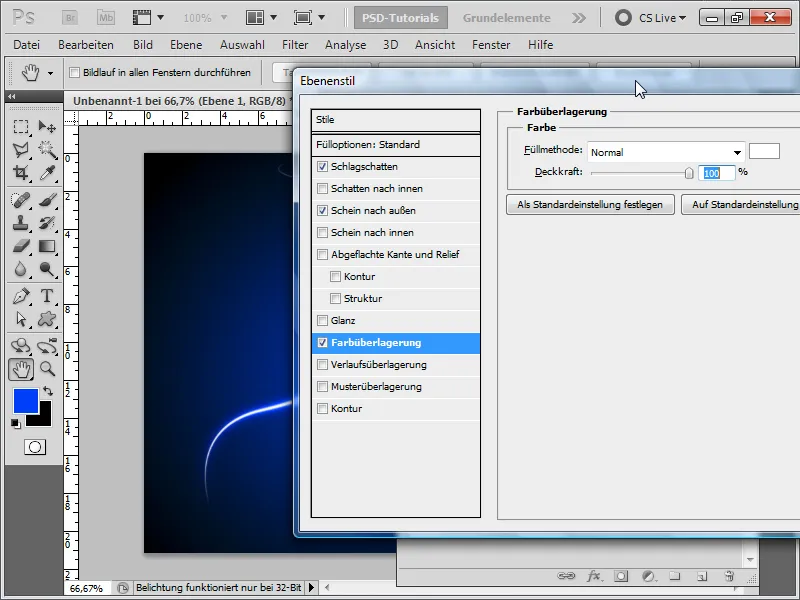
Step 12:
After duplicating the layer and rotating it slightly, the result looks like this: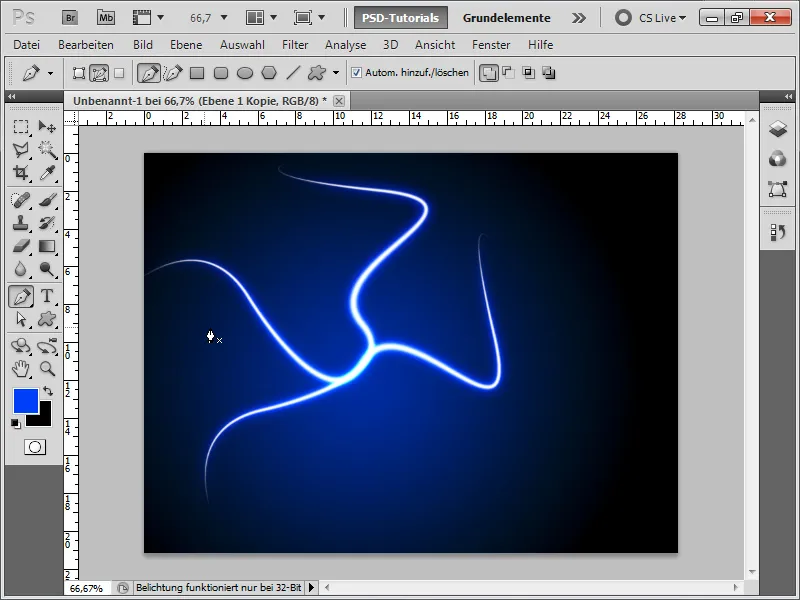
Step 13:
Now I create another line through a path. This time I've increased the Brush size by a few pixels. Additionally, I write some text and transfer the Layer Style with the Alt key pressed in the Layers panel. I also duplicate the background layer and set it to Color Dodge to make it glow more strongly.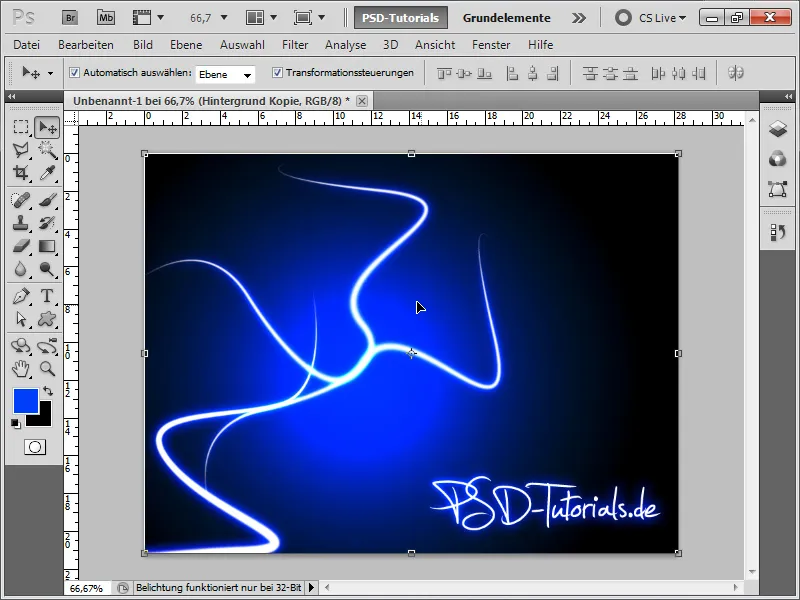
Step 14:
Next, in a new layer, I apply the Clouds filter with the standard colors black/white and also set the fill method to Color Dodge and the opacity to 50%.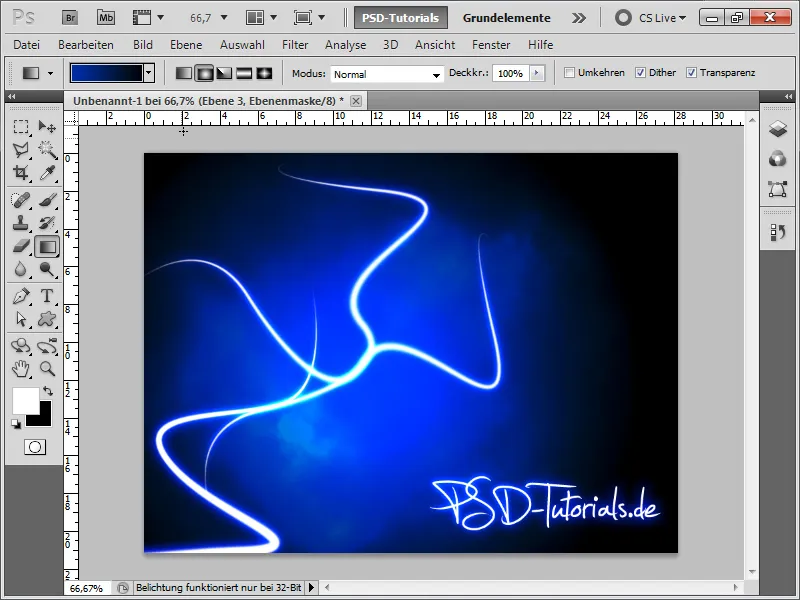
Step 15:
After that, I create a new layer, color it in black, and click on Noise Filter>Add Noise.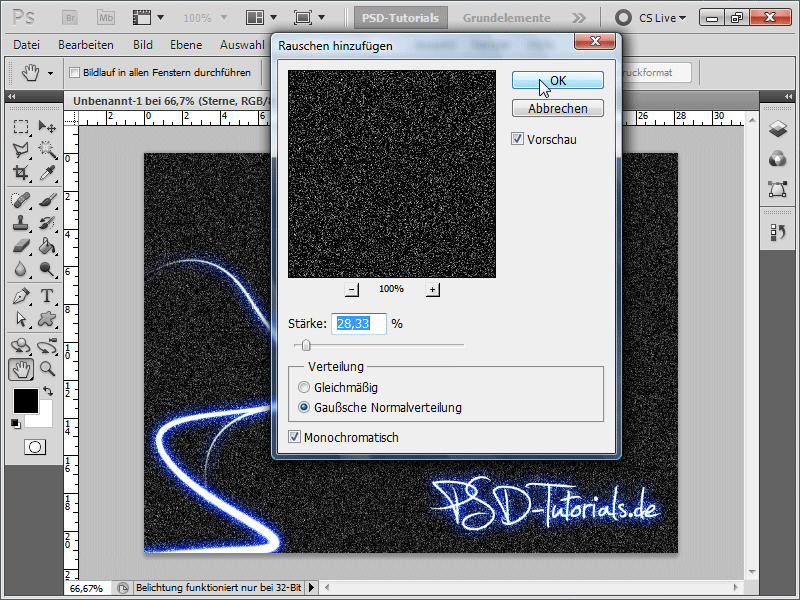
Step 16:
Now I open the Curves with Ctrl+M and adjust the curve as follows, so that some stars are brighter and others darker.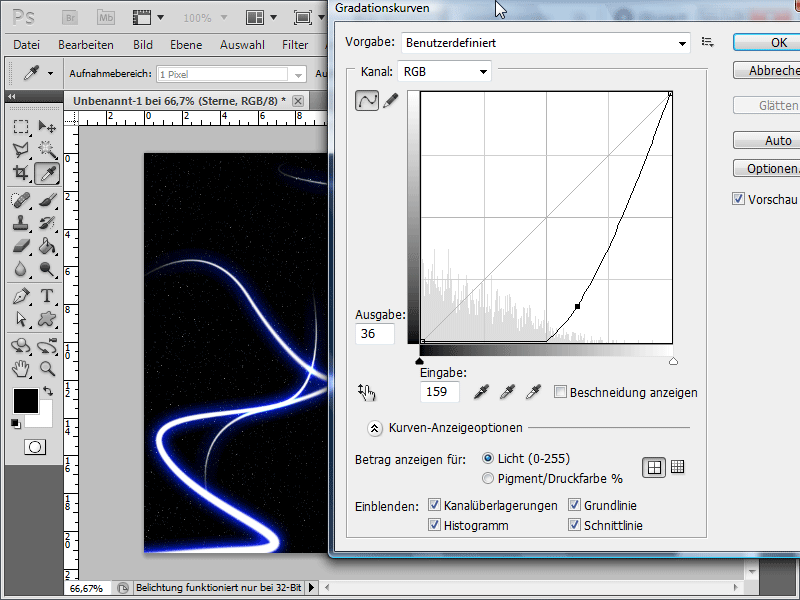
Step 17:
I set the Blend Mode to Screen so that the background shines through.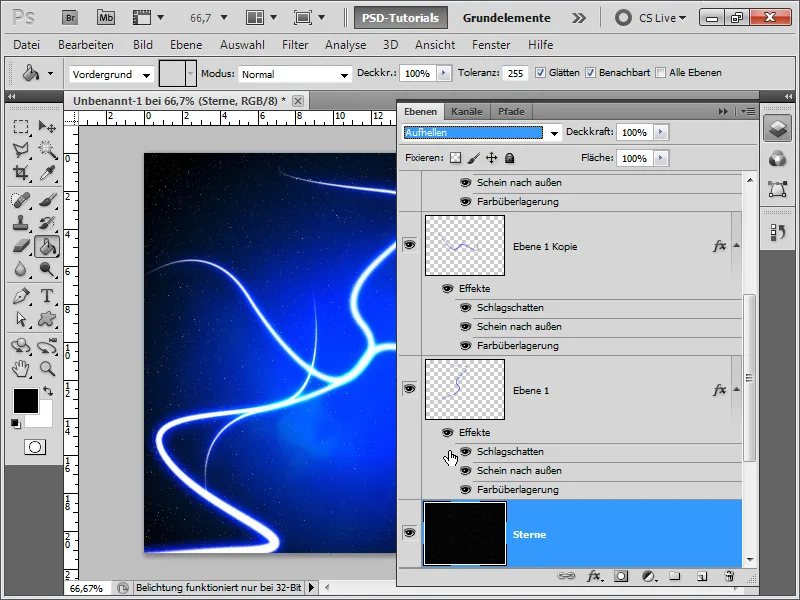
Step 18:
Next, I take my cloud brush (I explained how to create it in another tutorial) and paint a few clouds.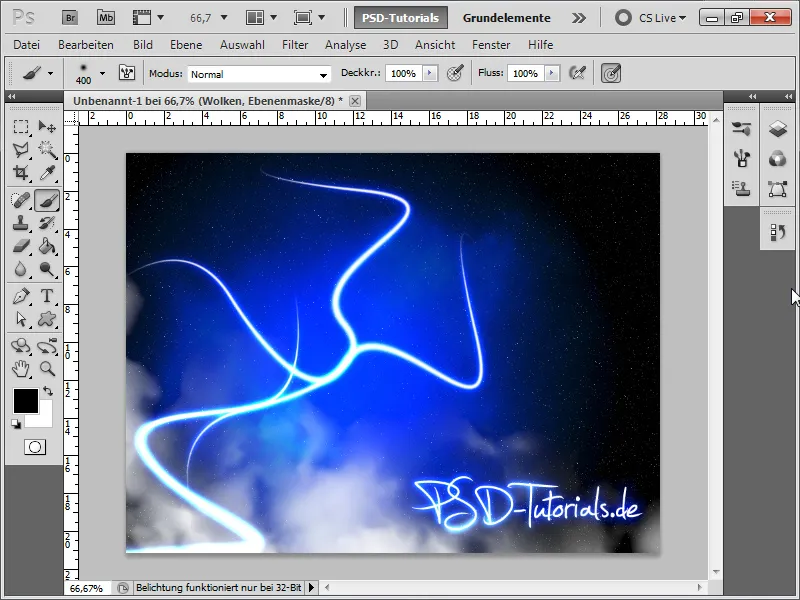
Step 19:
Just as a tip: For example, you can draw a wavy line with the Pen Tool and by cleverly masking, make it appear as if it is winding around an object.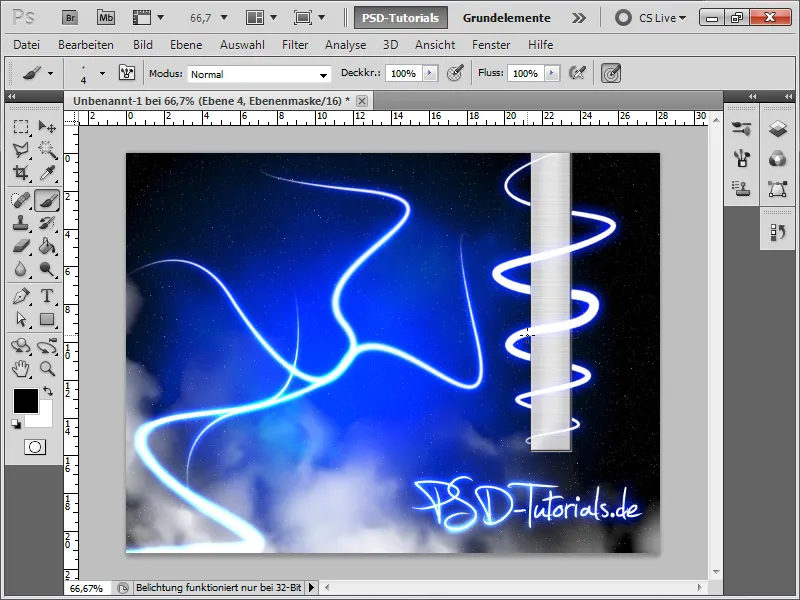
Step 20:
To add some color, I duplicate the background layer and color it red with Ctrl+U. Then I add a Mask on it.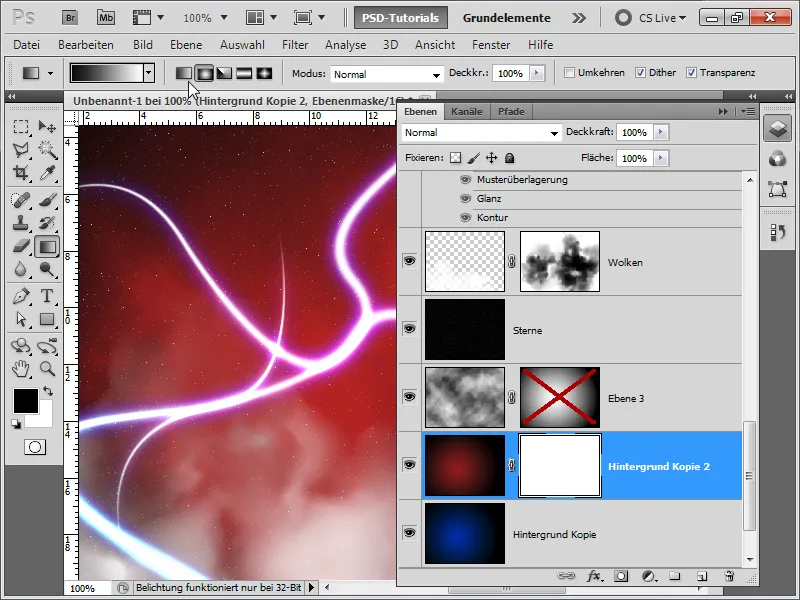
Step 21:
If I apply a light black and white gradient to the mask now, the result could look like this (I also changed all blue tones to red in the Fill Options at the bottom line):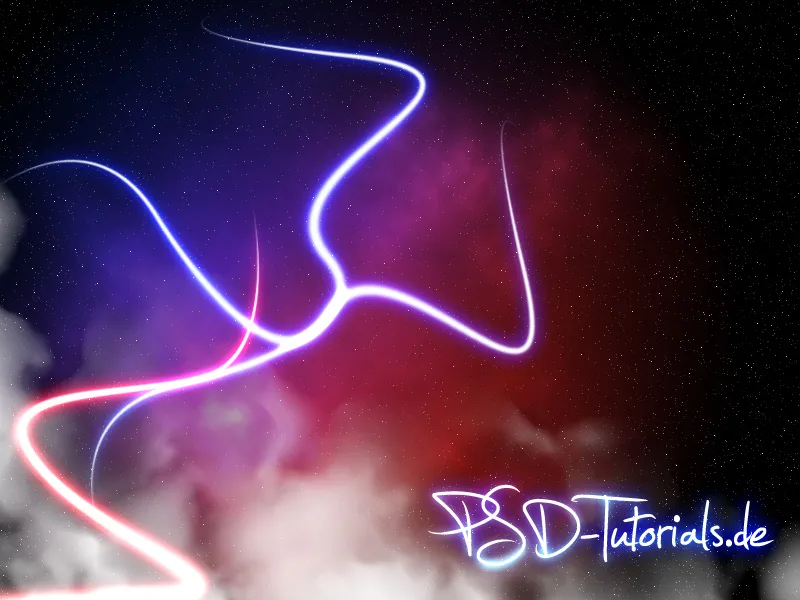
As a working file, I have included the Glow as a layer style.


