Instagram Reels are very popular and provide an excellent opportunity to create and share creative videos with others. Whether you want to capture your latest dance moves, cooking recipes, or just a funny moment - Reels are an ideal platform for that. In this guide, you will learn how to step by step record and edit an Instagram Reel.
Key Insights
- Reels can have a maximum length of 30 seconds.
- You can select videos from your gallery or record directly in the app.
- Various editing tools such as music, filters, and speed settings are available.
- Sharing your Reels is easy and can be done directly from the app.
Step-by-Step Guide
Step 1: Accessing Reels
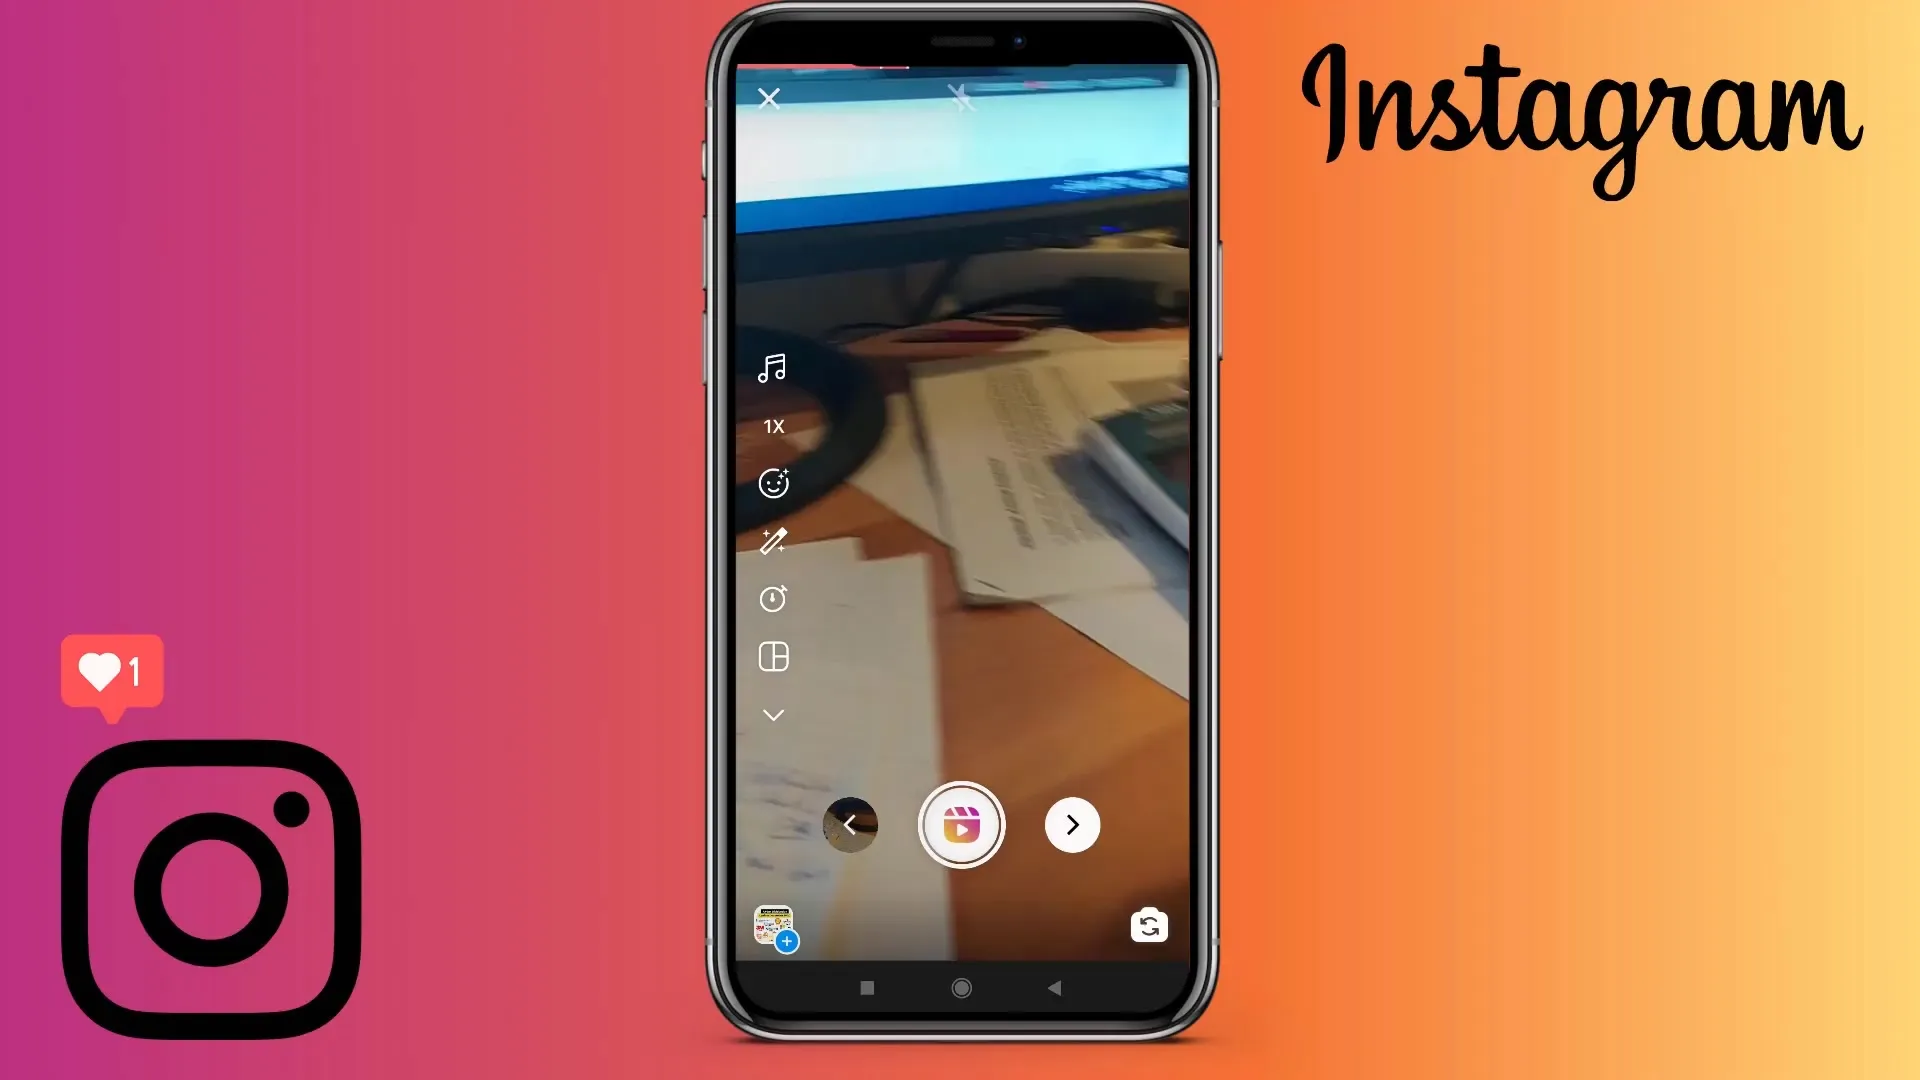
To record your Instagram Reel, open the Instagram app and navigate to the Reels section. Tap on the "Reels" tab in the middle of the bottom menu bar. At the top right, you will see a camera icon that you can tap to begin recording.
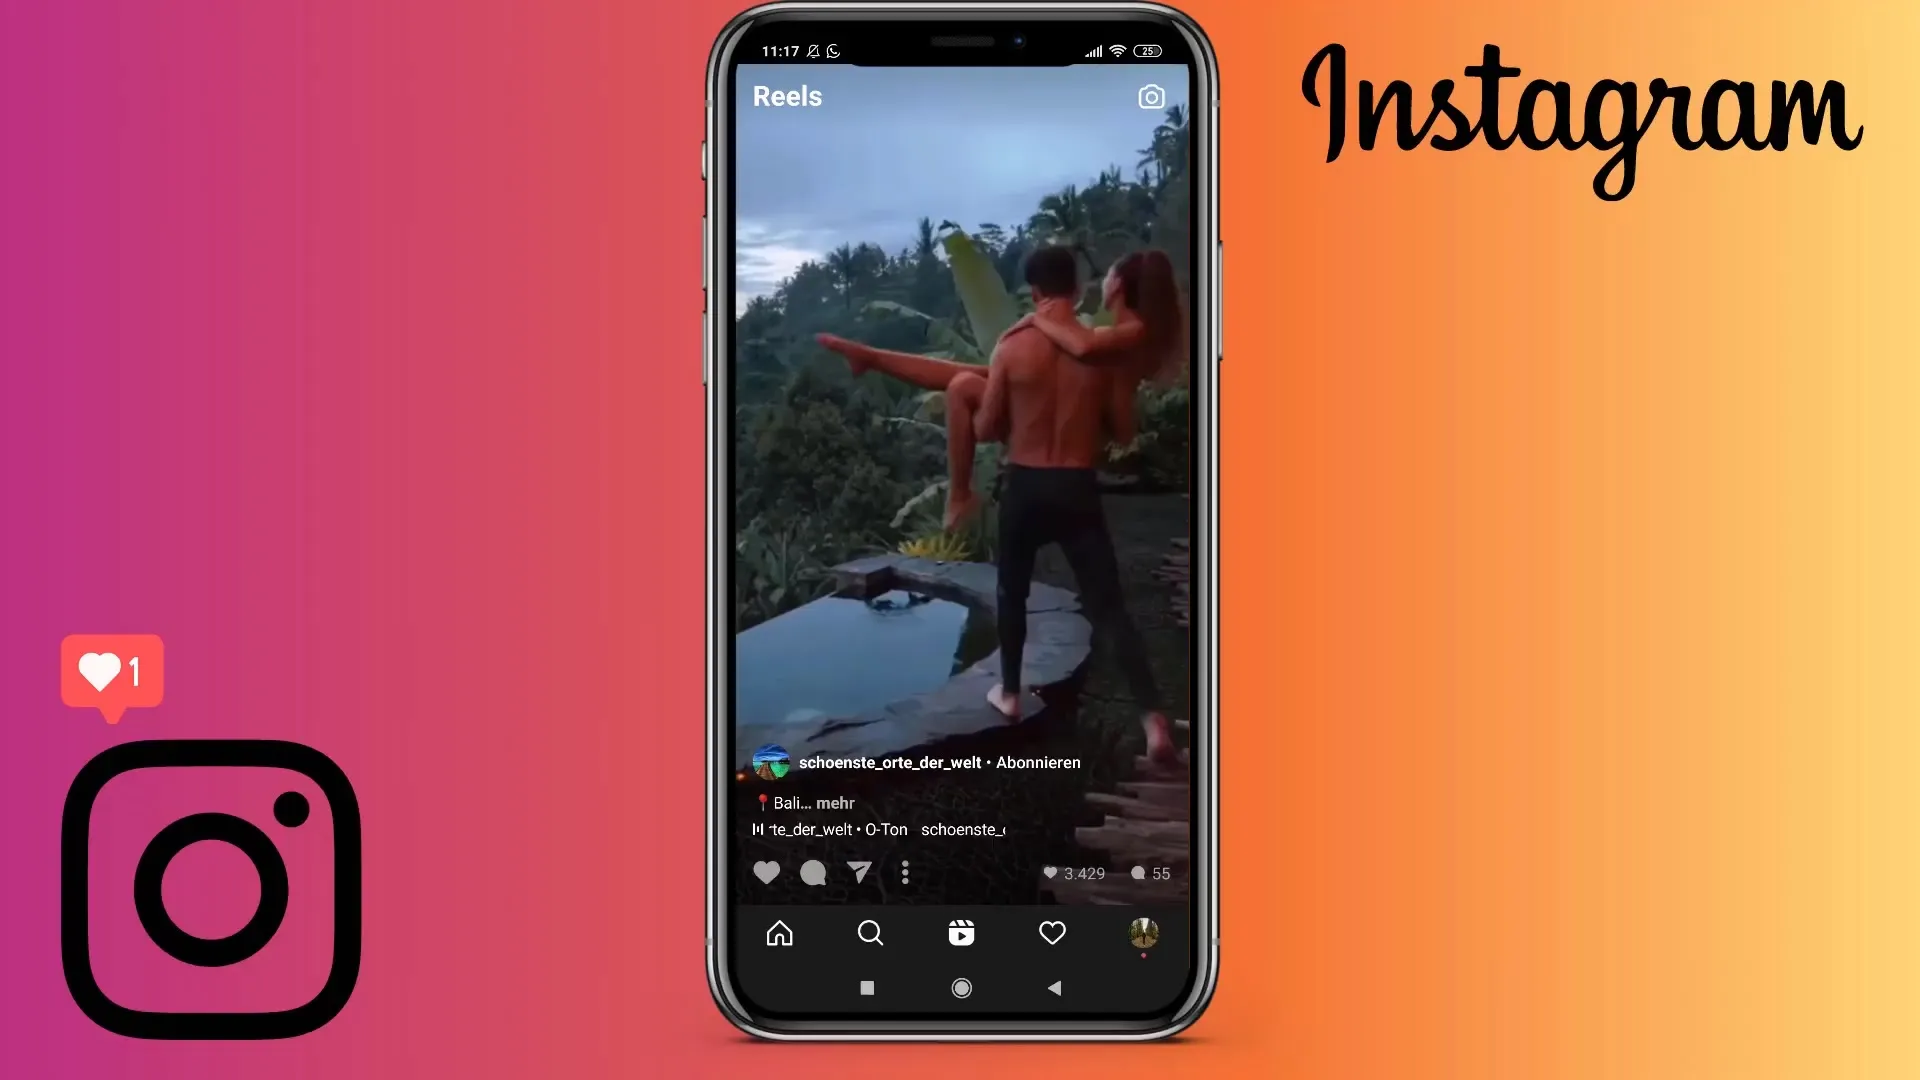
Step 2: Recording or Selecting a Video
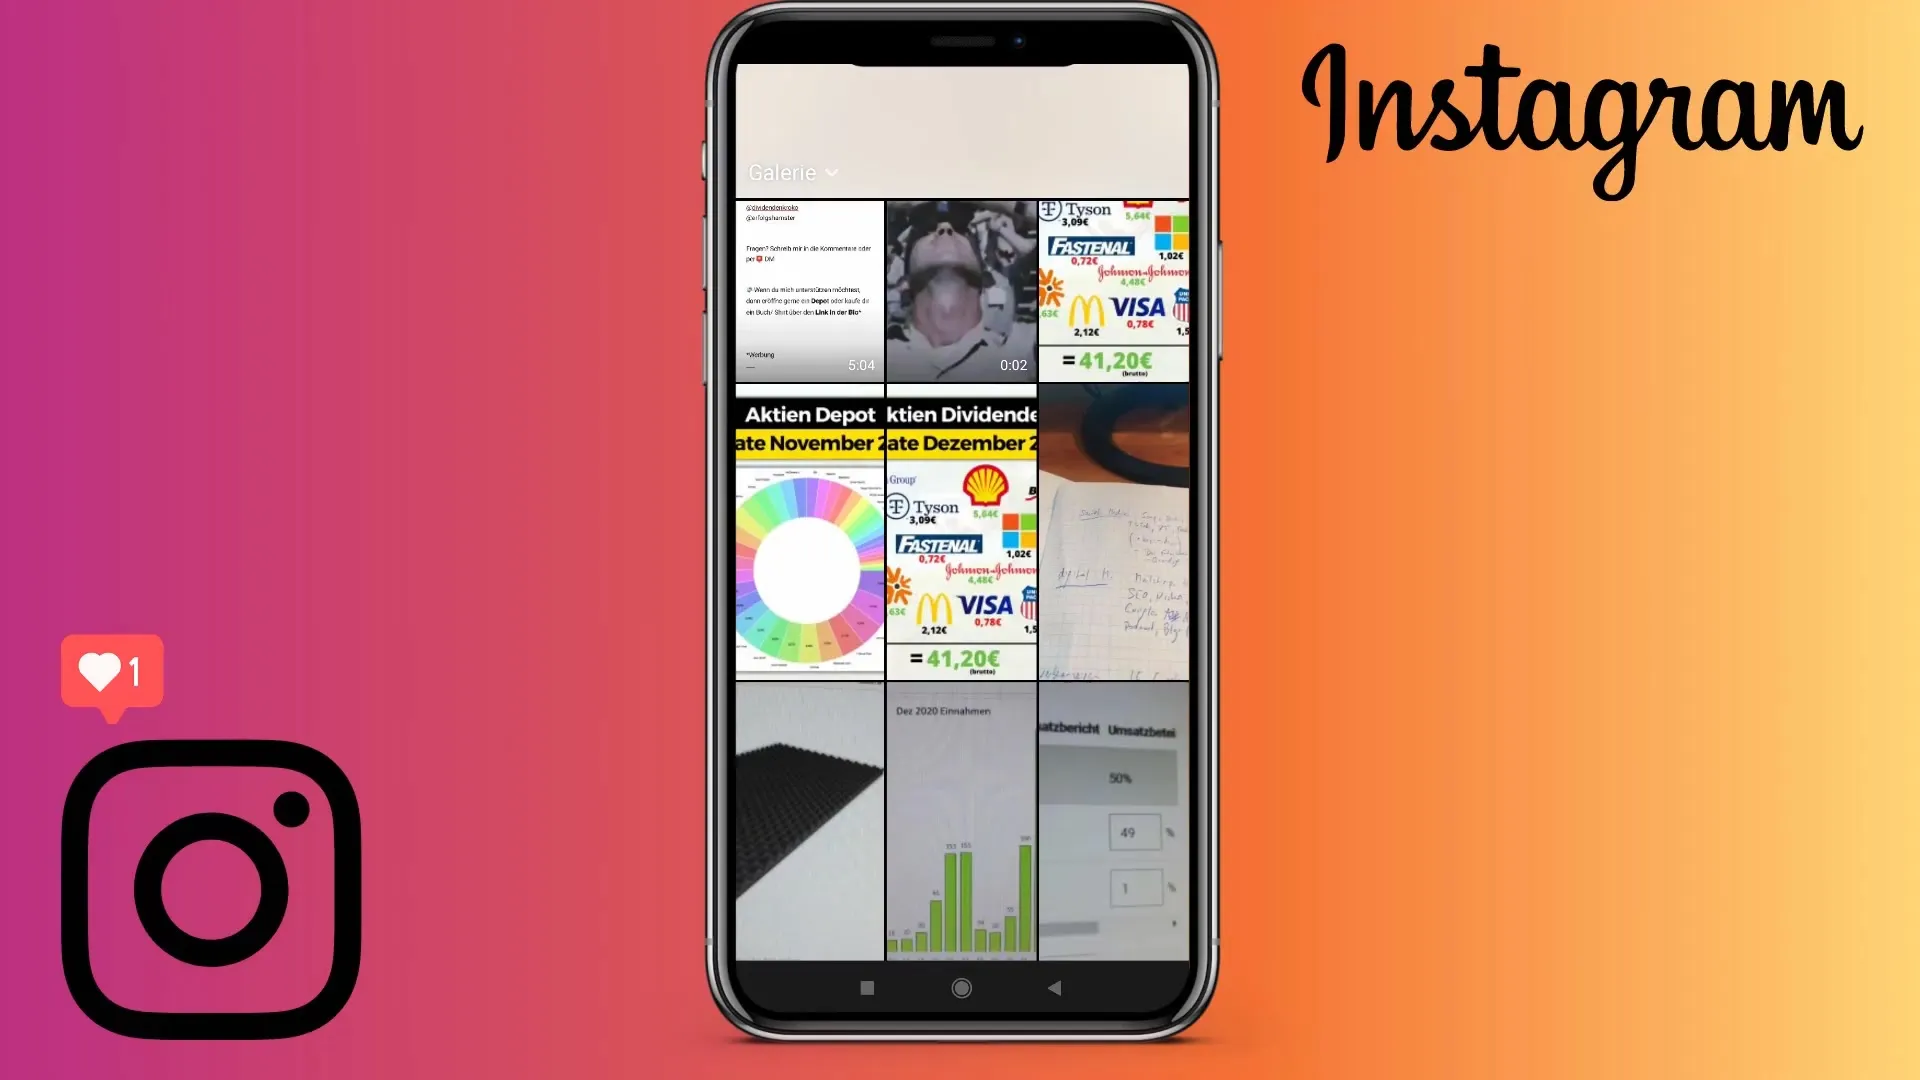
After accessing the Reels section, you have the option to record a new video or select an existing video from your gallery. To record a video, choose the red shutter button in the lower middle of the screen. Alternatively, you can open the gallery to upload a previously recorded video.
Step 3: Selecting the Video Length
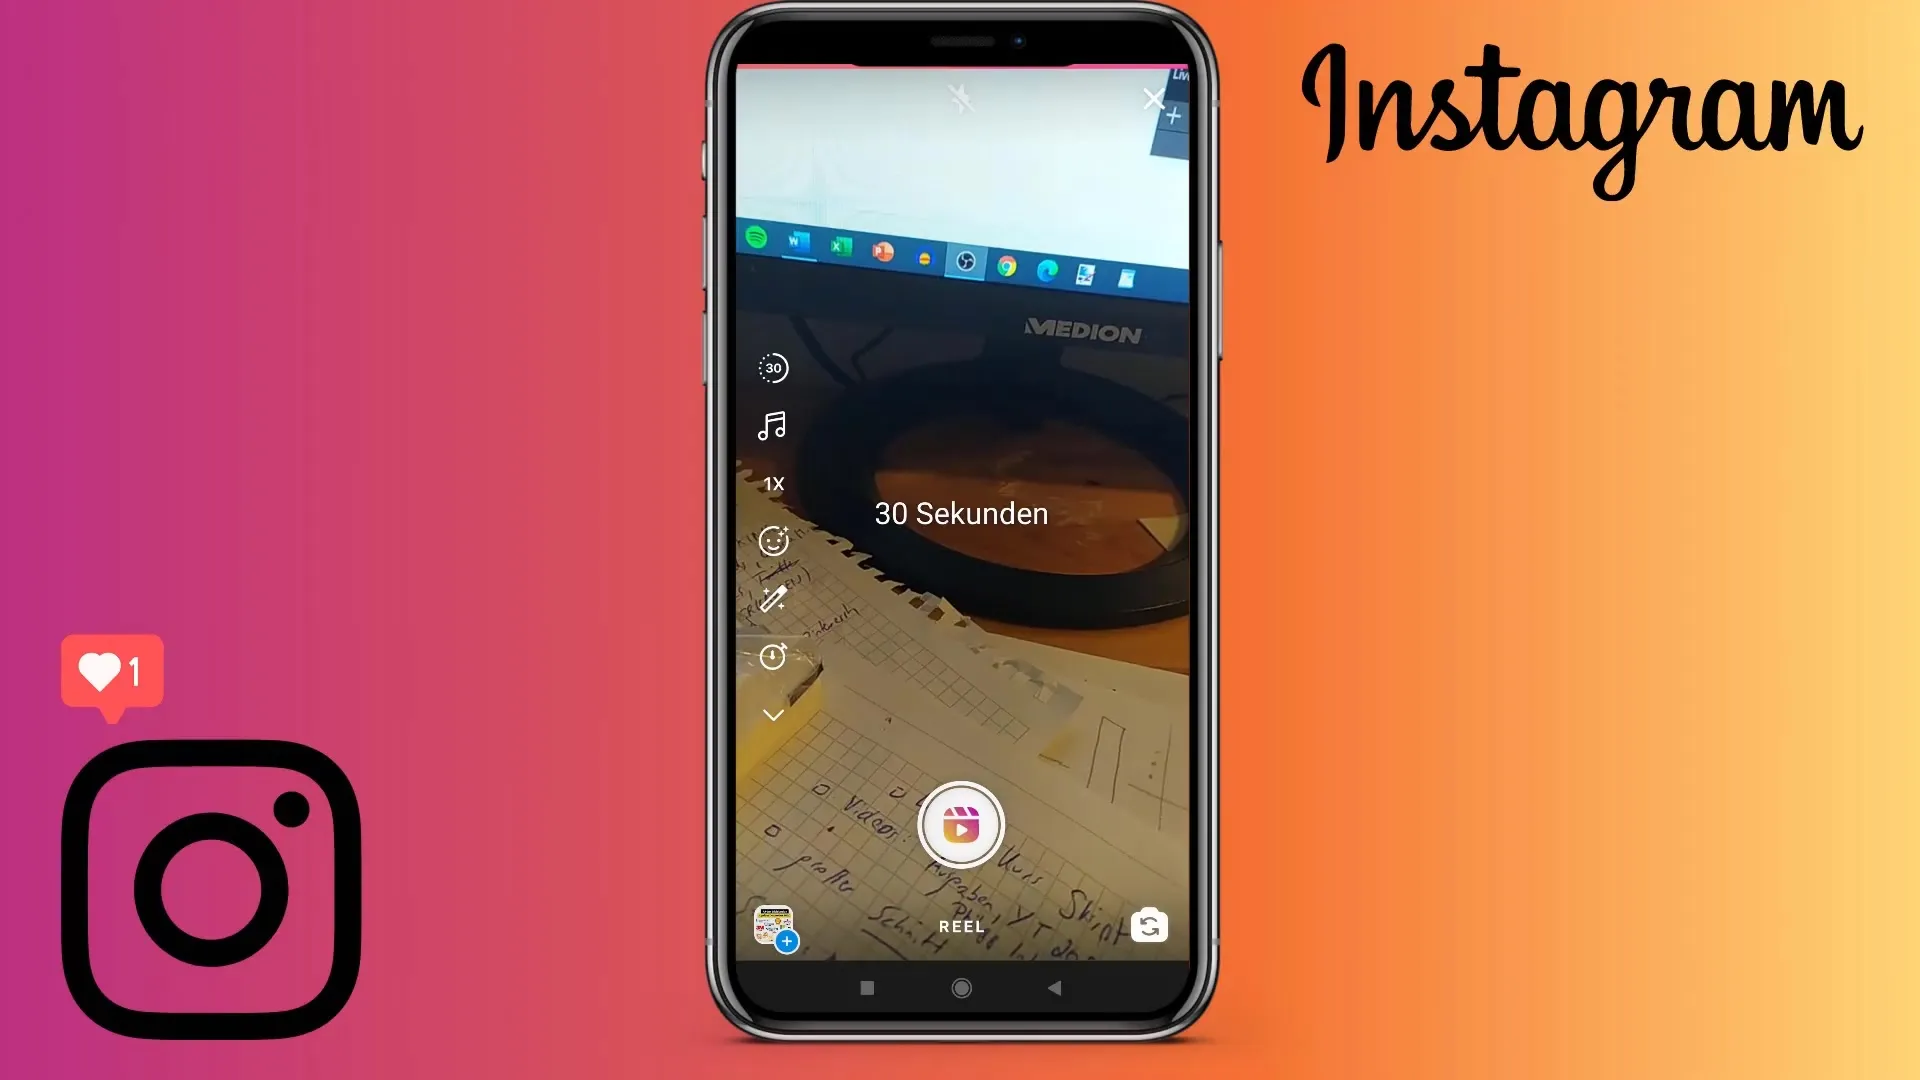
Currently, the maximum duration for Reels is set to 30 seconds. Check this in the bottom bar. You can also switch between 15 seconds and 30 seconds by tapping on the corresponding duration. Reels cannot be longer than 30 seconds.
Step 4: Recording the Video
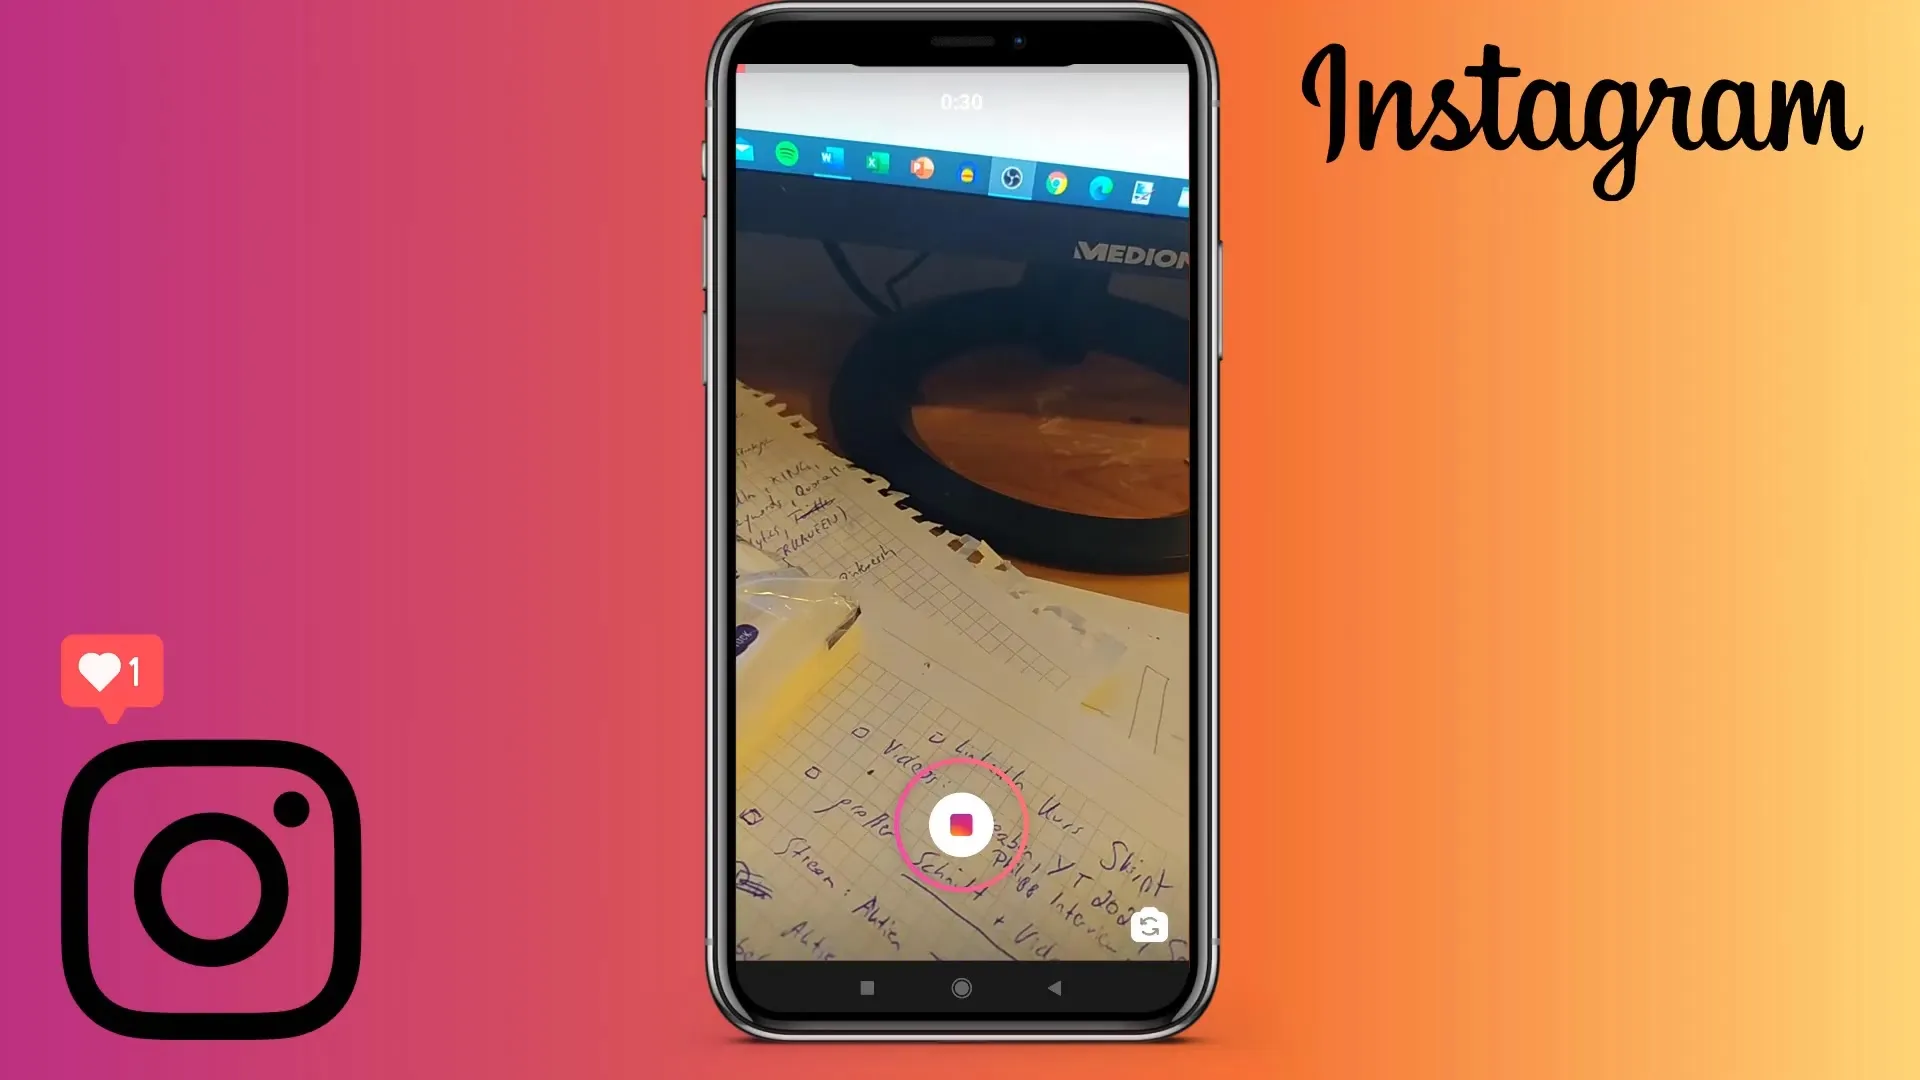
To start the recording, press the red comment button again. During recording, you can observe the time delay displayed at the top. Once you have captured the desired content, press the stop button to end the recording.
Step 5: Recording Additional Perspectives
If you want to add multiple perspectives or additional shots, you can simply repeat the recording. It will automatically cut behind the previous recording, creating a seamless overall video.
Step 6: Adding Music and Effects
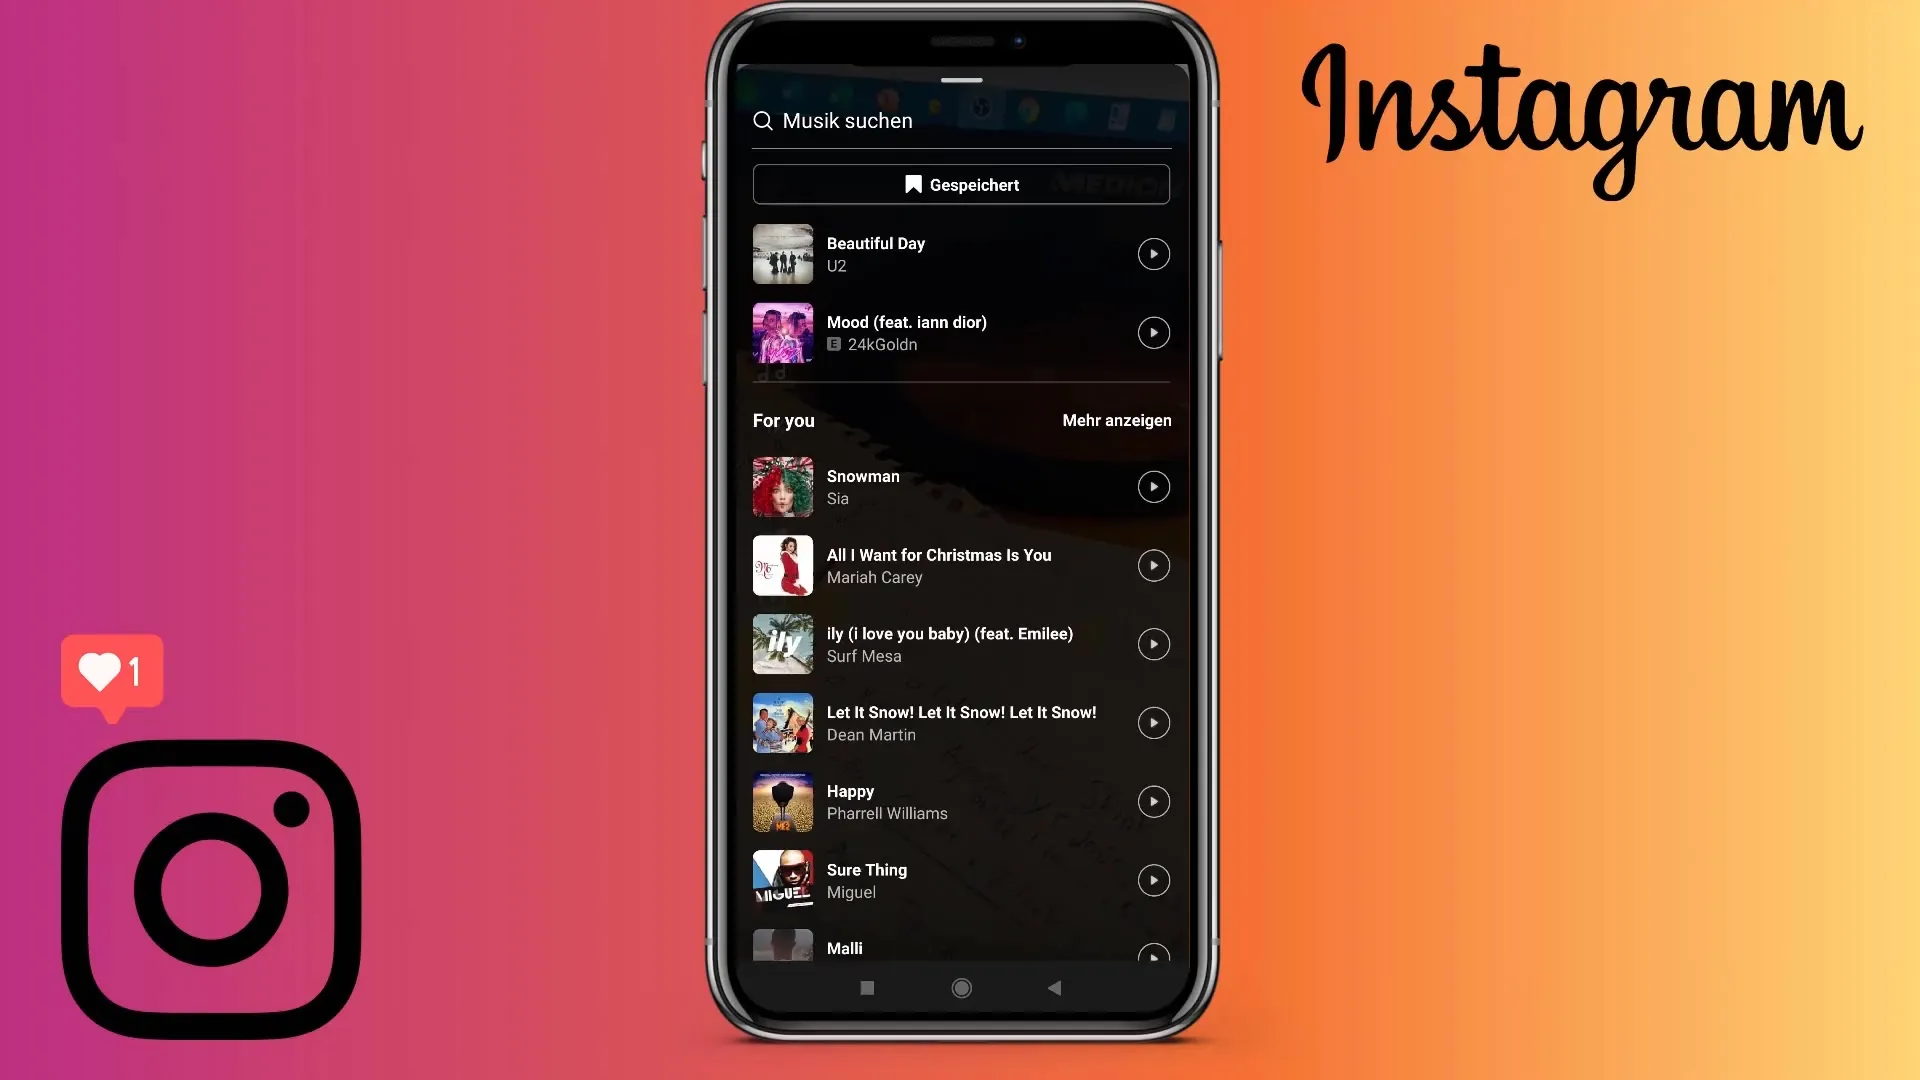
Now you can add music to your Reel. Tap on the "Audio" icon and browse the music selection. Choose a song and press the play icon to listen to a preview. Additionally, you can adjust the speed of the video - from slow motion (0.5x) to the fastest variation (2x).
Step 7: Filters and Additional Editing Options
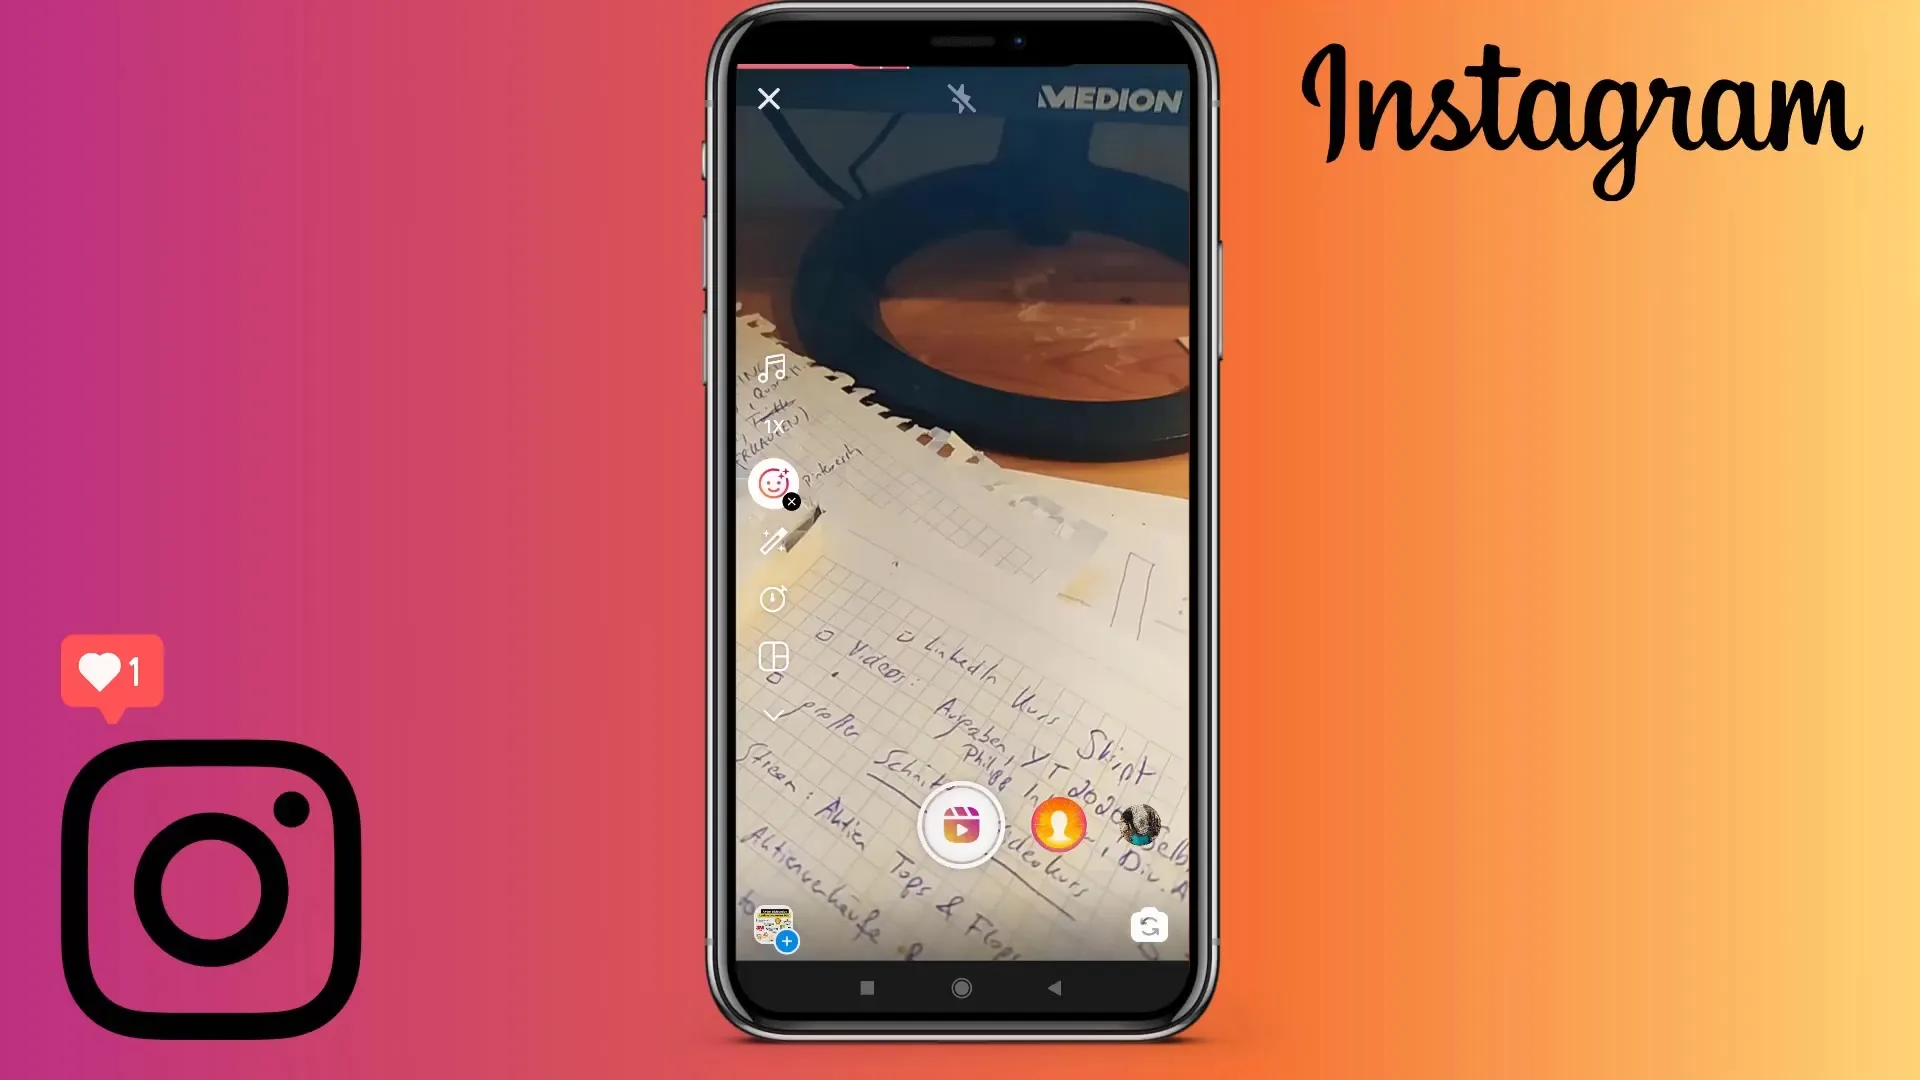
To further edit your Reel, you can add filters. This function must be used before recording, as it cannot be applied afterwards. Also, use the timer if you want to start the recording in a group shot without your hands.
Step 8: Trimming and Preview
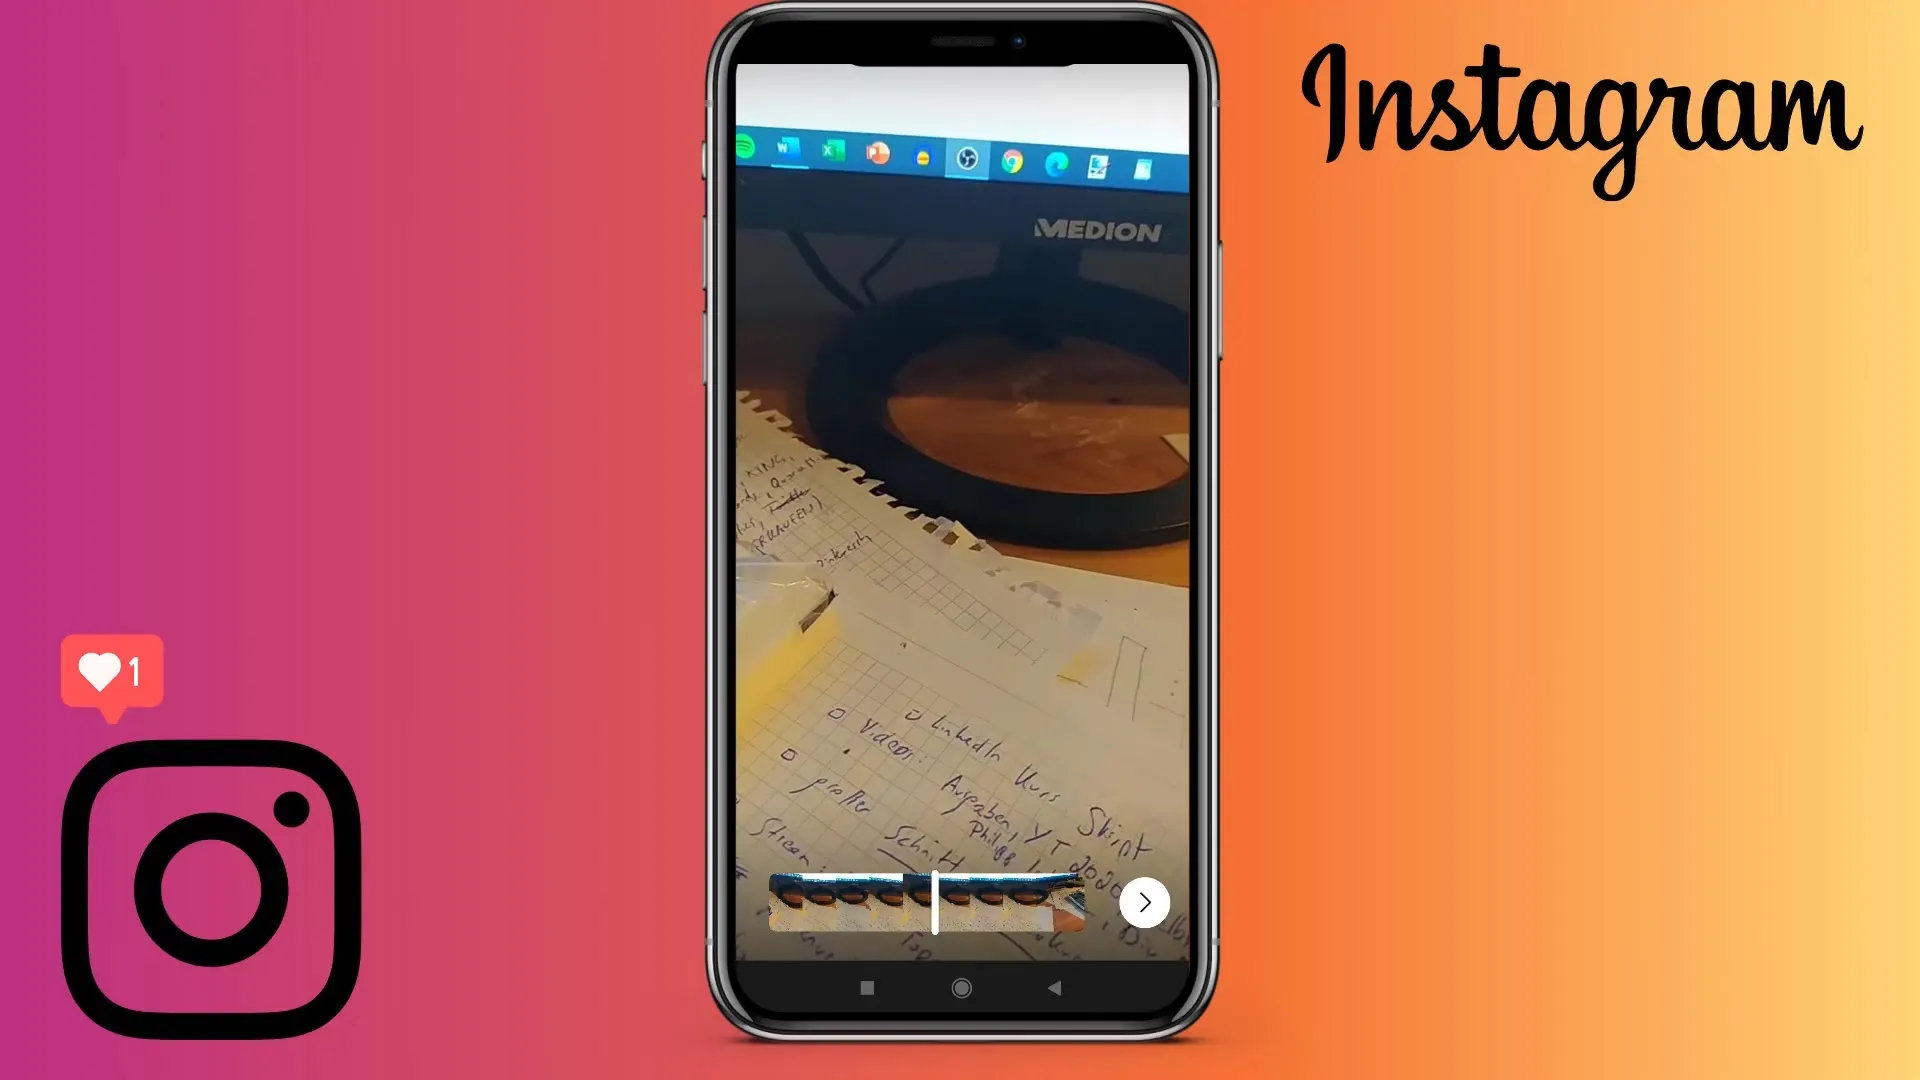
Once you are satisfied with the recording, press the right arrow under the screen to start trimming the video. Here, you can trim clips or change the order. Preview your Reel and then decide whether you want to keep it as it is or not.
Step 9: Create a cover image
To make your Reel even more appealing, you need a cover image. You can either create it directly in the app or choose an image from your gallery. If necessary, use a design app like Canva to create an attractive cover.
Step 10: Sharing your Reel
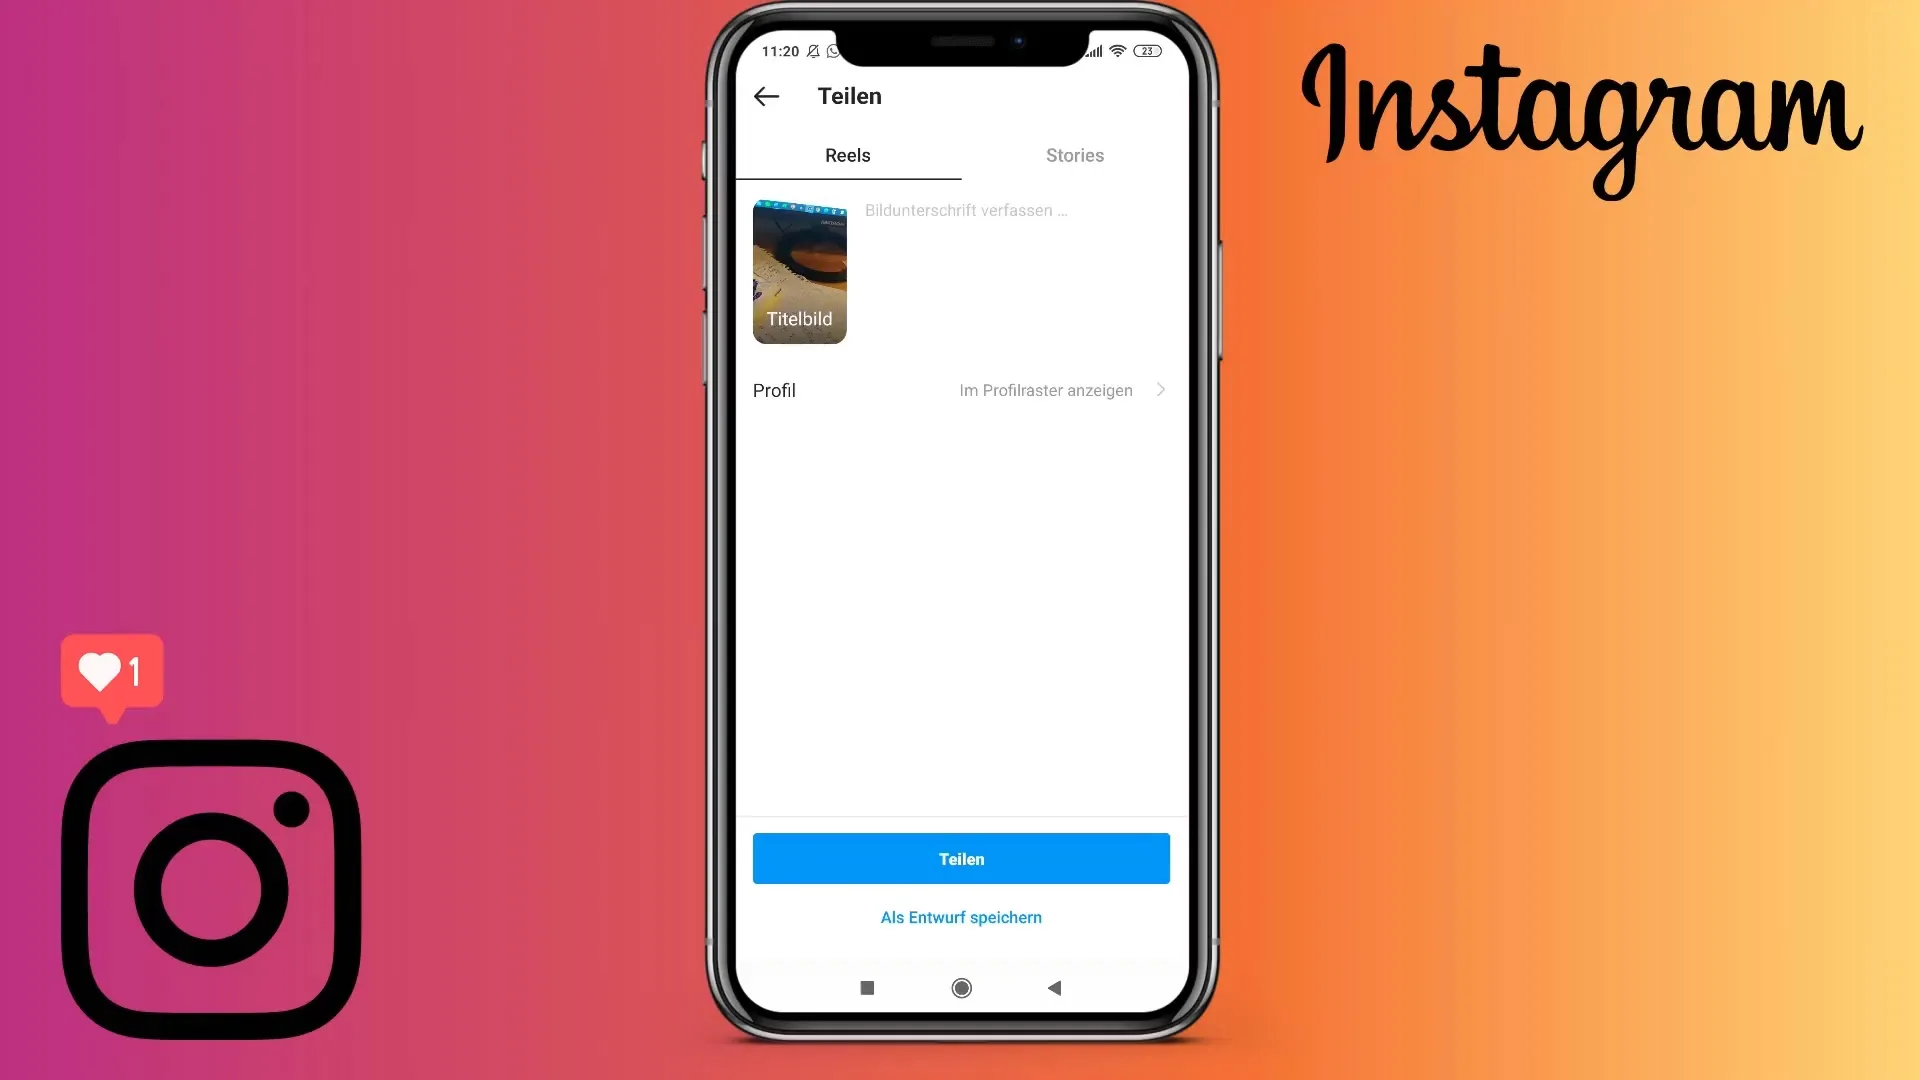
Before sharing your Reel, you have the option to add a caption and select whether it should be displayed in the feed. This can sometimes be a hindrance, as Reels are often more informative and not always suitable for the feed. Click on "Share" to upload your video - easy and straightforward!
Summary
The steps described above provide you with all the necessary information to record and edit an Instagram Reel. From selecting the music to setting the cover image, you have all the tools at your disposal to create impressive videos.


