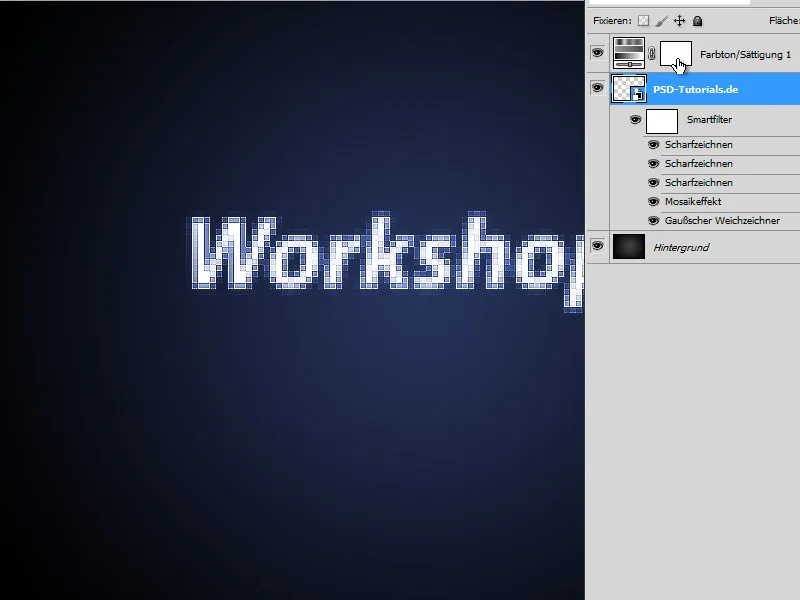
A mosaic effect is a creative way to transform images into fascinating pixel art. Thanks to the use of Smart Objects in Photoshop, you can customize this effect flexibly and quickly try out different variations without destroying your original image. Whether for portraits, landscapes, or abstract designs - the mosaic effect offers endless possibilities. In this tutorial, I will show you step by step how to create impressive mosaic effects using Smart Objects and effortlessly achieve various results. Let's get started and unleash your creativity!
Step 1:
First, I create a new document; the size doesn't matter. I color the background layer black. Then I create text in white. Now I convert the text into a Smart Object (to do this, I right-click on the text layer in the Layers panel and then click on Convert to Smart Object).
Step 2:
Now, under Menu>Filter>Blur Filter>Gaussian Blur, I make the following adjustments:
Step 3:
Then, under Menu>Filter>Pixelate Filter>Mosaic Effect, I enter the following:
Step 4:
Next, I go to Menu>Filter>Sharpen Filter>Sharpen. I apply this filter 3 times in a row.
Step 5:
Then I create an adjustment layer Hue/Saturation (to do this, I click on the icon for adjustment layers in the Layers panel). Once I check the box for Colorize, I can adjust the color through the Hue.
Step 6:
Next, I color the background with a radial gradient. The result is quite impressive, isn't it?
Step 7:
By double-clicking on the Smart Object, I enter the editing mode of my text and can make changes. Once I close the Smart Object, the effect is immediately applied to the new text.
Step 8:
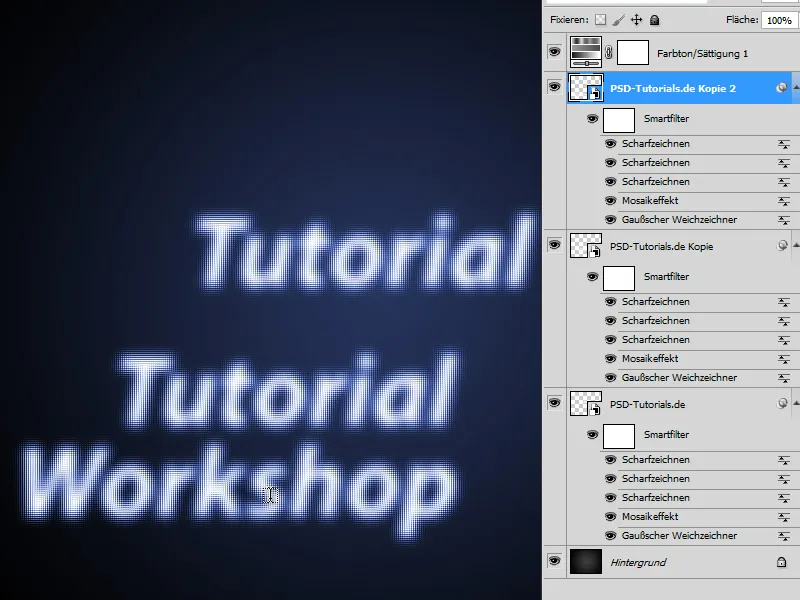
The brilliant thing about using Smart Filters is the ability to change the settings at any time. For example, if I now reduce the number of squares (e.g., to 2), the effect looks completely different:
Step 9:
Tip: If I want to have multiple instances of the Smart Object, I just need to drag it to the New Symbol in the Layers panel. Then, when I change the text, it updates in all Smart Objects that I copied in this way. If I don't want that, I need to right-click and select New Smart Object via Copy.


