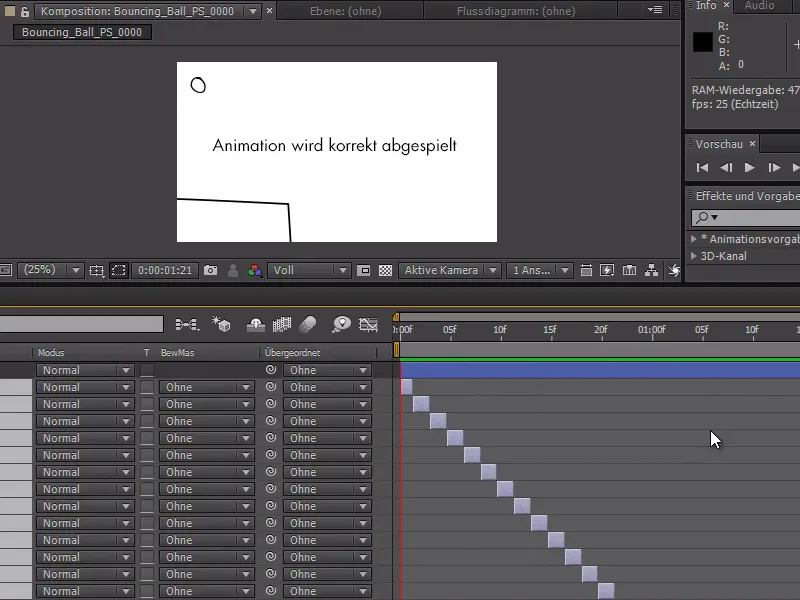
In this quick tip today, I would like to show you how you can easily reverse the layer order.
In this example, I drew a "bouncing ball" in Photoshop and saved it in several frames. I have now imported the whole thing into After Effects and want to create an animation from it.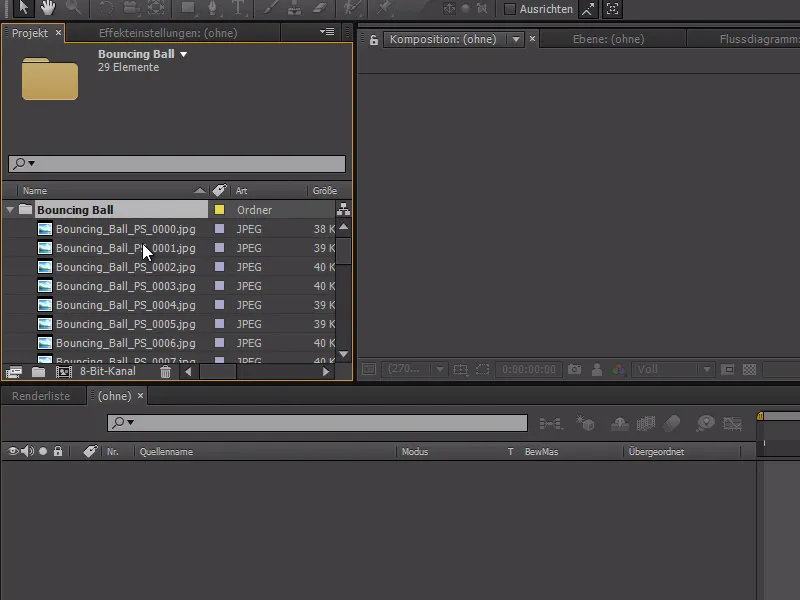
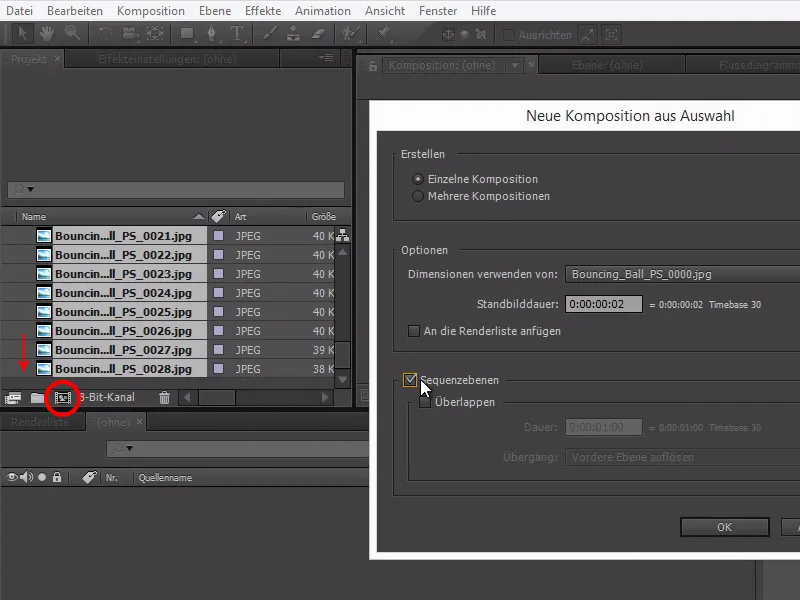
To do this, I can take all my layers and drag them onto the composition icon to create a composition from the selection - with a tick next to Sequence layers. This places the images nicely one behind the other. I also - very importantly - set the still image duration to 2 frames instead of 2 seconds.
After Effects turns our 25 images into a nice smooth animation - but unfortunately in the wrong order. The animation is played backwards.
We now need to reverse the order of all the layers - and that's very easy.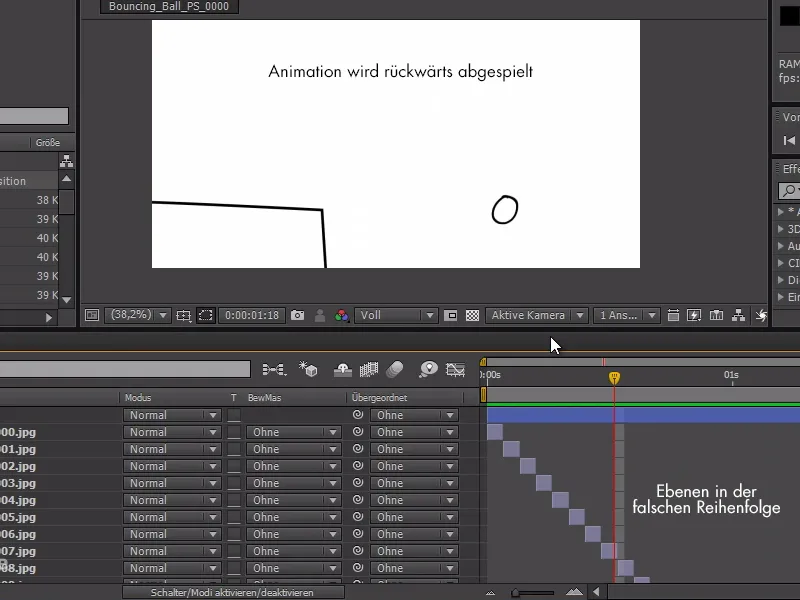
I first select the bottom layer and then select the top layer by holding down the Shift key. With Ctrl+X we cut the layers and with Ctrl+V we insert them again.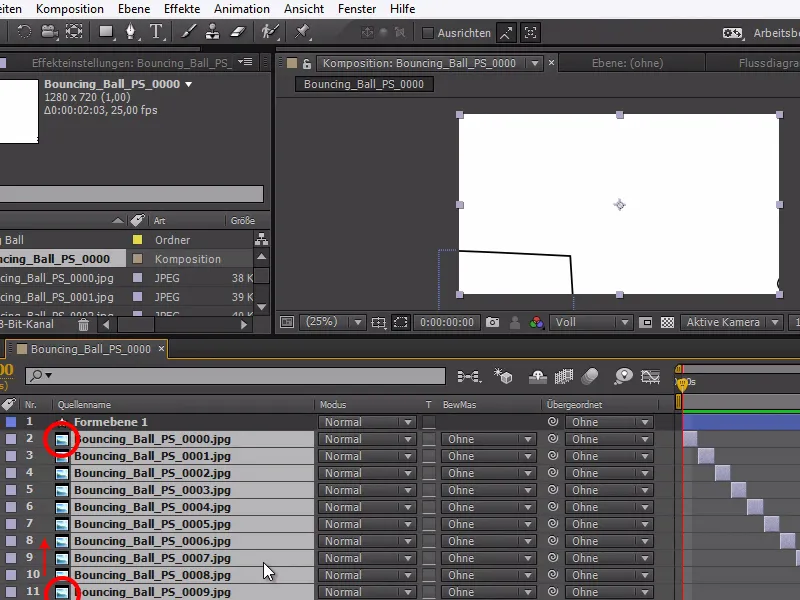
Select all layers and right-click on Keyframe Wizard>Sequence Layers and confirm.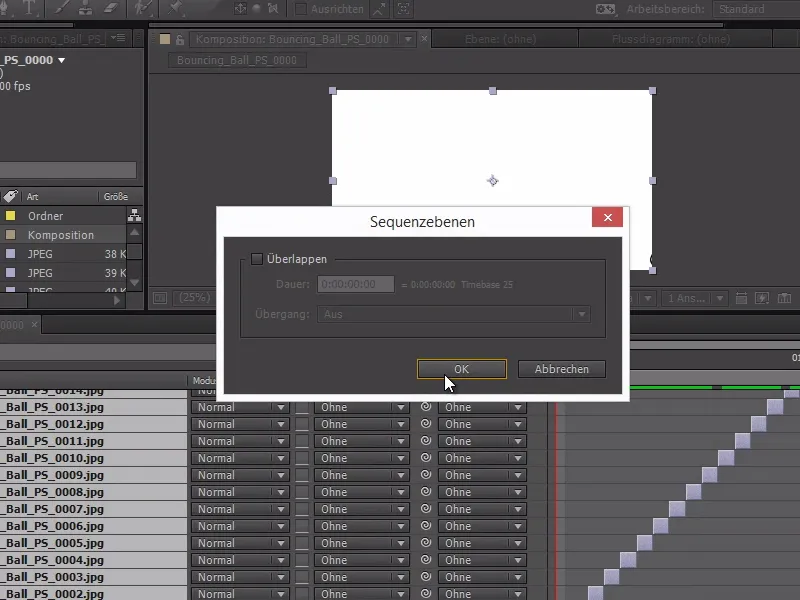
The animation is now correctly organized and plays forwards - the solution can be that simple.