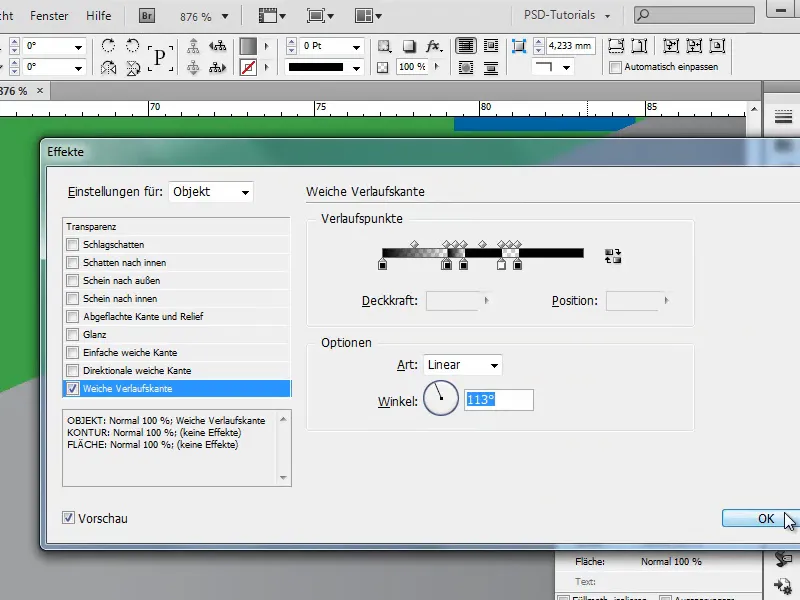
In this little tutorial, I would like to show you how to create great effects with the Soft Gradient Edge option from the Effects panel..webp?tutkfid=83368)
I'll write some text, for example "PSD tutorials", and make the font black and larger. By holding down the Shift key, I can increase the font size in increments of ten.
.webp?tutkfid=83369)
Then I adjust the whole thing a little, ....webp?tutkfid=83370)
... until it looks like this:.webp?tutkfid=83371)
I would now like to have a background that can be a single color and green.
I use Ctrl+O to bring the field into the background..webp?tutkfid=83372)
Now I want the text to contain transparent lines in certain places. To do this, I double-click on the Effects paneland have the option of setting a soft gradient edge.
It looks like this:.webp?tutkfid=83373)
But that's not really how I wanted to do it. I wanted to create transparent strokes within the font.
I can do this as follows: I set the angle to 90° and everything that is black is faded in and everything that is white is not faded in.
The good thing is that I can create several color buckets. If I click on the black paint bucket and right next to it again, another black bucket is created next to it.
However, this then has an opacity of 80 % ....webp?tutkfid=83374)
... but I want an opacity of 100 %. So that's what I set.
If I now drag the second paint bucket right next to it, I get a really great, smooth vector edge. And so I have a transparent line..webp?tutkfid=83375)
Then I click again on the black paint bucket on the far left and create a new paint bucket by clicking right next to it. I drag it right next to the white one (i.e. the fourth from the left in the top view).
And then this is shown again in the font as a transparent line..webp?tutkfid=83376)
I can continue this as often as I like.
Here I set the opacity to 0 % ...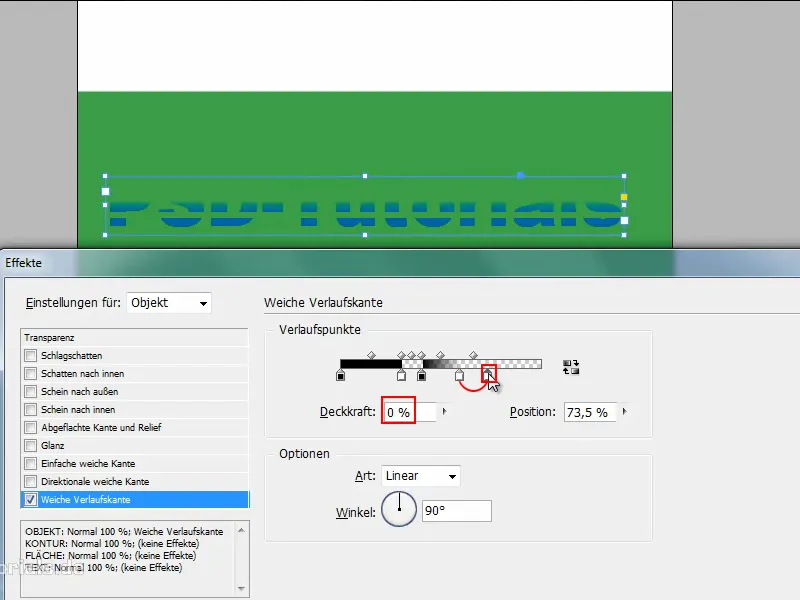
... and next to it one with opacity 100 % ...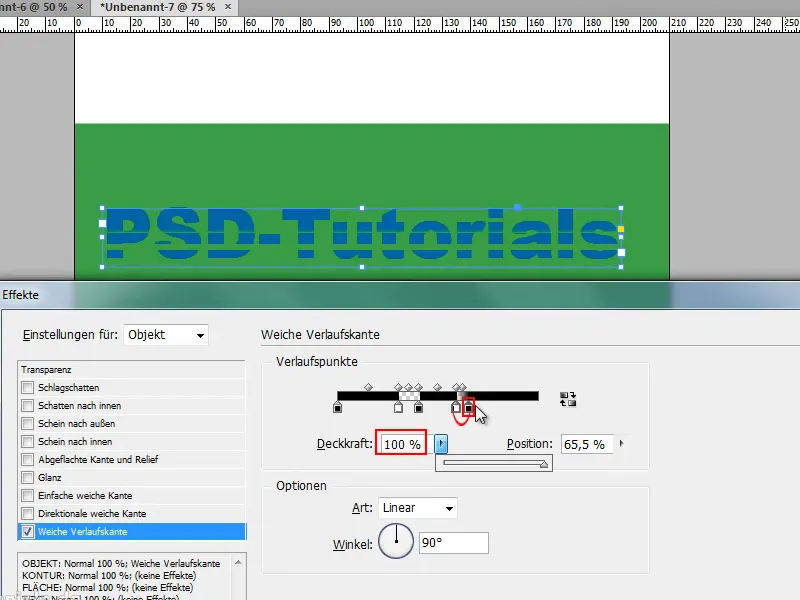
... and then another one with an opacity of 100%, so I can create lots of strokes here.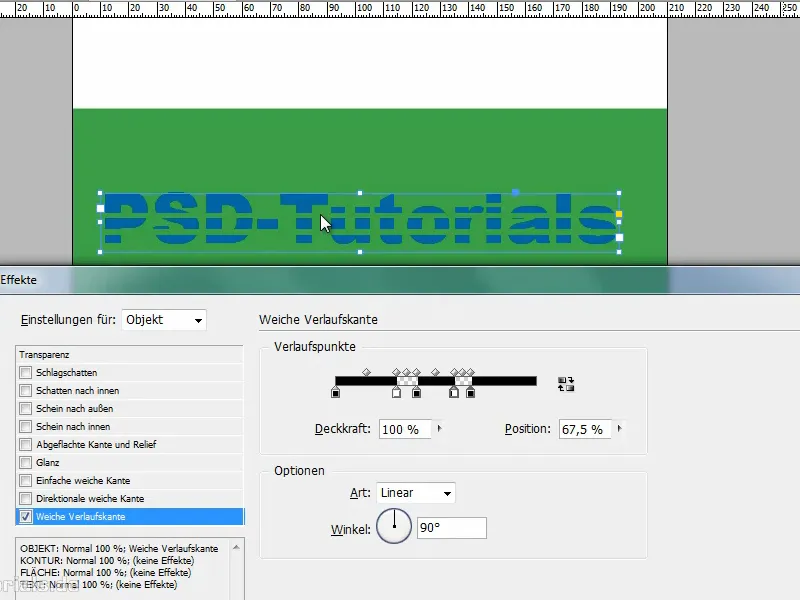
This is a nice effect that I can apply not only to text, but also to all other objects ...
... for example, when I draw a star.
If I click on the star and drag the fx over it, I have a star that contains certain transparent elements.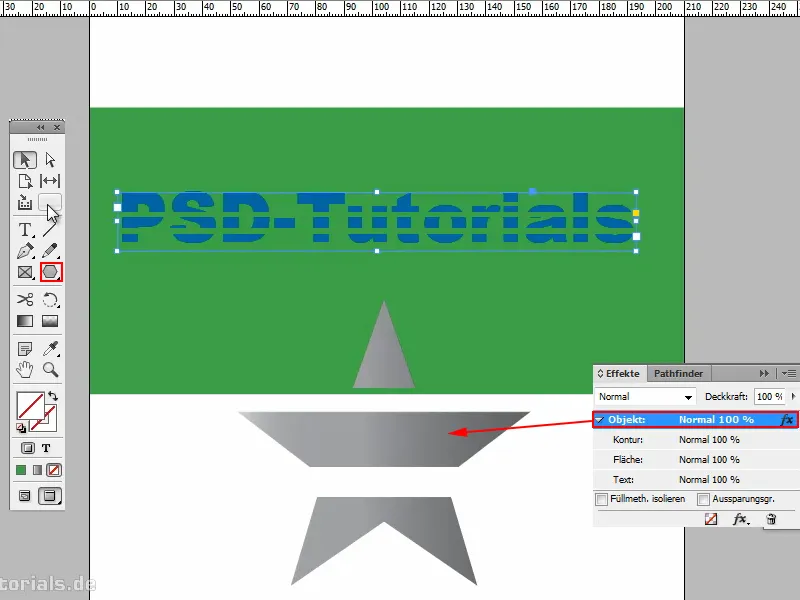
I can change the direction of these at any time. All I have to do is turn the angle..webp?tutkfid=83381)
I can also make the transparent strokes softer with gradient points, that's no problem. Do it however you like..webp?tutkfid=83382)
As I said, if you move it very close together, you have smooth vector lines.
If I zoom in, however, you can see that it's not quite so smooth. I have to readjust it, then it's a complete vector line.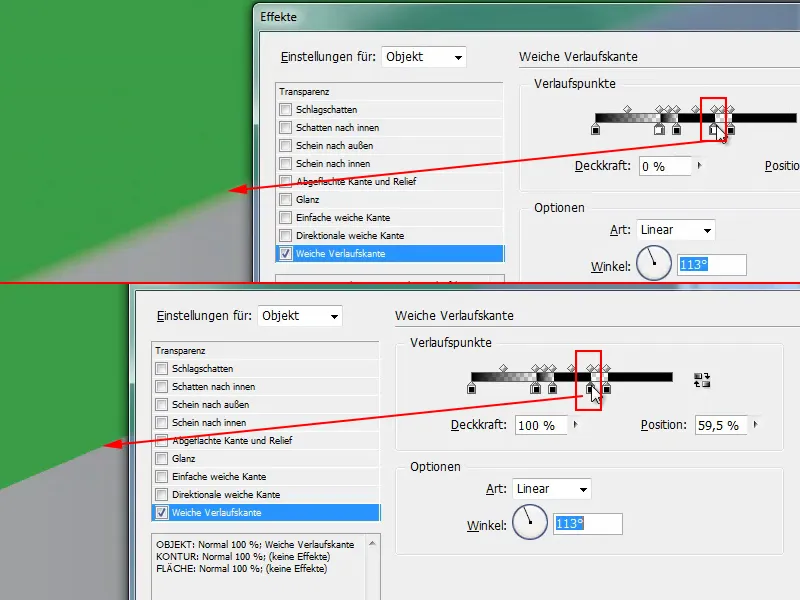
That's a nice thing and it's good to know that you can do it with the soft gradient edge.