One of the central tasks in Adobe InDesign is capturing and placing text to create professional layouts. Whether you type text manually, import it from external files, or adjust existing content - InDesign provides you with versatile tools to efficiently integrate and design texts. In this guide, I'll show you step by step how to capture, import, and optimally position texts in your layout. Let's start and enrich your projects with perfectly placed text!
1. Inserting text via copy and paste
The simplest way to insert text into an InDesign layout is through the clipboard. Open the source document, select and copy the text, draw a text frame in InDesign with the text tool, and paste the content from the clipboard using Ctrl+V.
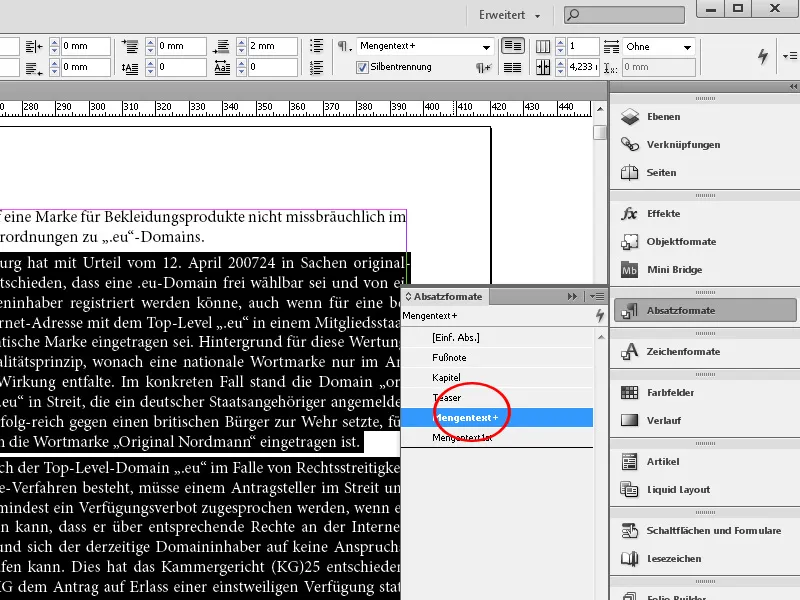
Formatted text retains its properties such as font and size and is assigned to the current paragraph format, which receives a small plus sign as an expression for deviations in the paragraph styles panel.
You can also insert unformatted text via the Edit menu (or via Shift+Ctrl+V). The text then takes on the properties of the currently active character or paragraph format. This method of placing is most suitable for selectively inserting paragraphs.
If you have more text in the clipboard than fits in your text frame, the small red symbol for overset text appears at the bottom right of it. Normally, you would now have to manually create new pages and link the text boxes together. This can be quite tedious with larger amounts of text. However, with a small trick, you can speed up the process significantly: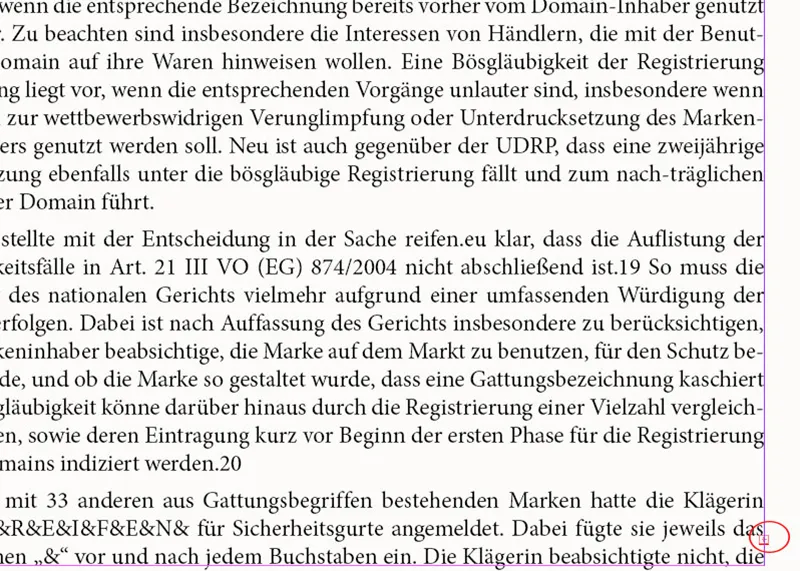
After inserting the overlong text via the clipboard, click on the overset text symbol with the selection tool. Subsequently, the cursor fills with the excess text, which you can see in the small preview at the cursor. Press Delete to delete the highlighted text frame.
Then, while holding down the Shift key, click in the upper left corner of the frame guides (the cursor receives a squiggle as a link symbol). InDesign then creates as many pages with linked text frames inside them as needed for the copied text. Done.
2. Inserting text via the Mini-Bridge
To place the complete text of a source document in InDesign, the Mini-Bridge is very suitable, which you first display via the Window menu.
Then, locate the folder with the source file and drag it onto the layout page while holding down the mouse button. When you release the mouse button, you will see a filled cursor with the first lines of the text.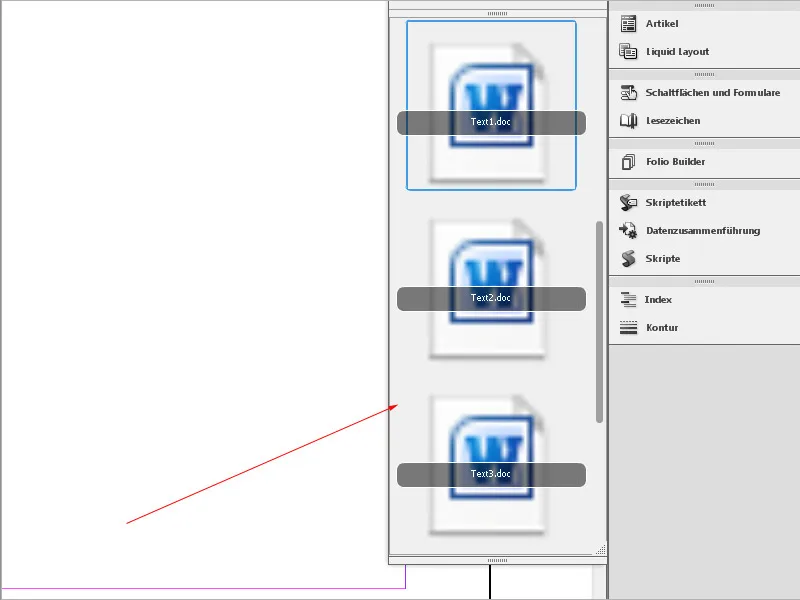
Now drag a text frame again while holding down the mouse button. When you release it, the text flows into the frame. It retains the formatting from the source document. Any existing character or paragraph style sheets are imported. As a sign that they were imported with an external document, they receive a small floppy disk symbol in the styles panel.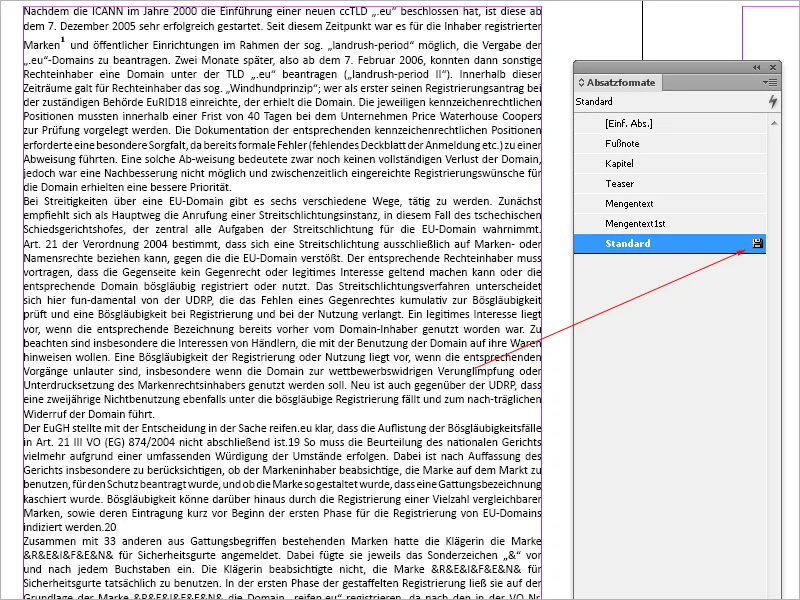
To place several smaller text blocks in a grid-like manner on the layout page, InDesign provides an elegant method:
First, select the text files to be placed in the Mini-Bridge. Then drag them onto the page while holding down the mouse button. Before releasing, hold down the Shift+Ctrl keys.
When you release the two keys while still holding down the left mouse button, the cursor receives six small miniature text frames. Then release the left mouse button, and the first text lines appear in the now filled cursor. Still holding down the mouse button, draw a text frame over the entire area of the page intended for the text.
While still holding down the mouse button, you can use the up arrow and right arrow keys to divide the area into the desired number of equally-sized text frames grid-like on the X and Y axis. The grid is displayed with a dashed line for orientation. When you release the mouse button, the text from the source documents flows into each of the text frames.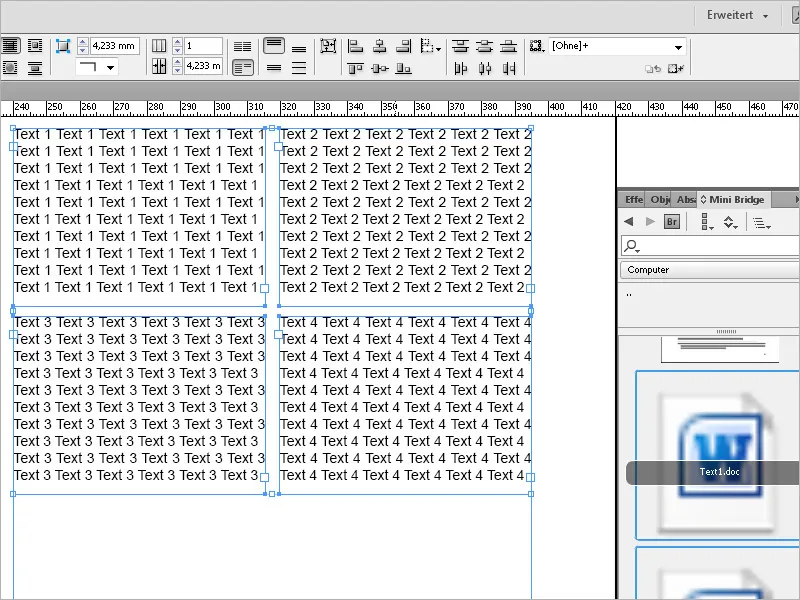
3. Placing a text file
The classic way with the best control options is to import via the File>Place menu (shortcut Ctrl+D). Draw a text frame on the page. Then press Ctrl+D to place the source file and select it in the dialog box. After clicking OK, the text flows into the frame.
An extraordinary option for controlling the details by which texts should be imported into an InDesign document is provided by the import options. To display them, you must check the designated checkbox in the Place dialog. A dialog box for controlling different options is then displayed before the import.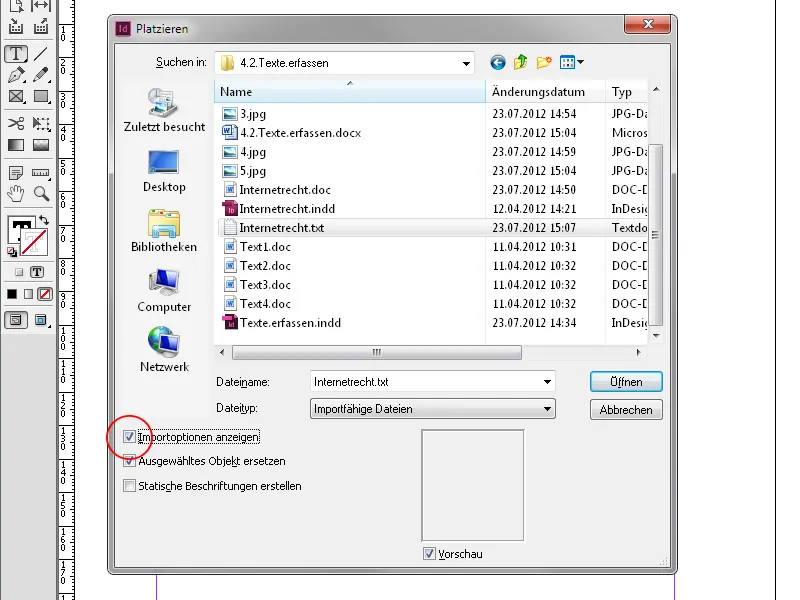
For plain text files, the character set and the platform (Windows/Mac) as well as a dictionary can be selected. Additionally, there is the option to remove paragraph marks at the end of lines or between paragraphs, as well as spaces created by spaces.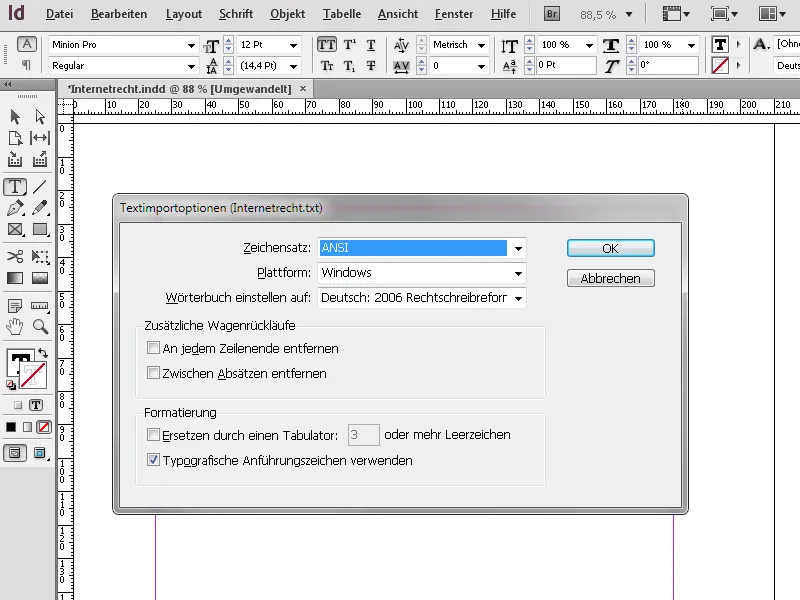
For formatted source data such as Word or RTF files, a slightly more differentiated import dialog appears. Here, decisions can be made about file contents to be imported such as index text or footnotes as well as graphics. Particularly interesting is the controlled import of character and paragraph formats.
This can be done automatically or adjusted if necessary. In case of name conflicts, it can also be decided in advance how to deal with resulting conflicts.
If InDesign deliberately contains formats with identical names, their format definition should be used. This allows for resolving the different interpretation of, for example, bullet points in Word and InDesign with a single click while holding down the Alt key on the desired character or paragraph format template in the corresponding panel.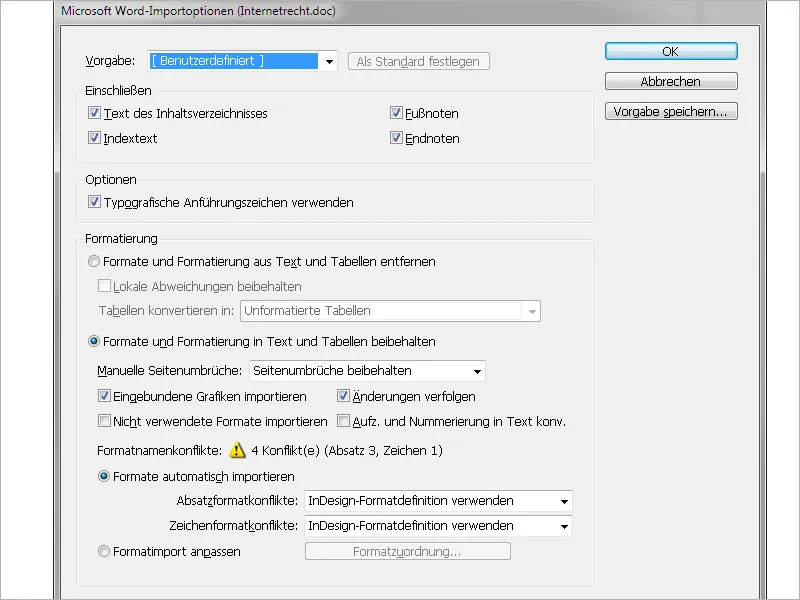
4. Text flow
When placing a text frame by dragging with the mouse, into which the content of the filled mouse pointer then flows, and the available space is not sufficient, a small red box appears at the bottom right of the text frame. This is the indication of overset text.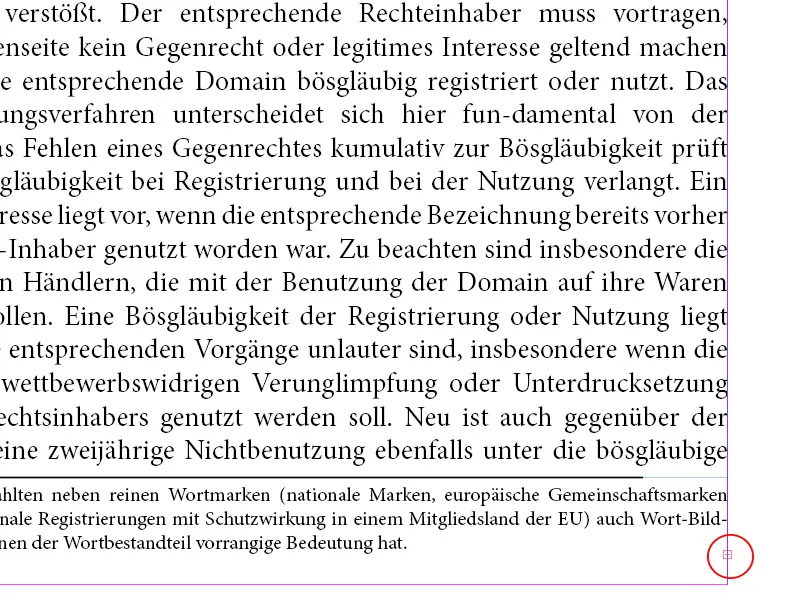
Click on it with the selection tool so that the mouse pointer fills with text again. Then, on the next page, draw a new text frame. When releasing, the text flows from the first to the second frame.
You can display the connections (linking) between the text frames under the marked text frame via the menu View>Extras>Show Text Threads. A line leads from the end of each frame to the next.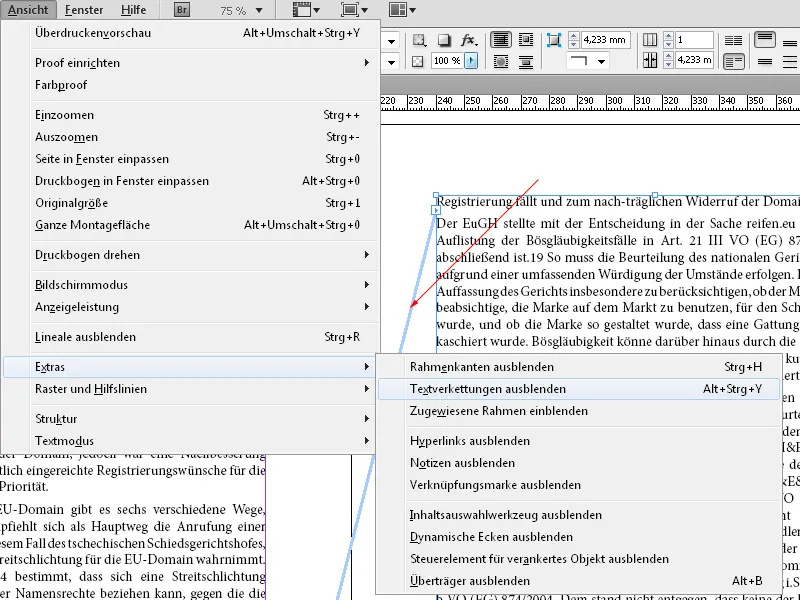
To break the link between two text frames, click with the selection tool on the top left box of the text frame on the side to be disconnected. The mouse pointer will then fill with text.
If you now click in the text frame of the previous page, the text flow is interrupted and overset text is displayed there. You can also skip one or more pages (e.g. for ads or similar) and re-link the text there.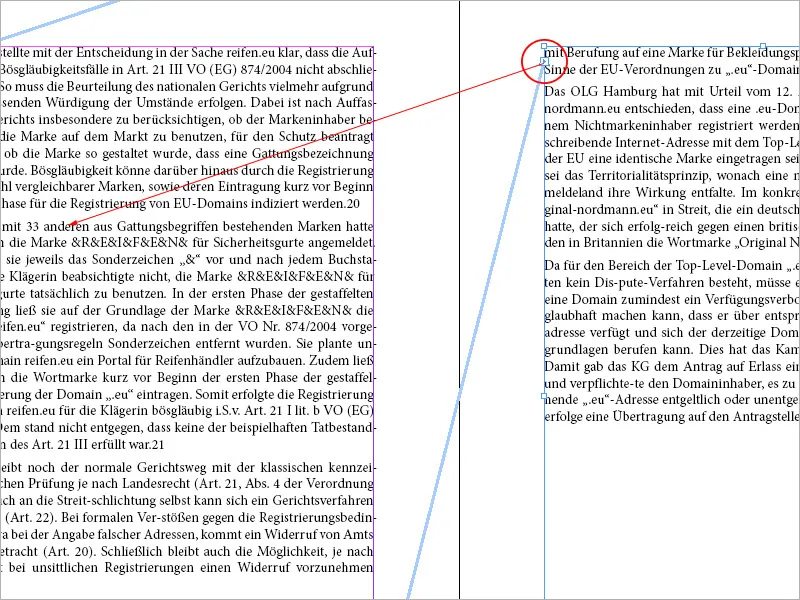
When placing longer texts, InDesign offers the option to automatically create the required number of pages. For this, while inserting with the selection tool, hold down the shift key (the filled mouse pointer will then receive a wavy line as a linking symbol) and click in the top left corner of the first text frame. The text now flows in and as many new pages with linked text frames will be created as needed.


