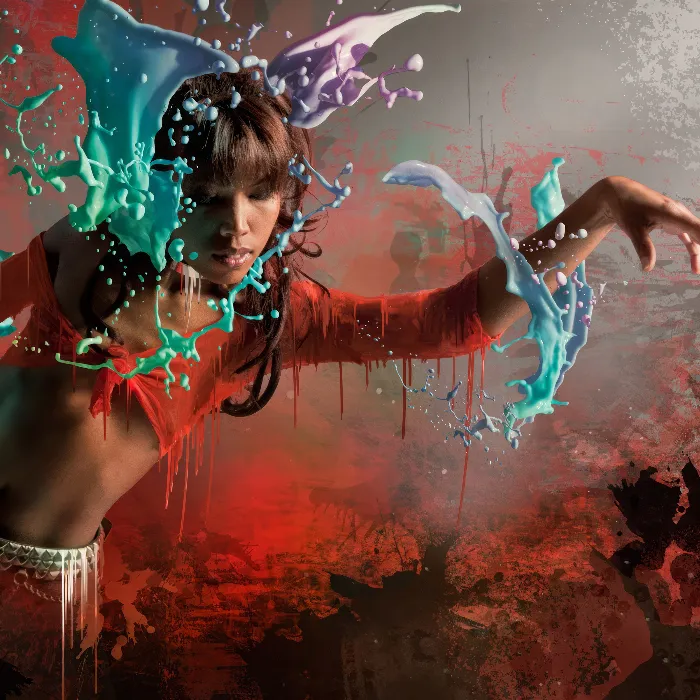
An oil painting effect gives your images an artistic and hand-painted look. With Photoshop and the Pixel Bender plugin, you can create this look realistically and flexibly. Combined with tools like filters and brushes, a unique painting effect is created that transforms your photos into artworks. In this tutorial, I will show you step by step how to turn an image into an impressive oil painting using Pixel Bender and Photoshop tools. Let's get started and unleash your creativity!
Adobe Pixel Bender Plug-In – OilPaint
Anyone who has tried to create an oil painting with Adobe Photoshop will quickly notice that it offers few tools by default. In addition to brush tips for oil paint, there is also an art filter called Oil Paint Daub. An alternative is the Pixel Bender plug-in, which is available for free download from Adobe Labs.
Now I would like to compare both filters and focus especially on the plug-in.
Step 1 - Opening the Image - Accessing the Art Filter
I open my original image and first duplicate it using Ctrl+J. Then I access the Oil Paint Daub filter through the menu Filter>Artistic.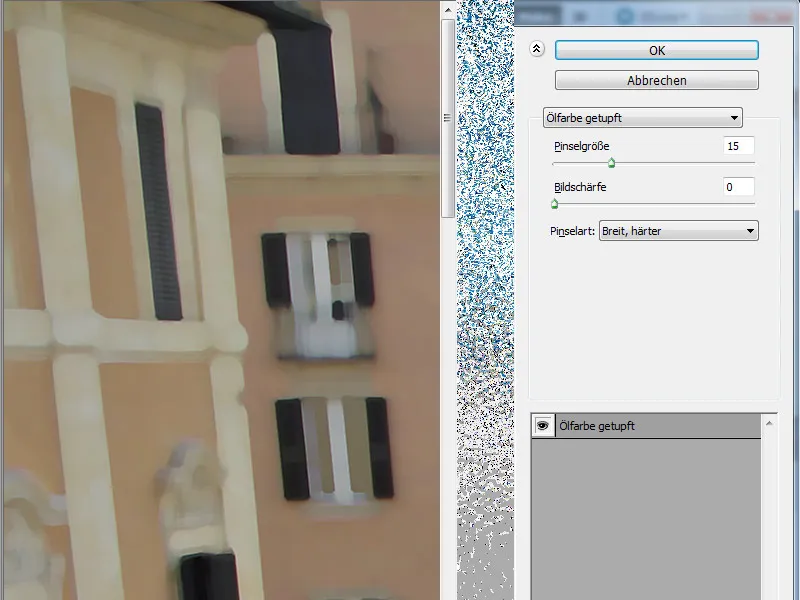
Step 2 - Editing the Art Filter
Initially, I notice the very coarse implementation of the filter. The blotchy representation still has little to do with oil paint, so I gradually reduce the brush size to allow for a finer implementation.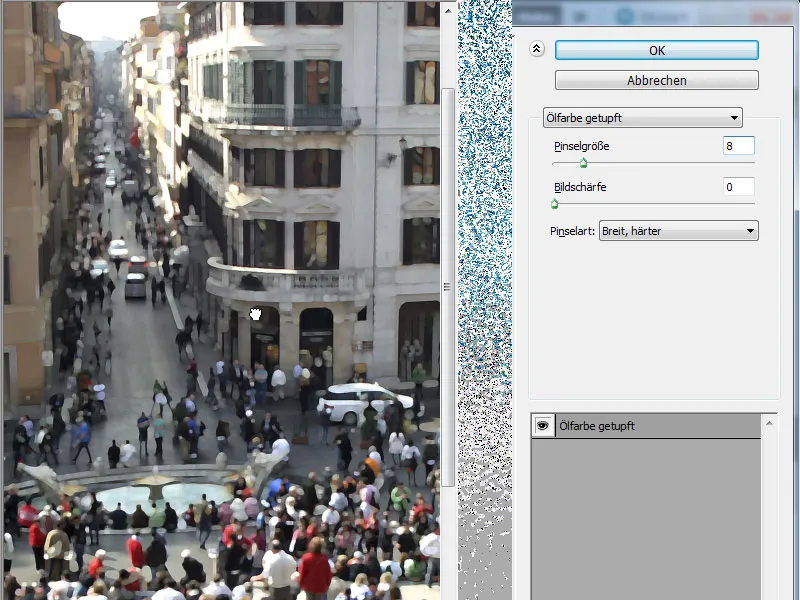
The sharpness slider allows me to create sharper brushstrokes. The displayed result changes significantly with even the smallest adjustments of this slider.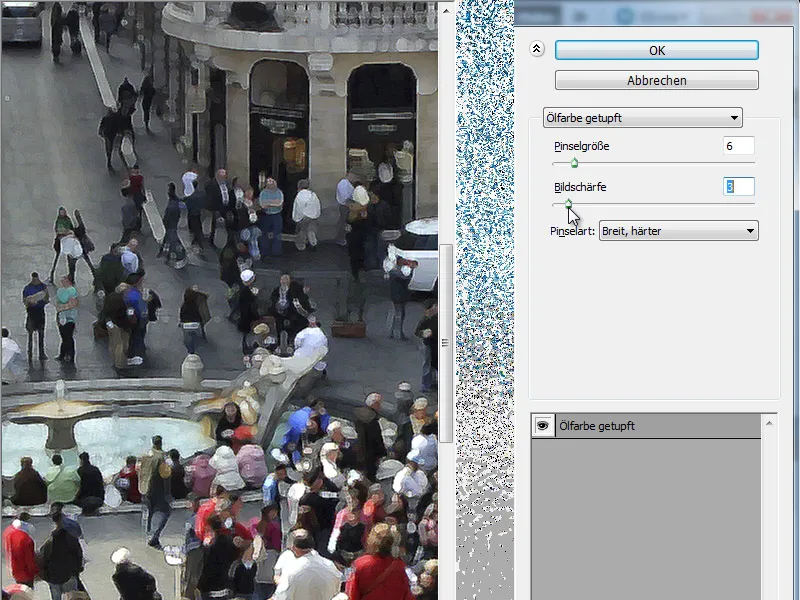
Step 3 - Switching Brush Types
The oil filter in Adobe Photoshop combines 6 different brush types in a drop-down menu. Each brush shape produces a different image. I will now showcase all 6 brushes with identical slider settings.
• Simple: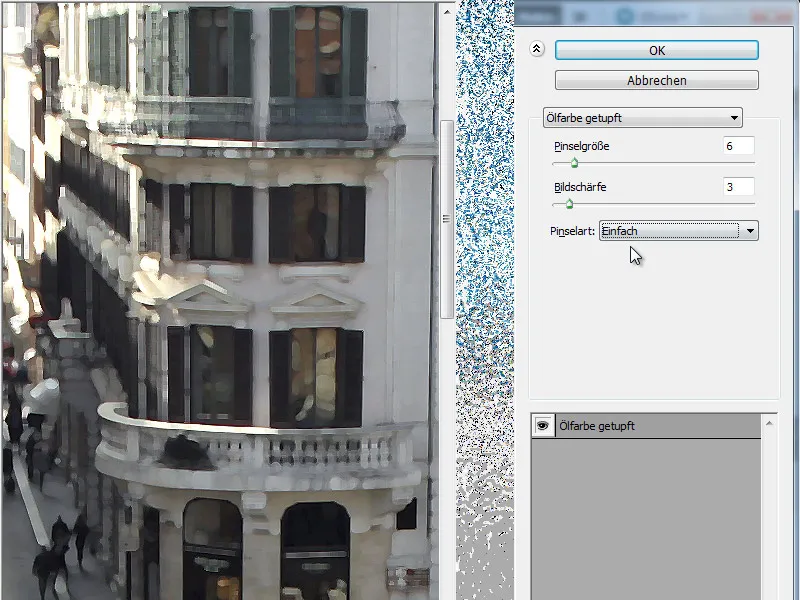
• Brightening, rough: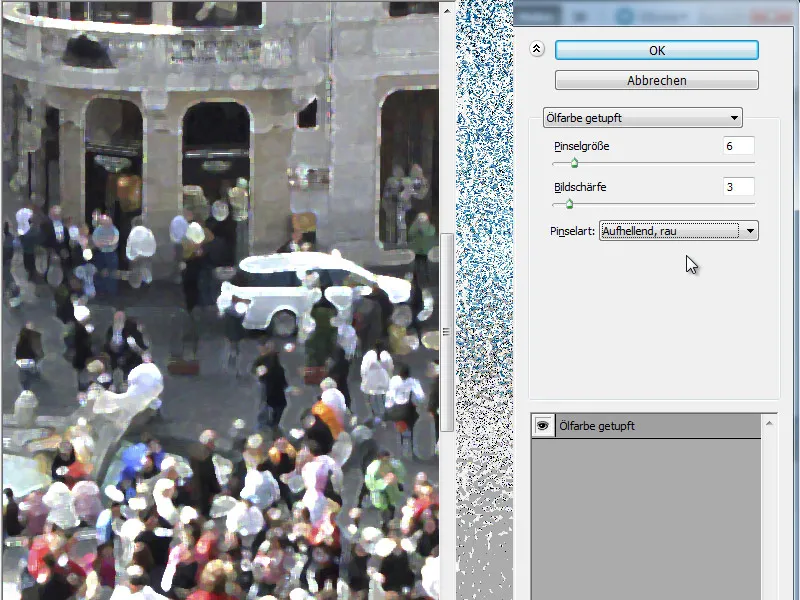
• Darkening, rough: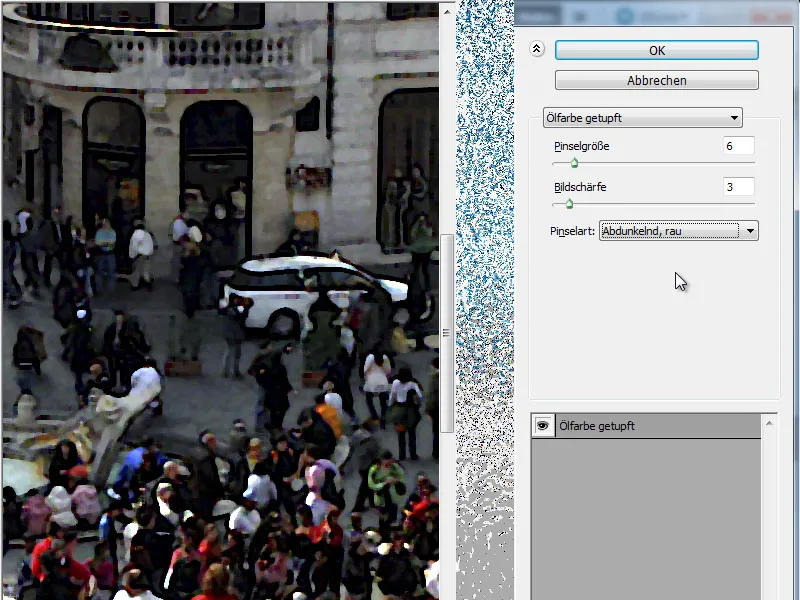
• Wide, hard: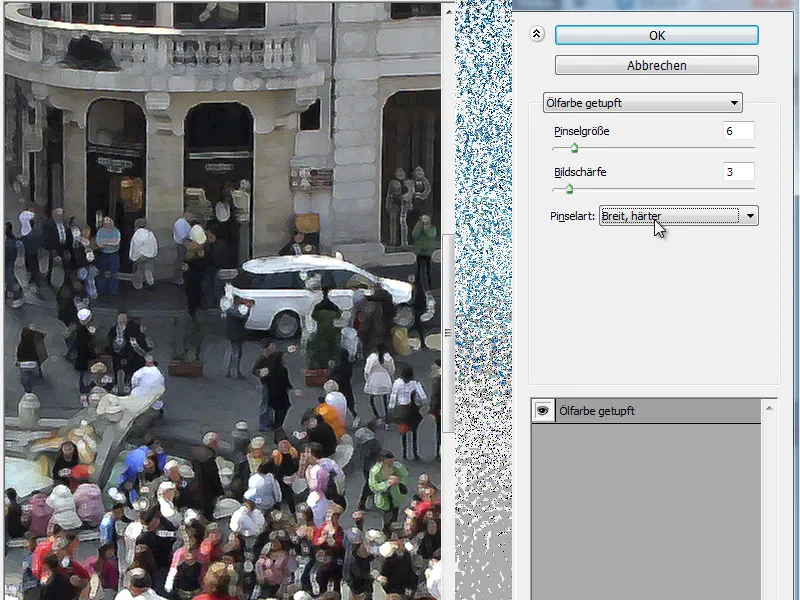
• Wide, soft: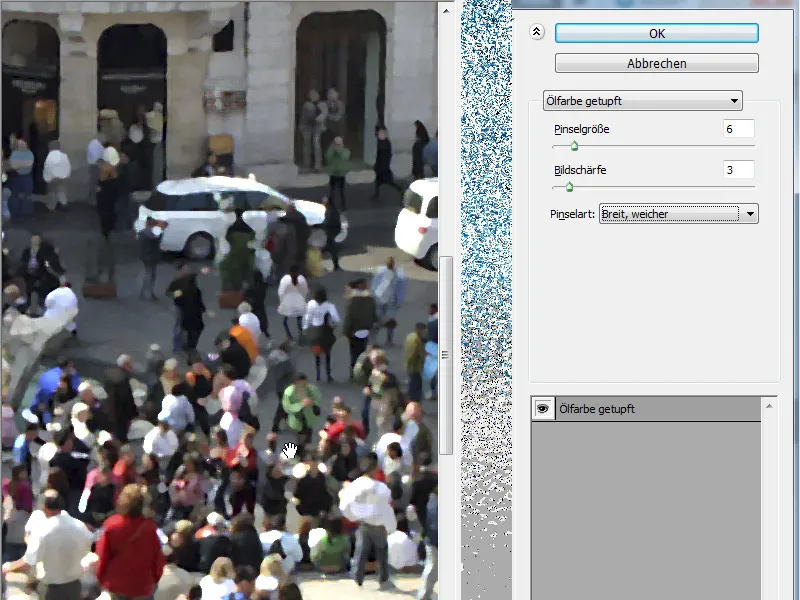
• Splatter: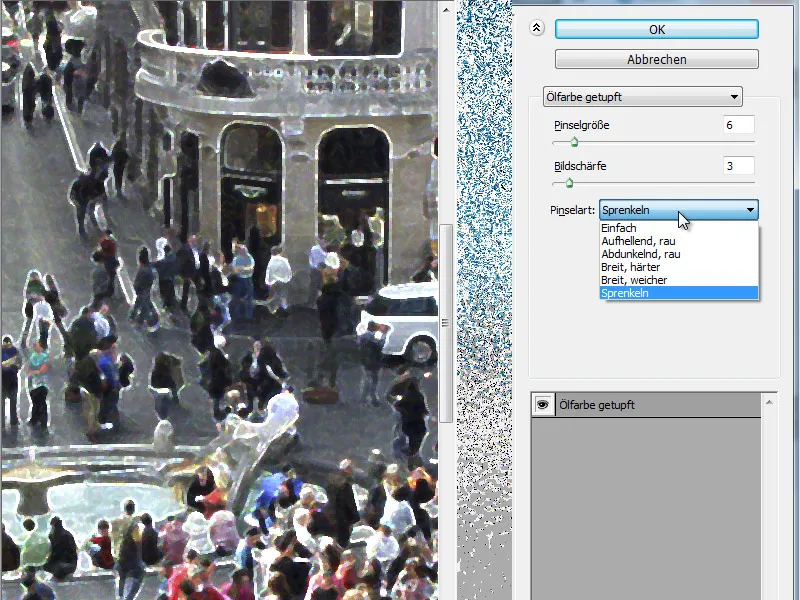
Step 4 - A Comparison with the Pixel Bender Plug-In OilPaint
After installation, the Pixel Bender plug-in can be found in the Photoshop filter directory under Other. Upon accessing it, I first switch the filter in the drop-down menu to OilPaint.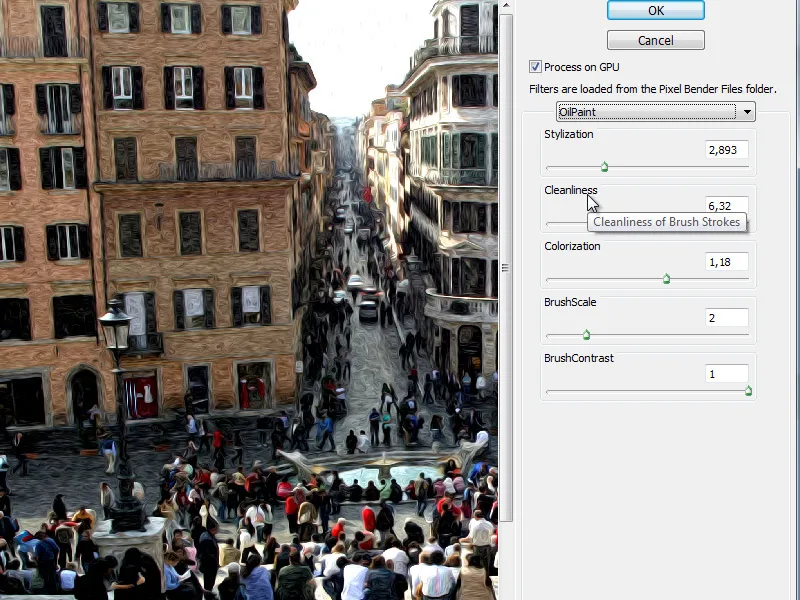
The difference in quality is immediately apparent. One must also consider that the default tool had more of a dabbing function, while this filter now works with precise strokes.
Step 5 - Understanding the Sliders
The oil filter has 5 editable sliders that, in their various combinations, offer numerous possibilities for processing images.
Stylization:
This slider influences the style in which the canvas is painted. Moving this slider left or right affects the finesse of the implementation, determining whether the strokes are more coarse or fine.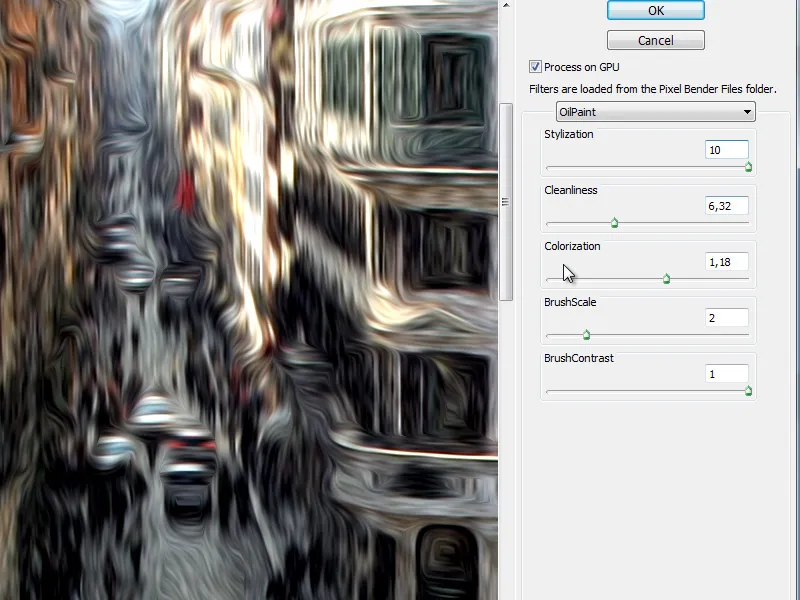
Cleanliness:
With this slider, you control the implementation in terms of fine …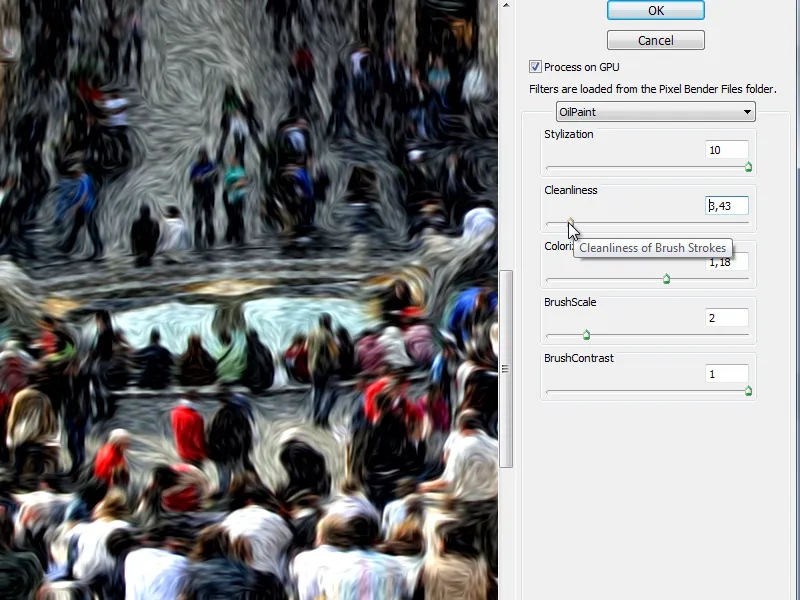
… or coarse.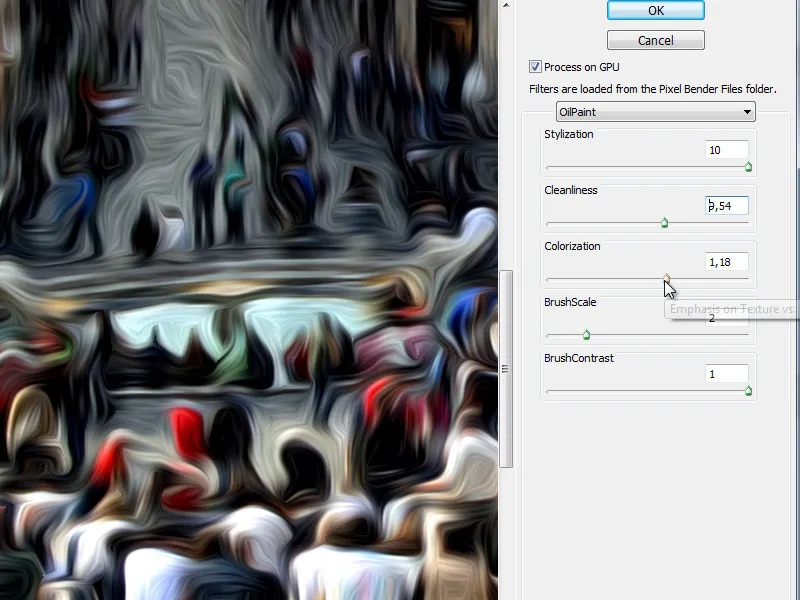
Colorization:
Here, you can desaturate the image or simulate a stronger, saturated color application.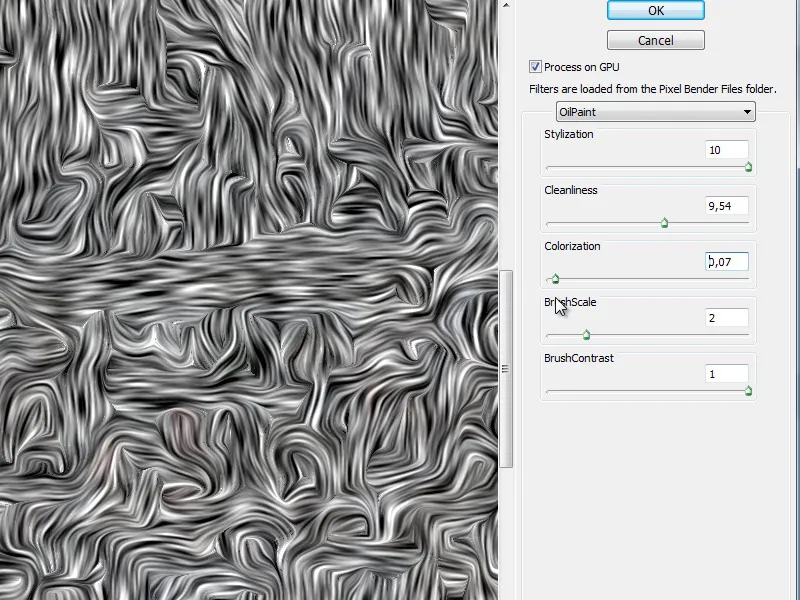
This slider can help us assess the brush implementation and is interesting when we look at the two remaining sliders.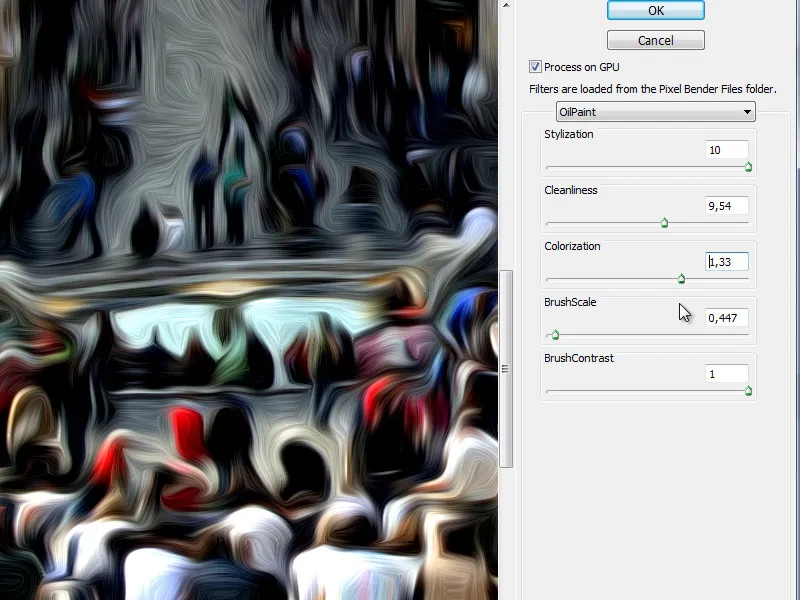
BrushScale:
This control is basically straightforward - it regulates the brush tip size. The following image is exactly the same as the last one shown - but implemented with a larger brush tip.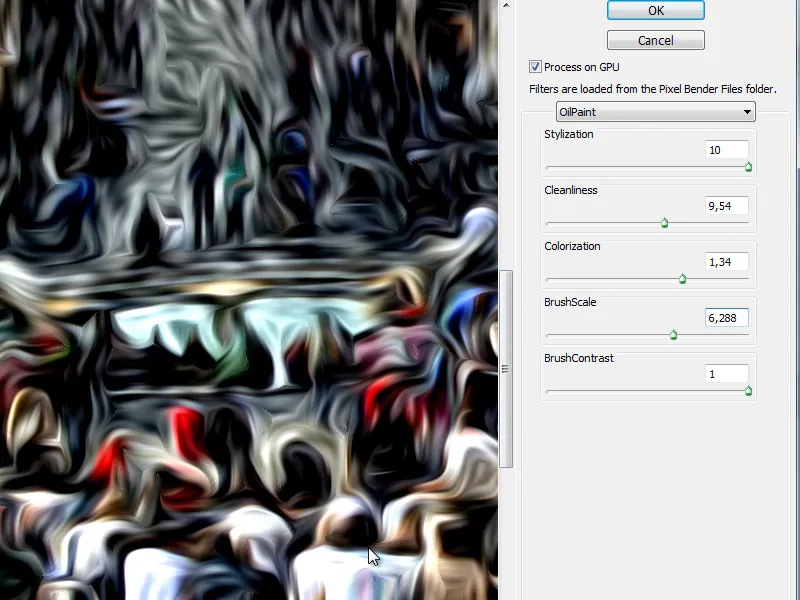
BrushContrast:
The last control determines the contrast of the brush and thus influences the way it is displayed.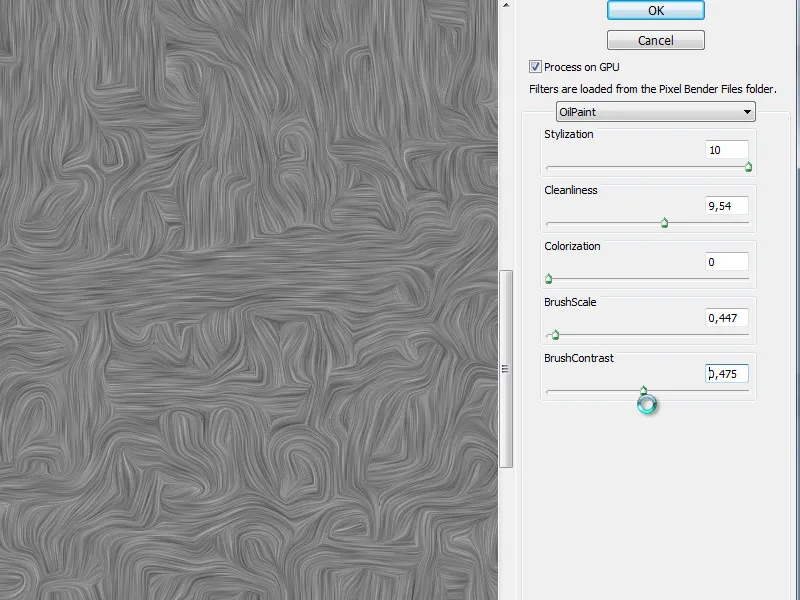
The Pixel Bender Plug-In from Adobe Labs is a powerful filter collection. The oil filter in particular is very suitable for creating oil paint effects.
