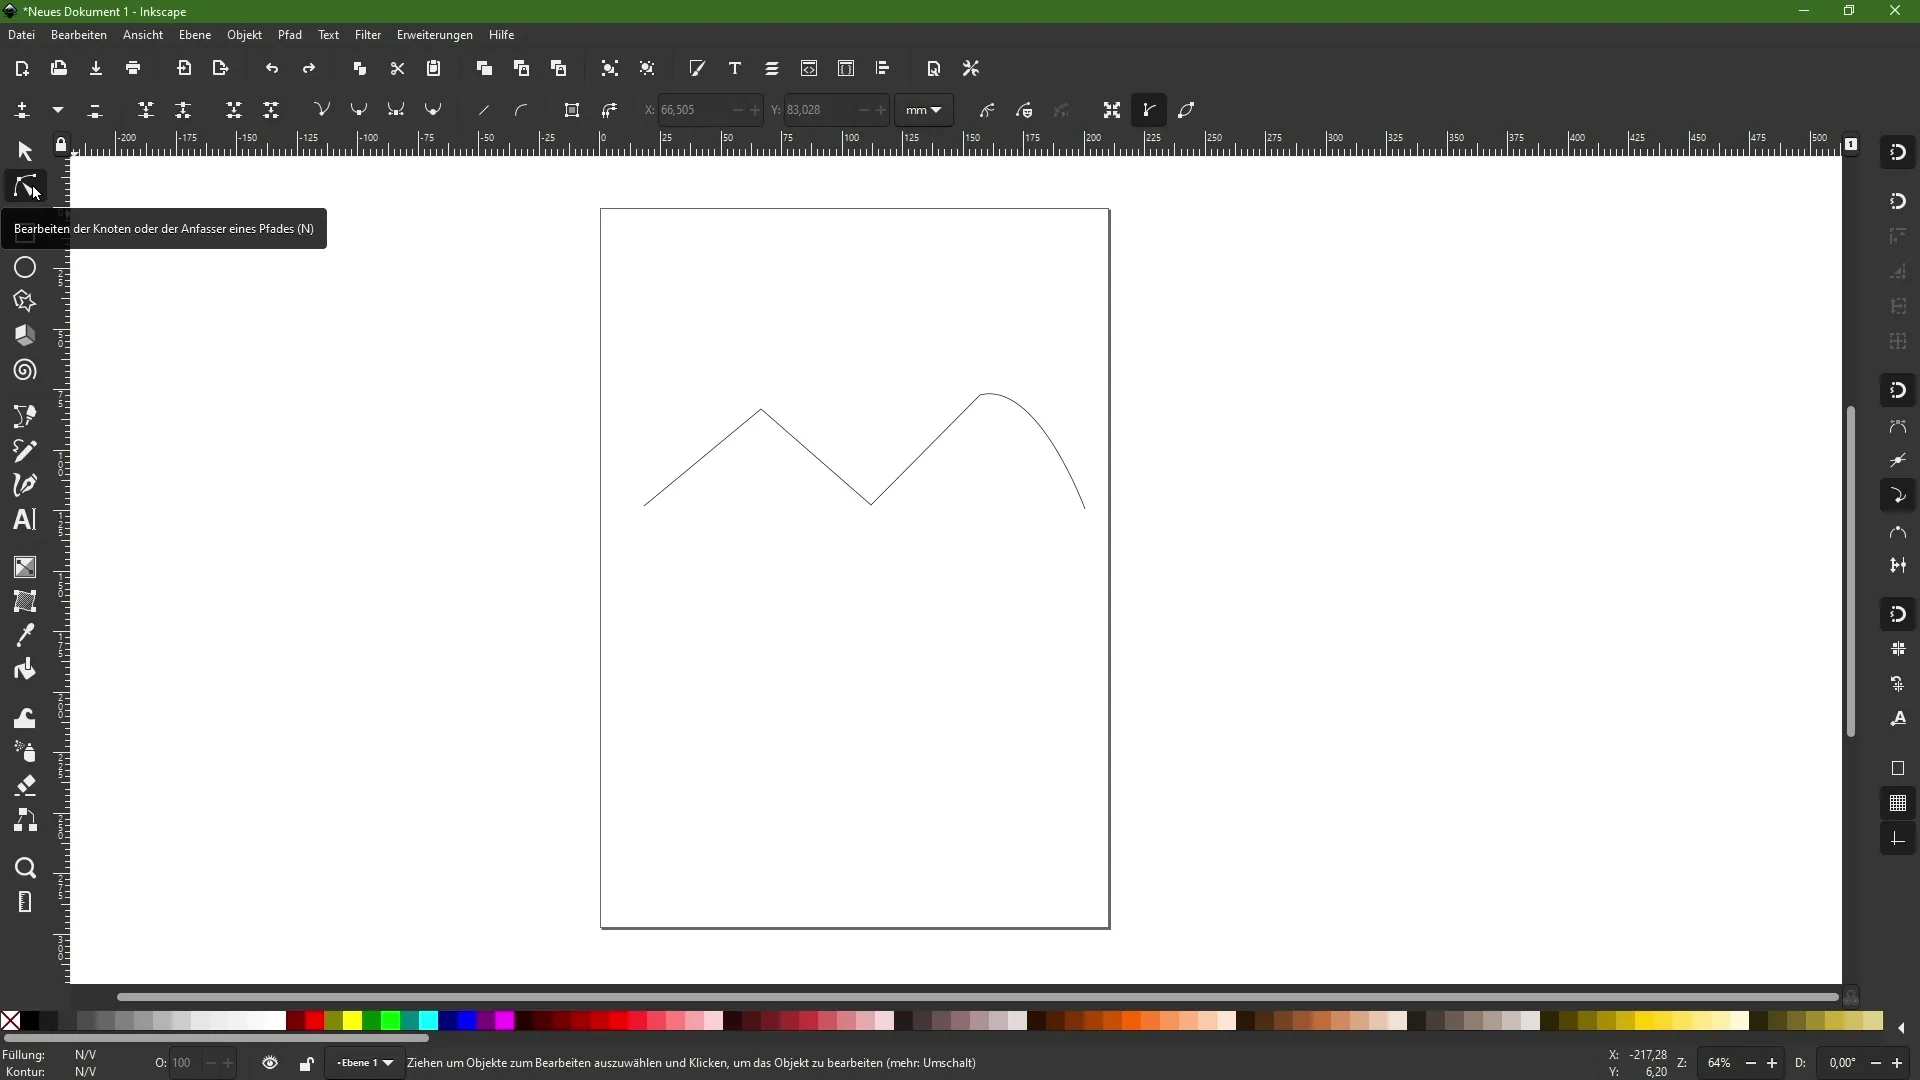
The Node Tool in Inkscape is an indispensable tool for anyone looking to adjust their vector drawings with precision. Whether you are creating simple shapes or complex designs, by selectively editing nodes, you can perfect your graphics. In this guide, you will learn how to effectively use the Node Tool to modify existing paths and tailor them to your design needs.
Main Insights
- The Node Tool allows you to manipulate nodes to adjust vector paths.
- You can move nodes, round corners, convert corners, and create various curves.
- By combining key commands like Shift and Alt, you can precisely control and adjust the nodes.
Step-by-step Guide
Start by opening a design in Inkscape and select the Node Tool from the toolbar on the left side. Once you have selected the tool, you can work directly on your path.

Click on an existing path with the Node Tool. This will change the available options in the top toolbar, providing you with advanced editing possibilities for nodes.
Move a node by simply clicking and dragging it. This allows you to adjust and optimize the shape of the path instantly.
If you want to round a corner, select the node in question, hold down the Shift key, and drag to the right. This enables you to create a "handle" to shape the curve.
To achieve a continuous curve without sharp corners, click on the node again and choose the "automatically round selected nodes" option. This will harmonize the curve.
However, if you wish to return to a sharp corner, you can use the "convert selected nodes to corners" function. This will transform the current curves into corners without losing the existing path.
To create a smooth curve between two nodes, select the nodes and drag on the line to create the desired curve. Make sure to keep an eye on the curve's appearance.
The functions "smooth selected nodes" and "connect selected nodes" are essential for fine-tuning your graphics. Use these tools to optimize transitions and unify different sections of your paths.
If you want to select and transform multiple nodes, hold down the Shift key and click on the corresponding nodes. This selection allows you to make multiple adjustments simultaneously without having to edit each node individually.
To add a new node between existing points, select the desired points and use the "Create" function. This gives you more control over shaping your curves.
If you want to delete a node, simply click on it and press the Delete key or use the corresponding symbol in the toolbar. This allows you to deliberately remove unnecessary elements and further refine your designs.
To keep the spacing of the "handles" consistent while editing, hold down the Alt key. This ensures that the proportions and relations to the nodes remain unchanged.
Summary
By understanding and effectively using the Node Tool in Inkscape, you are now able to make precise adjustments to your vector graphics. Use the described functions to confidently design your creations and optimize them according to your vision.
Frequently Asked Questions
What is the Node Tool in Inkscape?The Node Tool allows editing and adjusting nodes in vector graphics.
How do I create a curve?Select a node and drag it outwards while holding down the Shift key to create a curve.
Can I restore sharp corners?Yes, by using the "convert selected nodes to corners" function.
How do I add a new node?Select two nodes and use the "Create" function to place a new node between them.
What happens when I hold the Shift key?The Shift key allows you to simultaneously edit multiple nodes and maintain distances during adjustments.


