The Calligraphy tool in Inkscape allows you to create curved and expressive drawings that go far beyond what is possible with the conventional freehand tool. Here you will learn step by step how to use this powerful tool and achieve the best results.
Key Insights
With the Calligraphy tool, you draw filled paths that are ideal for organic illustrations. You can customize the drawing style, control the thickness of the lines, and even adjust the angle and pressure sensitivity to make your drawings dynamic and appealing.
Step-by-Step Guide
Step 1: Activate the Calligraphy Tool
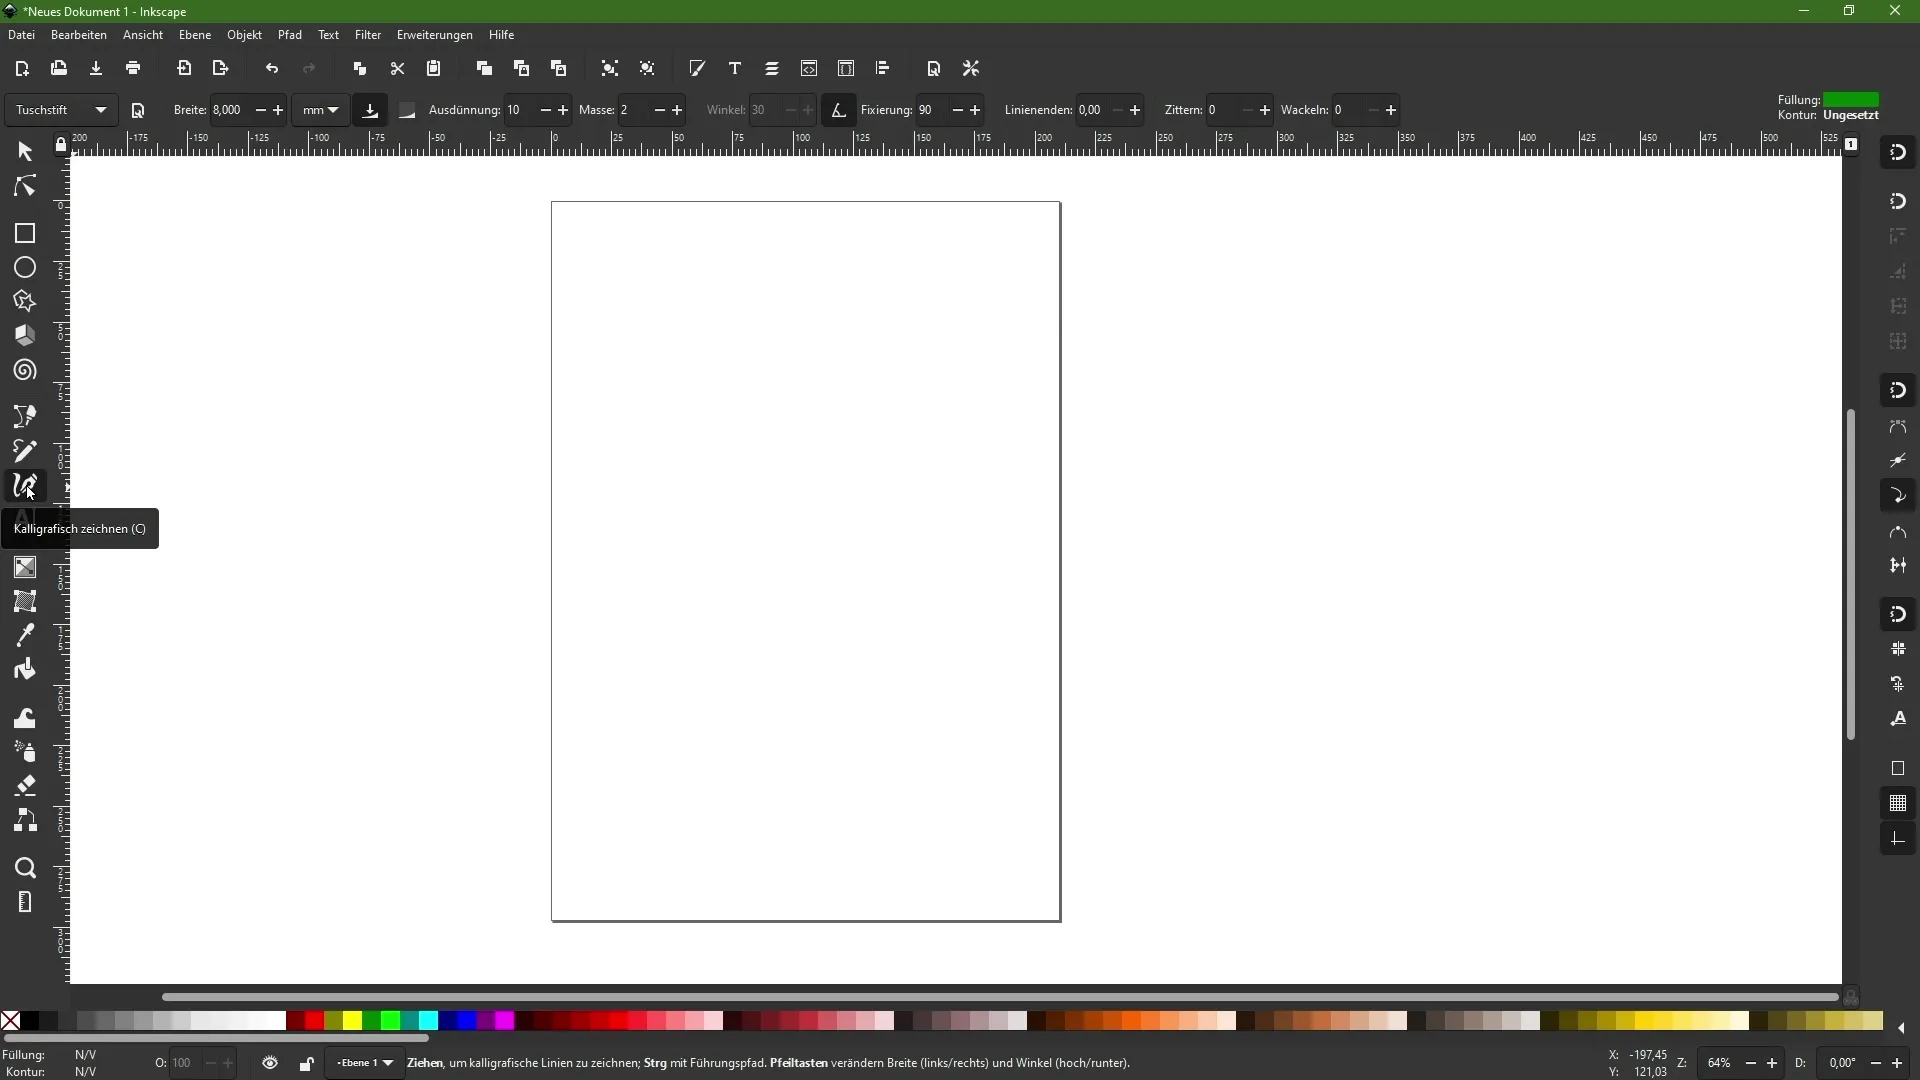
First, you need to activate the Calligraphy tool. You can find it in the toolbar on the left side. Click on it to select. Once you activate the tool, you will see that the function bar has changed and offers you various customization options.

Step 2: Select Drawing Style
In the function bar, you can choose the pen style. You have options like ink, felt, or brush stroke. Choose a style to determine how your lines will ultimately look. I recommend starting with the ink pen as it delivers a clear and defined stroke.
Step 3: Drawing Motion and Pen Angle
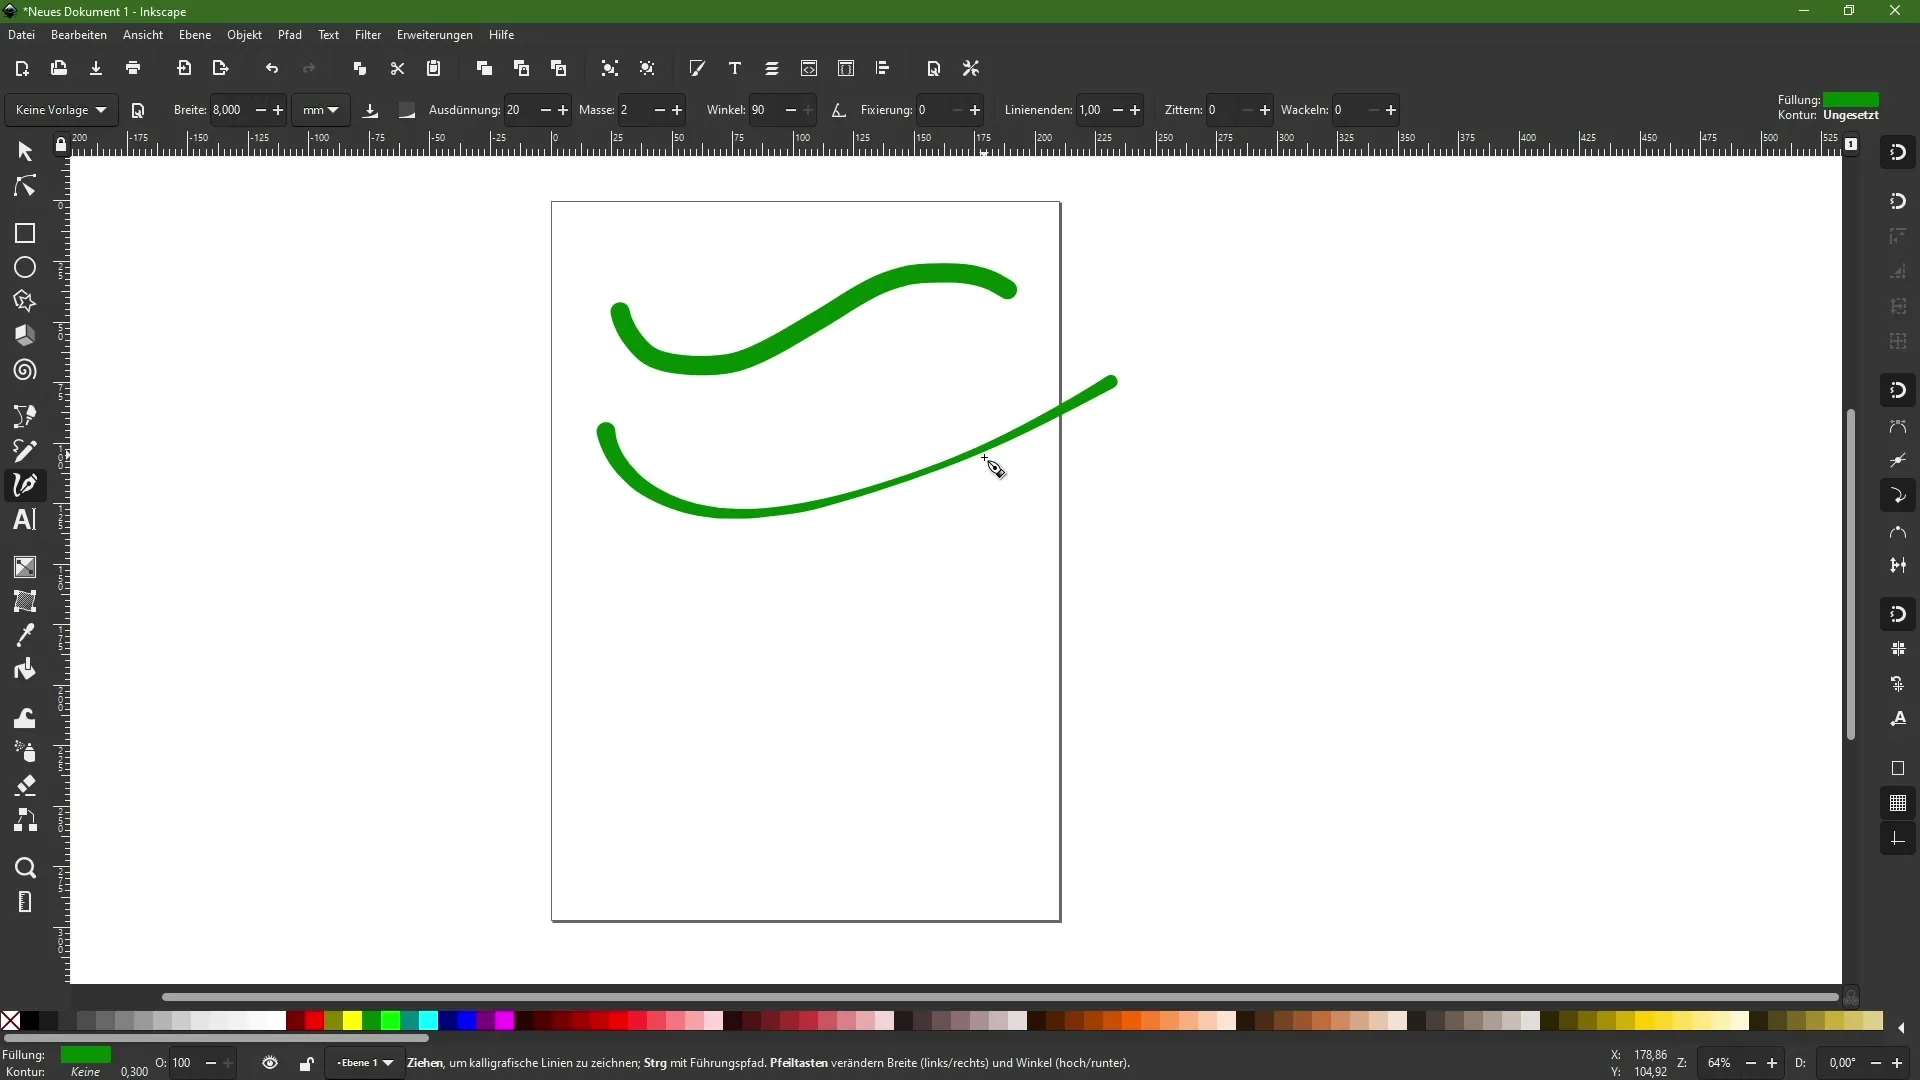
To start drawing, click on the drawing area and drag the mouse. You will notice that the pen has a certain angle, meaning that the line will taper or widen depending on your drawing speed. Draw slowly for a consistent line and quickly for a thinner stroke.
Step 4: Adjust Thinning
You can adjust the thinning of your lines to achieve different effects. Go to the settings above and increase or decrease the value for thinning. A higher value leads to a clearer taper in the middle of the line.
Step 5: Setting Mass for Smoothing
Setting the mass affects the smoothing of your lines. A higher mass means that the line follows more slowly, resulting in a juicier and smoother drawing. Experiment with different values to find the perfect level of smoothness.
Step 6: Angle Adjustment
Depending on how you draw, you can also adjust the angle of the pen. For example, you can choose an angle of 30° or 45°, depending on preference and the style of the drawing. This will strongly influence the appearance of your lines.

Step 7: Activate Pressure Sensitivity
If you are using a graphics tablet, activate the pressure sensitivity. This will make the line thicker or thinner depending on how hard you press the pen on the surface. This feature will give your drawings a dynamic quality.
Step 8: Adding Oscillation
An interesting effect you can add is a certain oscillation or wobbling to your line. This feature can be useful if you want to achieve a sketchy style. Make sure to reset the value back to zero after experimenting if you no longer desire this effect.
Step 9: Difference Between Filled and Unfilled Paths
An important point is the difference between simple paths and filled paths. When you draw with the Calligraphy tool, filled paths are created. This means that you can later shape the anchor points to make your drawing more precise.
Step 10: Using Different Templates
Experiment with different templates and styles to unleash your creativity. The Calligraphy tool allows you to create special effects like stains or textures that will make your illustrations more vibrant.
Summary – Calligraphy Tool in Inkscape in Detail
Now you have learned all the basics and nuances of the Calligraphy tool in Inkscape. Use these techniques to take your digital illustrations to the next level. Experiment with different settings and develop your own drawing style.
Frequently Asked Questions
How do I activate the calligraphy tool in Inkscape?You can find the calligraphy tool in the toolbar on the left side. Click on it to select it.
Can I change the thickness of my lines?Yes, you can adjust the thickness through the weight and pressure sensitivity.
How do filled paths work?Filled paths allow you to edit the anchor points later, giving you more control over your drawing.
Can I use the calligraphy tool with a graphics tablet?Yes, the graphics tablet can utilize pressure sensitivity and allows for more precise control of line strokes.
What styles of characters can I choose?You can choose between different styles such as ink, felt-tip, and brush strokes, depending on the desired effect.


