If you want to work with colors in your designs, there are few more efficient ways than with the eyedropper tool in Inkscape. This powerful tool allows you to extract colors directly from objects or photos and use them in your projects. In this tutorial, you will learn how to effectively use the eyedropper tool to capture the exact color nuances you need.
Key Takeaways
- The eyedropper tool allows you to pick up colors from images and objects.
- There are various ways to define colors, including using Alt and Shift keys for contrast and contour colors.
- You can also capture and adjust the transparency of colors.
- The color codes can be easily copied to the clipboard.
Step-by-Step Guide
To make the best use of the eyedropper tool, follow these steps:
1. Select Eyedropper Tool
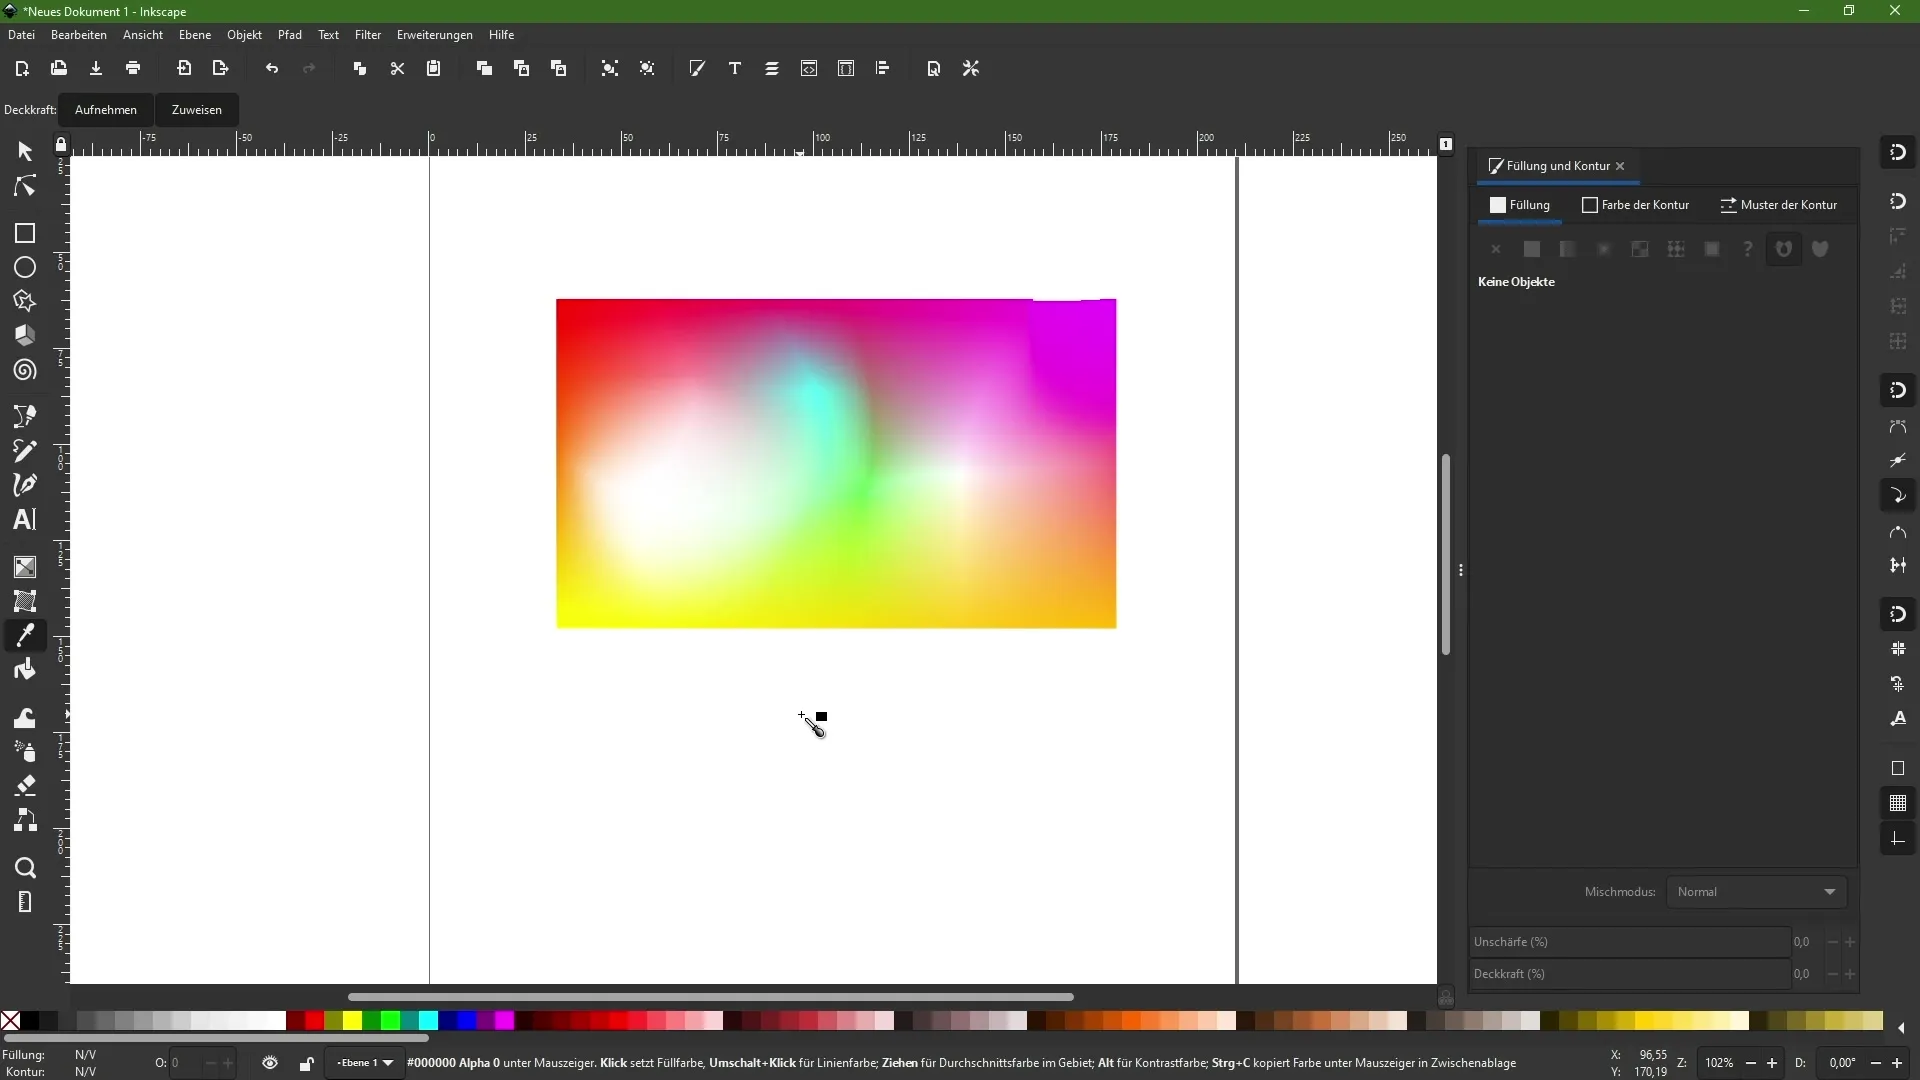
To start using the eyedropper tool, first select the eyedropper tool in the toolbar of Inkscape. Simply click on the icon to pick up the color from an image or another object.

2. Pick Up Color
Then, click on the area of the image or object from which you want to pick up the color. Your cursor will move to the spot where the desired color is. The eyedropper tool will automatically capture that color.
3. Create Rectangle
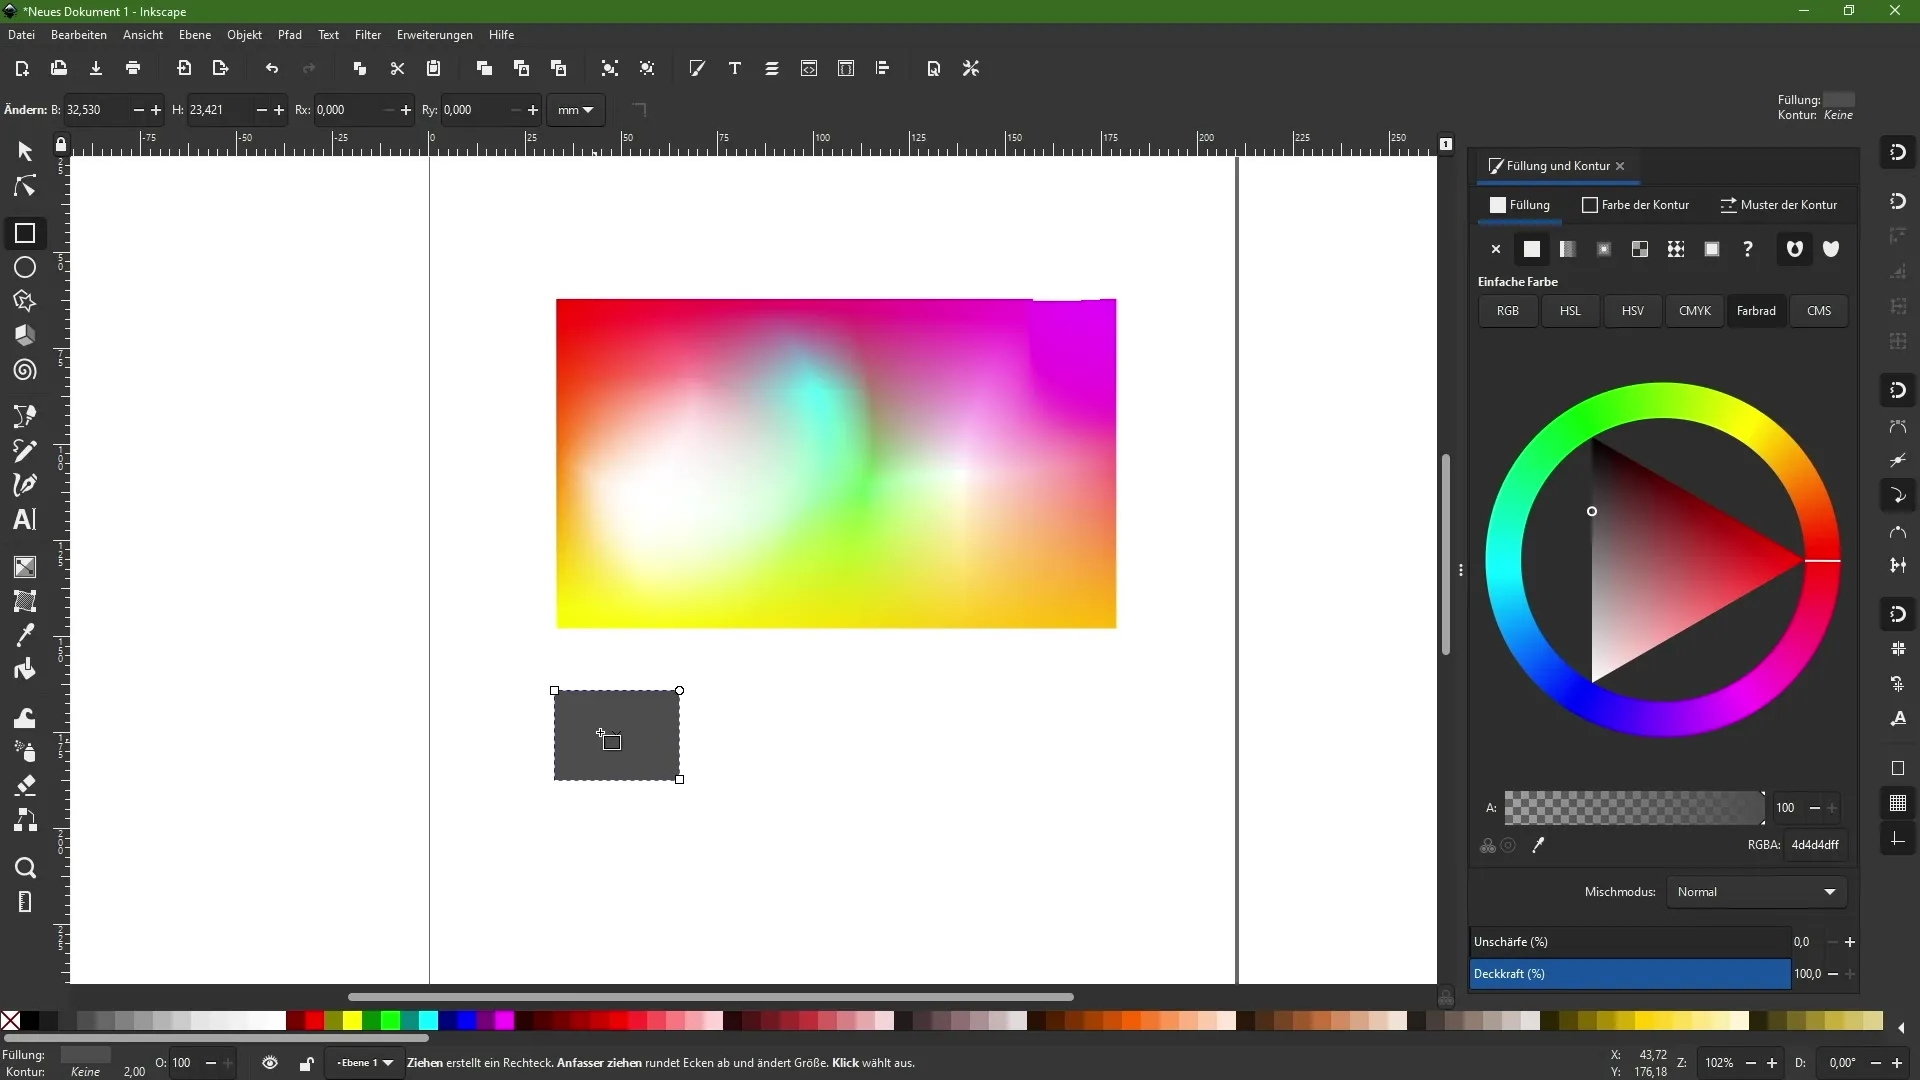
To apply the picked color, create a new object, such as a rectangle, where you want to apply this color. Simply drag the rectangle on the canvas.

4. Apply Color
With the eyedropper active, you can now select the desired color. Click on the area that contains the color – the pickup will be immediate, and the color will be applied to your new object.
5. Change Color via Fill Field
If you already have the rectangle activated, you can also go through the fill and stroke control panel. Click on the eyedropper in the menu to automatically pick up the colors. This provides you with a quick way to change colors without constantly switching between tools.
6. Pick Up Multiple Colors
If you want to pick up multiple colors, hold down the Shift key and click on different areas. Each color will be immediately applied to the current object.
7. Pick Up Contrast Colors
If you want to pick up the contrast color of an existing color, hold down the Alt key and click on the desired object. This effectively allows you to select an alternative color, such as the complementary color, which can be applied directly.
8. Capture Transparency
The eyedropper tool can also be used to pick up the transparency of an object. Simply click on a transparent area and note the alpha value. This way, you can adjust the opacity of the new object.
9. Copy Color Codes
If you need the exact color in a code format, hover the cursor over the desired color without clicking and press the Control and C keys simultaneously. The RGBA code will be copied to the clipboard and can then be used elsewhere, such as in HTML or CSS.
10. Insert Color
To use the copied color code, activate the text tool and press Control and V to paste the color code at the desired location. This way, you always have quick access to the precise color values you want to use in your designs.
Summary
This tutorial has shown you how to effectively use the eyedropper tool in Inkscape to quickly and accurately extract colors from images and objects. You have learned methods for applying fill colors, adjusting transparencies, and copying color codes to simplify and enhance your design.
Frequently Asked Questions
How do I select the pipette in Inkscape?You can find the pipette tool in the toolbar. Click on the pipette icon to select it.
Can I pick up multiple colors at the same time?Yes, by holding down the Shift key and clicking on the different color areas.
How can I capture transparency with the pipette?Simply click on the transparent area to adopt the alpha value.
How do I copy a color code to the clipboard?Hover over the desired color and press Control and C simultaneously.
Where can I paste the copied color code?You can paste the color code into the text tool by pressing Control and V.


