Creativity and technical skills go hand in hand in graphic design. In Inkscape, you have numerous tools at your disposal to turn your ideas into impressive vector objects. This guide will show you how to effectively combine, subtract, and adjust objects in Inkscape. You will discover various methods to help you customize your designs and give them a unique touch.
Key Takeaways
- You can combine objects in Inkscape using various path operations.
- The commands Union, Difference, Intersection, Exclusive Or, and Division offer versatile ways to manipulate your vector objects.
- It is possible to continue editing the objects after combining them.
Step-by-Step Guide
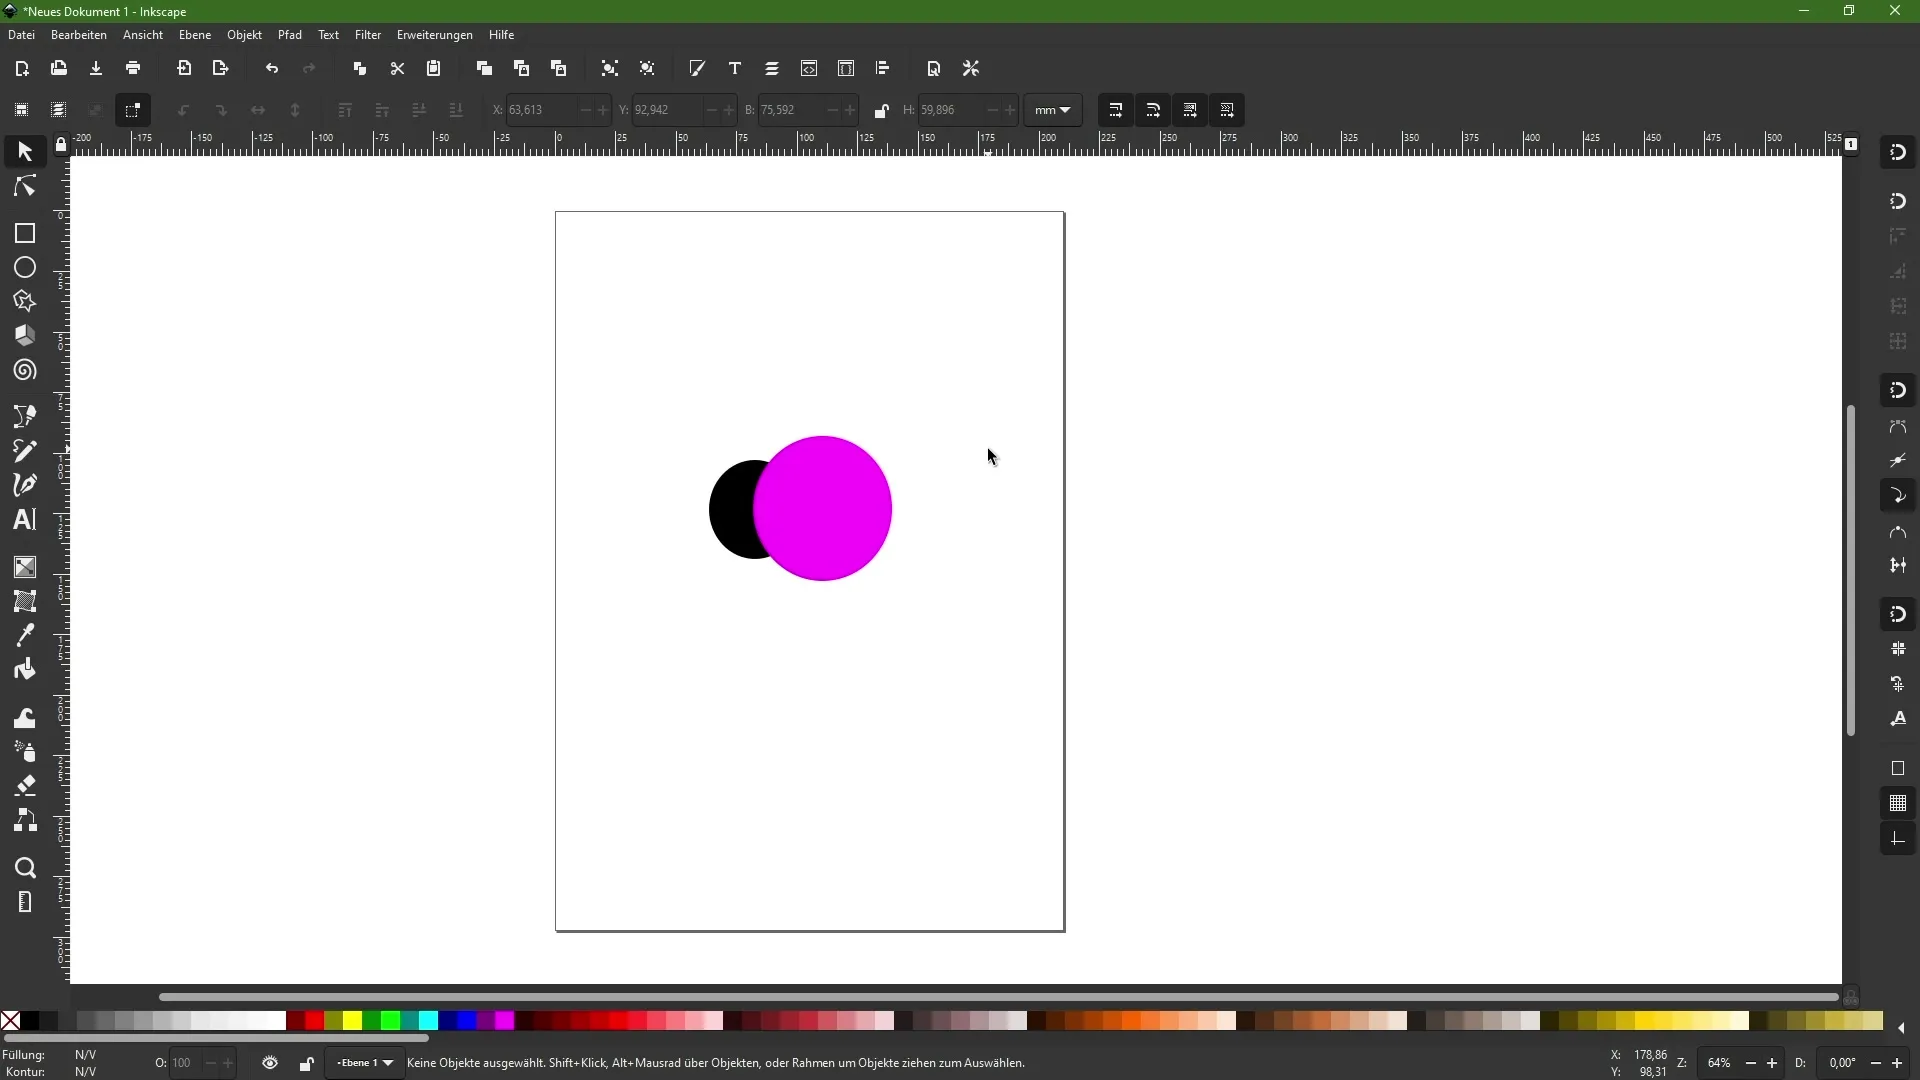
First, you need to create your objects. In this example, we will use two simple circles that overlap.

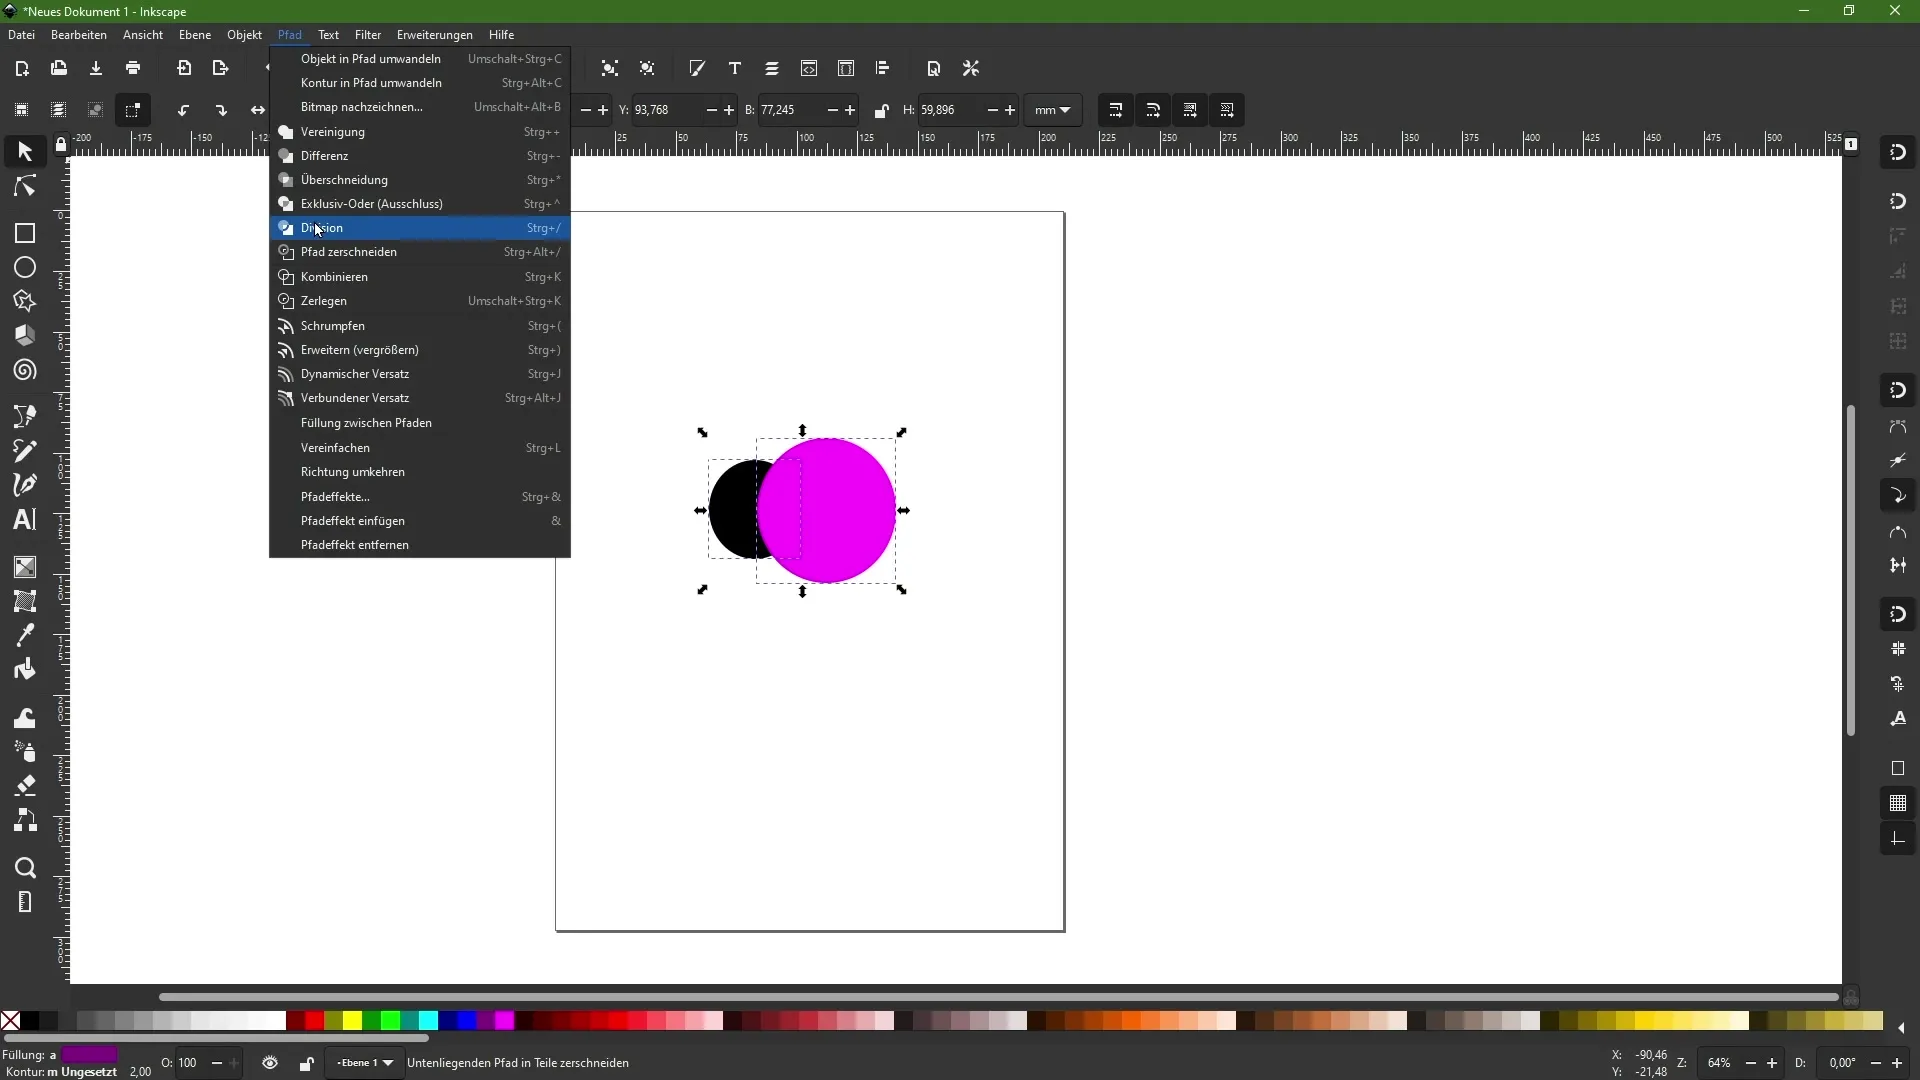
Select both circles. Then go to the "Path" menu. Here you will find the various commands that are important for us to combine the objects.
The key commands are: Union, Difference, Intersection, Exclusive Or, and Division. When selecting, you will also see icons that demonstrate how these commands work. The Union command will give us a combination of both objects.
After selecting the two circles, click on the "Union" command. Now you have a single contiguous path. Note that the color of the background object has been adopted. You now have a single, contiguous object instead of two separate circles.
To make further adjustments, you can use the Node tool to edit the new path.
If you want to go back and restore the original objects, you can do so easily. Select both circles again and choose the "Difference" command in the "Path" menu.

With Difference, you subtract the front object from the back. In this case, you will now see a crescent moon-like shape, as the front circle has been "subtracted" from the back circle.
Select the remaining objects again and return to the Path menu. Now choose the "Intersection" command. This means you only want to retain the area where the objects overlap.
The result is that only the overlapping area remains visible, while the rest of the objects disappear.
Now you can also try the Exclusive Or operation. This removes the overlapping area. You will see that the middle area is now transparent, while the outer areas remain visible.
If you want to revert this process, go back to the Path menu and choose the "Division" command.
This command cuts the front object by the back object. You can now independently move the new area that has been created and freely place the two parts.
Now you have not only learned how to combine and subtract objects but also how to flexibly adjust your designs. With the different commands, you can unleash your creativity.
Summary
In this guide, you have learned how to combine and manipulate objects in Inkscape. You have discovered the different functions of the Path menu that help you create complex shapes from simple objects. Remember that through practice and experimentation, you can make the most of these tools.
Frequently Asked Questions
How can I combine multiple objects in Inkscape?You can select multiple objects and use the "Union" function in the Path menu.
What happens when I use the Difference function?The Difference function removes the front object from the back and leaves a new shape.
Can I continue editing the objects after combining them?Yes, you can edit the new path with the Node tool.
What does the "Intersection" command do?The "Intersection" command only keeps visible the area where the objects overlap.
How does the Division function work?The Division cuts the front object and creates two independent paths.


