Masks are a powerful tool in Inkscape that allows you to shape objects or crop photos using objects. Whether you are editing a complex graphic or a simple image, understanding and applying masks can significantly enhance your design skills and help you achieve impressive visual effects. In this tutorial, you will learn how to efficiently use masks to achieve creative results.
Key Takeaways
- Masks allow for cropping images into desired shapes.
- Transparency gradients are possible with masks and enhance your design.
- The difference between masks and clipping paths is explained.
Basics of Mask Creation
To work with masks in Inkscape, you first need an image and an object that defines the shape of the mask. Let's proceed step by step.
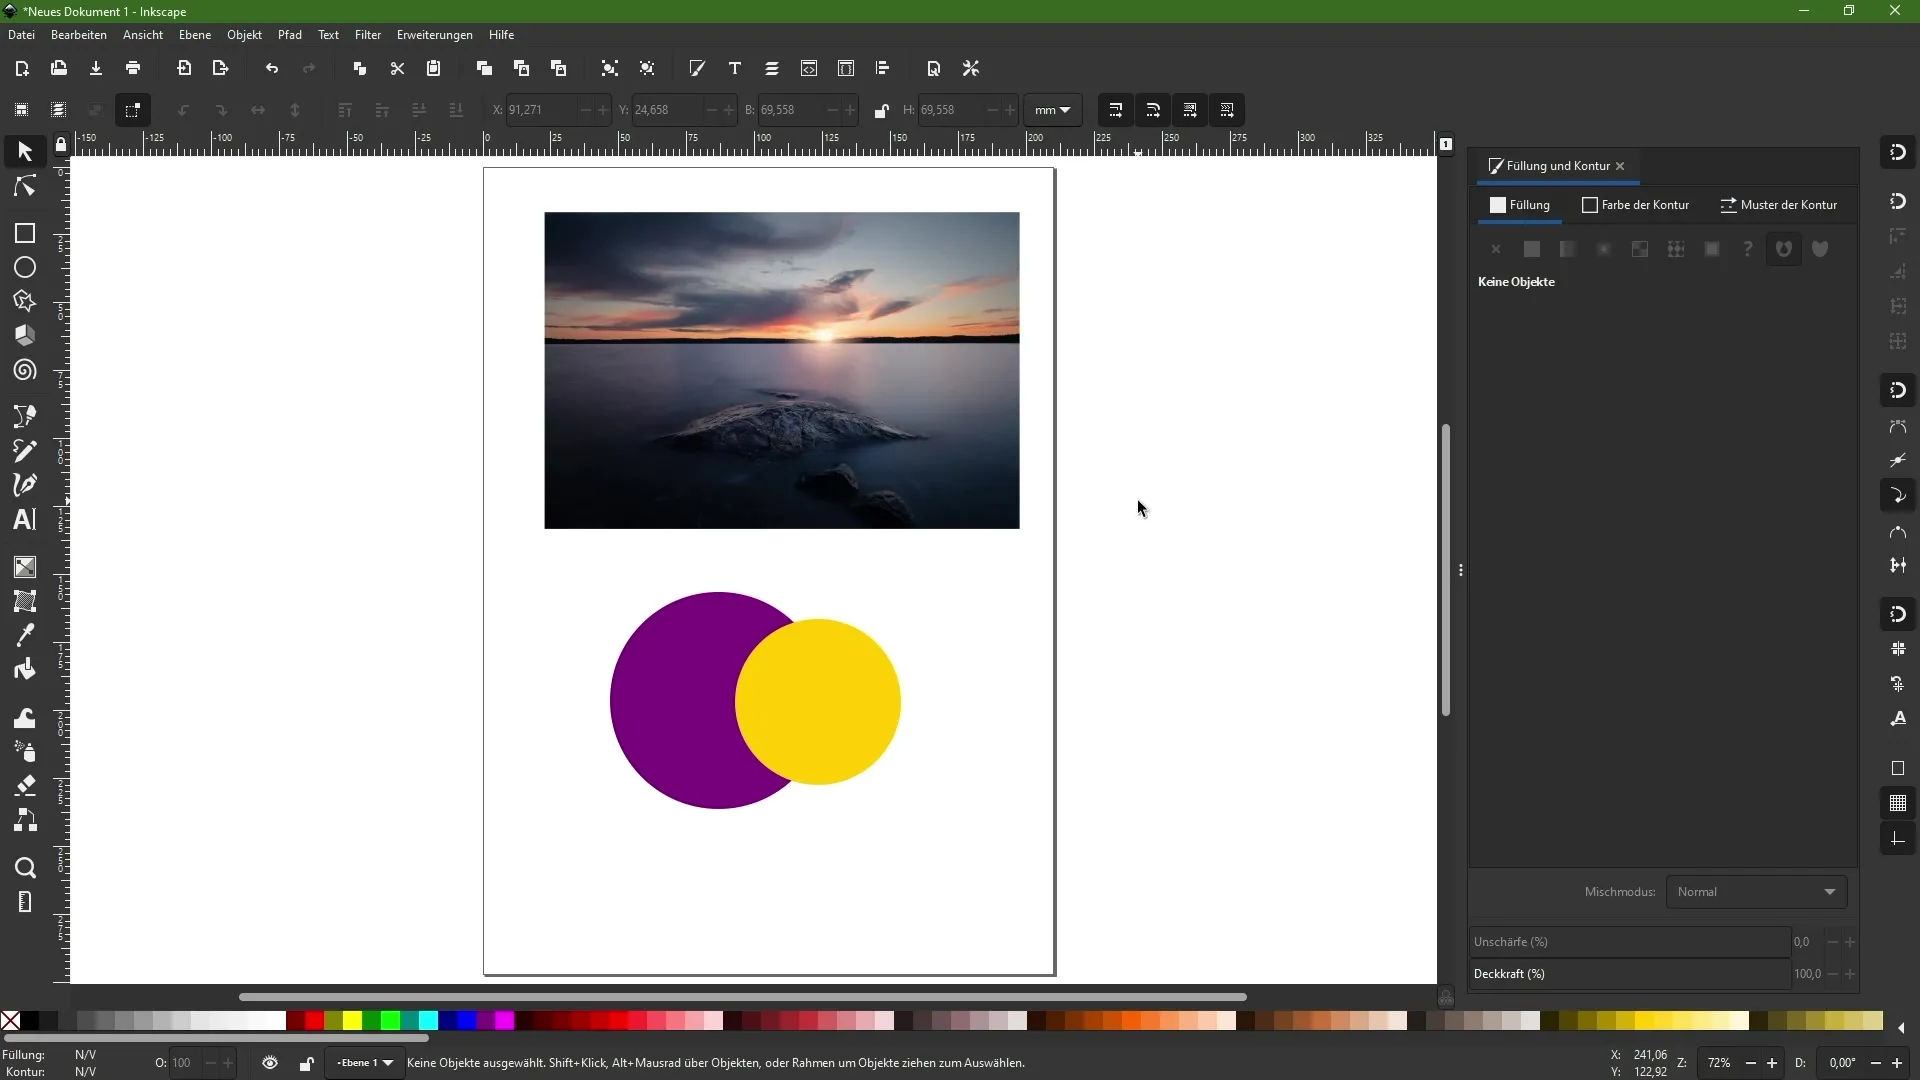
You have placed an image in Inkscape and want to display it within a specific area. In this example, we are using a circle as a mask for an image.
Creating a Circle as a Mask
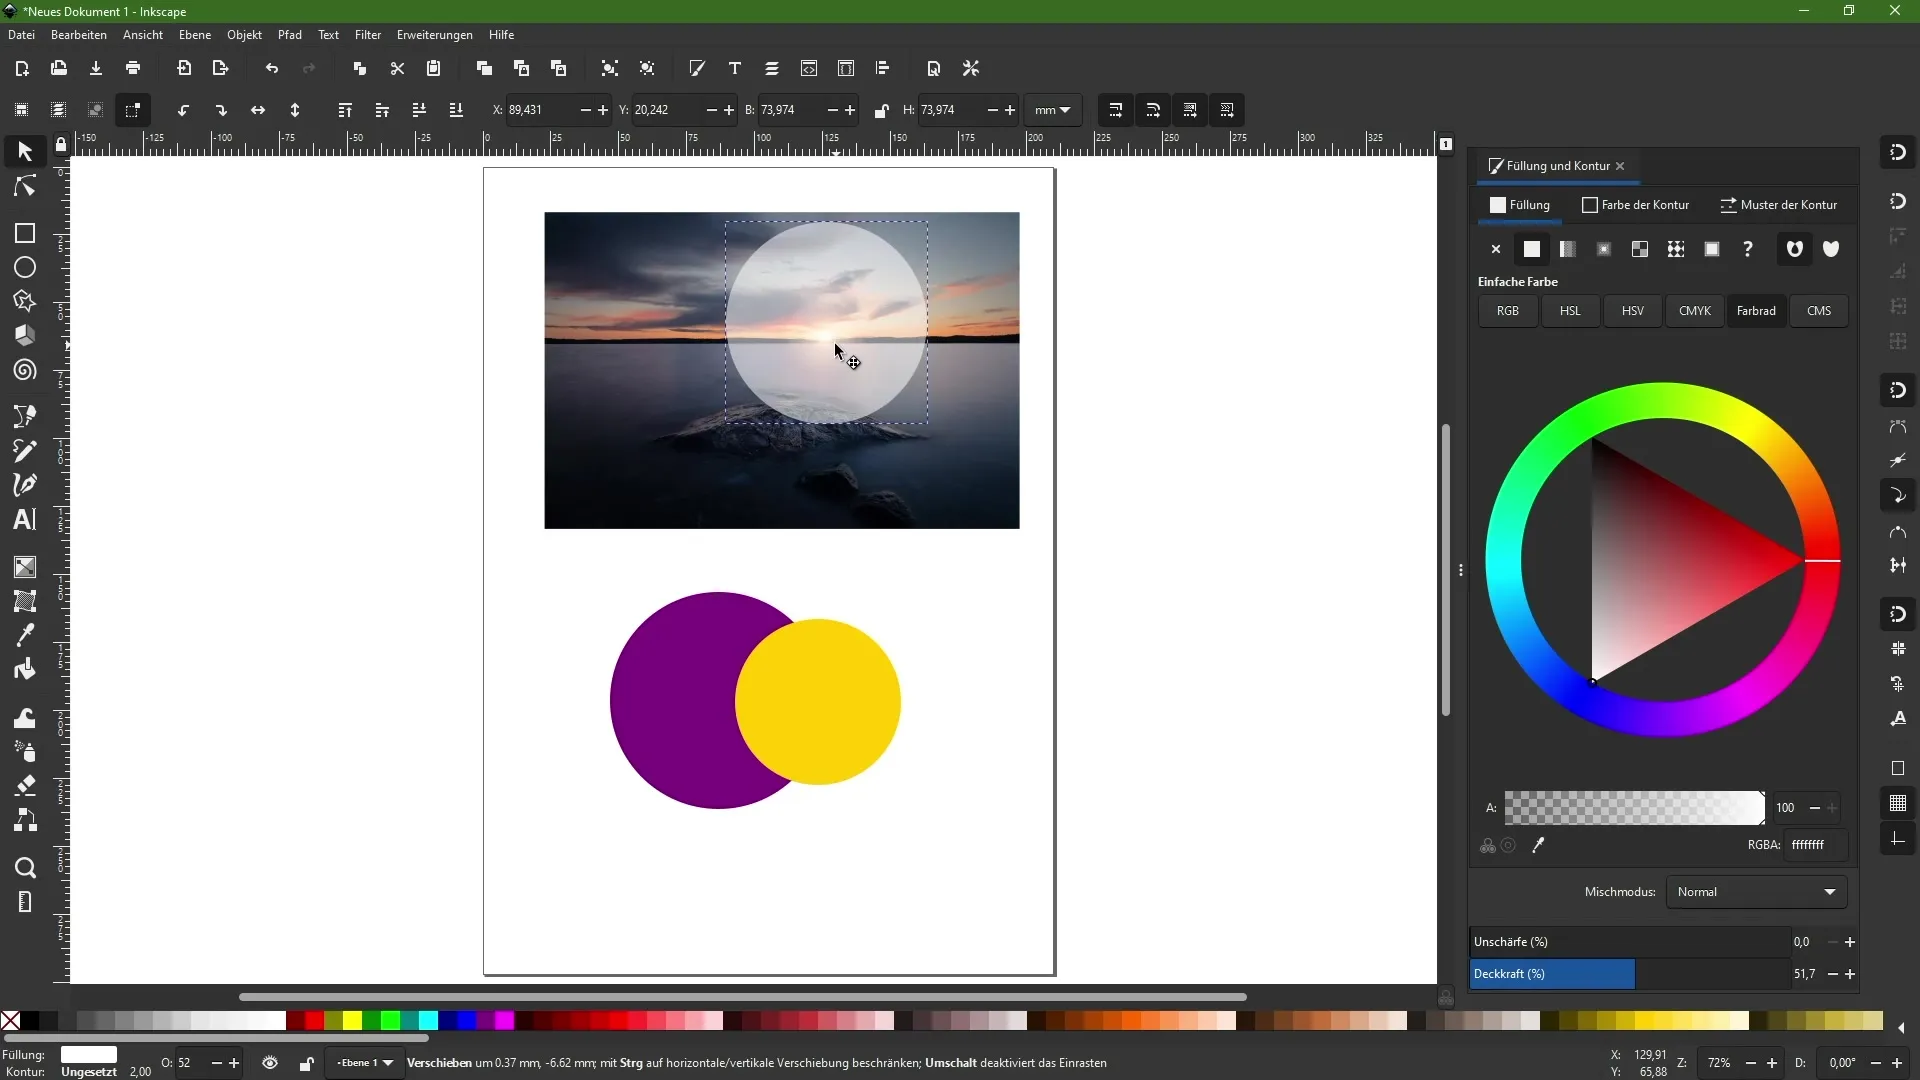
First, select the Ellipse tool to create a circle. Hold down the Control key to draw a perfect circle.
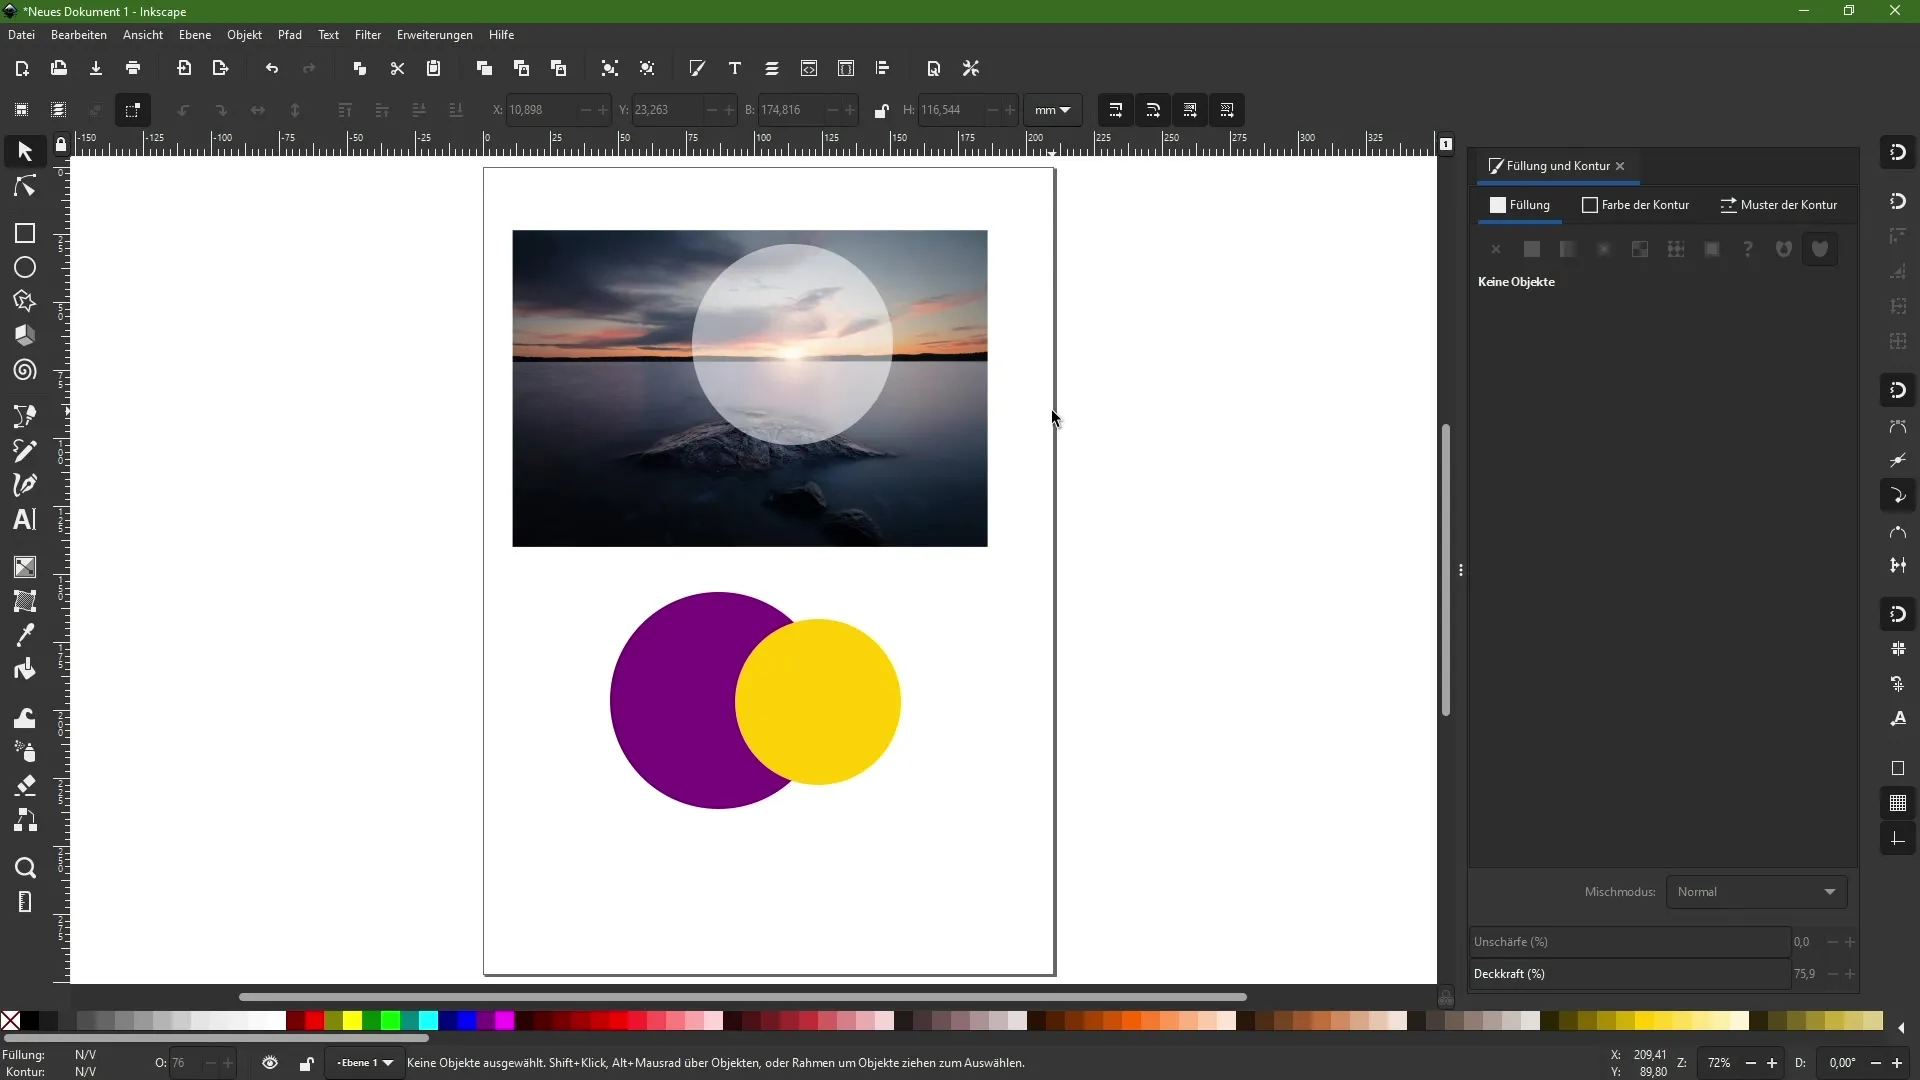
Position the circle so that it overlaps the image. For more precise placement, you can reduce the opacity of the circle to see exactly which parts of the image will be visible.
Cropping with Clipping Path
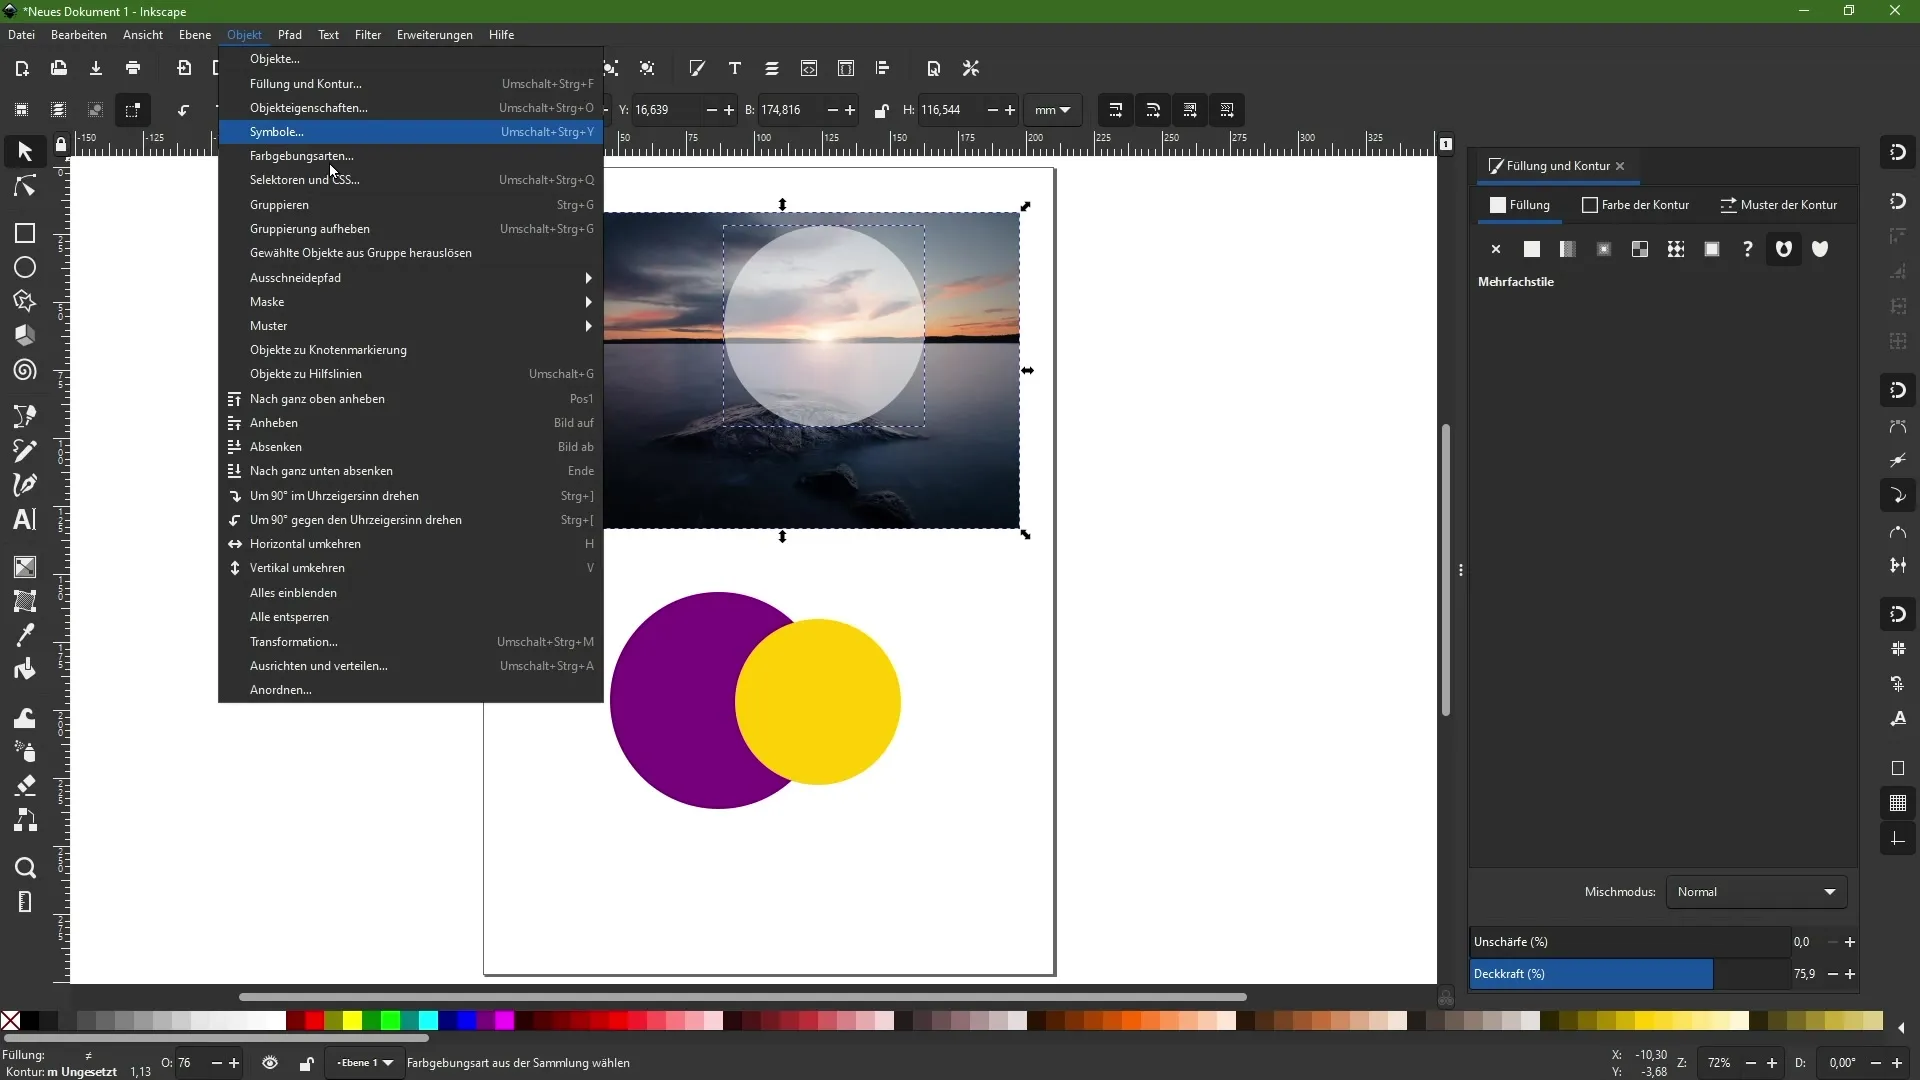
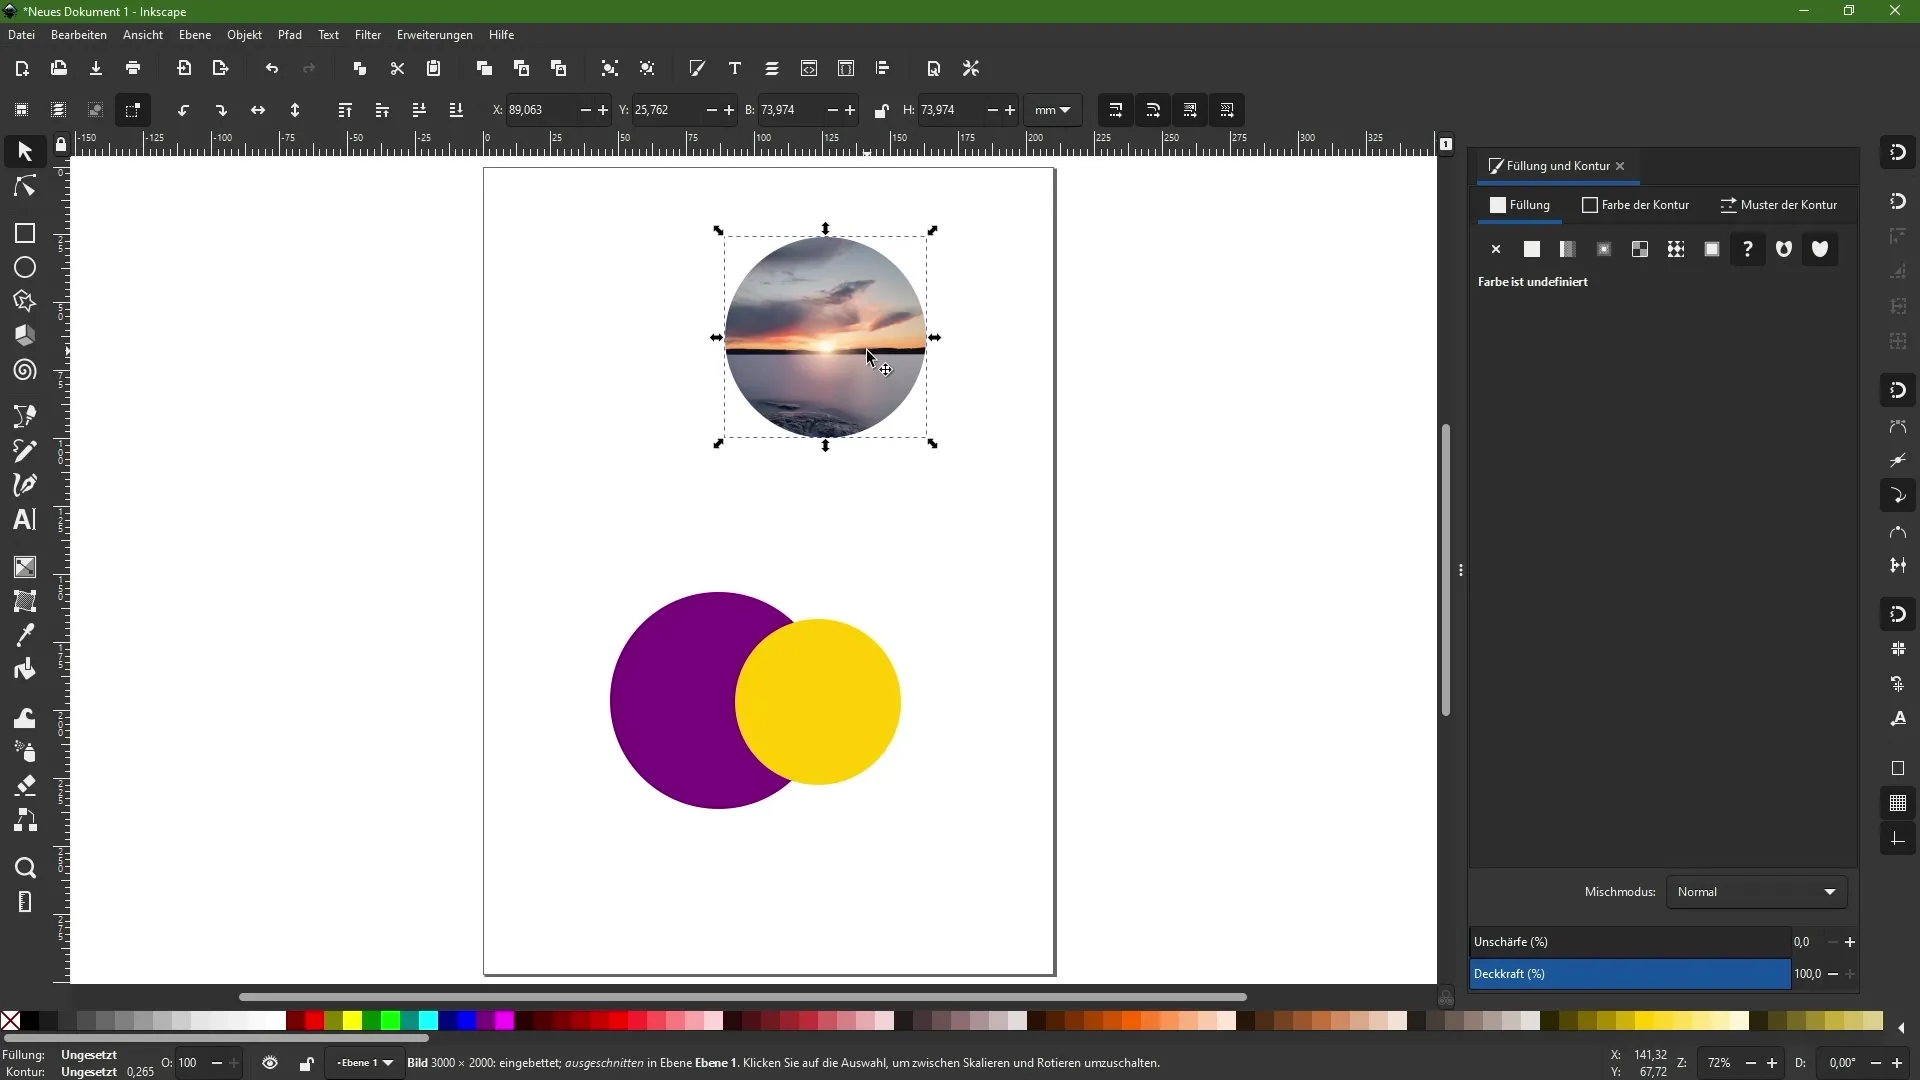
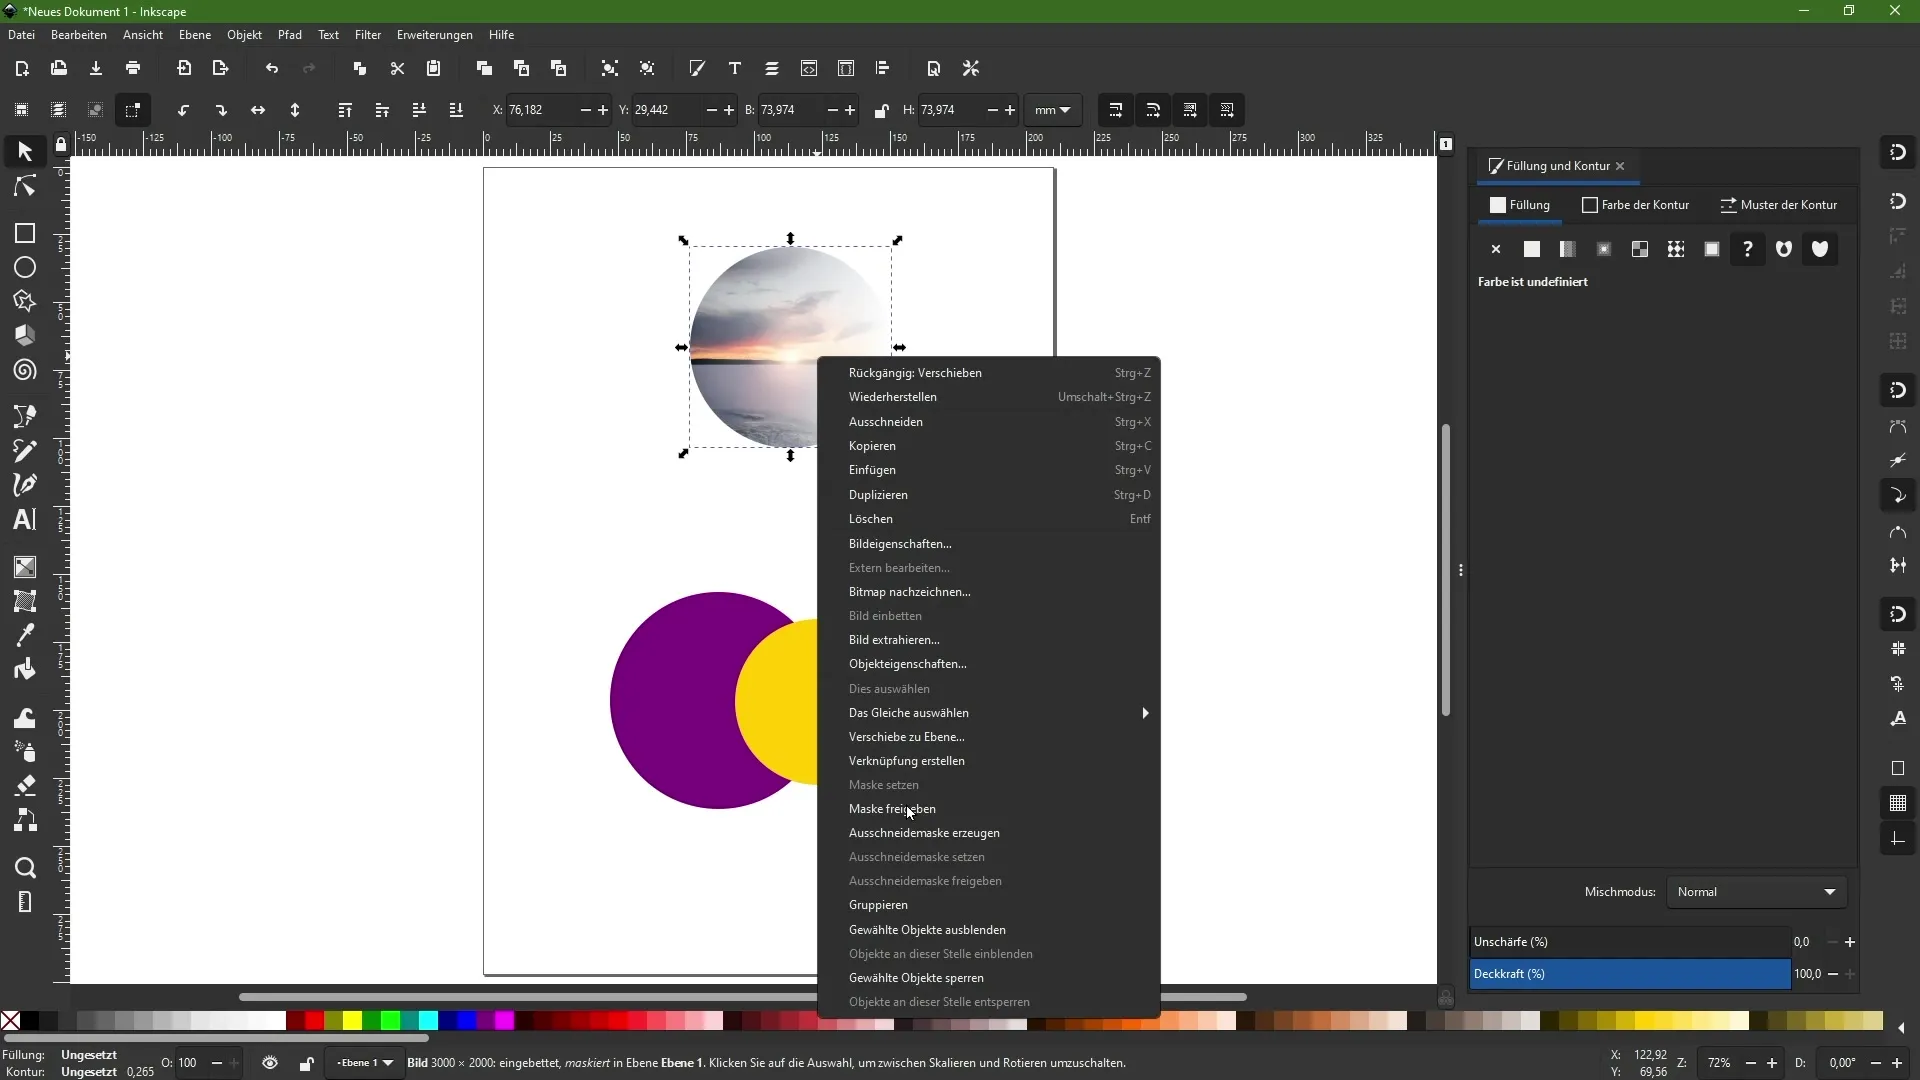
Now you want to crop the image within the circle. Hold the Shift key and select both the circle and the background image. Then go to "Object" and choose "Set Clip Path" or right-click on the selection and choose "Set Clip Mask".
The result will be that the image is now visible only within the circle. You can still move the image and edit as needed.
Releasing the Mask
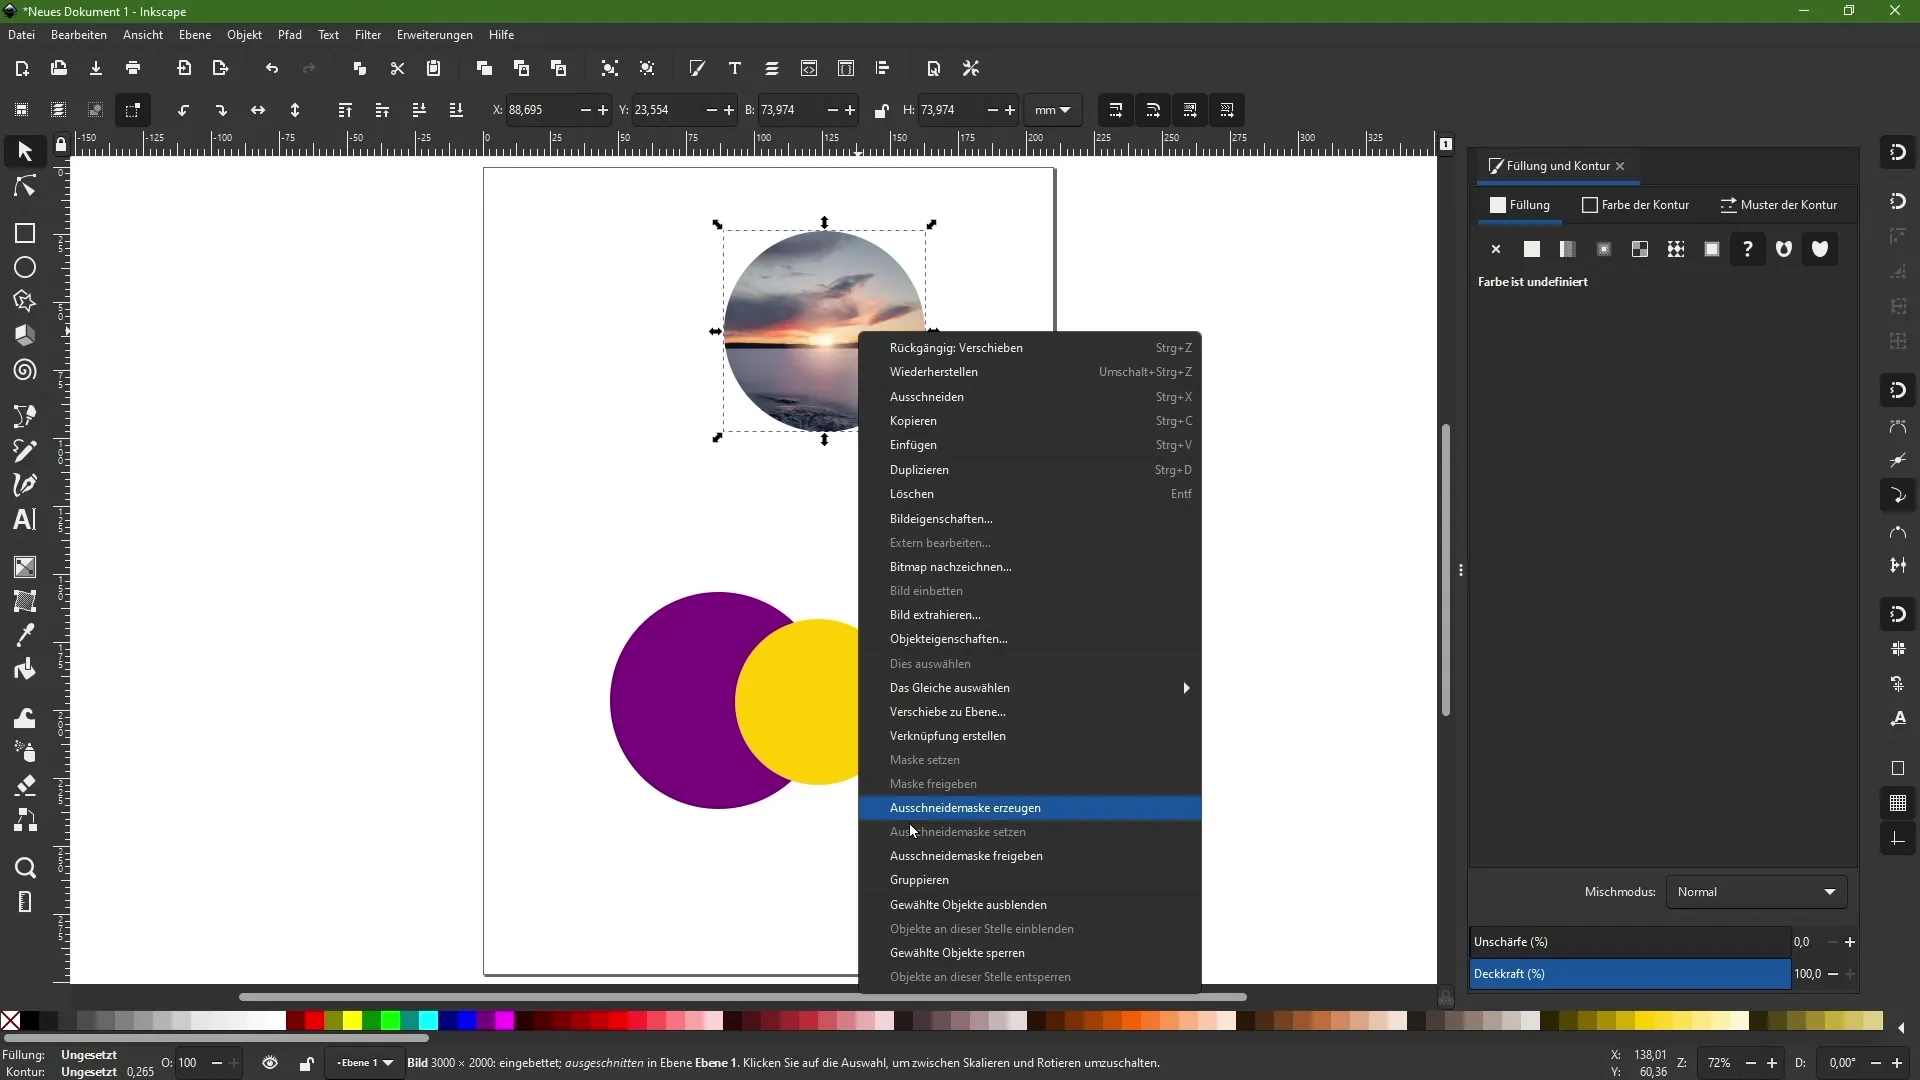
If you later want to change the position of the image within the circle, you can simply right-click on the masked area and choose "Release Clip Mask" or go to "Object" -> "Release Clip Path". This way, you regain access to the original objects.
Working with Masks and Transparency
Now let's take a closer look at the difference between masks and clipping paths. Masks consider transparency, while clipping paths do not. You can select both the circle and the background image, and then set a mask.
By repeating this process, you can later release the mask to get back the original objects.
Creating Transparency Gradients
To create a transparency gradient, set the opacity of the circle to 100% and use the Gradient tool. You can create a gradient through the Gradient button or the Gradient tool.
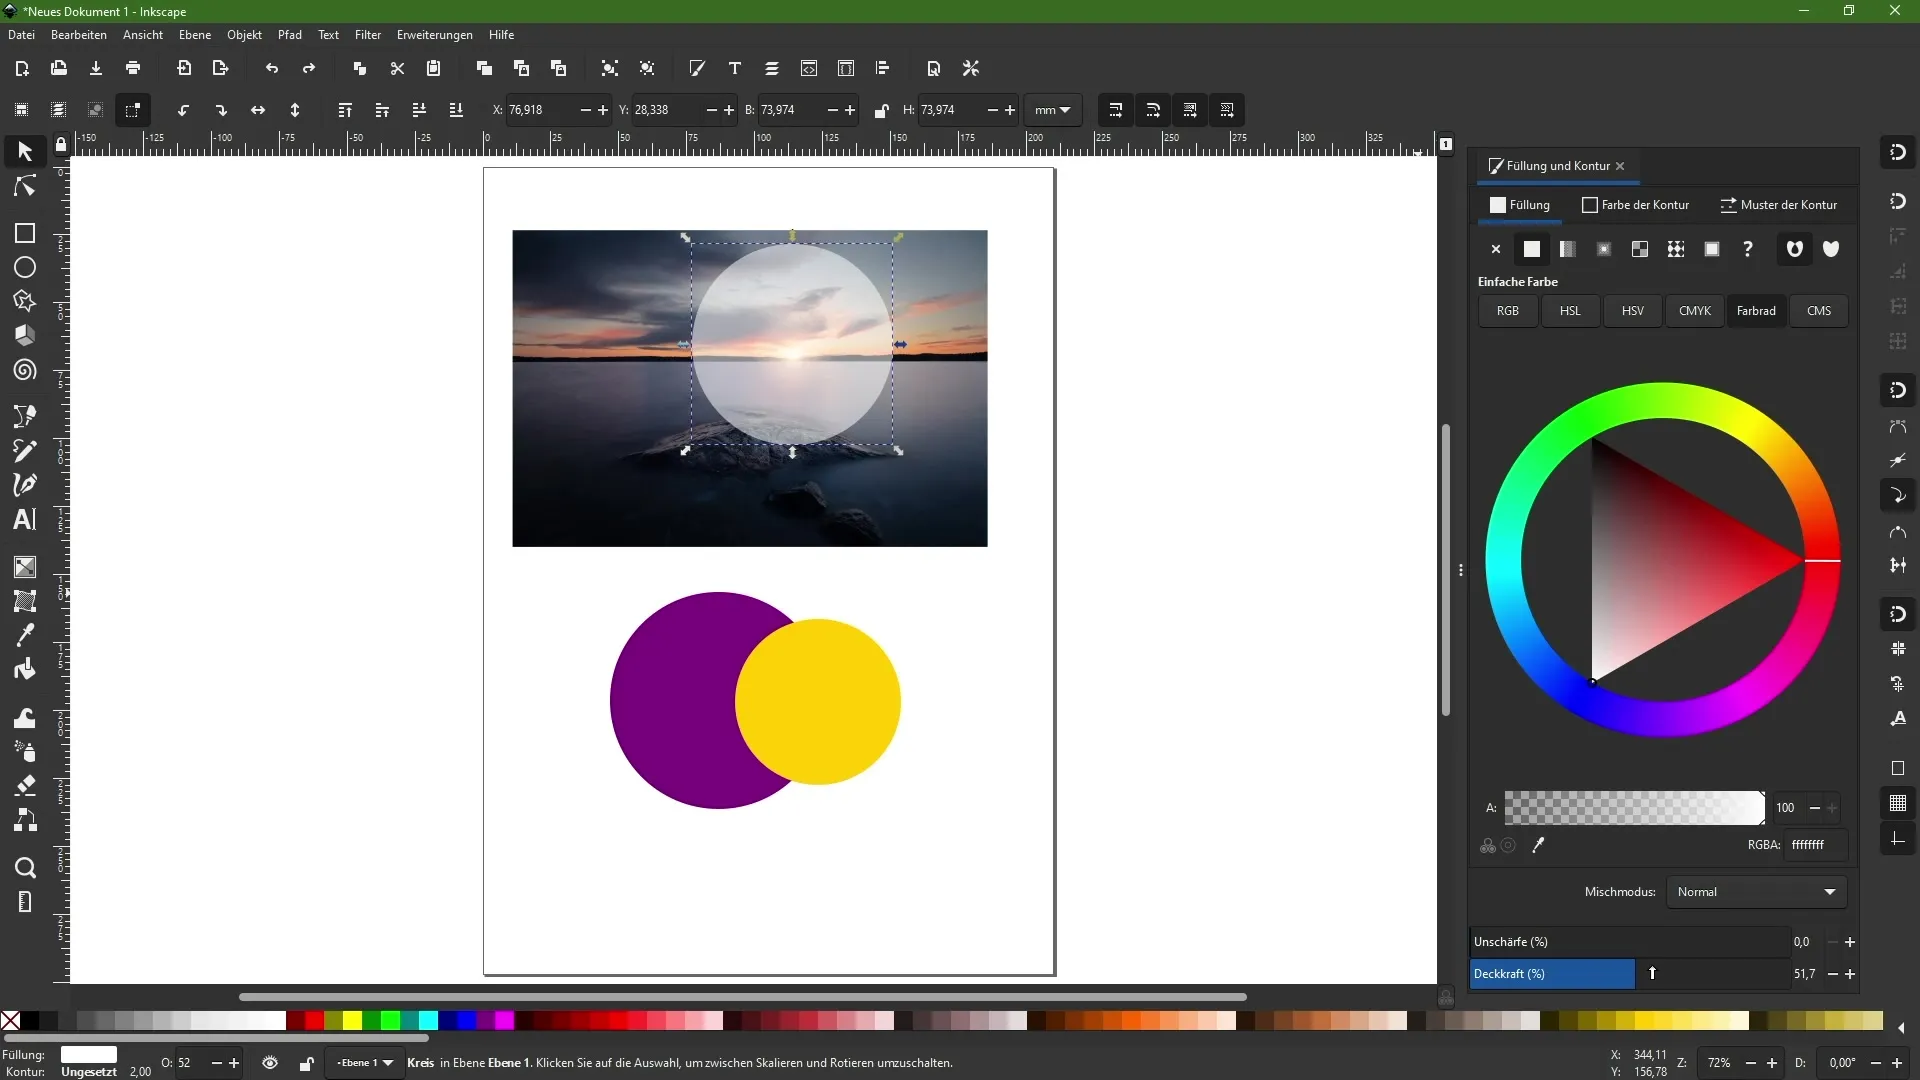
Whether you create a gradient from a color to transparency or from black to white, this effect can enhance the visual depth of your designs.
Select both objects and set the mask. This will give you a gradient from visible to transparent.
Masks and Overlaps
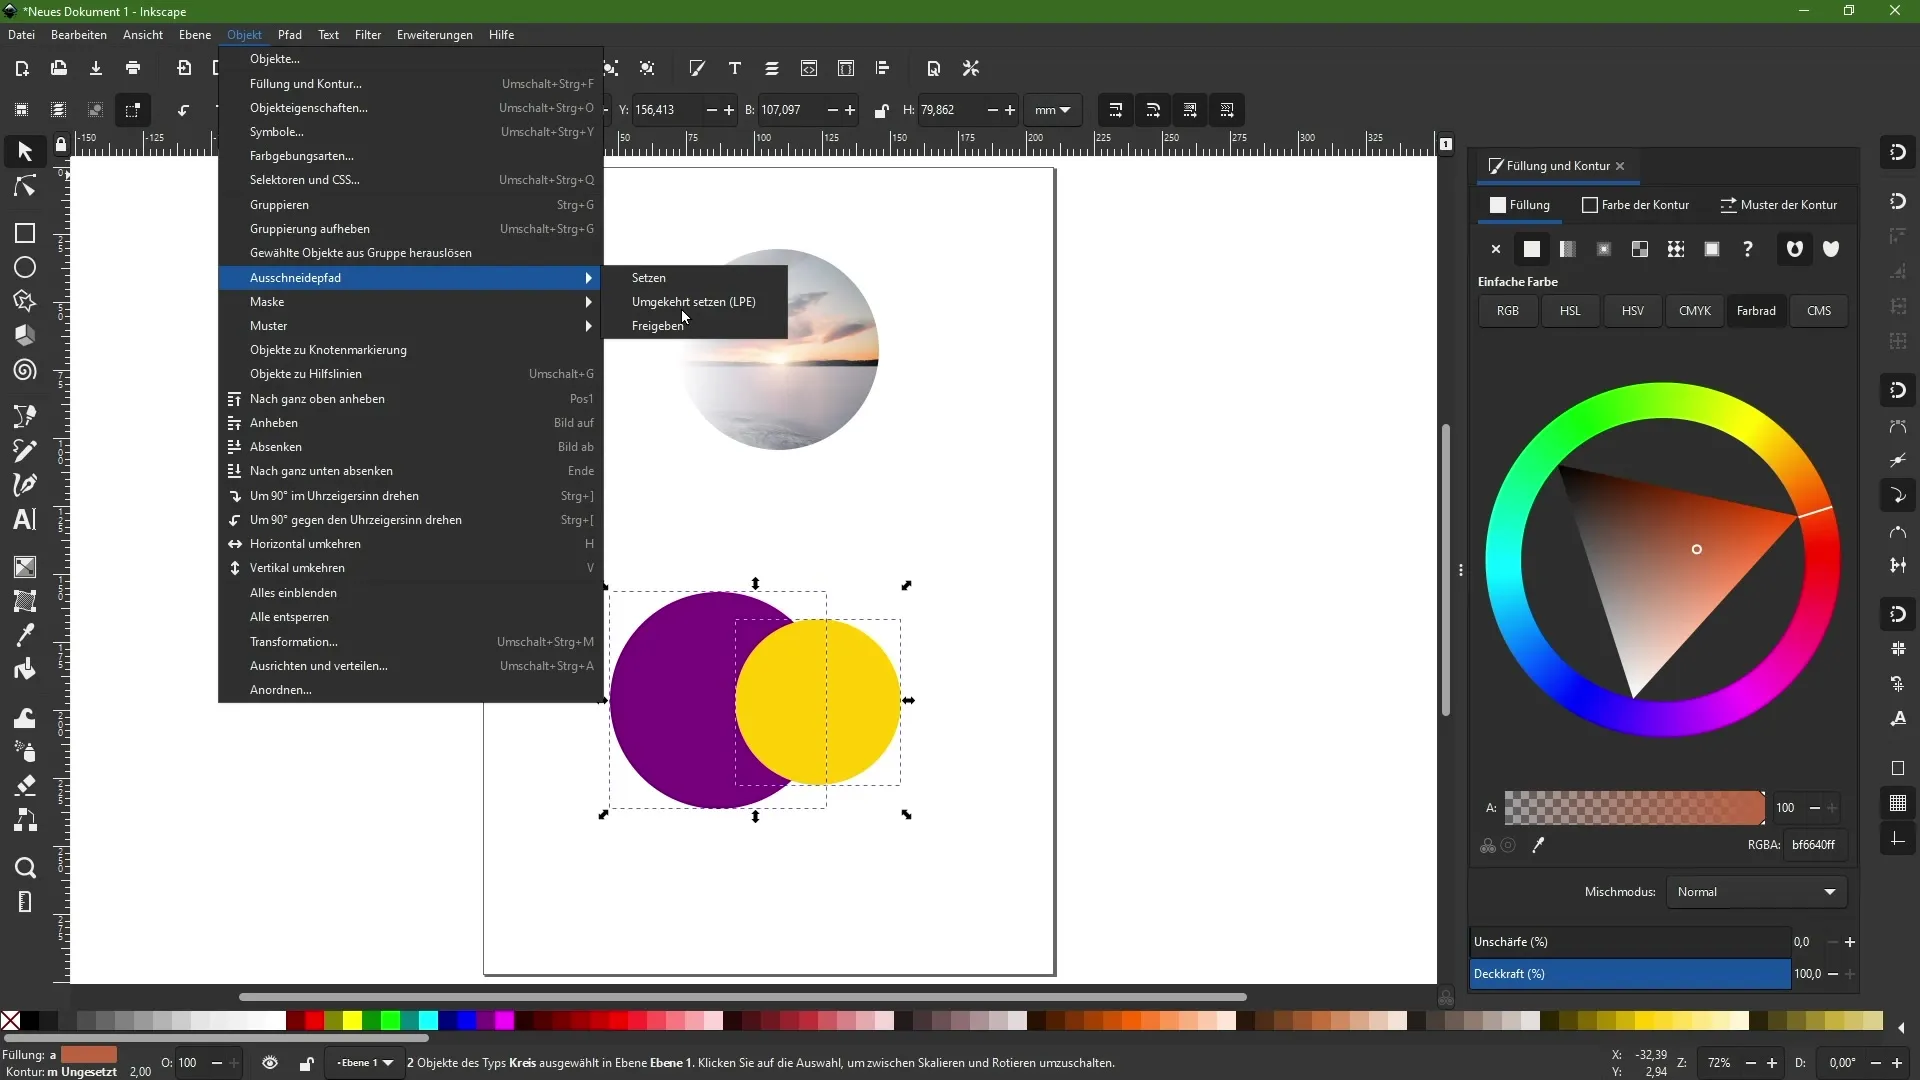
If you want to use a circle as a second mask, you can use the overlaps between the objects to hide specific areas. Select the front circle and set it as a clipping path over the back one.
To create a reverse clipping mask, select the white area and go to "Object" -> "Set Inverse Clip". This will hide the overlapping area of the back circle.
Problems and Solutions
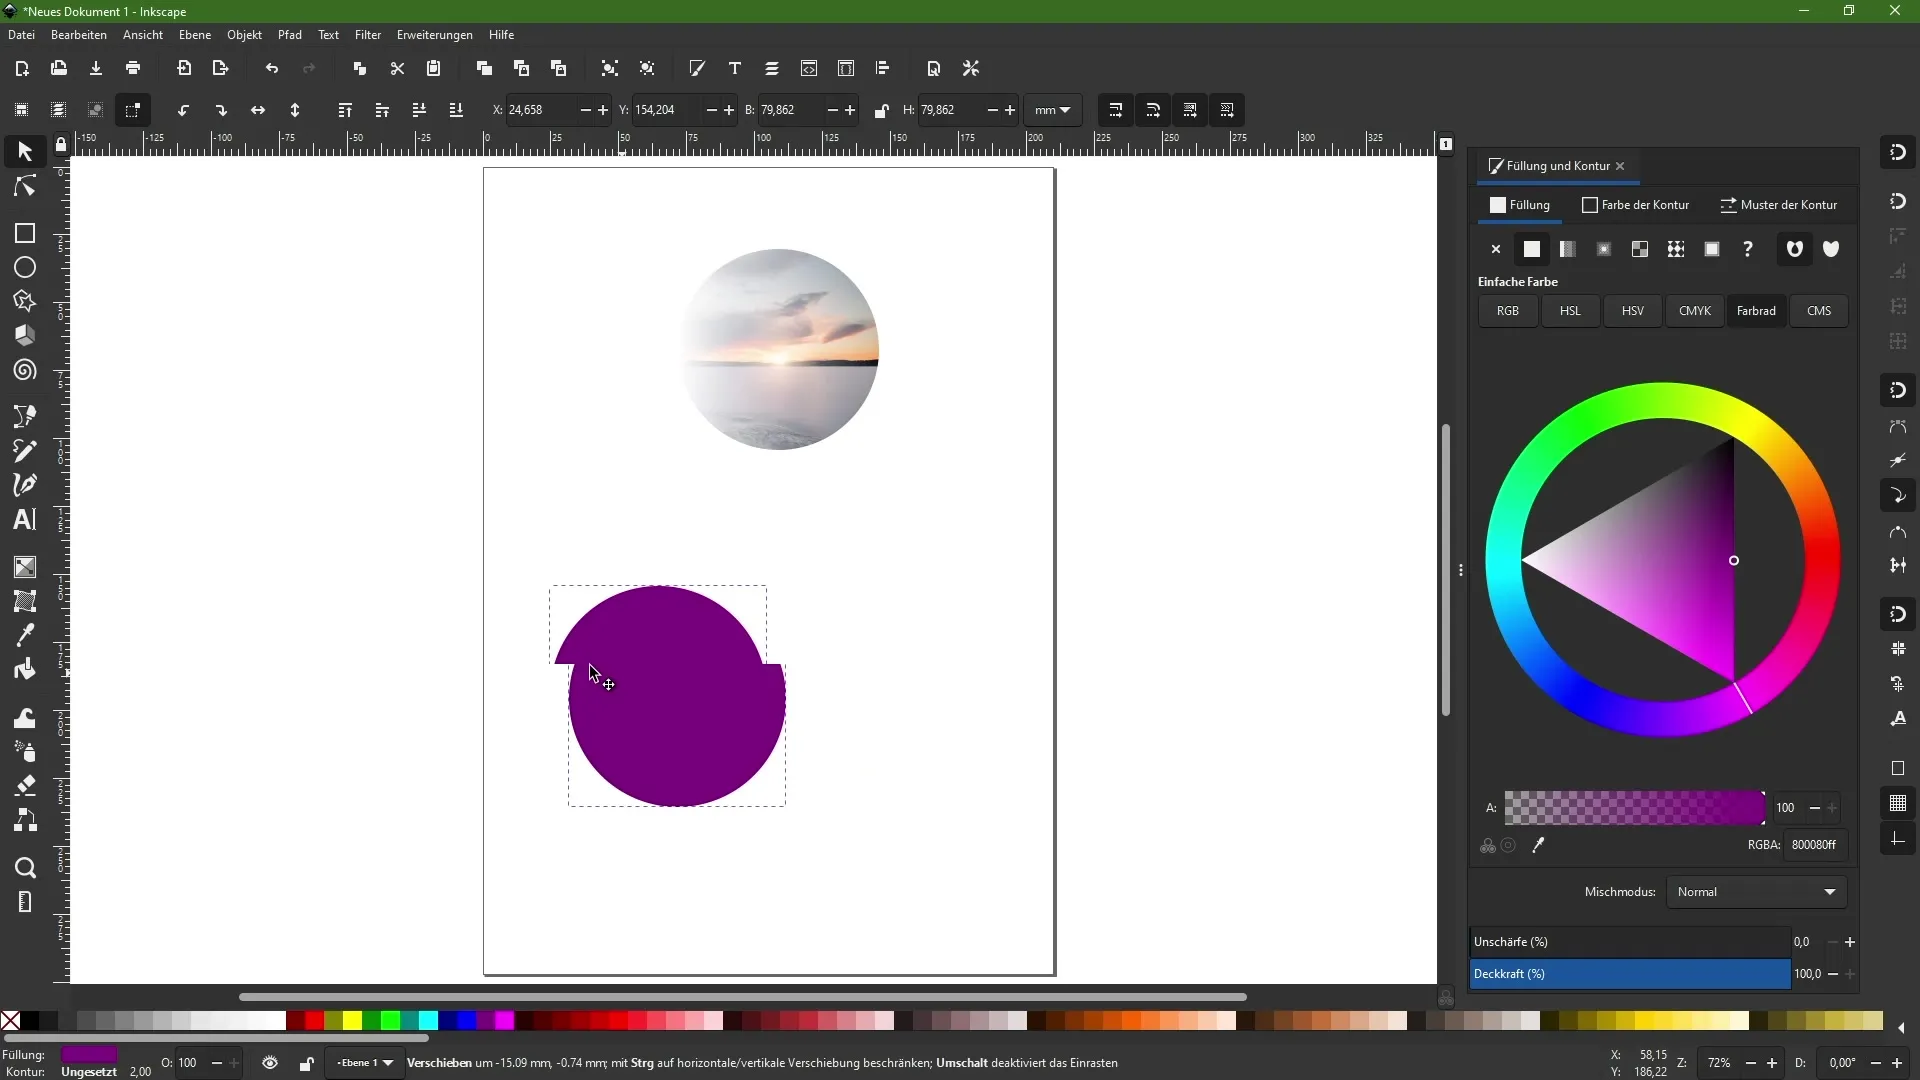
When using Inkscape, there may be minor technical issues. For example, after releasing a mask, the circle may no longer be visible. This is a known bug in version 1.1.1 of Inkscape.
Conclusion
Working with masks and clipping paths in Inkscape opens up new creative possibilities for you. You have learned how to efficiently mask objects, apply transparency gradients, and understand the difference between masks and clipping paths. These techniques will help you further enhance and diversify your designs.
Frequently Asked Questions
How do I create a clipping path?Select the object you want to use as a mask, and the image. Go to "Object" and then to "Set Clipping Path".
Can I release the mask later?Yes, you can release the mask anytime by using "Release Clipping Mask".
Are there differences between masks and clipping paths?Yes, masks consider transparency, while clipping paths do not.
