You have now learned the basics of Inkscape and have probably already become somewhat familiar with the user interface. But what if I told you that there are many advanced features and possibilities that could revolutionize your creative process? In this tutorial, I want to introduce you to various useful filters and extensions that will help you elevate your designs to the next level.
Key Takeaways
- Inkscape offers a variety of filters that help you creatively design your objects.
- Extensions allow you to add additional functions, such as creating crop marks or registration marks.
- Experiment with the filters and extensions to improve your skills and achieve interesting effects.
Steps to Using Filters and Extensions
1. Selecting an Object
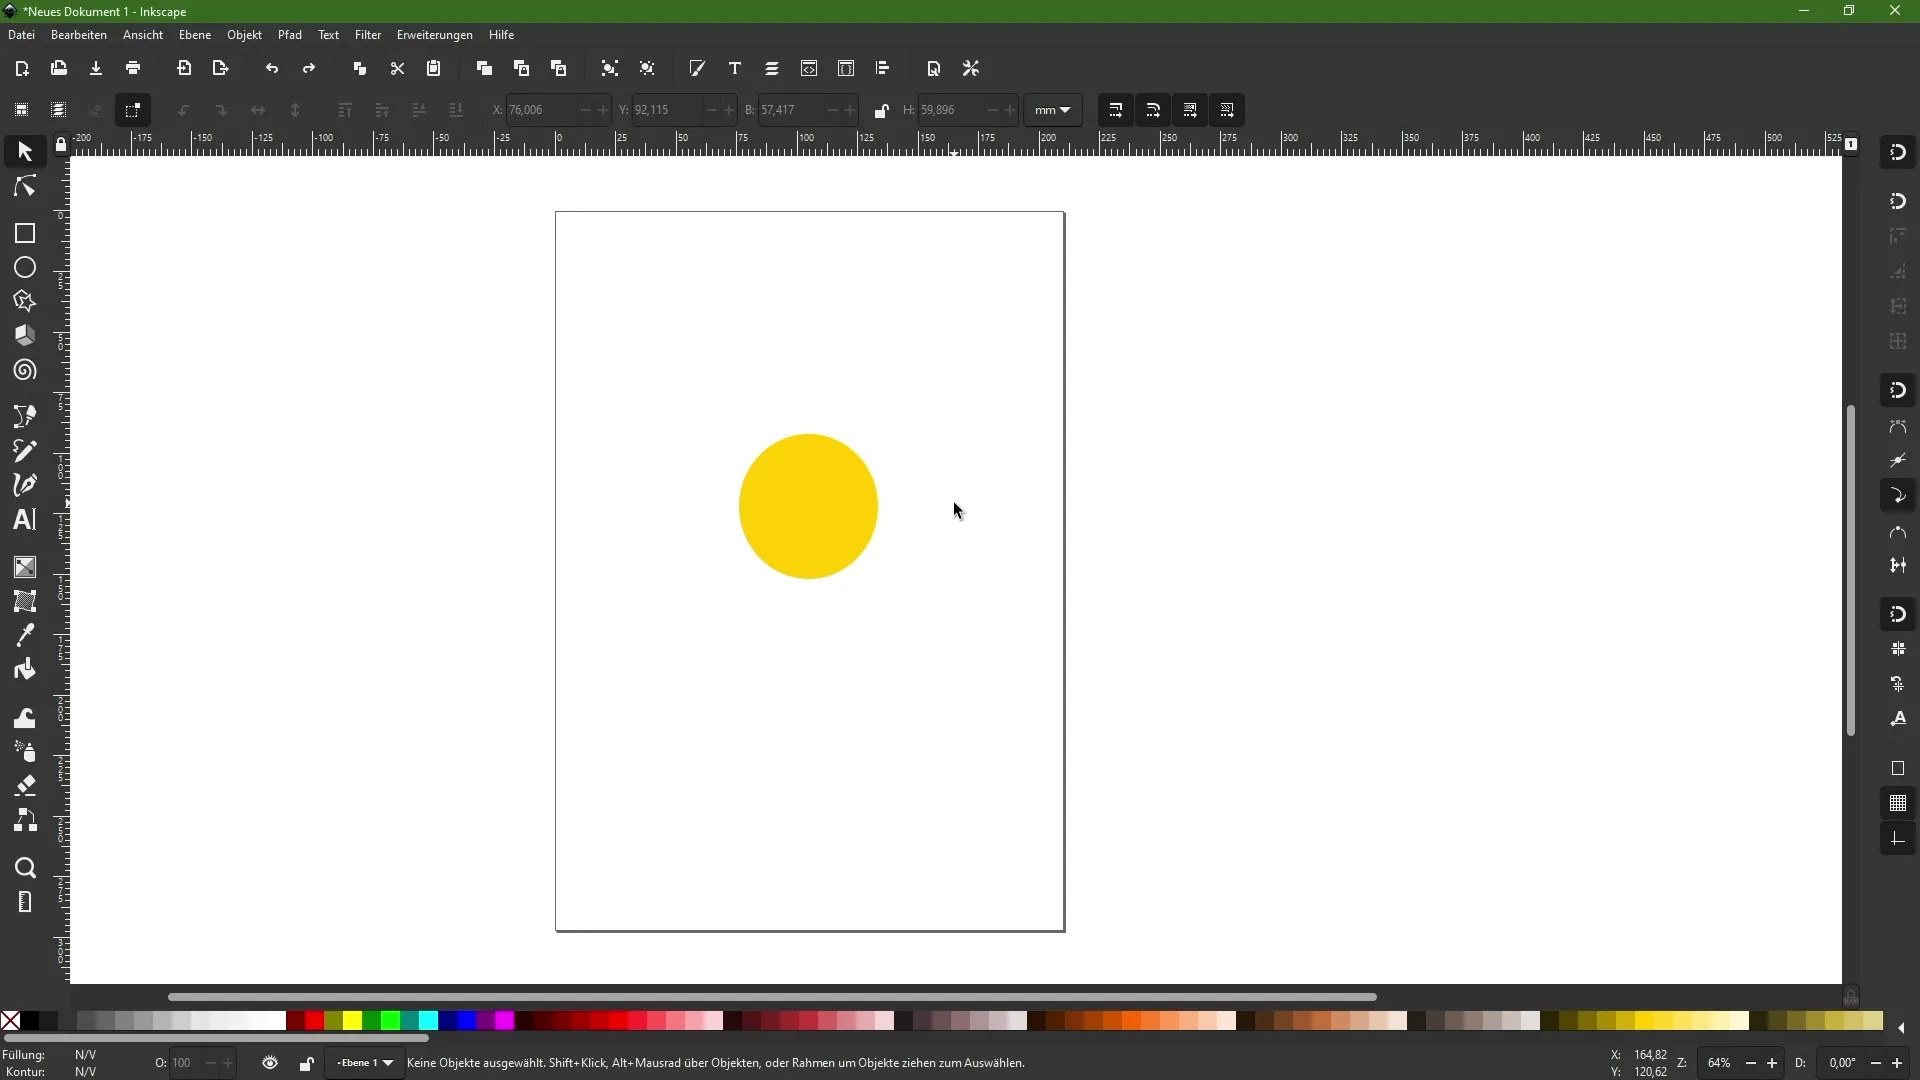
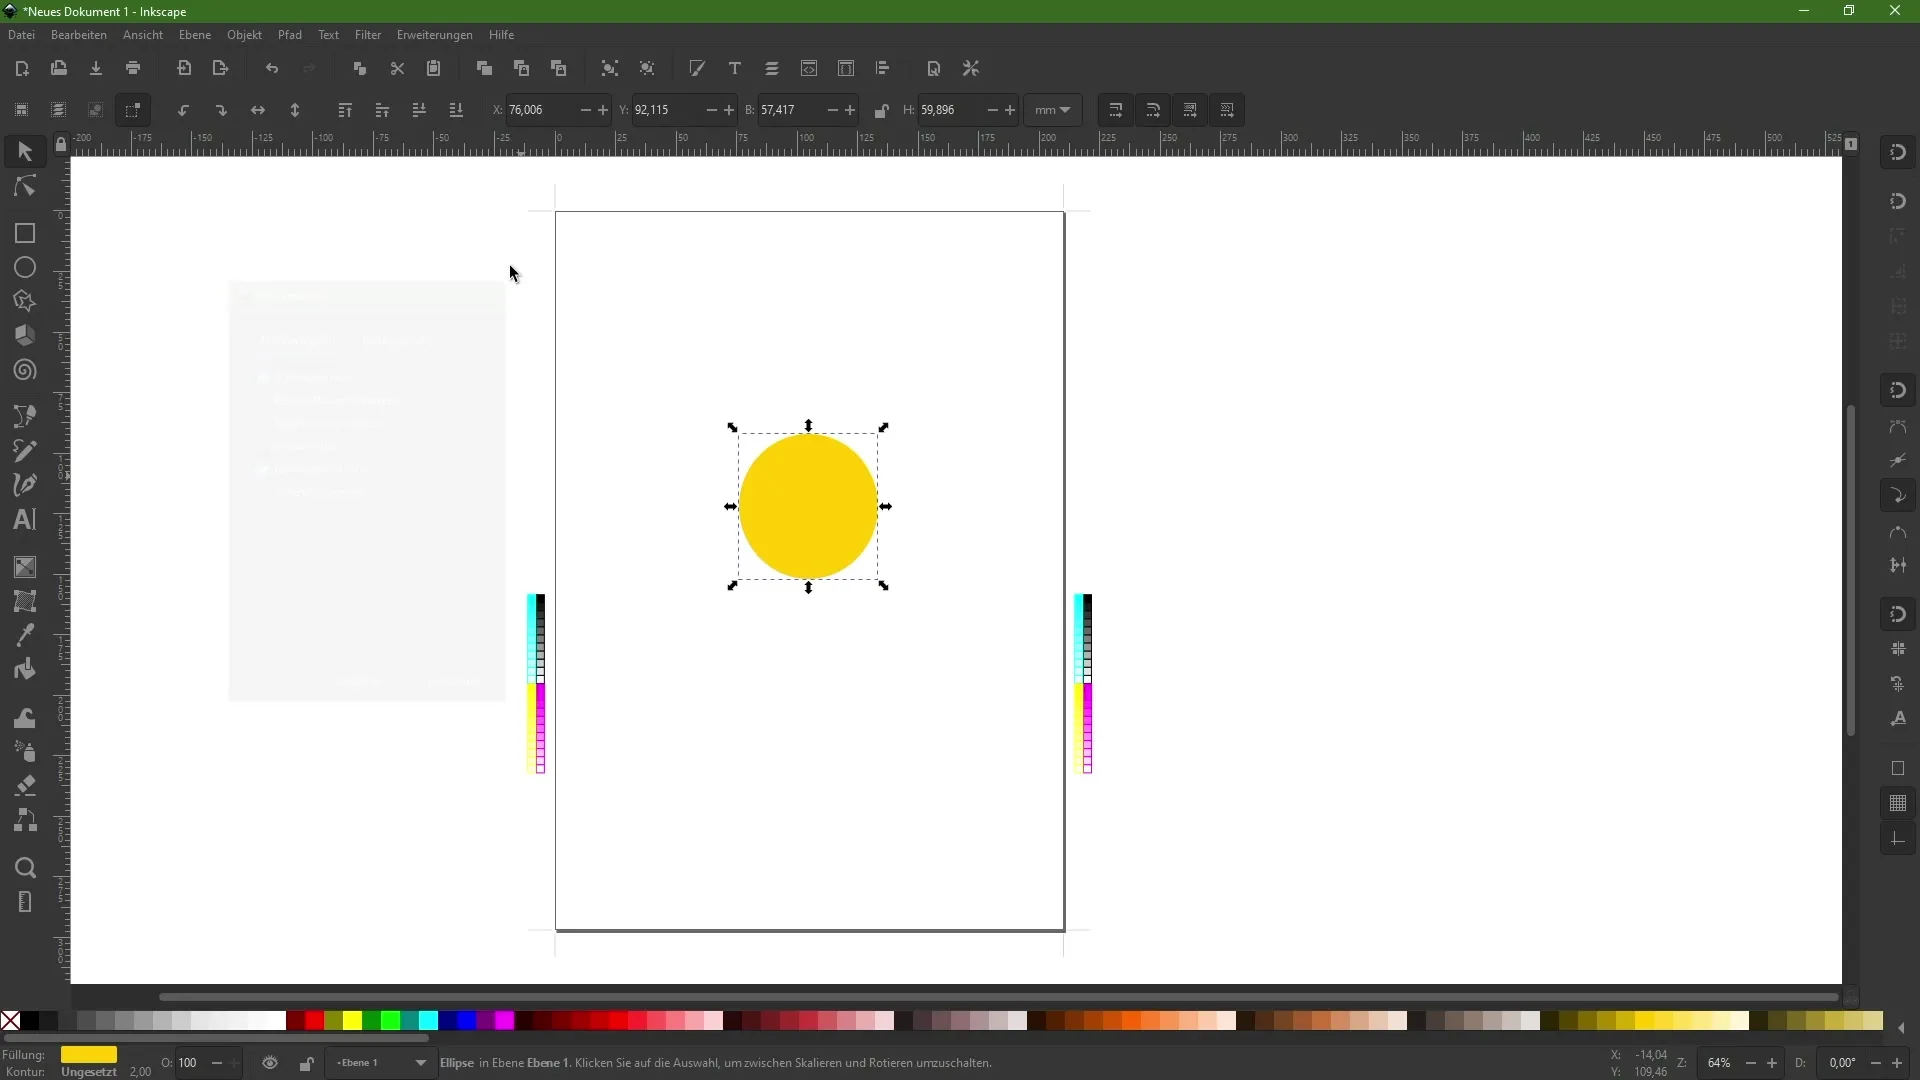
Start by creating or selecting an object. In my example, I have created a circle, which is ideal for demonstrating the various filters and effects. Once you have selected the object, you should notice the options for filters and extensions in the top menu bar.
2. Using Filters
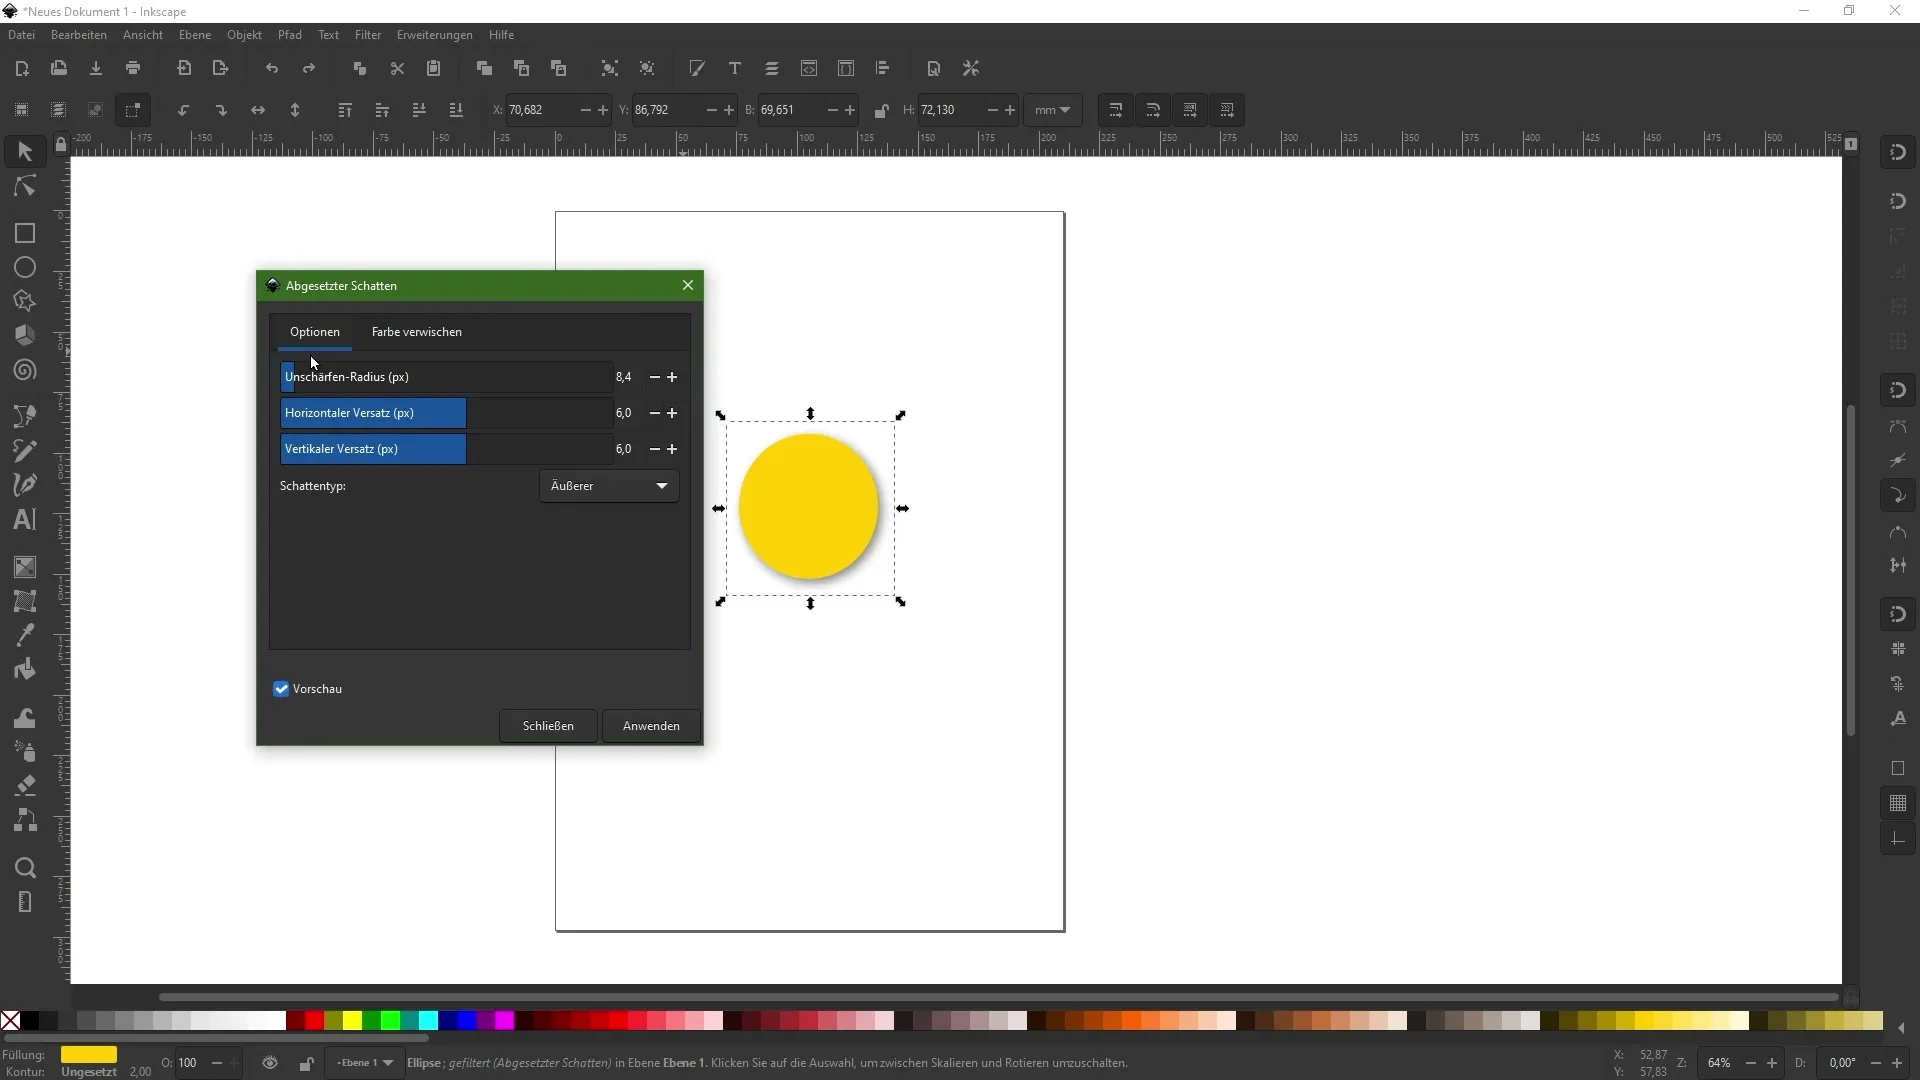
Click on the "Filter" menu. Here you will find a variety of options that can create different effects. You can experiment with various filters to see how they change your design. For example, the "Shadows and Lights" filter can add a drop shadow to your object, making it appear more realistic.
3. Making Adjustments
When you click on a filter, a dialog box will open where you can preview the effect. Here you can adjust settings like blur or other parameters to achieve the desired look. To better visualize, activate the preview so you can immediately see how the filter affects your object.
4. Applying and Managing Filters
Once you are satisfied with the settings, you can apply the filter. To see which filters are currently applied to your object, select "Filter" and open the filter editor. In this editor, you can see the applied effects and adjust or remove them as needed.
5. Working with Extensions
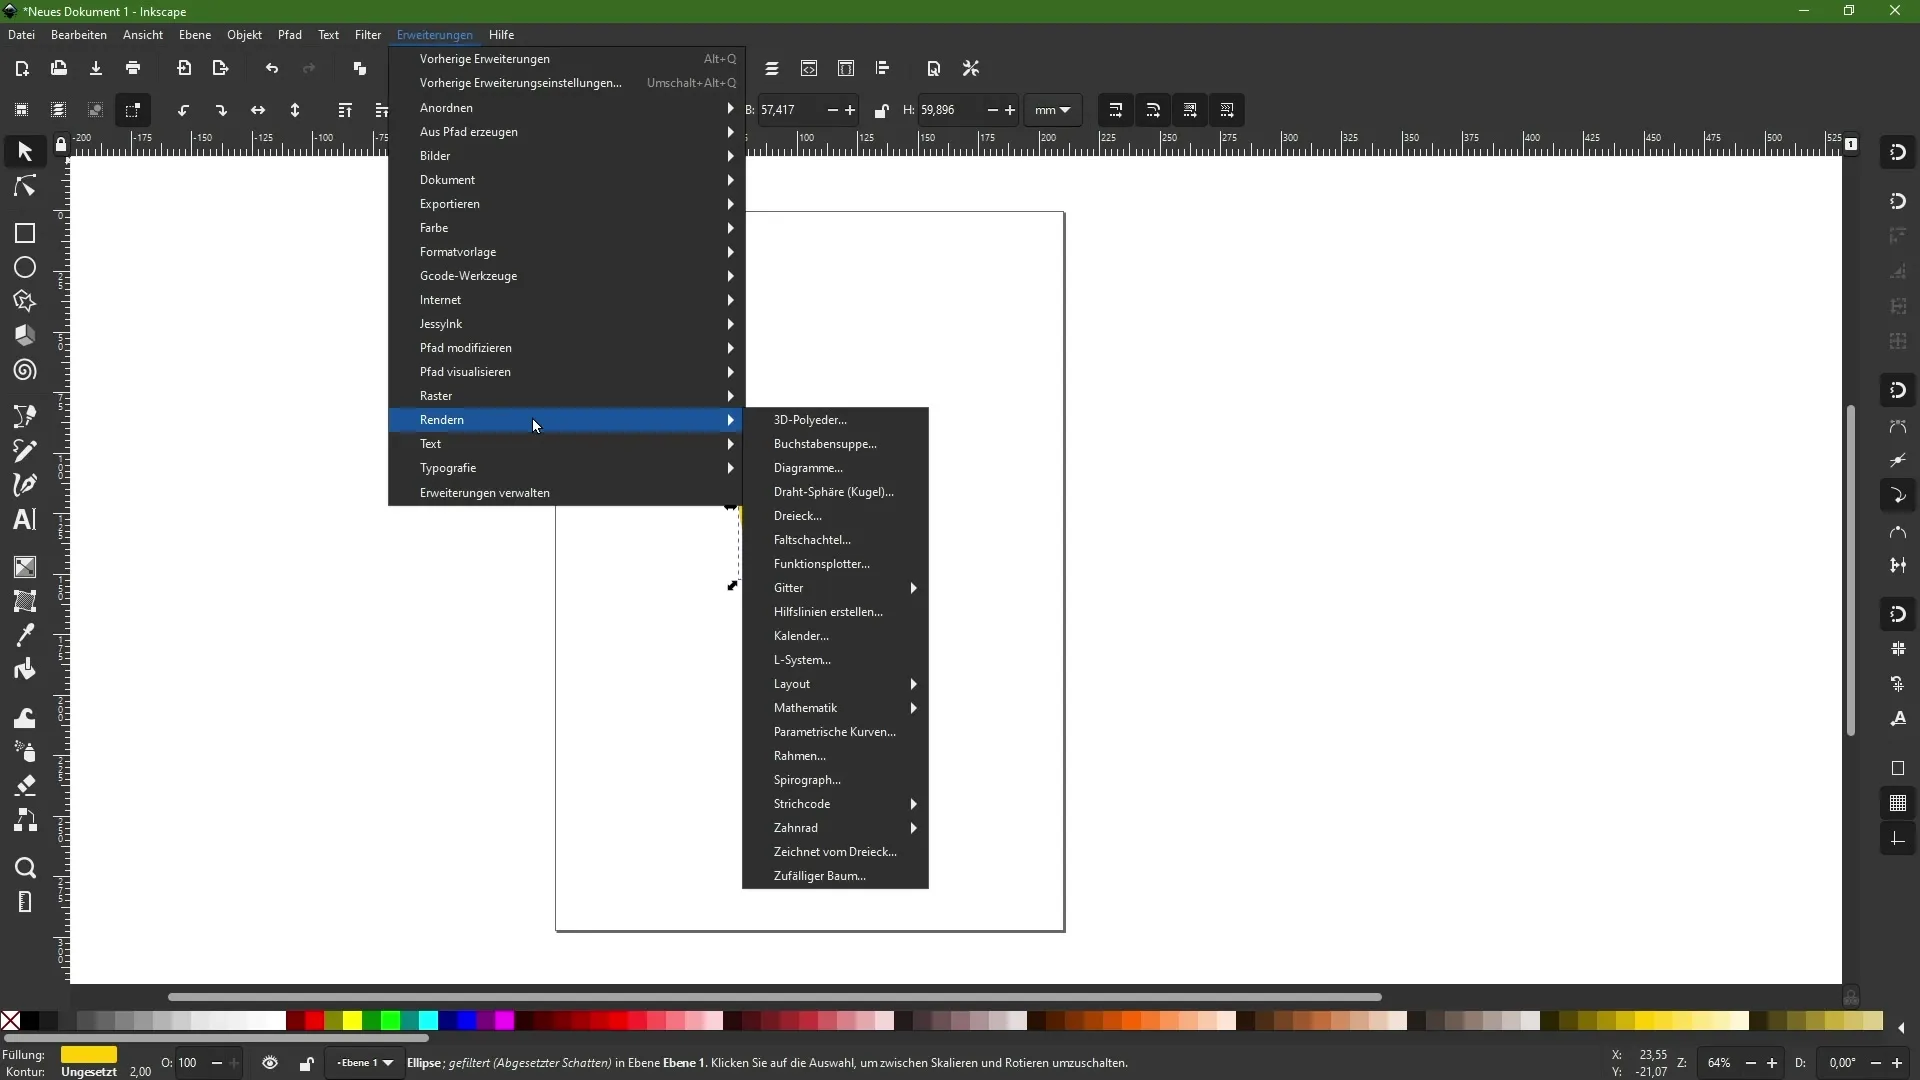
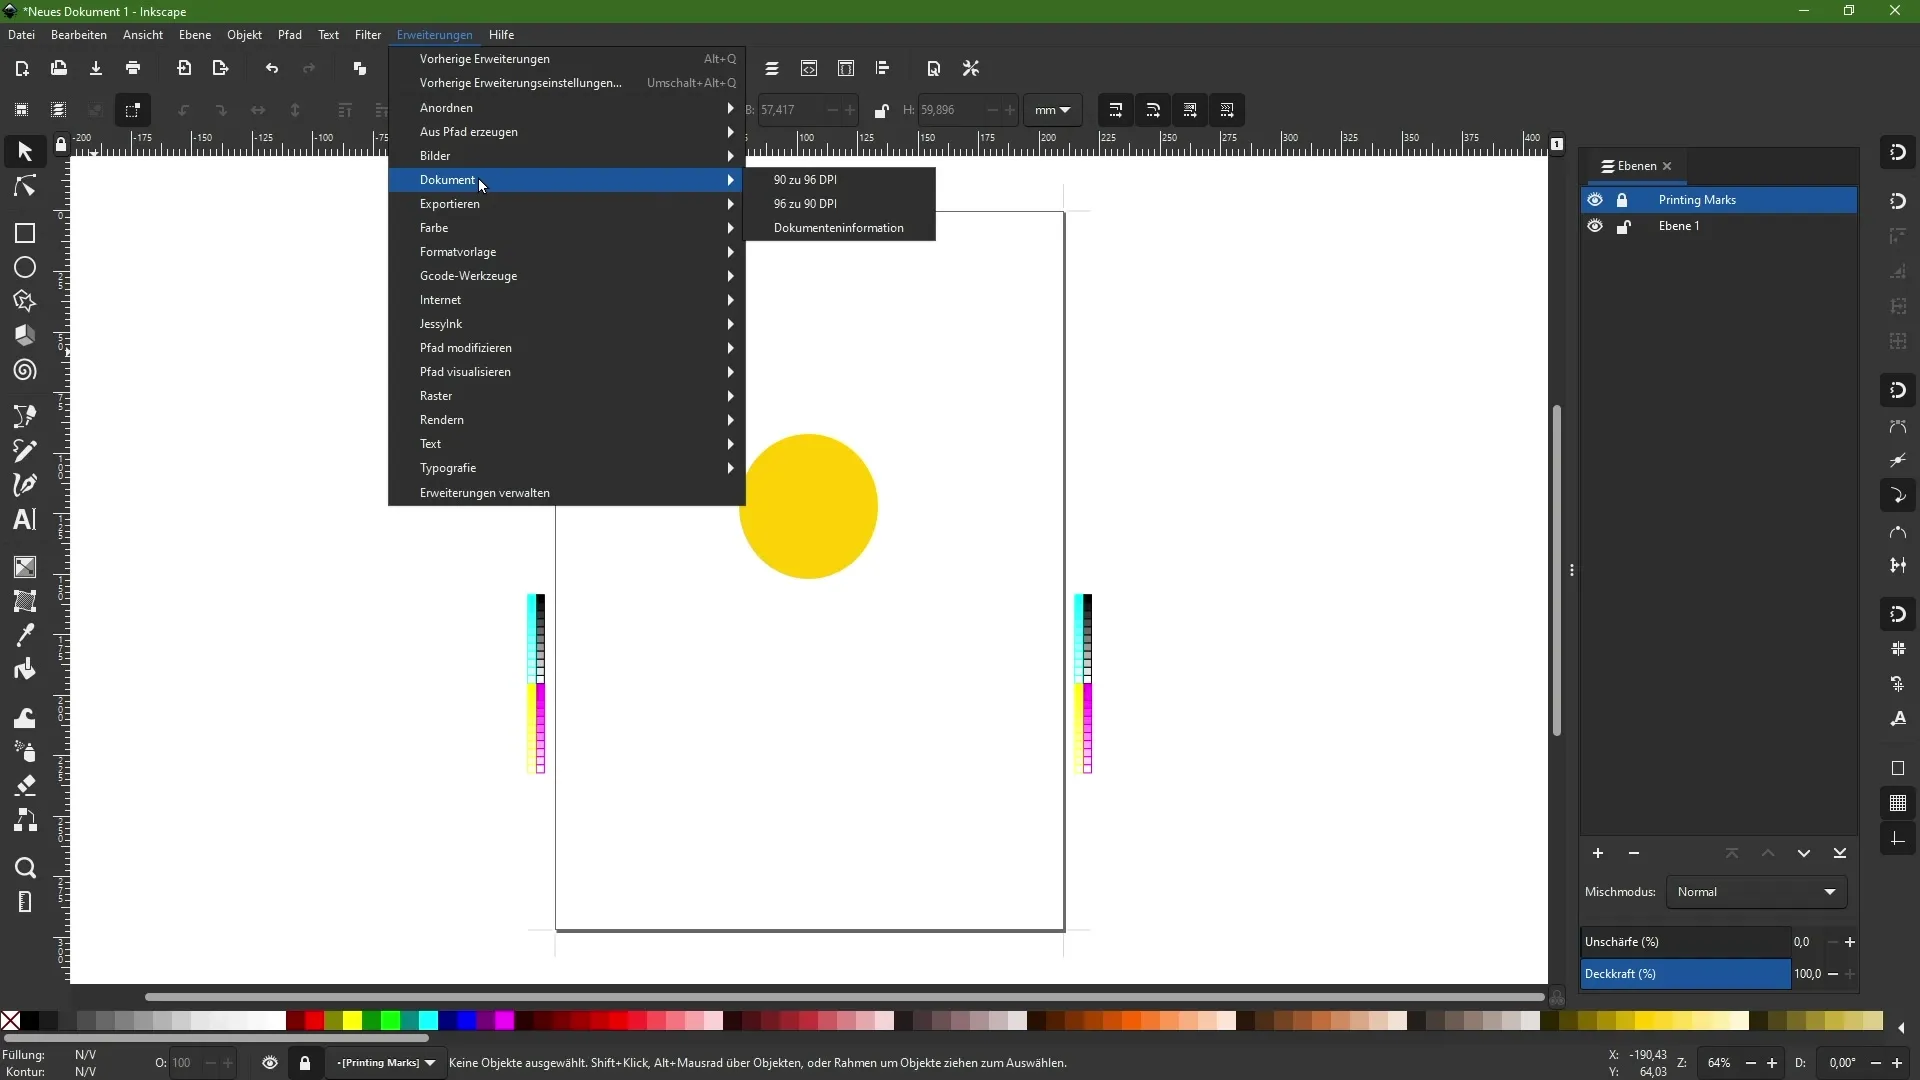
In addition to filters, Inkscape also offers extensions. These can help you accomplish specialized tasks, such as creating crop marks or color control strips. To use an extension, go to the "Extensions" menu and choose a suitable option.
6. Applying an Extension
Let's say you want to add crop marks. Select the appropriate extension and click "Apply." Short processing time may occur while Inkscape implements the extension you requested. The result will be placed on a new layer in your layers palette, which you can subsequently show or hide.
7. Exploring Further Possibilities
There are numerous extensions and filters, both pre-installed and those you can download online. Encourage yourself to spend some time experimenting with these different features. You will be surprised at the creative potential that lies within Inkscape.
Summary
In this guide, you have learned how to work with the advanced features of Inkscape. Applying filters and extensions allows you to enhance your designs and achieve creative effects. Don't miss out on trying the various options and developing your creative skills further.
Frequently Asked Questions
How can I reset a filter?To reset a filter, open the filter editor and select the "Remove" option.
Could I create my own extensions?Yes, it is possible to create custom scripts, but it requires some programming knowledge.
Are filters and extensions in Inkscape free?Yes, most features and extensions in Inkscape are freely available.
