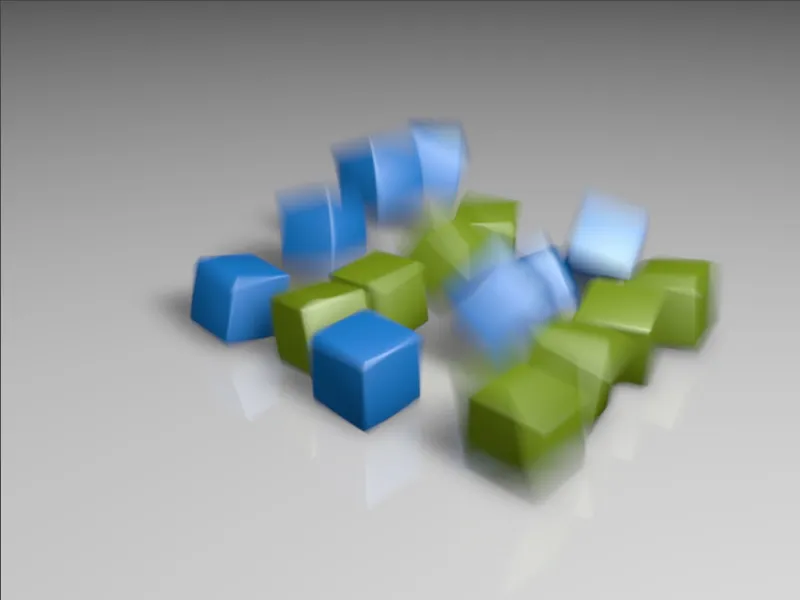
The working file "PSD_C4D_R13_Physik_MotionBlur.c4d" contains a small dynamics simulation in which a total of 16 cube objects fall quickly to the ground and bounce off there. Fast movements are very suitable for getting to know the effect of motion blur and experimenting with it.
While the motion blur in the previous versions of CINEMA 4D was not really convincing, the physical renderer in version 13 scores here with very good quality and ease of use.
You can use the steps shown in this tutorial for any animation that you want to add motion blur to with the physical renderer.
Structure of the scene
The example scene consists of a floor object, two light sources for illumination, the cubes generated by the clone object and a camera aligned to it. Let's take a brief look at the structure of the individual elements in order to understand the structure of the animation.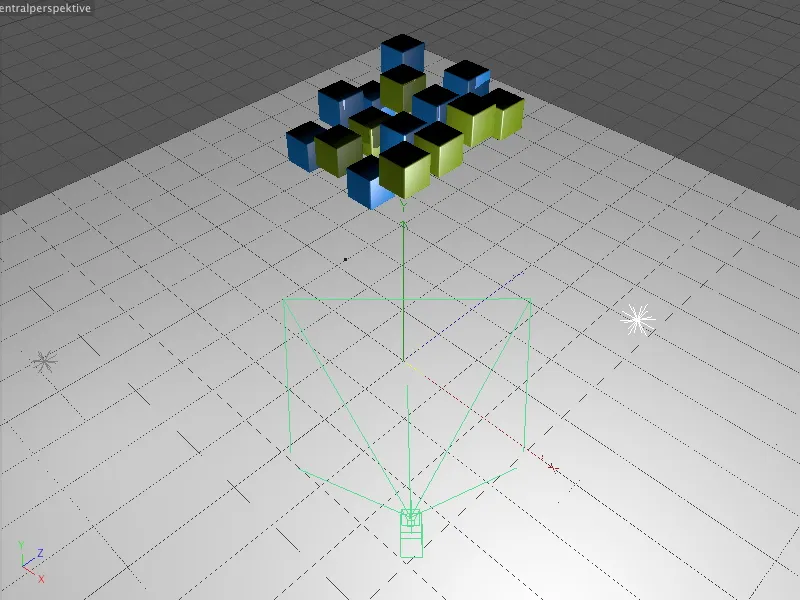
I generated the total of 16 cube objects with a clone object in grid mode. With two differently textured cube objects and the repeat mode for the clones, we get alternating colored cubes.
A random effect ensures that the cubes are already slightly offset in their Y position at the beginning. This simply makes the animation of the falling cubes look more realistic.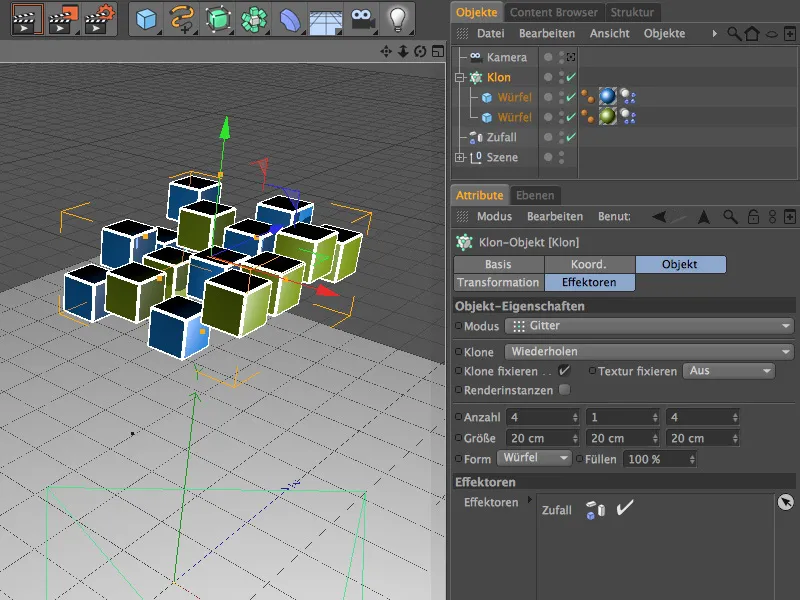
The two cube objects and the floor object have a dynamics body tag so that a dynamics simulation can take place at all. The two cubes act as rigid bodies, while the floor is purely a collision object onto which the cubes bounce and then remain in place. I have not changed the standard parameters of the Dynamics Body tags.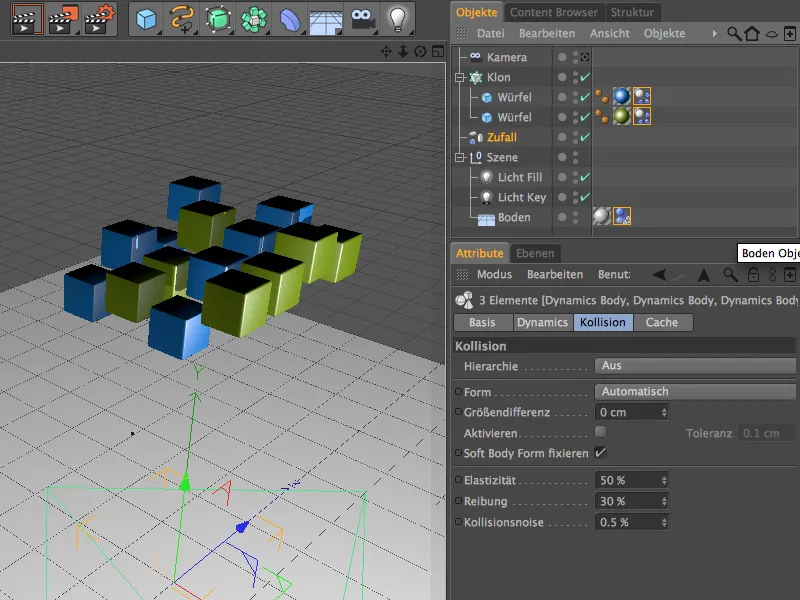
Setting up the physical camera
Physical renderer - let's finally turn our attention to it, as it plays the main role in this tutorial. The camera in the scene is already pointed at the point of impact of the cubes.
In the settings dialog of the camera object, we do not need to make any special adjustments on the object page. If you want to add depth of field to the motion blur effect, you can specify the camera's focal plane by entering the desired focus distance.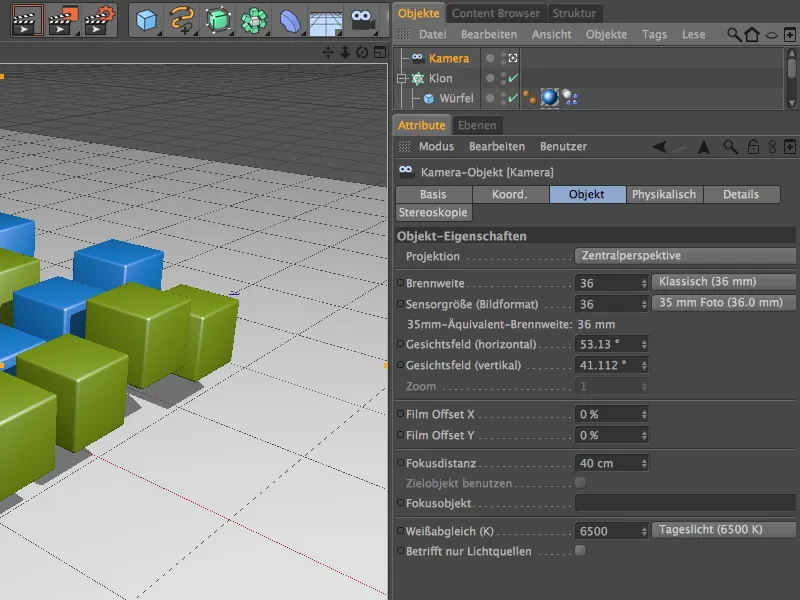
You should now activate the camera using the camera symbol in the ObjectManager and test run the dynamics simulation by clicking on the play button in the animation palette.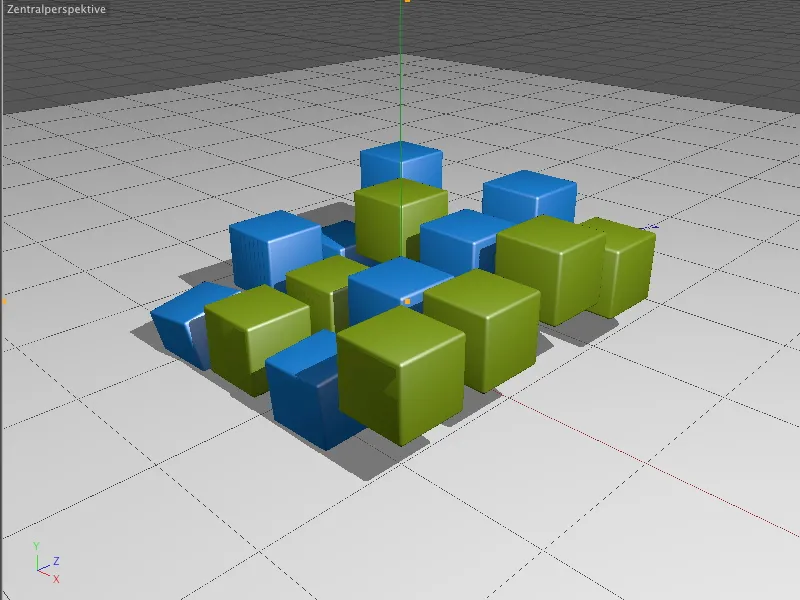
Only very few parameter changes are possible on the Physical page of the camera settings dialog. This is because the physical render er is not yet activated.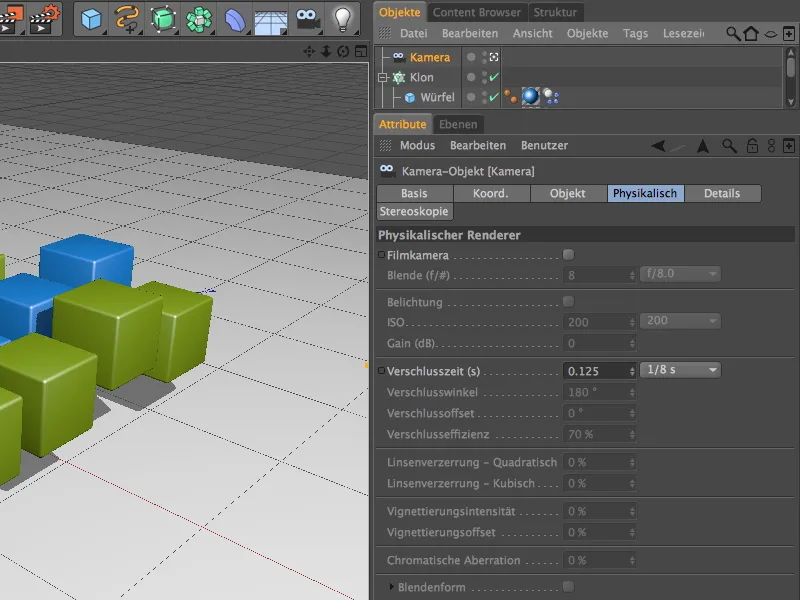
To activate the physical renderer, we call up the render presets via the Render menu.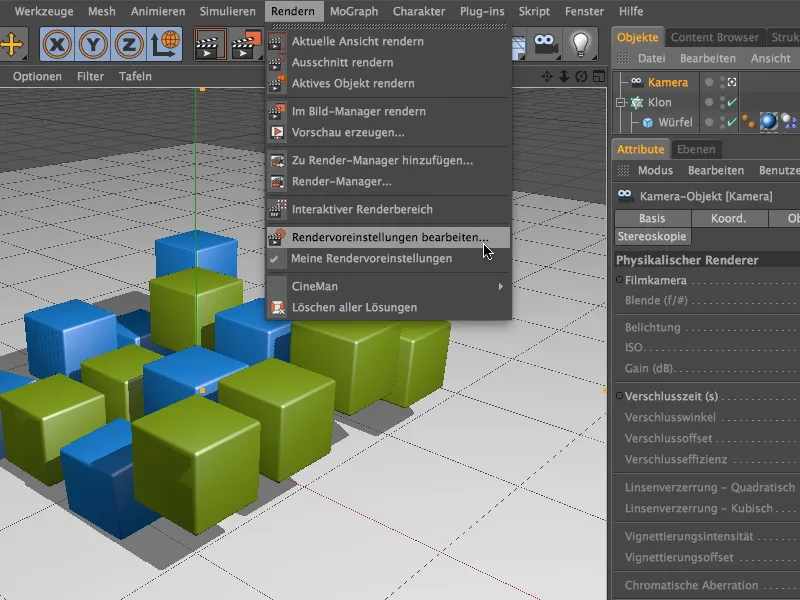
There we select the entry Physical in the left-hand column of the Renderer menu. The physical render er is now active and offers a variety of setting options on its own page.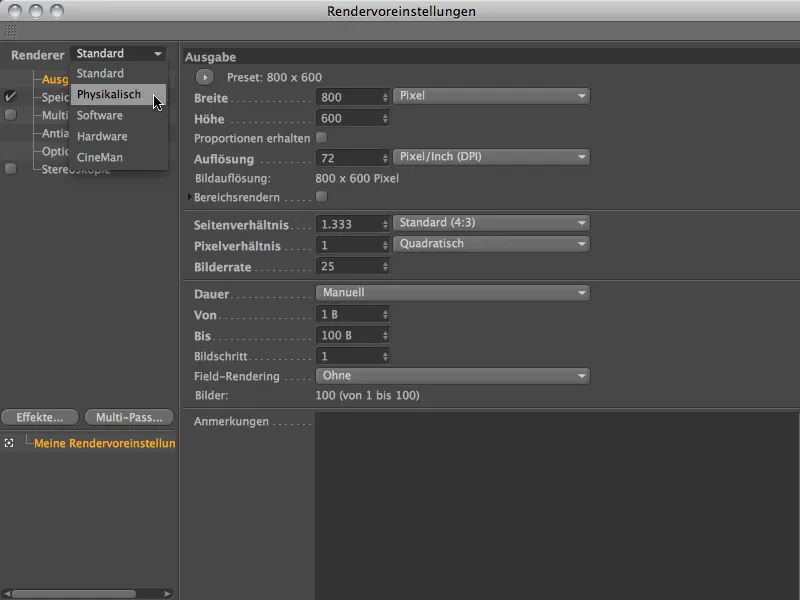
As we want to concentrate on motion blur in this tutorial, we will activate the option of the same name on the Physical page. The adaptive sampler with medium sample quality is a very good starting point for further adjustments. More on this shortly.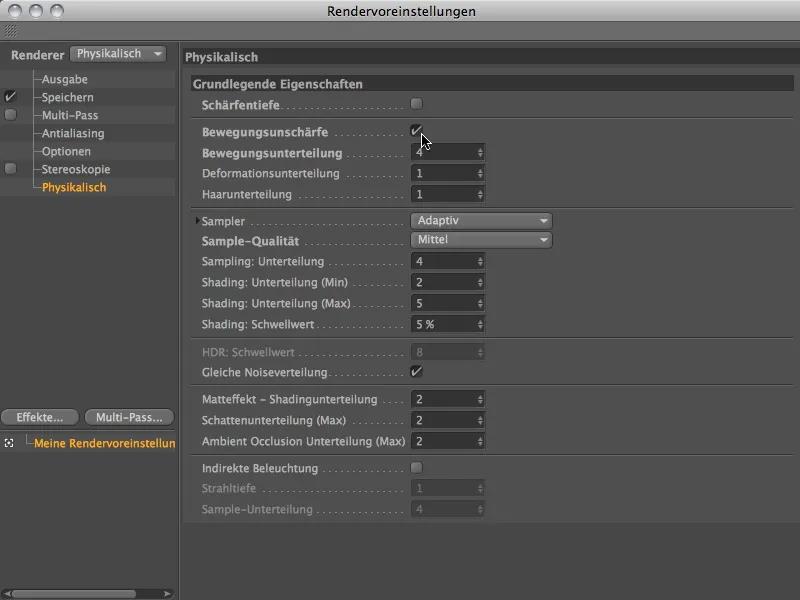
Before we go on to fine-tune the renderer, let's finish setting up the physical camera. Because the physical renderer is now active, the Physical page of the camera settings dialog also offers us considerably more options.
One factor that determines the effect of motion blur is the camera's shutter speed. The longer this time is, the more movement can be included in the motion blur. Conversely, we can reduce the effect with a faster shutter speed - so with extremely fast shutter speeds, there may be no motion blur at all.
In order to get the motion blur rendered with a relatively strong effect, we first set a relatively slow shutter speed of half a second.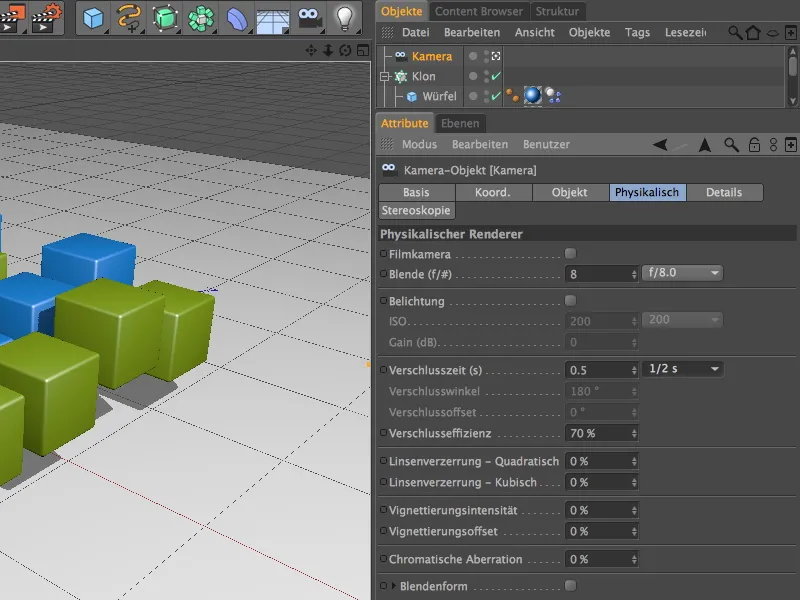
So that we can now start the first rendering, we define the desired image on the output page in the render presets. I decided on image 23, i.e. just before the cube objects hit the ground.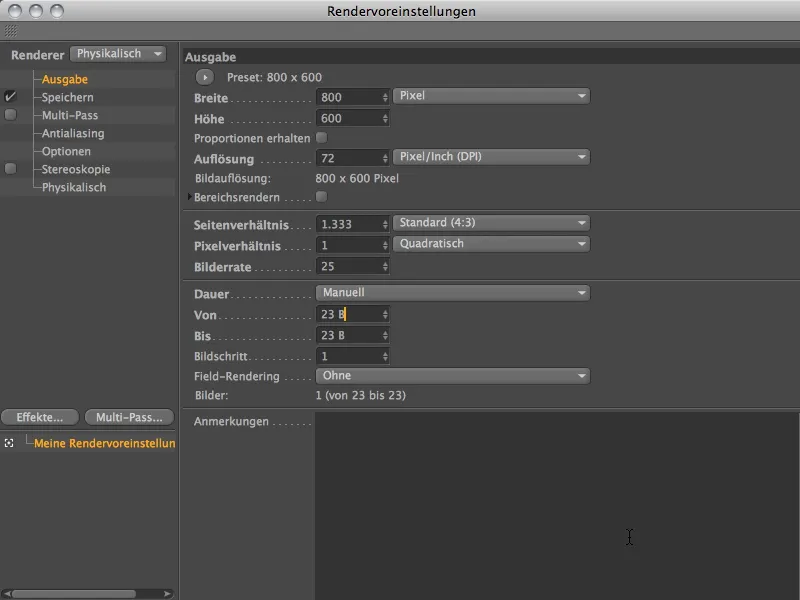
In order to calculate the motion blur using the physical renderer, the image manager is absolutely essential. This effect, which is based on several images of the animation, cannot be output via the editor view. Let's start rendering in the image manager via the render command palette.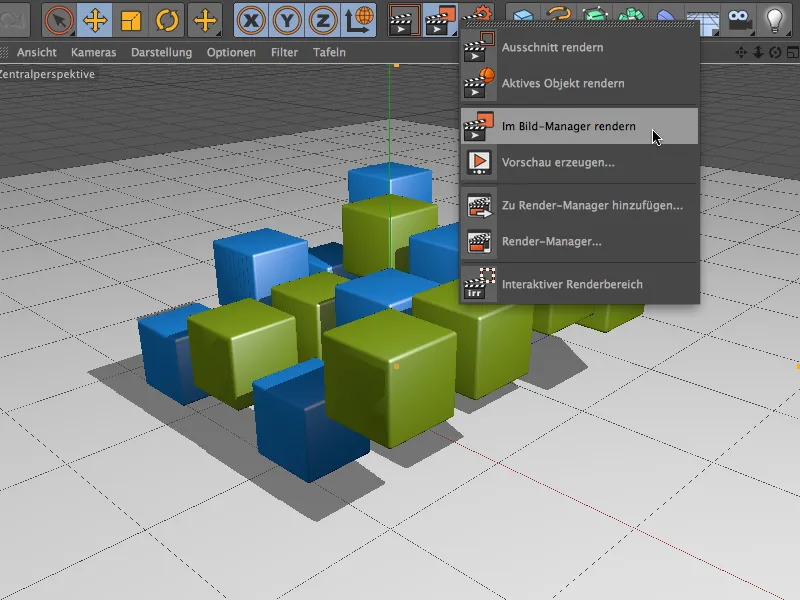
The result of the renderings shows that quite a few images and therefore a long animation path are captured due to the high shutter speed of the camera (0.5 seconds).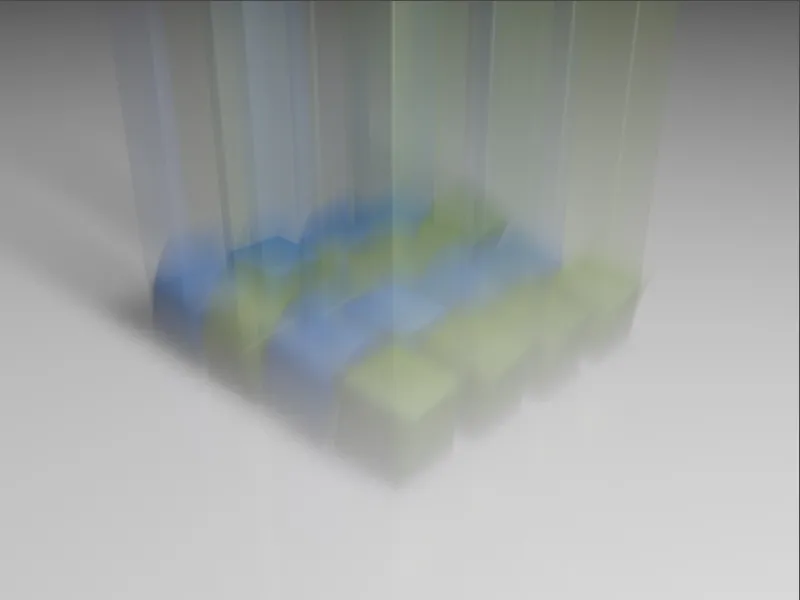
If we reduce the camera's shutter speed to a quarter of a second, the blurred animation paths become somewhat shorter. The cubes on the floor are stronger and much more clearly recognizable.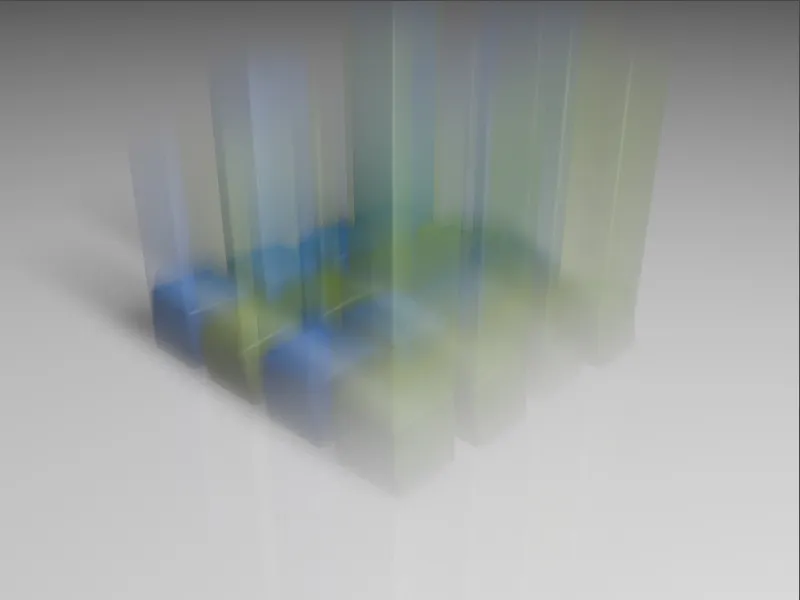
The shutter speed of an eighth of a second provides the result we want to continue working with. The blurred animation paths are again shorter and drawn more strongly.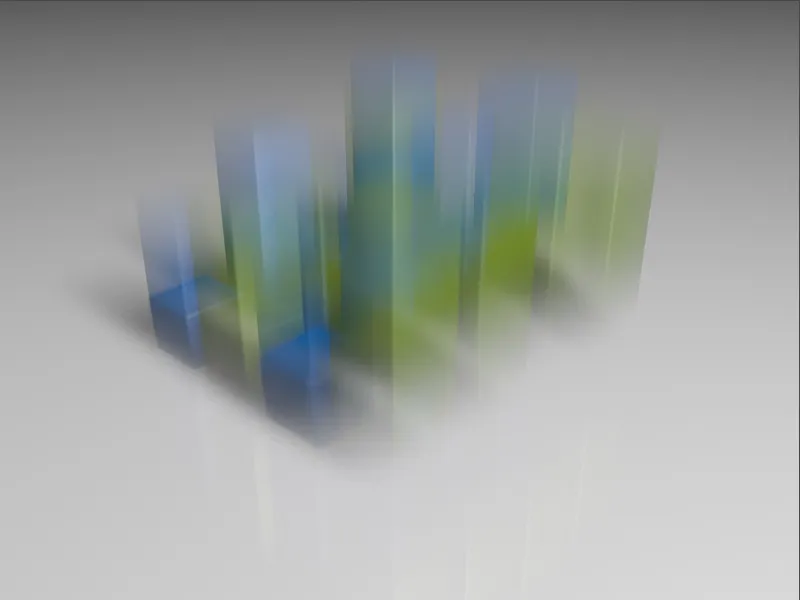
Next, let's take a look at the motion blur when the cubes have hit the ground and are moving back upwards. I have selected image 44 on the output page of the render presets.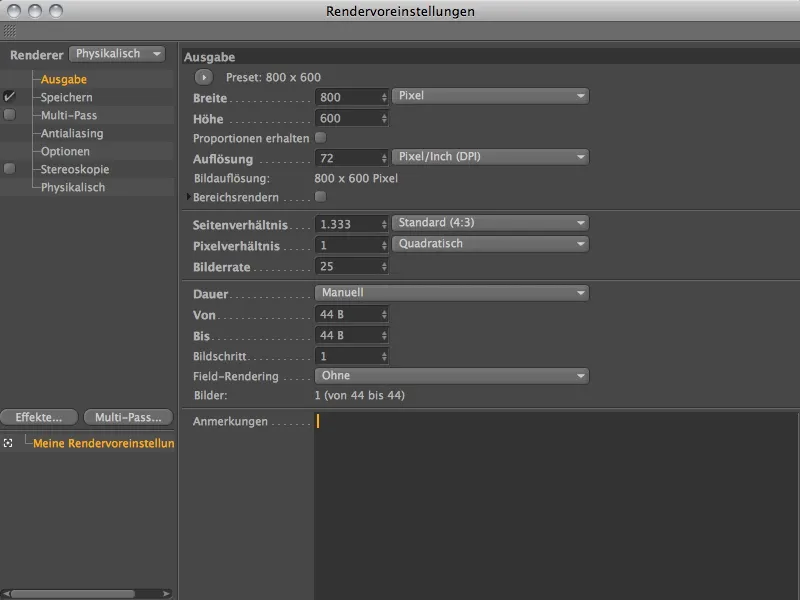
To be able to compare the effect of the different shutter speeds at this point, I rendered the three shutter speeds one after the other. At the initial shutter speed of half a second, you can see many strongly drawn elements, but some areas are noticeably smudged.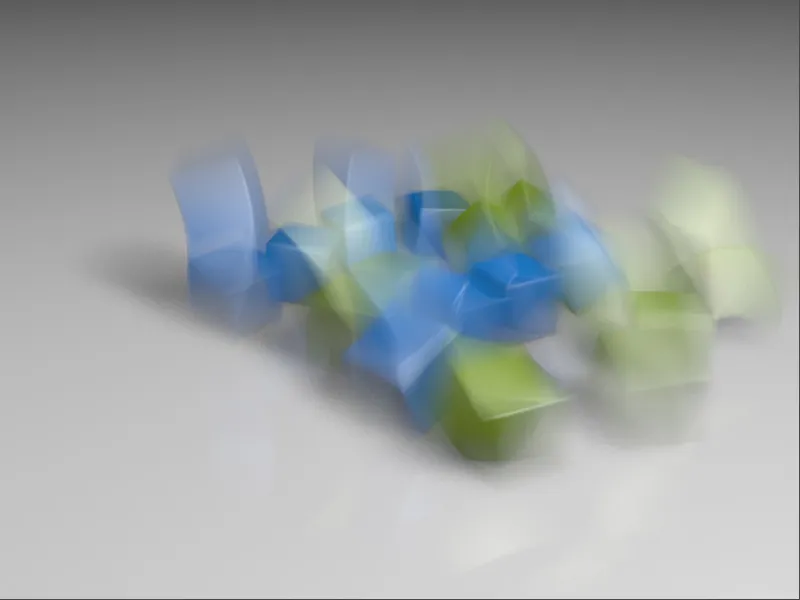
At a shutter speed of a quarter of a second, the whole image looks much sharper.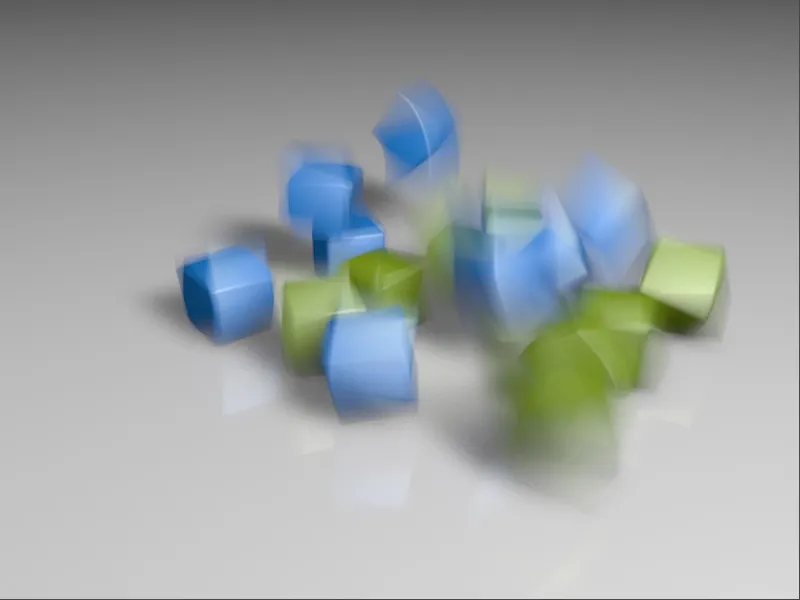
The shutter speed of one eighth of a second, already favored for the first image, also delivers the most usable result here. Many cubes are already almost sharply drawn, only a few cubes move even more noticeably and have a blurred animation path.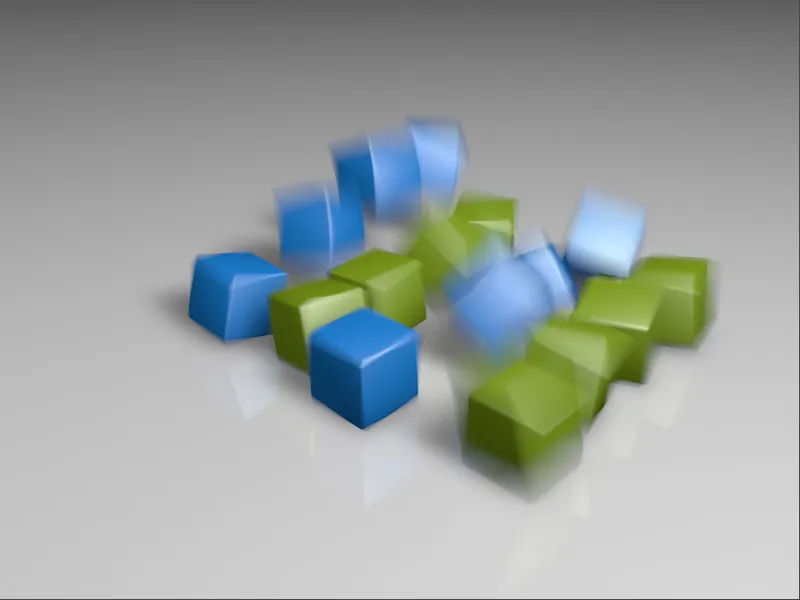
Fine-tuning the rendering
Now that the ideal shutter speed for our purposes has been found and the physical camera has been set up, we can improve the rendering by making important fine adjustments.
To do this, we call up the render presets, where we first go to the anti-aliasing page. As this is an animation, the anti-aliasing filter for a still image is not convincing. The Gauss (Animation) setting provides a suitable result for most cases.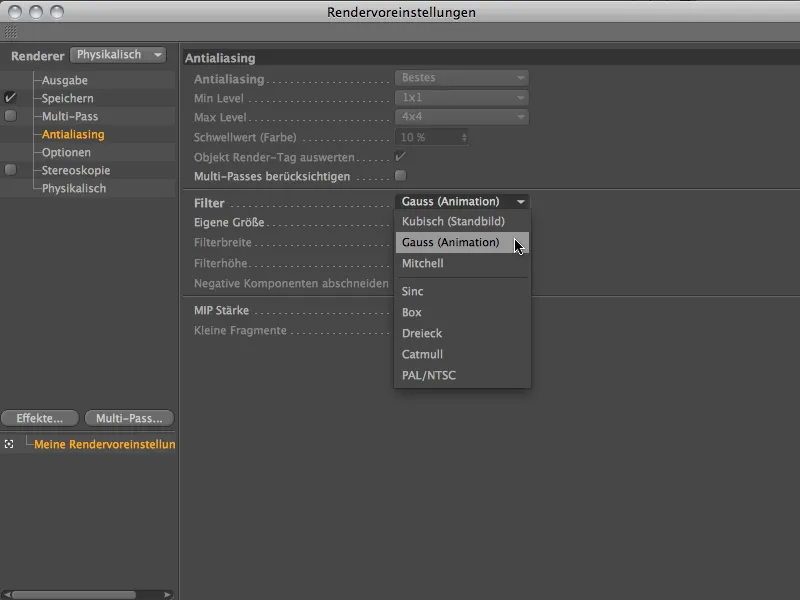
On the physical side, by increasing the motion subdivision, we can ensure that fast, circular movements are drawn really smoothly.
We will stick with adaptive sampling for the time being and switch off the same noise distribution a little further down as a precaution. It is extremely unfavorable for animations if the grain distribution does not change.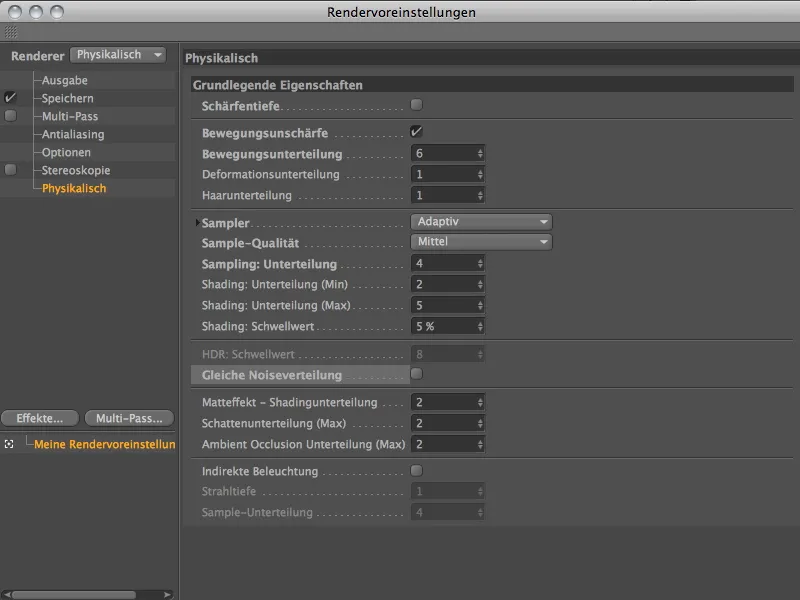
With these settings, we are well prepared for the rendering of the dynamics simulation. The blur is sufficiently high resolution and is softened somewhat by the anti-aliasing filter.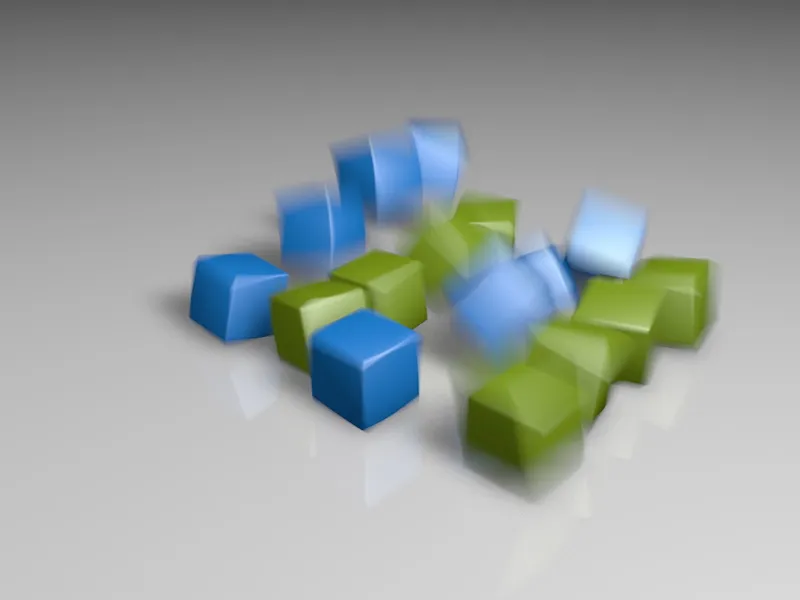
If you don't want to rely on the adaptive sampler, but prefer to specify a fixed number for the sample subdivision, you can do this in the render presets by selecting Fixed number for the sampler. The sample quality also has several quality levels, which you should increase if the motion blur is very grainy and choppy. However, a little caution is always advisable here, as the rendering time increases noticeably with each level and each subdivision.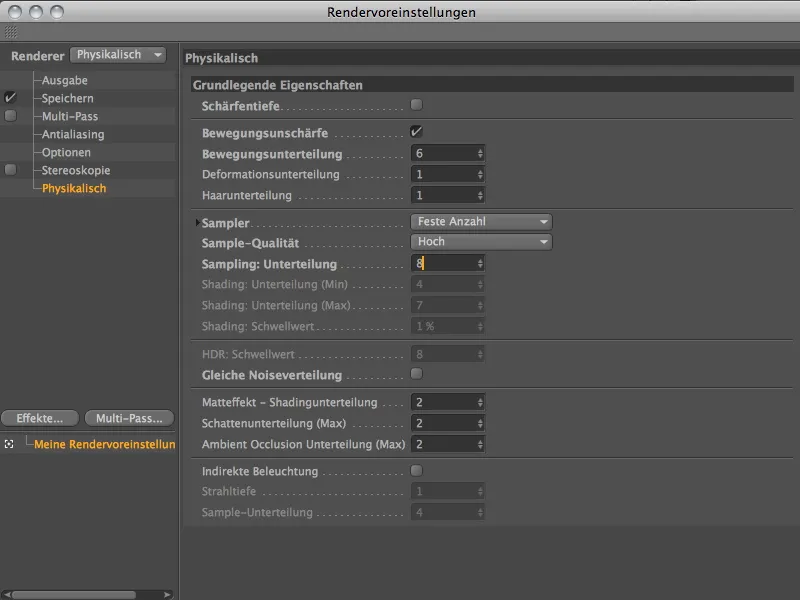
Compared to the previous rendering with an adaptive sampler at medium quality, this rendering with a fixed number and high quality shows a clear difference in the areas of motion blur. This high quality is of course recommended for still images, but lower values are fine for animations.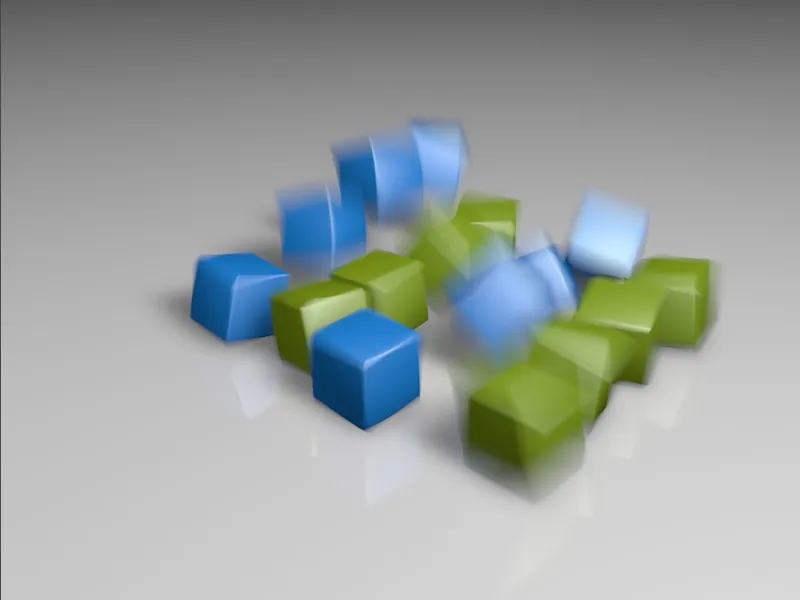
Last but not least, let's take a look at what the Sampler setting Progressive means. With this option, we do not specify a sampling quality or number of subdivisions, but start a sampling process with the rendering with unlimited passes, which improves the quality with each step. Initially, of course, this means rather grainy renderings, but soon the resolution of the blur increases noticeably. If you want to achieve maximum quality in a given period of time, the progressive sampling setting is the right choice.
Let's take a look at a few passes of the progressive sampler. In the 4th sampling pass, which is still fairly fresh, the grain of the motion blur is naturally very noticeable.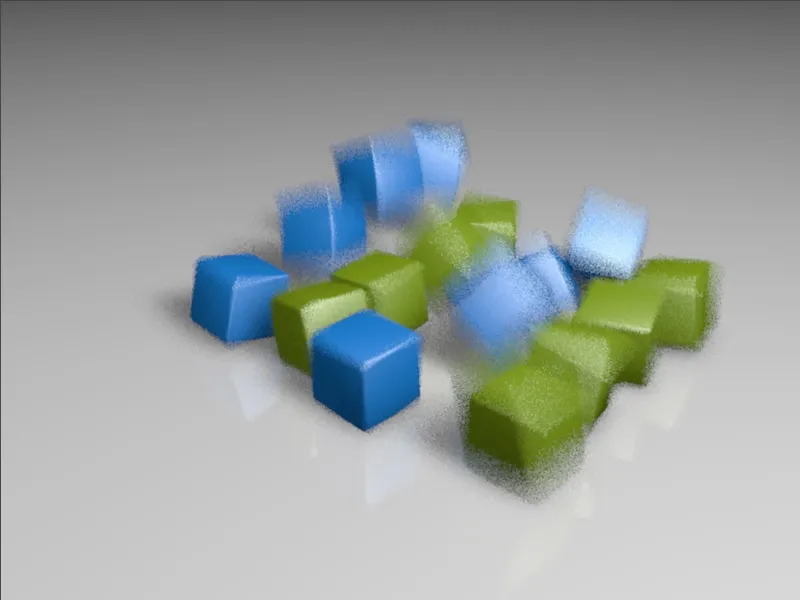
By the 15th pass, the quality of the blur has already improved considerably.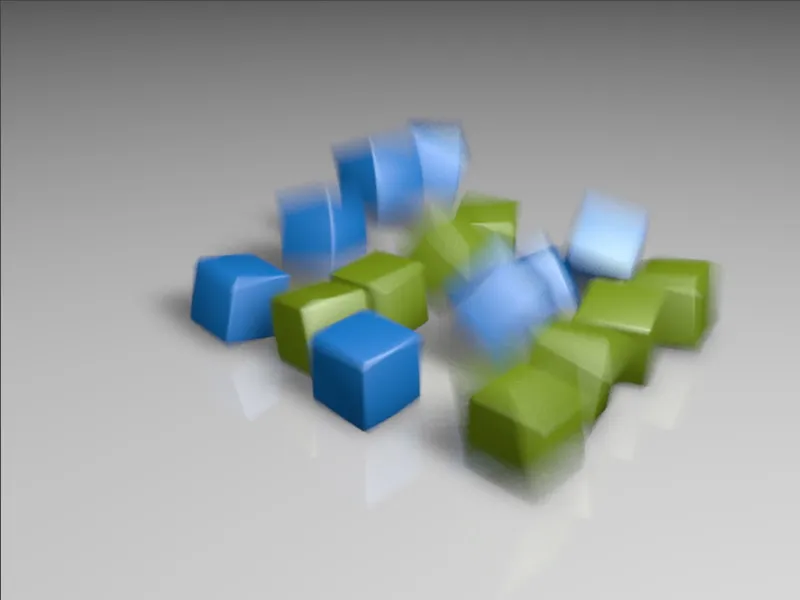
Even if the quality increases are no longer so noticeable after a certain point (here after the 29th pass) ...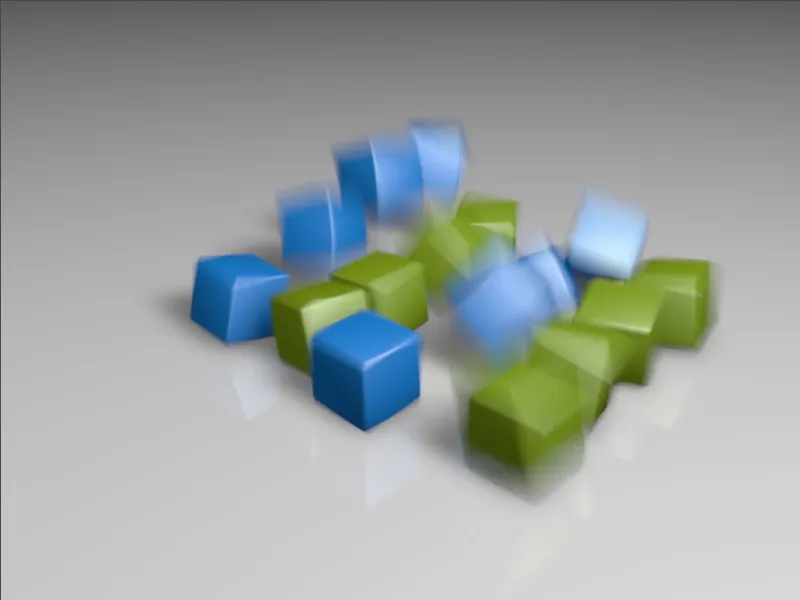
... the wait is well worth it. On closer inspection, the 166th pass shown shows only a few areas in the rendering that still need improvement.