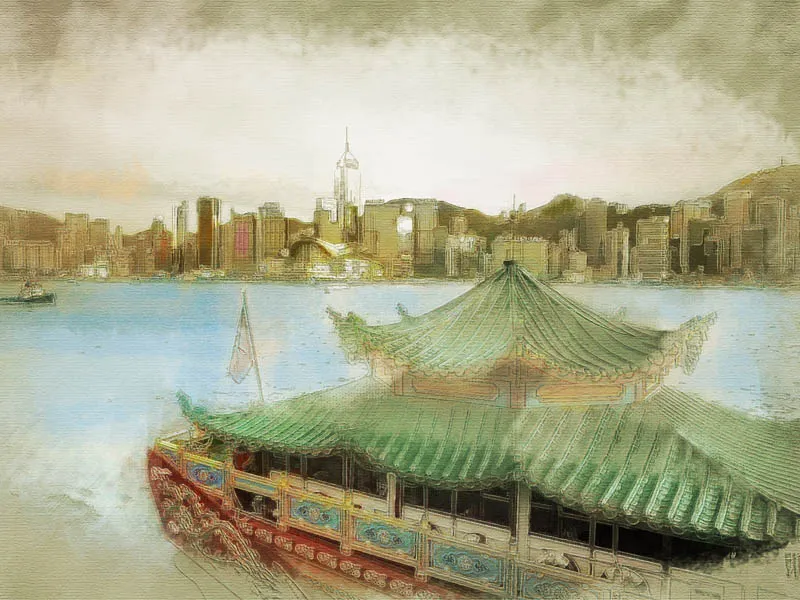
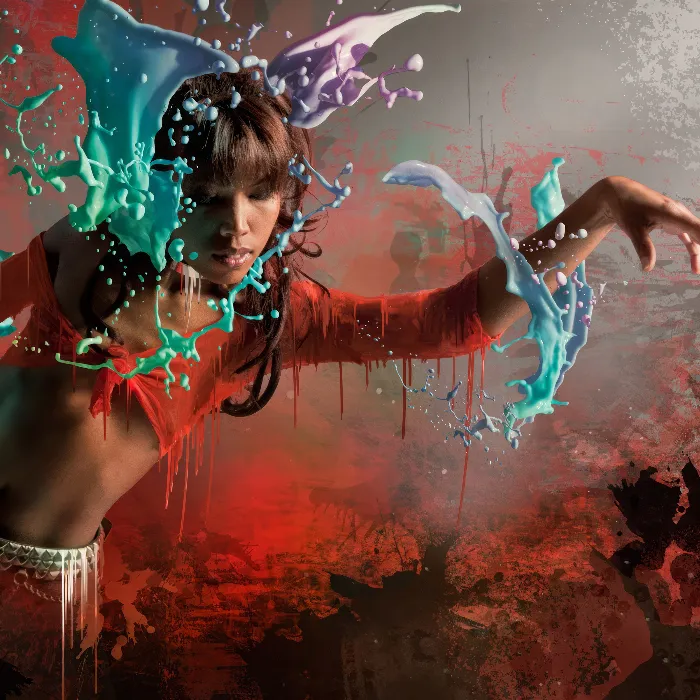
A pastel painting effect gives your pictures a soft, artistic flair reminiscent of hand-drawn artworks. With Photoshop, you can easily create this look by combining special brushes, textures, and color adjustments. Whether for portraits, landscapes, or creative designs – the pastel painting effect adds a soft and charming touch to your projects. In this tutorial, I will show you step by step how to create the pastel painting effect and give your pictures a unique artistic touch. Let's get started and turn your photos into pastel artworks.
Step 1 - Opening the original image and optimizing it
First, I open the image in Adobe Photoshop and apply an adjustment layer Levels to the image to optimize the color scheme and exposure. I start by looking at the entire color space, the RGB color range of the levels curve, and then click through the individual color channels. This way, I can determine which colors are not optimally represented. In our case, this is the case with the Green and Blue tones. I edit the levels curve by dragging the sliders up to the visible curve.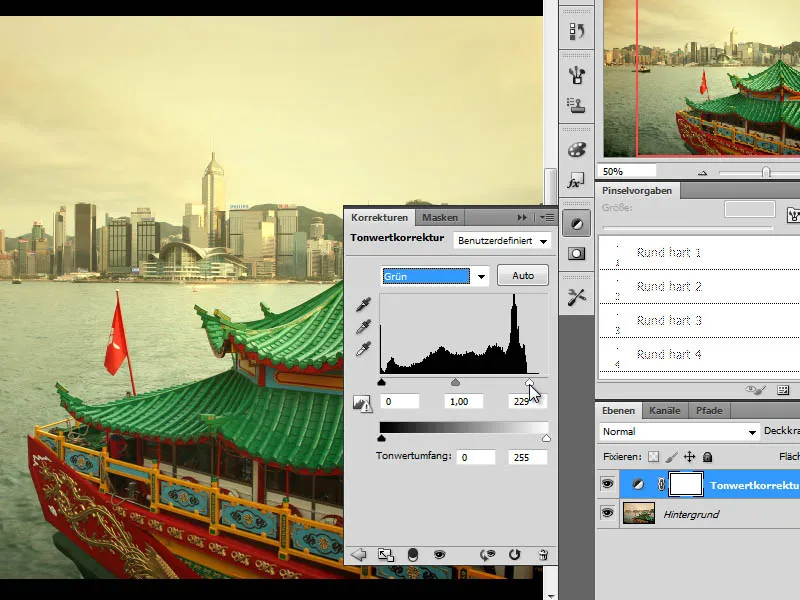
Step 2 - Saving edits on a new layer
To make the changes editable, I save this editing step on a new layer using the keyboard shortcut Ctrl+Shift+Alt+E.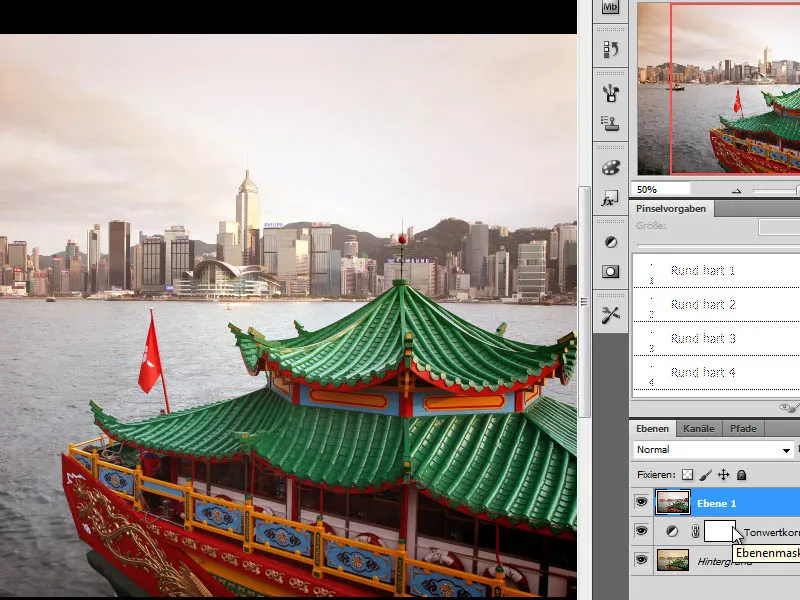
Step 3 - Enhancing fine details with the Shadows/Highlights correction filter
In order to bring out more details from the back areas of the image, I need to modify parts of the image so that underexposed areas are brightened and overexposed areas are darkened. Often in landscape photographs, there are fog-like veils caused by smog, UV light, or mist that make parts of the image appear unclear. Here, I can use the Shadows/Highlights correction filter Image>Adjustments>Shadows/Highlights to bring out some more details from the photo and achieve more brilliance.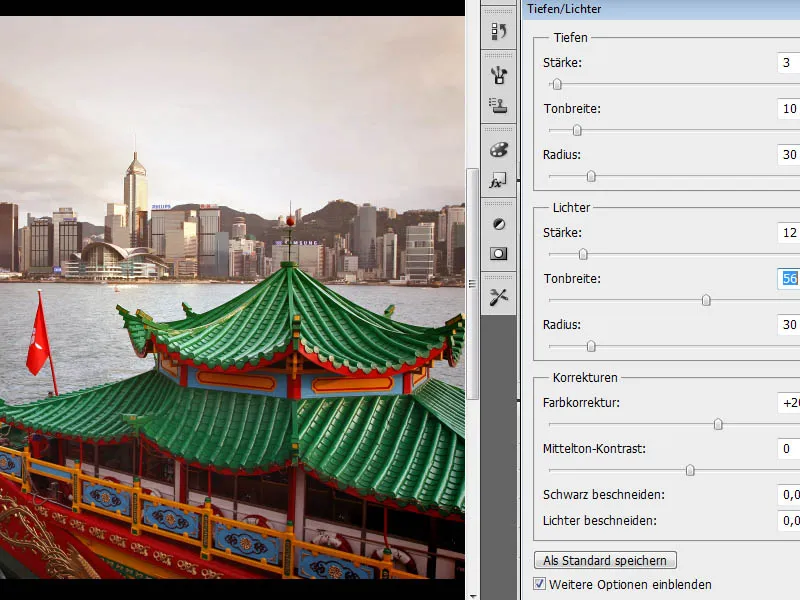
Step 4 - Creating a duplicate layer, setting up layer set
We are already approaching the filter layers and creating an folder in the Layers panel, which can be named as desired. I move a copy of my just edited layer into this folder. The bottom layers can now be hidden as they are not relevant for the next editing steps.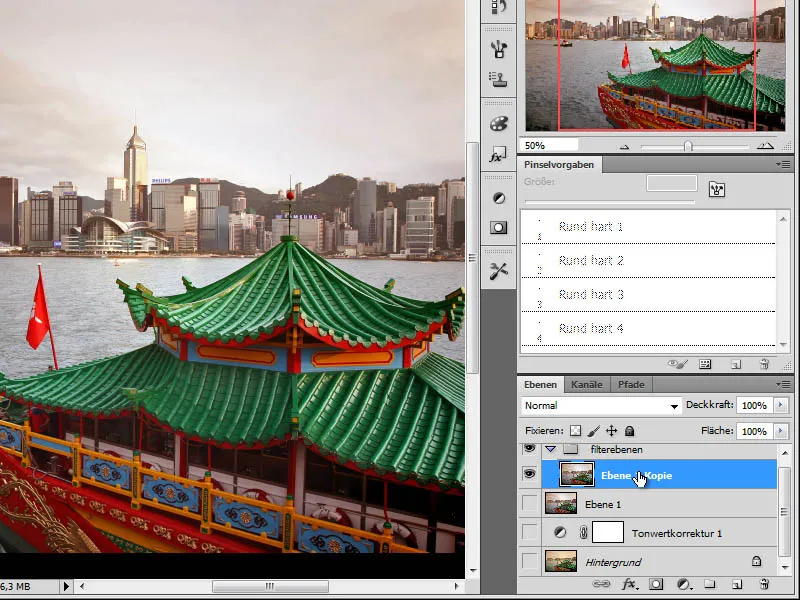
Step 5 - Creating a duplicate layer, applying Hue/Saturation adjustment layer
In the next step, I apply another adjustment layer to the copy of the image in the folder. I select the Hue/Saturation adjustment layer and adjust the color scheme to match the desired effect. Since pastel chalk has a lower opacity, I weaken the colors so that they appear less intense.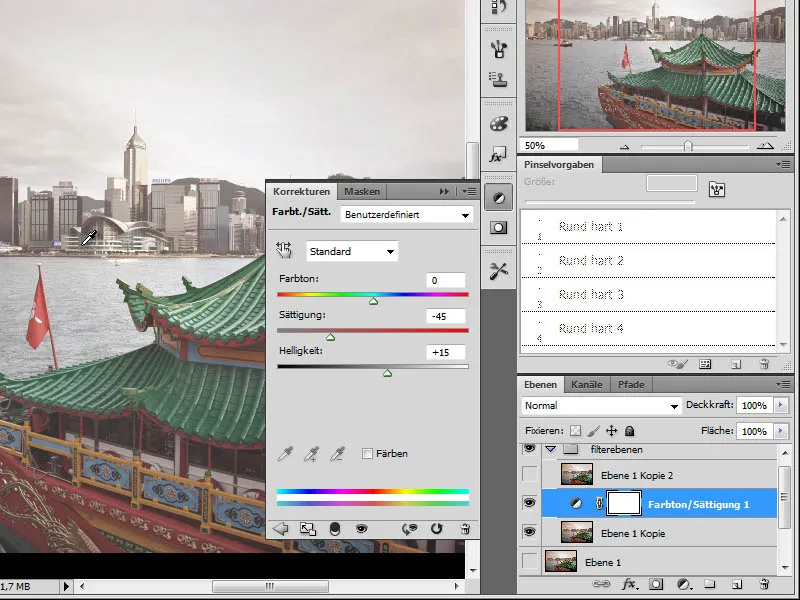
Step 6 - Applying Canvas filter
On another copy of my original image in the folder, I now apply my first Photoshop filter. I go to Filter>Artistic>Canvas and make the following adjustments: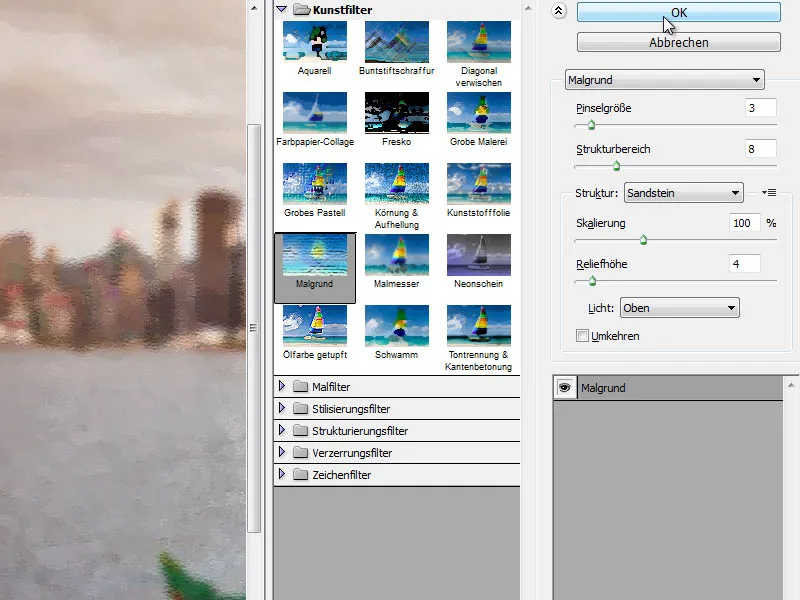
Step 7 - Creating a duplicate layer and applying Coarse Pastel filter to it
In order for the canvas to have an appropriate texture later on, I need another filter that creates this foundation for me. Here, it is suitable to use the Coarse Pastel filter, found under Filter>Artistic filters, to apply. The layer is then set to the Color Dodge blending mode.
The following adjustments are made: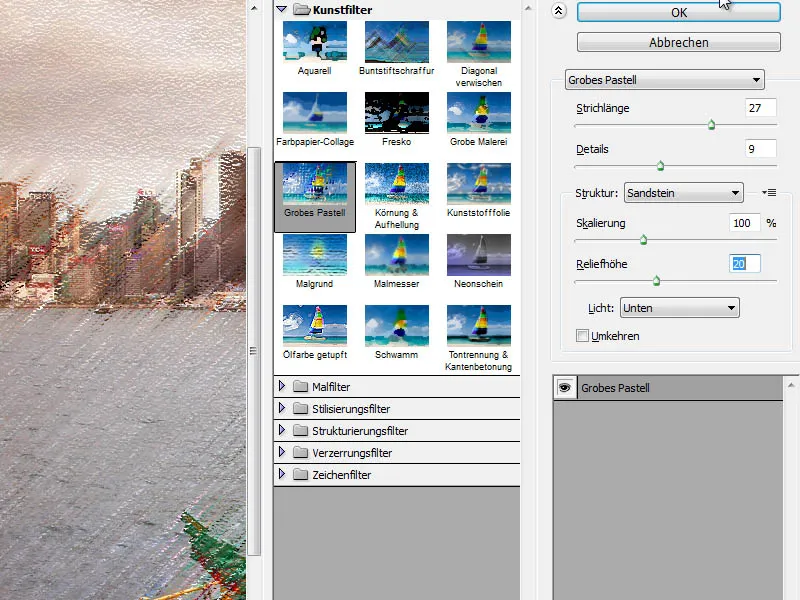
Step 8 - Adding a Layer Mask to the Coarse Pastel layer and applying Clouds filter
Only a part of the processing should be visible from the layer just created. To achieve this, I first create a Layer Mask. I disconnect the image and mask by deactivating the chain symbol in the layer. Now the mask can be edited independently of the image. For further editing, I use an additional filter, the Render Clouds filter, which I find under the menu Image>Render filters. However, I make sure that the Foreground and Background in the Tools panel are set to Black and White beforehand.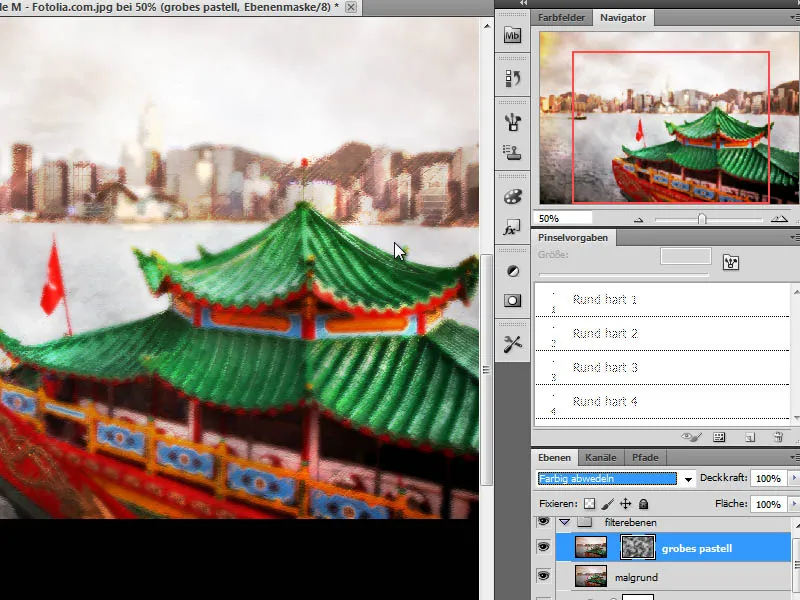
If I am not satisfied with the result, I can reapply this filter to the Layer Mask.
This mask is then enlarged to about 300 percent via Image>Edit>Transform>Scale. This results in a significantly coarser and more "mottled" substrate.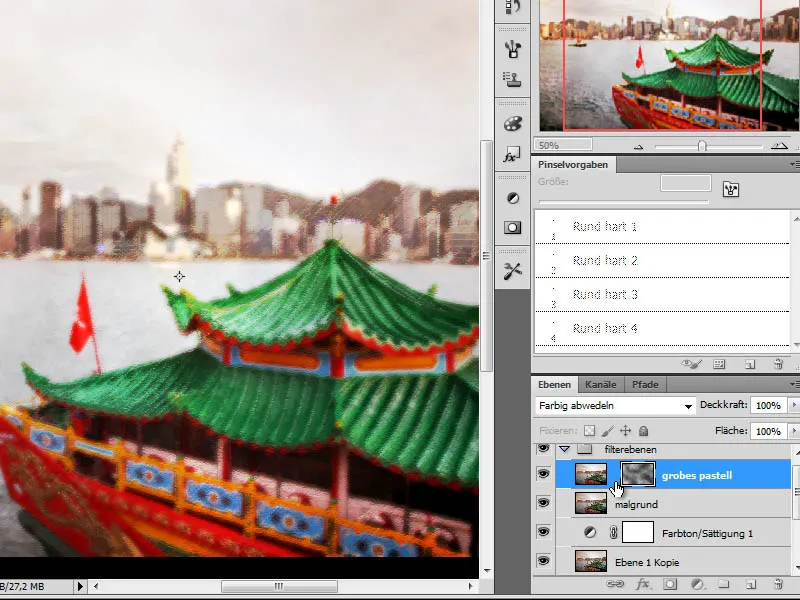
Step 9 - Applying Oil Paint filter to another duplicate layer
The foundation for the pastel effect is not quite complete yet, and I need another filter, which I will apply again to a layer copy of my original layer. To do this, I navigate to the menu item Filter>Artistic Filters>Impasto and apply the following settings to my original image: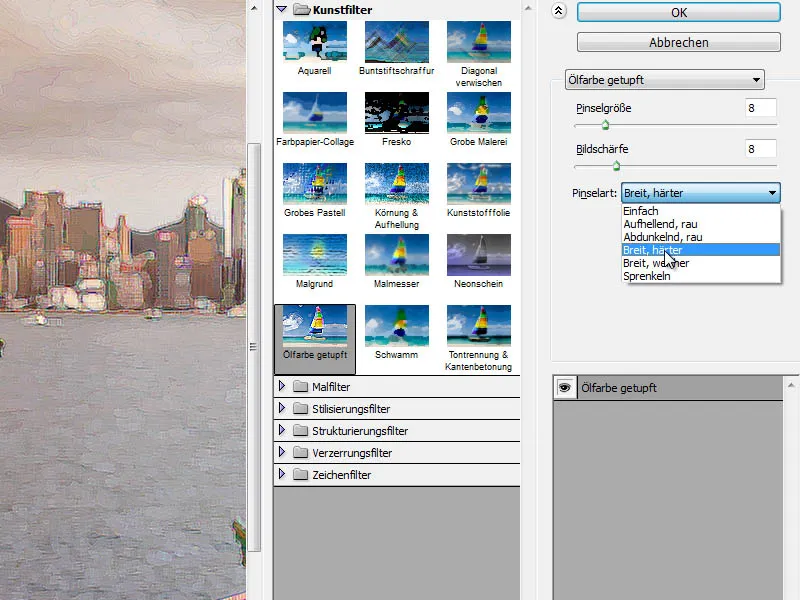
Step 10 - Apply Layer Mask to Layer and Change Layer Mode
To reveal only parts of the impasto layer, I apply a layer mask to this layer. I go to the menu item Layer>Layer Mask>Hide All and get a black layer mask. I change the layer mode to: Luminosity.
Now, on the layer mask with a white foreground color and a pastel brush (soft pastel wide) from the brush set for dry color, I erase areas of the image.
Parts of the city in the background and the boat are now being edited.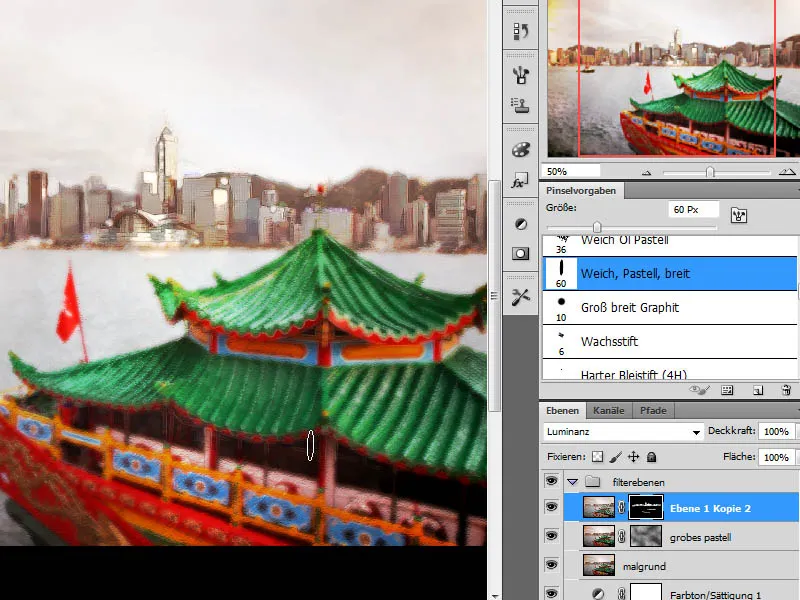
Step 11 - Apply Hue/Saturation Adjustment Layer
Firstly, I want to add more color to the image and therefore apply a hue/saturation adjustment layer to the image with the following values: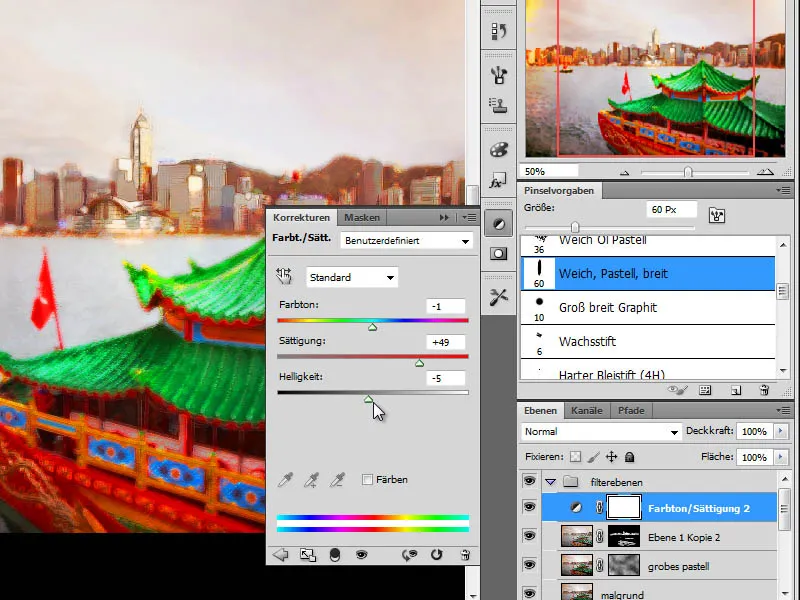
Step 12 - Paint Clouds
This editing step gives the clouds in the image more definition. I need a new empty layer on which I will draw additional cloud veils.
First, I select a suitable brush from the dry color set. In this case, it will be the brush: Soft Oil Pastel. I edit the brush settings to be able to draw with a modified brush tip.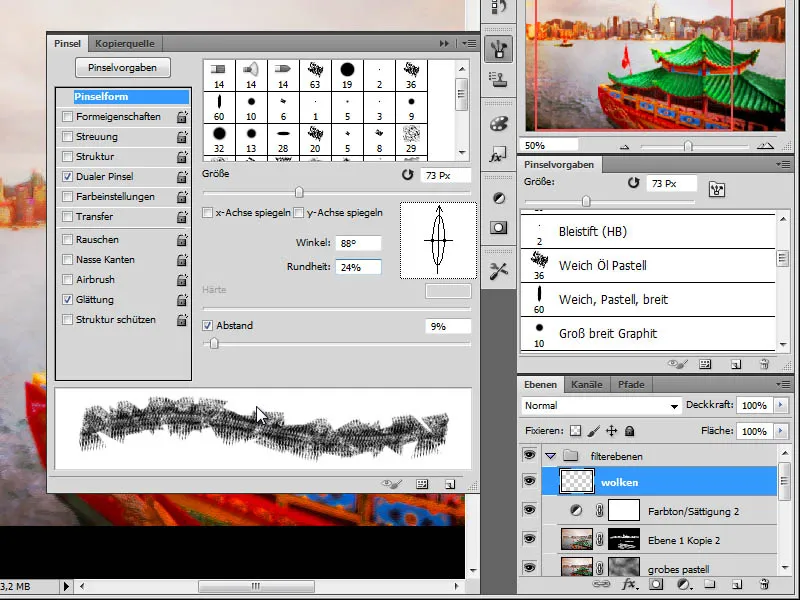
With this brush, I now draw on the empty layer and pick up color from the underlying layers using the Alt key.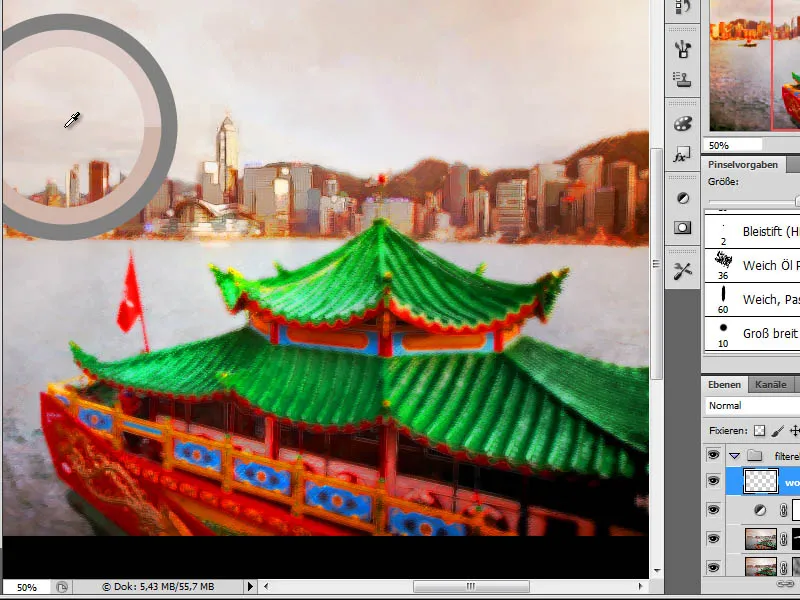
Step 13 - Emphasize Water Surfaces
In the next editing step, I want to emphasize the water surface and apply color with a blue shade. Therefore, I first create a new empty layer in my layer palette and choose a blue tone as the foreground color. Using the soft pastel wide brush, I draw blue structures on the water surface.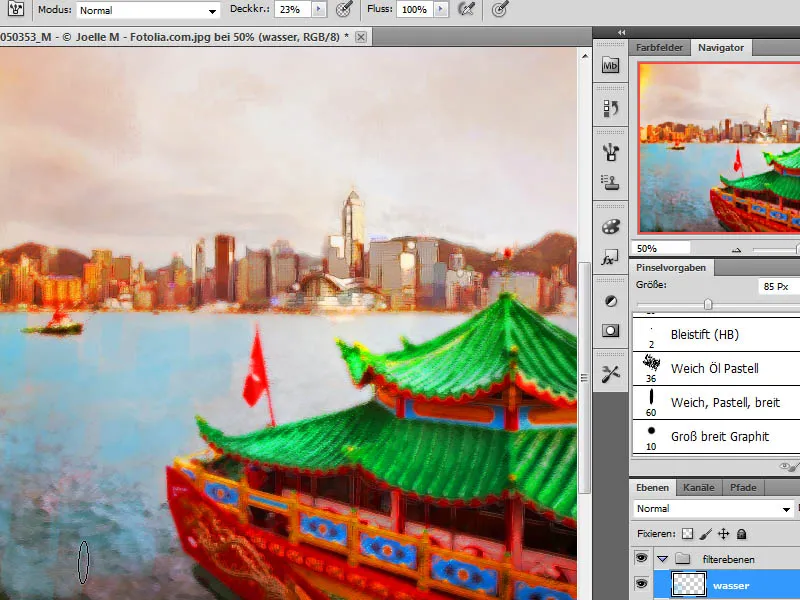
Step 14 - Apply Mask to the Layer Set
Essentially, I have now created and edited all relevant layers in my layer set. However, the overall image is still far from resembling a canvas effect. To change this, I create a layer mask on my layer set folder.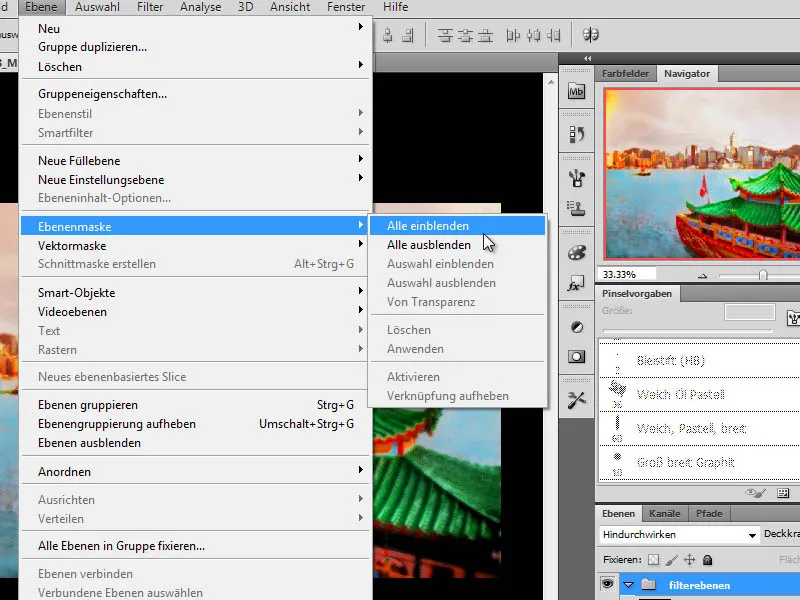
Now I edit this layer mask to obtain an uneven edge effect. Once again, I use a textured brush from the dry color set and choose a large brush tip. I also vary the brush tip size and opacity to achieve a more dynamic effect.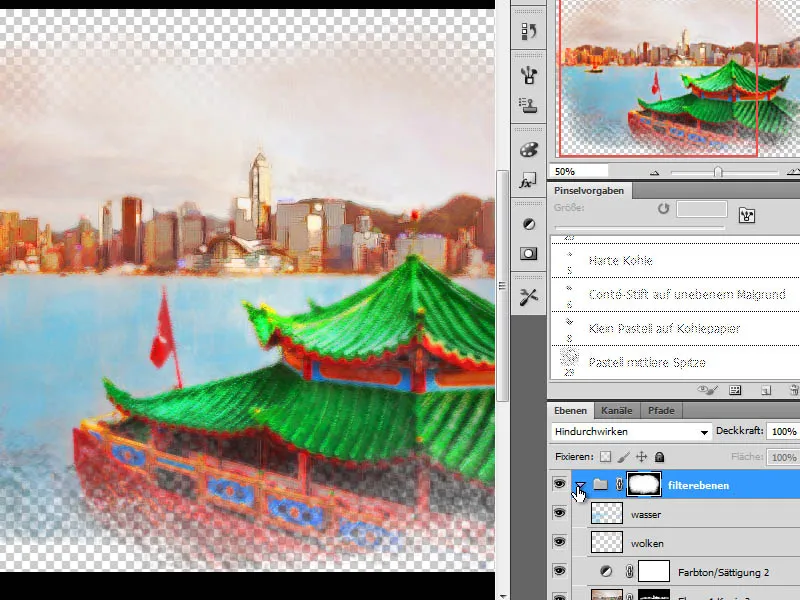
Step 15 - Create New Layer Below the Layer Set and Fill with Neutral Gray
The layer set is currently created, and I now need a base color below this layer. I create this base by adding a new layer below the layer set and fill it with a neutral gray color.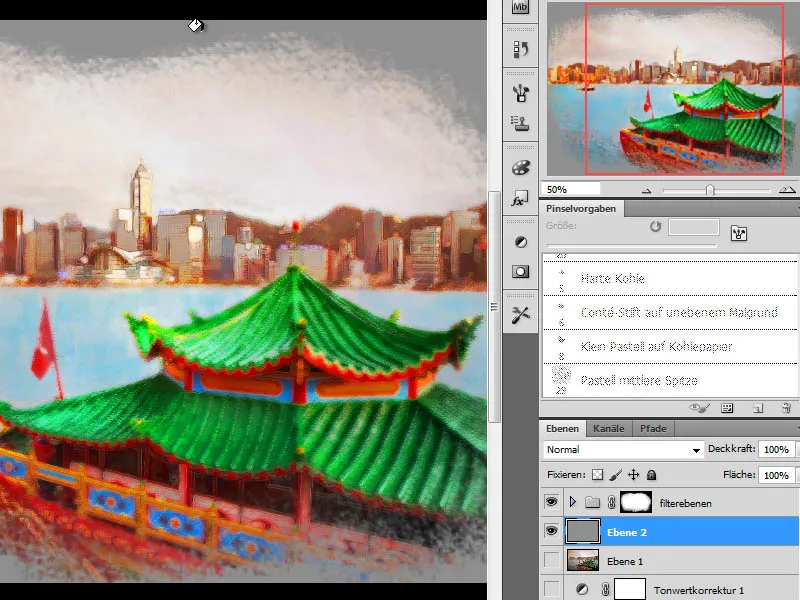
Step 16 - Create Canvas Layer
In the next step, I change the foreground color to a peach tone.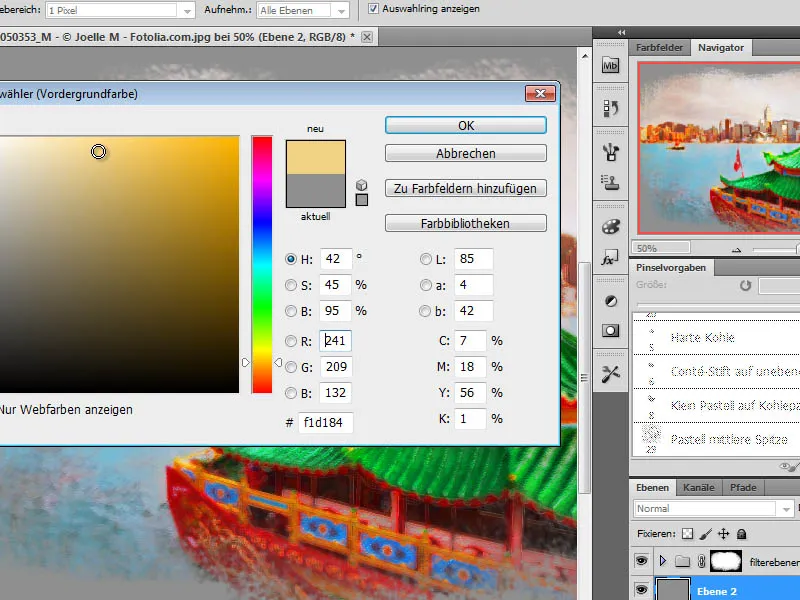
This color is inserted as the background color on a new layer. To do this, I first create a new empty layer and press the keyboard shortcut Alt+Backspace to fill this layer with this color.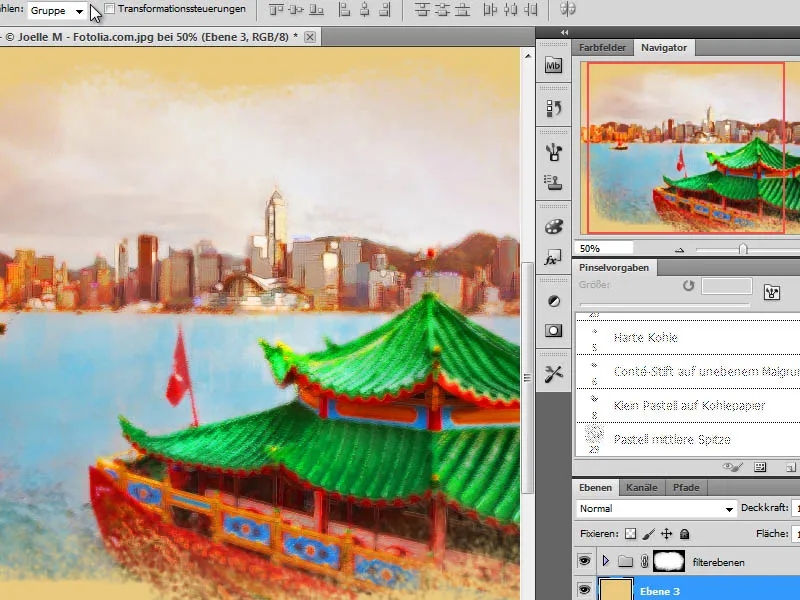
This filled layer is then provided with a texture filter so that I can achieve the actual canvas texture here. I go to the menu item Filter>Texture Filters>Texturize, and apply the following settings: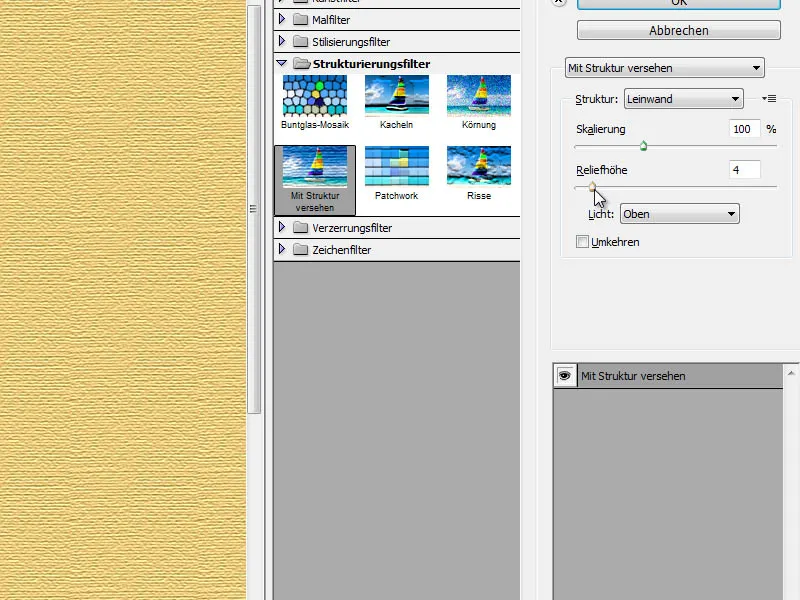
This layer is set to the Luminosity layer mode. As this layer has a high opacity in this form, I now reduce it to around 50% opacity.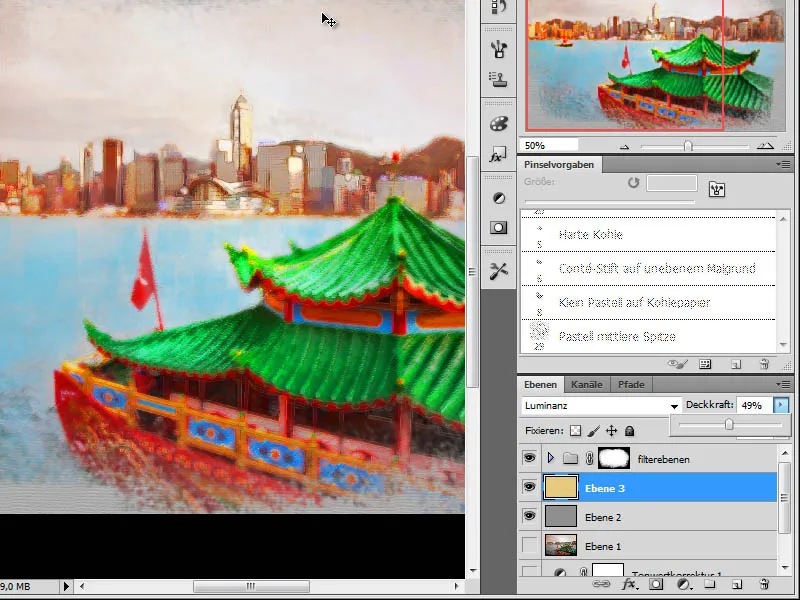
Step 17 - Applying the cloud filter again
To add more texture to the image, I create a new layer and reapply the cloud render filter with black foreground color and white background color. This layer is then proportionally scaled to about 200-300 percent size.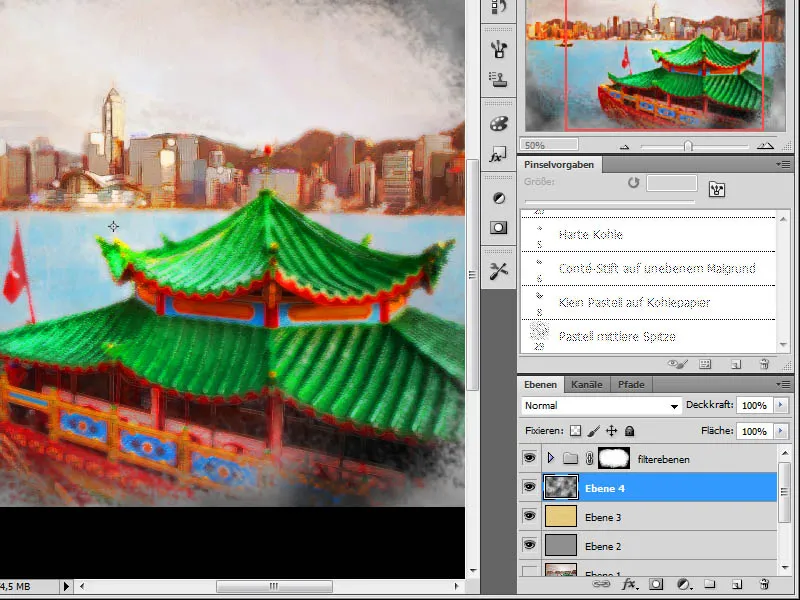
The created layer is set to the Color Burn mode and its opacity is reduced.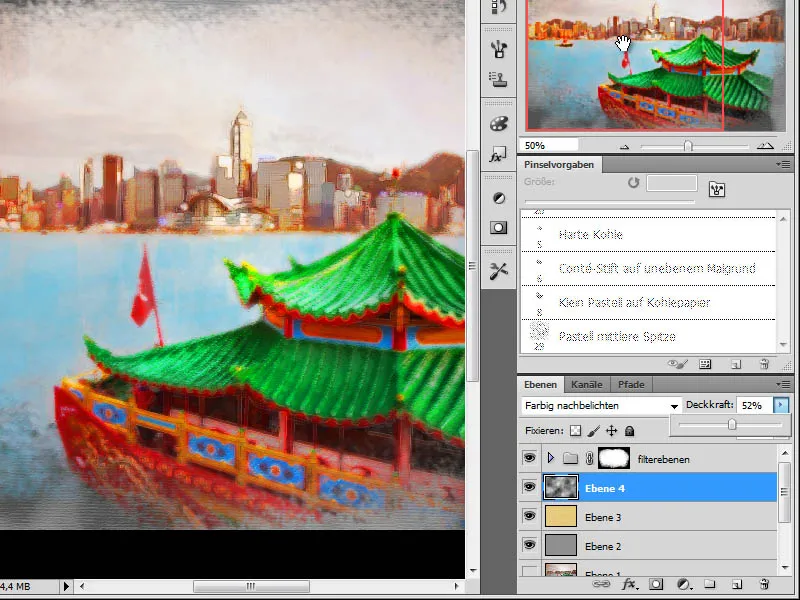
Step 18 - Enhancing drawing details with the selective blur tool
To enhance the look of a pastel drawing, I will now create a pencil drawing. This will also be created using Adobe Photoshop tools and will highlight the sketch effect. First, I copy my original layer and move it up in my layer stack.
On this copied layer, I apply the Blur filter>Selective Blur filter with the following values: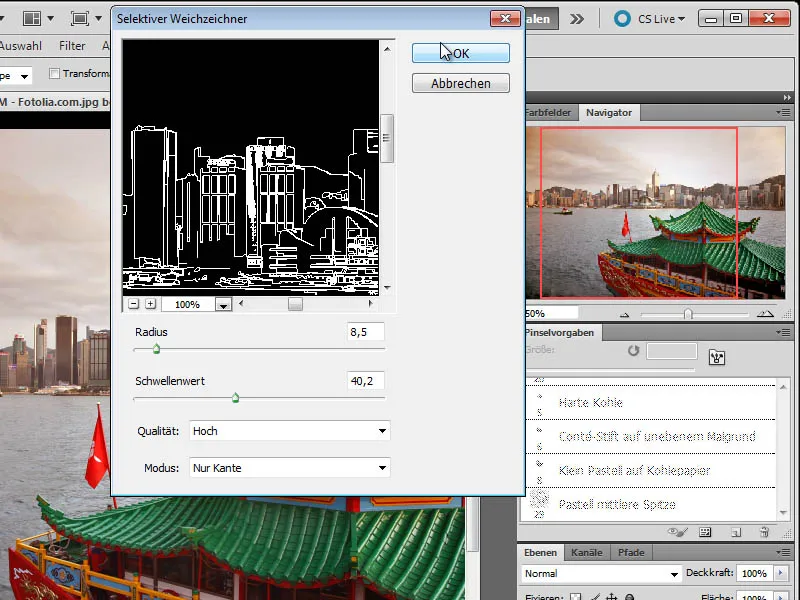
Now, I invert this image using Ctrl+I. I change the layer mode to Multiply and reduce the layer opacity. I generally set the opacity to about 35 percent, and the fill opacity to about 75 percent.
This results in fine lines resembling a pencil drawing. However, since these lines appear consistently throughout the entire image, I will now partially mask them using a layer mask.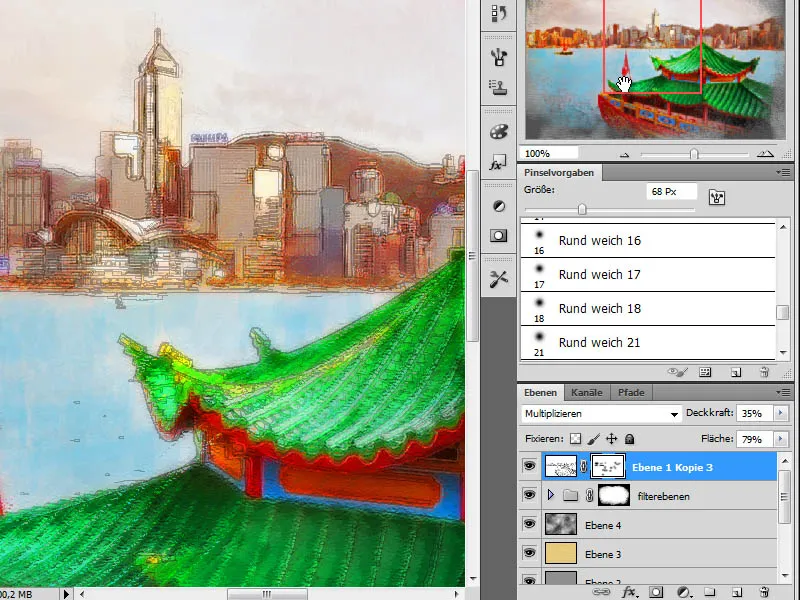
Step 19 - Achieving more sharpness
To add more sharpness to the image, I duplicate the background layer once again and move it all the way to the top in the layer stack. On this layer, I apply the High Pass filter and set the layer mode to Overlay.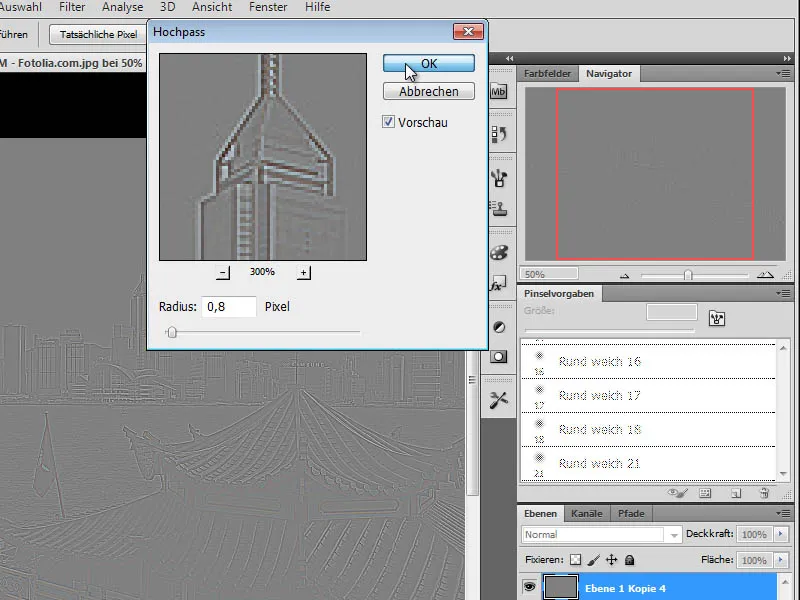
Step 20 - Making color adjustments
The overall image currently appears very colorful, which is atypical for a pastel drawing. Therefore, I will make further adjustments. First, I copy the "Canvas" layer and move it to the top in the layer stack.
The mode is changed to Overlay and the opacity is increased to about 60 percent.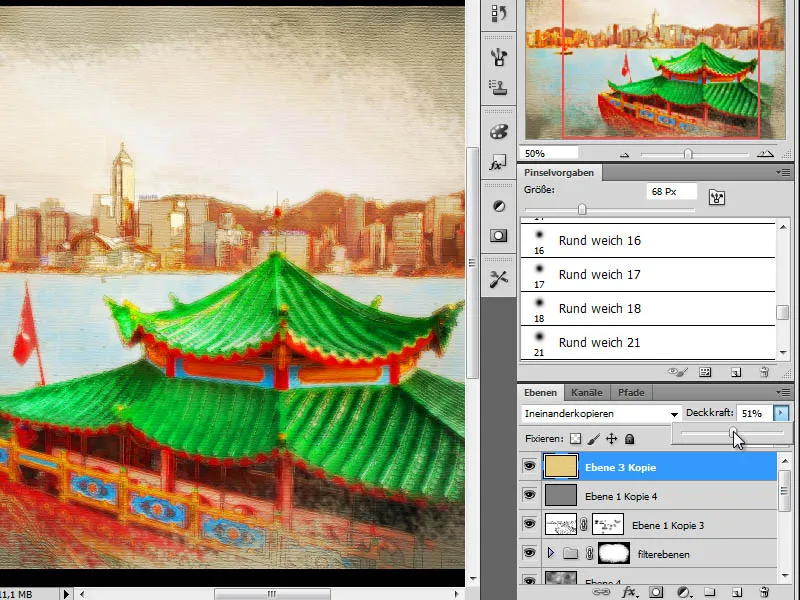
Step 21 - Making color adjustments using adjustment layers
I give my work the final touch by adjusting the tones, which currently appear too dominant. I apply a Hue/Saturation adjustment layer to the set of layers: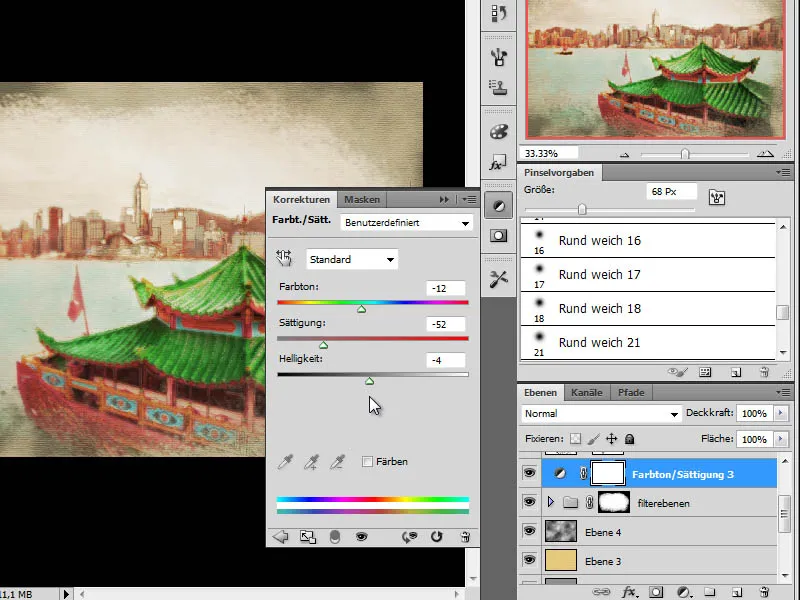
Additionally, I use a corresponding adjustment layer in the layer set above the "Support" layer.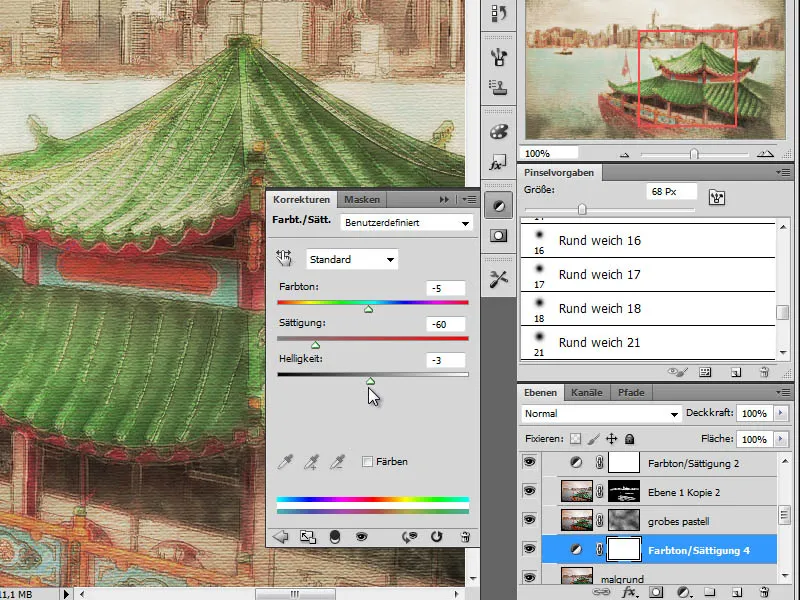
Final result:
