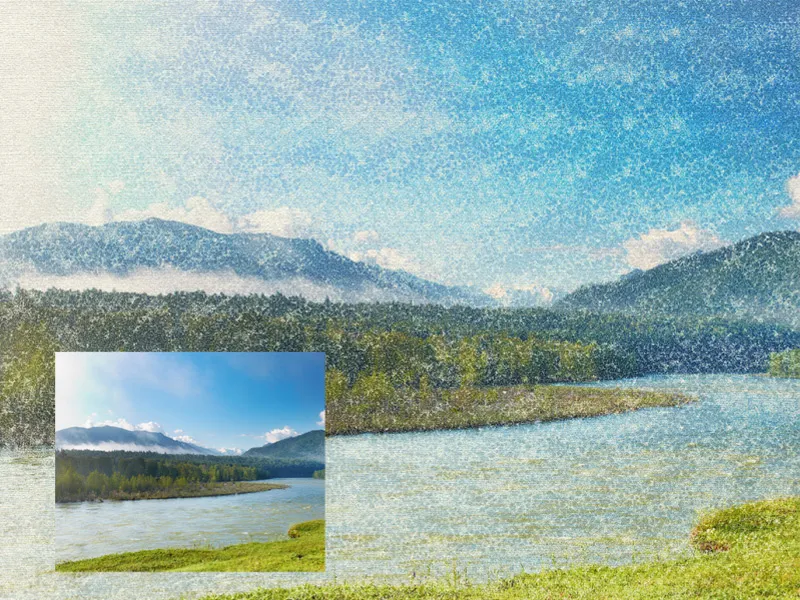
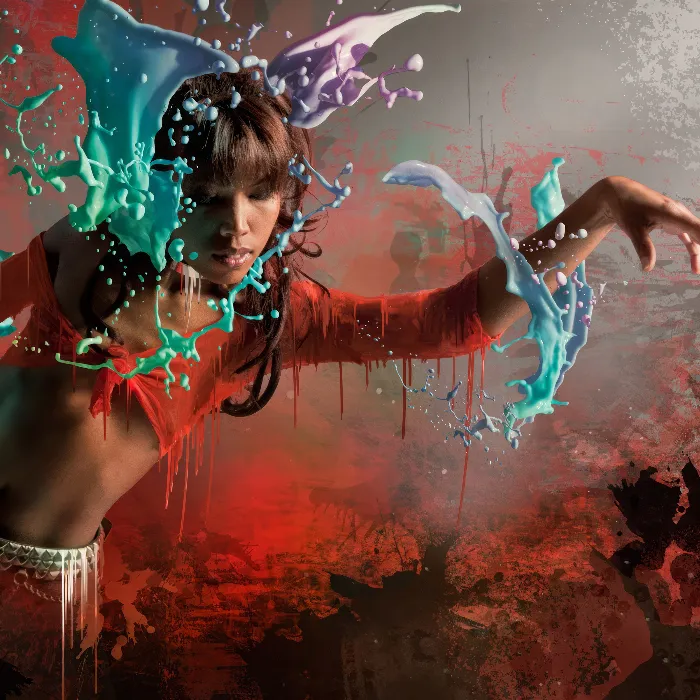
Pointillism is an impressive technique where images are created by countless small dots, producing a fascinating artistic effect. With Photoshop, you can digitally replicate this style by combining brushes, layer effects, and clever techniques. Whether for portraits, landscapes, or abstract art - the pointillist style gives your projects a unique texture and vibrancy. In this tutorial, I will show you step by step how to create digital painting effects in the Pointillism style and give your designs a special touch. Let's start and dissolve your art into small dots!
Step 1: Duplicate Image Multiple Times and Create a New Layer for the Background
I will demonstrate how the pointillist style can be implemented using Photoshop with a landscape photograph.
The background layer is converted to a transparency layer with a double-click and then duplicated twice using the shortcut Ctrl+J.
I create a new layer and place it at the bottom of the layer hierarchy. The layer is filled with a cream-colored hue (#fbf9eb).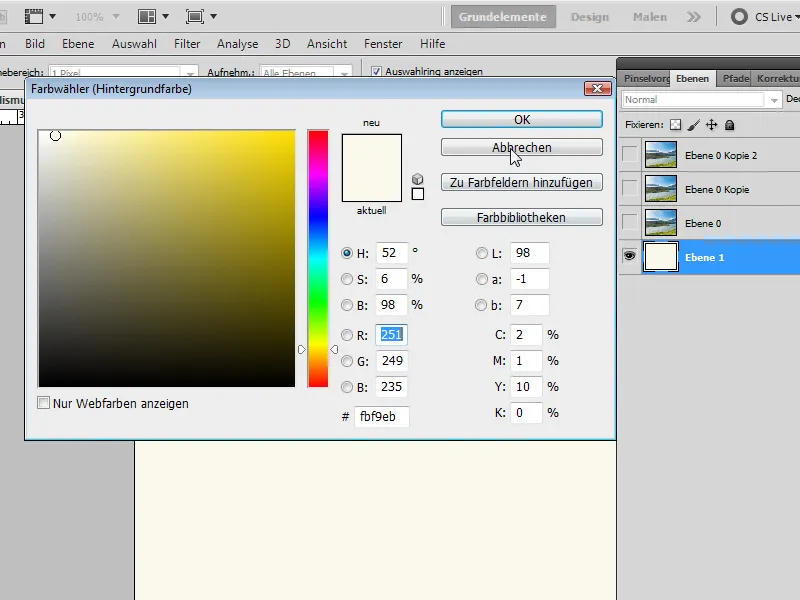
Step 2: Set Up Brush Preset
I activate the Brush Tool B and select the Watercolor Brushes from the brush presets menu to be appended to my existing brush presets.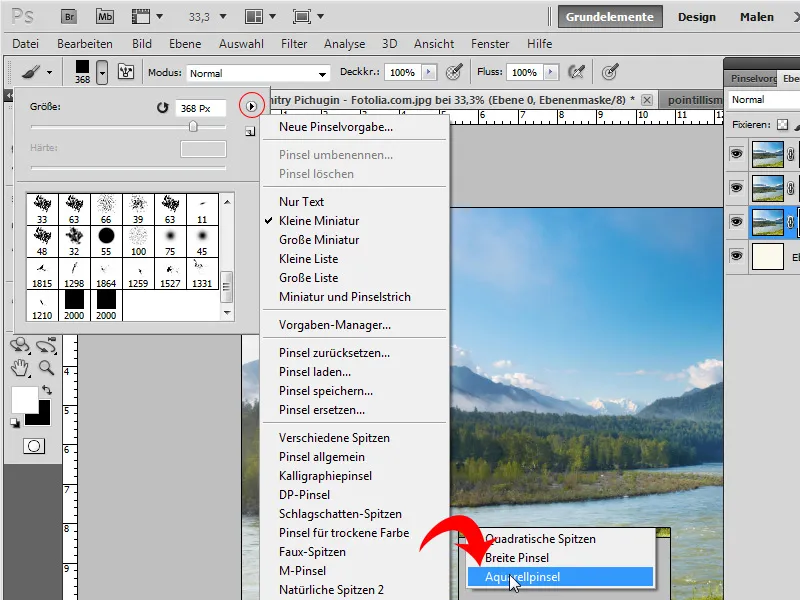
In my brush presets in the Brush Preset Panel F5, I now find the brush preset Rough Dry Brush under number 54, which mimics a roughly dry brush stroke.
I choose the following brush settings:
• Brush Size: 16 px
• Spacing: 32 percent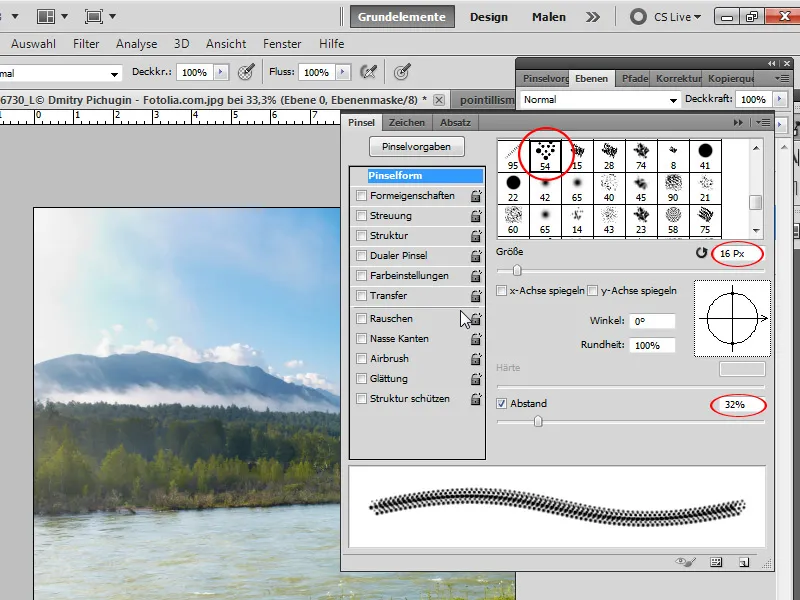
Shape Dynamics:
• Size Jitter: 32 percent
• Minimum Diameter: 30 percent
• Angle Jitter: 9 percent
Scattering:
• Scatter: 180 percent
• Count: 1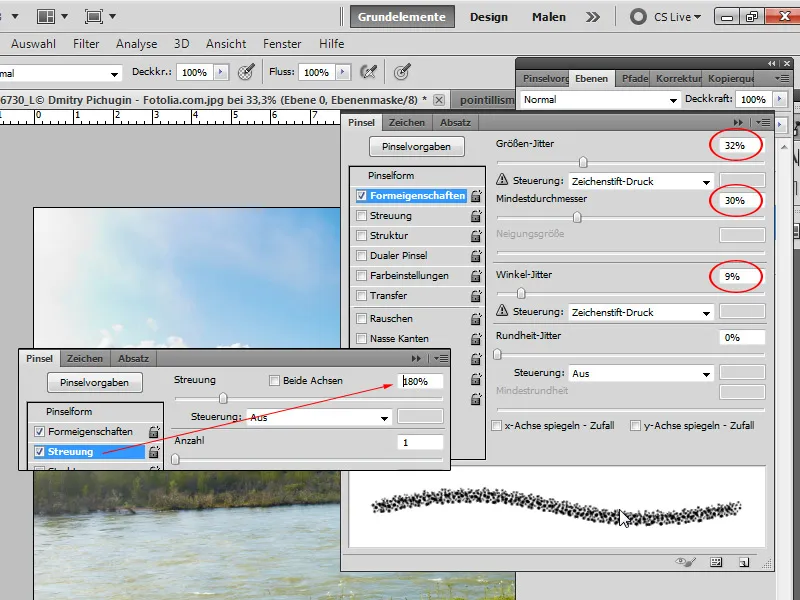
Step 3: Create Patterns
The trick to easily imitating a pointillist style in Photoshop is to make dotted brush applications in an inverted layer mask. But before I go through each individual layer, I'll take a shortcut.
I create a new document with the shortcut Ctrl+N in the size 100x100. Using a black brush under the above settings, I brush a pointillism pattern into the document.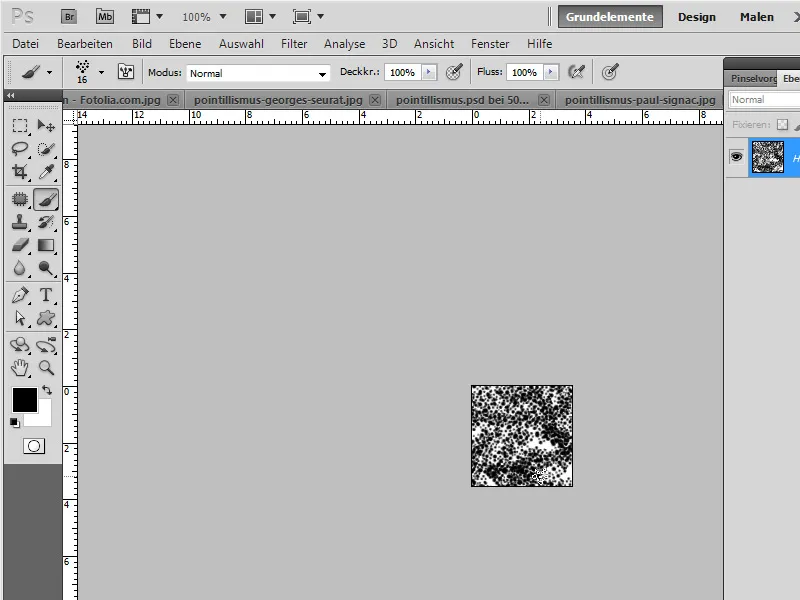
Then I save it as a pattern via the menu Edit>Define Pattern. In the opening dialog box, I name my pointillism pattern "Pointillism Pattern 1."
Next, I brush a bit more in the document and save this pattern as "Pointillism Pattern 2." I vary the pointillism pattern slightly again and also save this as "Pointillism Pattern 3."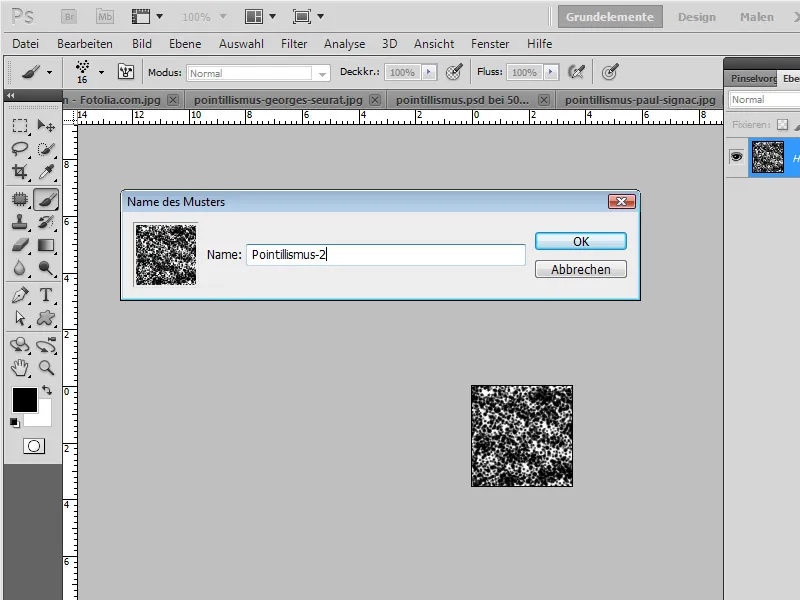
Step 4: Fill First Layer Mask with Pointillism Pattern 1
For the first layer, I create a layer mask and fill it via the menu Edit>Fill or shortcut Shift+F5. In the dialog box that appears, I choose my previously created "Pointillism Pattern 1" for filling.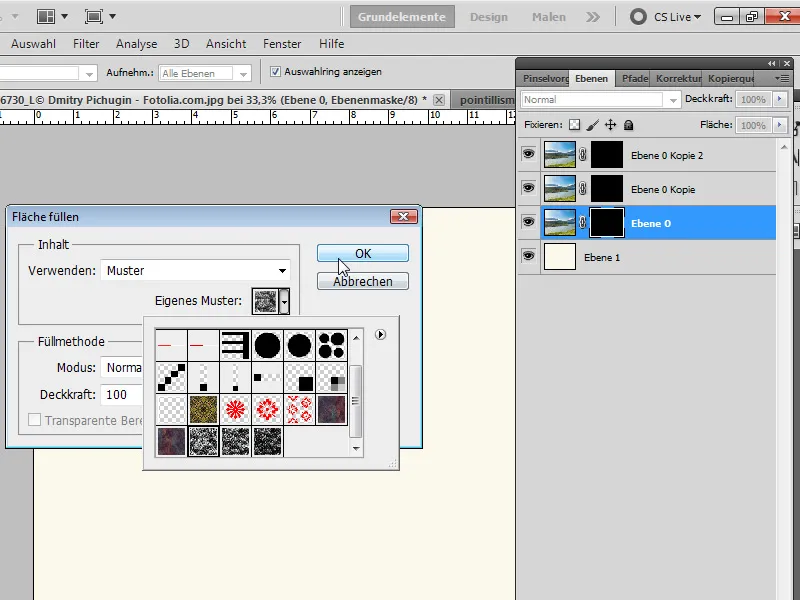
Step 5: Repeat with Layers 2 and 3
Here too, I create layer masks and fill them accordingly with the previously created patterns "Pointillism Pattern 1" and 2.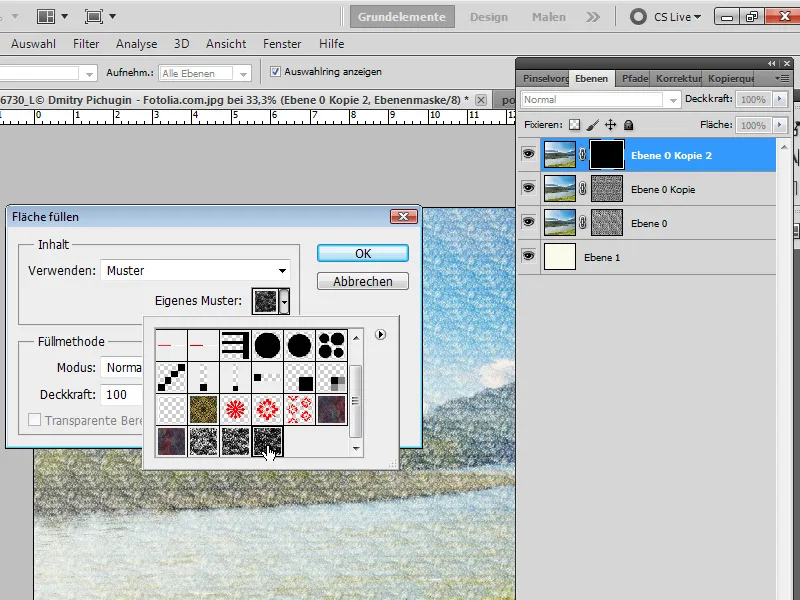
Step 6: Individual Dotting
Now I select my Brush Tool B and go into each layer mask to add the finishing touches. This step is important so that my applied pointillism patterns don't look too uniform. I especially roughen the edges of the motifs a bit more. I can switch between foreground and background color in the color picker by pressing X (between black and white if the default colors were set up with D) to create diminishing and enhancing dotting.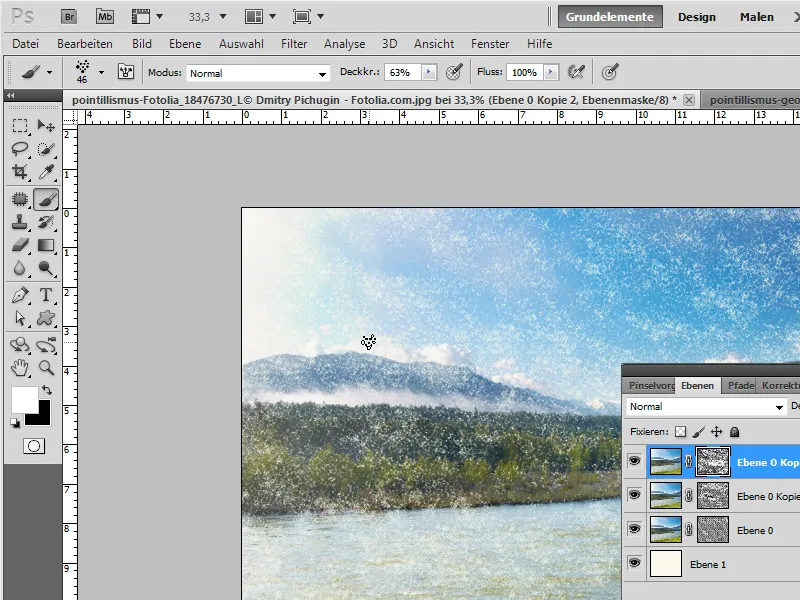
Step 7: Enhancements
There are several ways to accentuate the dotting a bit more.
For example, on my second image layer, I can add a Dynamics adjustment layer as a clipping mask and bring the Dynamics slider close to approximately 100. This will increase the saturation of the dots from this layer.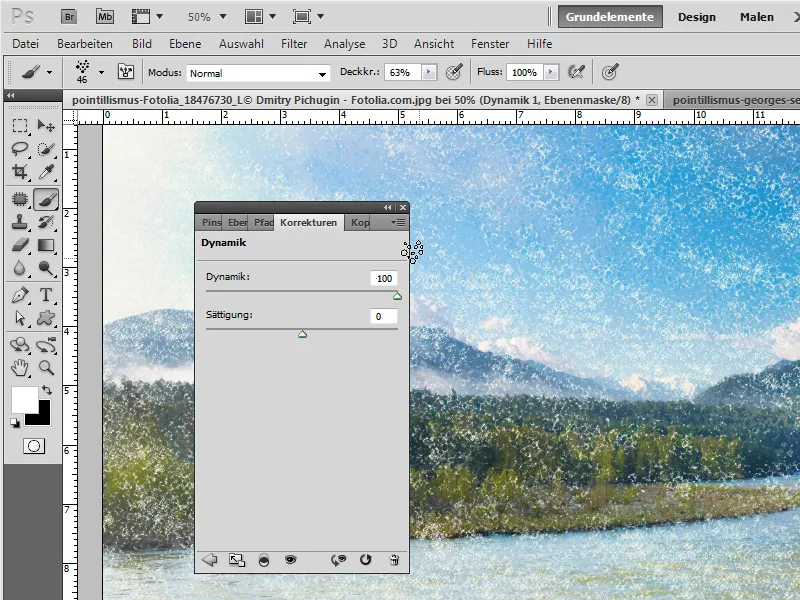
Another way to enhance the effect is to add a Curves adjustment layer as a clipping mask on my third image layer. In this adjustment layer, I create an S-curve to increase the contrast of the respective pattern points. If the effect is too strong, I can quickly adjust the opacity of this adjustment layer accordingly.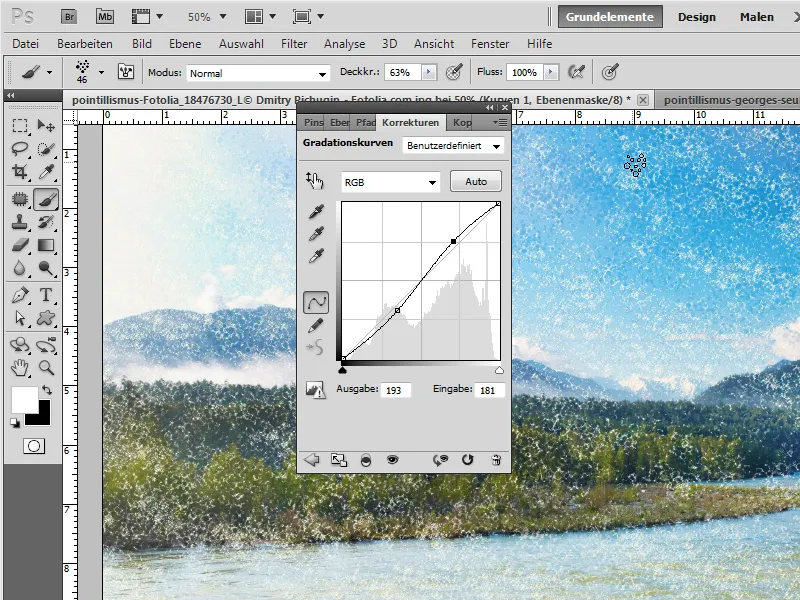
Third, it is advisable to directly select a layer mask and then perform a levels correction through the menu Image> Adjustments on it. This way, I can easily decrease or increase the brightness in the layer mask and thus achieve a stronger or milder pointillism effect holistically in this layer.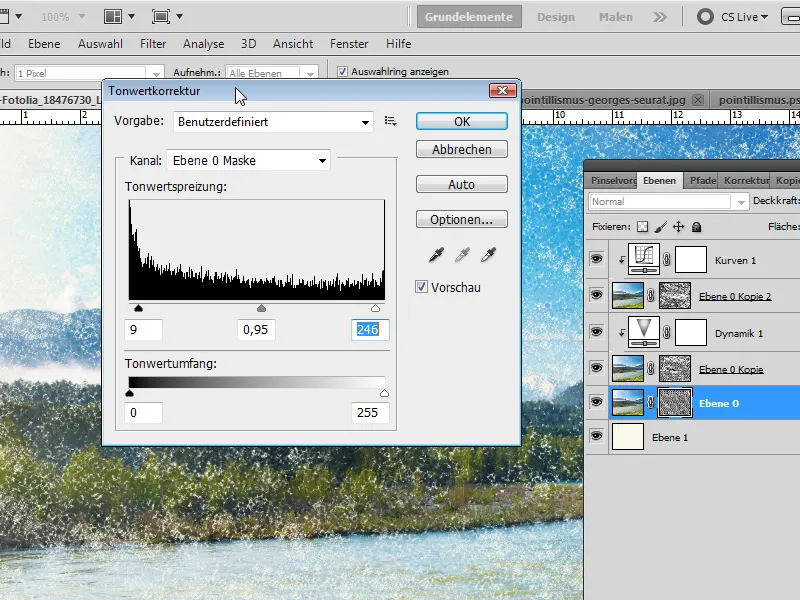
Step 8: Smart Filter Stippling
To achieve a smoother transition between large dots and filled areas, I duplicate all visible layers merged into a new layer with the shortcut Ctrl+Shift+Alt+E. I convert this layer into a smart object and then apply the Stippling filter as a smart filter afterwards.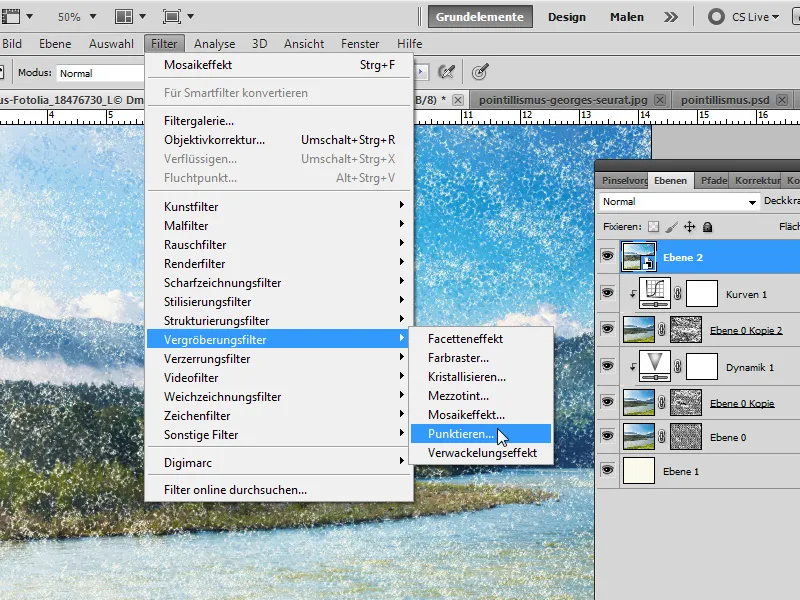
I adjust the effect of this layer in the overall mood by setting the blending mode to Luminosity at an opacity of 40 percent. And there is my digitally created painting effect in the style of pointillism.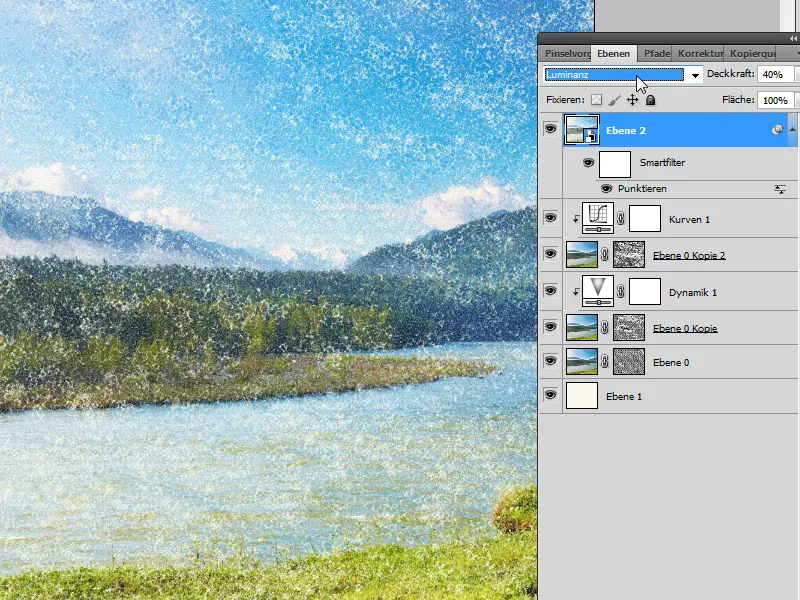
Tip: Canvas Effect
To apply a canvas effect to the image, I duplicate my cream-colored layer with the shortcut Ctrl+J and move the duplicate all the way to the top in the Layers panel. Now I apply the Filter> Texturizer filter.
There, in the settings, I select Canvas as the texture with:
• Scaling: 109 percent
• Relief: 2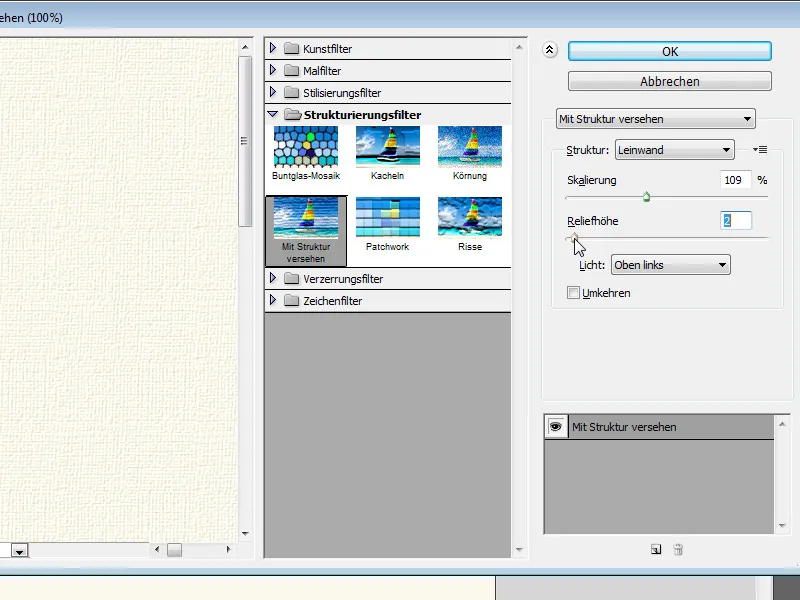
I confirm with OK and set the layer to blending mode Multiply, so that the canvas textures come through.
Now I have an image in the style of pointillism that looks like it was painted on canvas in terms of its look & feel.