In this small example, I would like to show you how to create a small sun, for example, or those sunbeam effects that you see on various flyers.
I would now like to enrich this flyer with a small sun.
Here we go: Steps 1-8
Step 1
First of all, I'll open a new file, and I'd like to take my time to explain.
I draw a circle here, preferably with the Shift key pressed, so that it really is a circle and not an egg. I'll now use a nice yellow color from the Swatches panel as a fill and then draw a line here with the Line tool. It's best to draw a vertical guide line in the middle of the circle beforehand so that I can draw the line directly on the guide line. Then I can delete the auxiliary line again, I don't need it any more.
A little outline for this line (in the application bar), let's say 1 point and in yellow, please.
Step 2
Well, I can add a few more pixels, I'll set it to 3 pt. and a bit bigger, for example. Looks good.
OK, and now it's quite simple. I have to copy the ray (the line) around the sun (the yellow circle) and insert it at the right angle.
Yes, what's the easiest way to do that? I could copy it manually by holding down the Alt key, dragging the line to the right and then rotating it accordingly.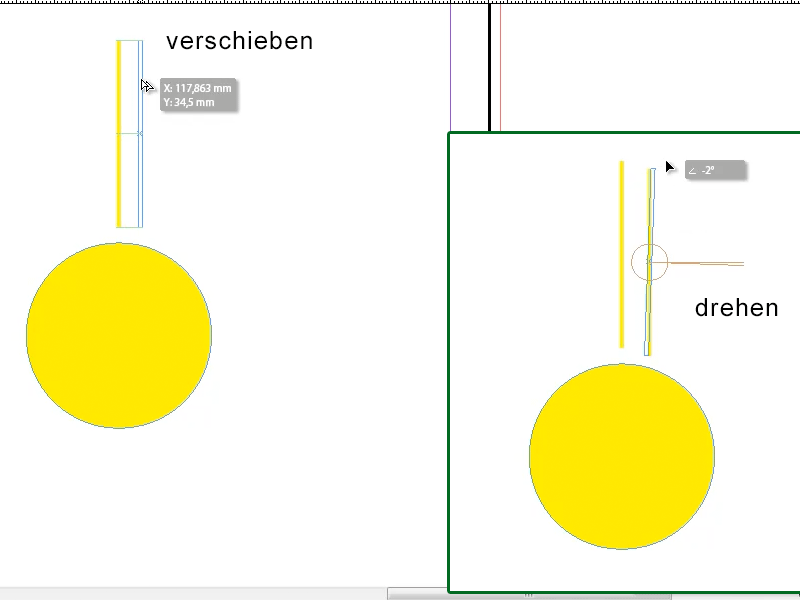
Step 3
Well, but it all looks manual and takes too long. That's why there's a trick:
There's the rotate tool in the toolbar ; I click on it and then just double-click on it. This gives me several options, e.g. to enter a specific angle. The problem is that it doesn't look good yet, does it?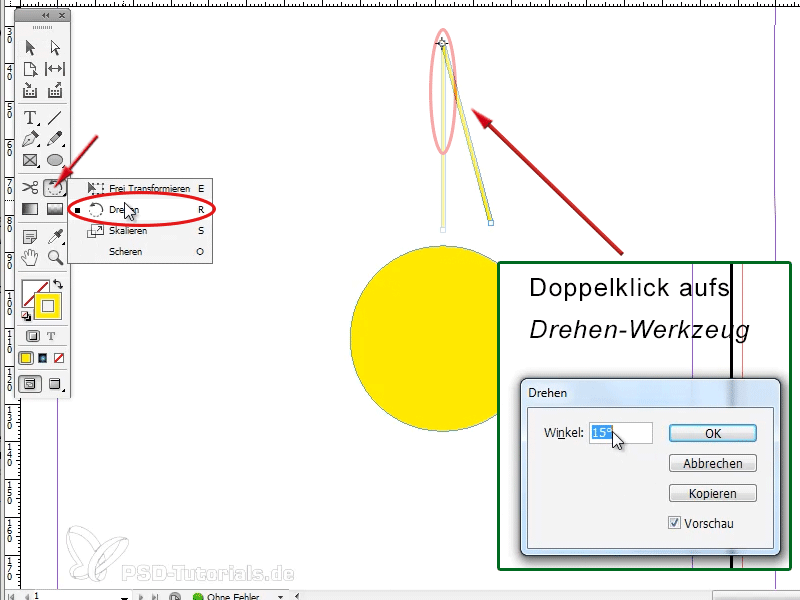
Step 4
That's why I should just click on the rotate tool first, then I have the option of moving the small dot that looks like a telescopic sight. This is the point around which the line should then rotate, and I move it to the center of my circle. The question is: Where exactly is the center here? Maybe I should have kept the auxiliary line after all. So I draw another horizontal and a vertical gu ideline, click on the object (the circle!) first, then the guideline snaps into place where the center is.
Now I click on the yellow line I created, select the rotate tool again, grab the scope and click right here in the middle of the circle.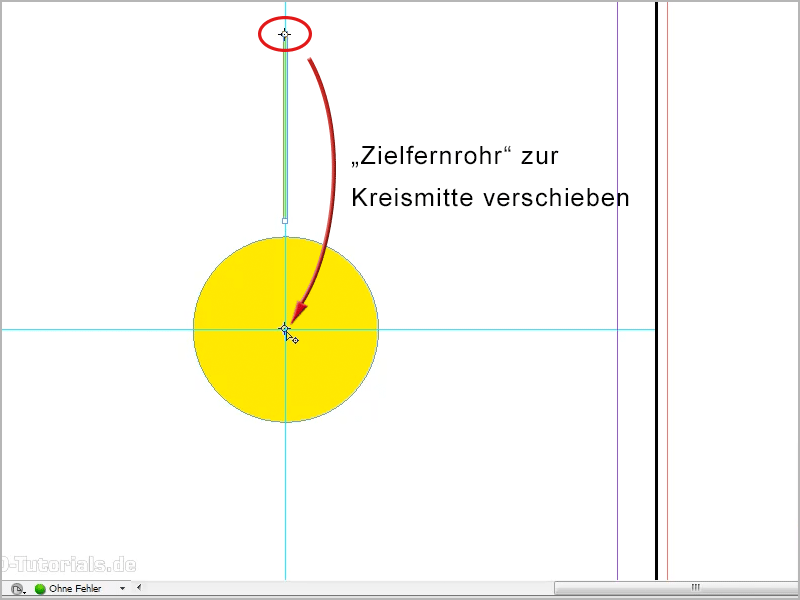
Step 5
Then double-click on the rotate tool again and then I can say, yes, here by 15° degrees, for example, or by 30° degrees, that just has to be a value by which the 360° degrees can be divided, and then click on copy. This simultaneously copies my line and inserts it offset by 15° around the center of the circle (1).
Yes, and then comes the trick - well, what does "trick" mean; it's just basic knowledge ... on Object>Transform again>Transform again - Sequence, you can also remember the keyboard shortcut Alt+Ctrl+4 (or Alt+cmd+4) (2):.gif)
Step 6
I now press this key combination a few times, you can also see how the lines are arranged around the circle, and I have now created a beautiful sun.
Step 7
Looks good, doesn't it?
Now I could select everything, group it, then copy and paste it into my flyer. Scale it by holding down the Shift key so that it is proportionally smaller. Then I could insert the sun at the bottom right above the logo.
Here I could also add a gradient to the sun, or, or, you can do it all however you like.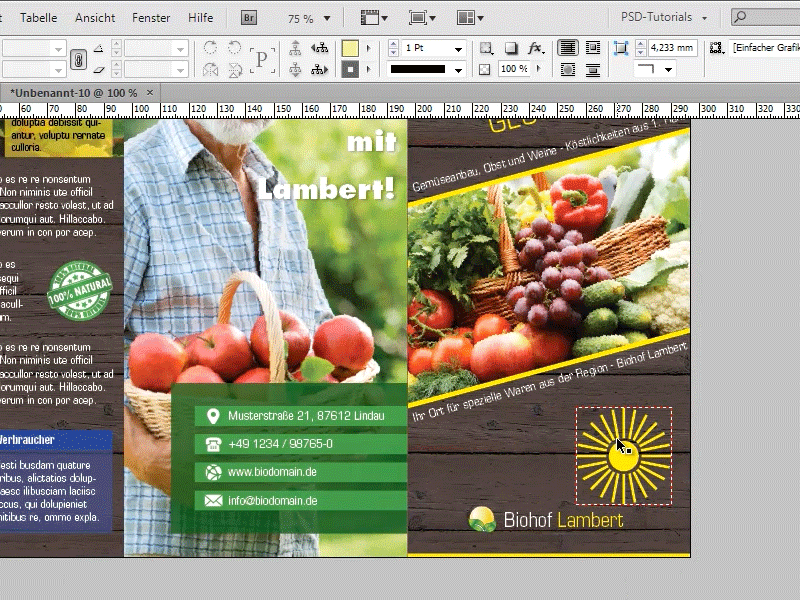
Step 8
Or, if the sun is the logo, I can scale it accordingly and move it in front of the lettering. In this case, the rays are a bit thick, I think, so you would have to make them a bit smaller beforehand or mark everything and set the lines to 1 pt.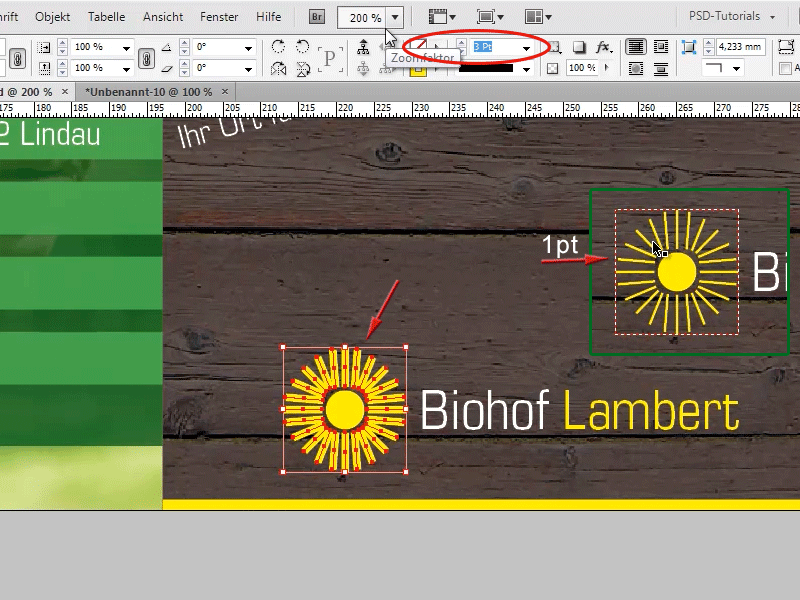
Continue with steps 9 to 16
Step 9
It looks better like this!
That's option 1 now, but what I wanted to show you is something really great!
You can also create a sunbeam effect like the one you see on various flyers by grabbing the polygon tool, double-clicking on the polygon tool in the toolbar, then I can say how many sides I want here. I say 3 for the number of pages, confirm with OK and then I draw the triangle here.
Step 10
Then I do exactly the same as with the sun, only this time the pivot point (the scope) is at the tip of my triangle. So I double-click on my Rotate tool and this time enter 30° degrees here, then click on Copy and then Alt+Ctrl+4(Alt+cmd+4) again and I've got a nice ray effect here that I can use on various flyers.
Step 11
I'll now go back to my one triangle. If you make it a bit smaller now, it would also work with 15° degrees, I think. So double-click on the rotate tool, then copy and Alt+Ctrl+4 orAlt+cmd+4. Yes, then it looks very, very good.
Step 12
Now you can select the whole thing again and then, for example, either group it or go to the Pathfinder with Window>Object and Layout>Pathfinder and say that the whole thing should be an object. You can tell that it is an object by the frame around the rays.
Step 13
Now that I have the rays as an object, I could add a nice gradient here, for example. For example, a gradient from the color swatches panel, which I have already created here. Or you can also edit it by double-clicking on this gradient in the swatches panel. This way you can use the ray effect on various flyers, you can also make the rays a little bigger, then it will look something like this (bottom right).
Step 14
And it's so easy to do, as you can see!
Or you can, but now the very last tip, then I'm done with the tutorial, create completely different shapes here, for example. For example, with the polygon tool, let's create a polygon with 5 corners, then I'll copy that again with 15° degrees and then you'll see that something really interesting comes out here, for example. A completely new shape.
Step 15
Of course, you can also try this out with completely different shapes. I'm going to draw a shape that looks more like an arrow. Let's see what happens. Here I'm copying at 30° degrees, which looks like a cogwheel.
Step 16
Or try another one: like this, for example.
Step 17
Or you can try it here with several corners. For example, with 10 corners and copied with 15° degrees.
As you can see, you can create really great shapes with this copying.
So, that's it, I hope you've picked up some tips and tricks ... and take a look at the next tip!


