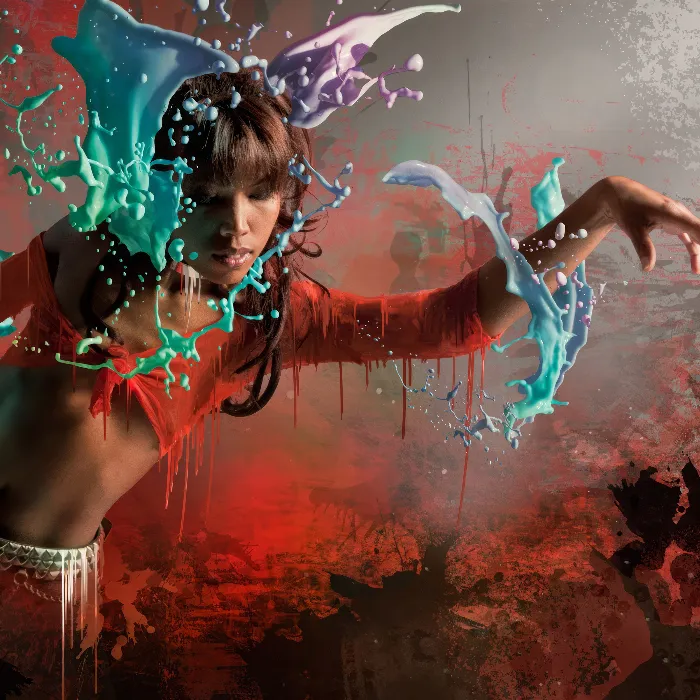
The fresco style, known from historical wall paintings, gives images a classic and texture-rich aesthetic. With Photoshop, you can digitally replicate this effect by combining textures, brushes, and color adjustments to create the authentic look of wall paintings. Whether for portraits, landscapes, or creative designs, the fresco style brings an artistic and timeless touch to your projects. In this tutorial, I will show you step by step how to implement the digital fresco style and give your images the charm of historical artworks. Let's get started and bring your artworks to life!
Step 1: Duplicate layer and convert to Smart Object
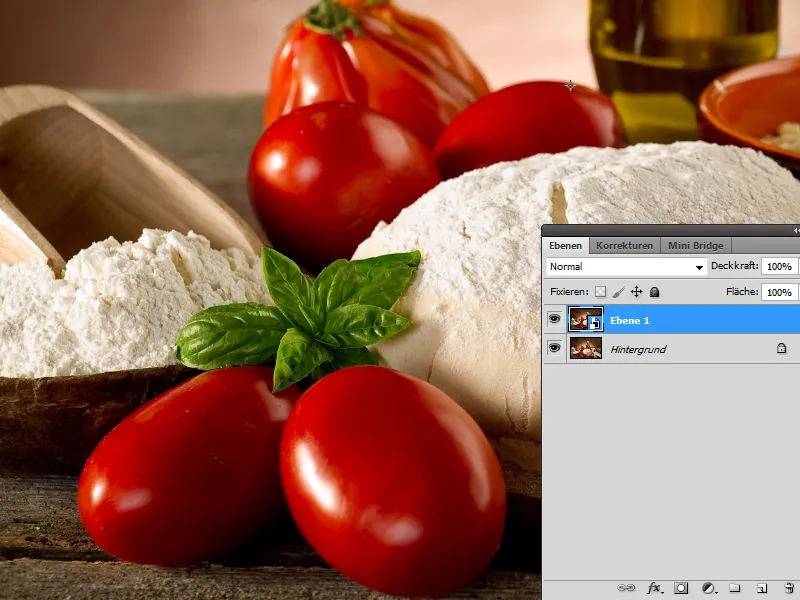
I duplicate my background layer using the shortcut Ctrl+J. The duplicated layer is converted to a Smart Object.
Step 2: Apply Smart Filter Glowing Edges
In the second step, I apply the Smart Filter Glowing Edges in the Filter menu under Stylize Filters. Applying it as a Smart Filter allows me to vary the adjustment values at any time.
These are the settings I choose:
• Edge Width: 1
• Edge Brightness: 11
• Smoothness: 4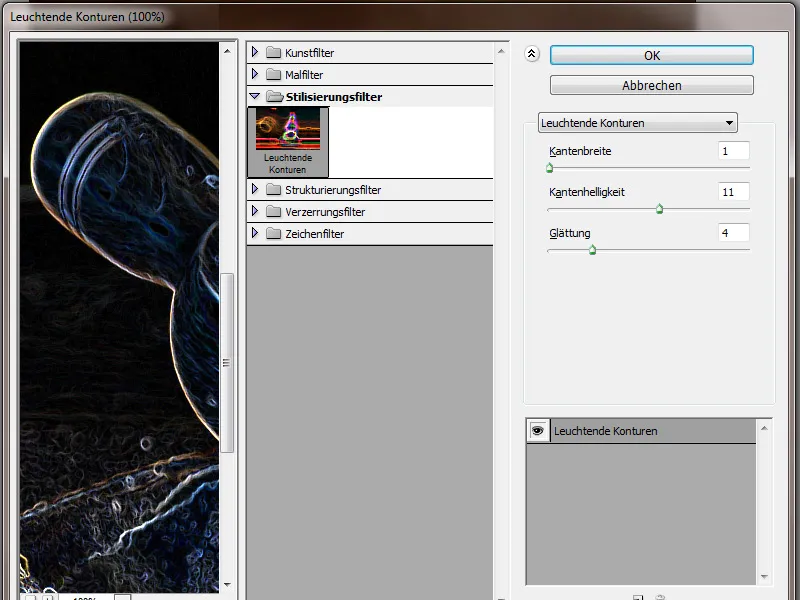
The layer is put into Subtract mode to allow the glowing edges to interact optimally with the background layer. The effect is particularly visible on the vegetables, giving them a painterly impression.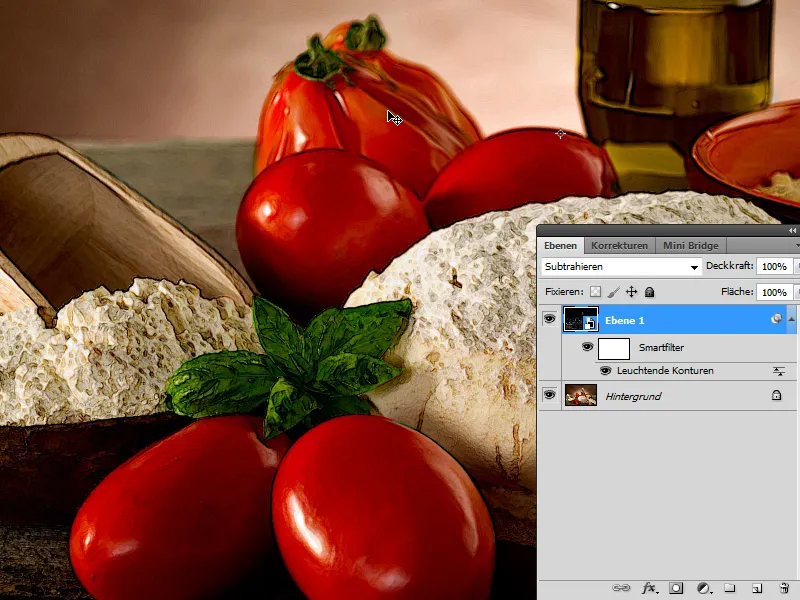
Before-after view:
Second Example: Dog Image
First, I want to show how the Fresco Filter in Photoshop works to further illustrate that the alternative using Glowing Edges in a subtractive manner is much better for the painterly look.
The before image (Image source: Aleksey Ignatenko - Fotolia.com):
I duplicate the dog image. The duplicate is converted into a Smart Object and the Fresco Filter is applied as a Smart Filter. Regardless of the settings I choose, I significantly increase the dark areas of the image, which does not benefit the look.
And now the comparison using Glowing Edges. The Fresco Smart Filter can be hidden.
I apply Glowing Edges as a Smart Filter. These are the settings I choose:
• Edge Width: 1
• Edge Brightness: 11
• Smoothness: 7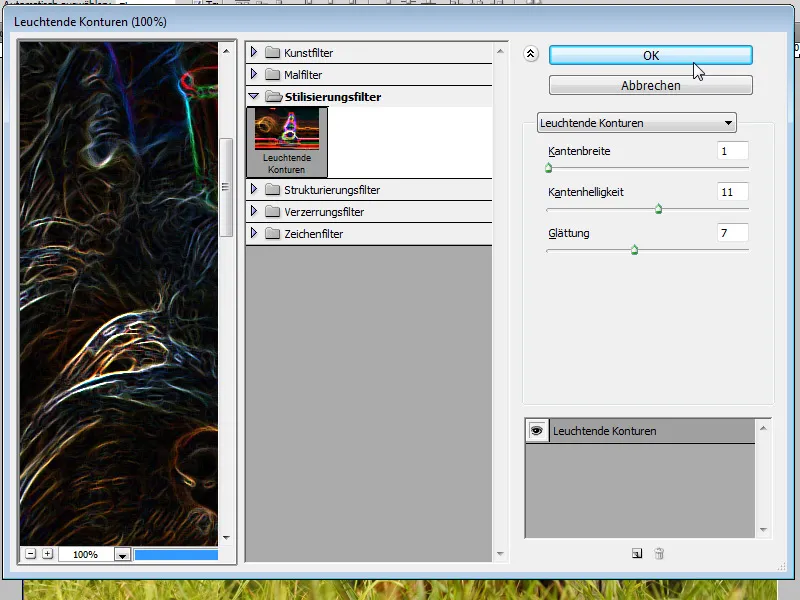
I set the layer back to Subtract mode and we're done. Once again, I have achieved a very quick yet illustrative painterly effect.
Third Example: Portrait Shot
The before image:
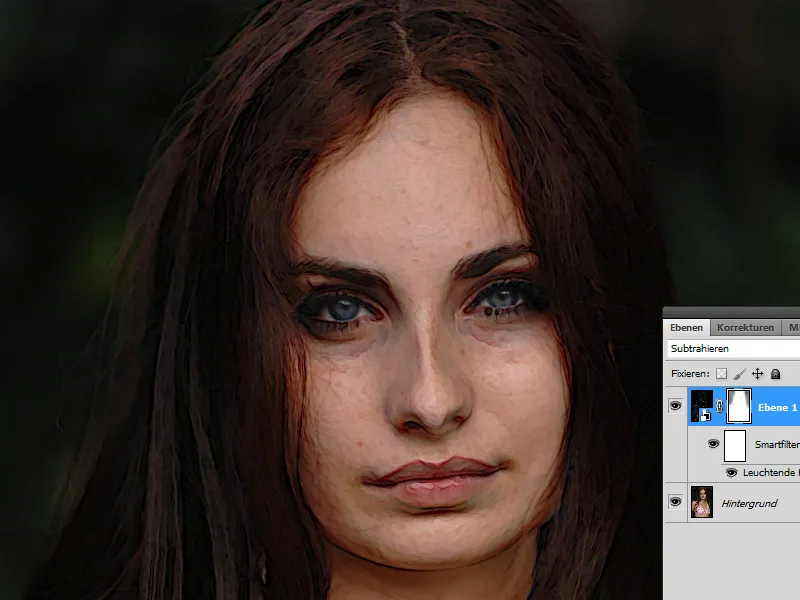
Here, I follow the same steps as described above. The background layer is duplicated and the duplicate is converted into a Smart Object. The duplicate is set to Subtract blending mode and the Smart Filter Glowing Edges is applied. These are the settings I choose:
• Edge Width: 2
• Edge Brightness: 14
• Smoothness: 15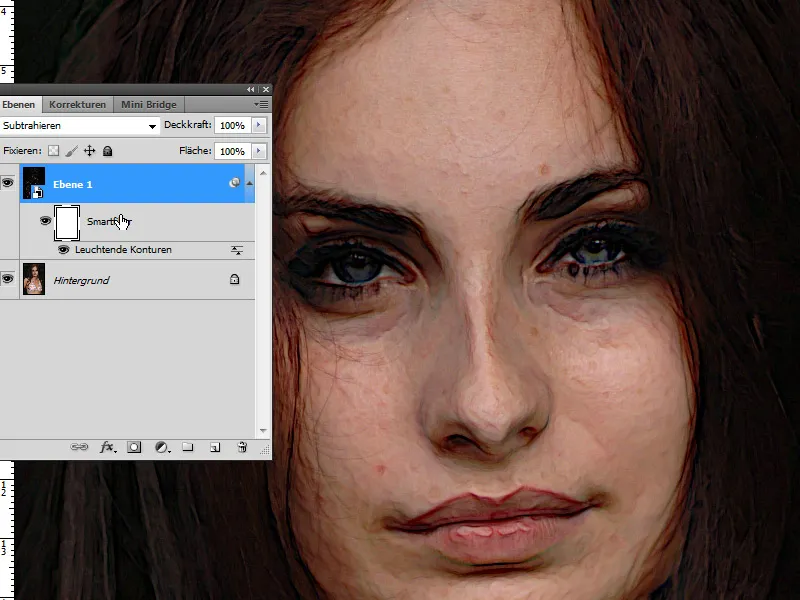
I mask the area of the eyes in the Smart Filter mask to keep them sharp. Using a soft brush with medium opacity, I can also mask the background slightly to soften the contour effect. Done: Even with a portrait image, good results can be achieved in the painterly look with this quick technique.
Conclusion: The technique is brief and to the point, with the advantage that the colors, unlike with the Fresco Filter, do not get lost in a black sauce.