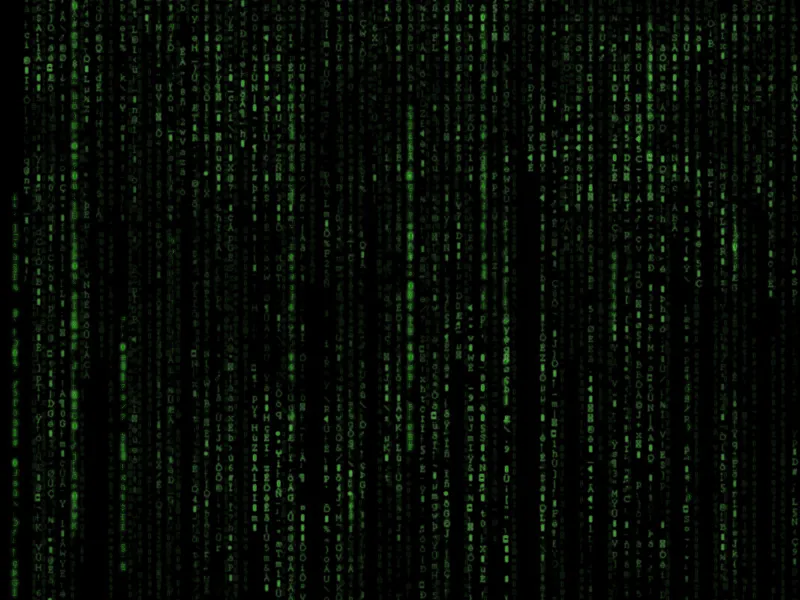
The Matrix effect, known from the cult film, is a fascinating stylistic device to create a digital and futuristic look. With Photoshop, you can not only replicate the iconic green code, but also animate it to give your designs a dynamic and lively touch. In this tutorial, I will show you step by step how to create and animate the Matrix effect - perfect for videos, websites, or creative projects. Let's dive into the world of digital aesthetics!
Step 1:
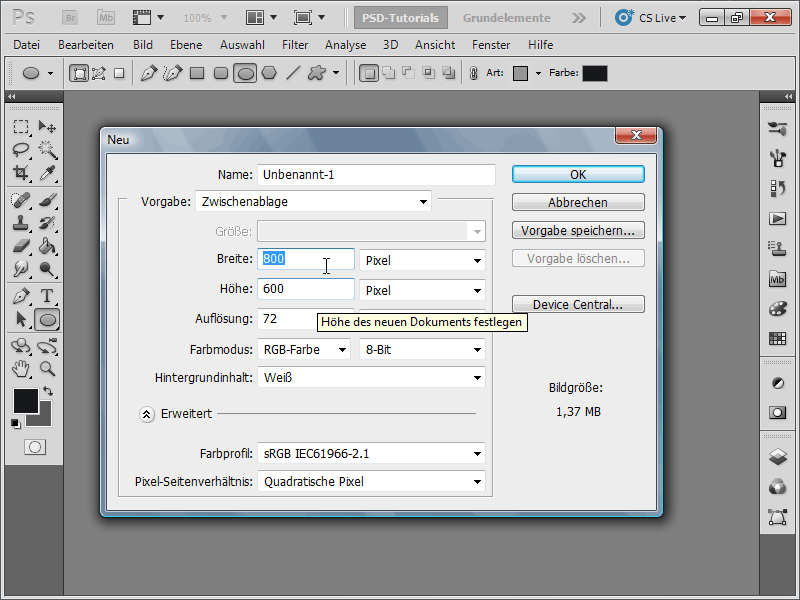
First, I create a new document; the size doesn't matter. I choose a very small size of 800x600 pixels. If you want to print this effect, the unit should be changed from pixels to cm and the resolution from 72 to 300 pixels/inch.
Step 2:
Now I open an image file in the editor (preferably a very small image file, as otherwise opening it takes too long) and paste about 2 pages of gibberish text into it.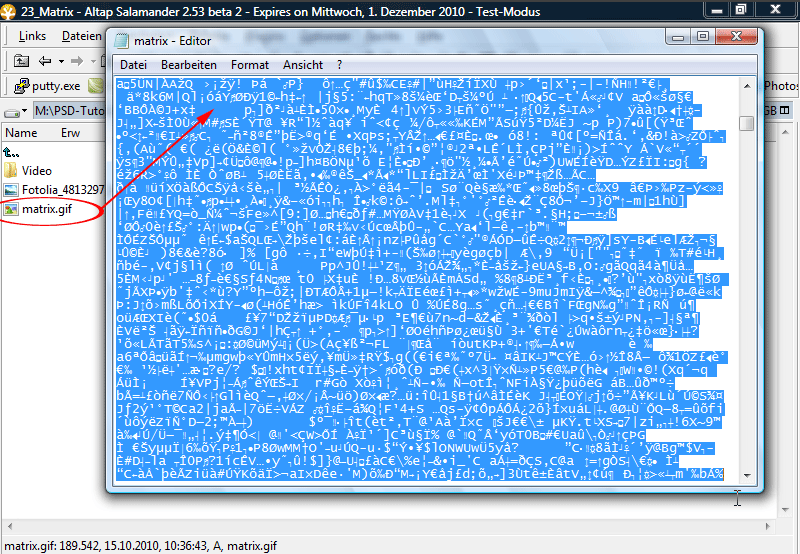
Step 3:
Next, I insert my copied text into a text layer with, for example, the Courier font at size 10 pt in green color. The background layer should be black.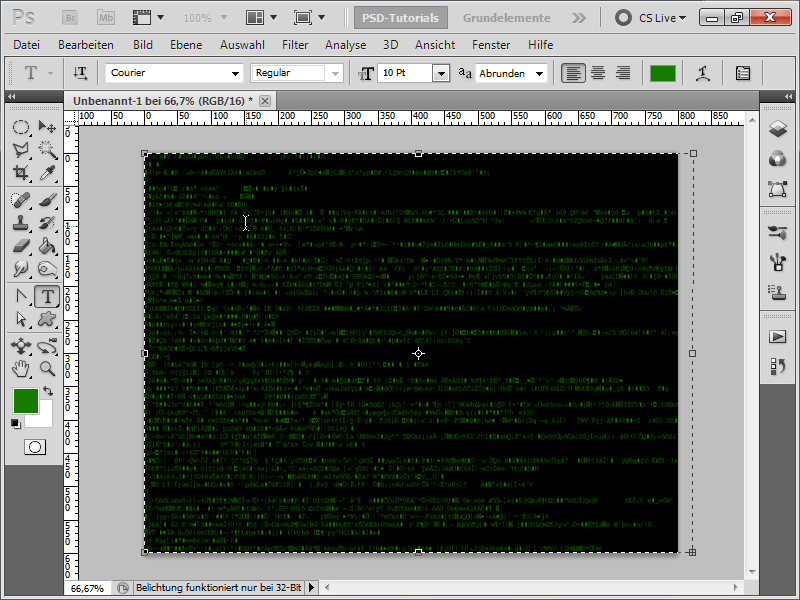
Step 4:
Now I change the text direction by clicking on the corresponding symbol in the top left.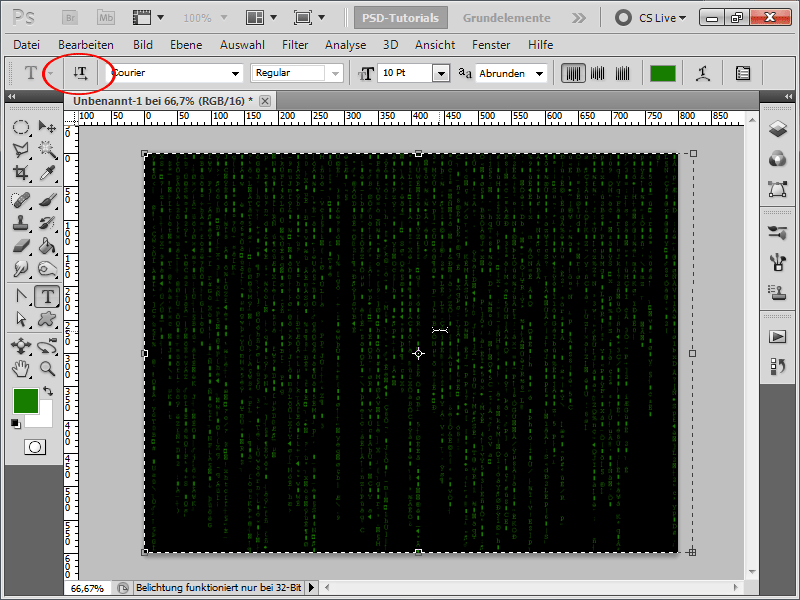
Step 5:
To ensure that not all letters are visible or some are only very faintly visible, I create a mask and apply the Difference Clouds filter with the standard colors black/white (Menu>Filter>Render filter). I repeat this with Ctrl+F until I am satisfied. Before applying the Difference Clouds, I quickly duplicate and hide the text layer.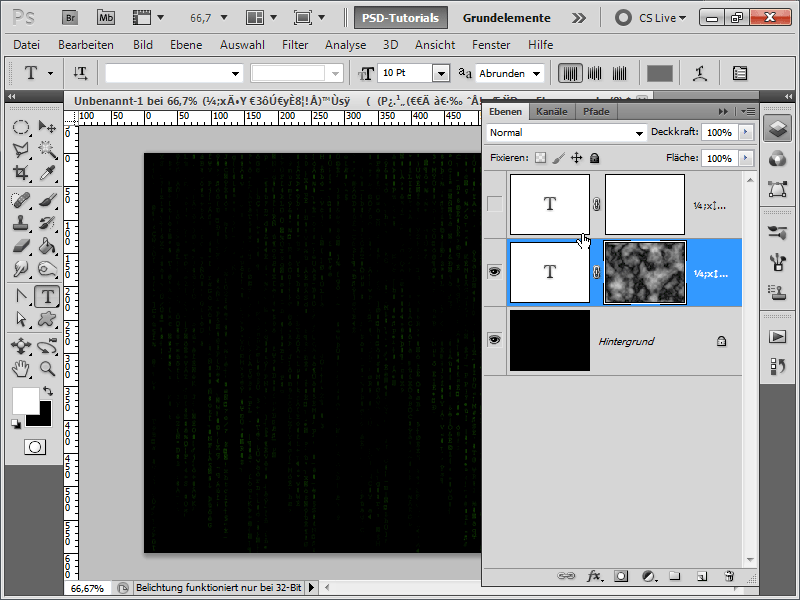
Step 6:
Using the Levels adjustment (Ctrl+L), I can bring out the letters even more by moving the middle slider.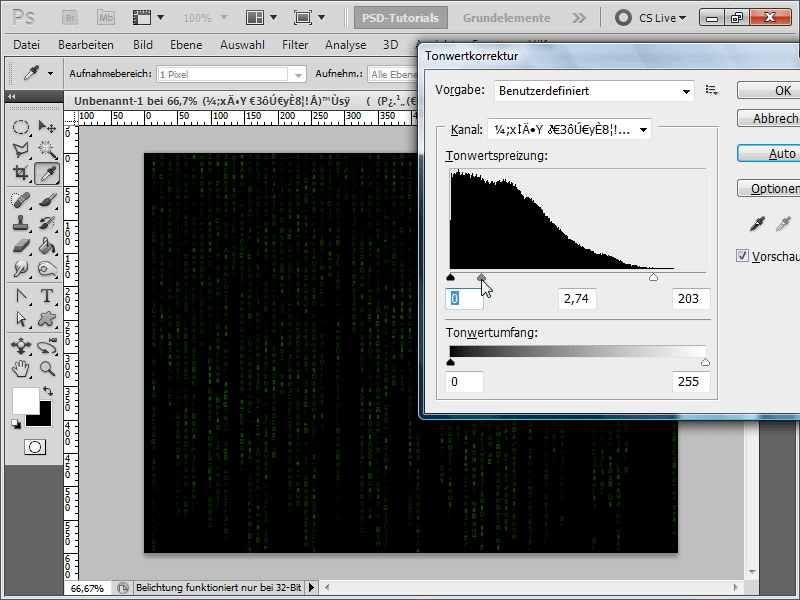
Step 7:
Now I add an outer glow to my text layer. To do this, I right-click on my text layer in the Layers panel and then click on Layer style.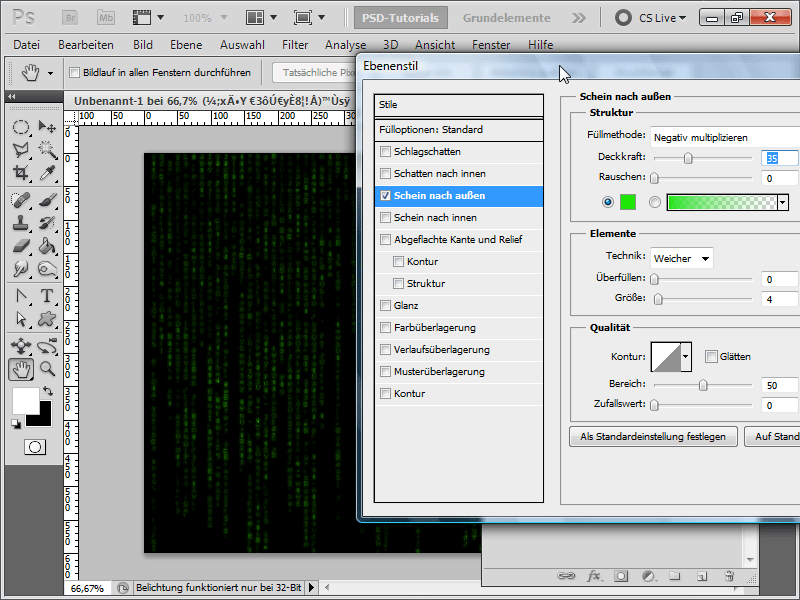
Step 8:
I can now re-enable the top text layer and temporarily disable the second one. Then I invert the layer mask with Ctrl+I (first activate the mask by clicking on it) so that it is completely black. Now I grab a brush with a size of, for example, 6 pixels, which is also quite soft. I can now draw straight lines with the Shift key pressed. However, you need to release the Shift key after drawing the line, click again at a different point, and then draw the line again while holding the Shift key.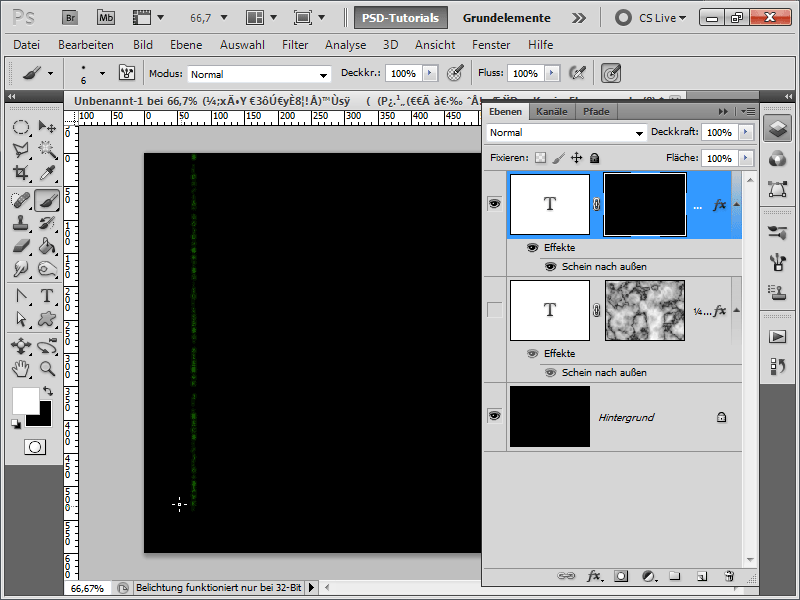
Step 9:
I repeat this process a few times throughout the entire image and then increase the opacity of the outer glow layer style.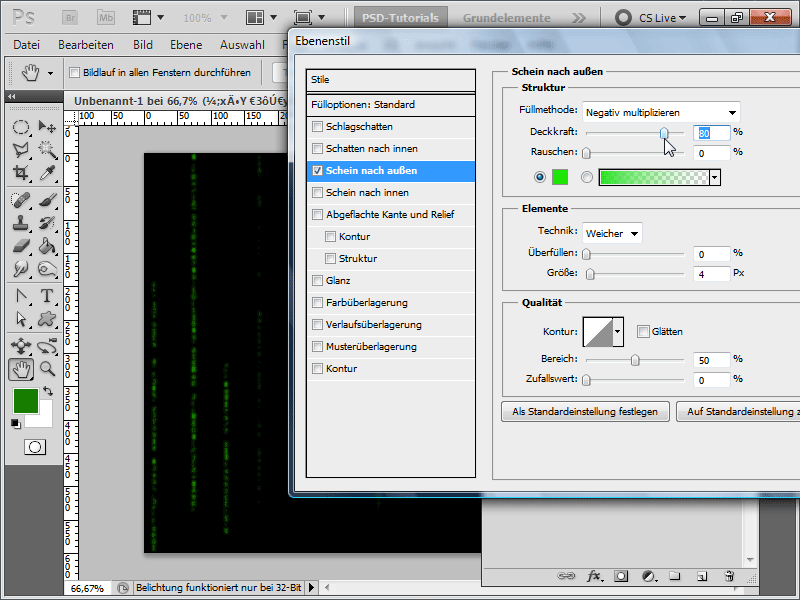
Step 10:
Then I re-enable all layers. The result already looks very good.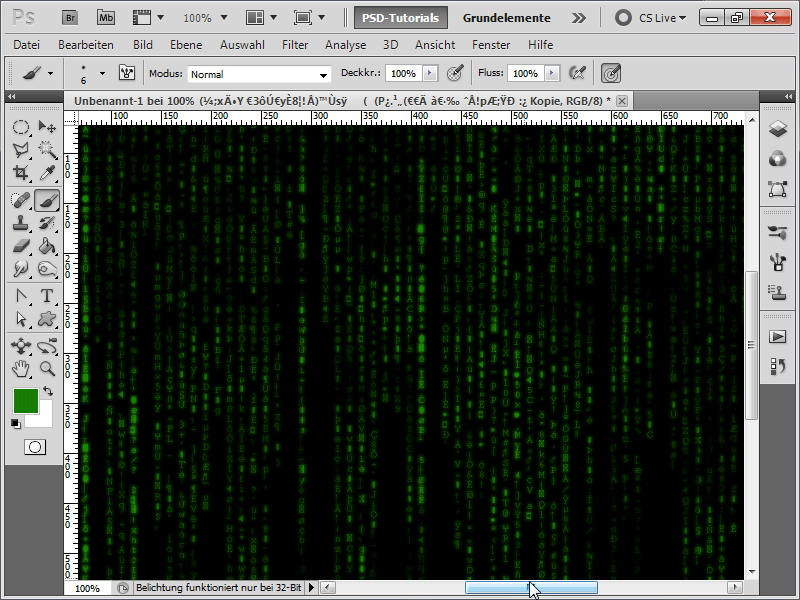
Step 11:
Now I want to show how I use the effect to animate it further. To do this, I open my Animation panel under Menu>Window and enlarge the text layer at the bottom.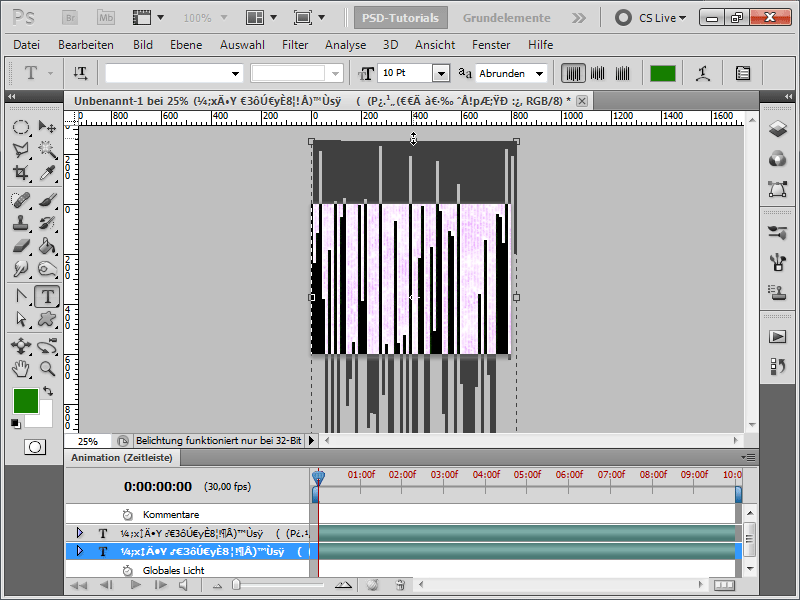
Step 12:
Next, I expand the layer in the Animation panel and click on the stopwatch next to Position. This creates a keyframe that remembers the current position of my text layer.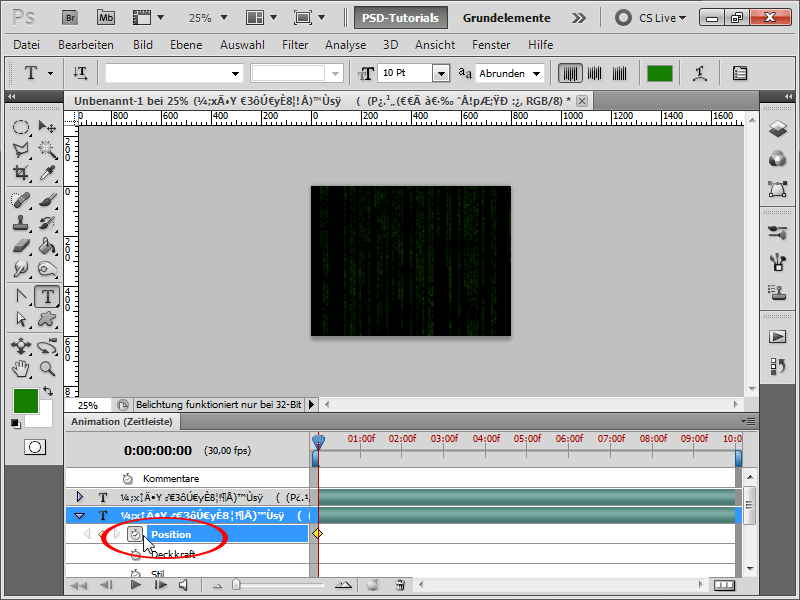
Step 13:
When I now drag the slider in the timeline to 05:00f, a new keyframe is automatically created. Now, I move my text layer quite far down using the move tool. And there is my little animation finished. If I want all text layers to move together, I can select all layers in the layers panel and merge them into a smart object. Then I simply move the smart object.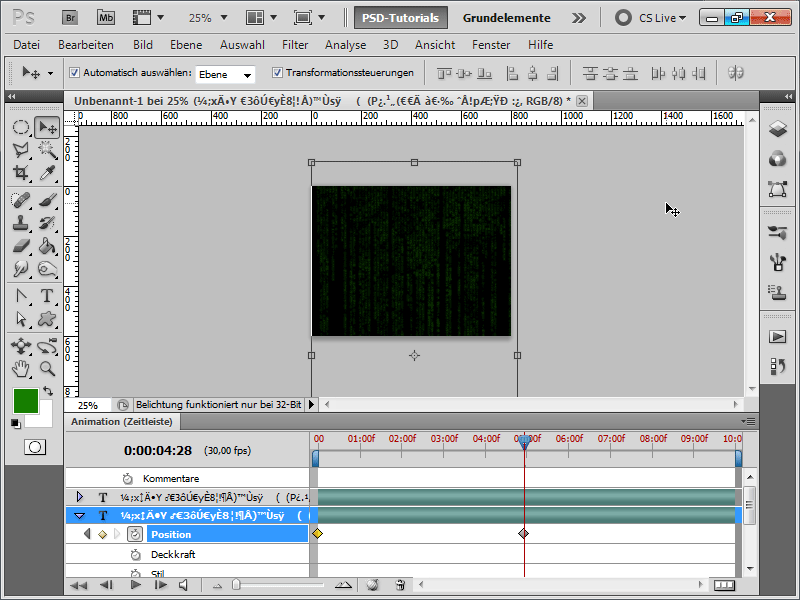
Step 14:
As the playback in Photoshop is quite jerky for me, I immediately export it as a QuickTime Movie under File>Export>Render Video. You can watch the finished animation here.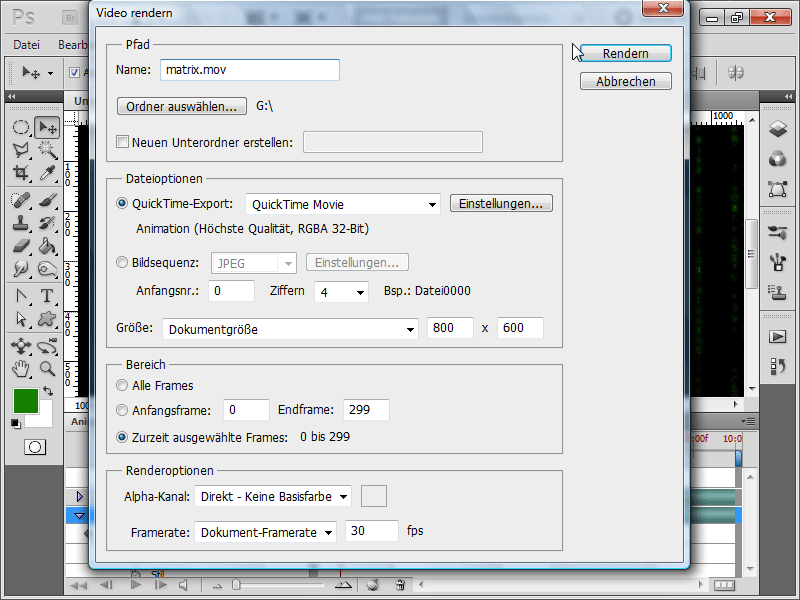
Step 15:
At the end of the workshop, I would like to show how to wrap a photo behind the Matrix effect. I insert a photo of my choice.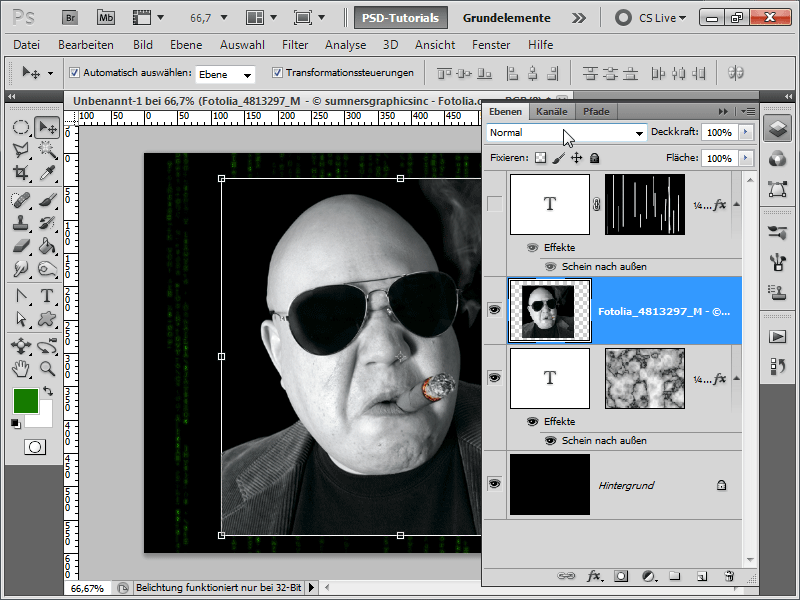
Step 16:
Now I just need to change the fill method to Color Burn, and the letters will be light where there are light pixels in the photo.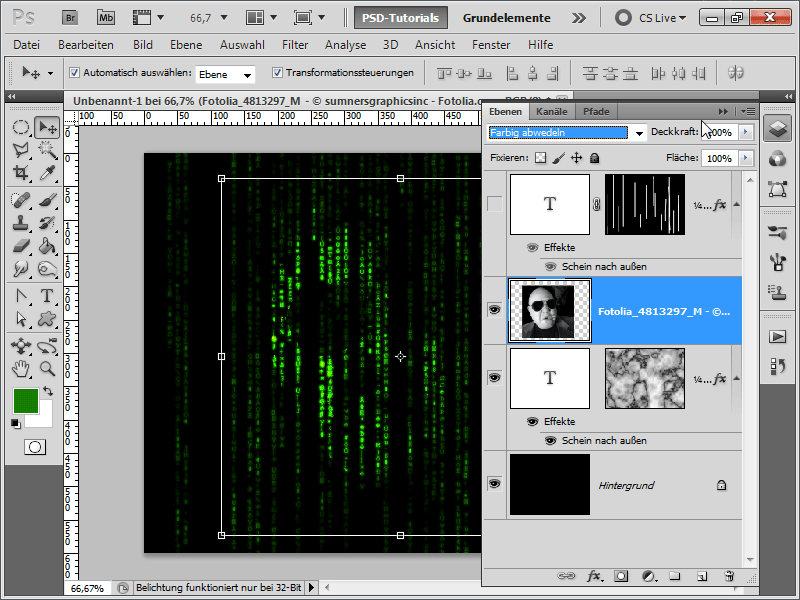
Step 17:
Here, I can move the photo at any time, and the text characters will automatically adjust.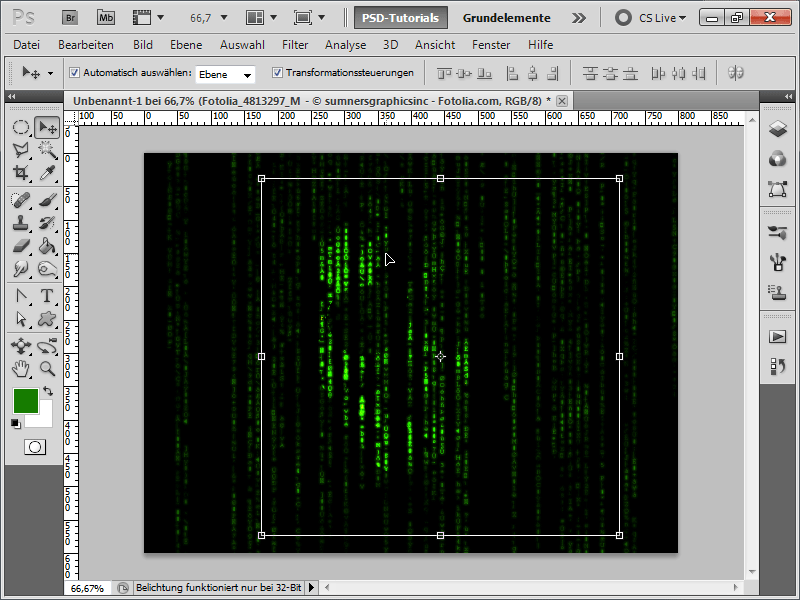
Step 18:
If I move the photo layer to the top of the layer hierarchy, the result looks like this: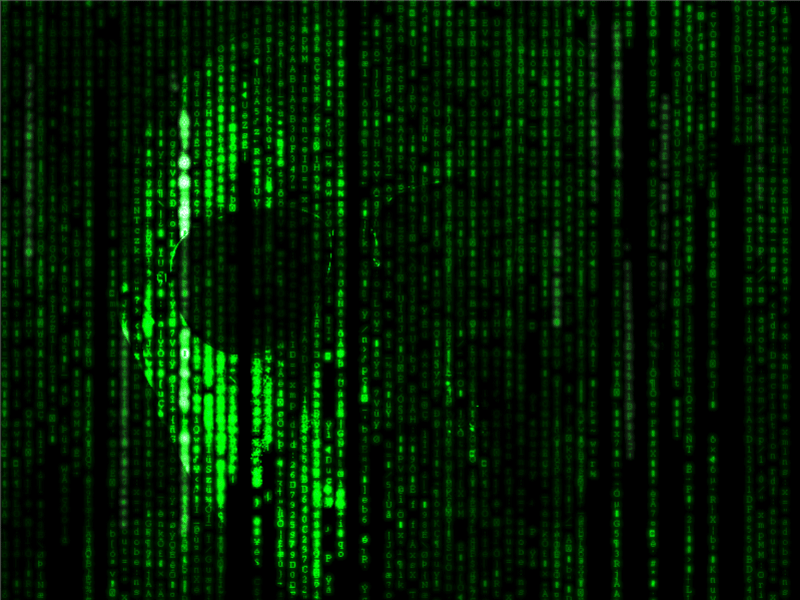
Step 19:
With the fill method Darken, the result looks like this: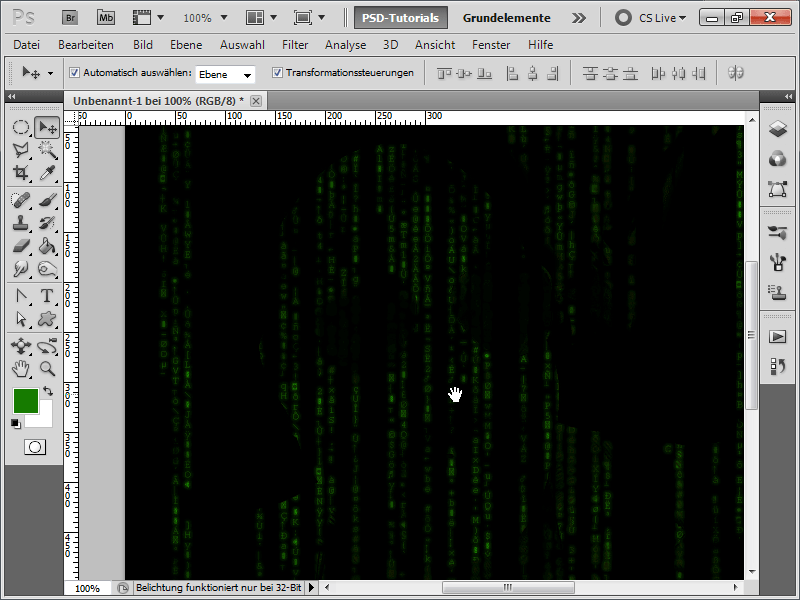
Step 20:
Awesome: I can even copy the photo to the clipboard and then with the Alt key pressed, click into the layer mask of the text layer and use my photo as a layer mask with Ctrl+V.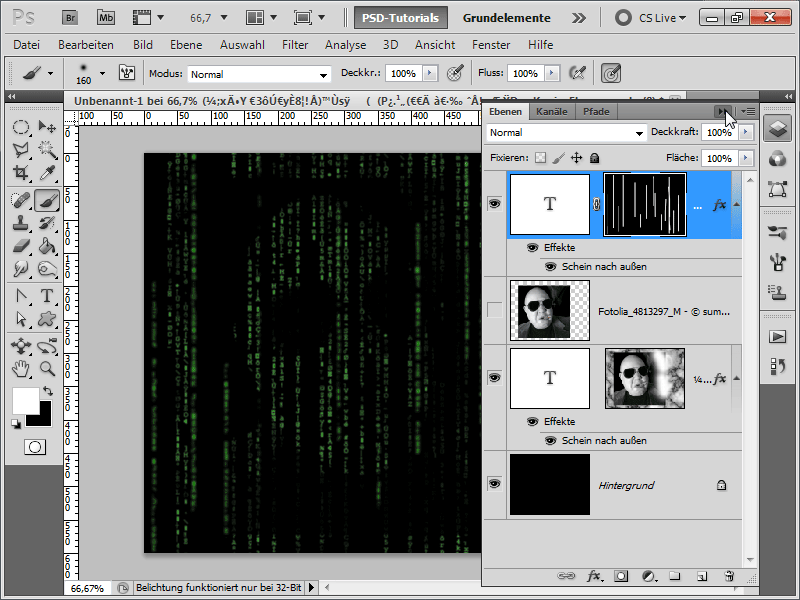
Step 21:
Or I can convert my text layer into a smart object and then apply a blur which I then fade out again at some points with the smart object mask.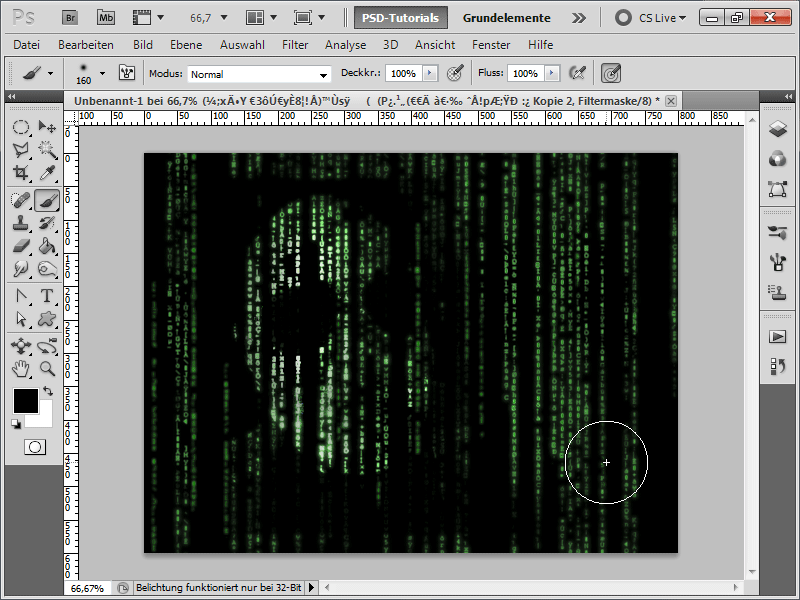
Step 22:
Tip: I can also simply duplicate my bottom text layer, move it to the top, and then change the text size from 10 to 8 for example. Then set the opacity to around 17%, and the effect looks even cooler.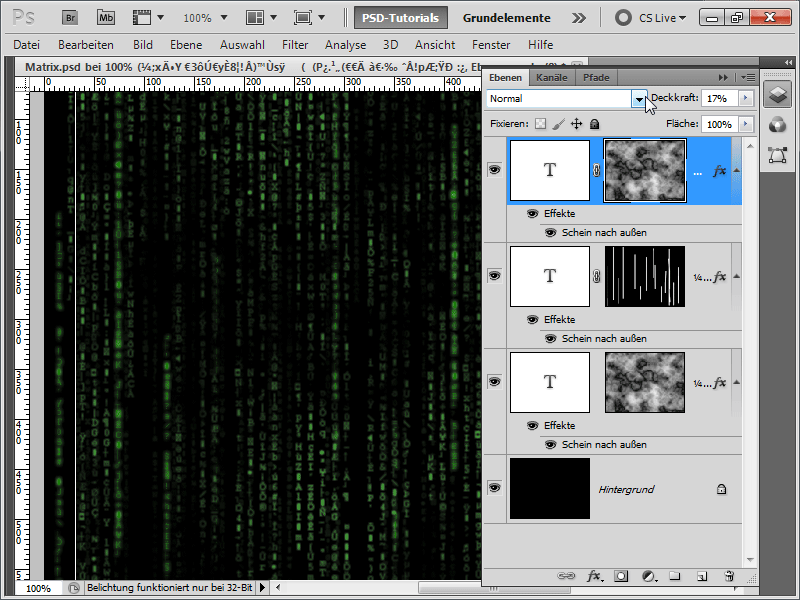
Step 23:
For me, the result looks like this, where I simply lifted the top layer mask with the Shift key held down: