Formatting tables in Google Slides is an essential skill that helps you make presentations more appealing and easier to follow. Tables are not only an excellent way to organize data, but they can also be used to present information clearly and in a structured manner. In this guide, I will show you how to effectively format your tables in Google Slides to visually enhance them and present the content better.
Key Insights
- You can customize line styles and colors.
- Border lines and fill colors offer many design possibilities.
- Selecting and editing multiple elements makes formatting easier.
Step-by-Step Guide
Basics of Table Design
To start formatting your table, make sure you have selected the table first. Click on the table you want to format. When the table is highlighted, you will notice your cursor changing. You can click on the lines between the cells to modify them specifically.

Highlighting and Adjusting Lines
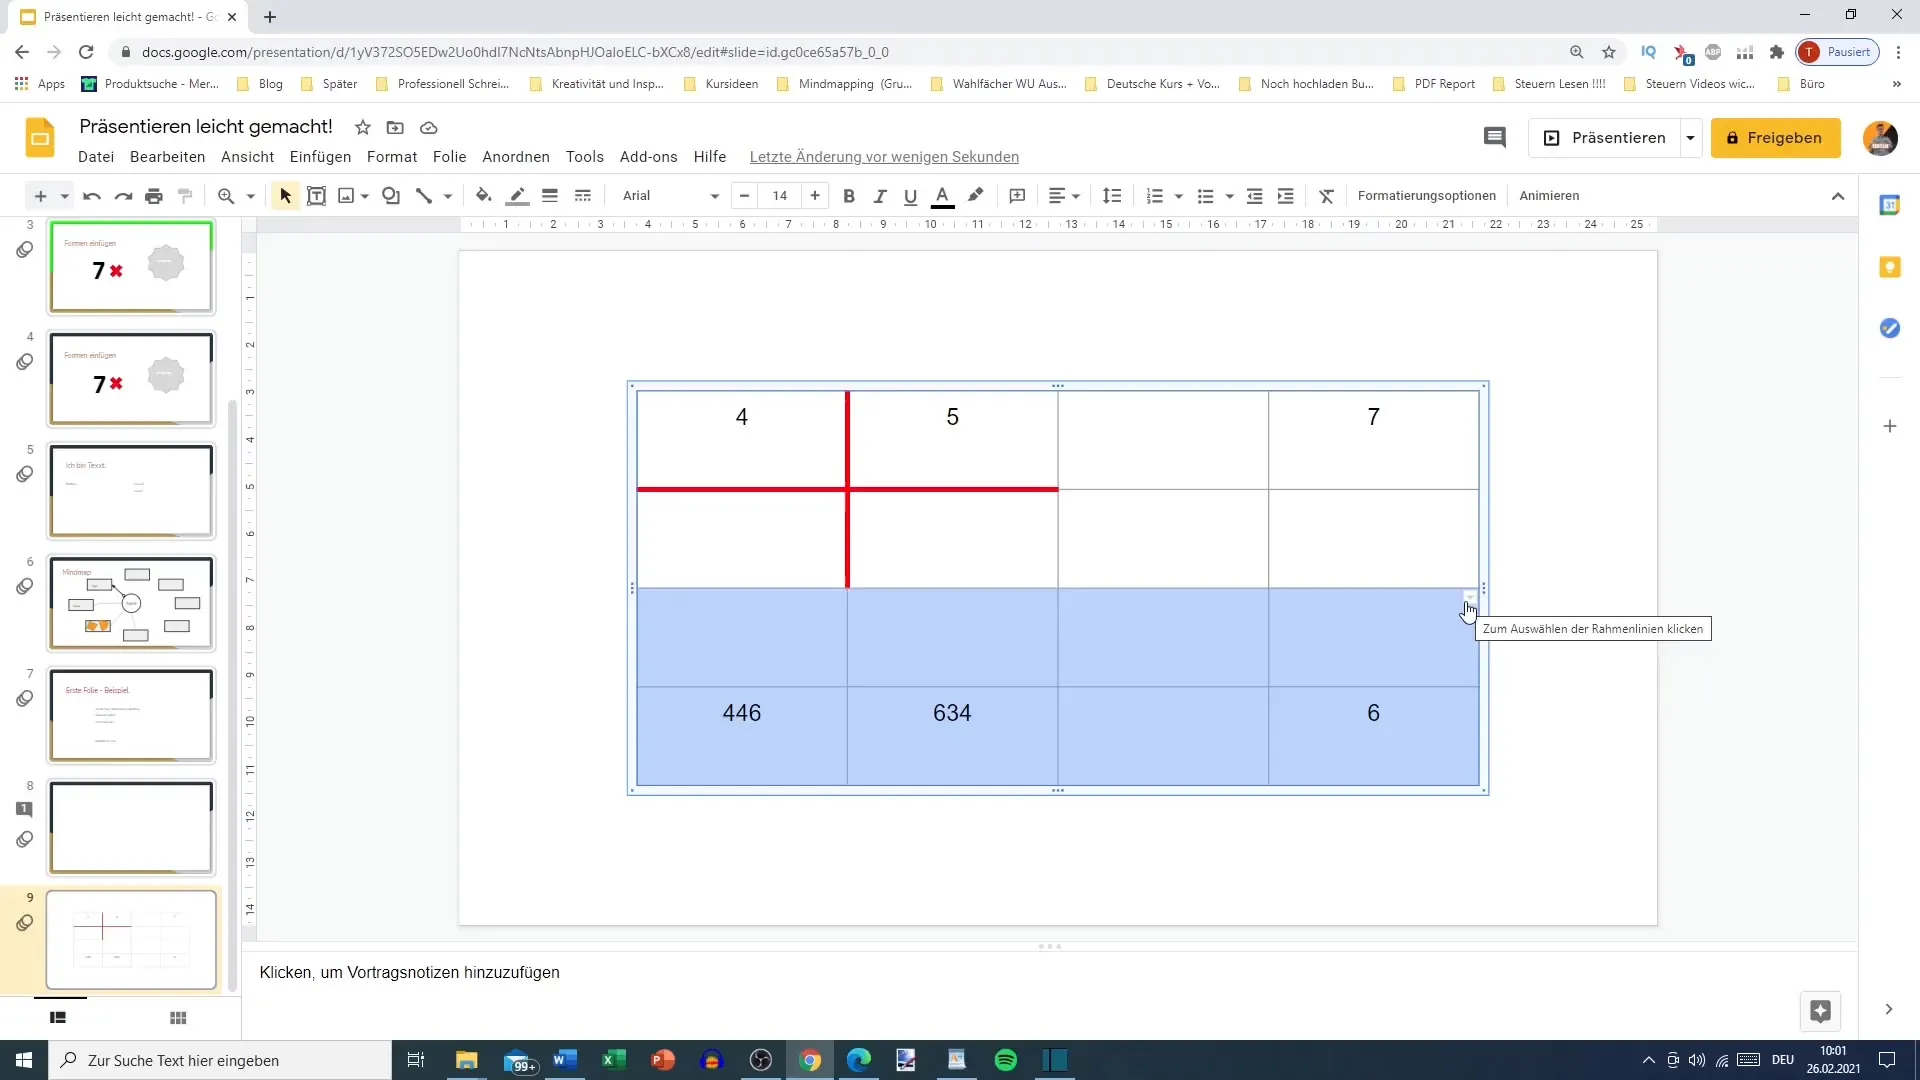
Move your cursor over the lines of the table until an equal sign with two arrows appears. Click on the line you want to adjust. It will now be highlighted in blue, indicating it is selected. To format multiple lines at once, hold down the Shift key while using the arrow keys to select additional lines.

Changing Line Color
With the selected line, you can now make changes. Choose the line in the menu bar, and you will currently see a gray color scheme. If you want to change the color, for example to red, click on the color box in the menu bar and select the desired color. You can also adjust the pixel count to make the line appear thicker or thinner – four pixels provide much more visibility here.
Dashed or Solid Lines
You can also change the line style. Go to the menu option that offers you the different types of lines. For example, you can transform the line into dashed lines. It might look a bit funny, but it allows for experimentation.
Selection of Specific Lines
If you want to format the entire table, you can also selectively choose certain lines. For example, to only reformat the bottom lines of a selected cell, click on it and observe a small arrow symbol appear. This indicates that you can now only edit the chosen line.

Color and Border Design
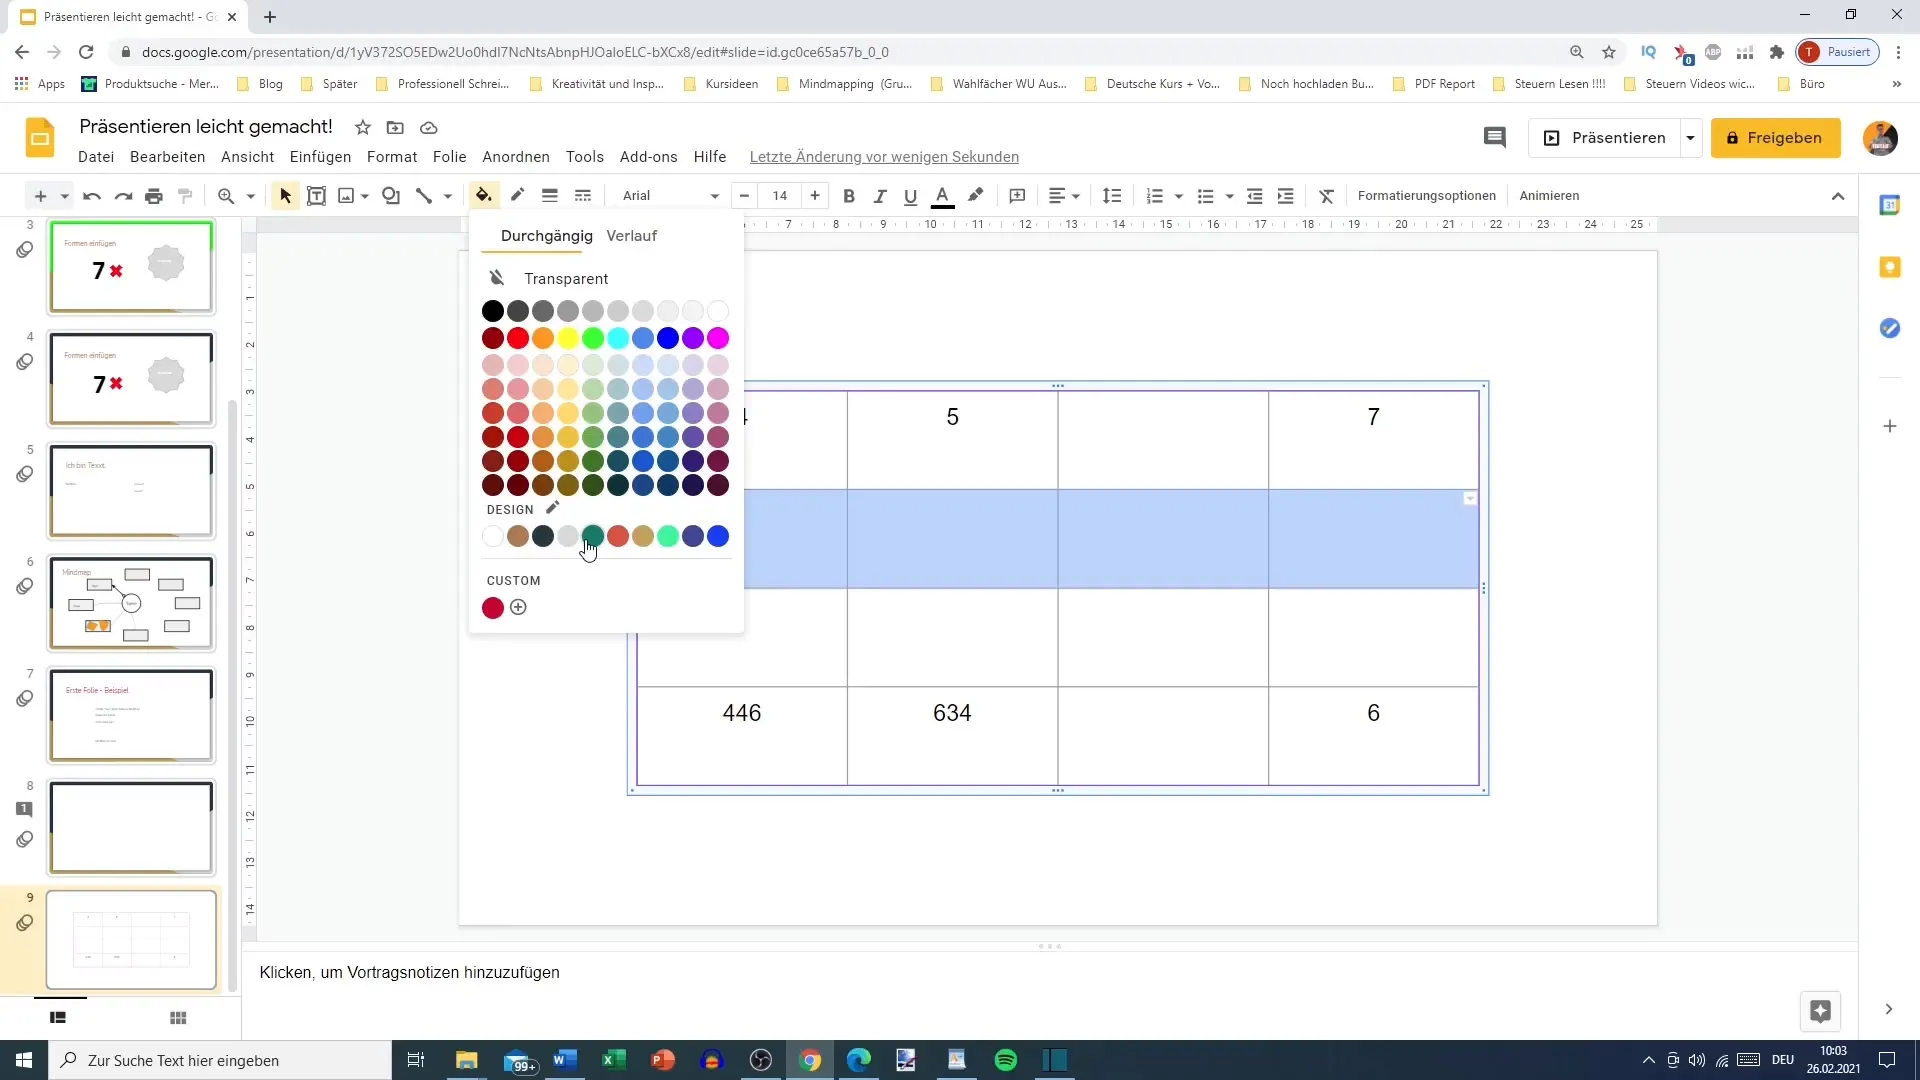
An important step in formatting is also designing the background. You can not only adjust the colors of the border lines, but also the fill color of the cells. To do this, select the row or cell you want to change, and navigate back to the color palette. Choose a bold color here to give your tables more vibrancy.

Creating Individual Styles
You have the option to combine different border lines in different colors and styles. If, for example, you only want to highlight the outer lines of a cell, you can select only those. Experiment with different combinations, such as a lilac border with a thickness of four pixels, to achieve an appealing effect.
Repeating the Steps Regularly
By setting an aesthetic style and practicing a bit, you will quickly become creative in designing your tables. Remember that there is always an undo button if something does not look as you envisioned. Always take your time and experiment to get the most out of your tables.
Summary
In this guide, you learned how to format tables in Google Slides from selection to individual design customization. By exploring the different functions and options, you can significantly enhance the visual presentation of your data.
Frequently Asked Questions
How do you change the line of a table in Google Slides?Click on the line to select it, then choose the desired color and thickness.
Can you format multiple lines at once?Yes, by holding down the shift key and selecting the lines you want to change.
How do you select specific parts of a table?Simply click on the line or cell you want to adjust to edit only that part.
Does Google Slides allow coloring cells?Yes, you can customize the background of cells and the entire table.


